Silhouette Portrait 3 and the WRMK Foil Quill

Links in the article below may be affiliate links.

Hi Everyone! A few months ago I finally crossed over and got a Silhouette Portrait 3, and I love it!! It works like I always thought my Cricut should work.

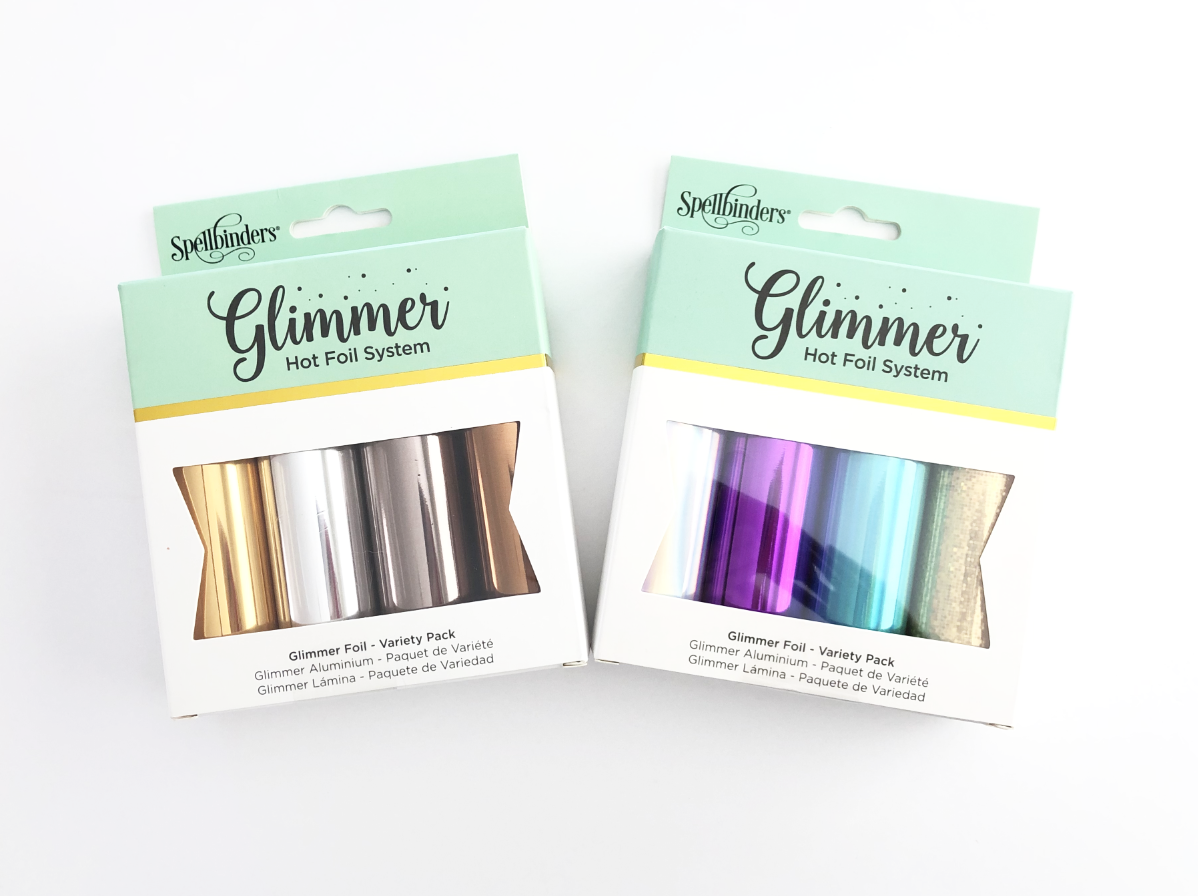
Last week I tried the Spellbinders Glimmer Foil with the WRMK Foil Quill in my Cricut Maker. The results weren’t great on cardstock, but it looked really nice on my clear sticker paper. So this week, I decided to try it on my Portrait 3 because I can adjust the speed and pressure with the Foil Quill, unlike the Cricut.

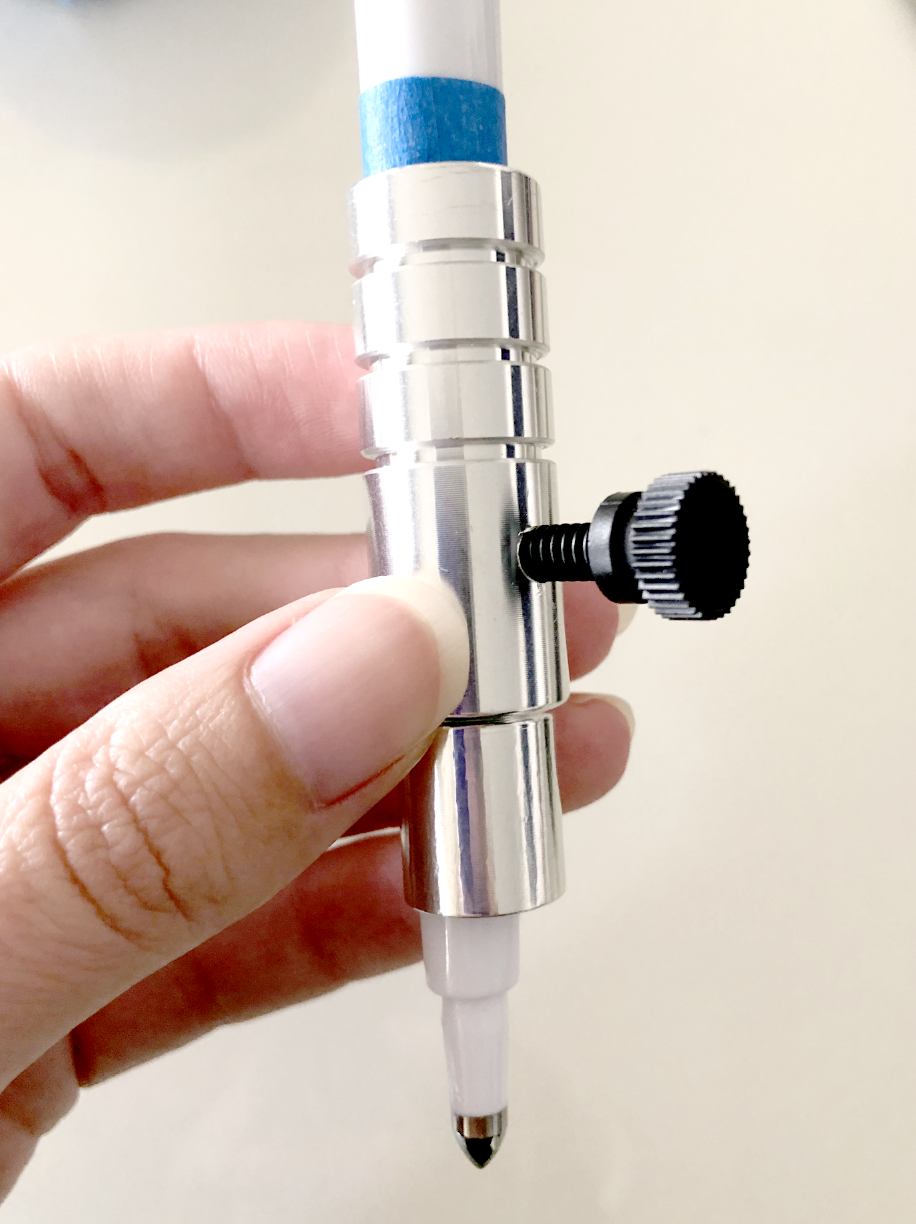
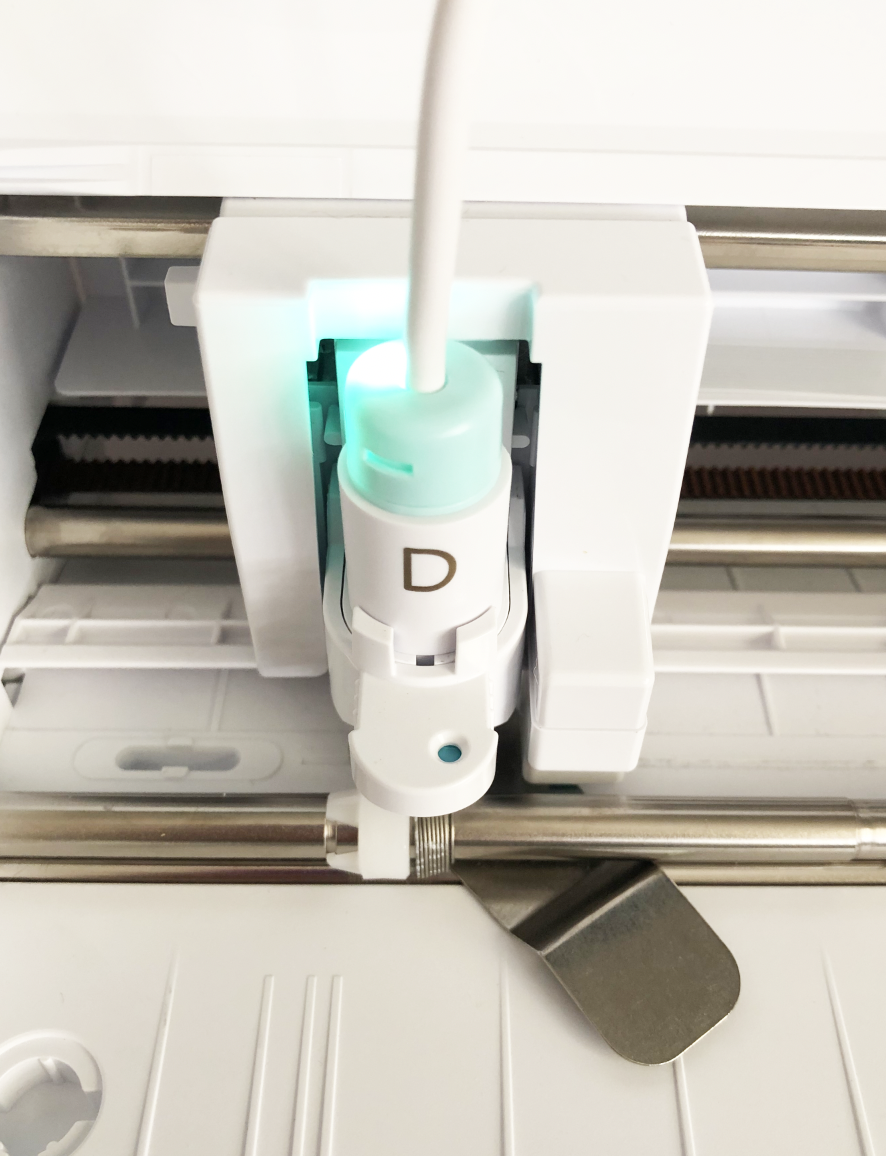
I have to use the D adapter for the Foil Quill with the Portrait 3, the usual A adapter for Silhouette doesn’t fit the newer machines.

Use Adapter D for the Silhouette Portrait 3.

Use Adapter D for the Silhouette Portrait 3.

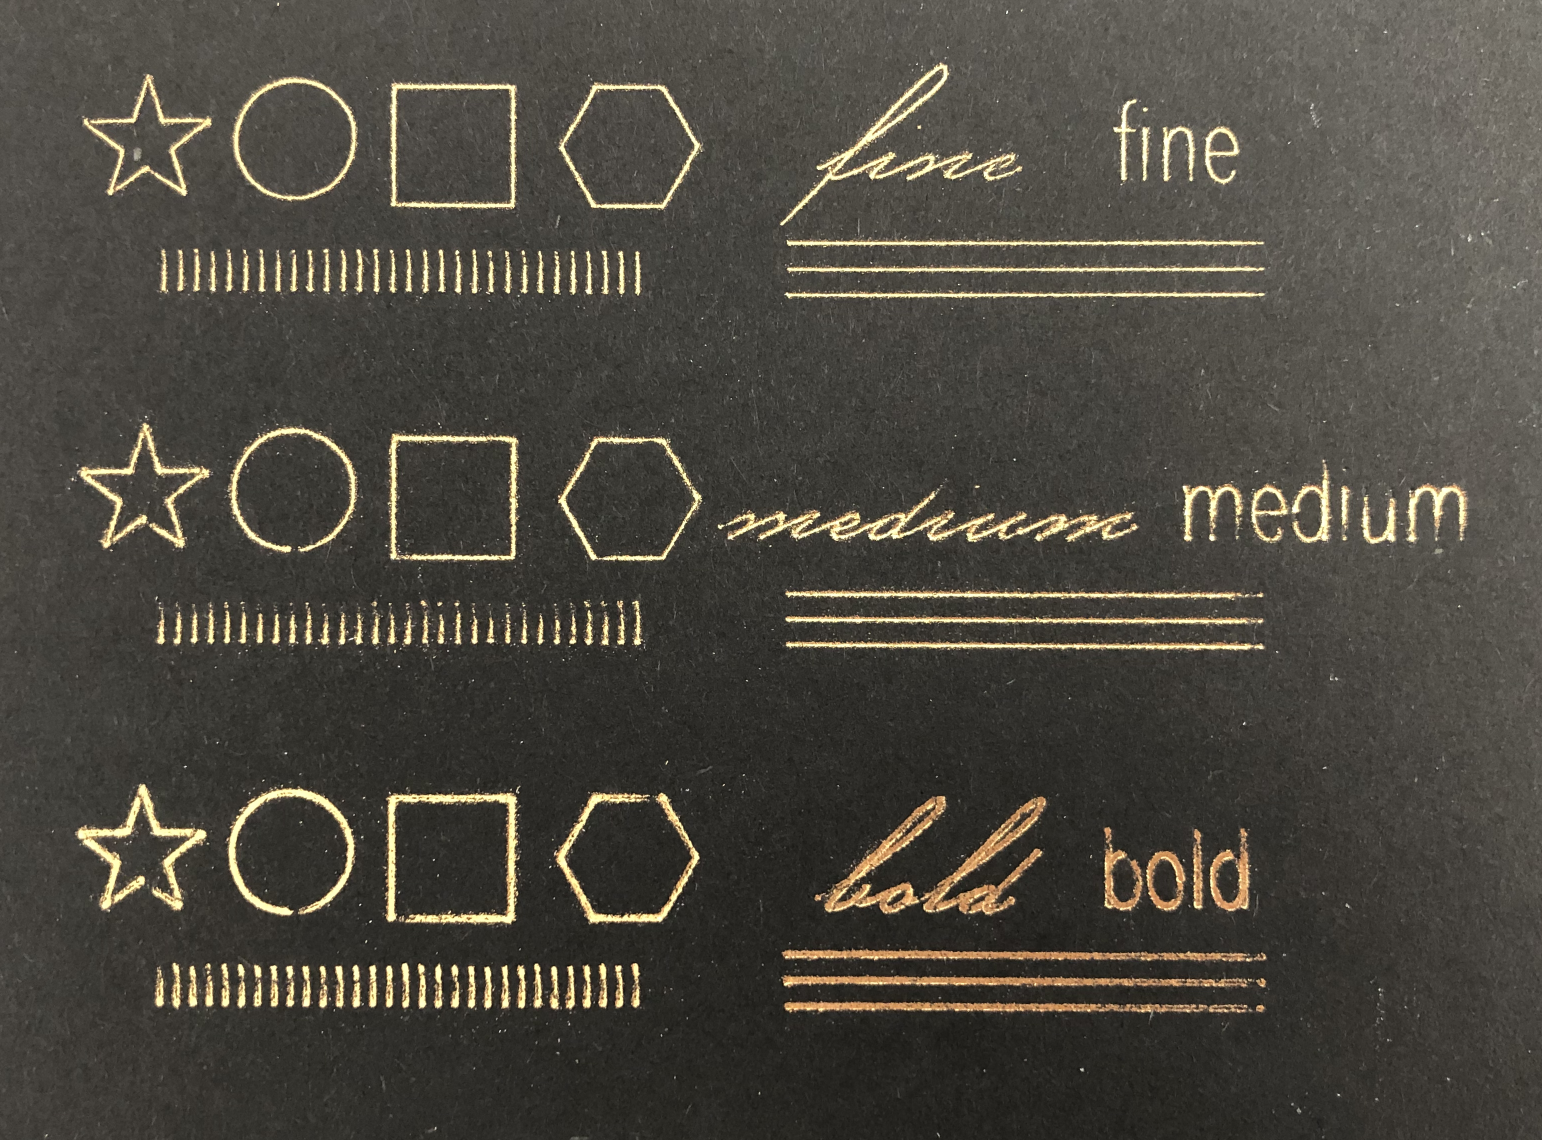
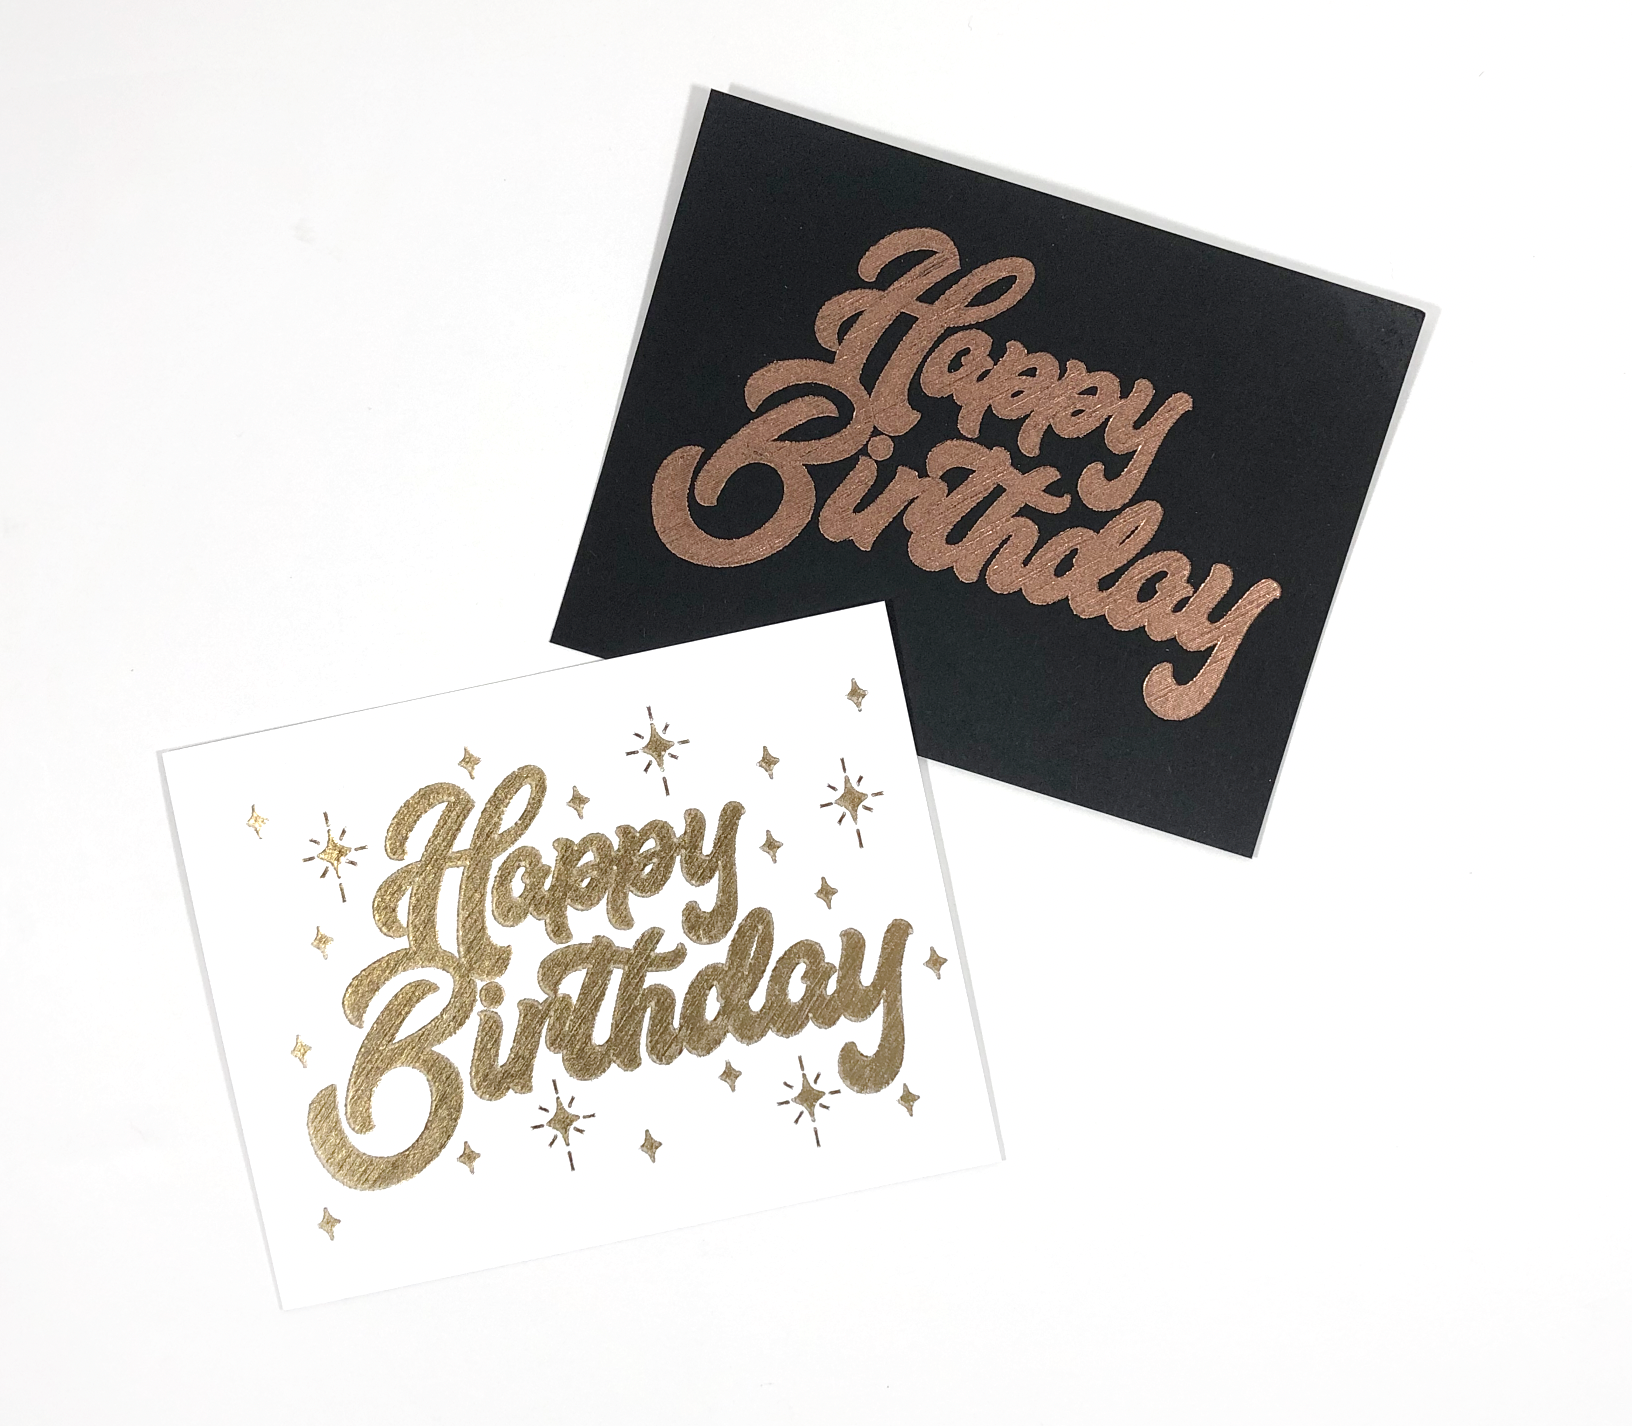
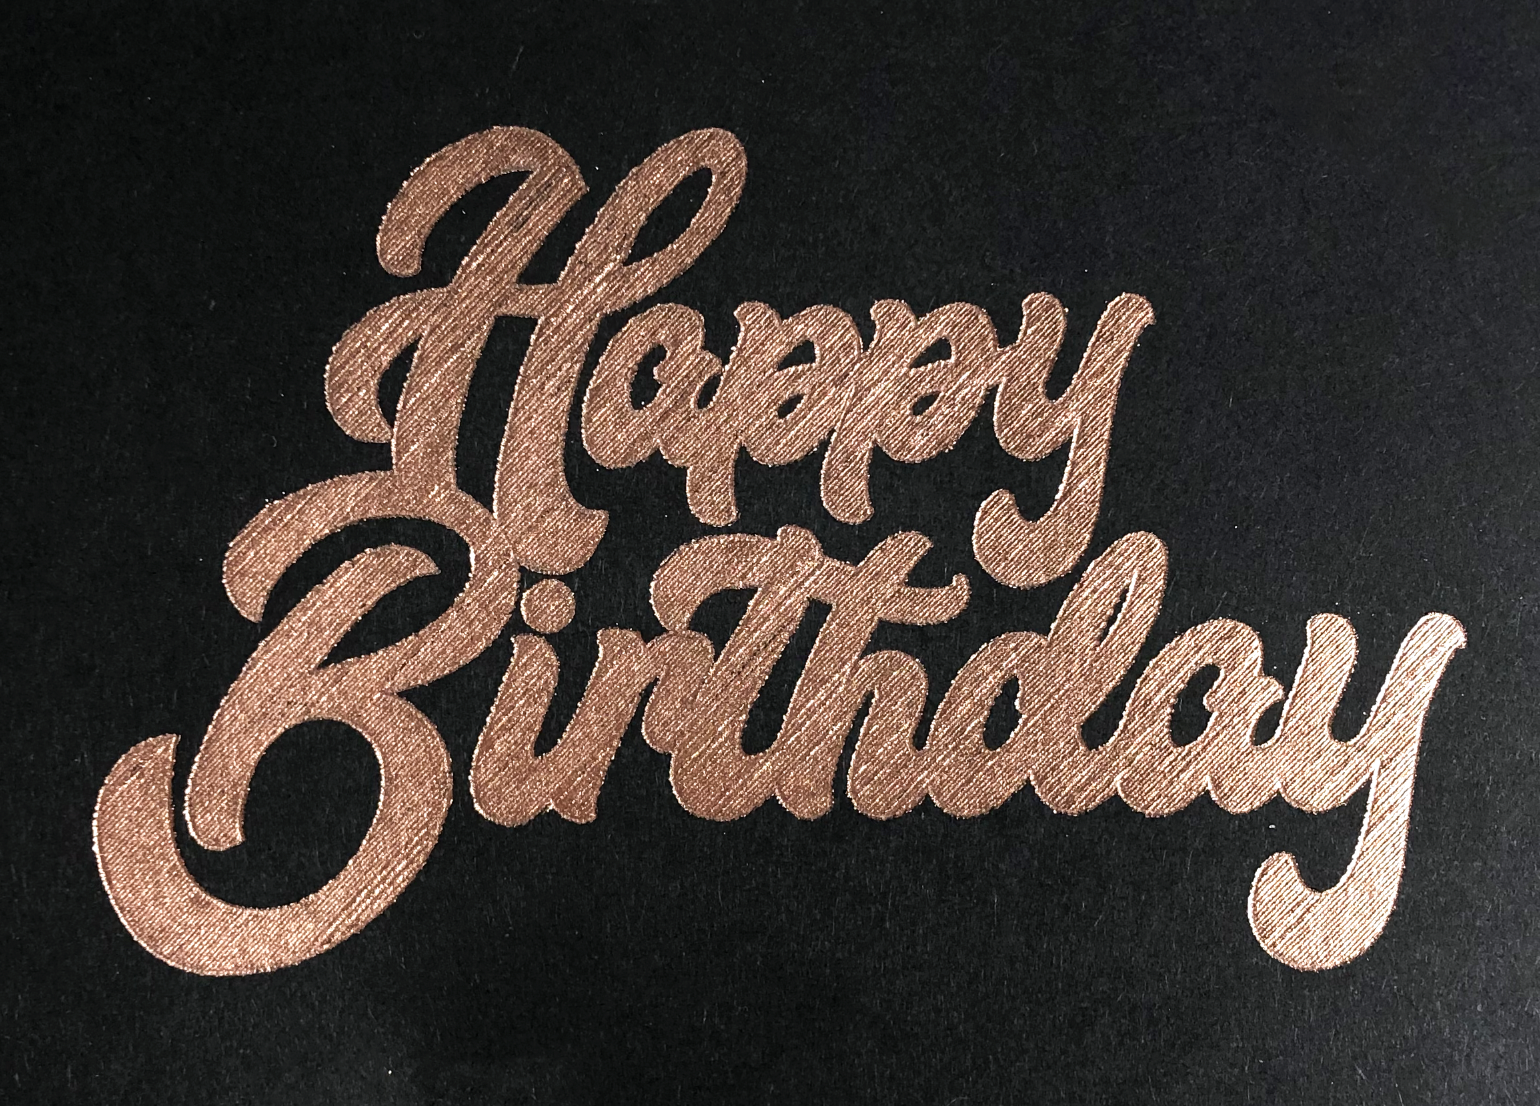
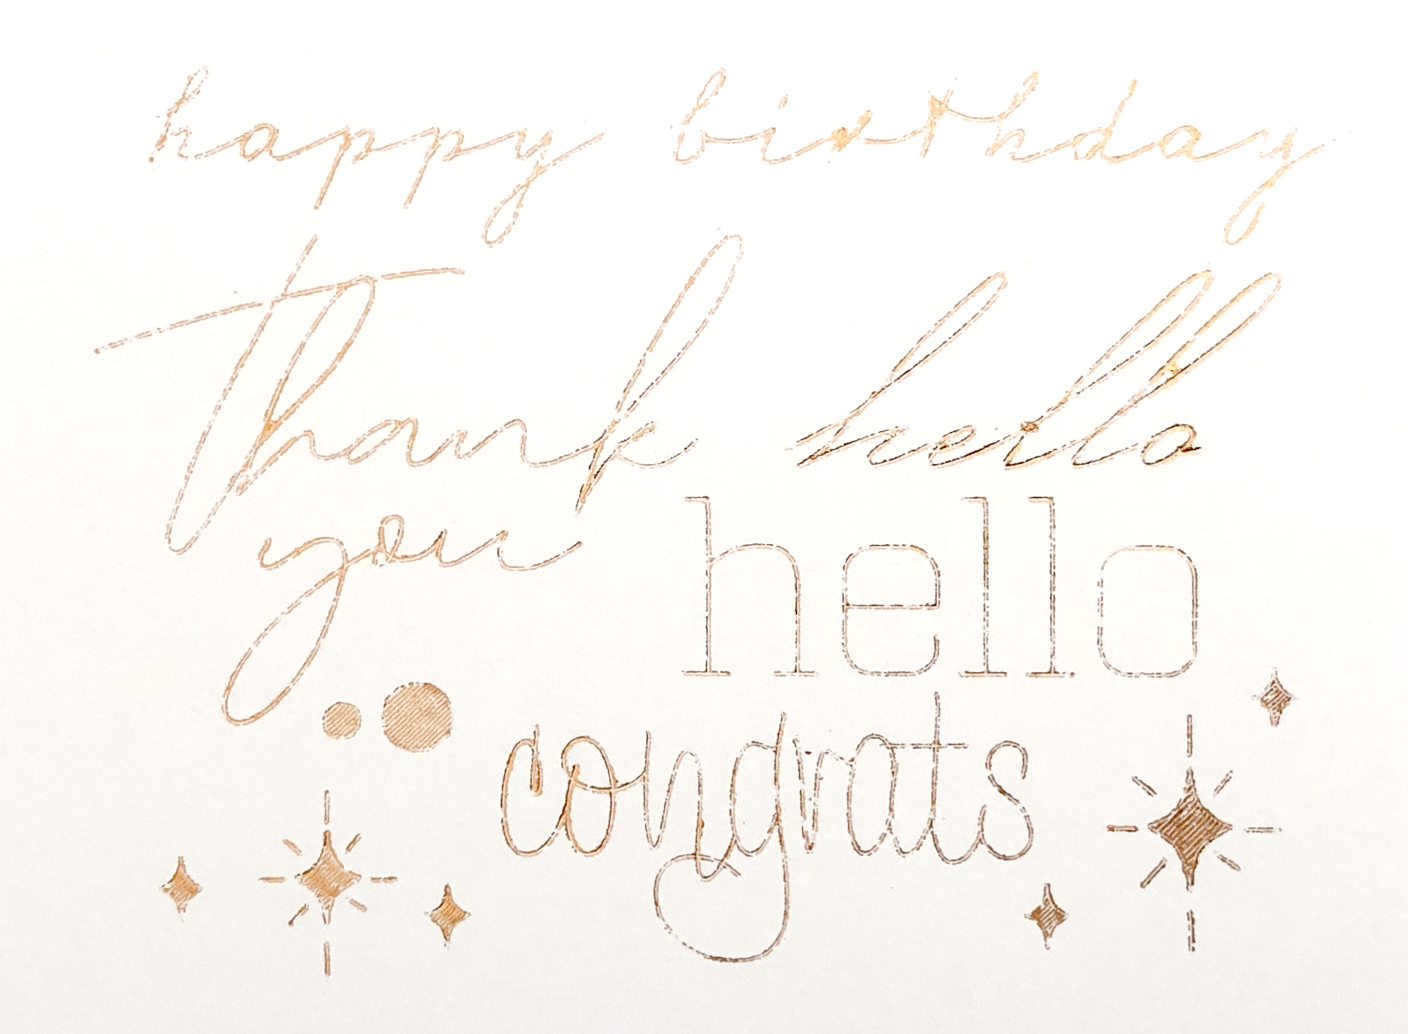
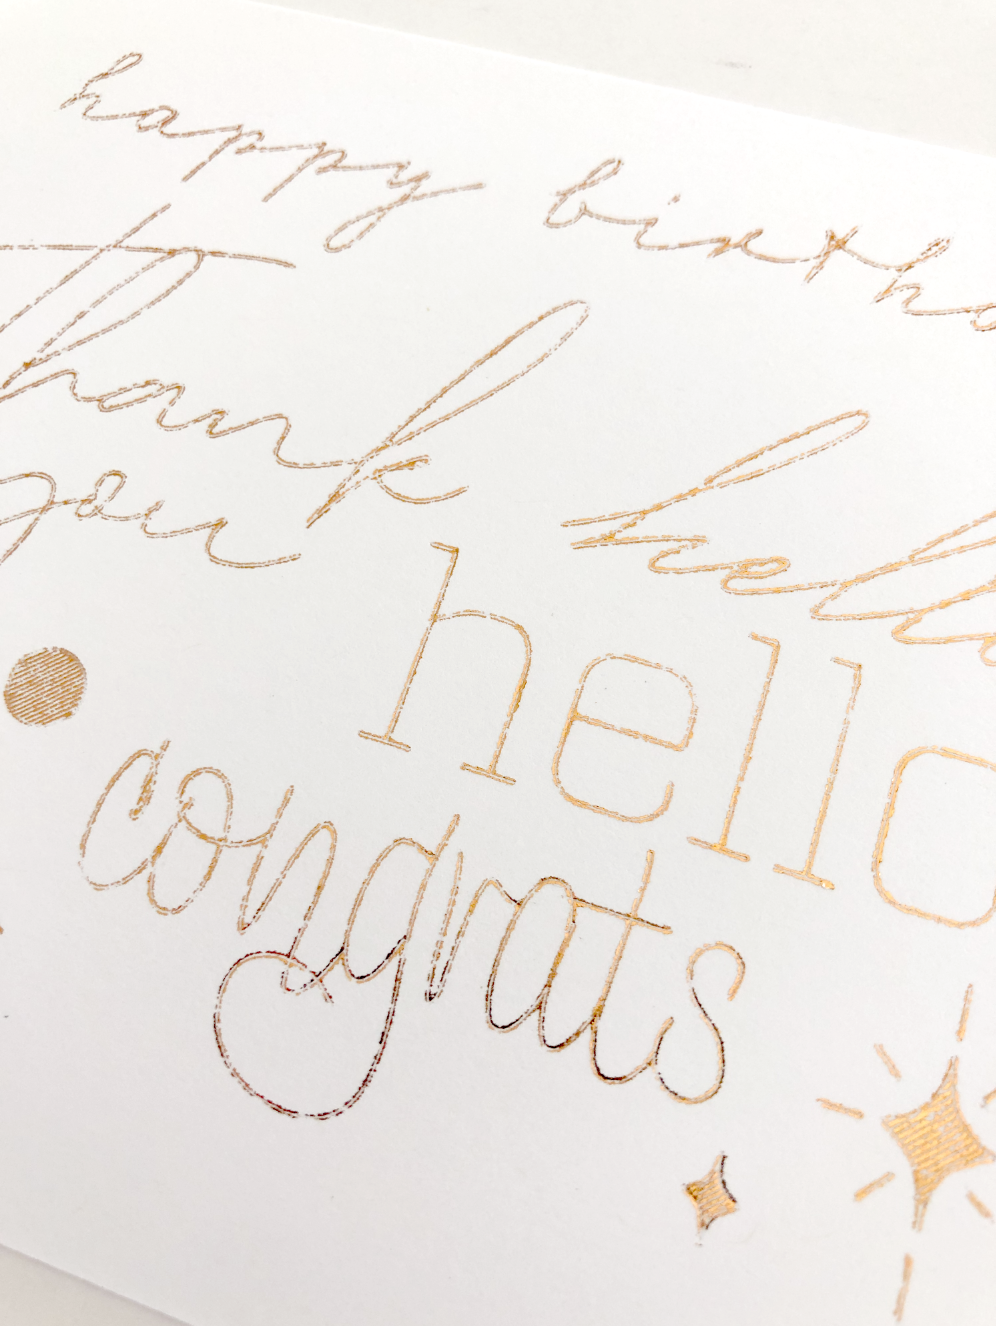
First I tried the regular copper metallic foil on my favorite black cardstock. I’m using the Standard Grip mat with a Force of 22 and Speed 2. It looks fantastic!

Copper Foil, Medium Foil Quill Tip

Copper Foil, Medium Foil Quill Tip

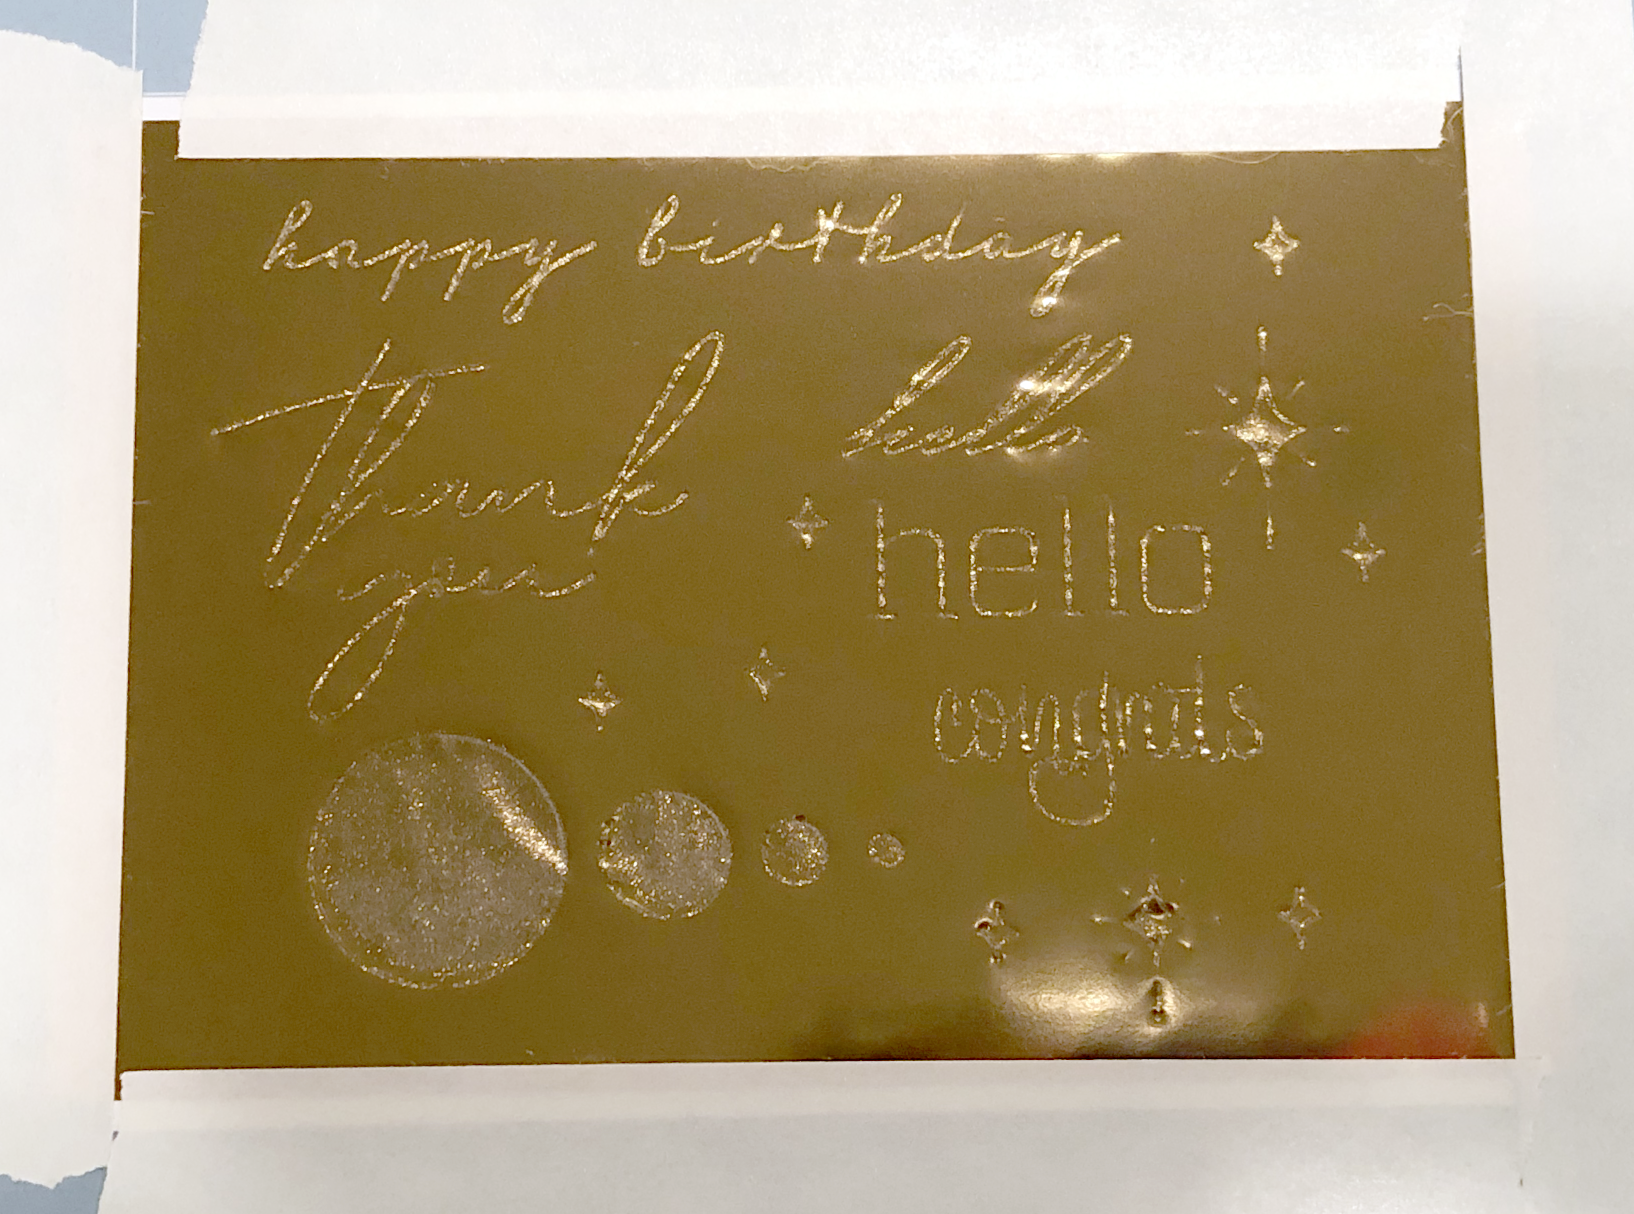
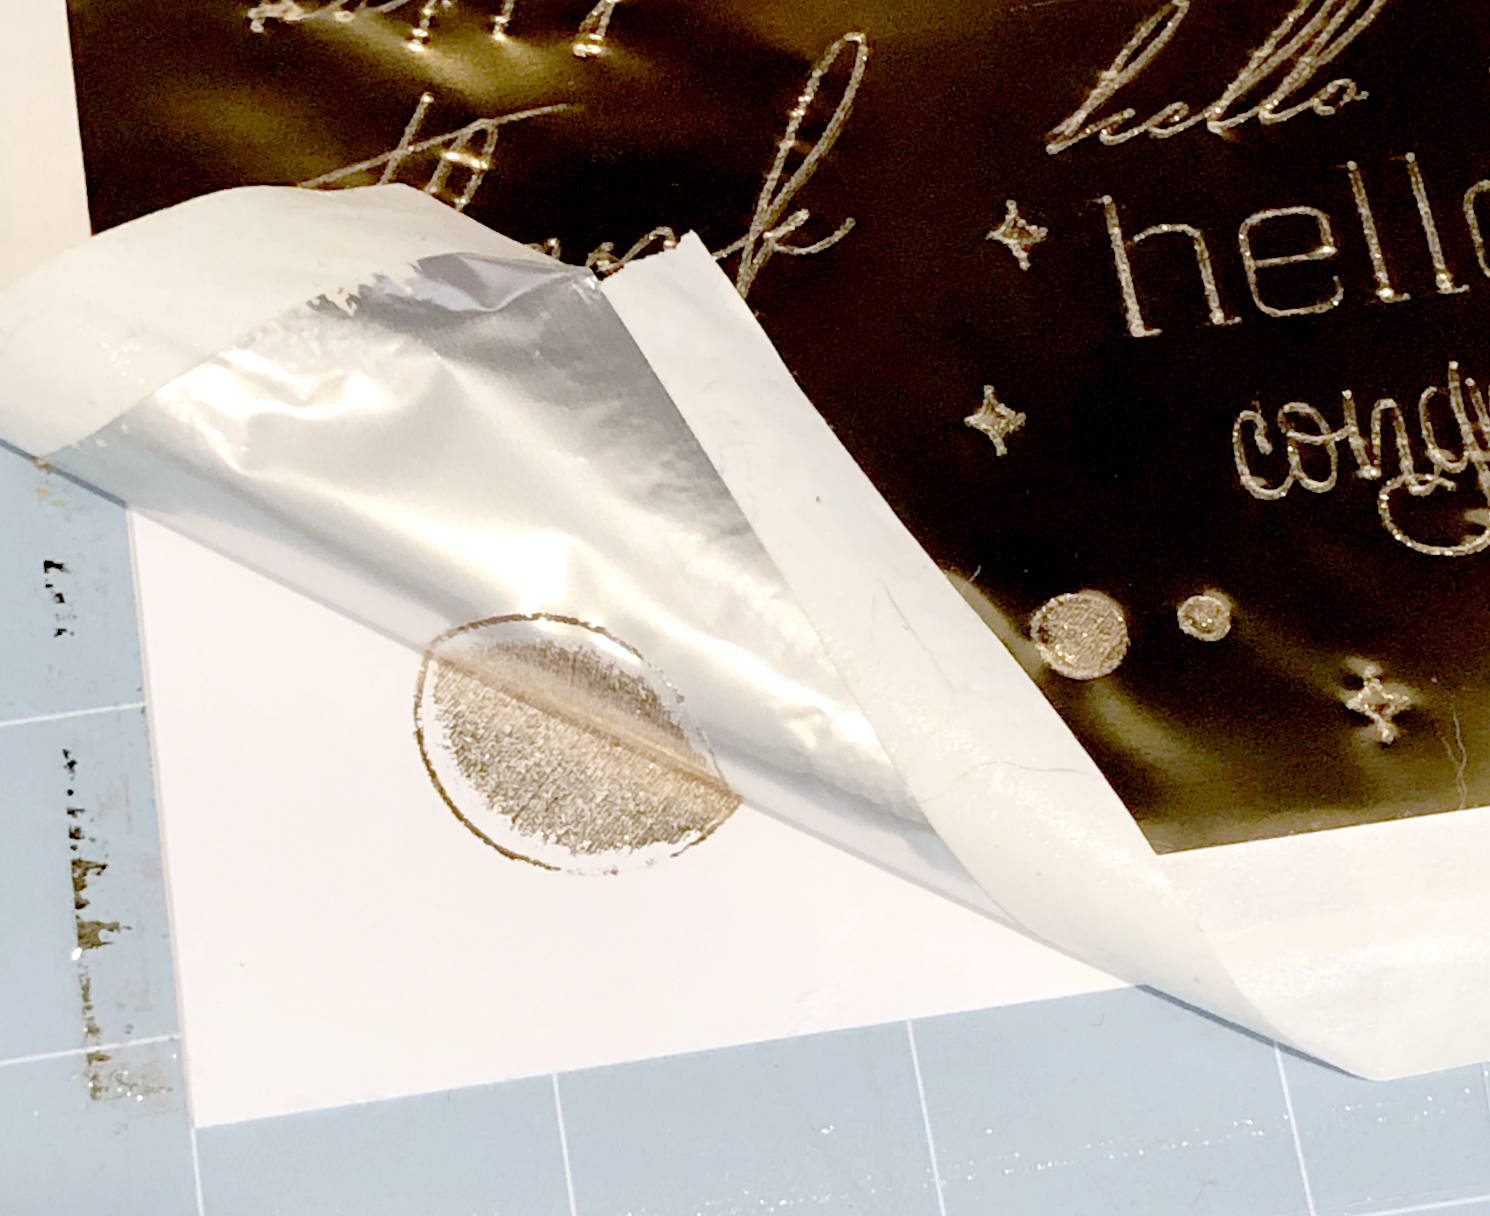
Then I tried the regular gold foil, also on black cardstock. It looks pretty nice, there are a few spots where the foil didn’t stick great, but I might not have had my foil taped down tight enough (very important when foiling).

Gold Foil, Medium Foil Quill Tip

Gold Foil, Medium Foil Quill Tip

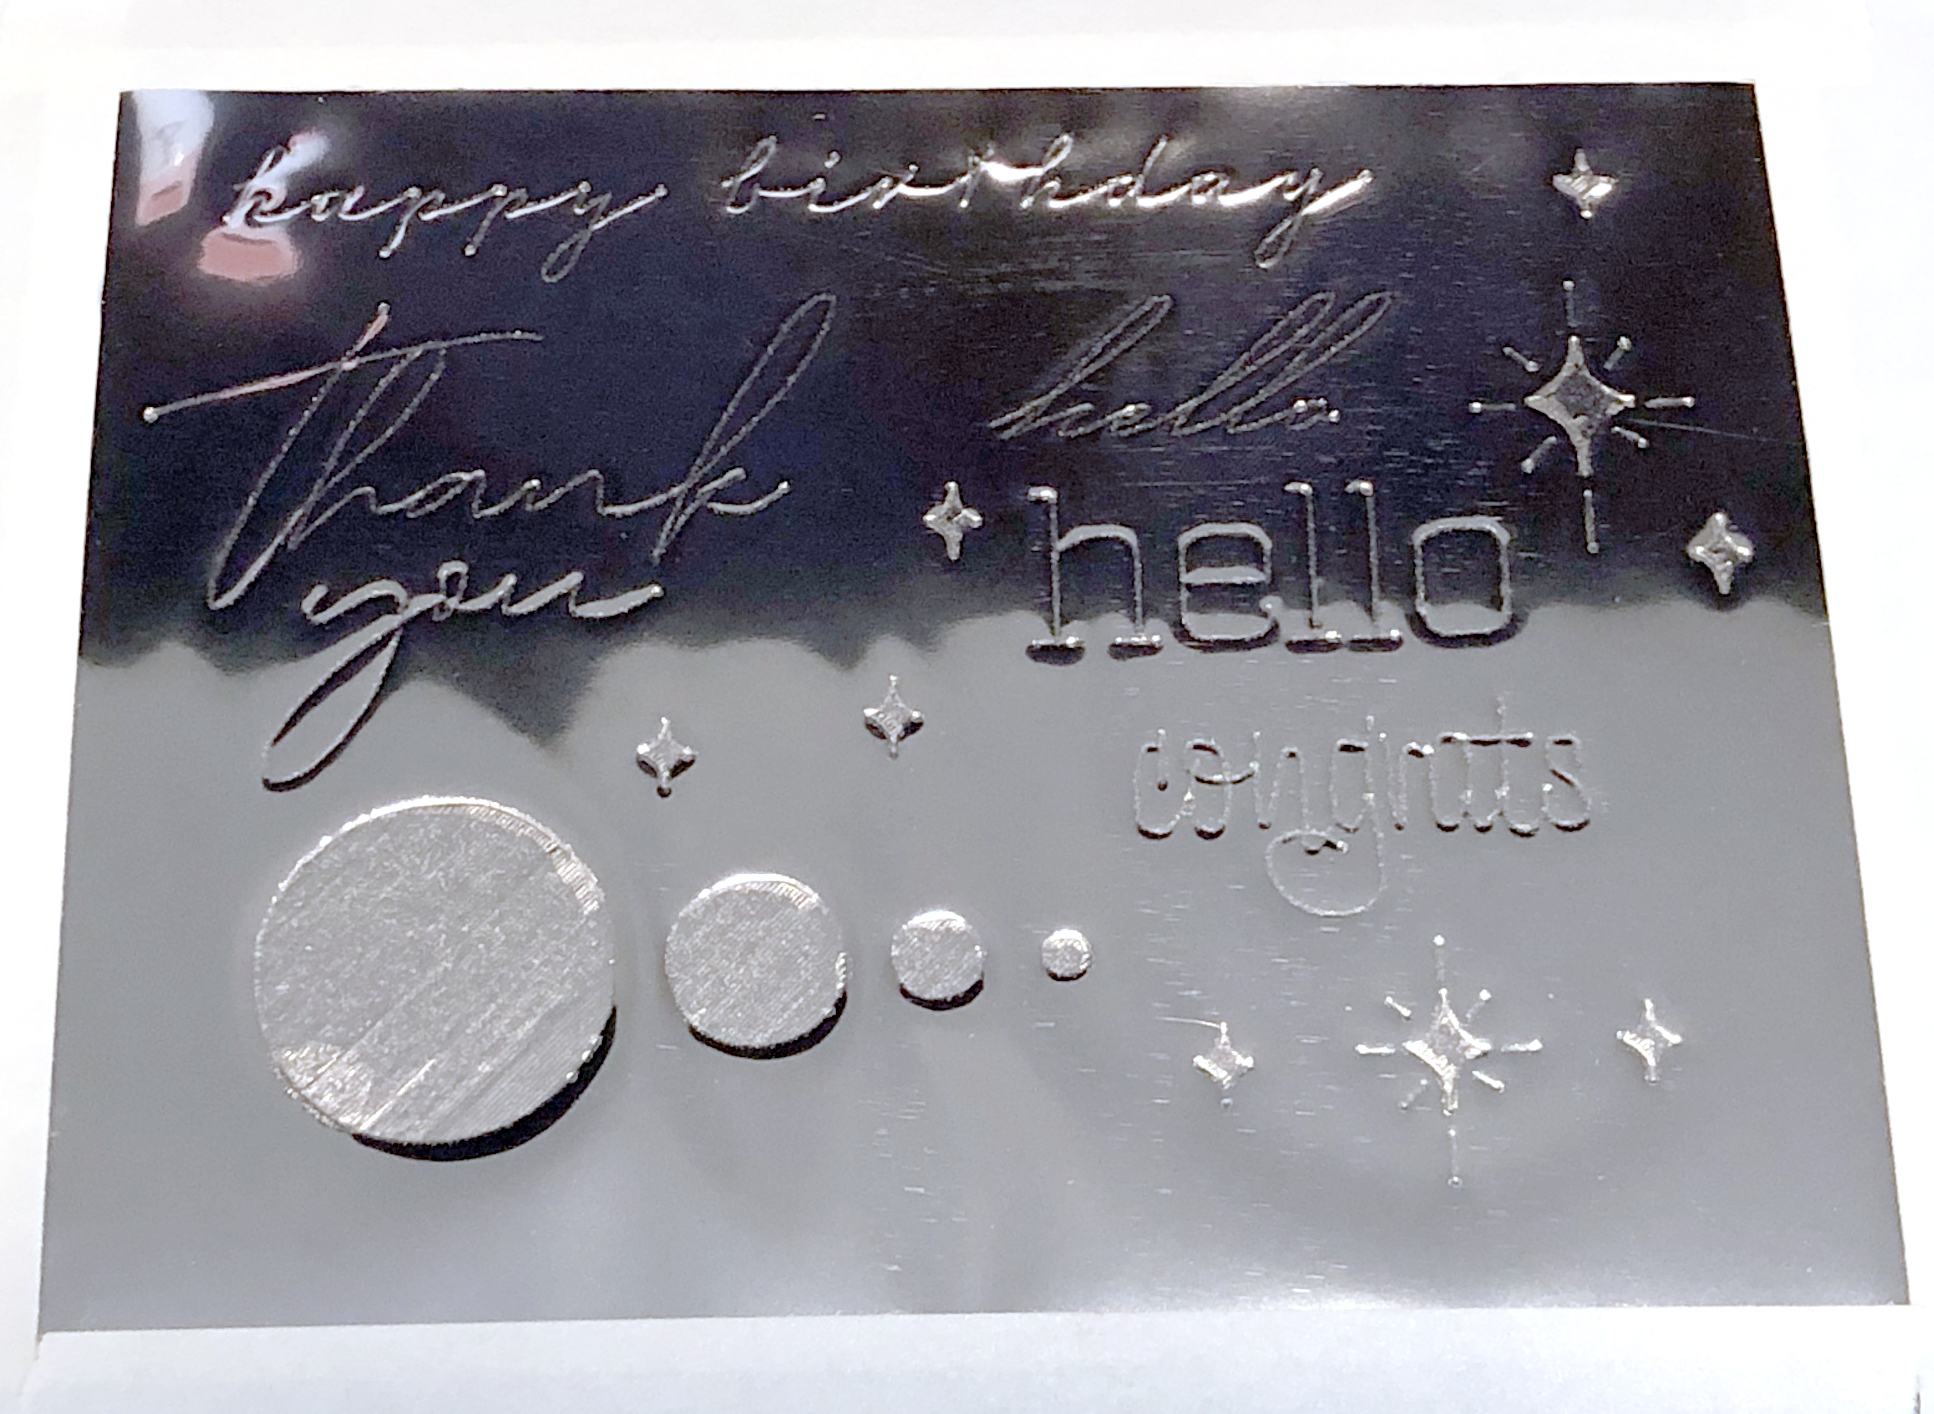
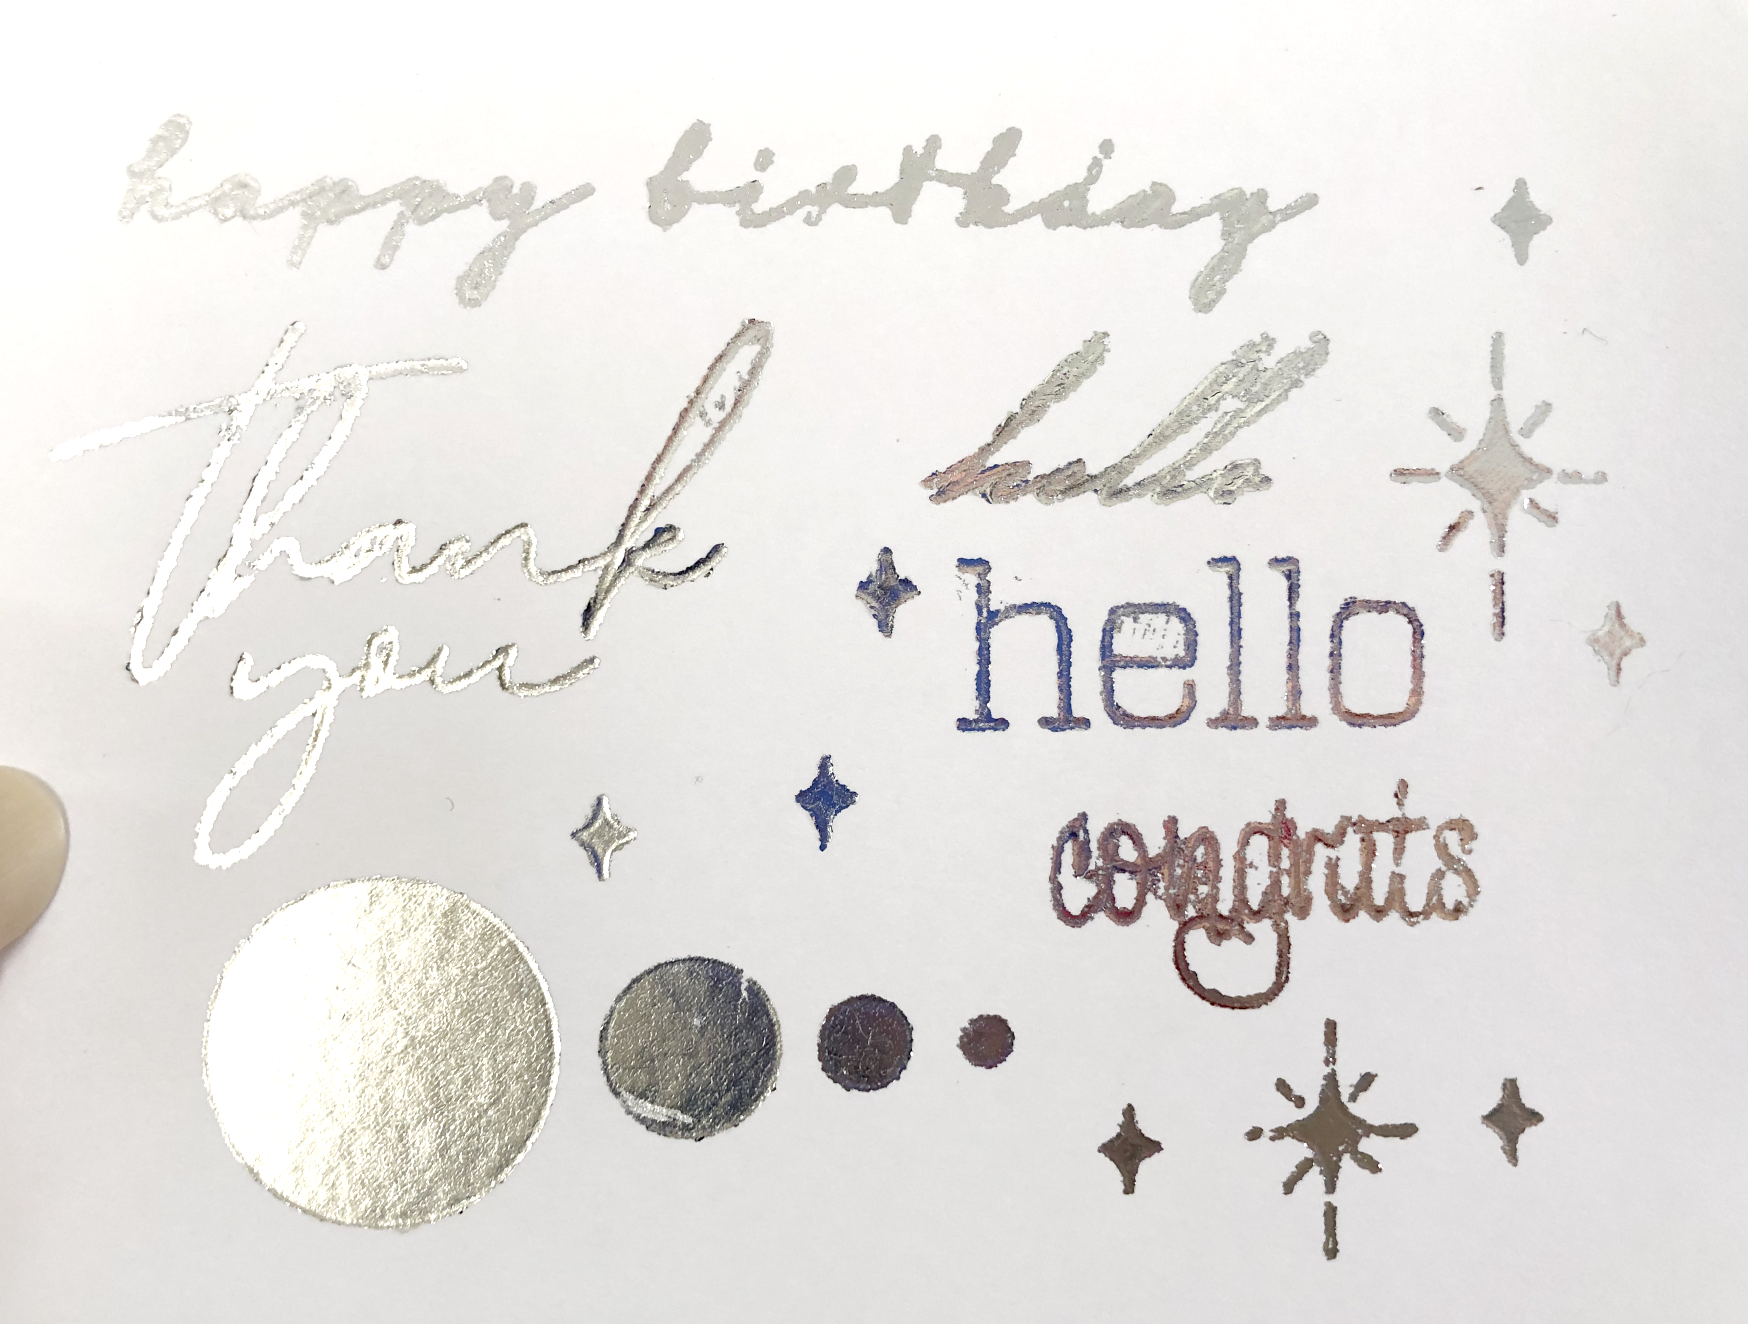
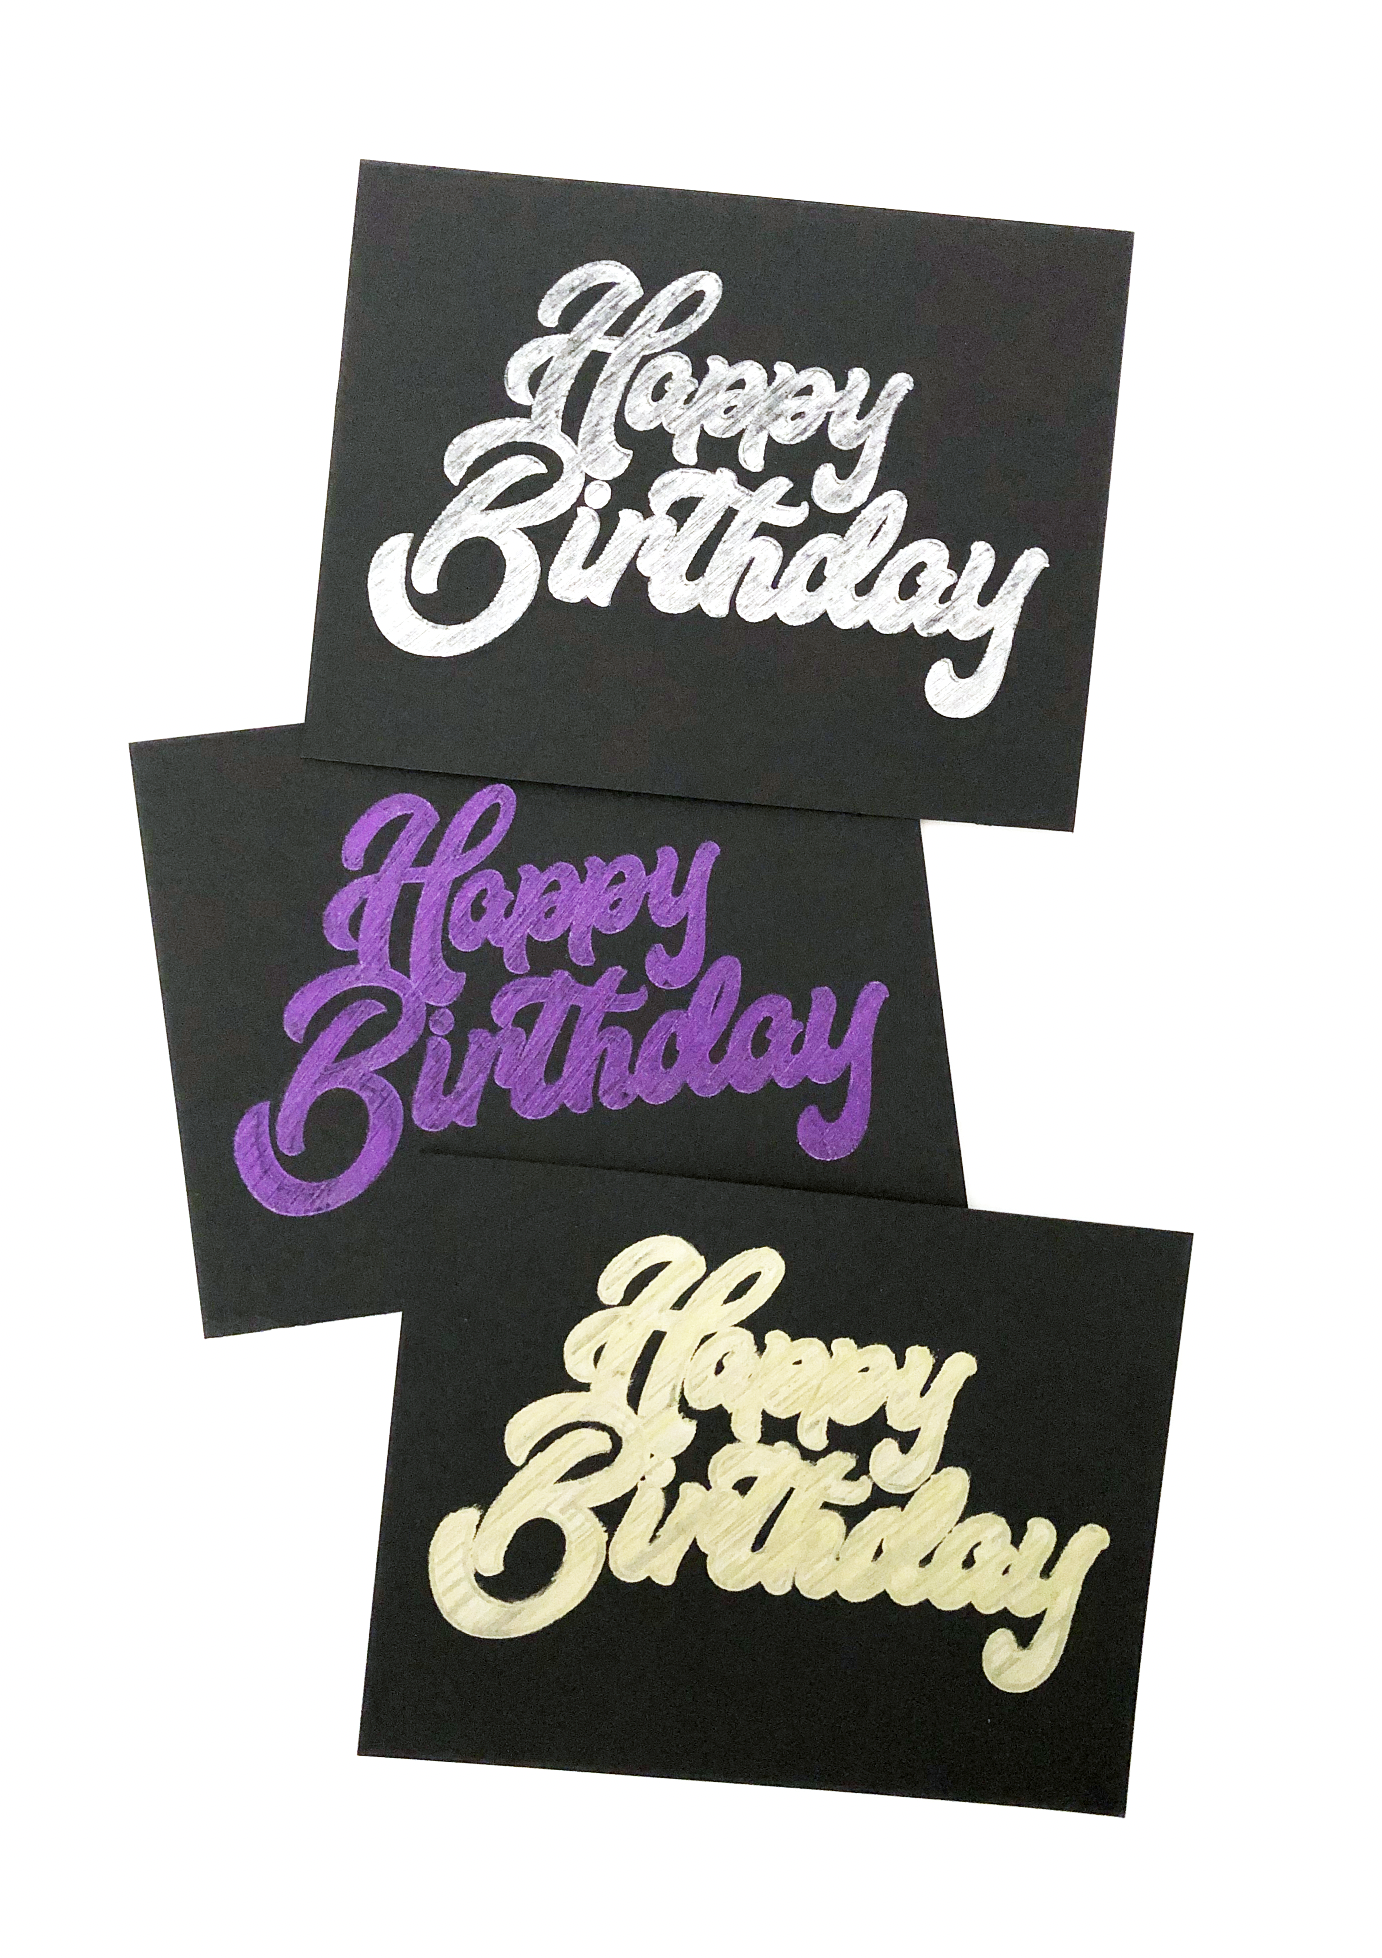
Next I tried the Silver iridescent foil with the same Force of 22, Speed 2. It looks sooooooo much better than it did on my Cricut Maker! There are a couple fo spots where the foil didn’t stick so I’m going to try a few more settings.

Iridescent Silver, Medium Foil Quill Tip

Iridescent Silver, Medium Foil Quill Tip

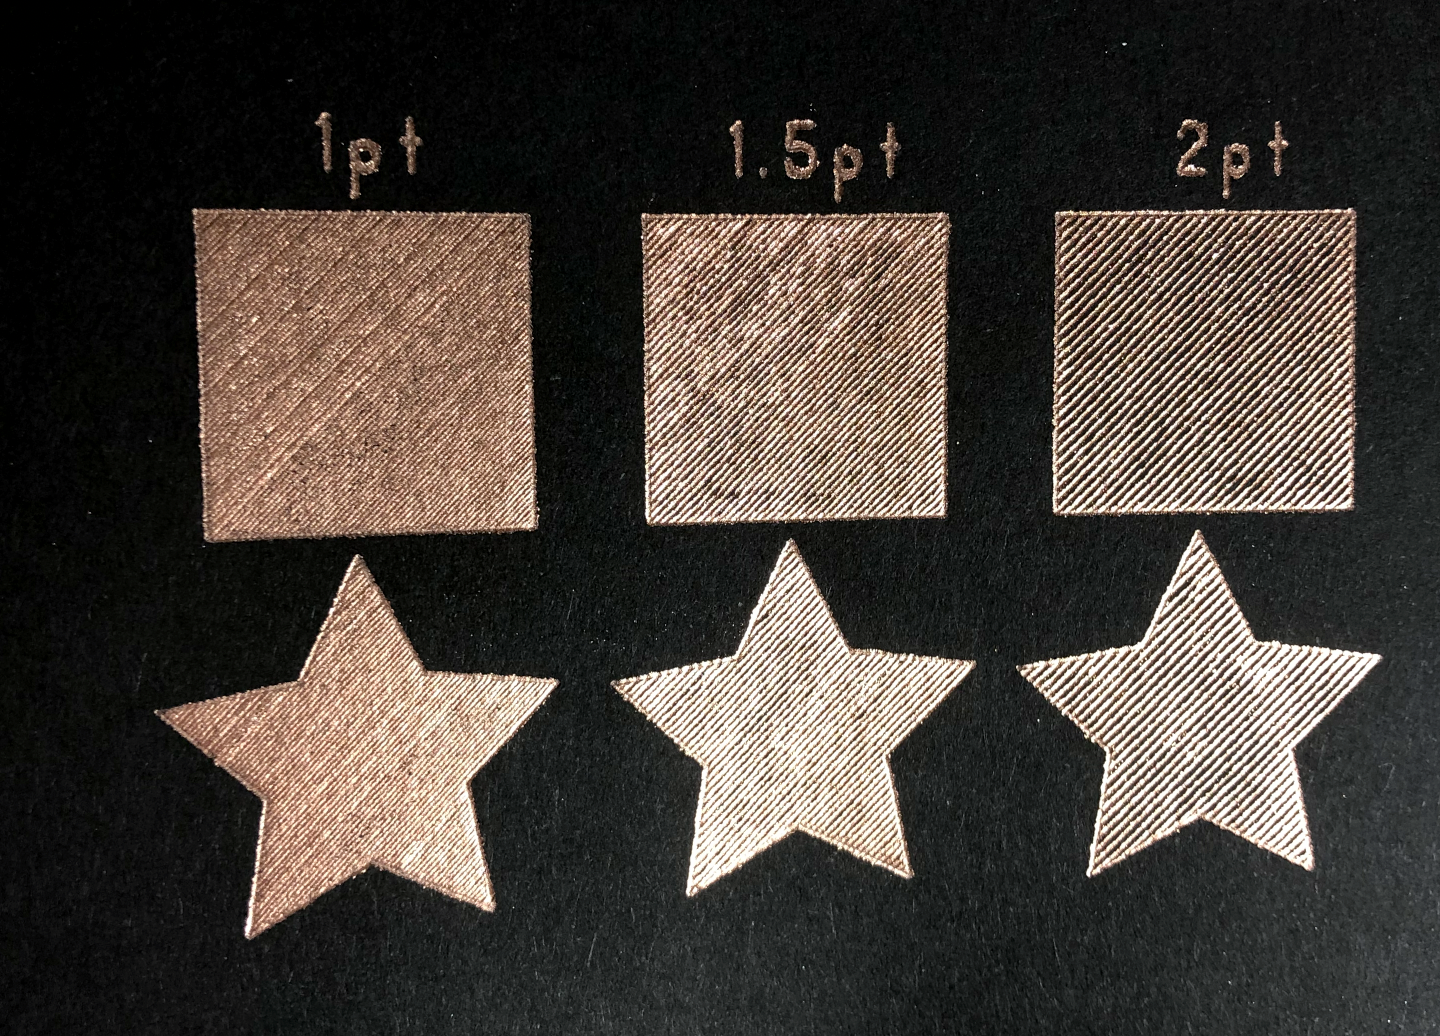
I tried a bunch of different pressures and speeds, but none of them are as good as the Force 22, speed 2.

Iridescent Silver, Medium Tip, different pressures and speeds

Iridescent Silver, Medium Tip, different pressures and speeds

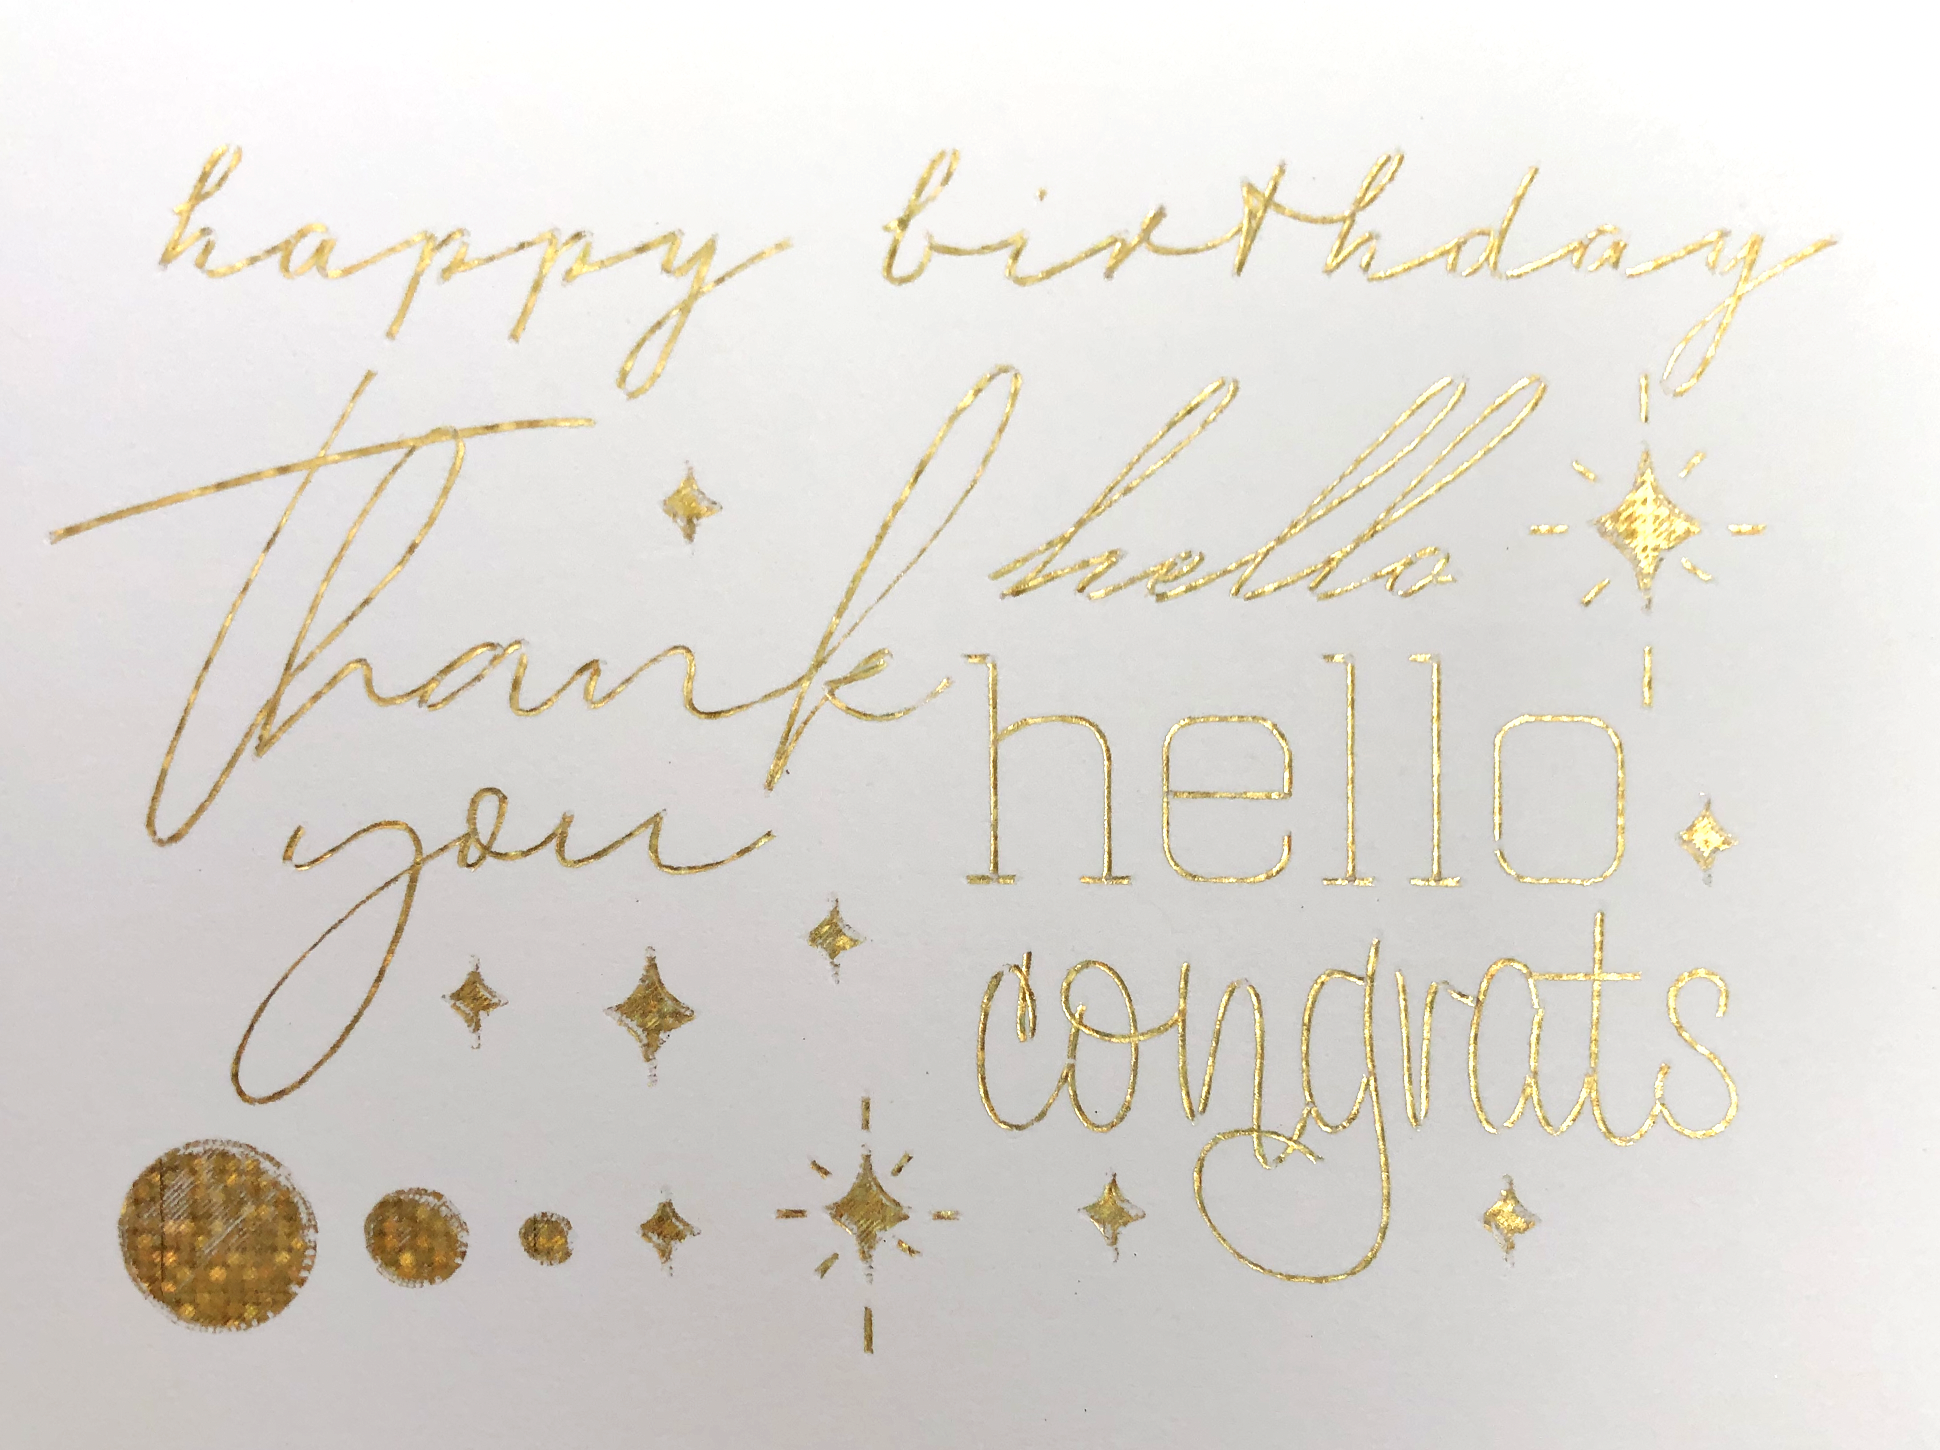
I also tried the gold holographic foil, it did much better on the the Portrait 3 than with my Cricut Maker, but there are still a few spots where it didn’t stick to the cardstock.

Gold Holographic Foil, Medium Foil Quill Tip

Gold Holographic Foil, Medium Foil Quill Tip

Then I wanted to try it on some black vinyl for stickers. It came out pretty good, but there are some gaps in the solid hearts.

Gold Holographic Foil, Medium Tip on Black Adhesive Vinyl

Gold Holographic Foil, Medium Tip on Black Adhesive Vinyl

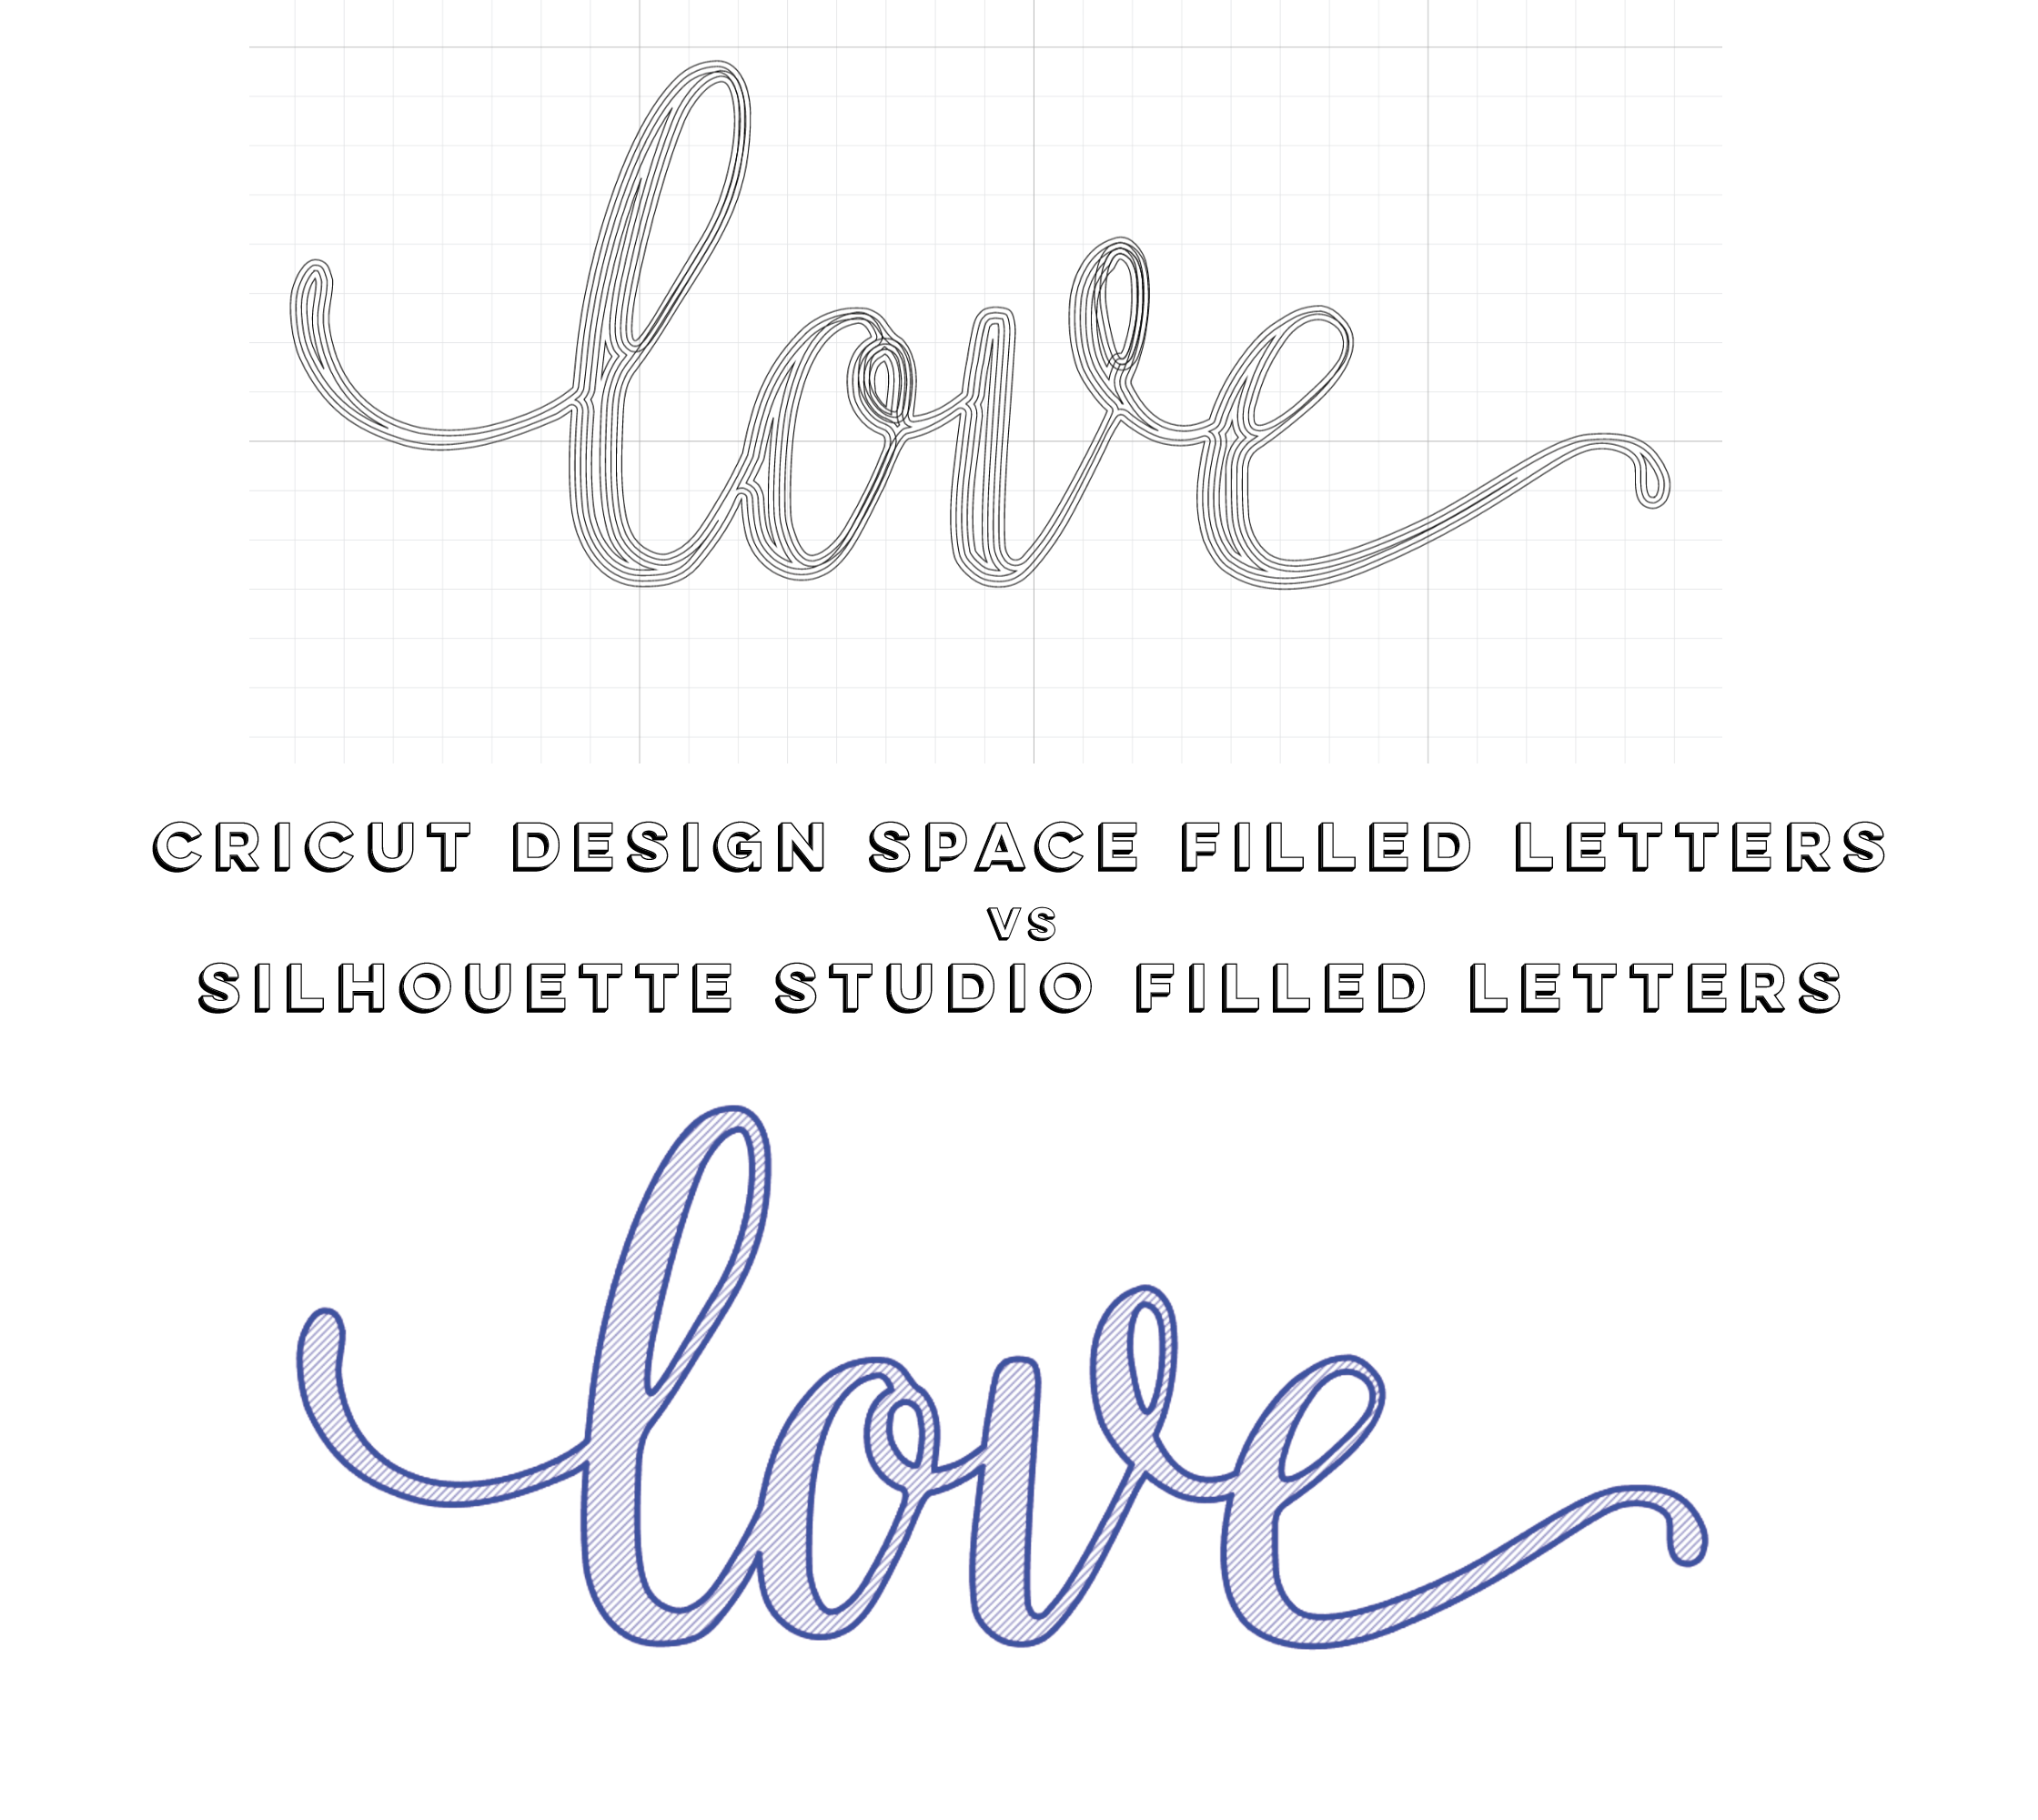
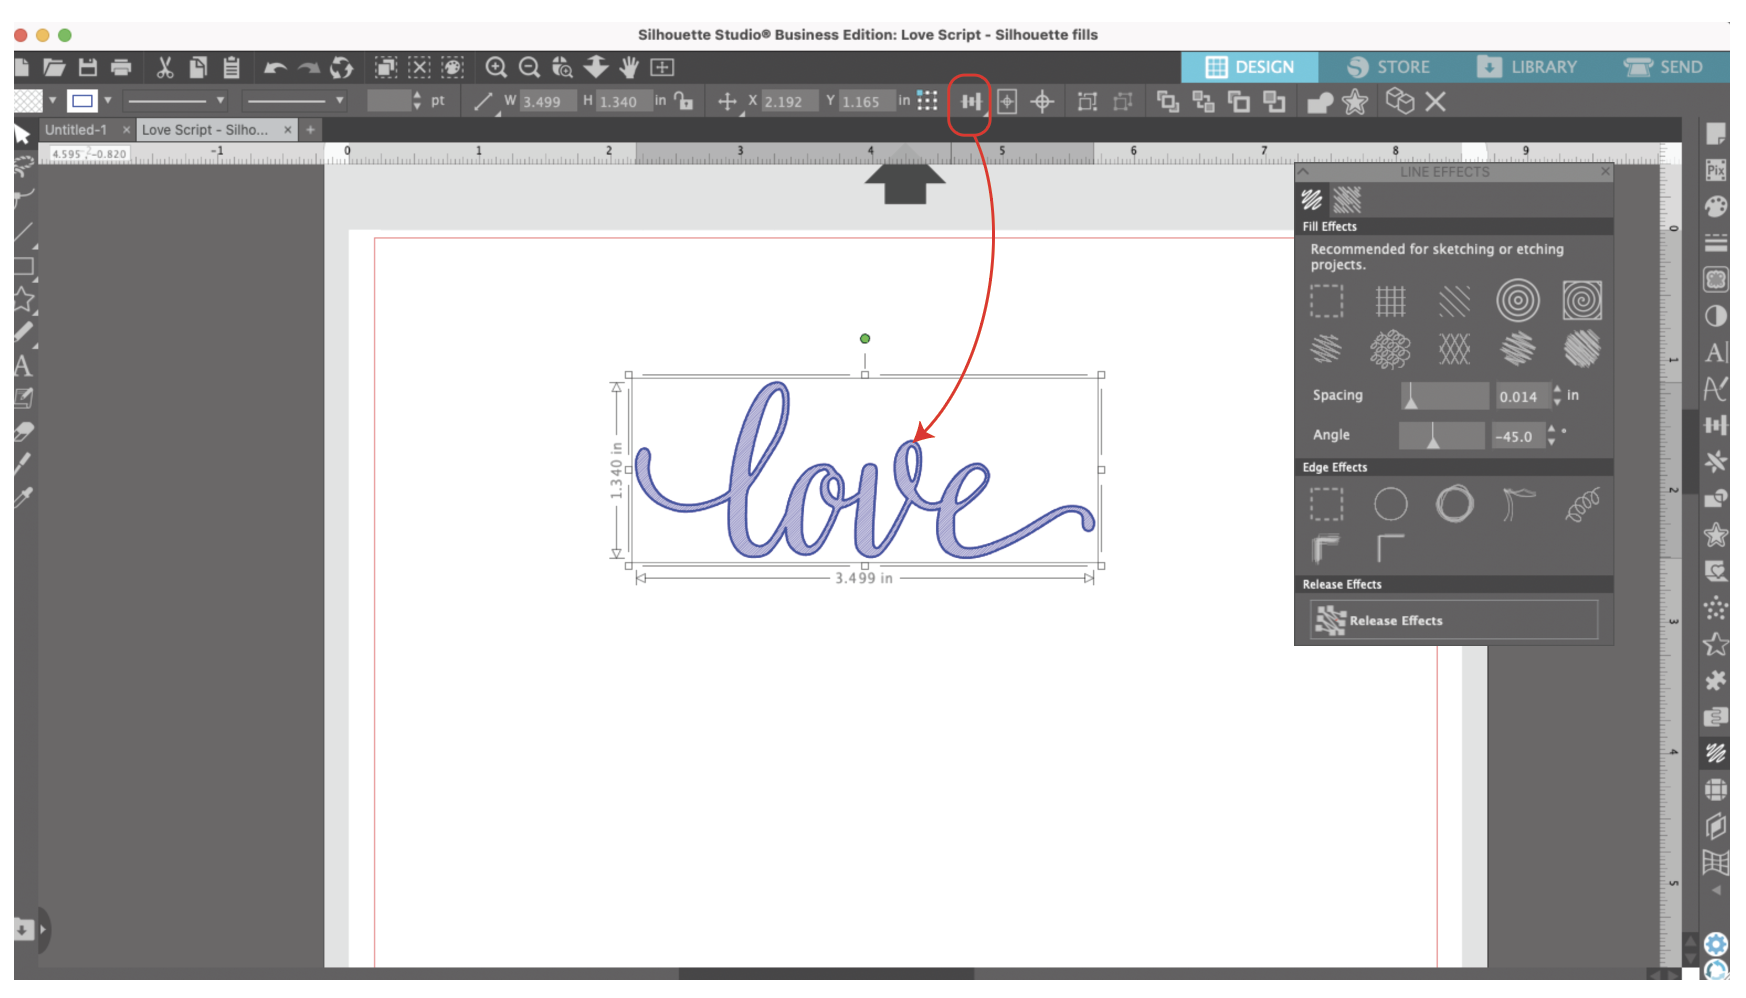
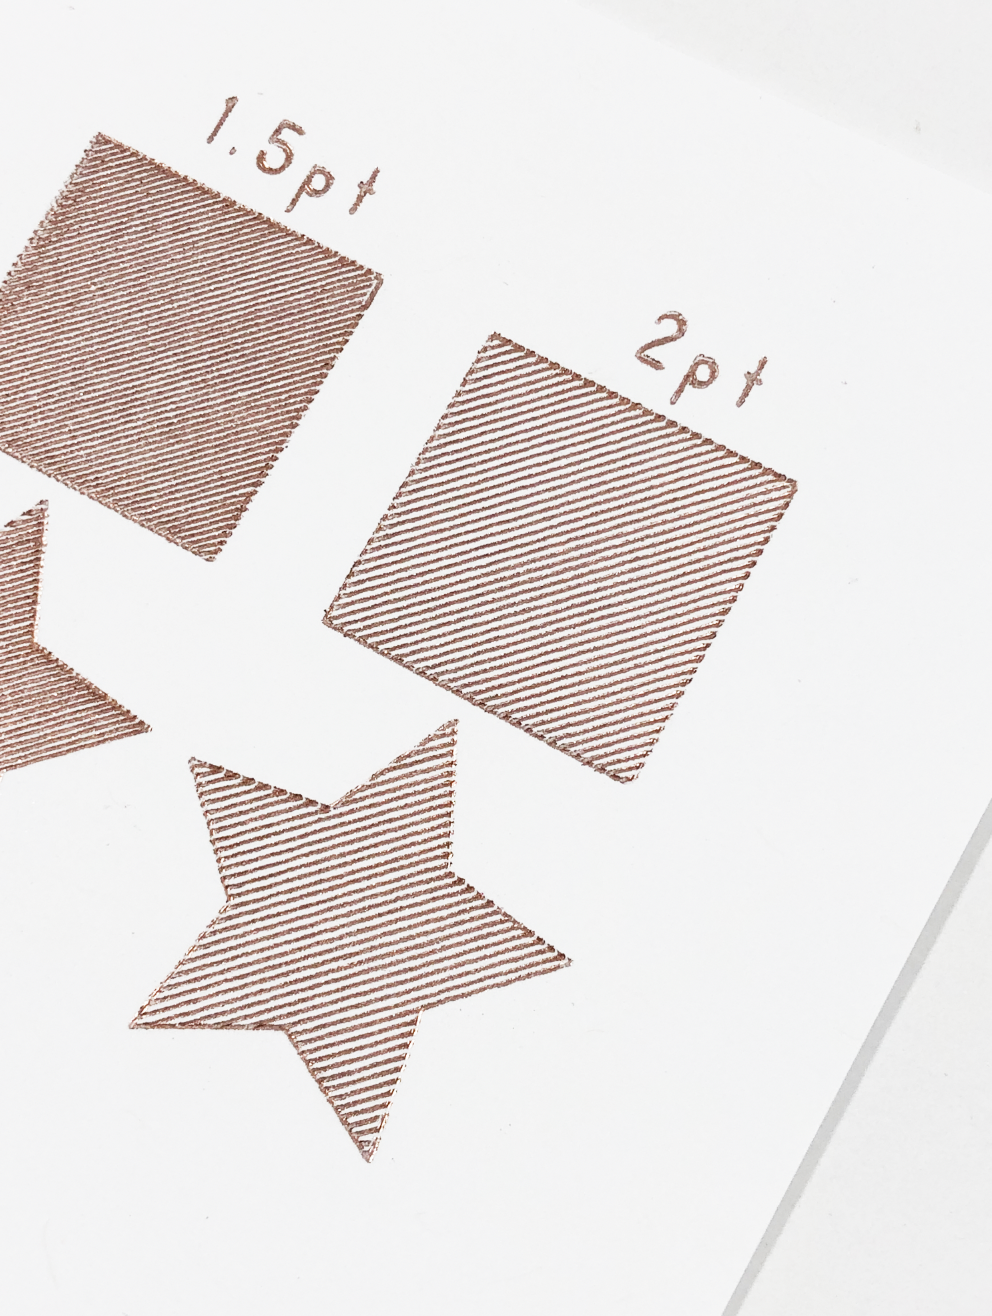
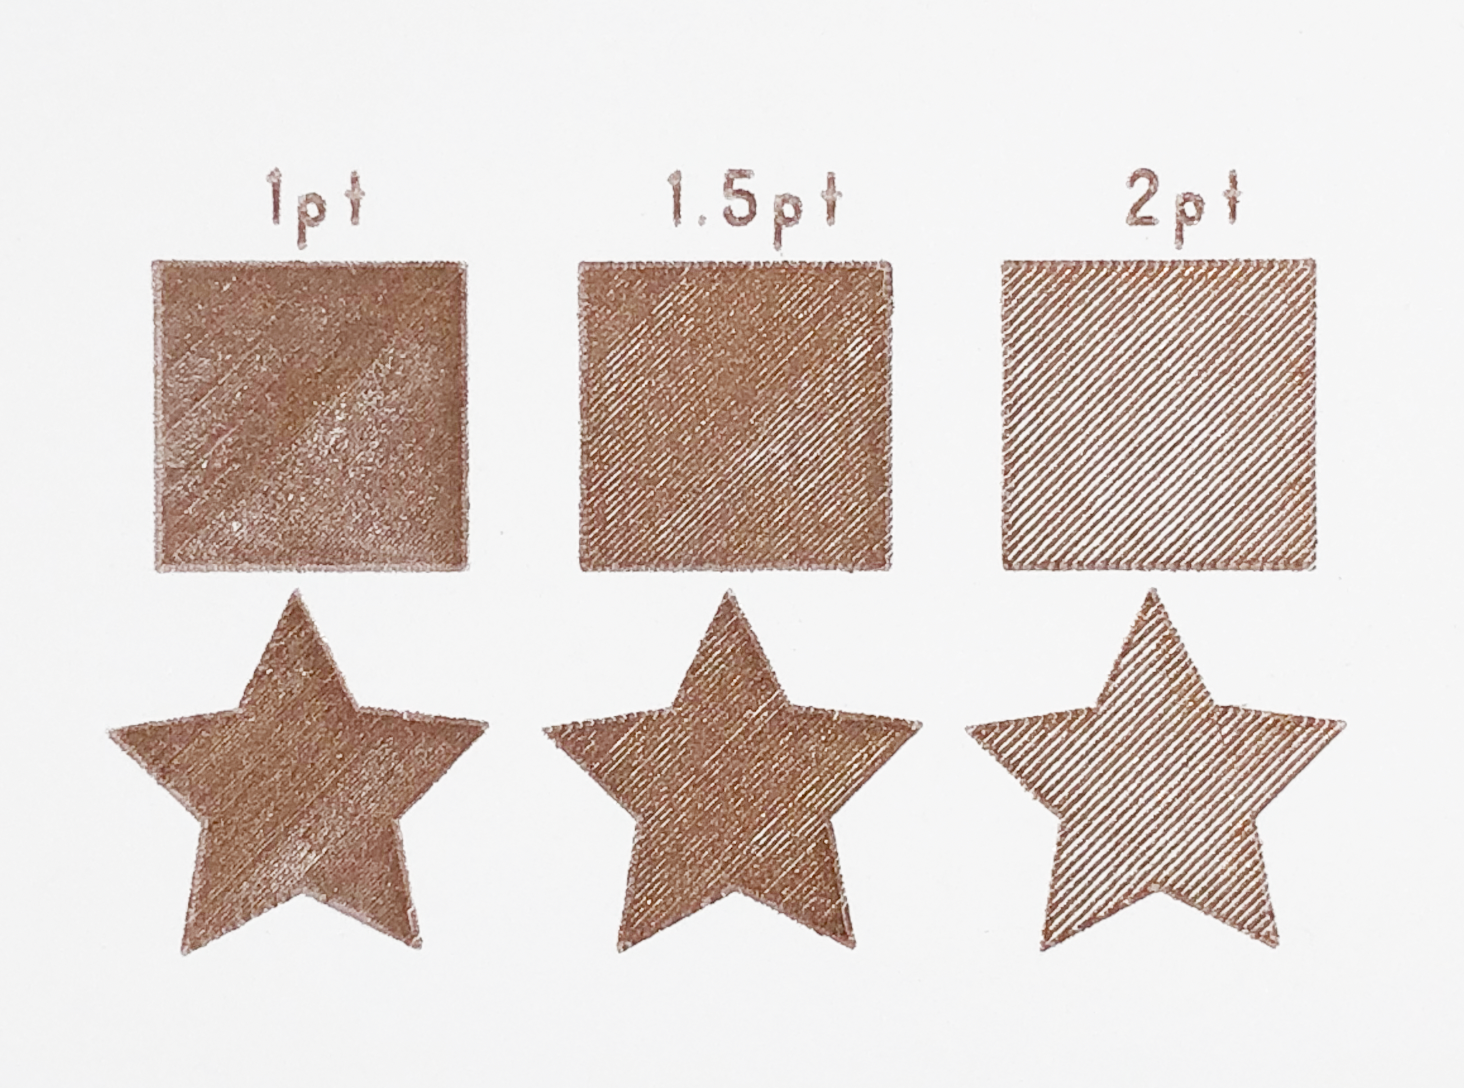
I changed the fill for the solid hearts from just diagonal lines to a crosshatch fill. Which is SUPER EASY to do in Silhouette Studio, and the results are much better!

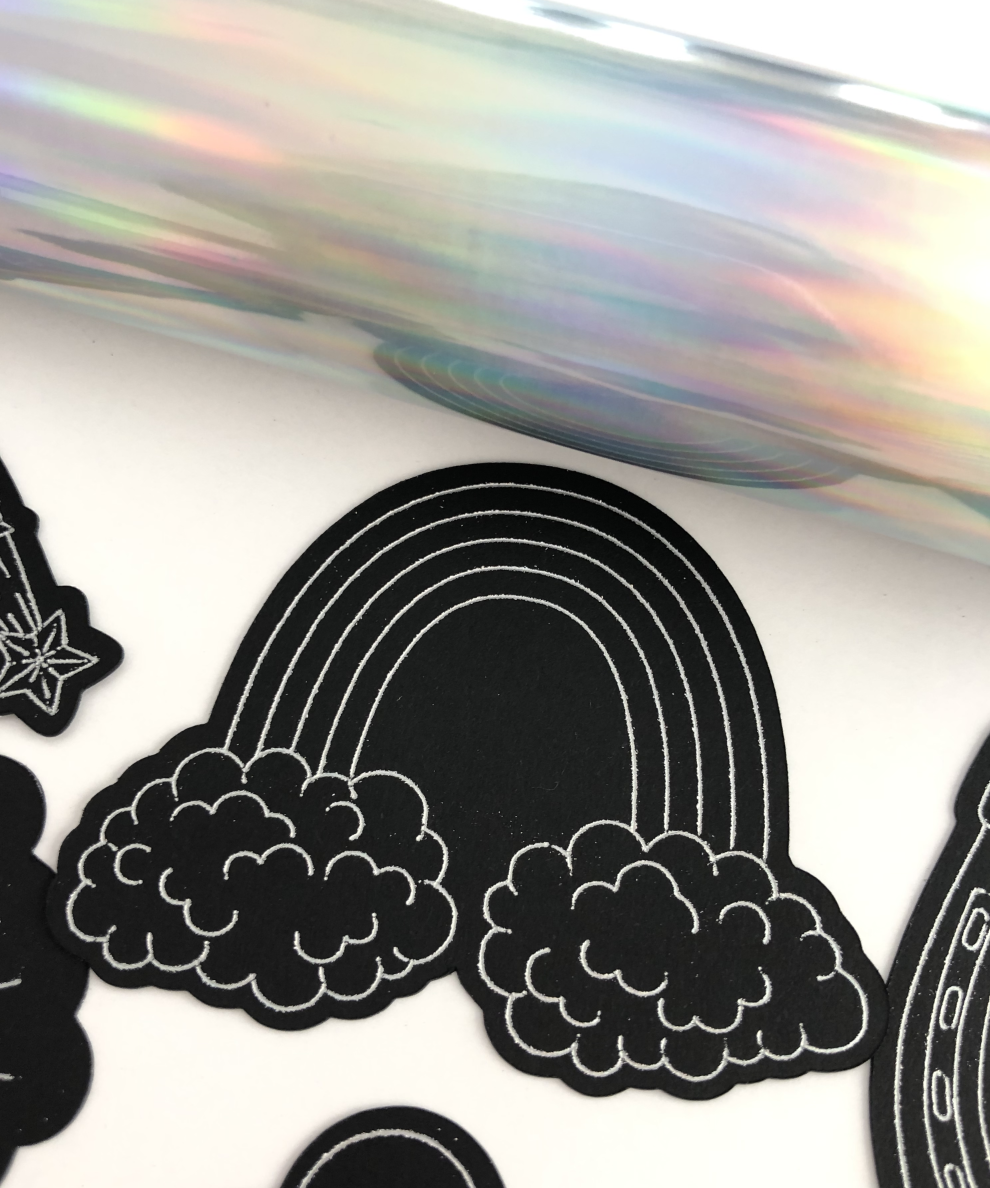
Silver Iridescent Foil, Medium Tip on Black Adhesive Vinyl

Silver Iridescent Foil, Medium Tip on Black Adhesive Vinyl

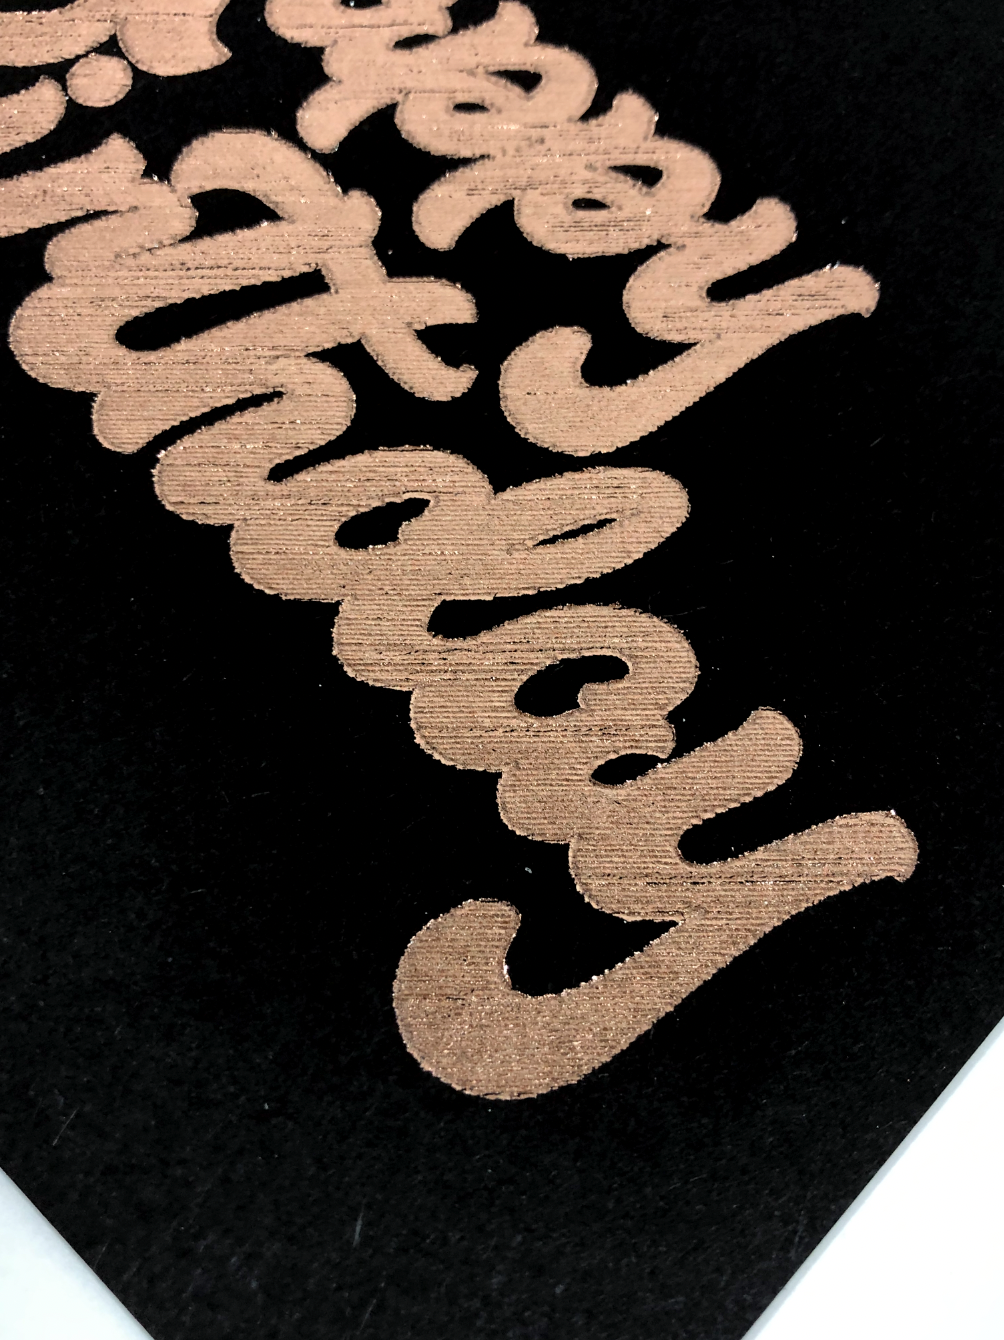
I wanted to try using the Light Grip mat since the backing of the vinyl sticks a lot to the Standard Grip mat. The Light Grip mat is slightly thicker than the Standard Grip and it’s just enough difference that no matter what force I use, it’s too much and it even melted my vinyl.

Silver Iridescent Foil, Medium Tip on Black Adhesive Vinyl using Light Grip Mat

Silver Iridescent Foil, Medium Tip on Black Adhesive Vinyl using Light Grip Mat

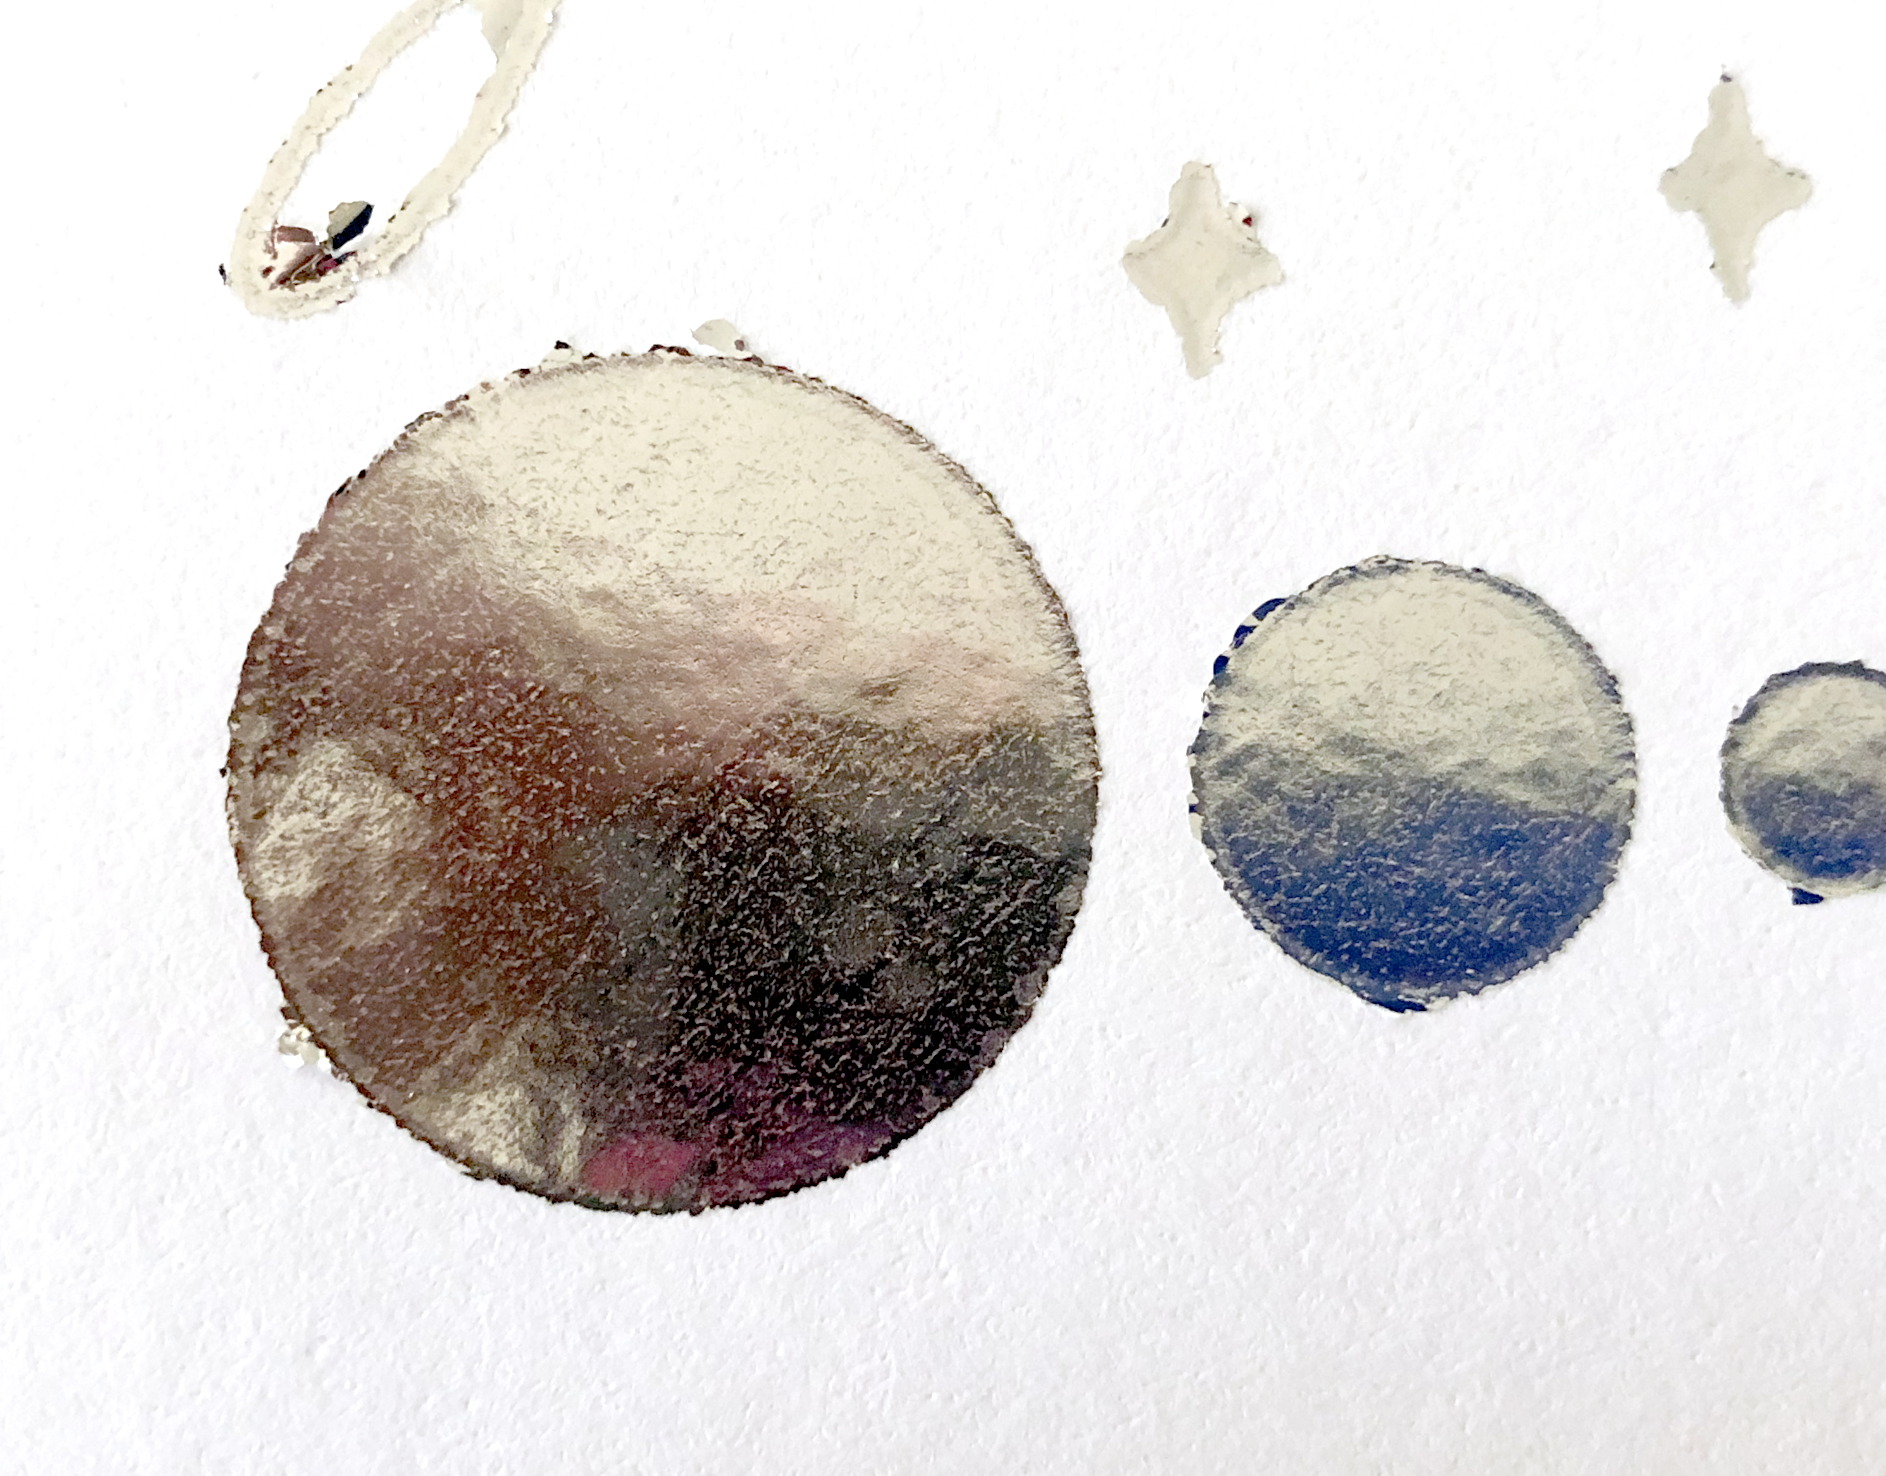
So I switched back to the Standard Mat and it works much better! There are still some little gaps where the foil didn’t cover, so I decided to do a test with the Bold Tip Quill to see if it gets better coverage with the filled shapes.

Gold Holographic Foil, Medium Tip using crosshatch fill

Gold Holographic Foil, Medium Tip using crosshatch fill

Yes! The Bold Tip does an even better job with the filled shapes!

Gold Holographic Foil, Bold Tip using crosshatch fill

Gold Holographic Foil, Bold Tip using crosshatch fill

Silver Iridescent Foil, Bold Tip using crosshatch fill

Silver Iridescent Foil, Bold Tip using crosshatch fill

One final test with the Bold Tip on cardstock. I ended up having to switch my mat to the Light grip mat, I wasn't getting enough pressure with the Standard mat. The Bold Tip gives a really nice flat fill, but I think I like the Medium tip better for lettering.

Gold Holographic Foil, Medium Tip using crosshatch fill, Light Grip Mat

Gold Holographic Foil, Medium Tip using crosshatch fill, Light Grip Mat

An important lesson learned this week is that the cutting mat can have a really big impact on the outcome of the project!

Silver Iridescent Foil, Bold Tip using crosshatch fill. Top is using the Light Grip Mat. Bottom is using the Standard Grip Mat.

Silver Iridescent Foil, Bold Tip using crosshatch fill. Top is using the Light Grip Mat. Bottom is using the Standard Grip Mat.

Spellbinders Glimmer Foil with the WRMK Foil Quill

Links in the article below may be affiliate links.

Hi Everyone! Last week I tried out the Spellbinders Glimmer foils with the Cricut Foil Transfer tool and my Cricut Maker, and I got some pretty decent results. This week I want to try the foils with my WRMK Foil Quills since they are actually intended to be hot foils. So here we go!

I am most excited to try the holographic foils. They transferred okay with the Cricut Foil Transfer tool, but the holographic effects were kind of lost.

I started out with the gold glittery foil on my heavy white cardstock with the medium foil quill. There are some little spots where the foil didn't transfer completely, especially in my filled shapes. But you can see the glittery effect much more that you could with the foil transfer tool.

Spellbinders Holographic Foil with Foil Quill

I tried it out again on black cardstock with some different single line drawings. Again, some spots where it didn’t completely. The holographic effect was also not as noticeable on the black cardstock. So overall, the gold holographic glitter didn’t do great on cardstock.

Spellbinders Holographic Foil with Foil Quill

Next I tried the silver holographic foil on black cardstock. Also, some spots where it didn’t transfer completely, especially in the filled shapes. But you can see the iridescent effect, especially when you hold the card at an angle. It’s really difficult to capture in a photo, but the iridescence is there!

Spellbinders Holographic Foil with Foil Quill

Then I tried the regular metallics. First, the copper on black cardstock, still with the medium tip. It transferred BEAUTIFULLY!!

Screen Shot 2021-06-13 at 10.54.11 AM.png

After that I tried the gold on my heavy white cardstock. It also worked beautifully!

Screen Shot 2021-06-13 at 10.56.19 AM.png

I decided to give the holographic foils one last shot on some glossy clear sticker paper. First, I tried the gold holographic glitter with the medium tip. It transferred REALLY well to the sticker paper, and you can see sparkly holgraphic effect. (again, super difficult to photograph, but it looks really good in person).

Spellbinders Holographic Foil with Foil Quill

Finally, my personal favorite, the silver holographic foil on the clear sticker paper. It is so pretty and transferred perfectly.

Spellbinders Holographic Foil with Foil Quill

Overall, the holographic foils didn’t work great on cardstock, but they are gorgeous on my clear sticker paper. The regular metallics worked really well on cardstock, I didn’t test them on the sticker paper, but I imagine they would work great on that as well.

I’m really excited to try these foils with my Silhouette Portrait 3 machine where I can actually adjust the speed and pressure for the foil quill. I will post about that next week!


A Cricut Foil Transfer Sheet Alternative

Links in the article may be affiliate links.

Hi Everyone! Now that I’ve found some good black cardstock and decent pressure settings, I’ve been experimenting more and more with my Cricut Foil Transfer tool. One of the drawbacks to the foil transfer tool is that there aren’t really any pressure sensitive foils available, aside from the Cricut brand.

I’ve been researching other foils to use and came across some people having success with the Spellbinders Glimmer Hot Foils. They are labeled as hot foils, not pressure sensitive, but other people have been getting good results with them, so I thought I would give them a try. I purchased the essential metallics set, which includes a roll of gold, silver, copper, and pewter. I also bought a set of iridescents that contains a roll of silver, gold, purple, and teal.

These rolls are only 5 inches wide which is something to consider when laying out your design. But they are also 15 ft. long, so there’s a lot of length to work with. You’re not just limited to the 4x6 or 12x12 sheets like the Cricut brand.

I going to test some of my single line SVG files on heavy cardstock. I’m using the Cricut Foil Transfer Fine Point tip.

Since I use gold a lot, I’m first going to test the gold from the essential metallics set. I think the foil sheet is little heavier than the Cricut brand. It didn’t curl up and was pretty easy to tape it down flat even though I cut it from a roll.

Even though I’m using heavy 100lb cardstock, I set my material to Copy Paper 20lb, default pressure for the Foil Transfer tool. I’ve been getting the best results so far with these settings.

After my machine is done, I peel back the foil and the results are BEAUTIFUL!!!

Cricut Foil Alternative

Next, I’m trying the copper from the same essential metallics set. This time I’m testing it on my new favorite black cardstock. Again, the results are GORGEOUS! The copper is a little dustier than the gold. I was able to carefully clean it up with some blue painters tape, without the tape removing foil from the actual design.

Cricut Foil Alternative

Now, I’m going to try a couple of the colors from the iridescent set. First up is the silver iridescent. It transferred nicely, but the iridescence gets a little lost, most likely due to the thinness of the lines.

Screen Shot 2021-06-06 at 11.20.23 AM.png

I also tried the gold confetti iridescent roll. Again, it transferred nicely, but the iridescent effect gets lost. Once again, probably due to the thickness of my lines.

Cricut Foil Alternative

Overall, I REALLY like this foil. I feel like I get more consistent and better results than with the Cricut foil. They also have a wider selection of colors than the Cricut brand. The only drawback I have found so far is the 5 inch width of the roll. But it shouldn’t be that much of an issue if I plan my designs accordingly.

I also plan on trying this foil with my WRMK foil quill. I’ll post those results later.

Tips for Using the Cricut Foil Transfer Tool - Cardstock Quality

Links in the article below may be affiliate links.

Hi Everyone! I purchased the Cricut Foil Transfer Kit the day it was released back in September 2020. I was super excited about it and it’s a tool I’ve wanted to love, but mainly it’s brought A LOT of frustration and wasted materials. I’ve seen so many people get really great results with this tool and I keep thinking what am I doing wrong, or what am I missing?

I’ve gone though A LOT of trial and error when using the foil transfer tool. One of the biggest problems I have encountered is the foil just not sticking to my cardstock, especially my black cardstock. I decided to tested 3 different black cardstocks that I have and here are my results.

65LB Recollections Black Cardstock

I’ve had this 65lb cardstock from Michael’s for a while. It’s a multi-color pack, some of the colors take the Cricut Foil beautifully, others just don’t stick. I definitely have had issues in the past with the foil not really sticking to the black if I use the Lightweight Cardstock setting with default pressure.

I’ve seen people having success using the Paper + setting on their Explore Air machines, so I decided to try the Copy Paper 20lb setting on my Maker.

The results with the Copy Paper 20lb setting Default pressure are slightly better than using the Lightweight cardstock setting with the fine tip. The medium tip was OK a little bit of skipping, the bold tip was also OK but a lot of foil dust. Overall, the fine tip had the best results with this setting.

With some of the other colors in the cardstock pack I can get nice results with the medium tip, light cardstock setting, less pressure. I haven’t found a setting yet for the Medium or Bold tip that I am satisfied with yet for the black cardstock.

65lb cardstock using Copy Paper 20lb material setting, default pressure

65lb cardstock using Copy Paper 20lb material setting, default pressure

LUXPaper Cardstock - 18pt

This is a heavier weight cardstock that I purchased on Amazon a while ago, in the description it’s referred to as 18pt. In general, it has really good reviews, but nothing in reference to using the Cricut Foil Transfer tool. It’s not super expensive so I decided to give it a shot. It’s pretty heavy, very smooth and more of a faded black.

First I tried the 100lb heavy cardstock default pressure setting, the foil barely sticks to it and rubs off if I run my finger over it.

LUXPaper Heavy Cardstock, Heavy Cardstock material setting, default pressure

LUXPaper Heavy Cardstock, Heavy Cardstock material setting, default pressure

Next I tried the Copy Paper 20lb Default pressure setting. The results were better, but still not super great. The fine tip worked the best and the bold tip left a lot of foil dust. I think this cardstock might be too smooth for the foil to adhere properly.
LUXPaper Heavy Cardstock, Copy Paper 20lb material setting, default pressure

LUXPaper Heavy Cardstock, Copy Paper 20lb material setting, default pressure

Sirio Ultra Black Cardstock - 104lb

I just recently purchased this cardstock on Amazon after reading some articles about people using Sirio cardstock and getting great results with the Foil Transfer tool. This cardstock is a much richer black than the Recollections and LuxPaper cardstocks. It’s also not quite as smooth as the other two.

(Left) 65lb Recollections Cardstock, (Center) 18pt LUXPaper Cardstock, (Right) Sirio 104lb Cardstock

(Left) 65lb Recollections Cardstock, (Center) 18pt LUXPaper Cardstock, (Right) Sirio 104lb Cardstock

I first tried it out on Heavy Cardstock Default pressure setting. The fine tip did OK, medium tip was meh, the bold tip was not great at all.

Sirio 104lb Cardstock, Heavy Cardstock Material Setting, default pressure

Sirio 104lb Cardstock, Heavy Cardstock Material Setting, default pressure

Next I tried the Light Cardstock Default pressure setting. Again, the fine tip did OK. The medium and bold tips did better than on the heavy cardstock setting.

Sirio 104lb Cardstock, Light Cardstock Material Setting, default pressure

Sirio 104lb Cardstock, Light Cardstock Material Setting, default pressure

Finally I tried the Copy Paper 20lb default pressure setting. The fine tip did great. The medium and bold tips did ok, but still not as good as I would like.

Sirio 104lb Cardstock, Copy Paper 20lb Material Setting, default pressure

Sirio 104lb Cardstock, Copy Paper 20lb Material Setting, default pressure

Overall the Copy Paper 20lb Default pressure setting worked the best with the fine point tip on the 65lb Recollections cardstock and the Sirio 104lb cardstock. Not the settings I would have guessed, but most things with my Cricut machine don’t work as I think they should LOL!

(Left) 65lb Recollections Cardstock, (Center) 18pt LUXPaper Cardstock, (Right) Sirio 104lb Cardstock

(Left) 65lb Recollections Cardstock, (Center) 18pt LUXPaper Cardstock, (Right) Sirio 104lb Cardstock

I would NOT recommend using the LUXPaper cardstock with the Cricut Foil Transfer tool. My top pick would be the Sirio 104lb cardstock. It is a little pricier than the LUXPaper, but in the end, the quality of the cardstock really matters!

LUXPaper 18pt Cardstock, fine tip, Copy Paper 20lb material setting, default pressure (sorry, my placement was off on my mat, that’s why it’s cut off on the top)

LUXPaper 18pt Cardstock, fine tip, Copy Paper 20lb material setting, default pressure (sorry, my placement was off on my mat, that’s why it’s cut off on the top)

Sirio 104lb Cardstock, Fine Tip, Copy Paper 20lb Material Setting, default pressure

Sirio 104lb Cardstock, Fine Tip, Copy Paper 20lb Material Setting, default pressure

Once again, always make sure you have plenty of materials on hand to TEST, TEST, TEST before you attempt your final project.

Cricut Foil Transfer Tool with Silhouette Brand Foil Sheets

Hi Everyone!

(Links in article below may be affiliate links).
As many of you who work with the Cricut Foil Transfer tool already know, you MUST you pressure sensitive foil. Cricut has their own brand of foil that is designed specifically to work with the foil transfer tool. So far, I haven’t been a huge fan of the Cricut brand foil. It doesn’t stick well to to some card stocks. I have a very tough time using it with my black 100lb cardstock and some of the colors in my 65lb Recollections multipack from Michaels. Also, it will foil perfectly fine in some parts of my design and then the foil doesn’t stick in other parts of the same design. I dunno, maybe I’m being to picky.

So far the only other pressure sensitive foil I have found is the Silhouette brand. I’m going to give the Silhouette foil a try with the Cricut Foil Transfer Tool.

Cricut Foil Transfer Tool - Fine Tip

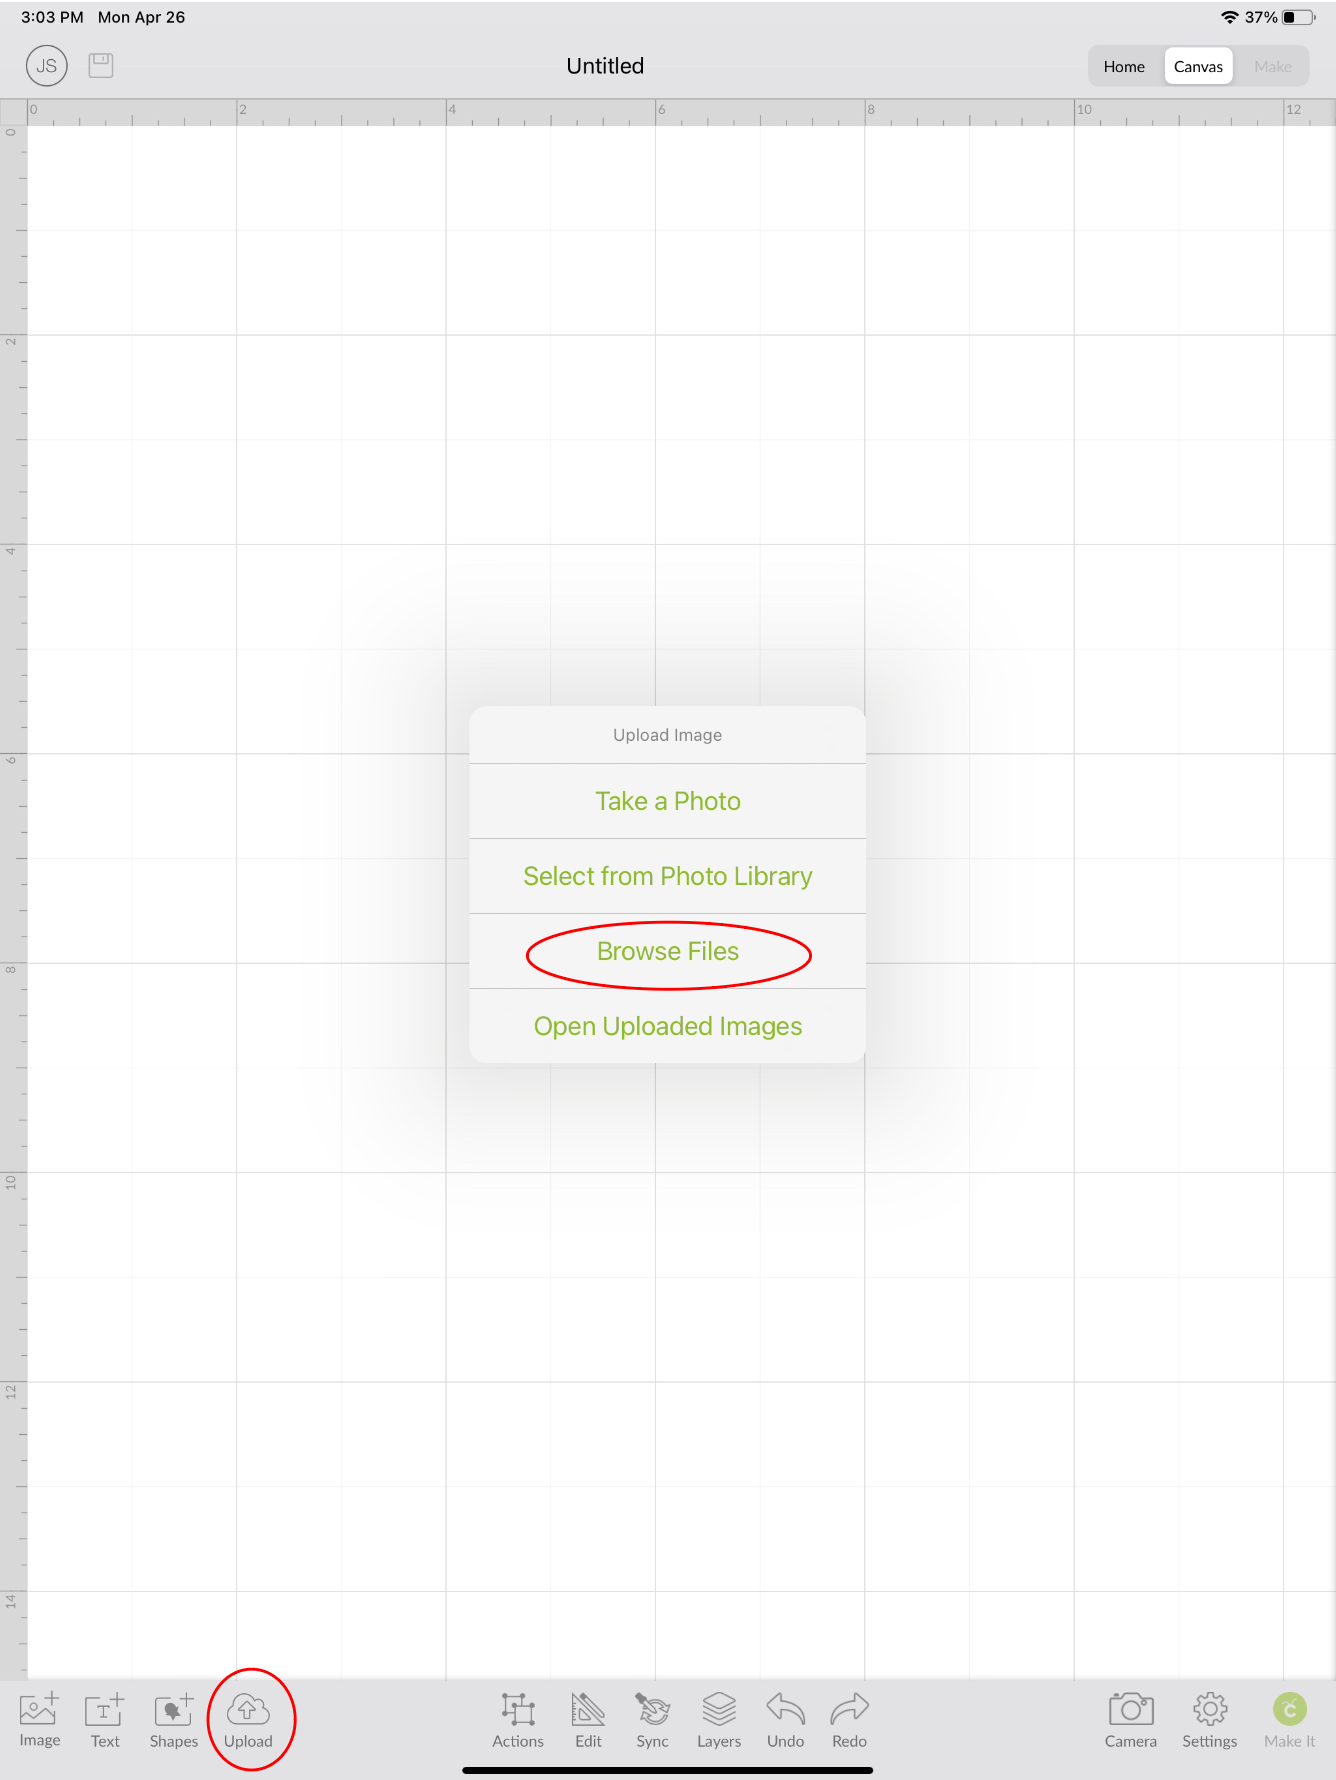
Unfortunately, the Foil Transfer tool can only be used with the Desktop version of Design Space. I don’t know why that is, but hopefully one day they will make it compatible with the app as well.

I started out with the default pressure on 100lb cardstock. Failure. Like with the scoring stylus in last week’s post, the foil is not sticking to the middle of the letters.

Fine Tip - Default Pressure

Fine Tip - Default Pressure

Then I tried less pressure on the 100lb cardstock, again, failure.

Fine Tip - Less Pressure

Fine Tip - Less Pressure

More pressure?? Nope, still a failure. To be honest, if I hadn’t written my settings on the back of the cards, I wouldn’t be able to tell the difference between them, they all look equally terrible.

Fine Tip - More Pressure

Fine Tip - More Pressure

Cricut Foil Transfer Tool - Medium Tip

To cut down on wasted materials, I tried just the word hello and a filled in star. I can usually get sort of ok results on this cardstock with the Cricut Brand foil the default pressure setting and the medium tip. If any setting were to work, I would assume that it would have been medium tip, default setting. Still terrible results, not matter if it’s default, less, or more pressure.

Cricut Foil Transfer Tool Medium Tip, Top - Default Pressure, Middle - Less Pressure, Bottom - More Pressure

Cricut Foil Transfer Tool Medium Tip, Top - Default Pressure, Middle - Less Pressure, Bottom - More Pressure

Cricut Foil Transfer Tool - Bold Tip

I also gave the bold tip a try. I only tried Default and less pressure, they were both absolutely terrible!

Bold Tip, Top - Default Pressure, Bottom - Less Pressure

Bold Tip, Top - Default Pressure, Bottom - Less Pressure

65lb Cardstock

I made one final attempt on 65lb Recollections cardstock with the medium tip, less pressure. It’s pretty terrible as well.

65lb cardstock with Medium Foil Tip, less pressure

65lb cardstock with Medium Foil Tip, less pressure

I think the Cricut Foil Transfer tool uses way too much pressure for this foil. Unfortunately, Cricut is really limited with the adjustments for each tool. I can’t make any other adjustments to the pressure other than default, less, and more. So I DO NOT recommend using this Silhouette foil with the Cricut Foil Transfer tool.

So far the only Cricut Tool I’ve had some success with the Silhouette foil is the Deboss Tip. You can check out my previous post about that here.

Foiling with the Cricut Scoring Stylus

Links in the article below may be affiliate links.

Foiling with the Cricut Scoring Stylus

Hi Everyone!

My Cricut Design Space on my laptop has been very finicky this week, I was trying to do a project with the foil transfer tool and my Design Space became really slow and I couldn’t click on anything once I pressed the “Make It” button. Super frustrating!

The Cricut app on my iPad, however, works just fine. The only thing is, I can’t use the foil transfer tool with the app, again super frustrating.

So I decided to try out my Cricut Scoring Stylus with the same Silhouette foil transfer sheets from last week, and here are my results…

Foiling on 100lb Cardstock with the Cricut Stylus

I decided to start out with some black 100lb cardstock. Side note: I don’t really like this cardstock and I’m trying to use it up. So far the only foil I can get consistent results with on the cardstock is the We R Memory Keepers Foil with the Foil Quill. The Cricut foil will stick in some places, but not others and becomes very glittery/ powdery. Certain foil colors work better than others. I think the surface of this cardstock might be too smooth. Anyway, I don’t recommend the brand in my link.

Initially it looked promising before I removed the foil.

Foiling with the Cricut Scoring Stylus

But after removing the foil, sadly, no good.

Foiling with the Cricut Scoring Stylus

The foil did not stick in the middle of the letters, so they look kind of outlined.

Foiling with the Cricut Scoring Stylus

The centers of the letters are still on the foil transfer sheet!

Foiling with the Cricut Scoring Stylus

But the filled circles look great! (I still need to clean up the edges with some blue painters tape.)

Foiling with the Cricut Scoring Stylus

Next I tried my white 100lb cardstock. I usually get pretty good results with this one with my Cricut Foil and my We R Memory Keepers Foil Quill.

Again, it initially looked promising. But after removing the foil, the same issue with the letters.

Foiling with the Cricut Scoring Stylus

But the filled circles still look pretty good, the edges just need to be cleaned up.

Foiling with the Cricut Scoring Stylus

Foiling on 65lb Cardstock with Cricut Scoring Stylus

I tried the same test design on 65lb cardstock using the light weight cardstock setting. Again, the filled circles look good, but the words, not so much.

Foiling with the Cricut Scoring Stylus

I decided to try just one of the words to see if I could get my settings really nailed down. One thing I hate the most about my Cricut Maker machine is I cannot adjust the settings for the A side carriage - like speed and pressure. I also cannot use the scoring stylus in the B side because it goes underneath the side of the machine when it’s getting fired up for the cut or whatever operation you’re doing.

I tried the word “congrats” as my test. I tried several different types of paper settings. I seemed to have the best luck with the 20lb copy paper setting, but the results are still pretty inconsistent.

I noticed that my scoring stylus can still jiggle around a little bit when it’s in the pen holder. Yes, I made sure it clicked into place and I can’t push it into the holder any further. So I decided to purchase the Chomas adapters for the Maker to see if that made any difference. The scoring stylus fits in the Marker adapter, not the pen adapter.

Chomas Marker Adapter Cricut

The hardest part with the the Chomas adapter is getting the scoring stylus at the correct height in the machine. If you only use one craft stick to measure, it’s way too low and you will get a machine error when you try to run your project.

I tried my lightweight cardstock again, the results are better with the Chomas holder than the Cricut Pen holder, still not as perfect as I would like.

Foiling with the Cricut Scoring Stylus

I tried the 100lb cardstock again just to see. WAAAAYYYYY better than before, but still some room for improvement.

Foiling with the Cricut Scoring Stylus

I found that 3 craft sticks spacing under the scoring stylus works pretty well. I marked my stylus and the marker adapter with blue tape so I know my positions for next time.

3 craft sticks under the tip of the scoring stylus to measure the distance for the Chomas Marker holder

3 craft sticks under the tip of the scoring stylus to measure the distance for the Chomas Marker holder

So again, this method works great for small filled shapes, but the lettering still isn’t as good as I would like. I’ll do some more testing with the lettering, but I’m out of this foil at the moment, I’ve got more on order.

I have a feeling it’s something to do with the speed of the machine. I can write a word with the scoring stylus by hand, and get great results. Maybe my Maker is going too fast, but unfortunately I have no control over the speed of the machine.

Written by hand with the scoring stylus and foil transfer sheet.

Written by hand with the scoring stylus and foil transfer sheet.

I’m excited to try this technique with my Portrait 3 machine because I can adjust pretty much all of the settings for that machine. I’ll create a post about that as well, once I try it out.

Foiling with the Cricut Fine Deboss Tip

Links in the article below may be affiliate links.

Foiling with Cricut Deboss tip

Hi Everyone! I’ve been doing some more experimenting with my Fine Deboss Tip for my Cricut Maker. You can even use this tip for foiling!

Please note: The Deboss Tip only works with the Maker machine, it is used with the quick swap housing.

I’m showing this method because I can use the Deboss tip with the Cricut App on my iPad. For some reason the actual Foil Transfer tool is not compatible with the Cricut App.

You need to use a pressure sensitive foil. So I tried out the foil that is used with the Cricut Foil Transfer tool and the Silhouette brand pressure sensitive foil.

Here are my results:

Cricut Brand Foil Transfer

I am testing some single line words and a few filled shapes with the Cricut brand foil and the fine deboss tip on 100lb cardstock. I select the 100lb cardstock from my materials, with default pressure.

Fine Deboss tip with Cricut Gold Foil, default pressure.

Fine Deboss tip with Cricut Gold Foil, default pressure.

The foil transferred in a few places, but far from a success.

Fine Deboss Tip, Cricut Gold Foil

Fine Deboss Tip, Cricut Gold Foil

Next I tried 100lb cardstock, more pressure.

I snuck a peek after 1 full pass. It did a little better than the default pressure, but still not great.

Fine Deboss tip, more pressure, one full pass.

Fine Deboss tip, more pressure, one full pass.

I didn’t unload my mat so I could try sending it through my machine one more time. Definitely better than the default pressure, but still not great.

Second pass, more pressure

Second pass, more pressure

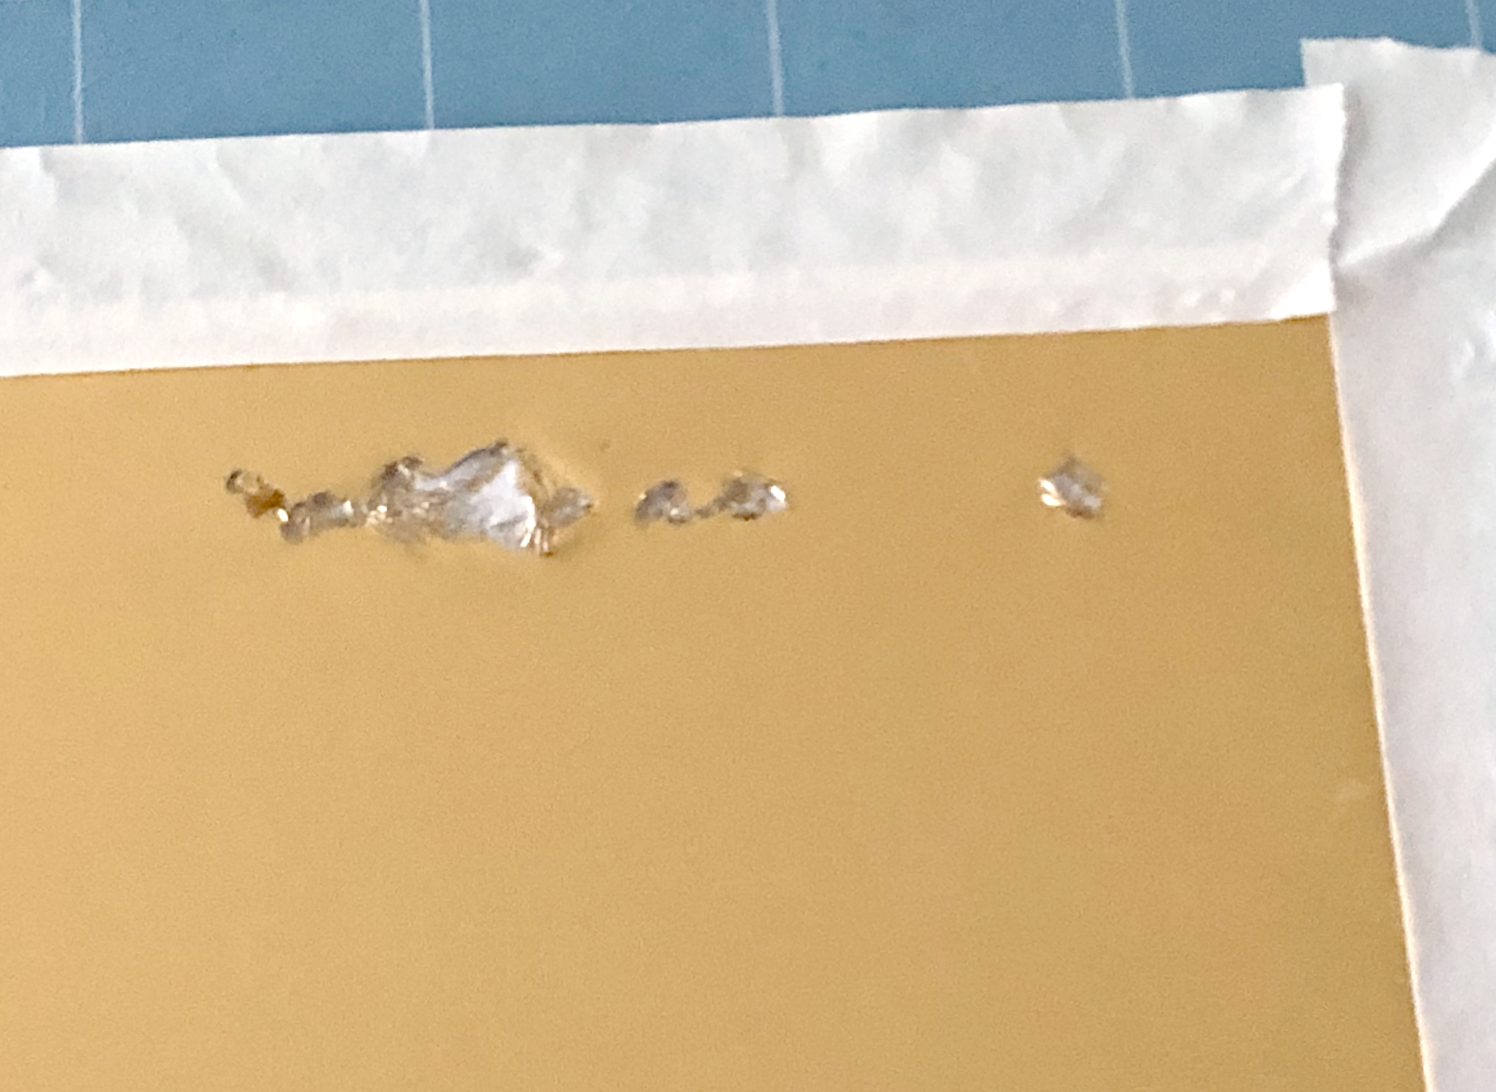
I made one last attempt with the Cricut foil, this time I tried with the medium 80lb cardstock setting. What a disaster! It tore the foil paper on default and light pressure. I didn’t even attempt more pressure.

Medium 80lb cardstock, default pressure. Tearing the foil.

Medium 80lb cardstock, default pressure. Tearing the foil.

Medium 80lb cardstock, less pressure. Also tore the foil.

Medium 80lb cardstock, less pressure. Also tore the foil.

So the deboss tip doesn’t really work with the Cricut Foil.

Silhouette Brand Foil Transfer

I’ve seen a few you tube videos of people using the Silhouette foil transfer sheets, it’s intended to be used with the Curio machine, so I hope the foil doesn’t get discontinued like the Curio machine. But I thought I would give it a shot. They’re a little pricier than the Cricut foils and fewer color choices. I mainly use gold, silver and rose gold anyway, so it’s not a huge deal for me. Sometimes they go on sale, so keep an eye out for that.

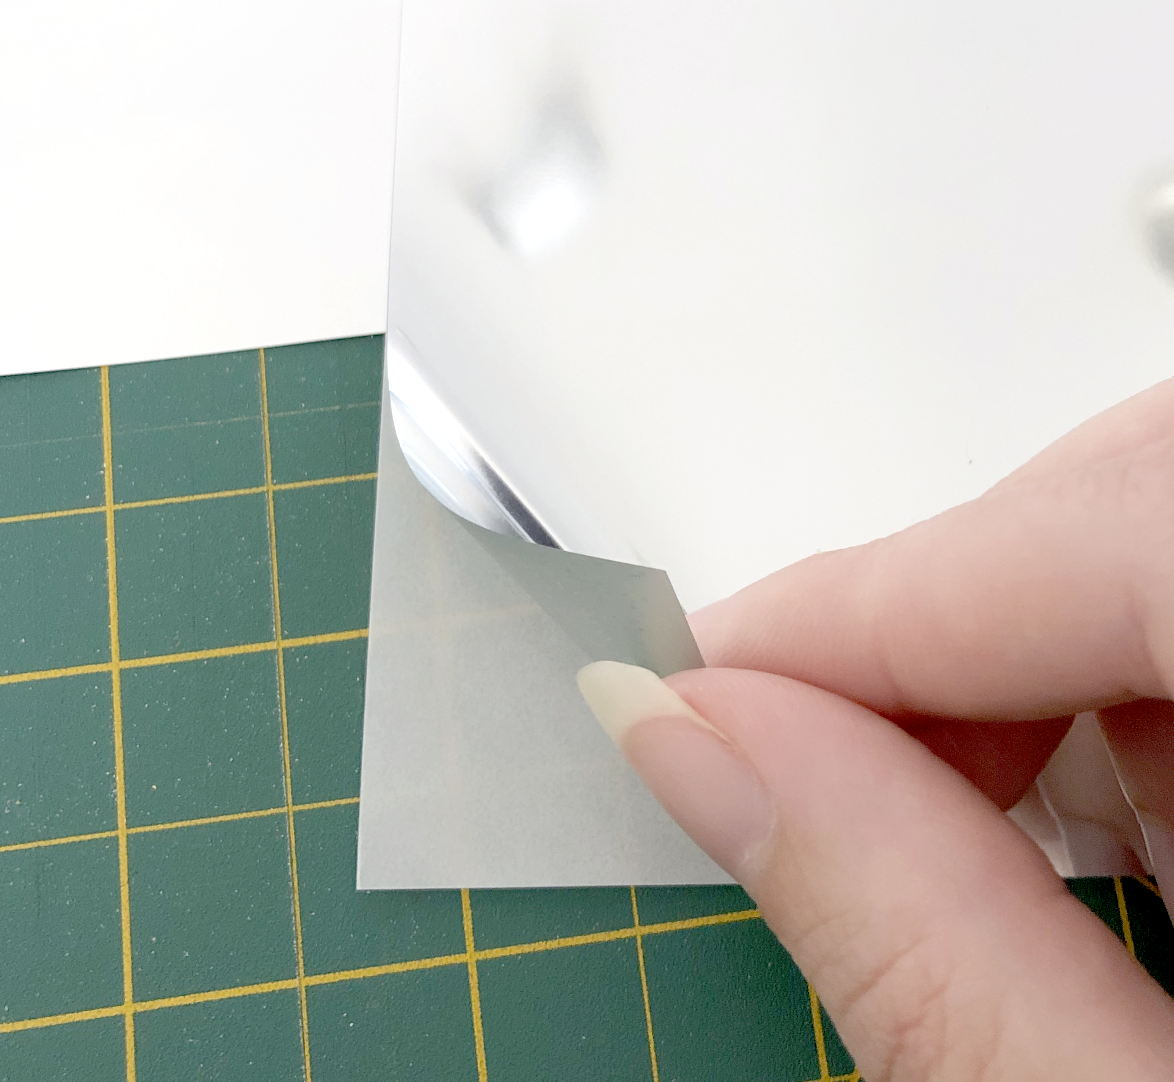
It’s a lot thicker than the Cricut Foil and you need to remove the back carrier sheet before placing it over whatever you’re foiling.

Remove the backing sheet!!

Remove the backing sheet!!

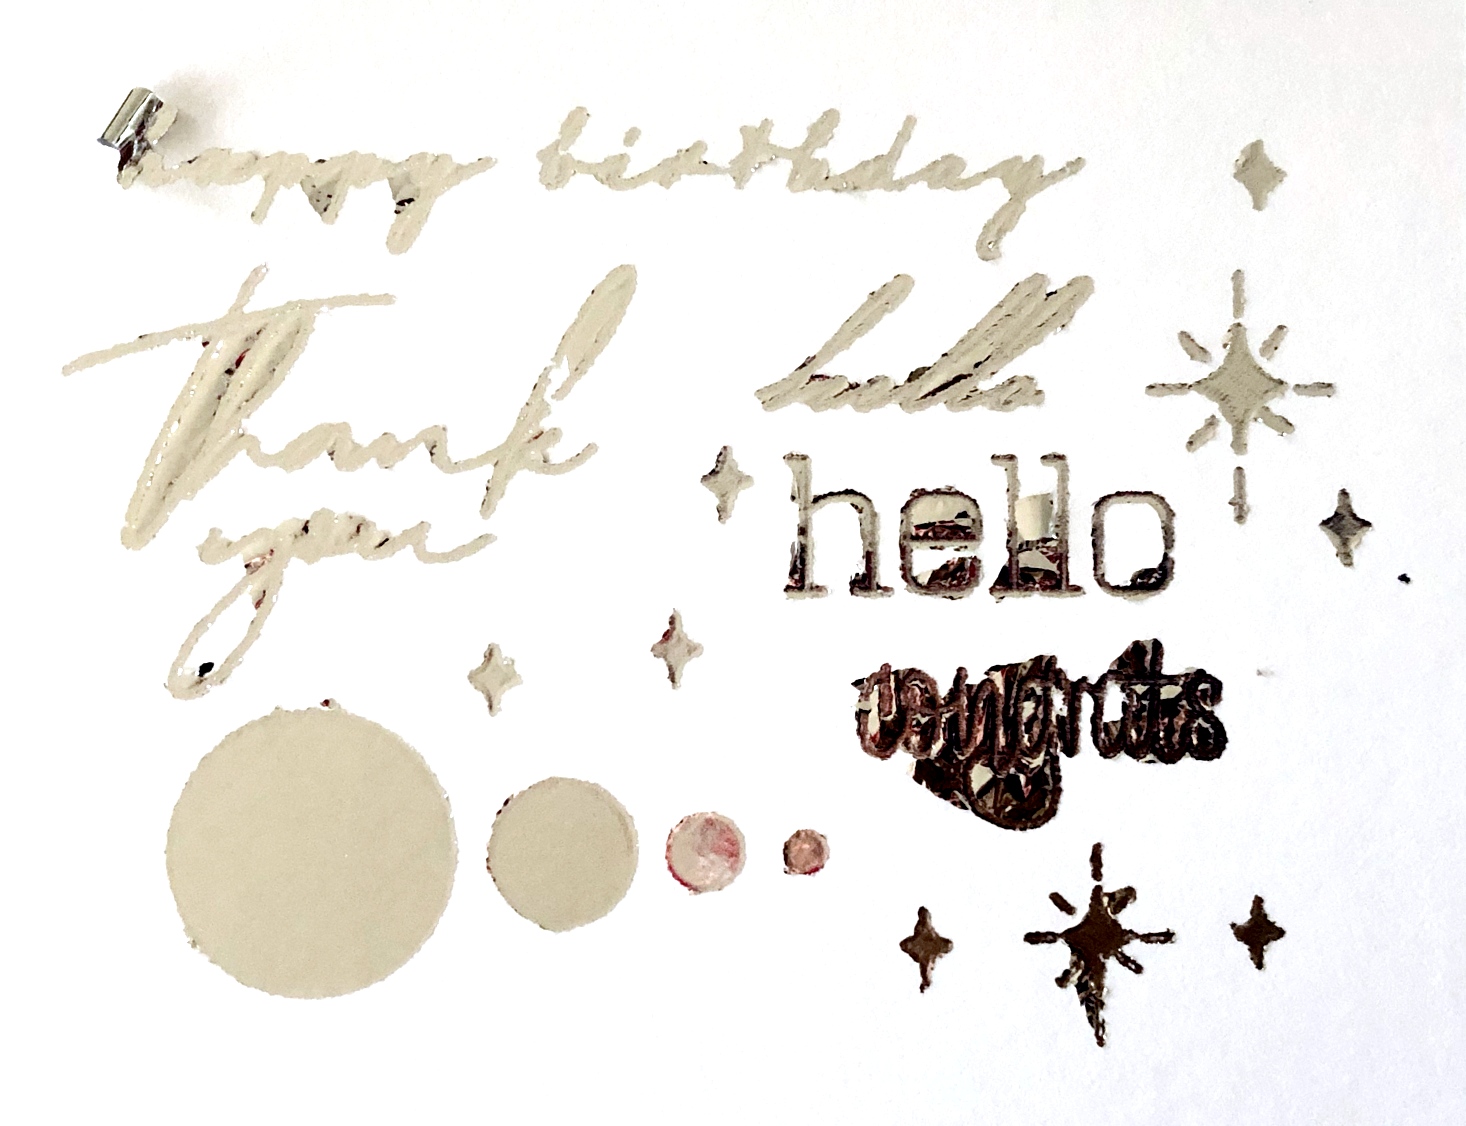
I started out with the 100lb cardstock default pressure again. When I first remove the film after it’s done, it looks kind of scary, but you can clean up the excess pieces and edges with blue painters tape or Washi tape.

Silhouette Foil with Cricut Fine Deboss tip

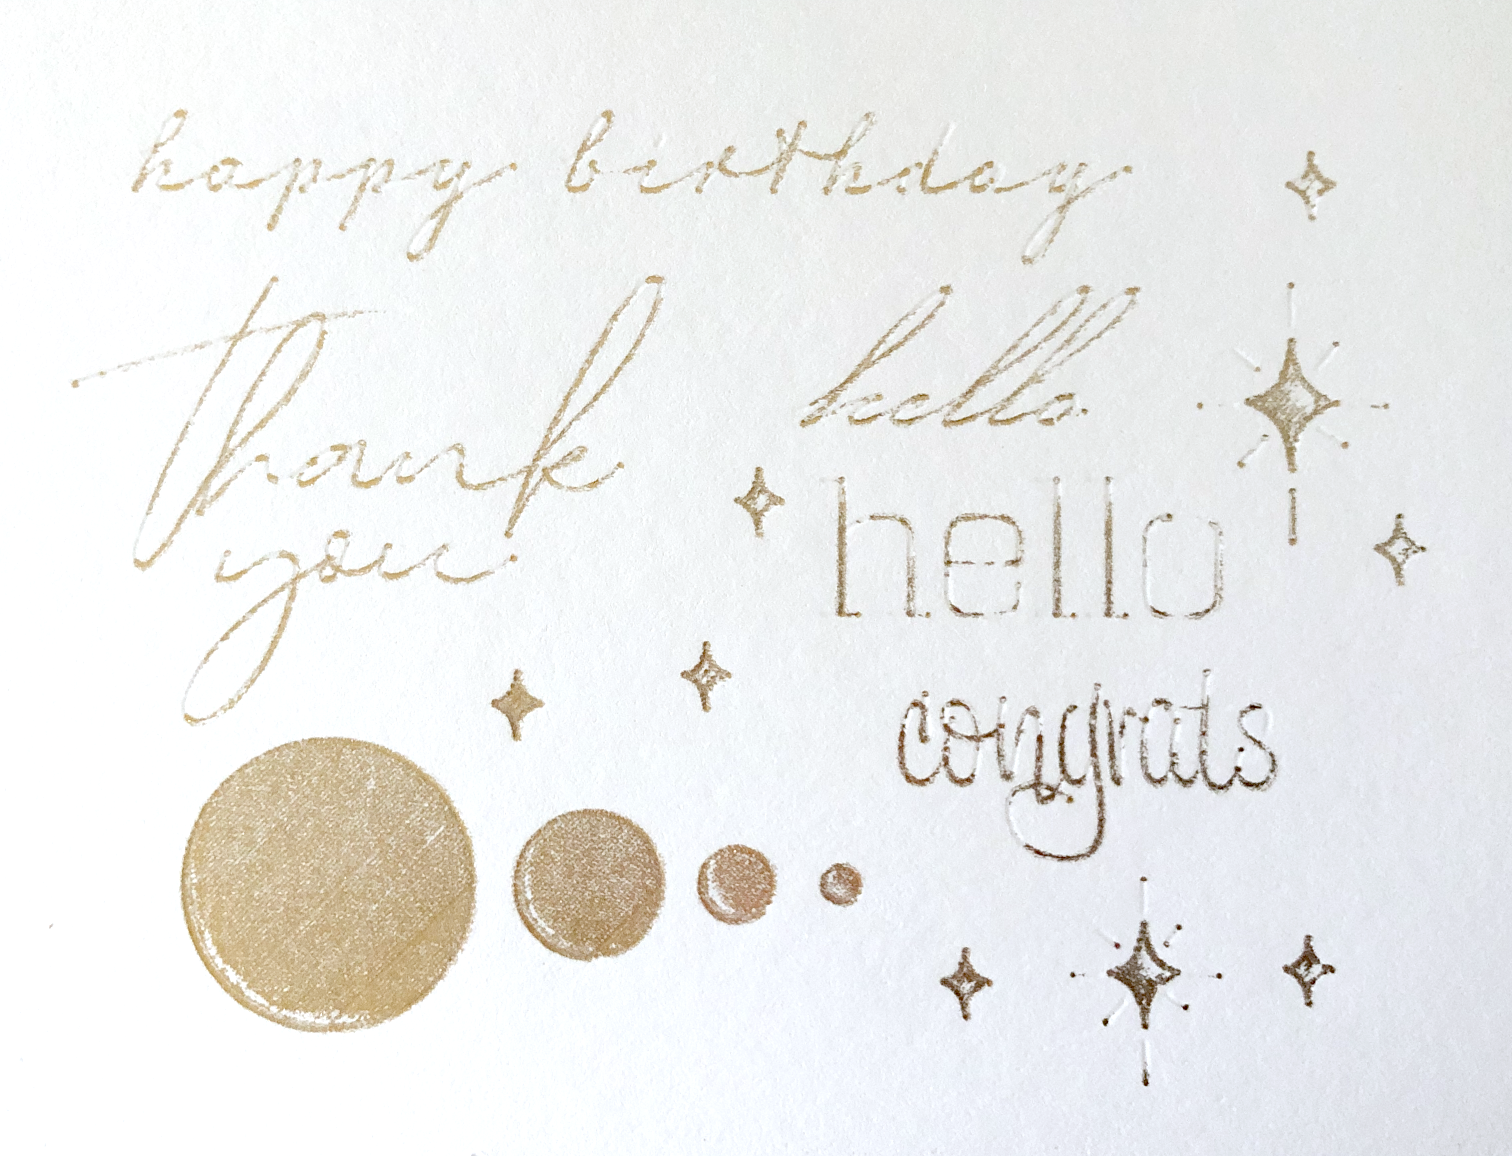
After cleaning it up, the results are pretty good. It’s REALLY shiny compared to the Cricut Foil. The filled circles look spectacular! Pretty smooth and flat. It occasionally misses parts of some of the letters and the edges aren’t super crisp.

Filled Circles before cleaning up the edges

Filled Circles before cleaning up the edges

After cleaning up the edges with Washi tape.

After cleaning up the edges with Washi tape.

I tried the 100lb card stock setting with More pressure, that came out ok, the edges are not as clean as the default pressure.

Silhouette Foil, 100lb cardstock, More Pressure

Silhouette Foil, 100lb cardstock, More Pressure

I also tried the Medium cardstock setting, Default pressure, just to compare the results. The foil did not stick at all!!

80lb cardstock setting, Default pressure

80lb cardstock setting, Default pressure

Overall, I think I like the results with the 100lb cardstock, default pressure the best. The lettering is OK, but it would not be suitable for really small text. I don’t think this would be a great option for very detailed, intricate designs either. It worked really well with the filled circles, so this could be a good option for filled shapes or thicker solid stripes.

It’s another foiling technique you can use if you work primarily with the Cricut App, or you don’t want to purchase the Foil Transfer tool or the Foil Quill.

I just got my Silhouette Portrait 3 machine, so I’m excited to try the Silhouette foil with that in the future!

Silhouette Foil Cricut Fine deboss tip

Getting a Deeper Deboss with the Cricut Fine Debossing Tip

Links in the article below may be affiliate links.

Cricut deboss tool

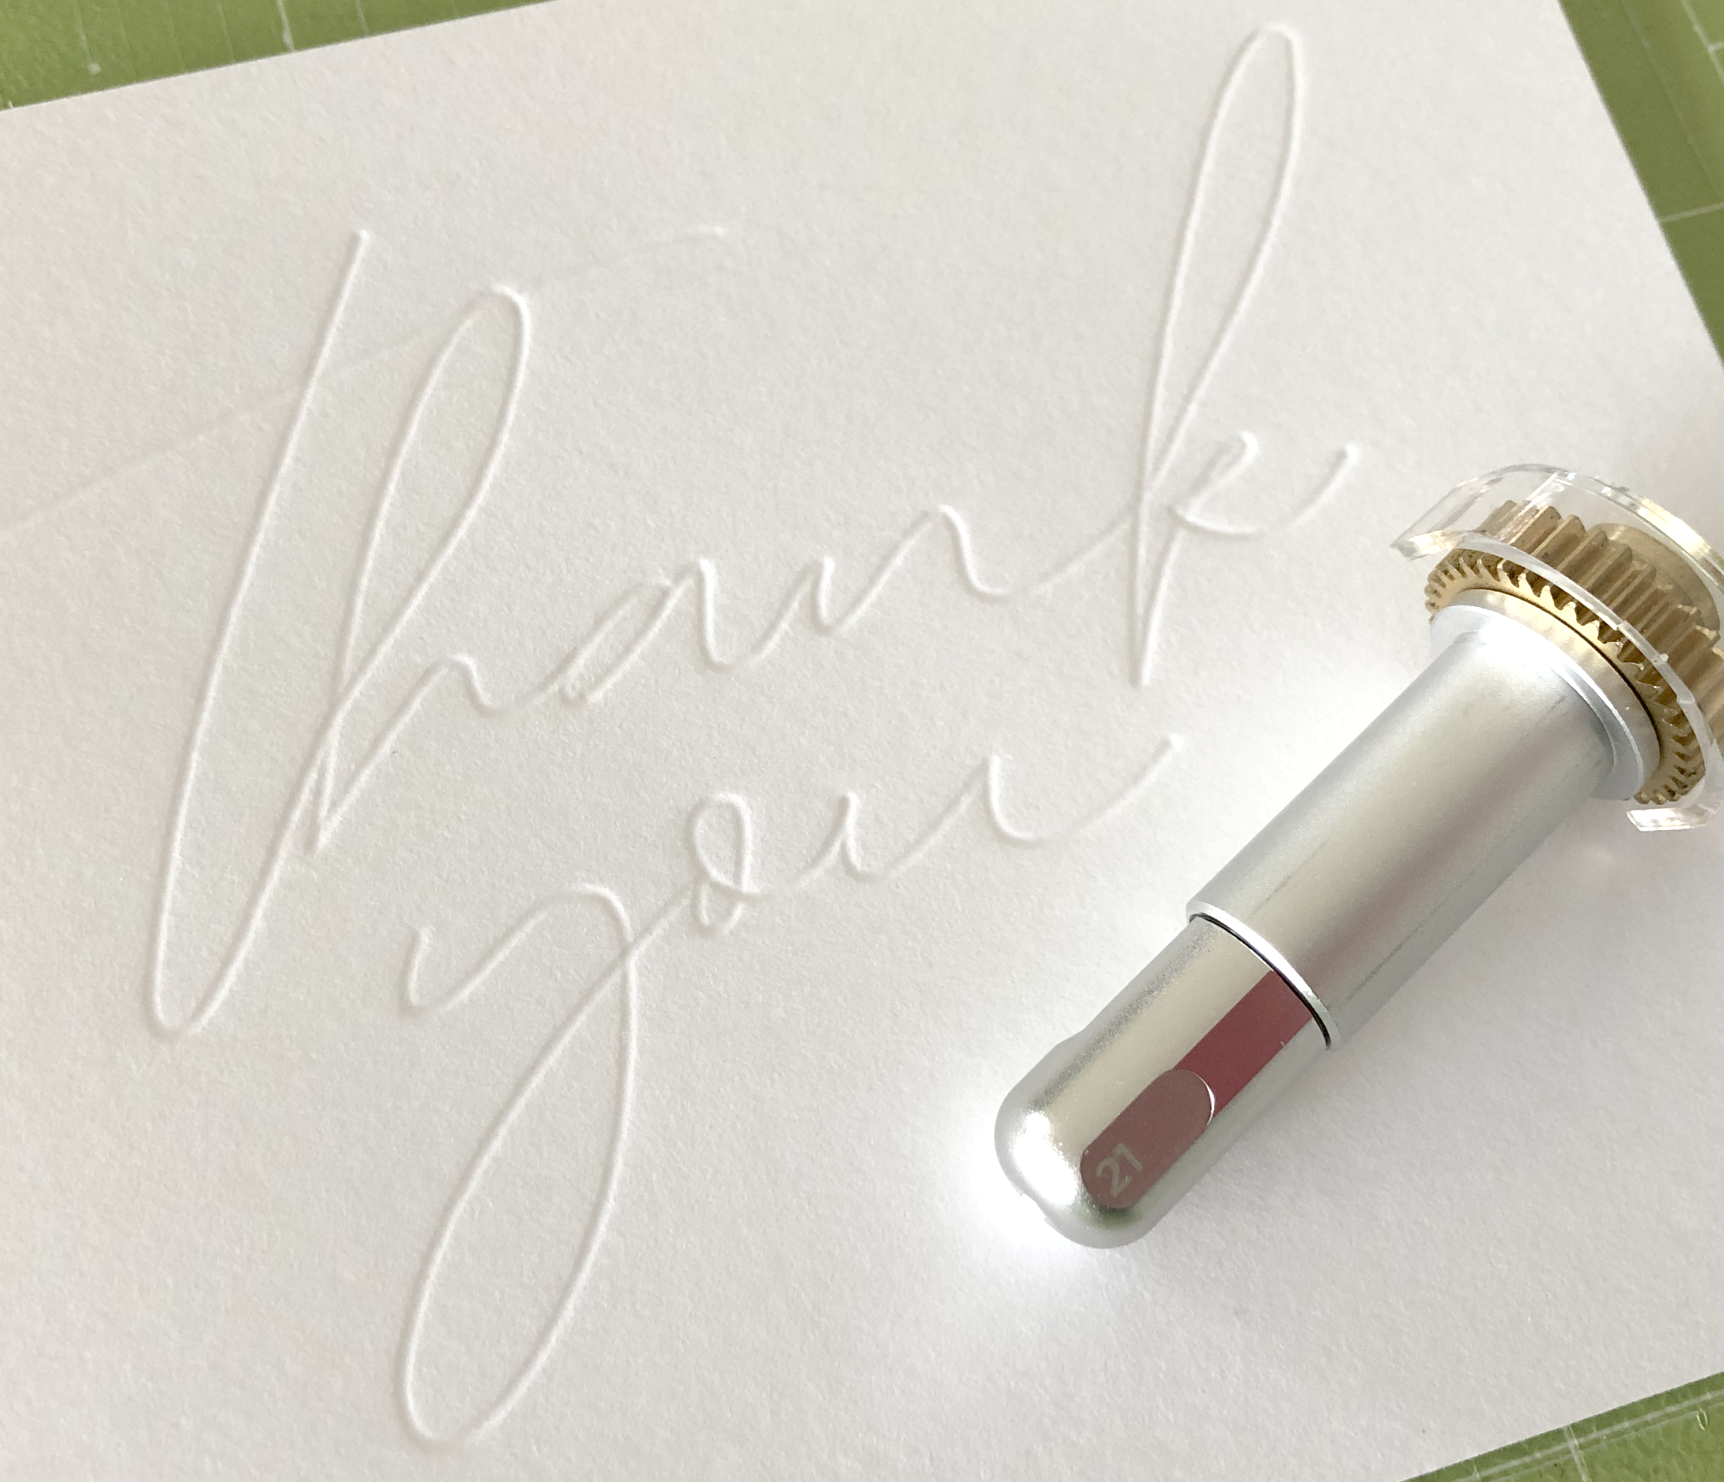
Hi Everyone! Last week I tried out my single line text with the Cricut fine debossing tip for the Maker machine. This was my first time trying out the debossing tip and the results were kind of lackluster. So I did a little experimenting and I found a simple way to make the deboss deeper.

The first time I used my fine debossing tip I used 100lb cardstock directly on my mat. I thought the heavier cardstock would work well with the tip since it’s kind of thick. I ran my cardstock through my machine 4 times, you can kind of see the deboss if you hold the card at an angle, but it’s not that great.

Cricut deboss tool

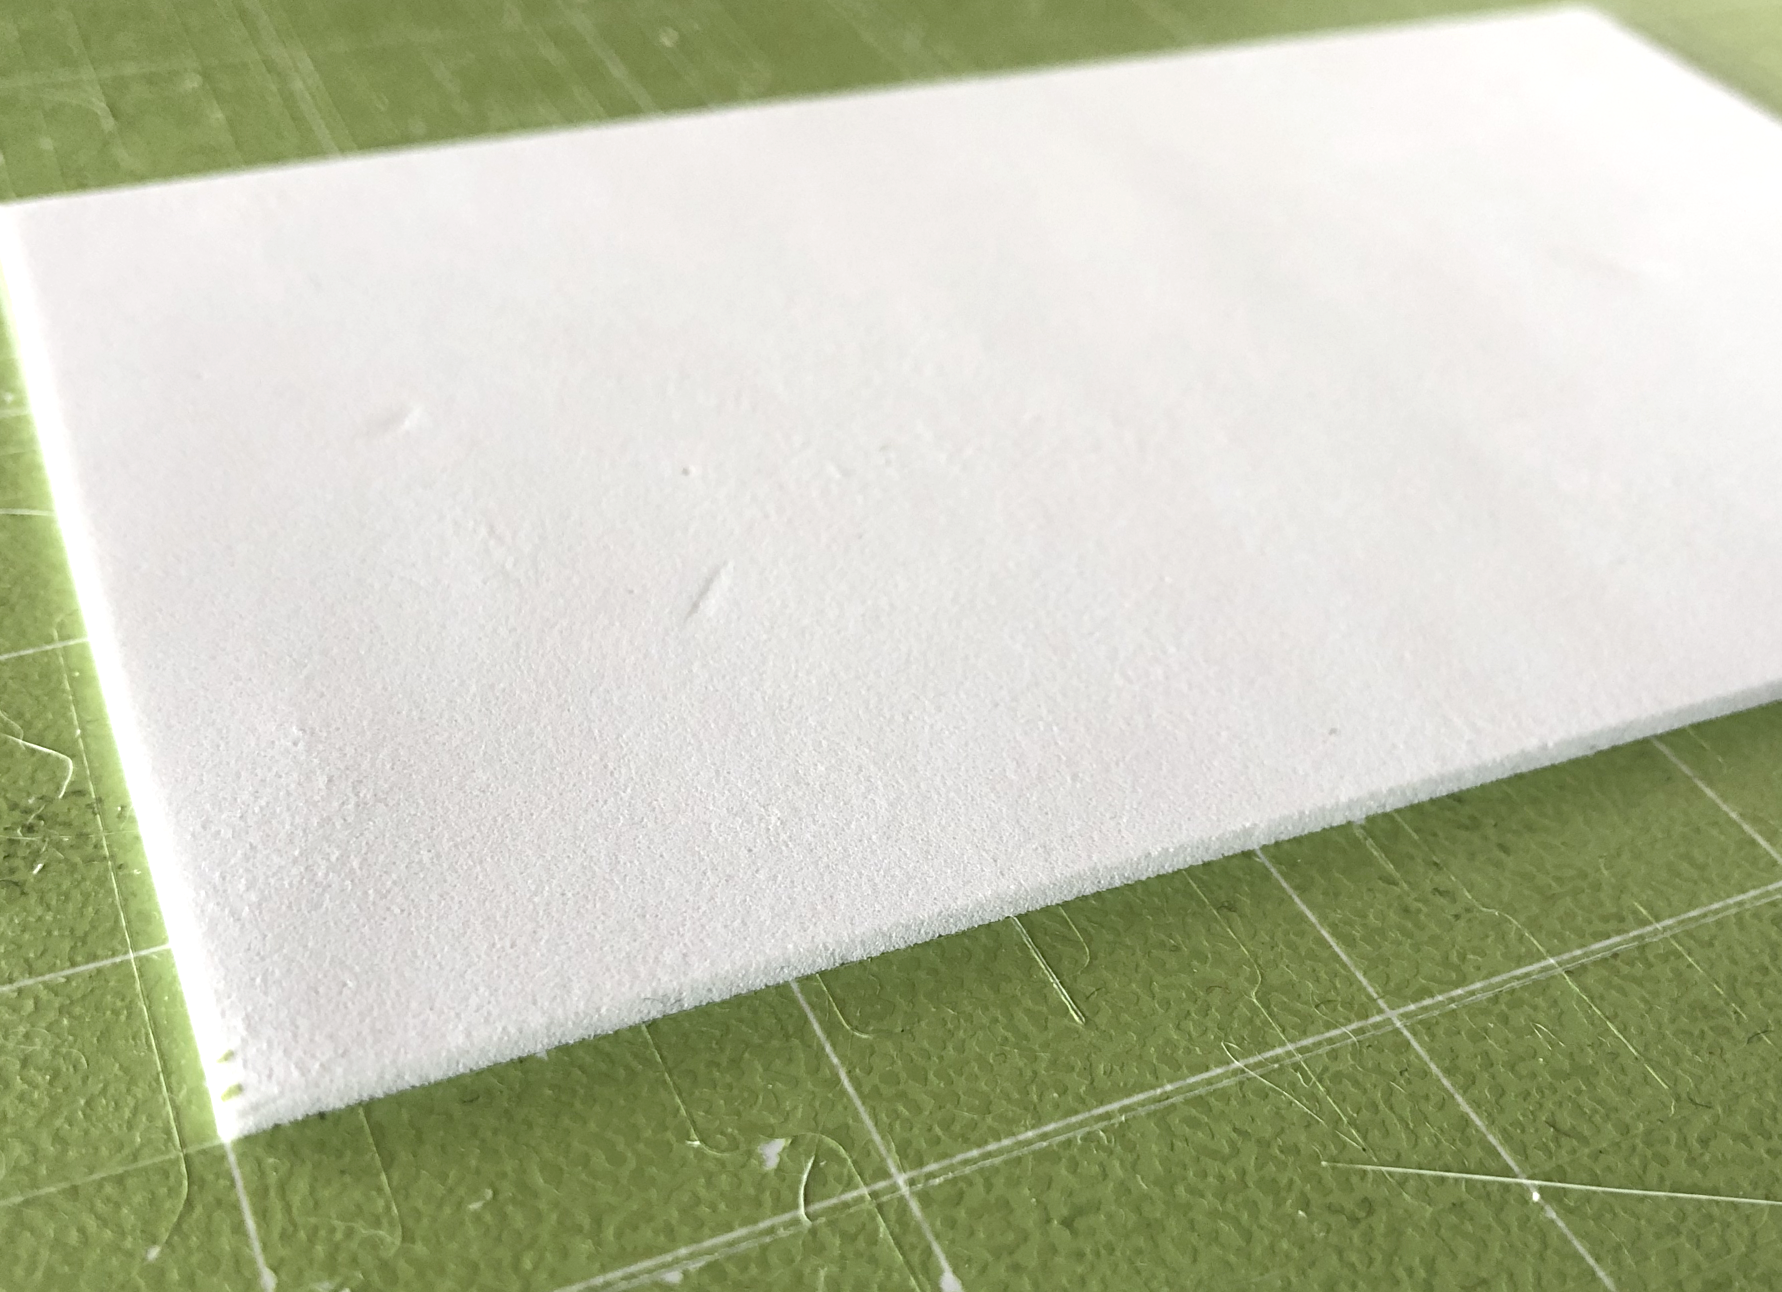
So I began thinking, I need a way to create some space between my cardstock and the mat so my tip can really press down into the cardstock. I had some 2mm craft foam left over from making my blade organizer, so I decided to try that.

I used a small scrap piece of the foam, roughly the size of the area that I wanted to deboss. I stuck the craft foam directly onto my mat.

2mm craft foam stuck directly to mat.

2mm craft foam stuck directly to mat.

Then I placed my cardstock over the craft foam and taped down the corners of my cardstock.

Debossing on cardstock with craft foam

Using the same single line artwork from last weeks post, I ran it through my Cricut Maker machine using the Deboss setting with 100lb cardstock, More Pressure.

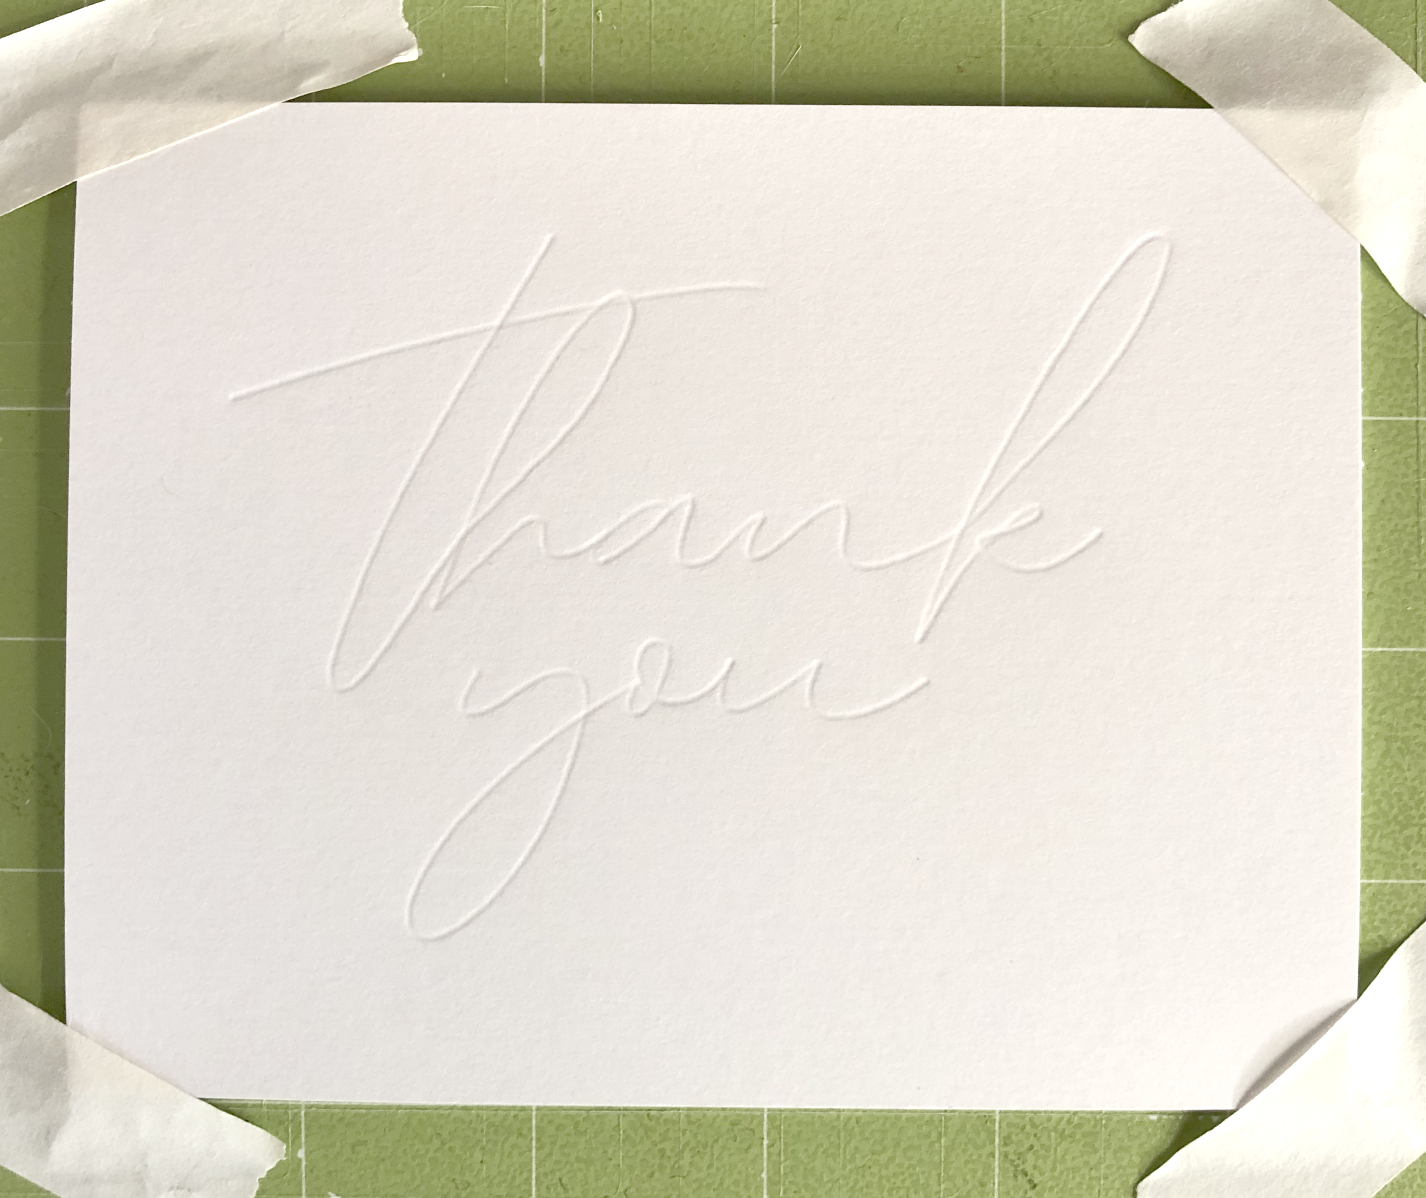
After one pass it was already so much deeper than the 4 passes I did last week.

100lb cardstock one pass with the deboss tip.

100lb cardstock one pass with the deboss tip.

I did a total of 4 passes with the deboss tool, each time it gets a little deeper.

After 4 passes with the deboss tip.

After 4 passes with the deboss tip.

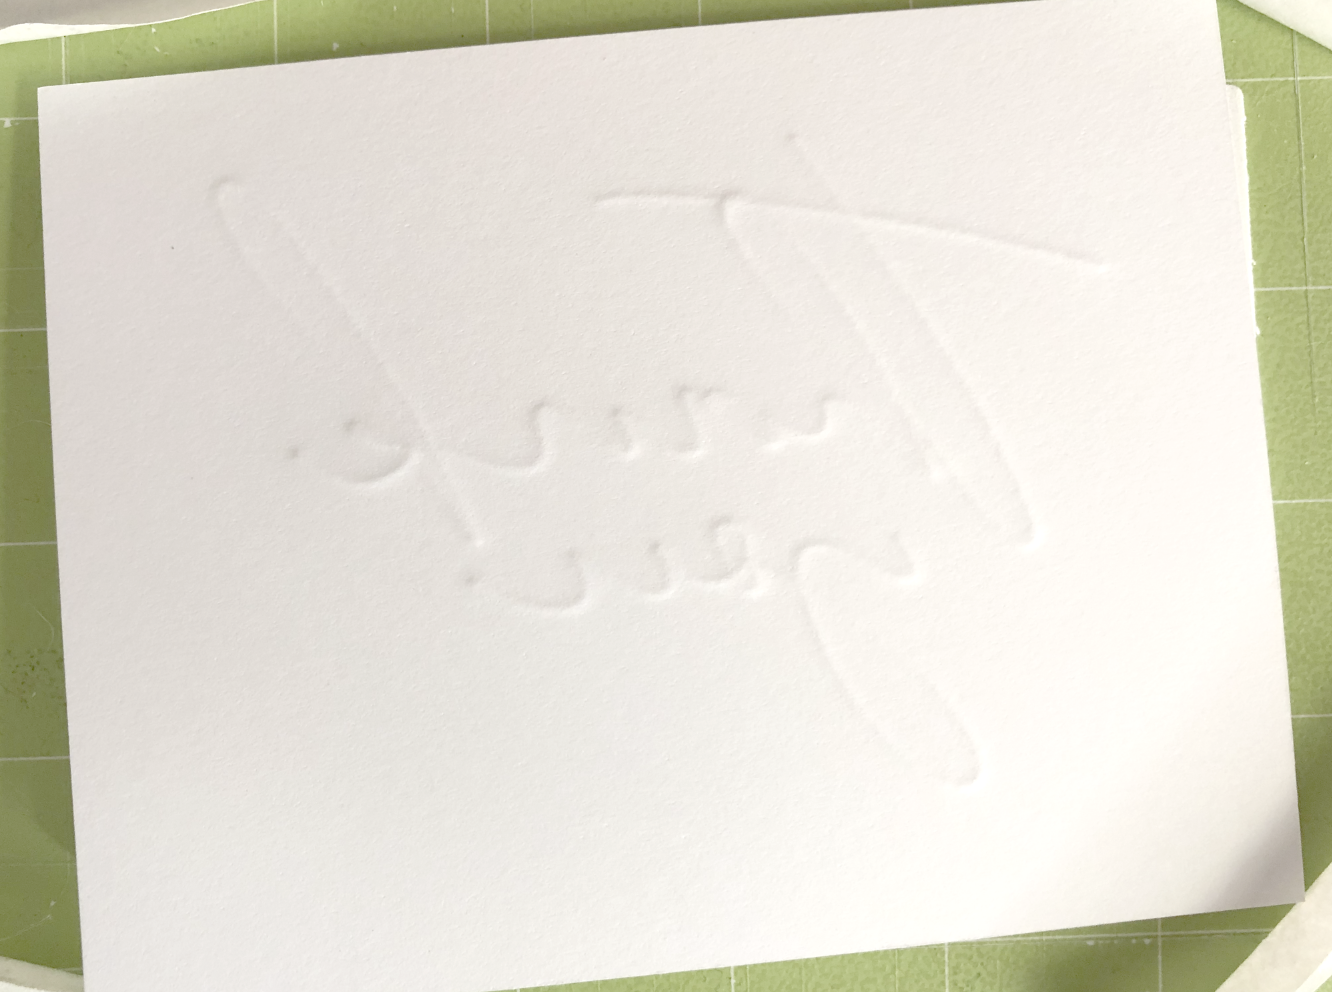
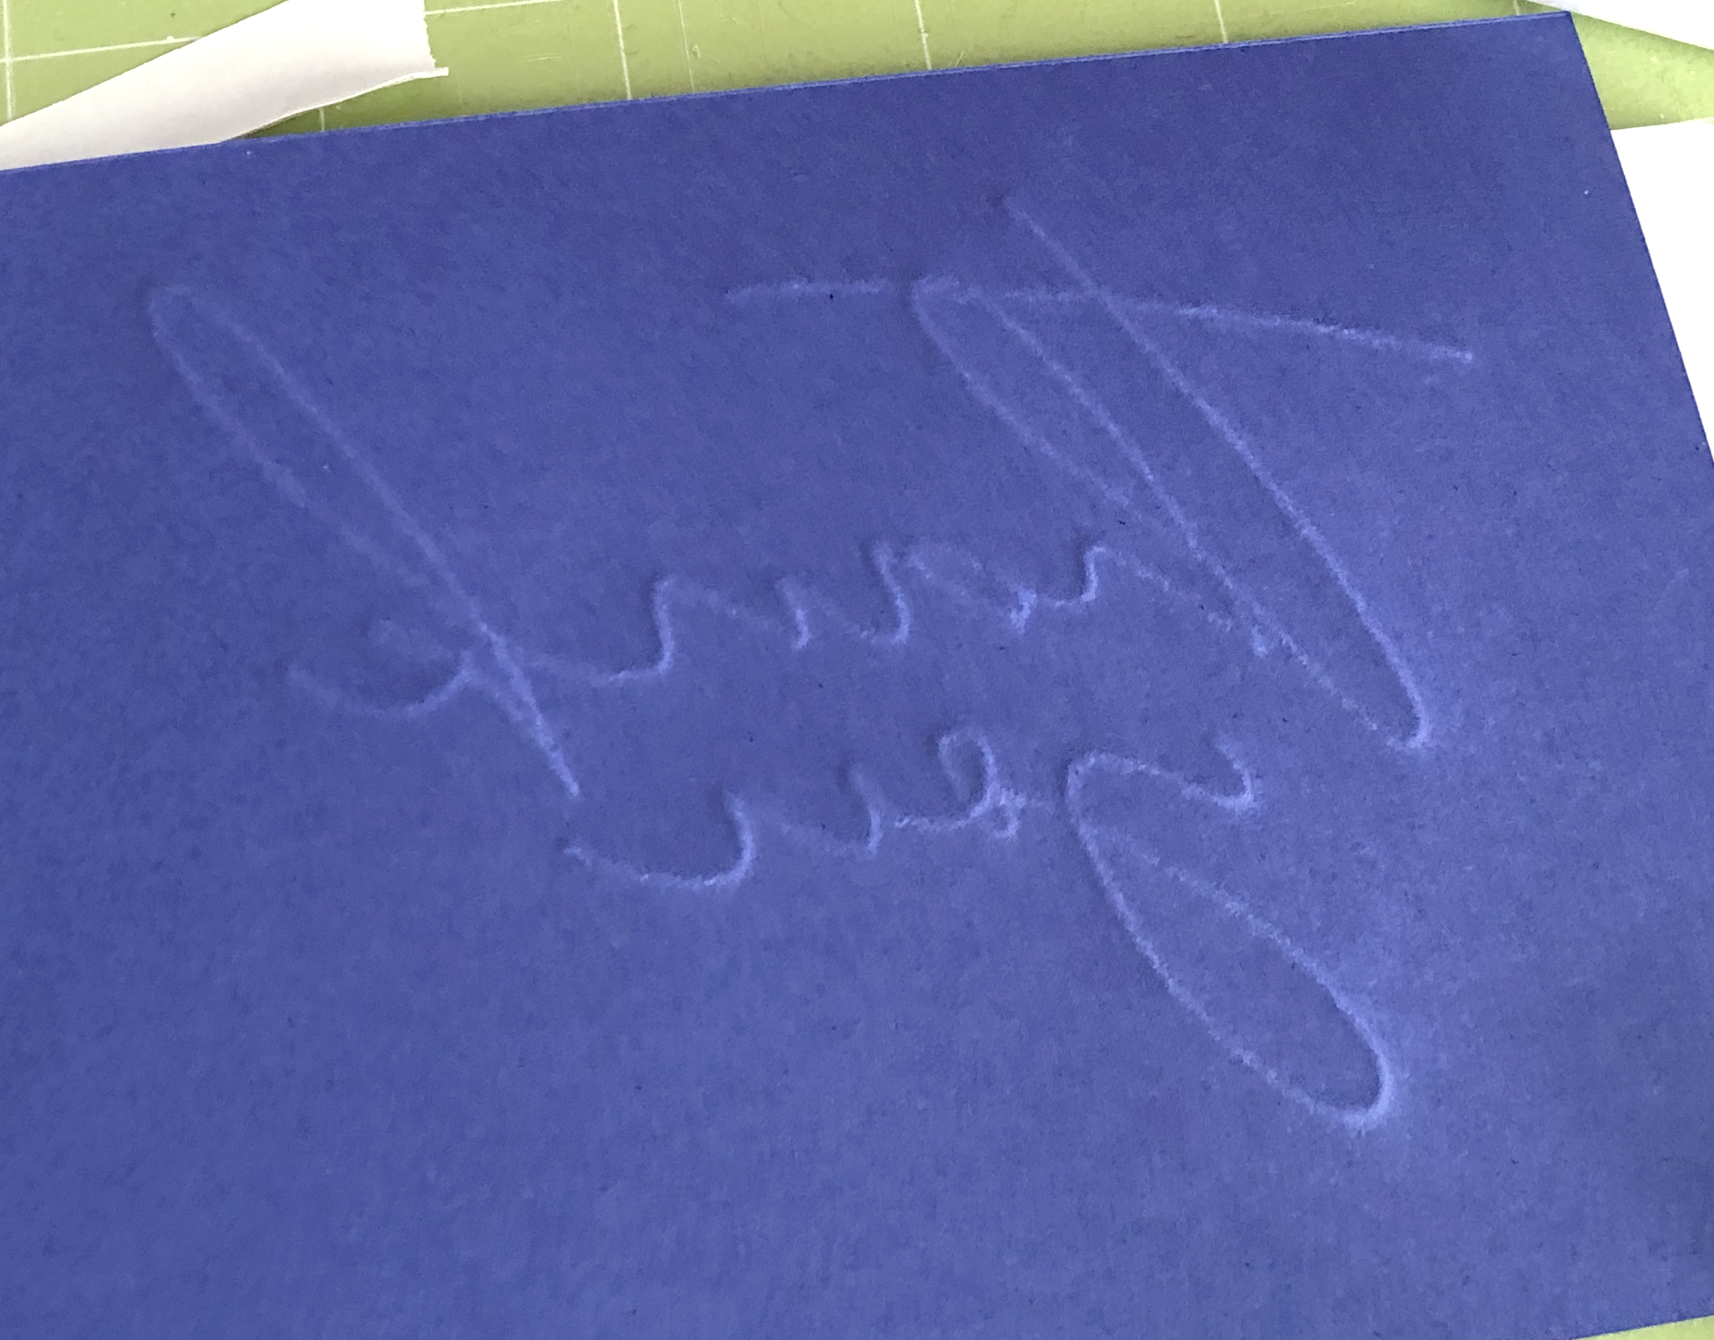
When I took my card off the mat you can actually see and feel the deboss on the reverse side!

Reverse side

Reverse side

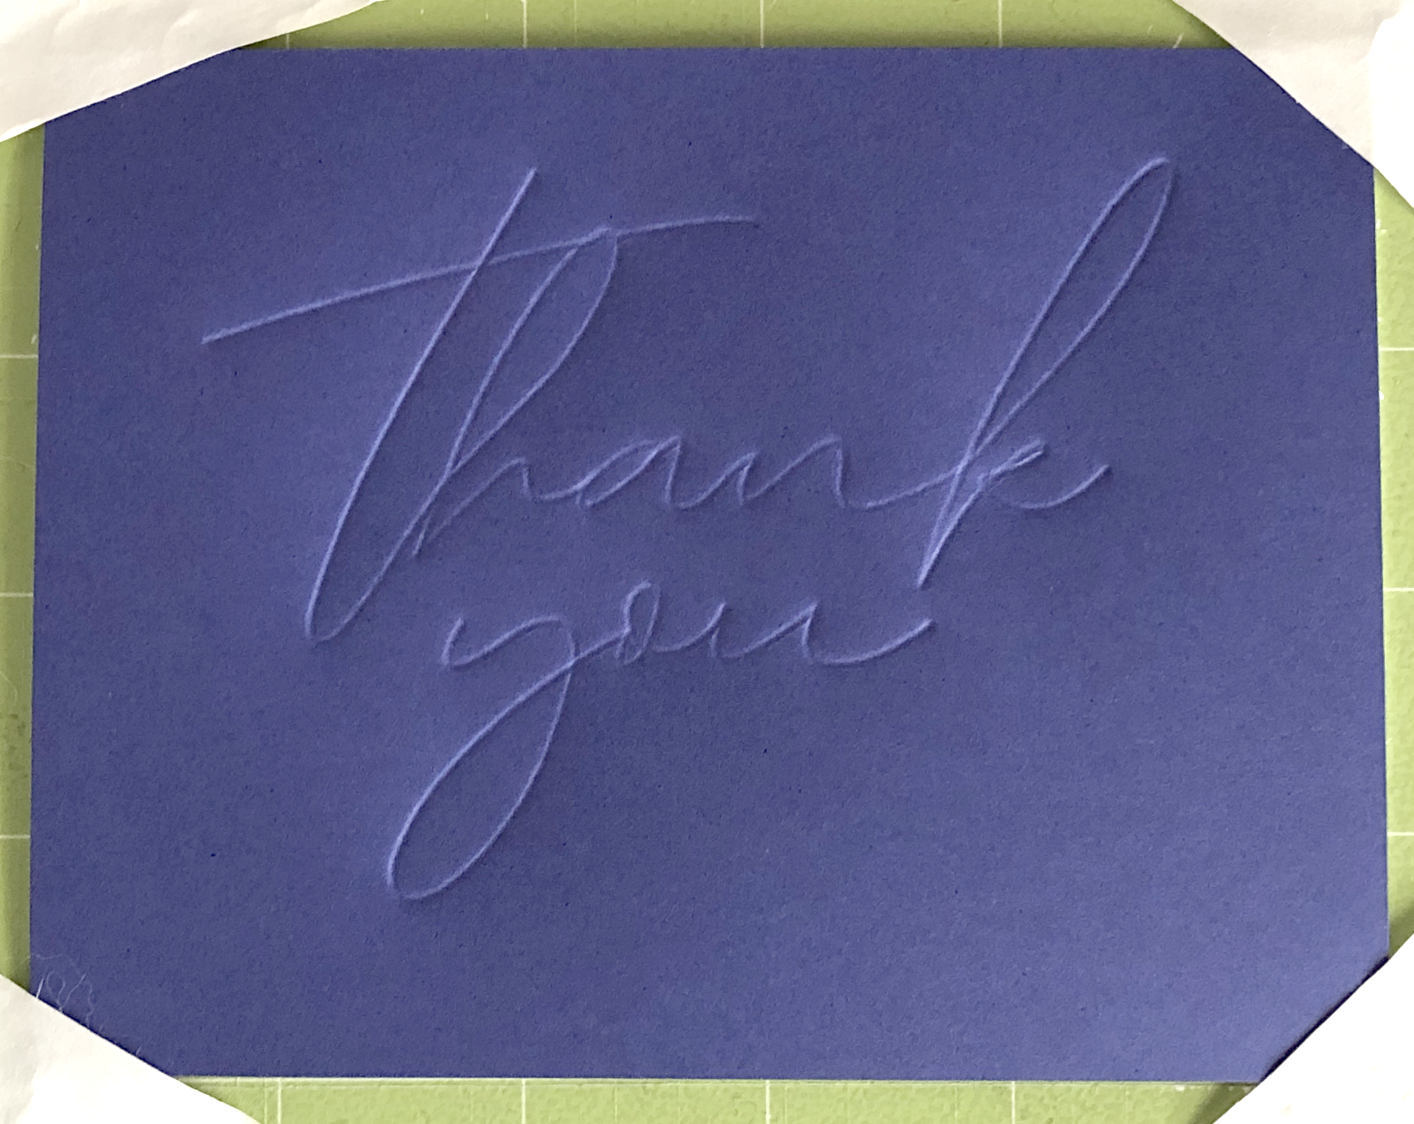
I also tried some lightweight cardstock - 65lb Recollections from Michaels. I used the same piece of craft foam still stuck to my mat. I also ran it through 4 times, just for consistency.

65lb cardstock after 4 passes - front.

65lb cardstock after 4 passes - front.

65lb cardstock after 4 passes - back.

65lb cardstock after 4 passes - back.

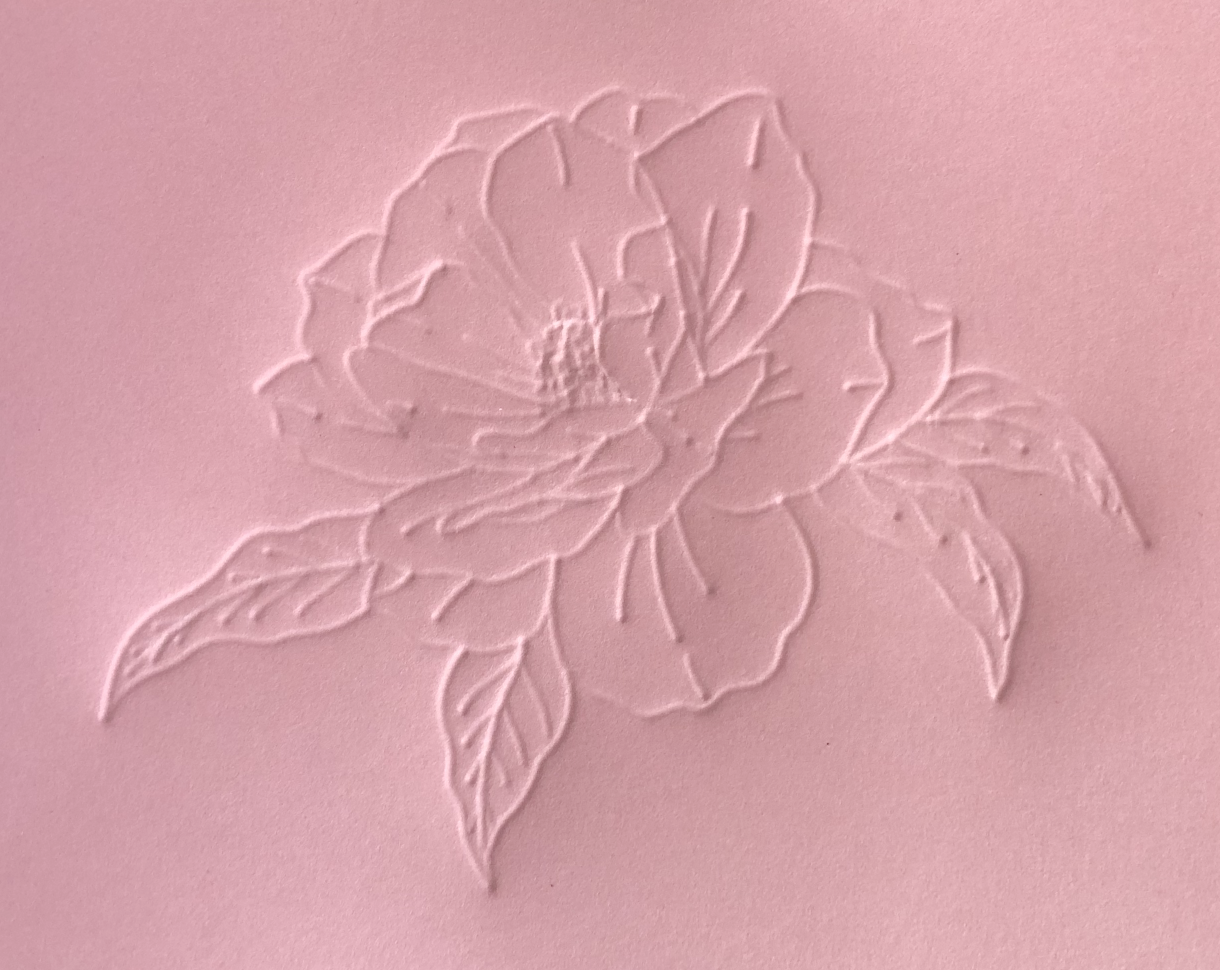
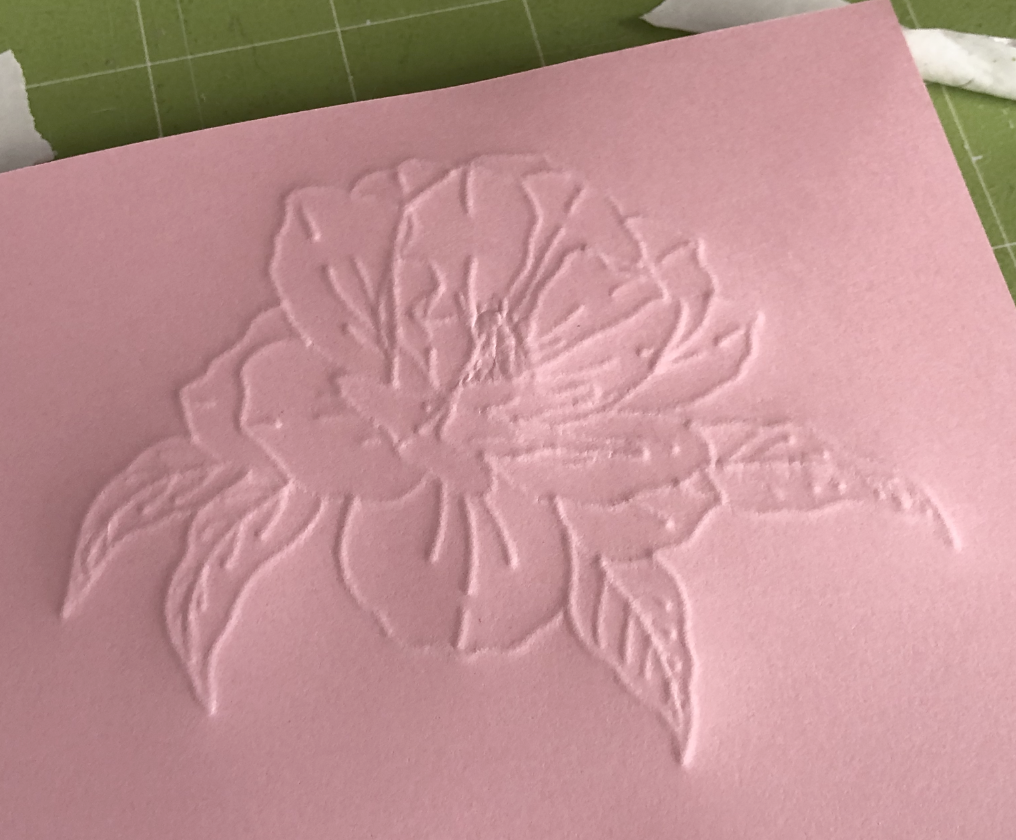
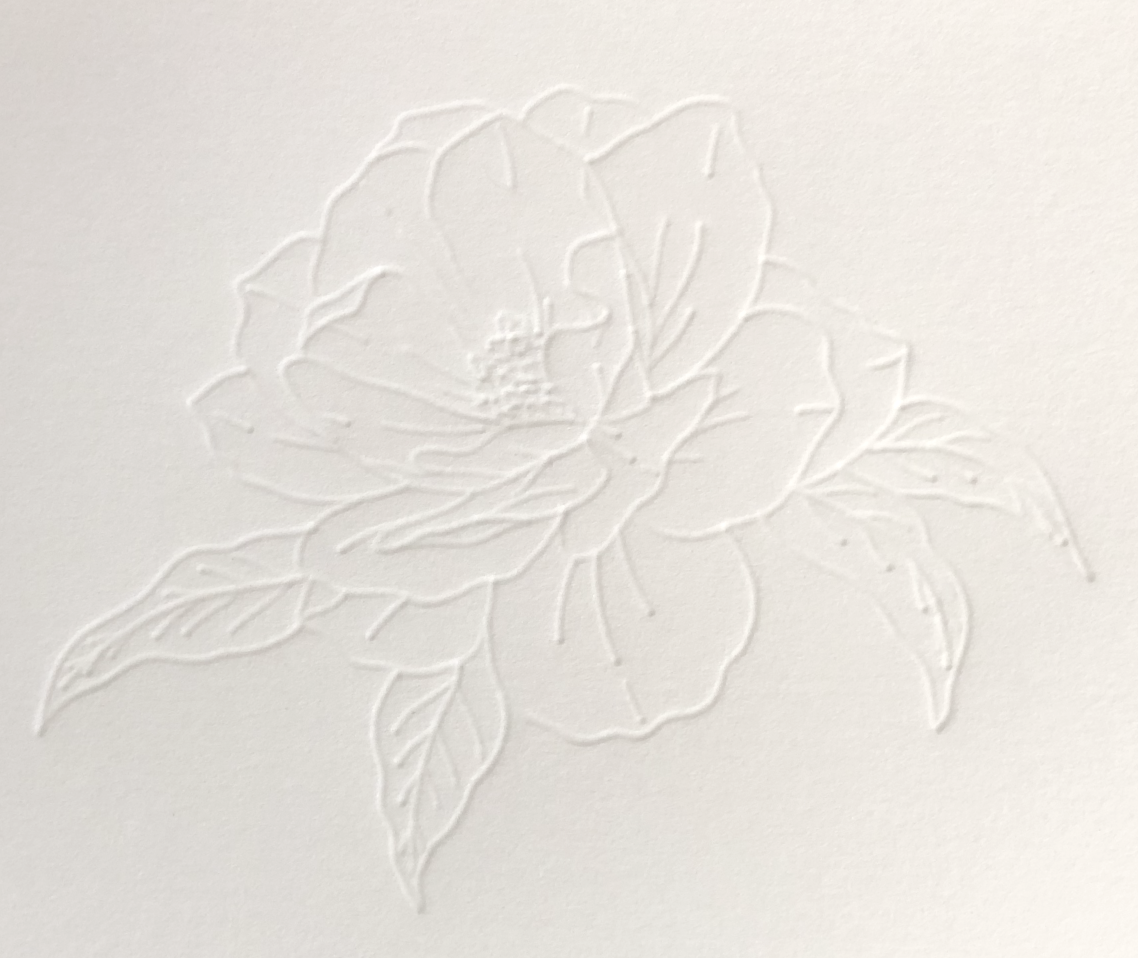
You could even mirror your image and use the reverse side as an emboss. Here’s a line art flower that I made, you could use either side! I only did 2 passes with this design. The center of the flower is pretty detailed and started to become weak after the 2nd pass.

65lb cardstock, 2 passes, front

65lb cardstock, 2 passes, front

65lb cardstock, 2 passes, back side

65lb cardstock, 2 passes, back side

100lb cardstock, 2 passes, front

100lb cardstock, 2 passes, front

The deboss tip works so much better with the foam layer between my cardstock and the mat!

(Left) 4 passes with deboss tip, no craft foam underneath. (Right) 4 passes with deboss tip with 2 mm craft underneath cardstock.

(Left) 4 passes with deboss tip, no craft foam underneath. (Right) 4 passes with deboss tip with 2 mm craft underneath cardstock.

If your foam starts to get too dented from the deboss, you can flip the foam over an use the other side. Or let the foam rest overnight and it will bounce back quite a bit.

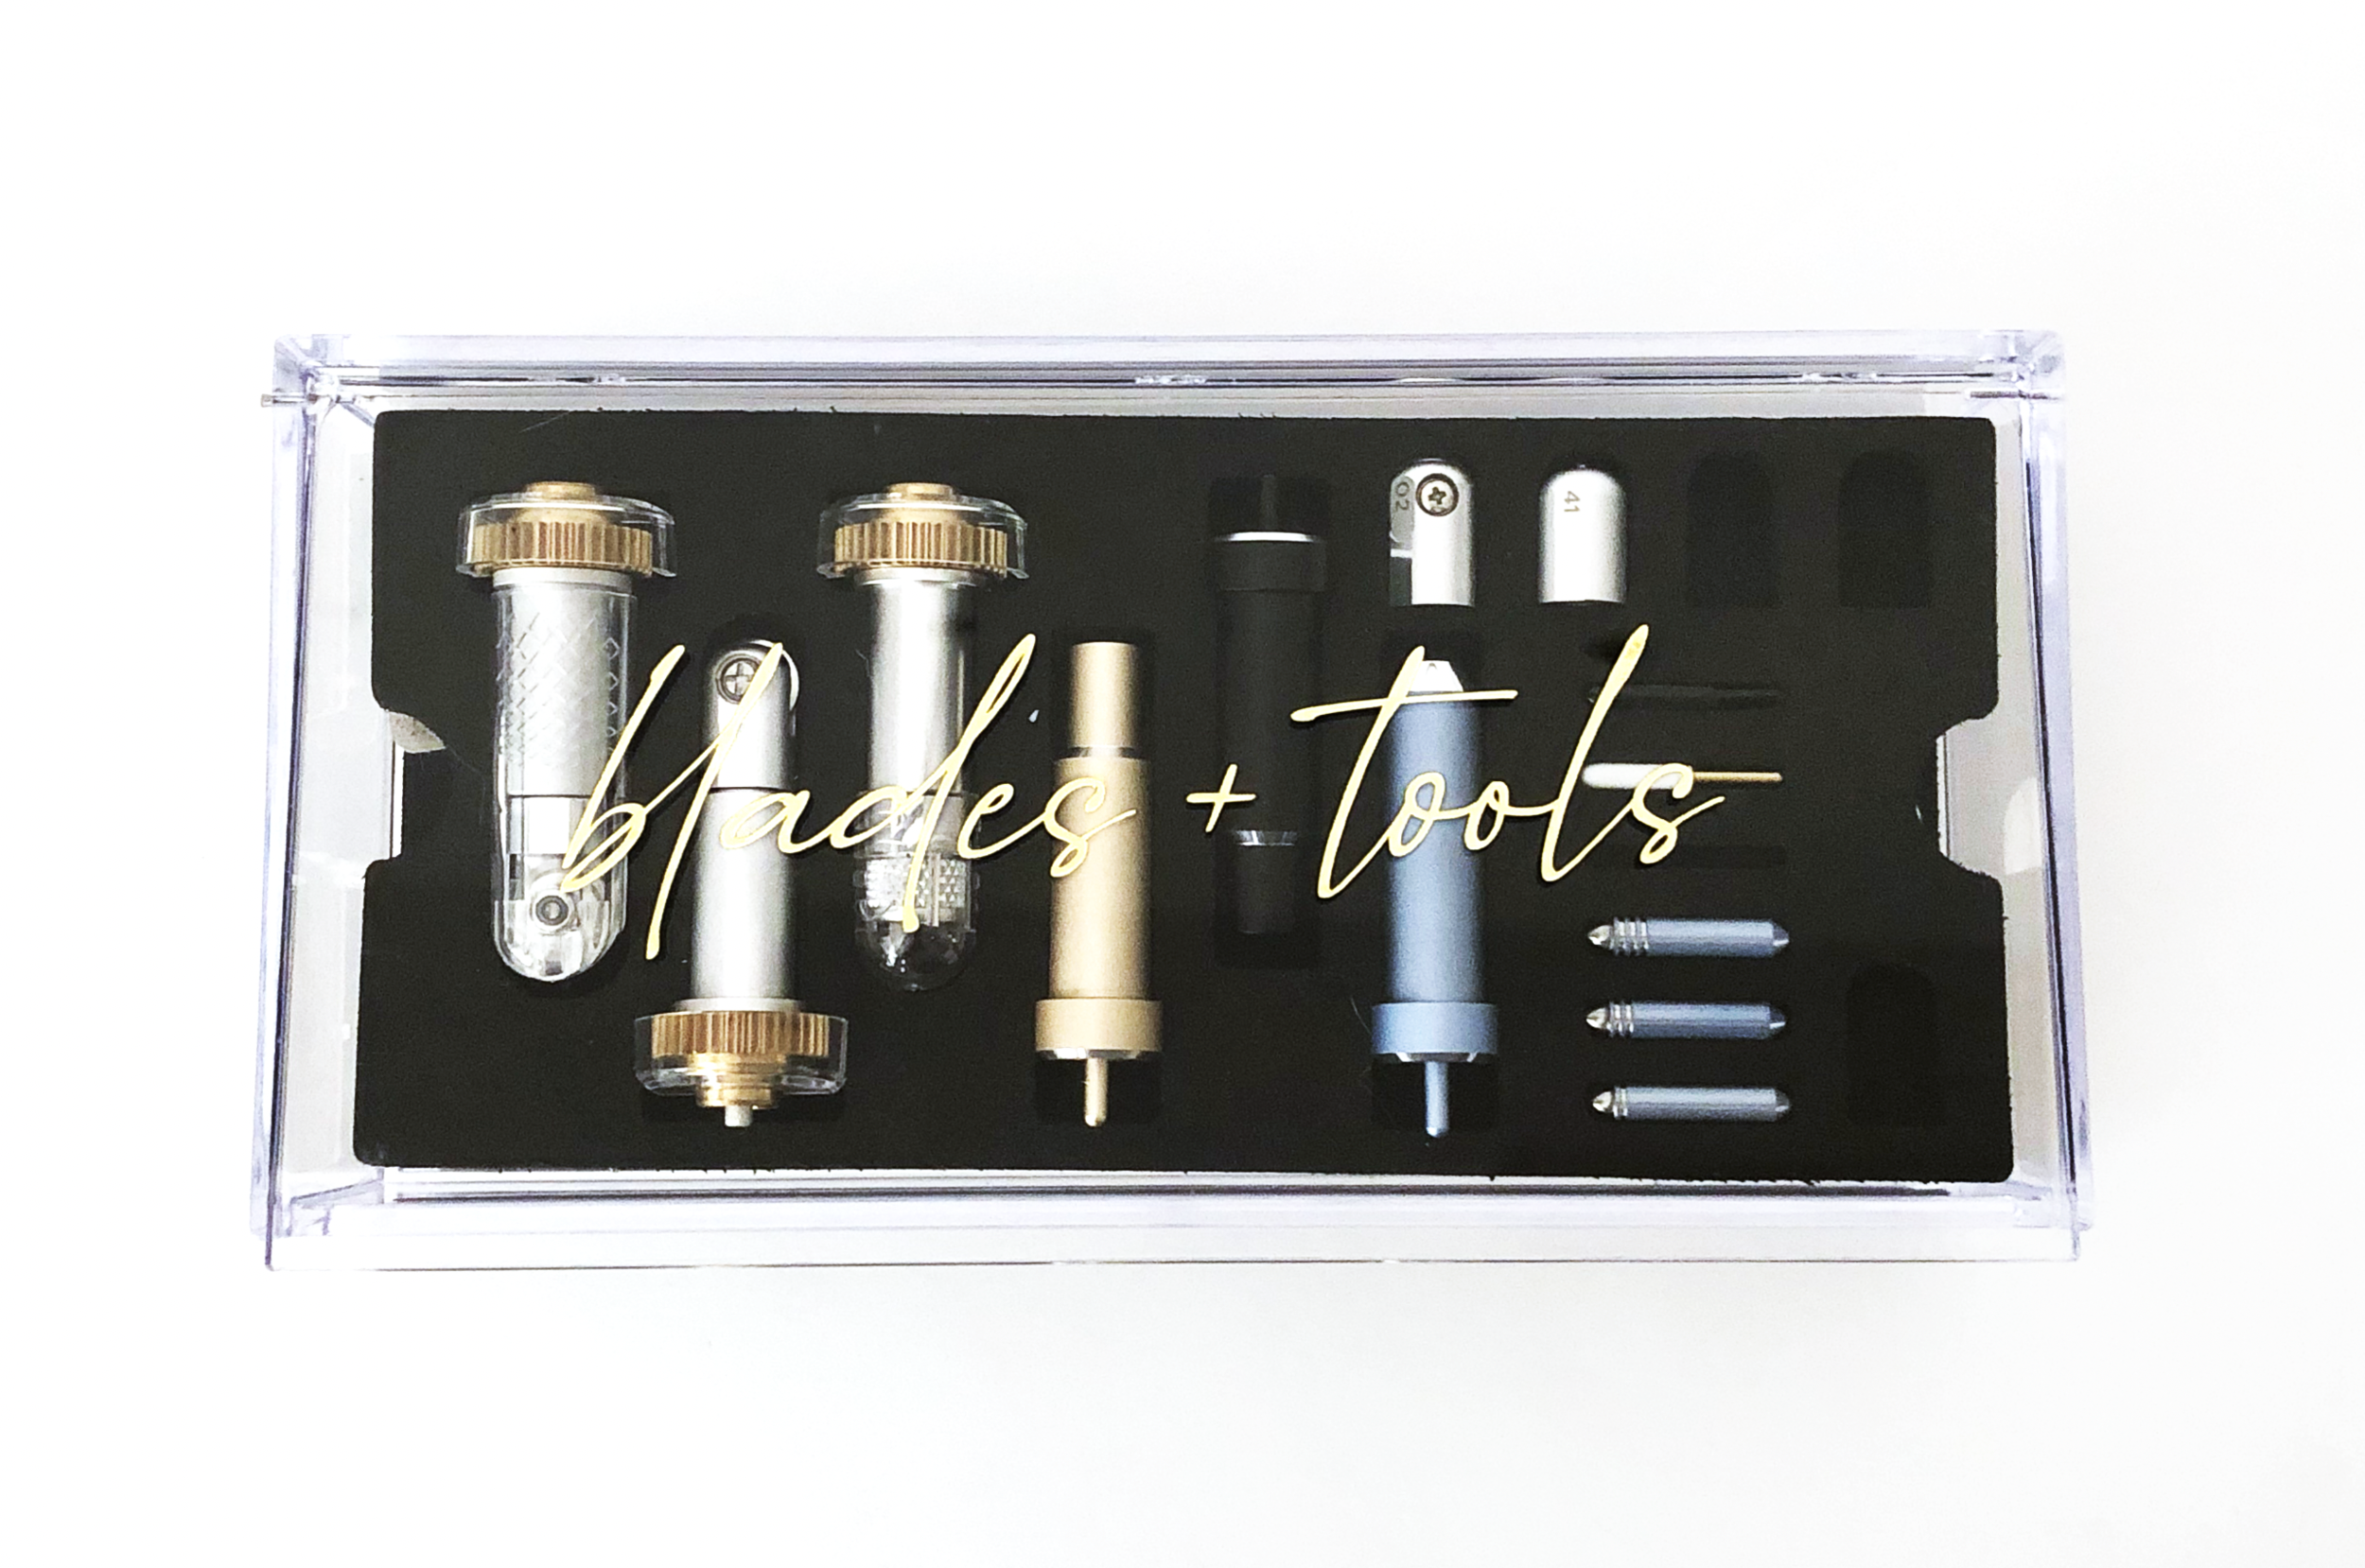
FREE Template DIY Cricut Tool & Blade Organizer

Hi Everyone! This year one of my goals is to better organize all of my craft and art supplies. I have A LOT! I don’t have a pretty little workspace like you see all over Pinterest. They’re very cute, but just not practical for me. ( I’m guessing these people don’t have cats or dust in their house.)

I’ve been buying a lot of clear acrylic storage bins on Amazon to help organize my stuff. They MUST have a lid to help keep the dust out and they have to fit in one of the cubbies at them end of my work desk.

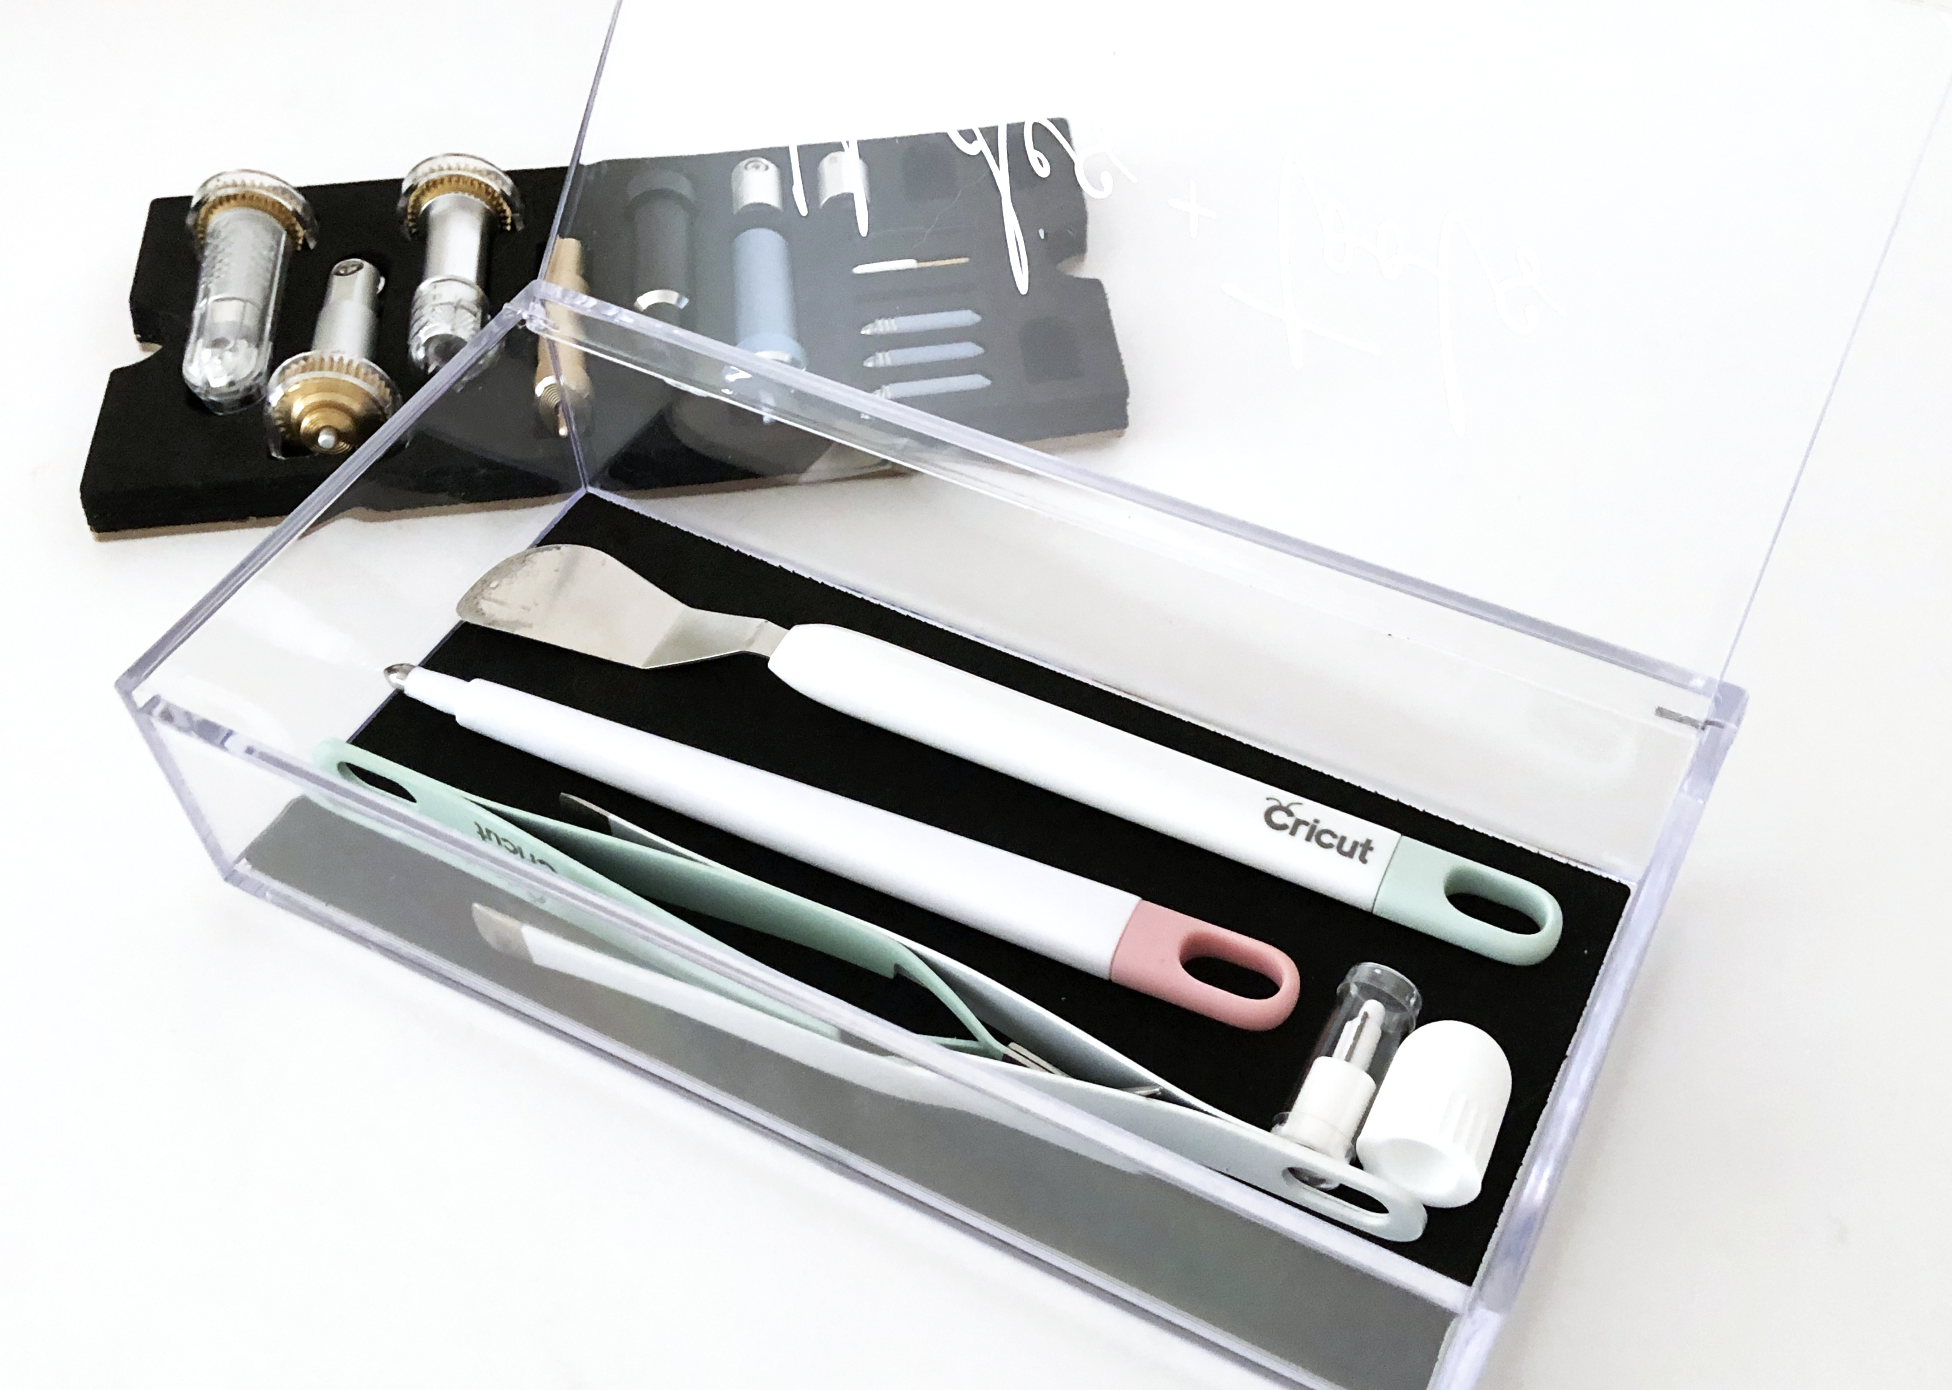
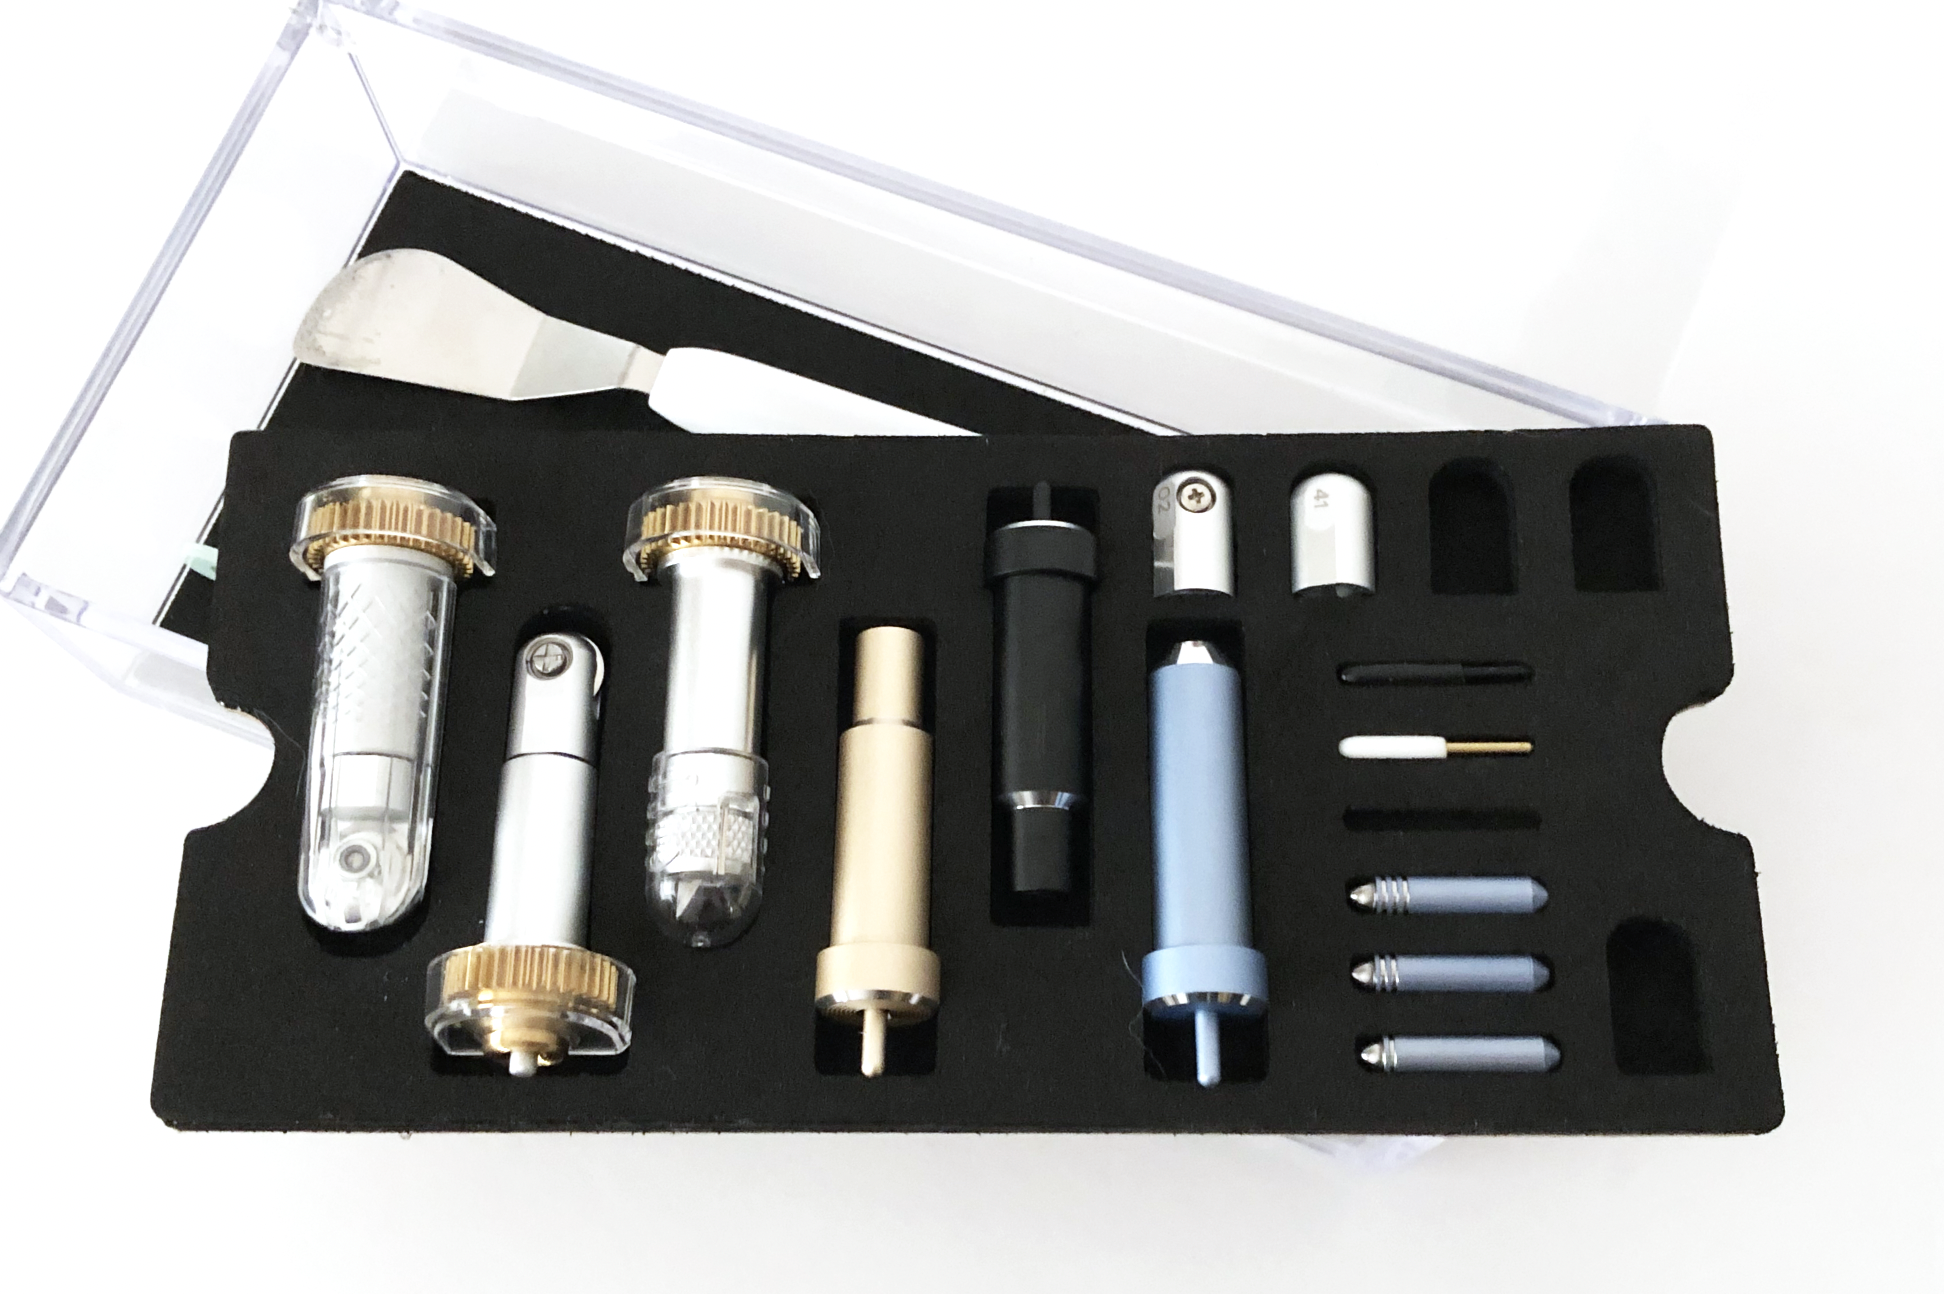
I found some smaller one’s intended for make up brushes, but I decided to use one for my Cricut tools and blades. Yes, I know Cricut has their own round organizer, I almost bought it. But then I realized, it won’t fit in my storage tote with my machine, it won’t fit in my desk cubbies with my other bins, and I don’t intend to leave it out on my desk. You can also store the blades in the front flap of the machine, but I know myself, and I will forget to take out all the blades/ tools I need for a particular project before I start my machine.

So today I wanted to share how I made my storage solution that works for me. I’m also sharing the template that I made for FREE!

If you have any questions, feel free to ask in the comments section. I’ll get back to you as quickly as I can!

Screen Shot 2021-02-01 at 12.12.37 PM.png

Supplies: (Links below may be affiliate links)

Optional:

Let’s get started!

Upload the FREE SVG file to Design Space and press SAVE.

Tip: If you are using Safari, right click on the button below and select “Download linked file” and it will save the SVG file to your Downloads folder. If you are using Chrome, right click on the button below and select “Save Linked file” and choose where you want to save the SVG file.

Screen Shot 2021-01-29 at 11.23.32 AM.png

Select the Image and press INSERT IMAGES.

Screen Shot 2021-01-29 at 11.26.24 AM.png

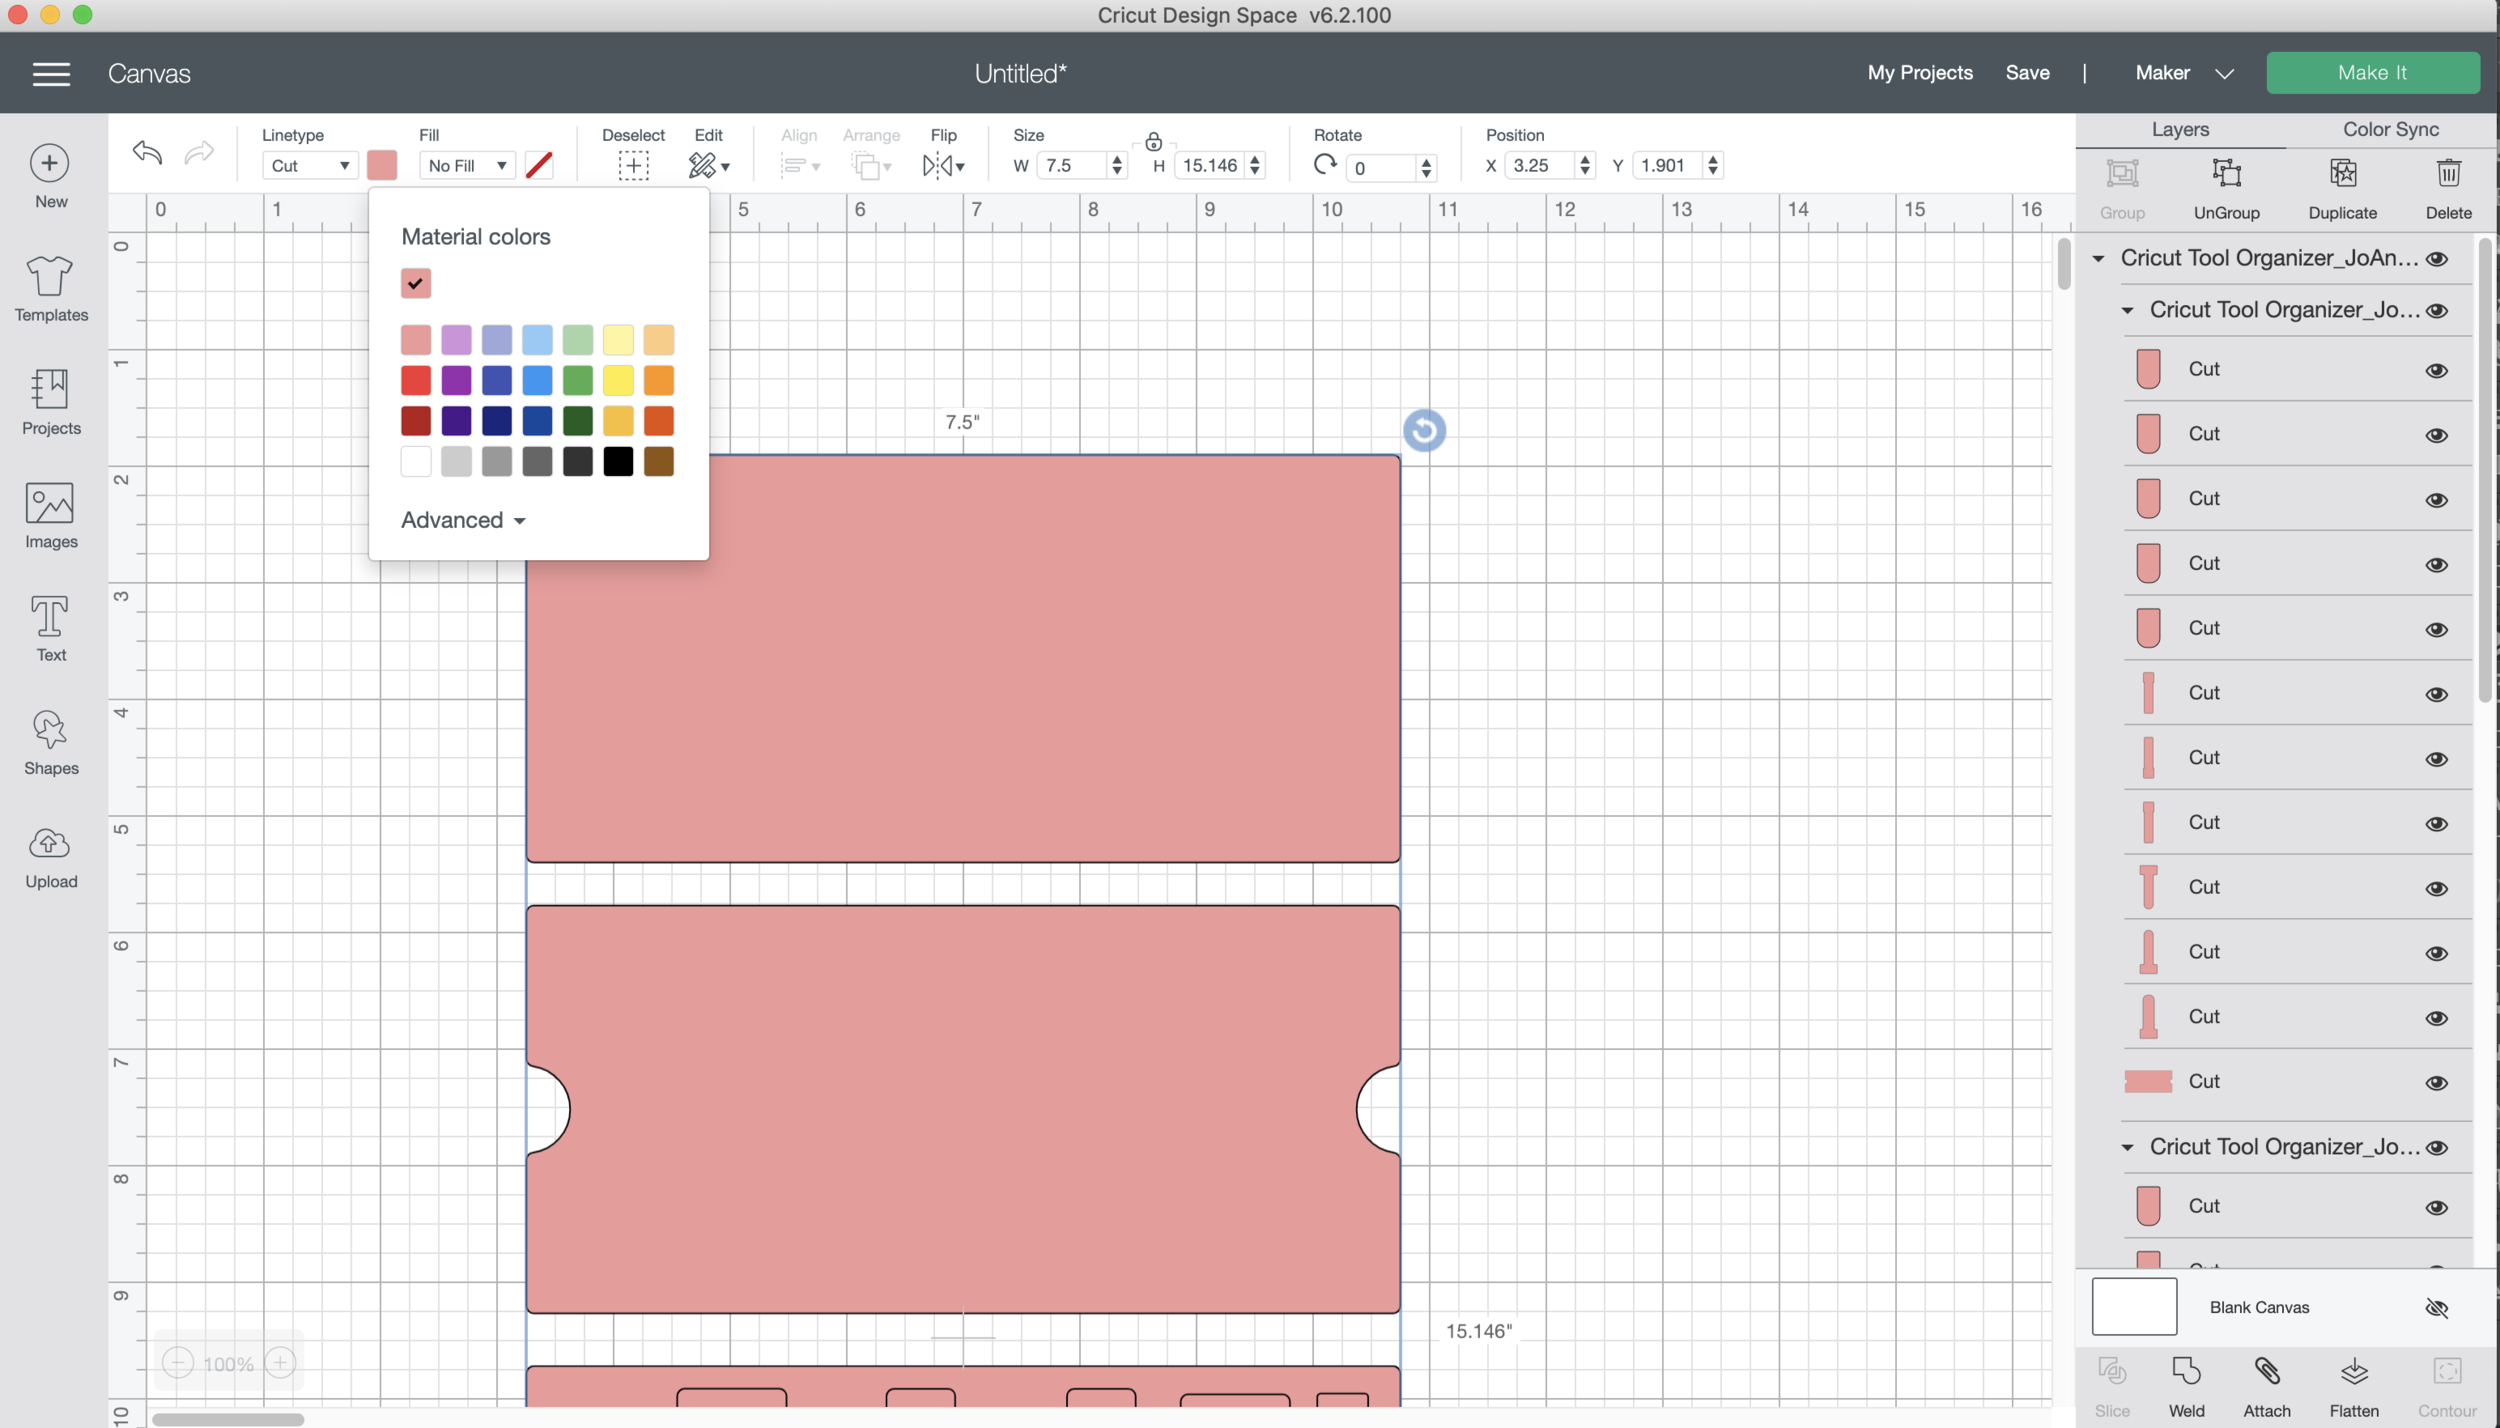
Change the color of your MATERIAL so you can actually see the cut lines. I’m using pink, but you can use any color other than black.

Screen Shot 2021-01-29 at 11.27.15 AM.png

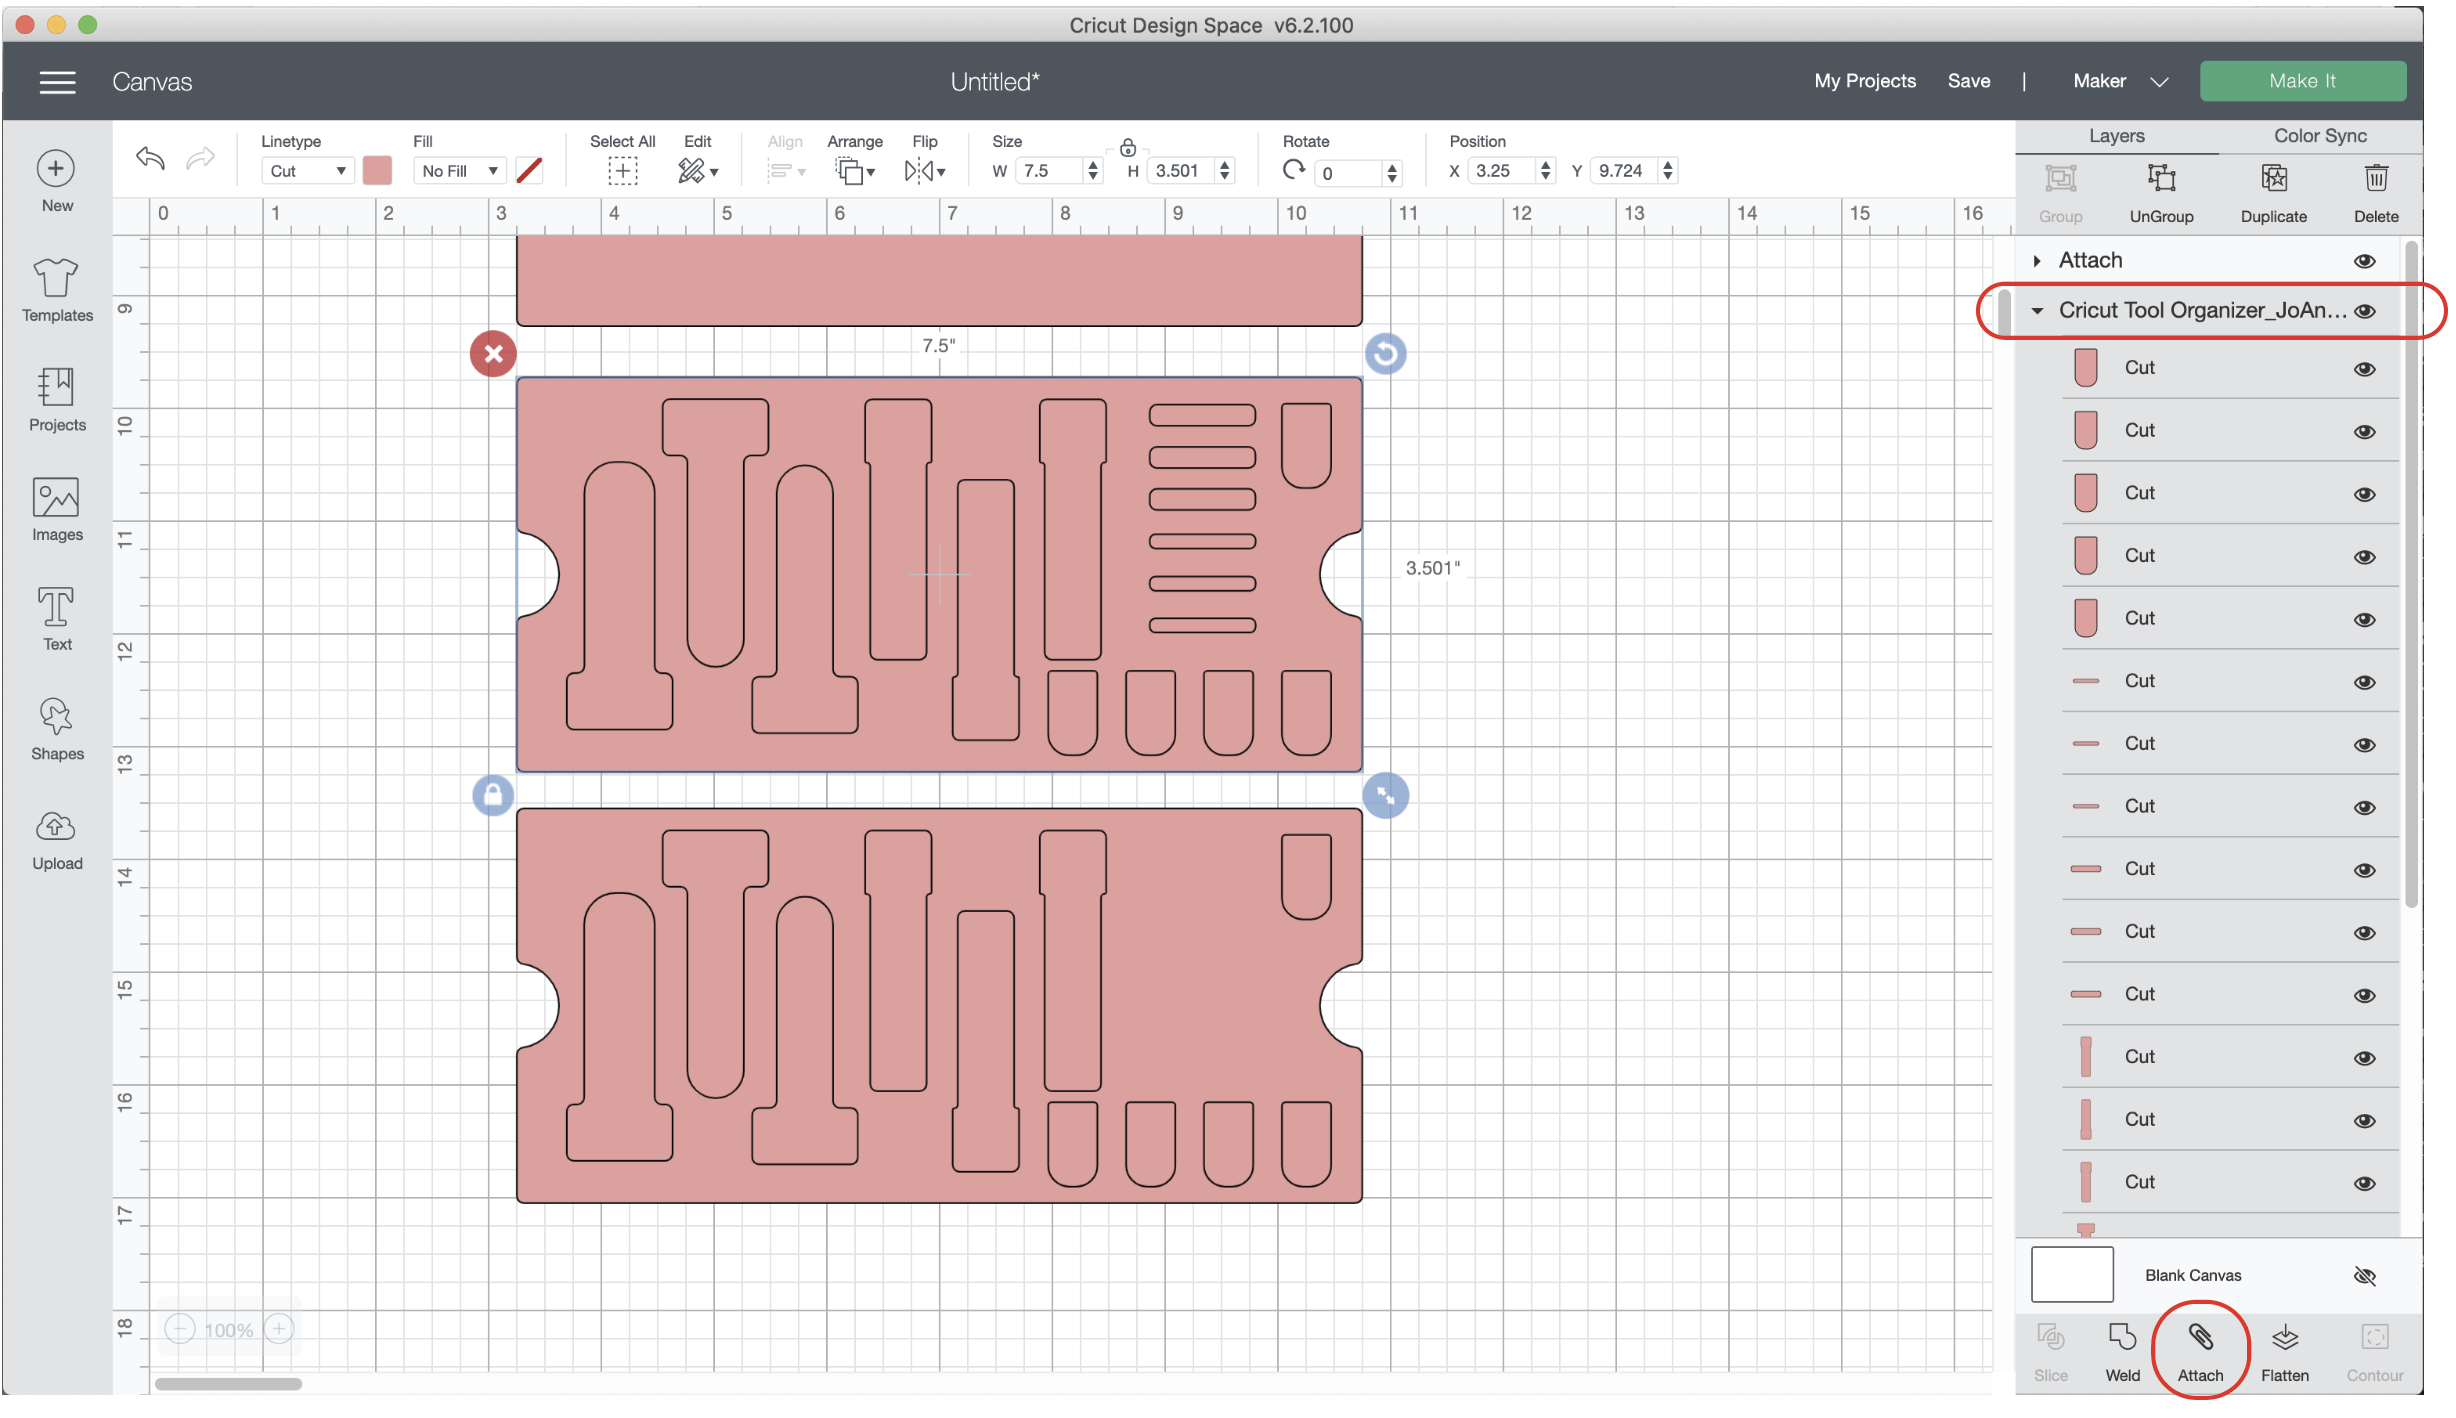
Select the top most layer and click UNGROUP.

Screen Shot 2021-01-29 at 11.37.44 AM.png

Select the top most group and click ATTACH.

Screen Shot 2021-01-29 at 11.43.00 AM.png

Select the next group and click ATTACH.

Screen Shot 2021-01-29 at 11.57.44 AM.png

Now I’m going to pre-set up my mats. I only have one Strong Grip mat, so I’m going to do it one mat at a time.

Side note: I tried using my regular green mat, it’s a little old, I don’t think it was sticky enough, the foam kept getting pulled up and ripped by the blade, even with the masking tape around the edges. If you have a fresh new green mat, it might be sticky enough.

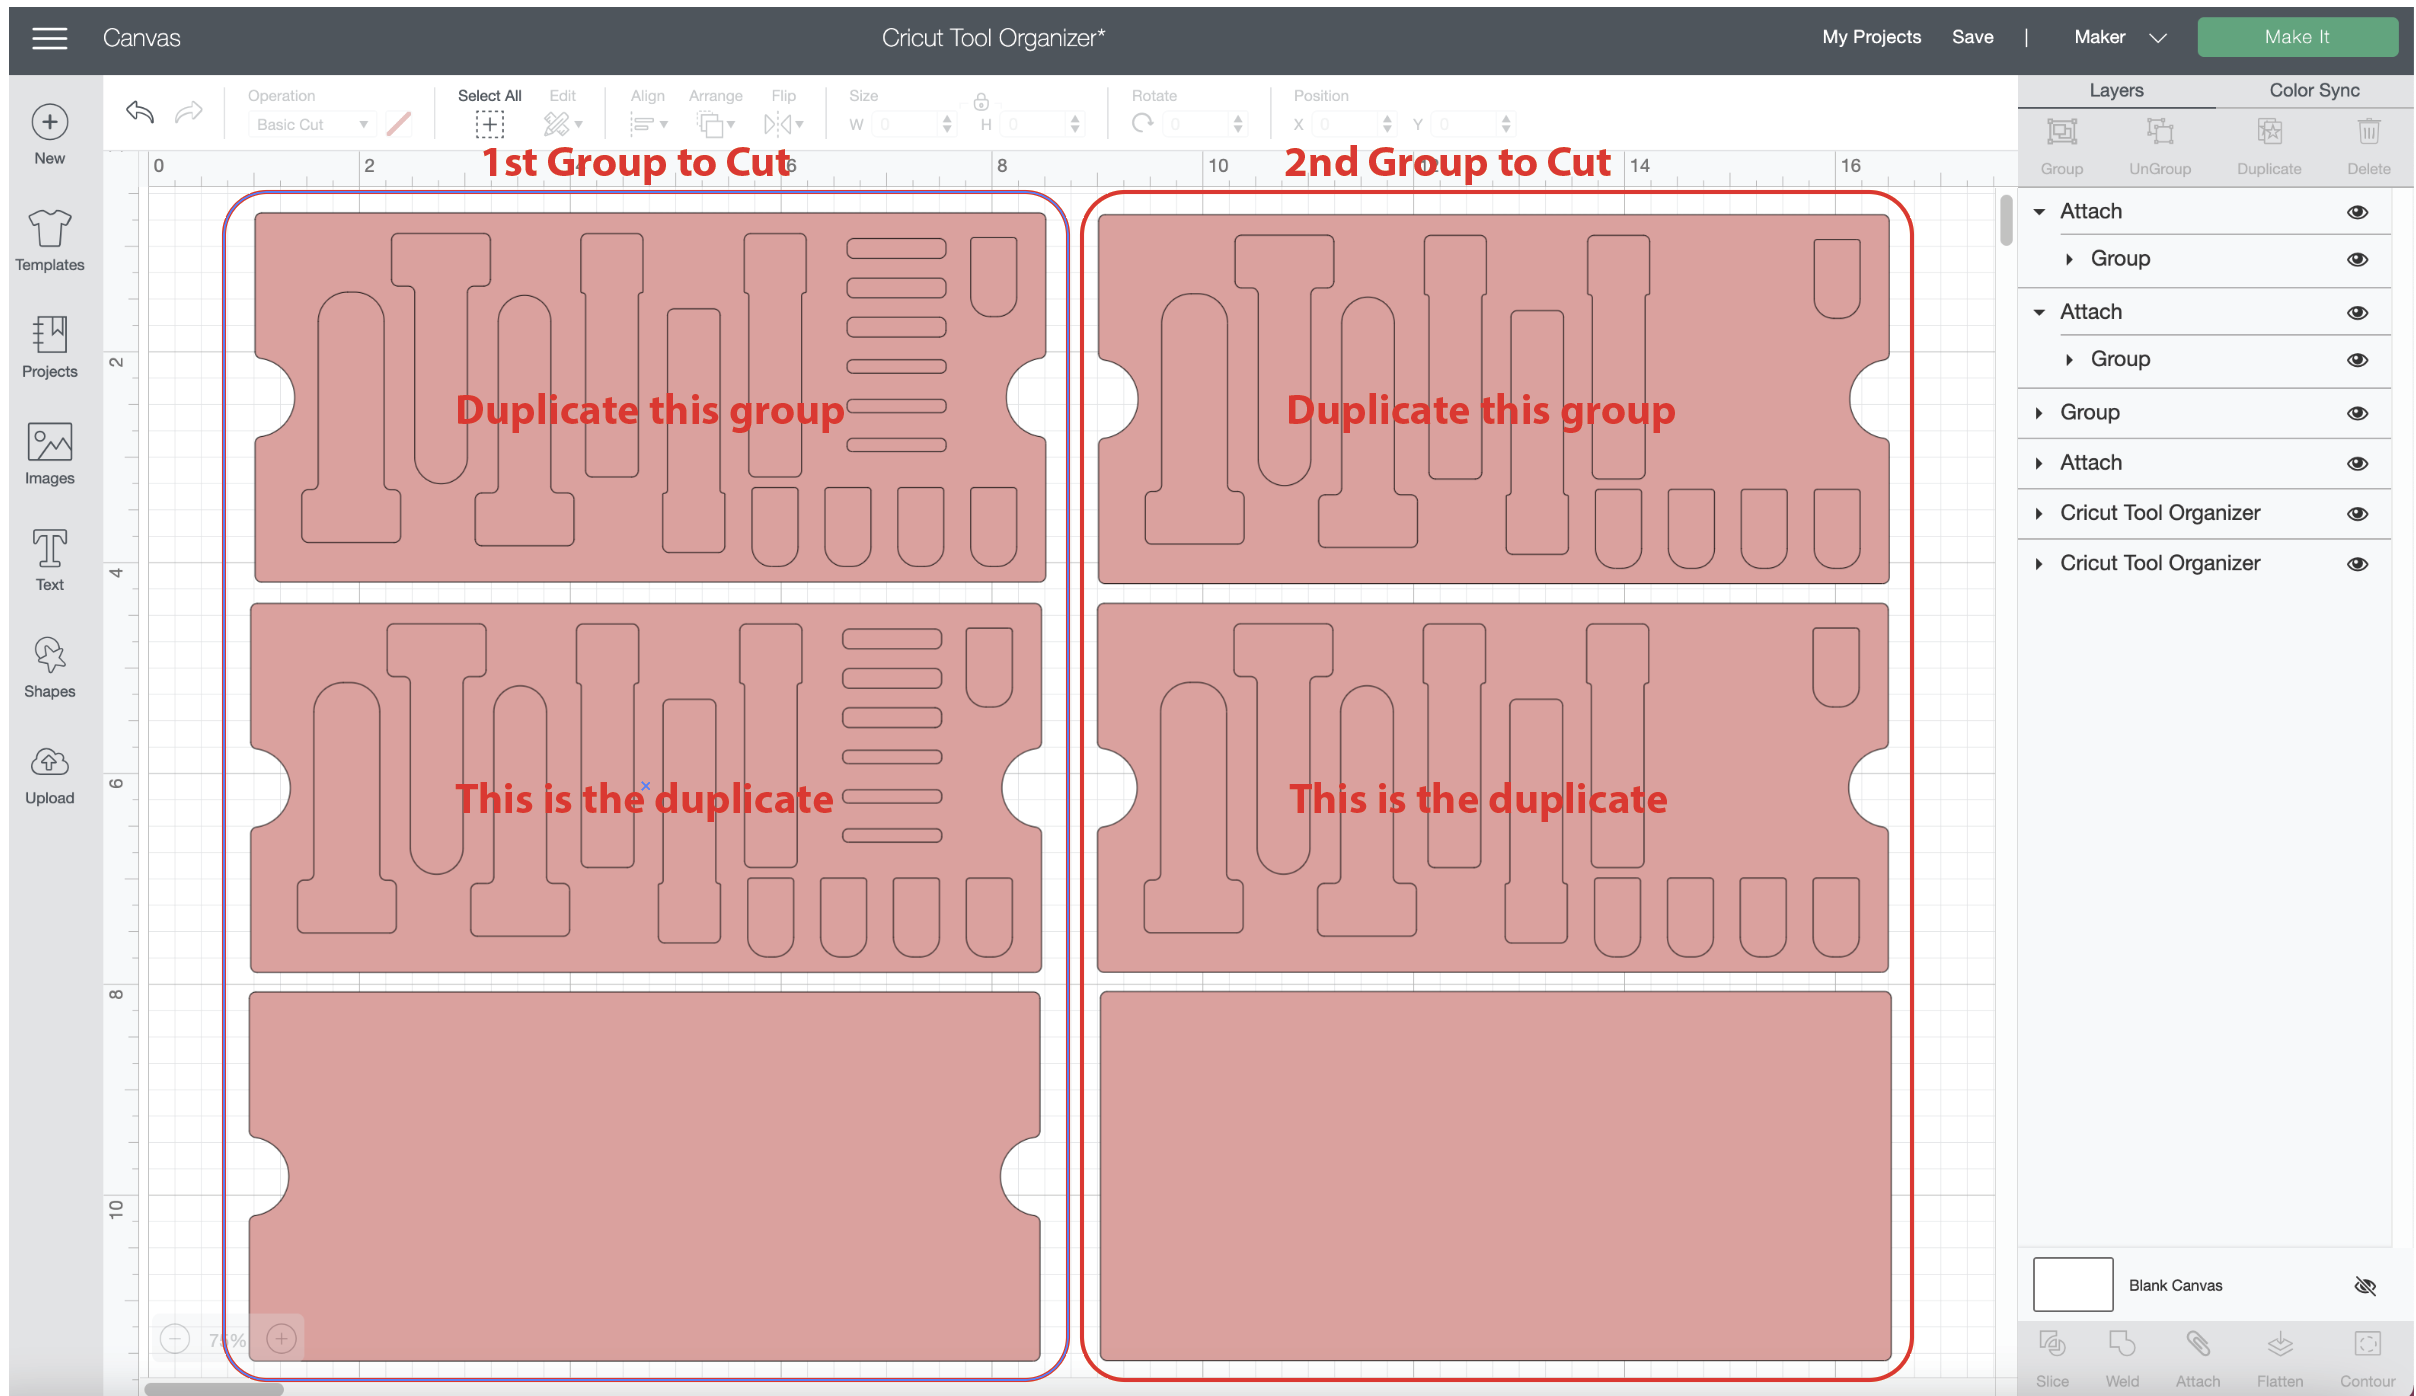
For the 1st group to cut, duplicate the group with the tool shape cut outs (you will now have 2 of these showing) place the solid rectangle with finger holds below.

For the 2nd group to cut, duplicate the group with the tool shape cut outs, then place the solid rectangle below.

These will be your 2 mats.

Screen Shot 2021-01-31 at 12.23.46 PM.png

Keep the material size at 12x12, so you can move your pieces toward the middle of the mat. I had better success cutting the foam if I placed toward the middle of my mat. Select the 2nd mat and move those pieces toward the middle of the mat also.

Screen Shot 2021-01-31 at 6.17.49 PM.png

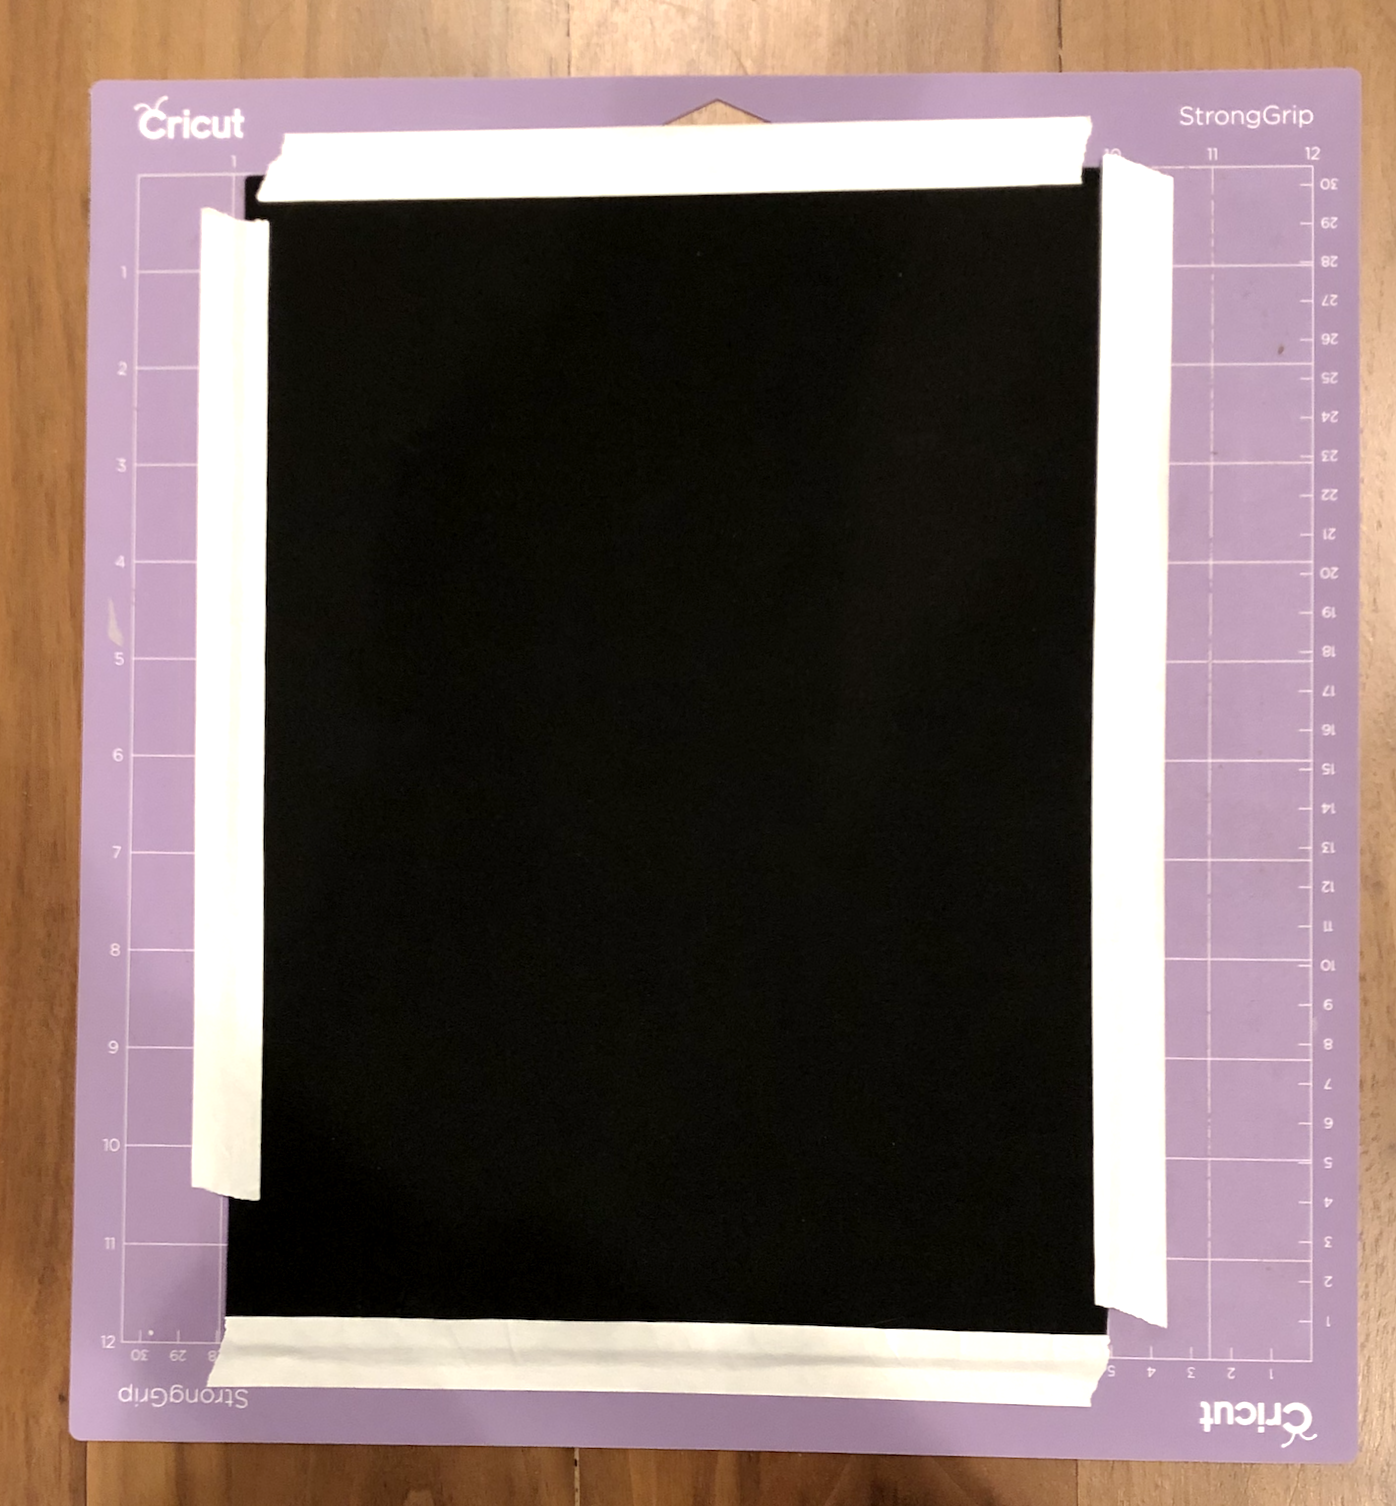
Place one of the foam sheets centered on the mat. Make sure the foam is oriented so the cut lines fall within the masking taped edges.

Screen Shot 2021-01-31 at 5.45.29 PM.png

Press CONTINUE in Design Space.

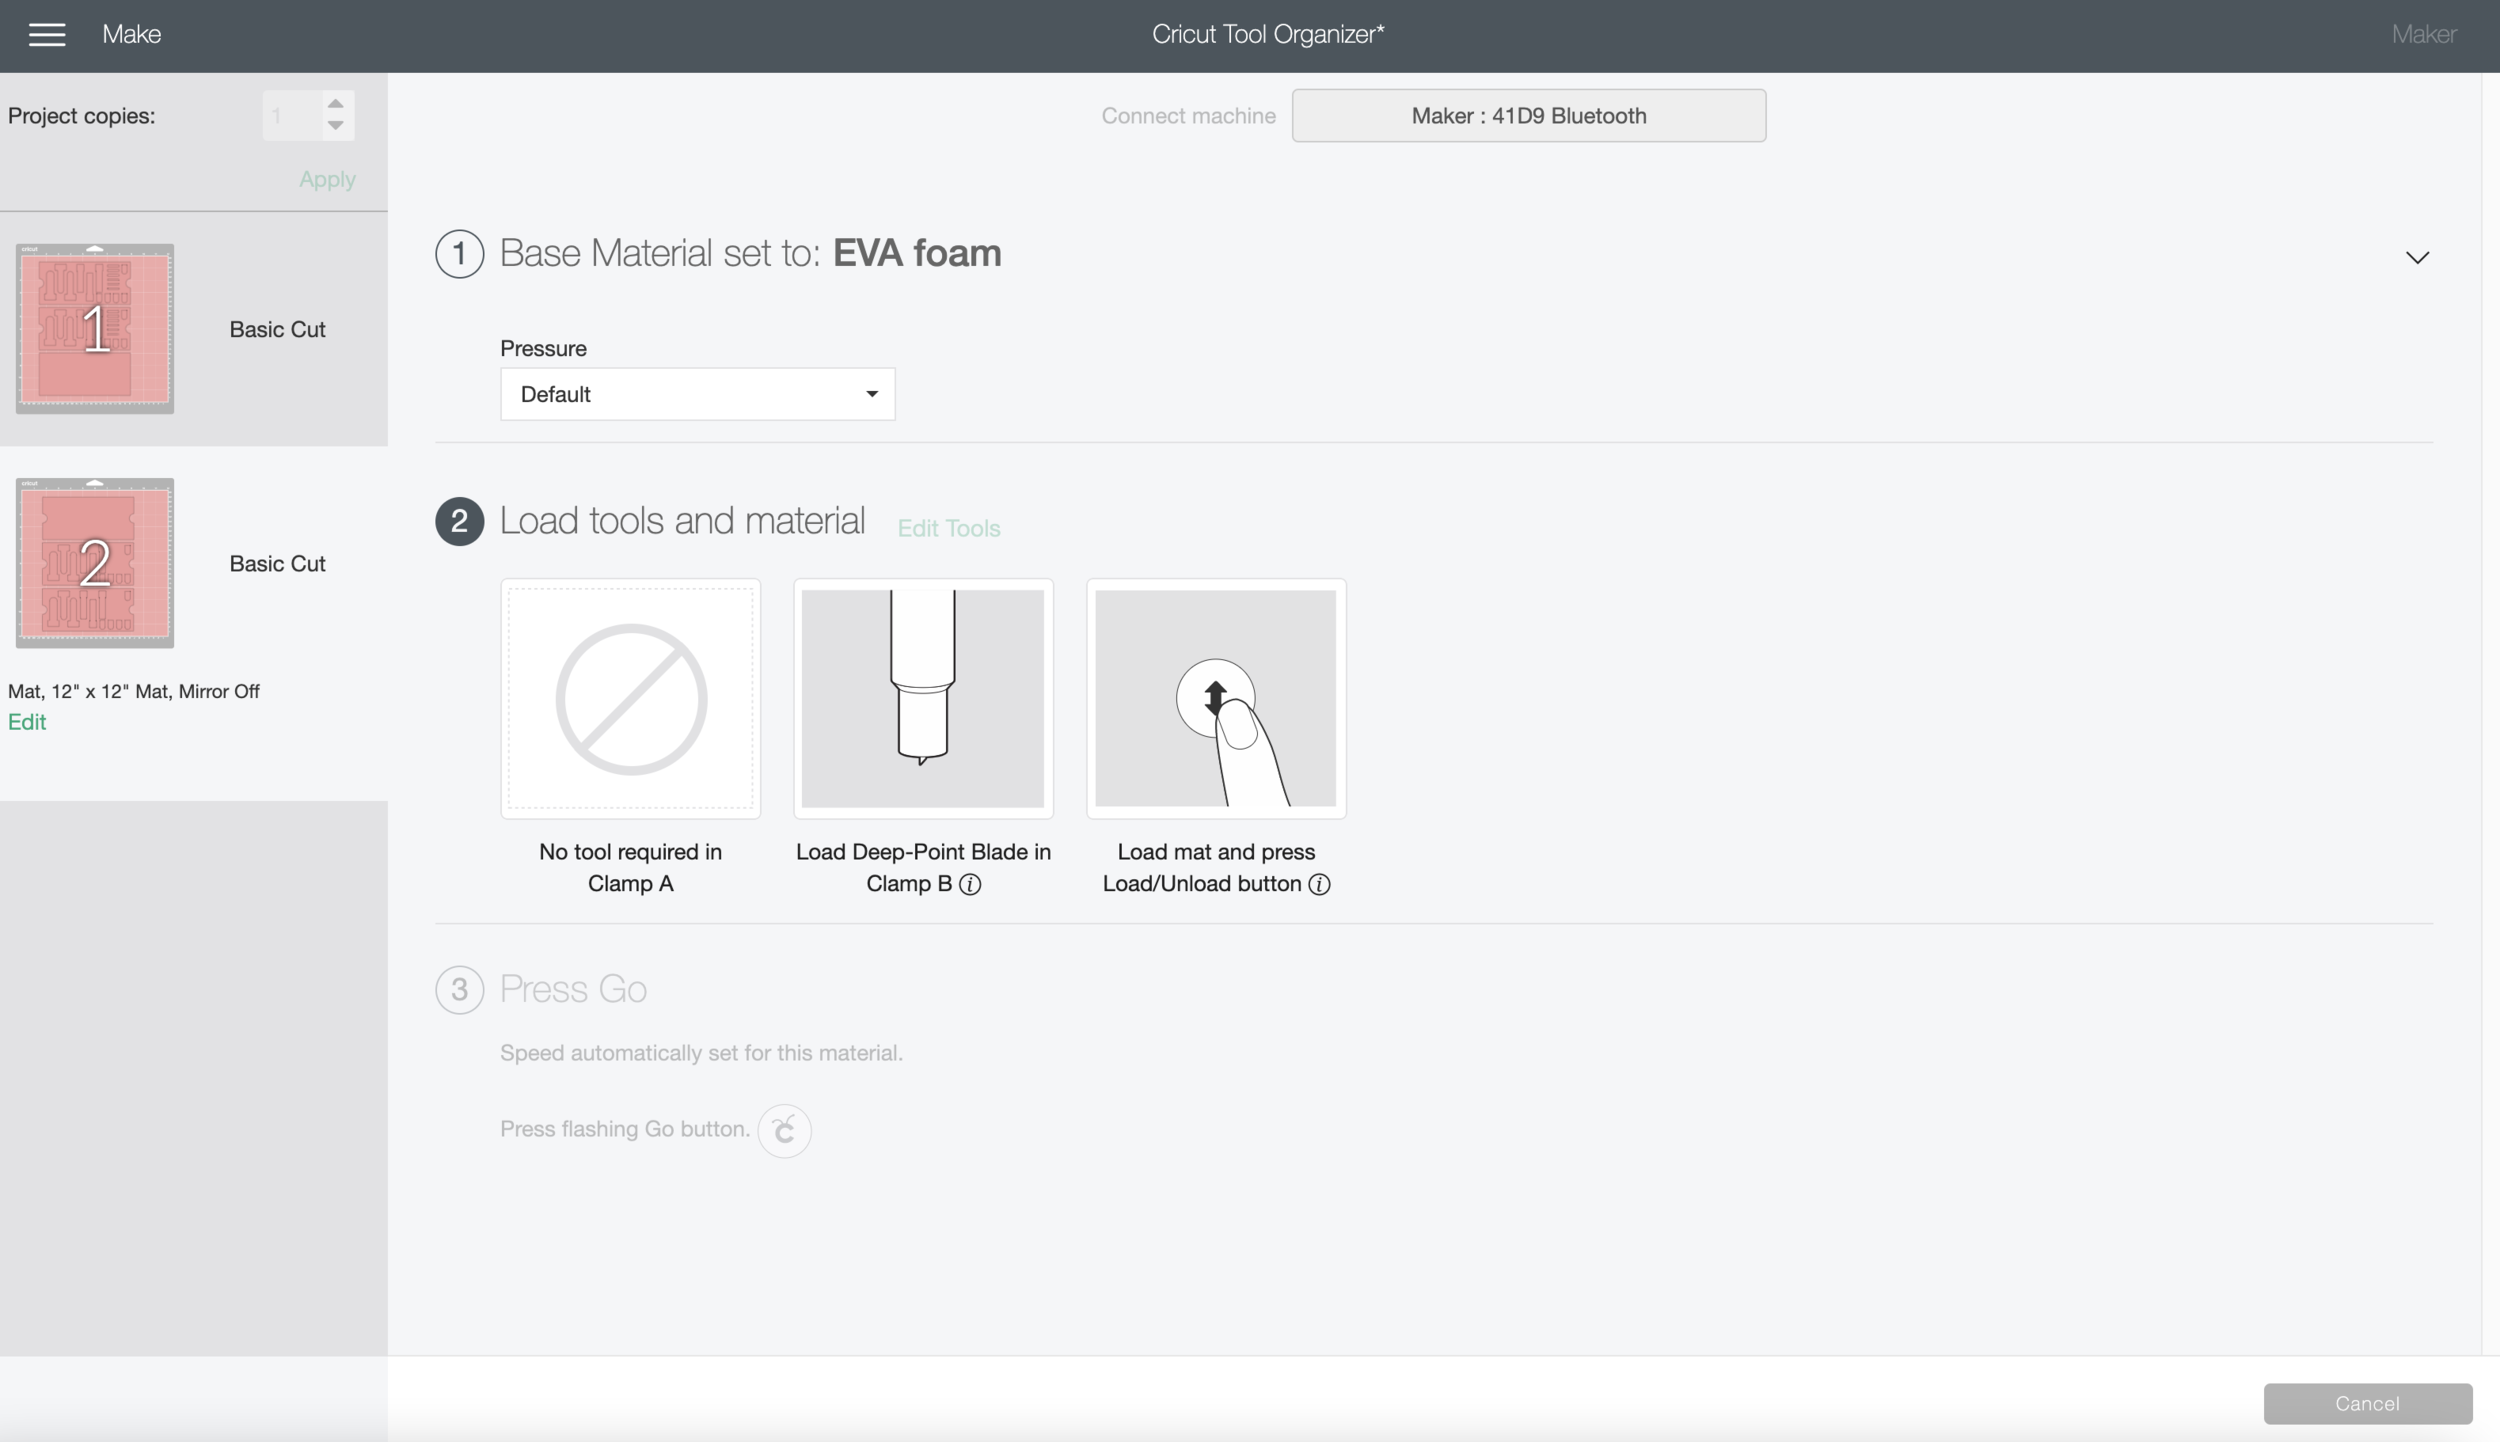
Select EVA foam from your materials (I tried Craft Foam, but my pieces kept tearing).

Load the Deep Cut Blade or the Knife Blade into your machine.

Load the mat into your machine and press GO!

Screen Shot 2021-02-01 at 9.57.09 AM.png

Once the machine is done cutting, check your cut to make sure it went all the way through, if it’s good, unload your mat.

Carefully remove the cut pieces from the mat.

Attach the 2nd piece of foam to the mat, making sure your cut lines fall within the taped edges. Load the mat into the machine and press GO!

Once the machine is done cutting, check your cut to make sure it went all the way through, if it’s good, unload your mat.

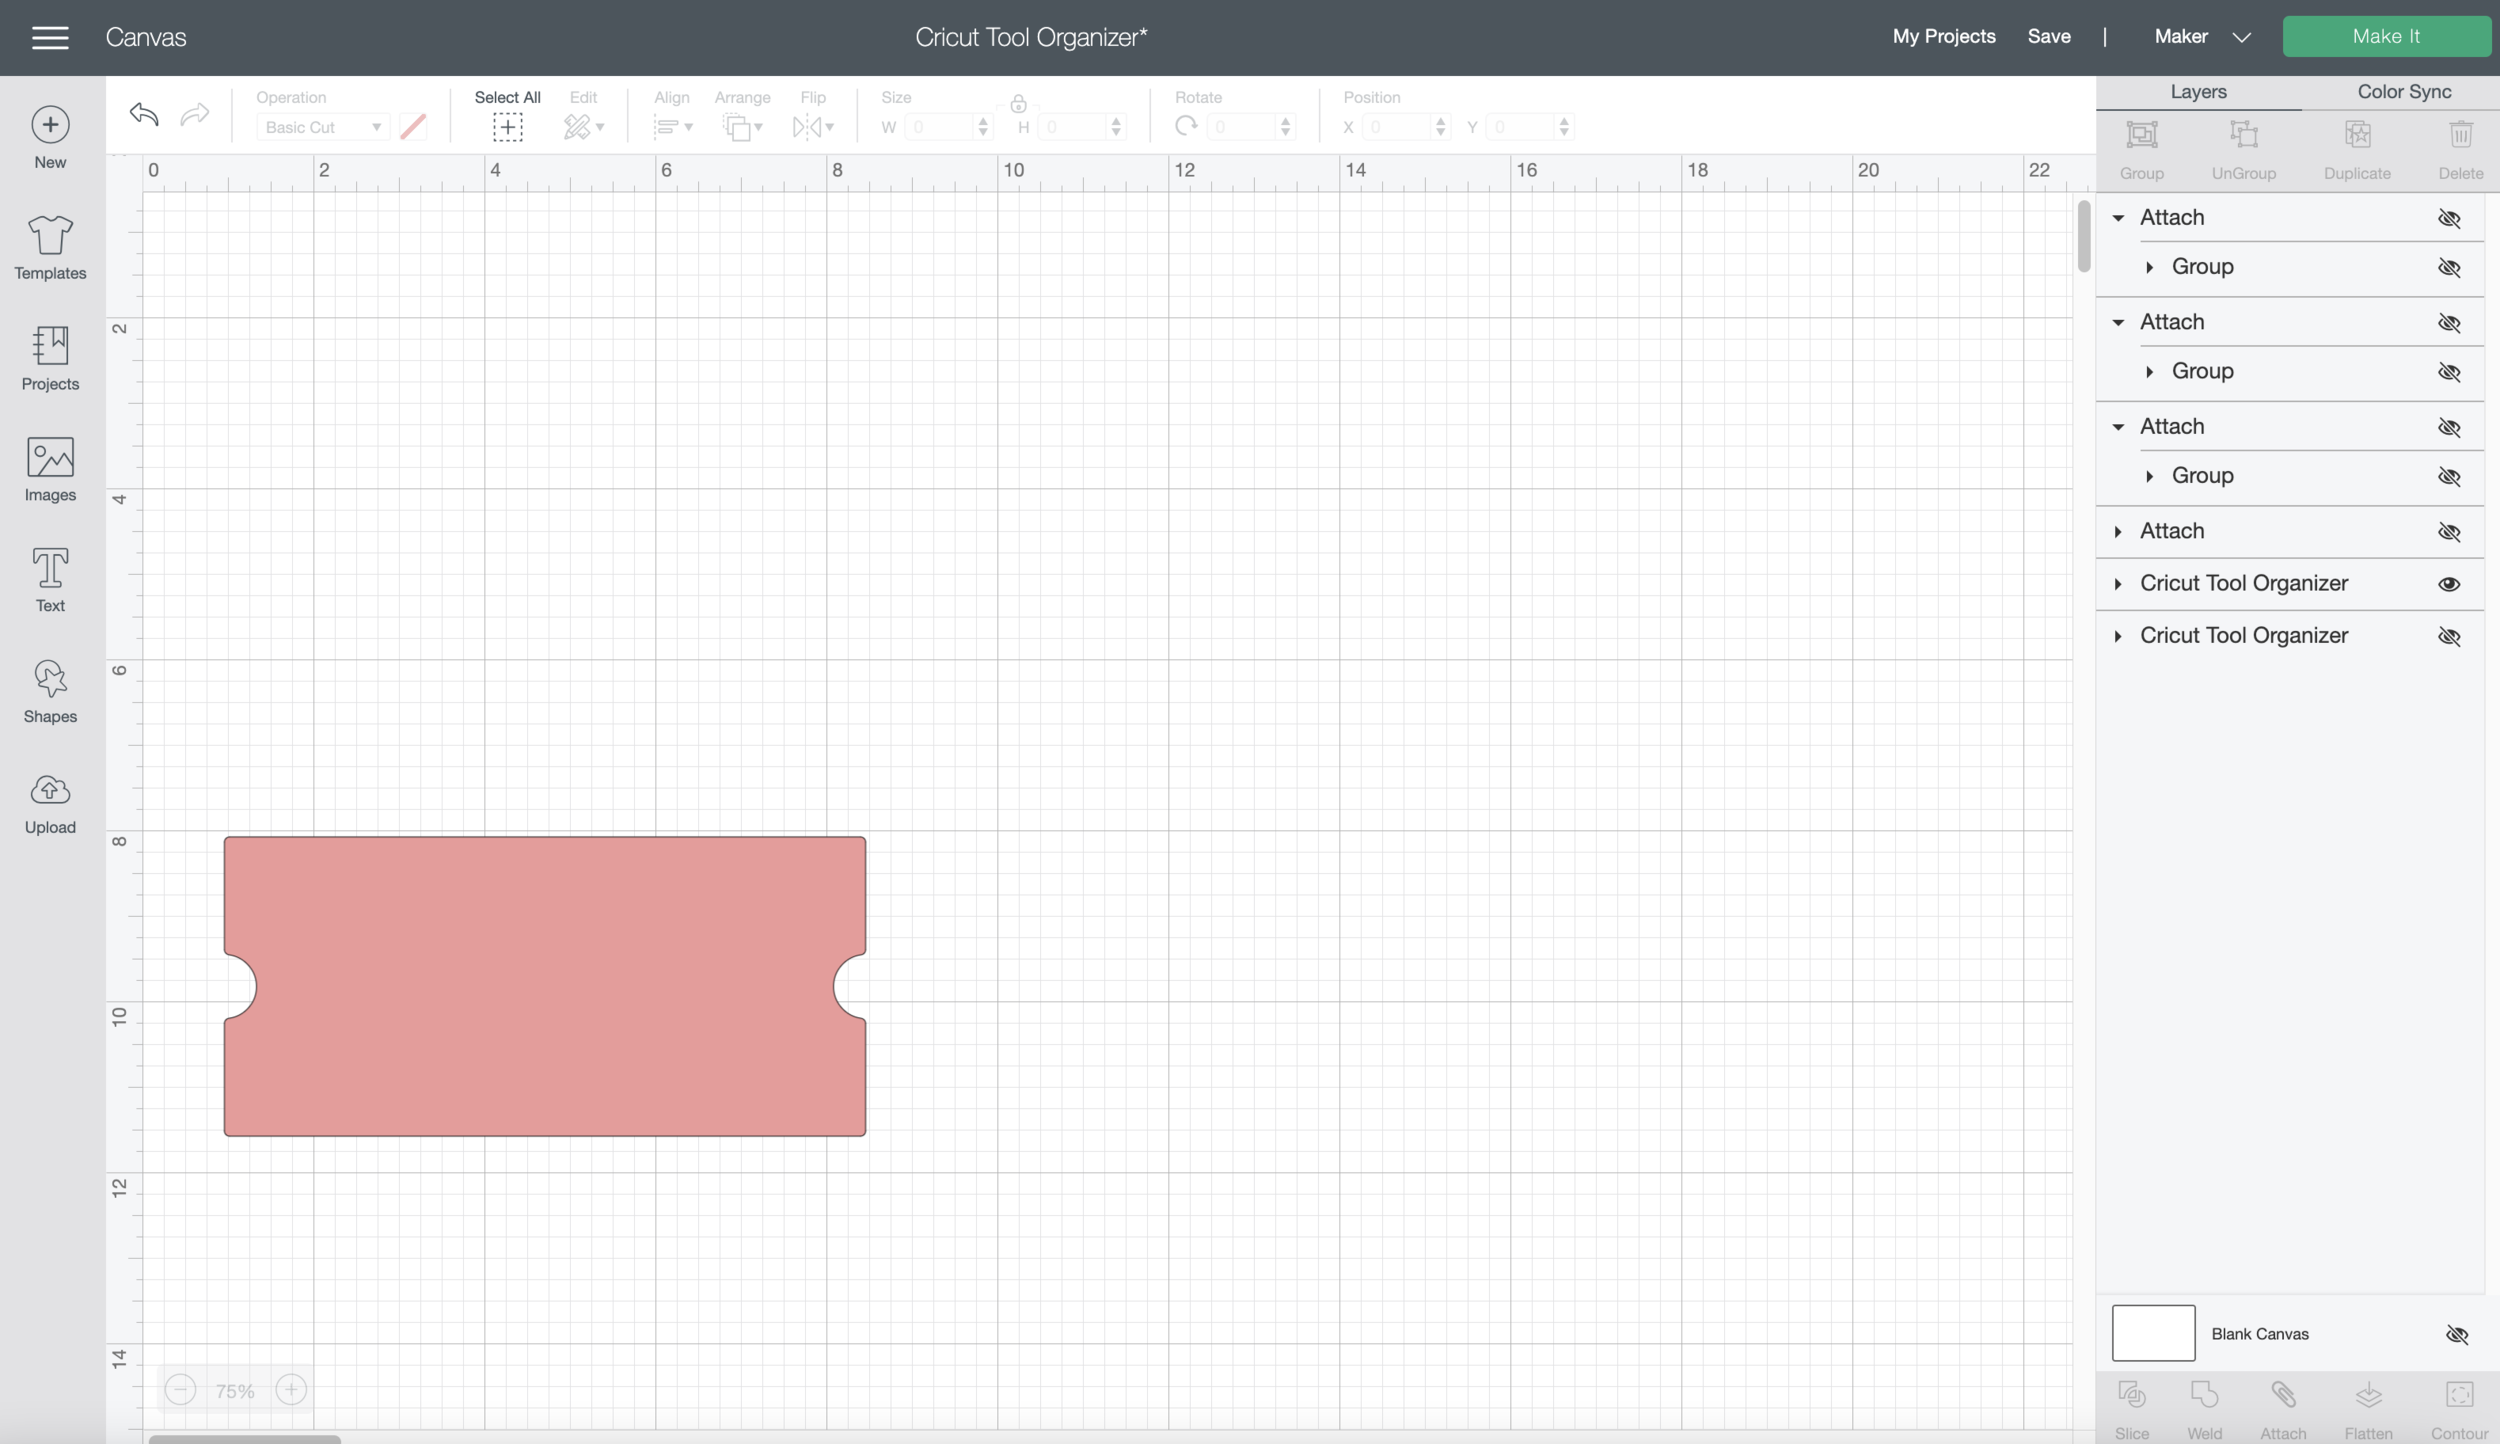
Go back to the CANVAS screen and and hide all the layers except for the solid rectangle with finger holds, we’re going to cut just this piece out of 2mm Chipboard or whatever other stiff material you have selected.

Press MAKE IT.

Screen Shot 2021-02-01 at 10.00.12 AM.png

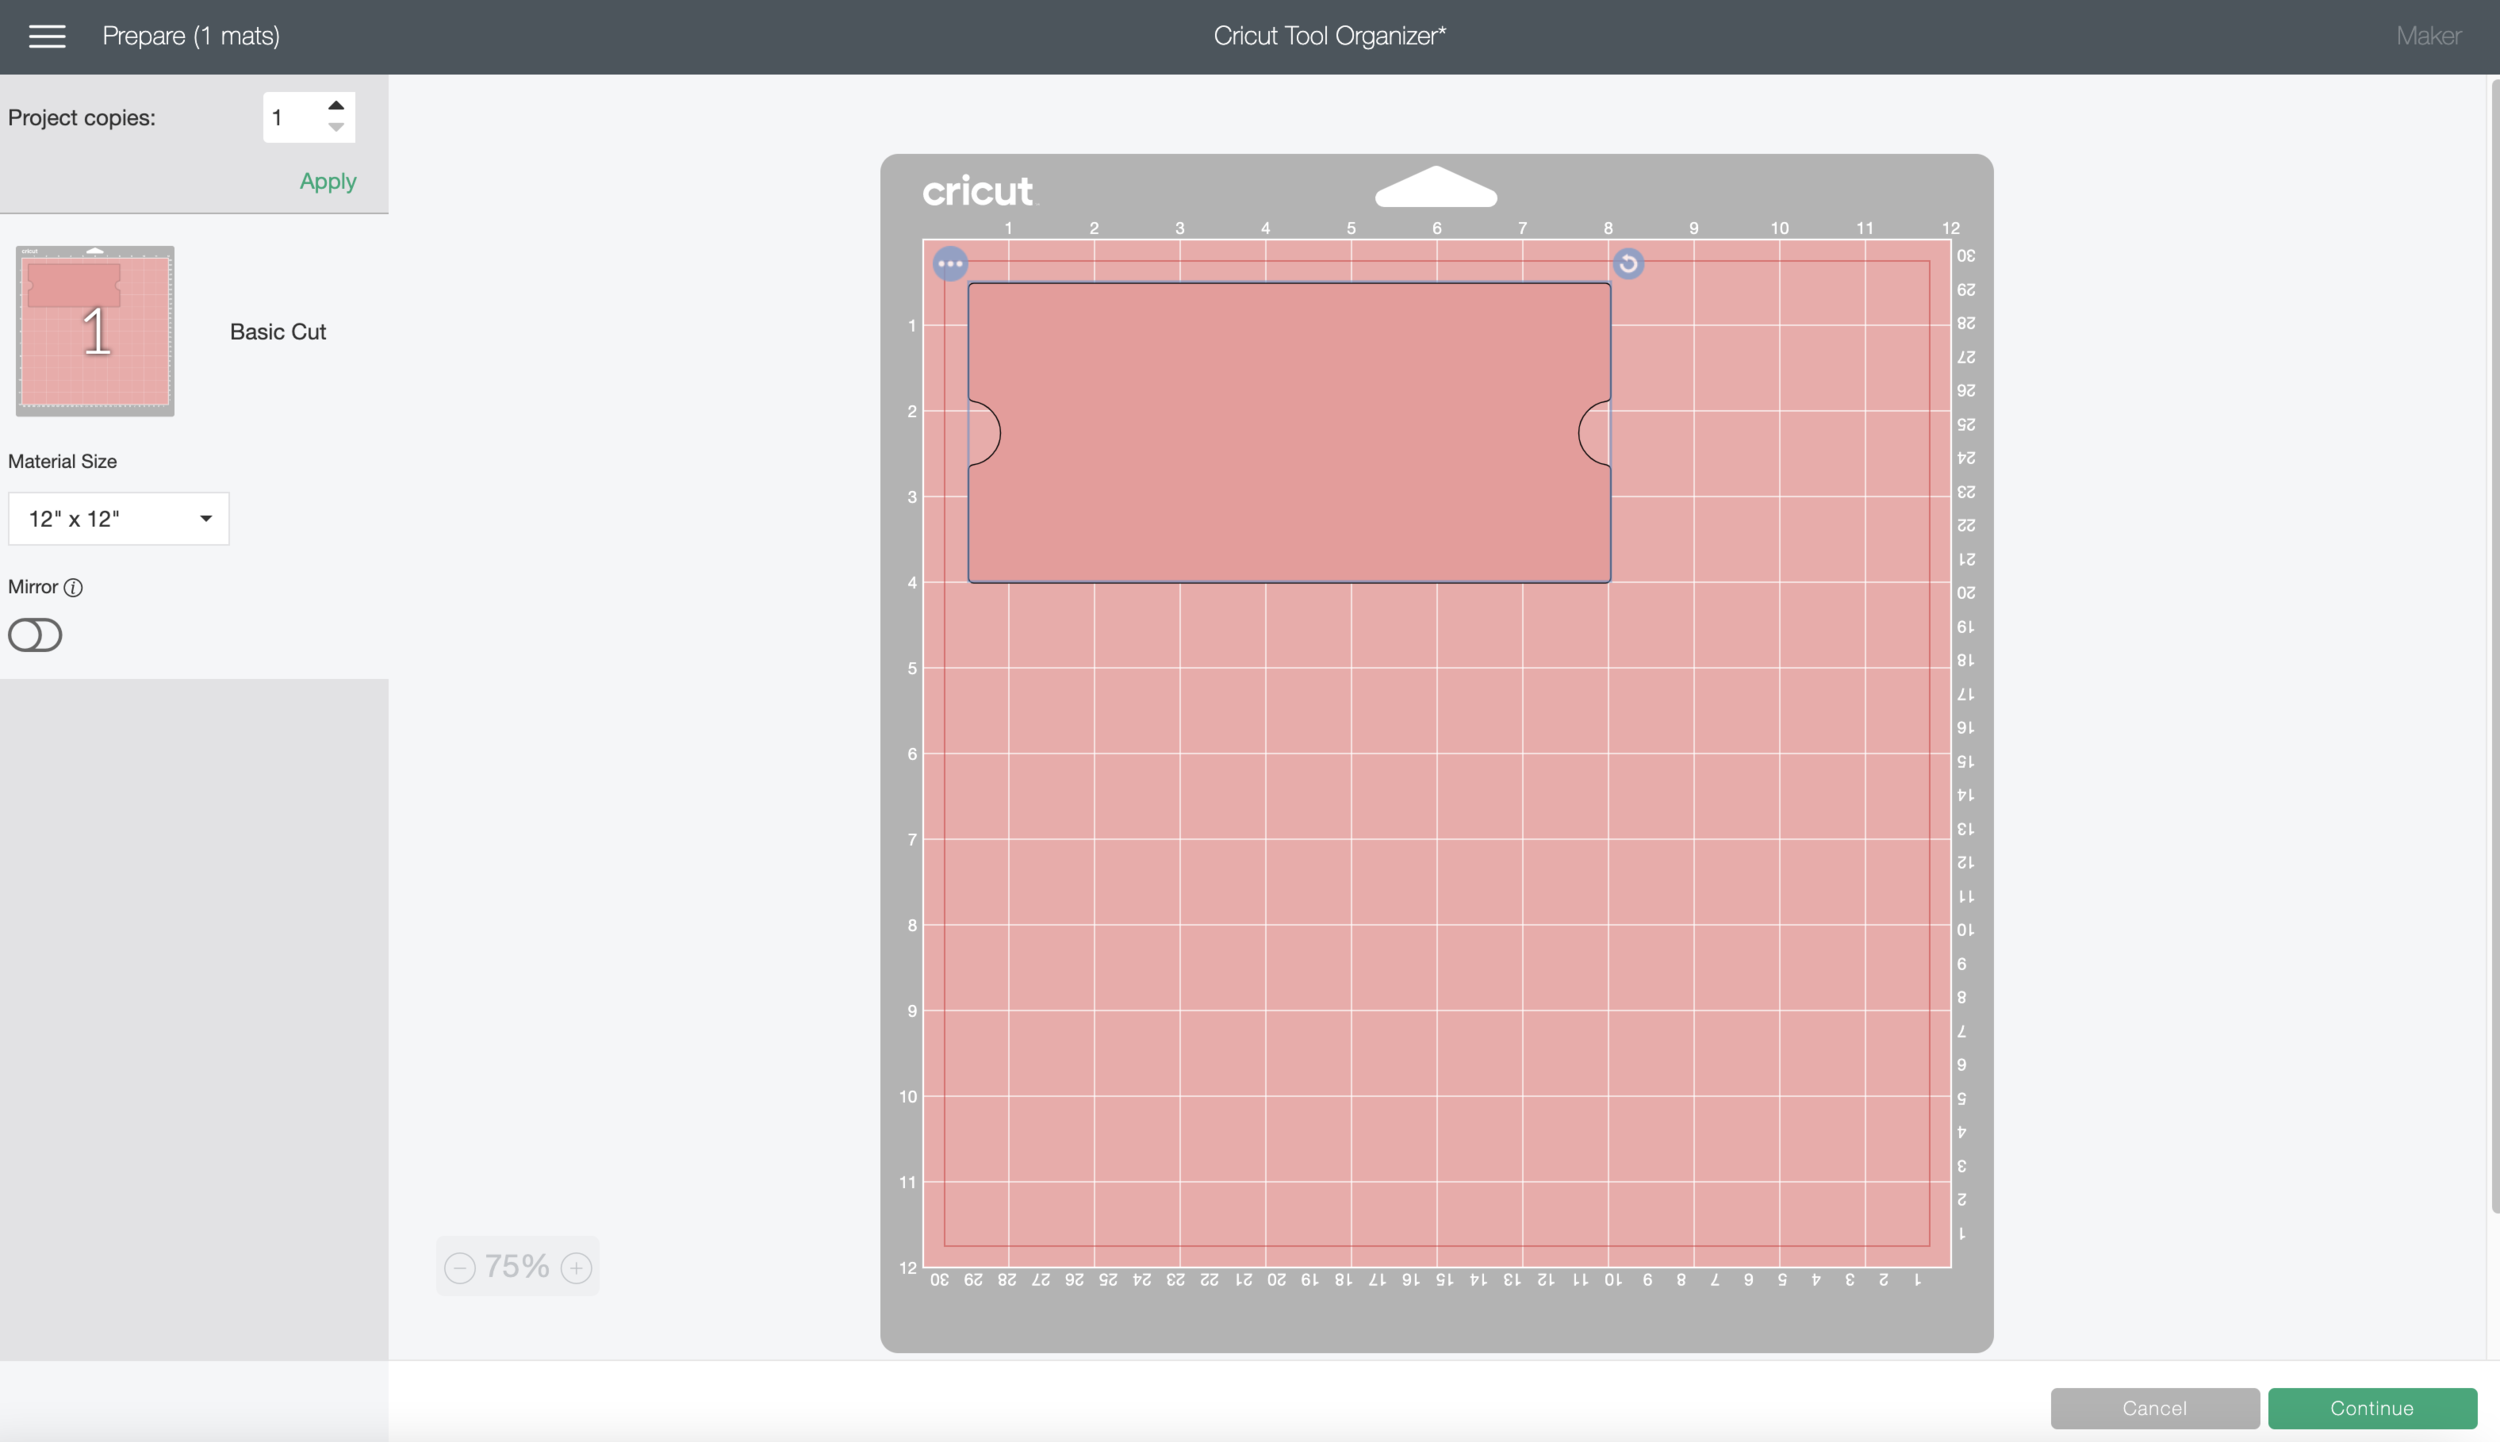
Move the piece slightly away from the edges of the mat. Use masking tape to attach the Chipboard to your mat.

Press CONTINUE.

Screen Shot 2021-02-01 at 10.01.35 AM.png

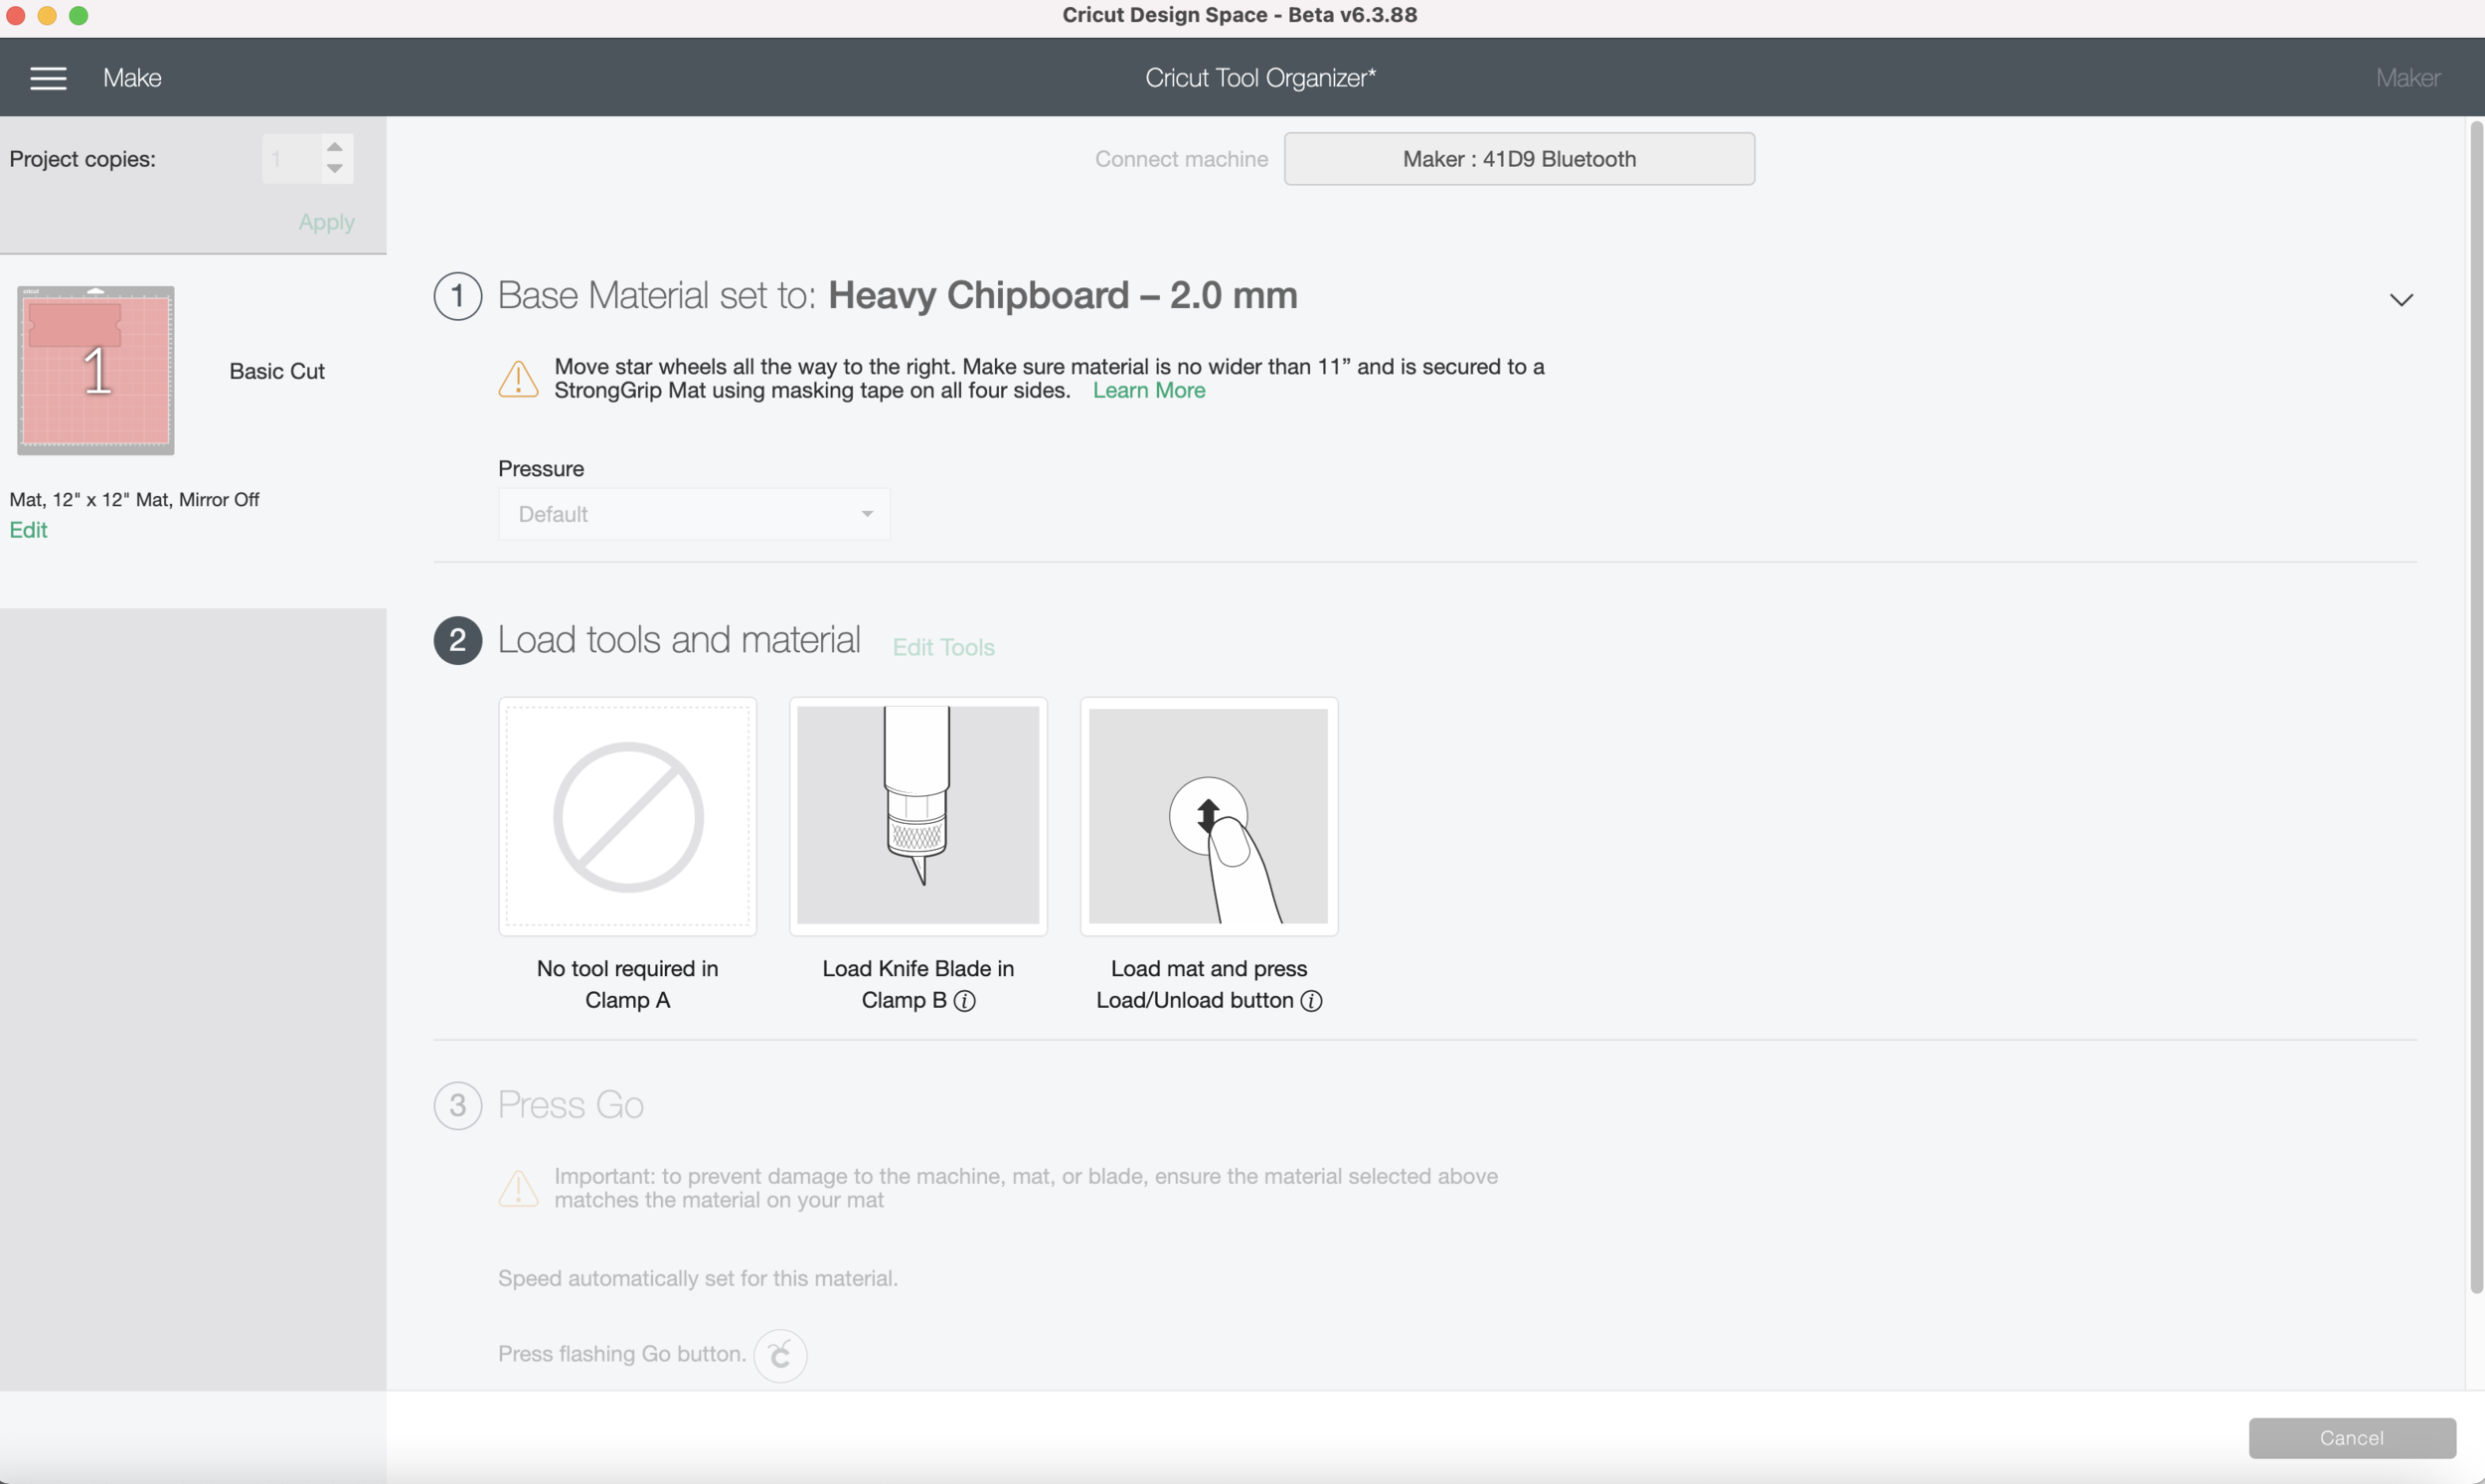
Select 2mm Chipboard from your materials (or whatever material you are using). Load the Knife Blade into your machine, load the mat and press GO!

Screen Shot 2021-02-01 at 10.06.57 AM.png

After a few passes, press the PAUSE button on your machine to check the progress of your cut. If it’s not cut all the way, press the GO button again and let it do a few more passes.

My machine was finished cutting after the 8th pass! No need for the 24 passes my machine wanted make, it would have cut clear through my mat! I hope Cricut will let us adjust the Knife Blade settings in the future.

When your cut is finished, eject your mat from the machine. Carefully remove the Chipboard from the mat.

Now we’re going to assemble all of our cut pieces. Let’s start from the bottom up.

I’m using the solid rectangular piece of foam for a little padding in the bottom layer. I just laid it in the bottom of the acrylic box, no glue or anything.

Screen Shot 2021-02-01 at 11.56.45 AM.png

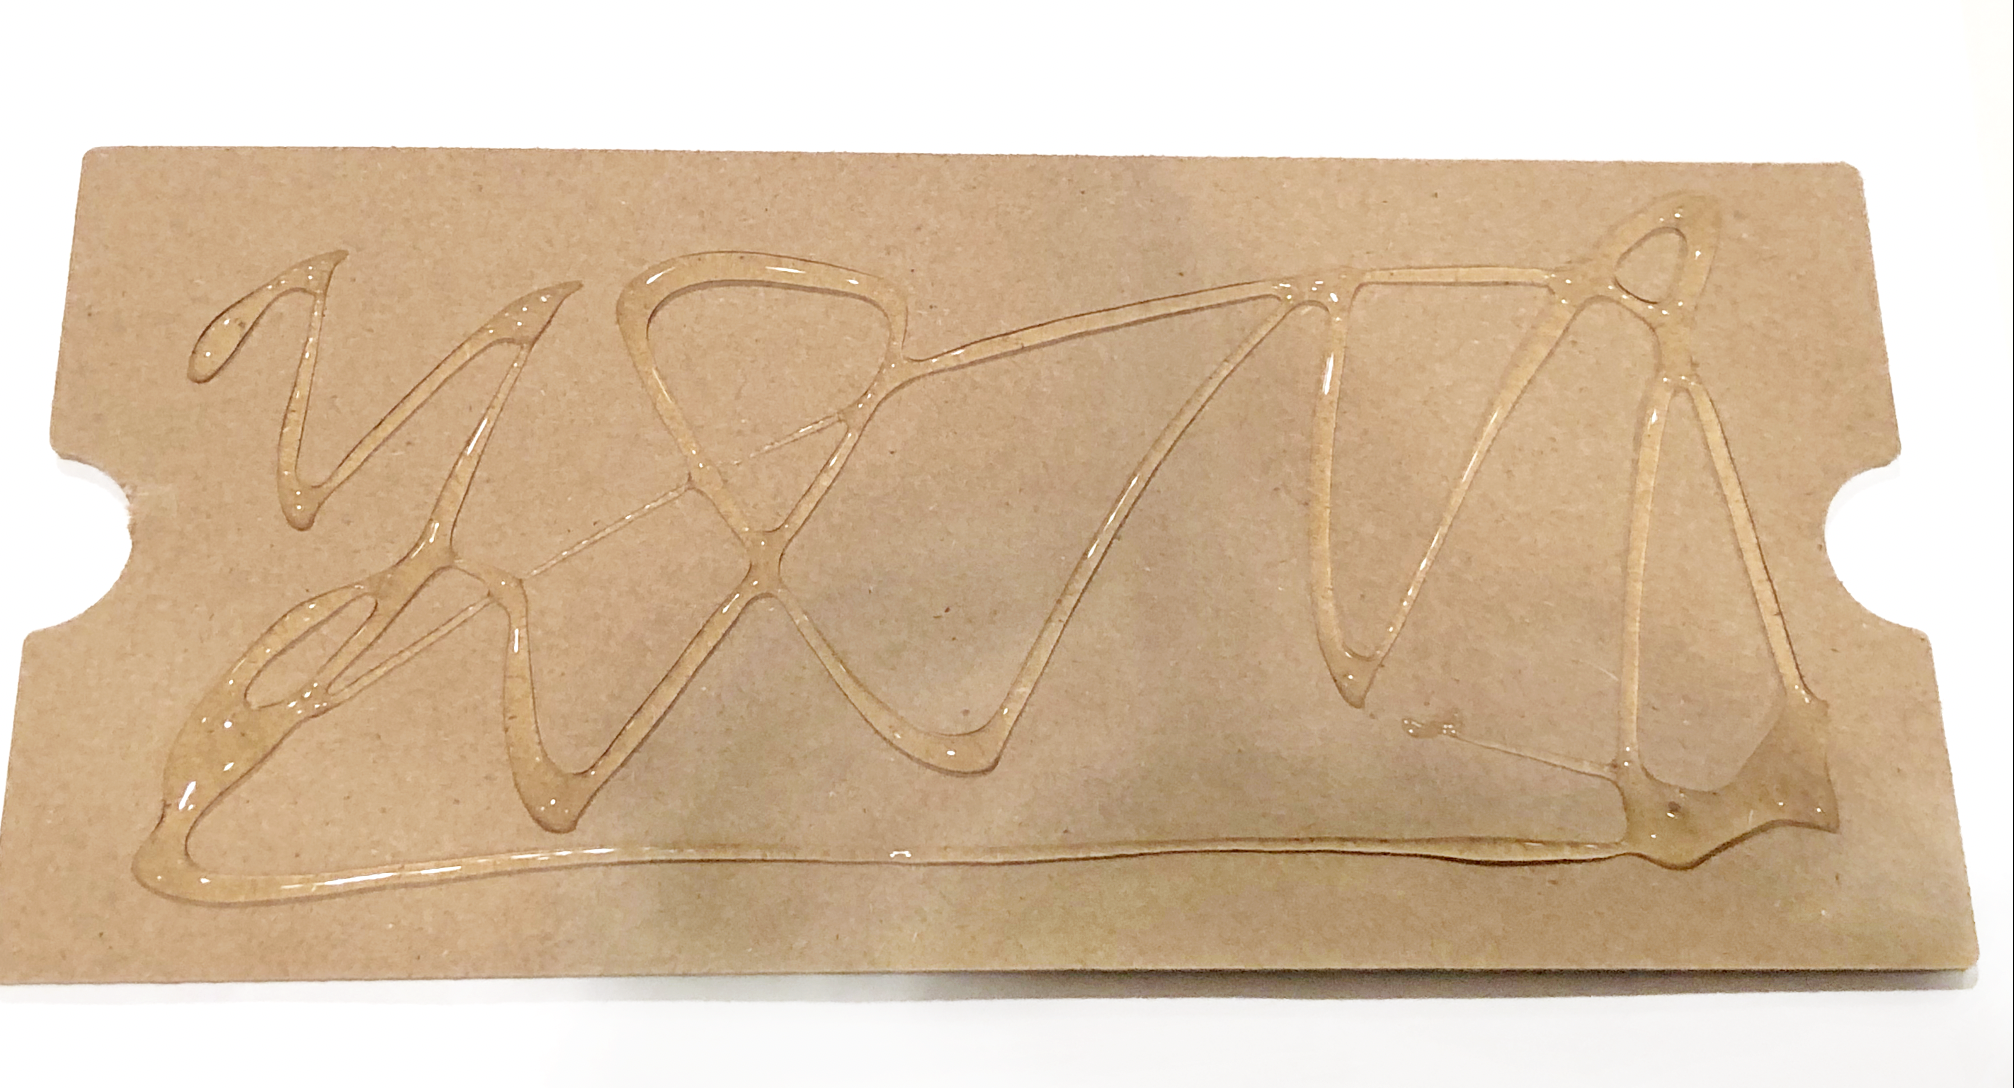
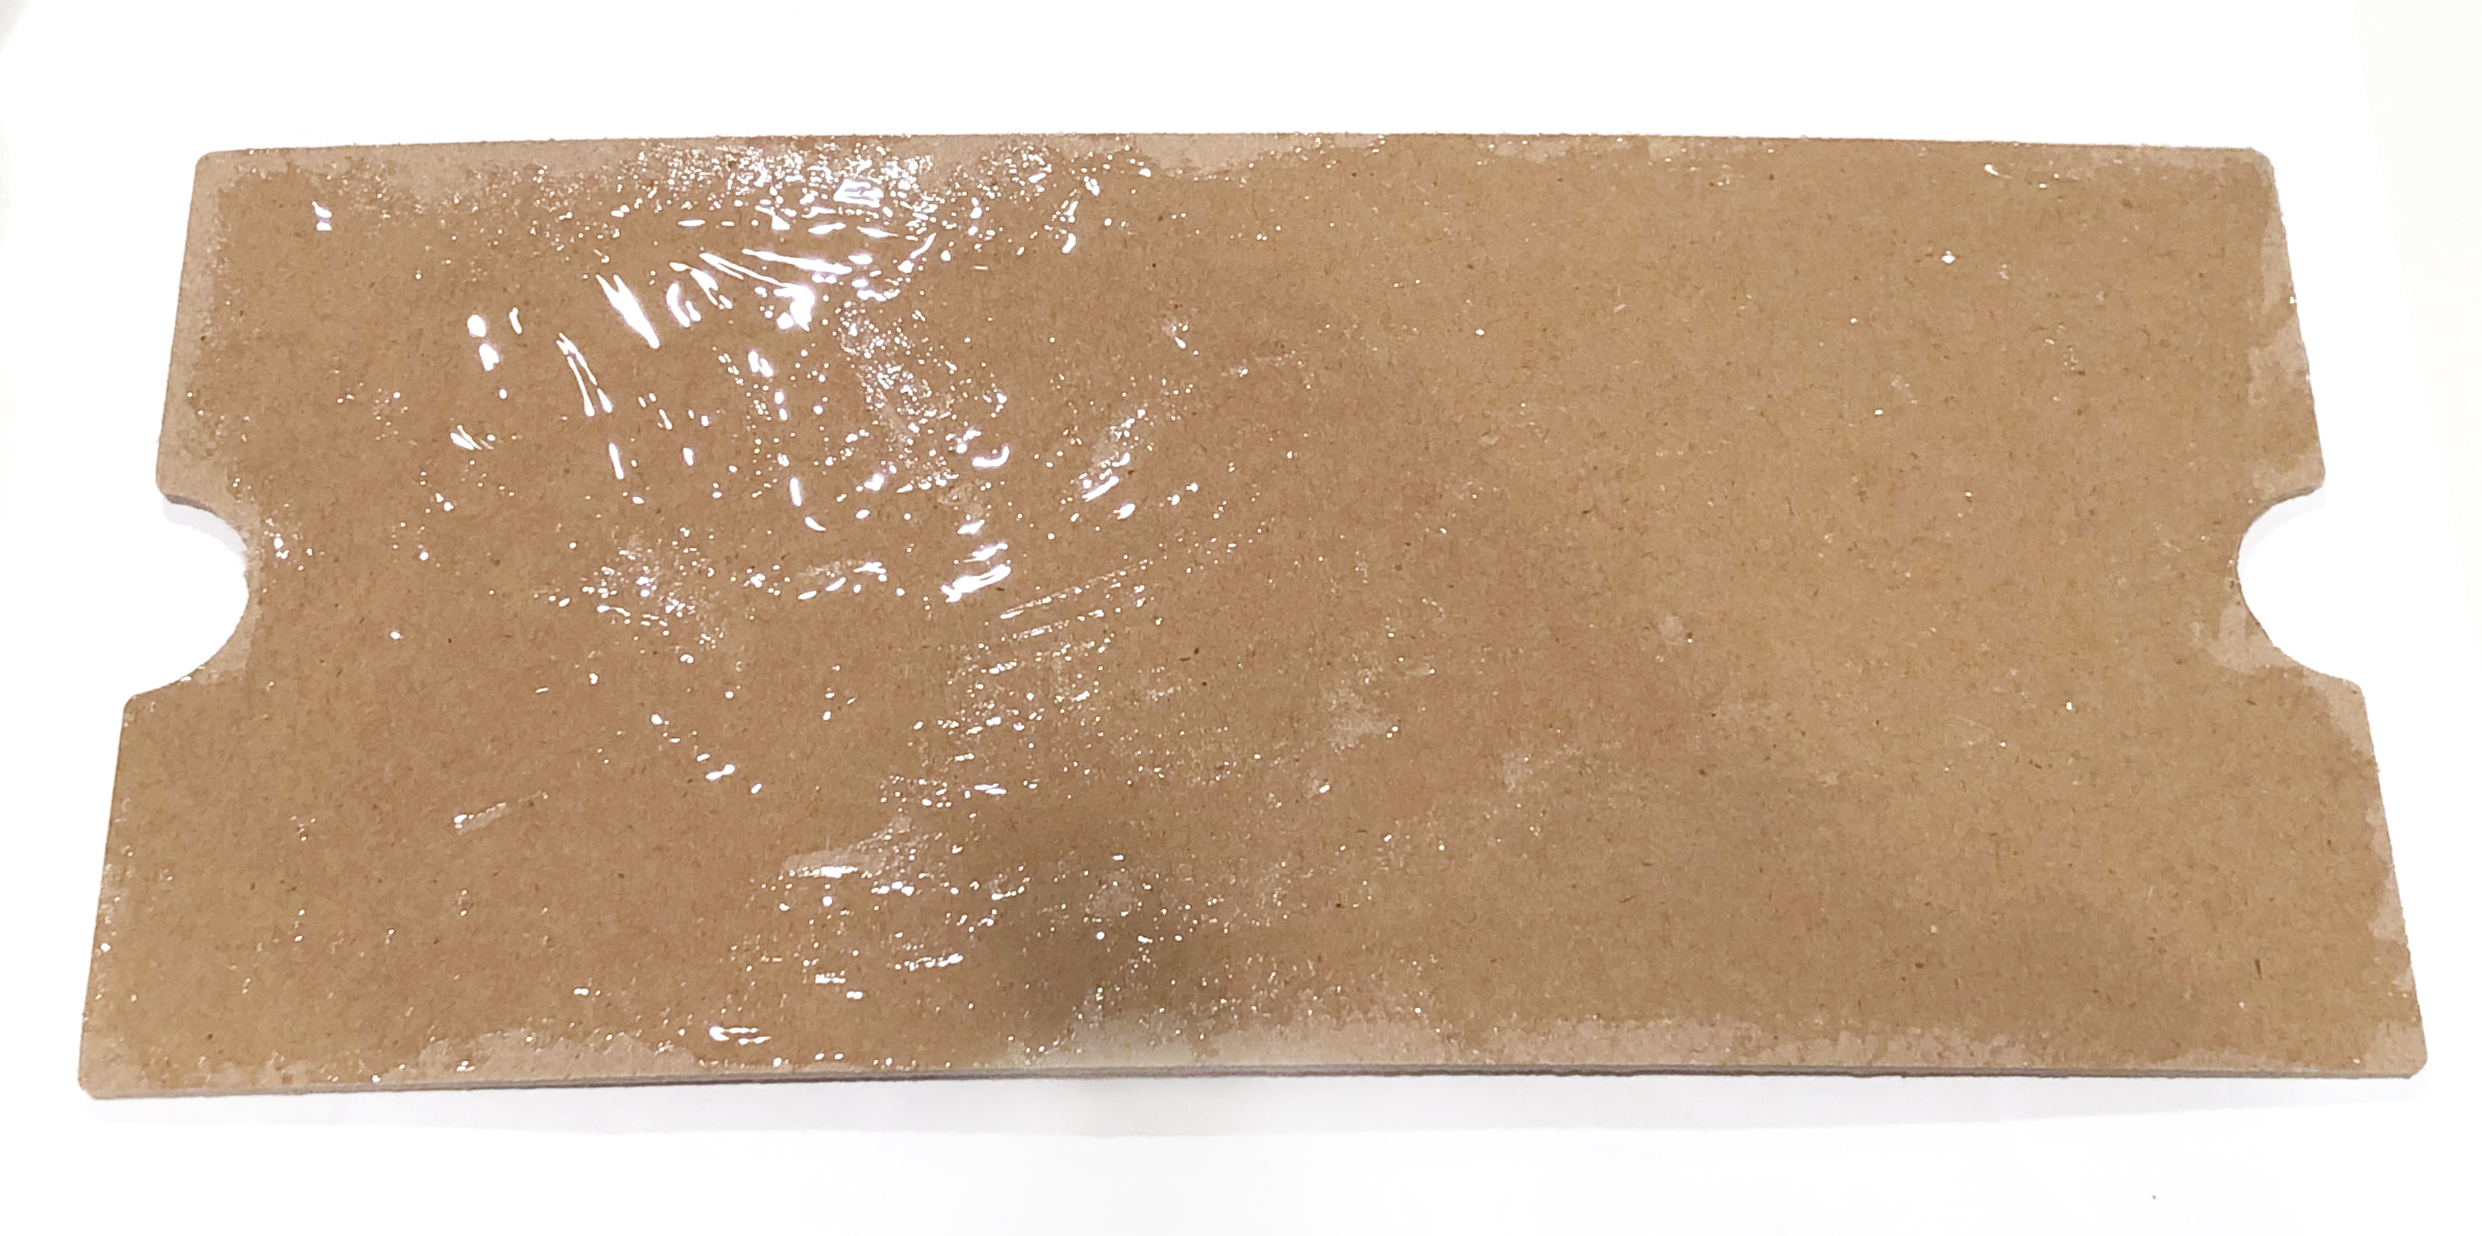
For the 2nd layer that hold the blades, I applied glue to the chip board first, spread out the glue into a thin layer with the paintbrush.

Screen Shot 2021-02-01 at 3.29.29 PM.png
Screen Shot 2021-02-01 at 3.33.46 PM.png

Then I placed the solid foam rectangle with the finger holds on top of the glue. While the glue is still wet you can slide the pieces around a little to make sure they are aligned.

The next layer is the foam with the cut outs for the blade housings and quick swap tips, glue the back side of this layer, then apply it to the top of the chipboard with the foam.

Screen Shot 2021-02-01 at 3.41.57 PM.png

Next is the 2nd piece of foam with the cut outs for the blade housings and quick swap tips, glue the back side of this layer, then apply it to the top of the chipboard with the foam. Make sure to line up your edges while the glue is still wet.

Then apply glue to back of the one of the foam pieces with the cut outs for the blade housings, quick swap tips, and extra blades. Attach it to the chip board with the other foam layers, align your edges.

Finally, apply glue to the back of the remaining foam piece. Attach it to the chip board with the other foam layers, align your edges.

The wet glue makes the chipboard and foam warp a little bit. Place your foam and chipboard piece under a heavy book overnight to flatten it out.

Screen Shot 2021-02-01 at 3.45.09 PM.png

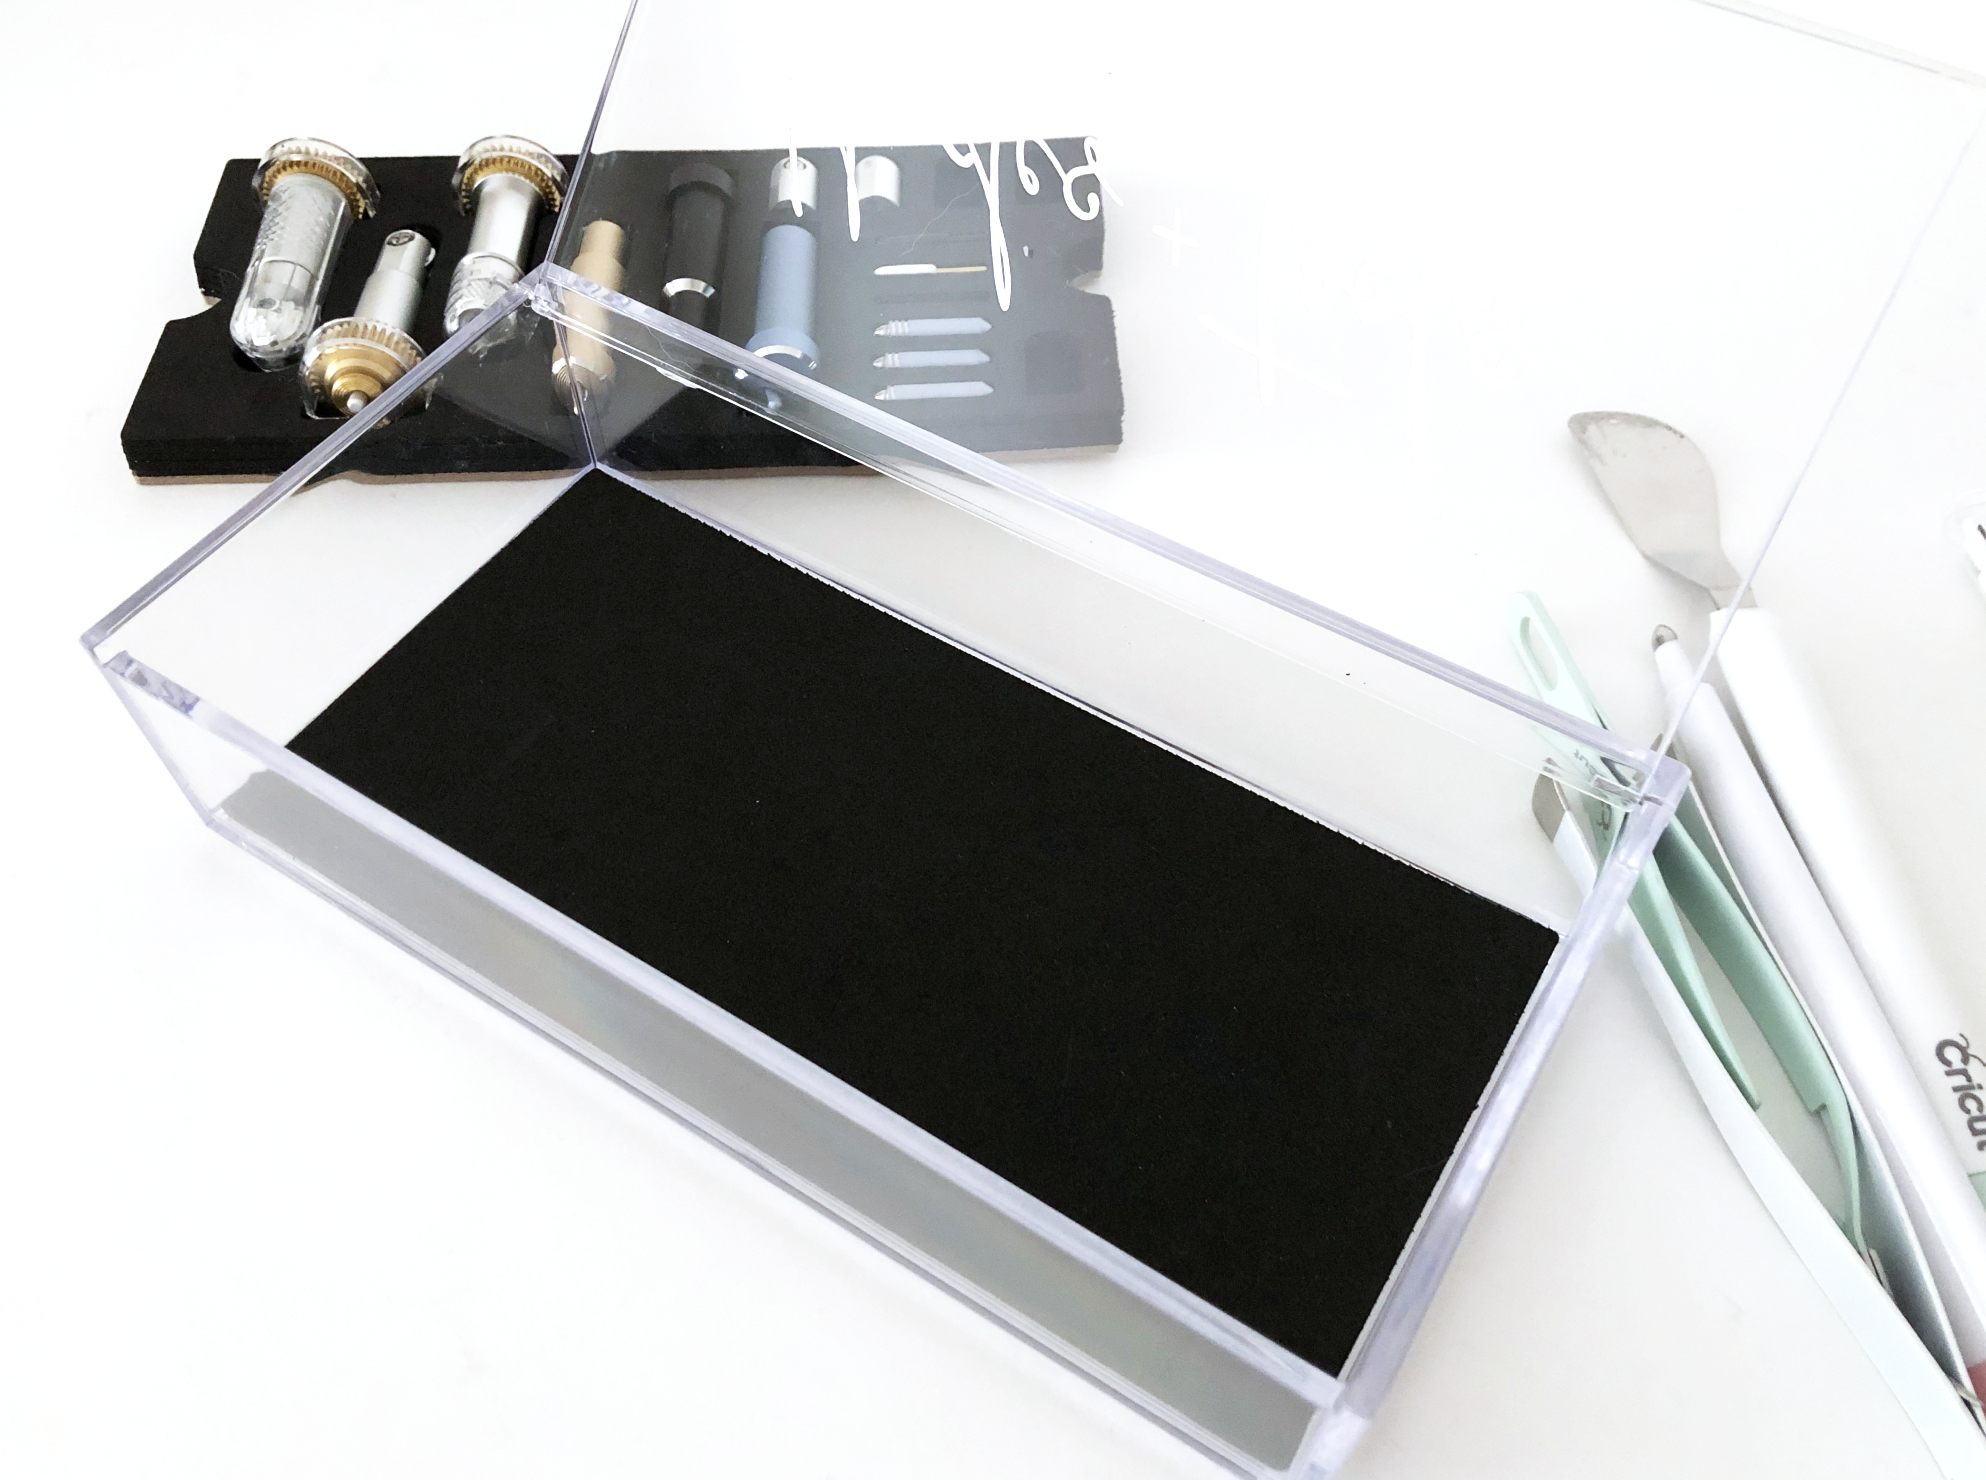
Once your foam and chip board piece is flattened out, you can add your tools and blades!

Screen Shot 2021-02-01 at 11.55.46 AM.png
Screen Shot 2021-02-01 at 11.53.04 AM.png
Screen Shot 2021-02-01 at 11.49.36 AM.png

For a finishing touch, you can make a label out of adhesive vinyl. You can download my FREE SVG Blades + Tools or create your own!

Screen Shot 2021-02-01 at 12.12.37 PM.png