Links in the article below may be affiliate links.
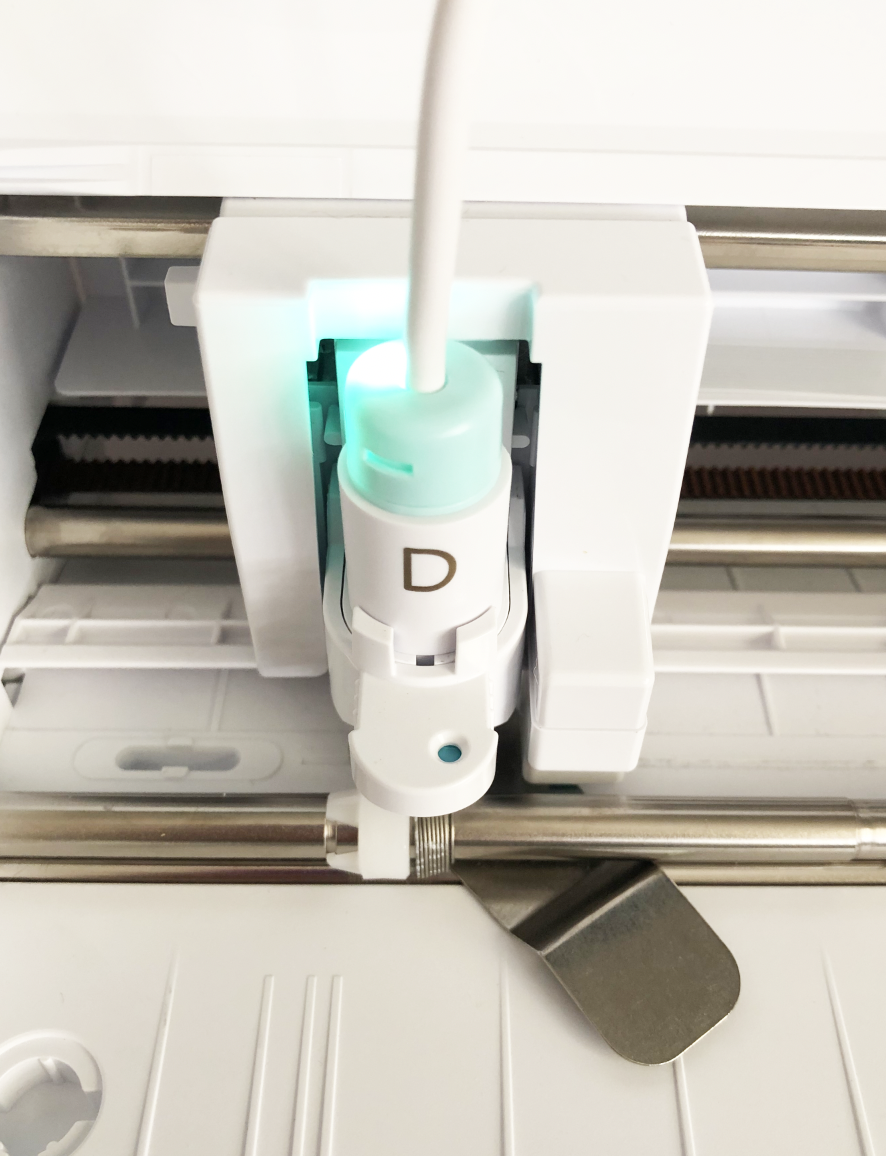
Hi Everyone! Last week I tested the Recollections brand foil transfer sheets with the Cricut Foil Transfer tool. This week I tried out the foil transfer sheets with the WRMK Foil Quill on my Silhouette Portrait 3 machine.
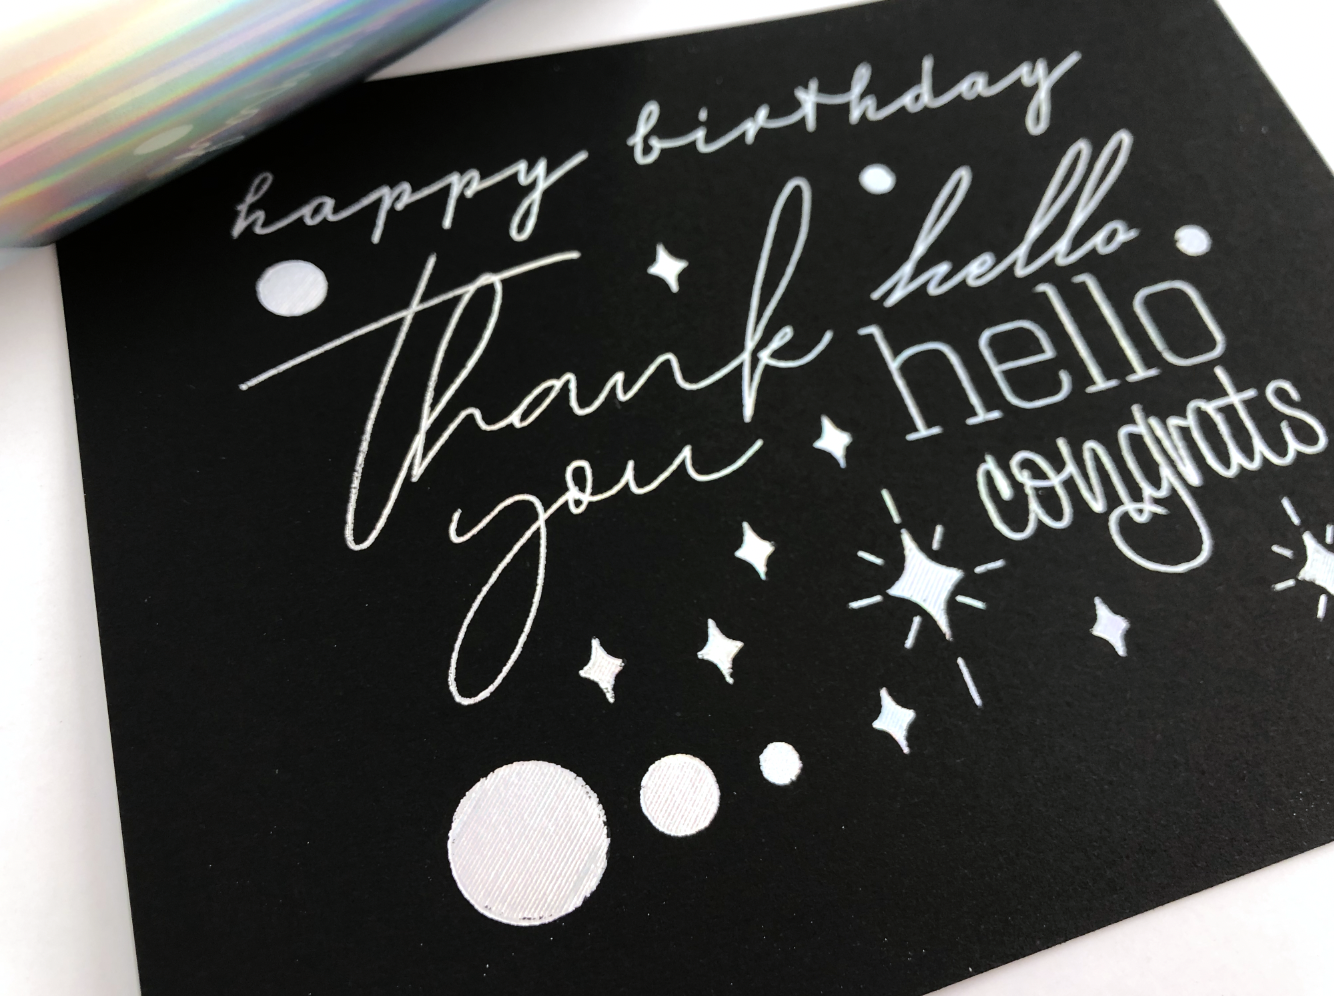
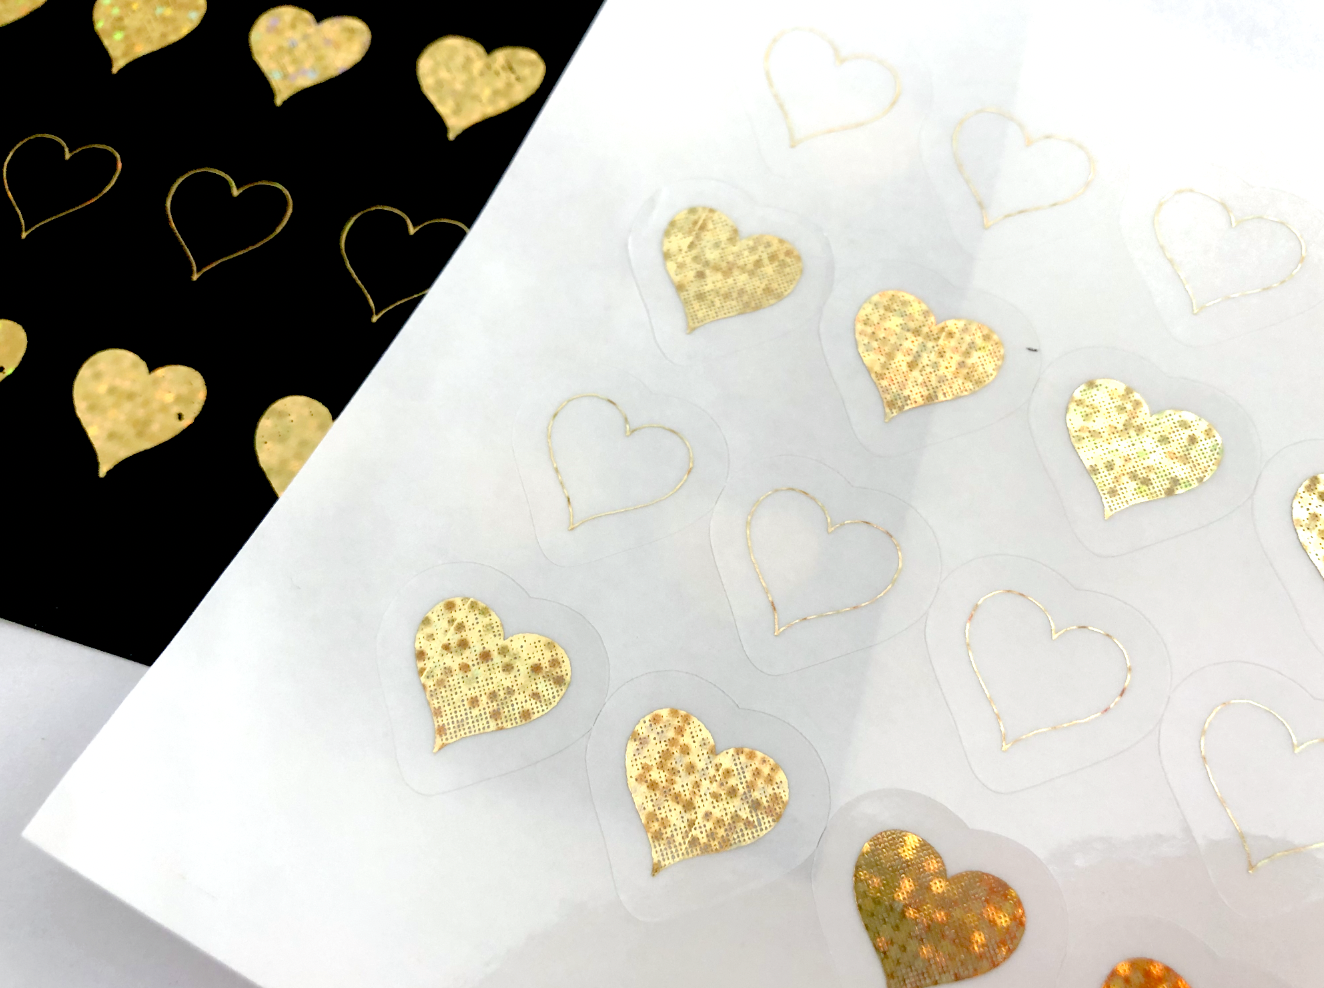
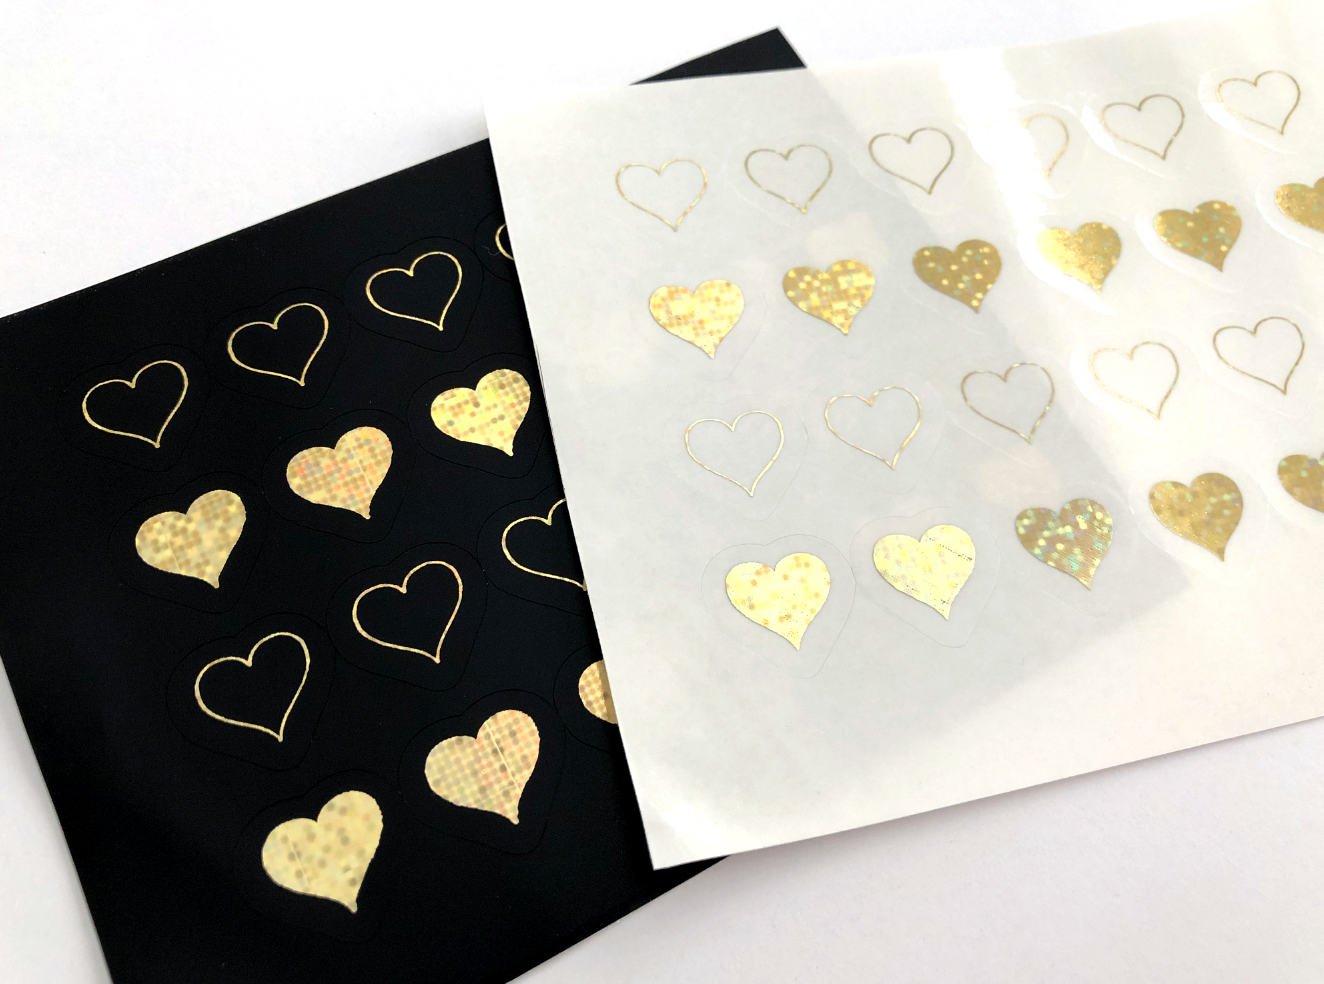
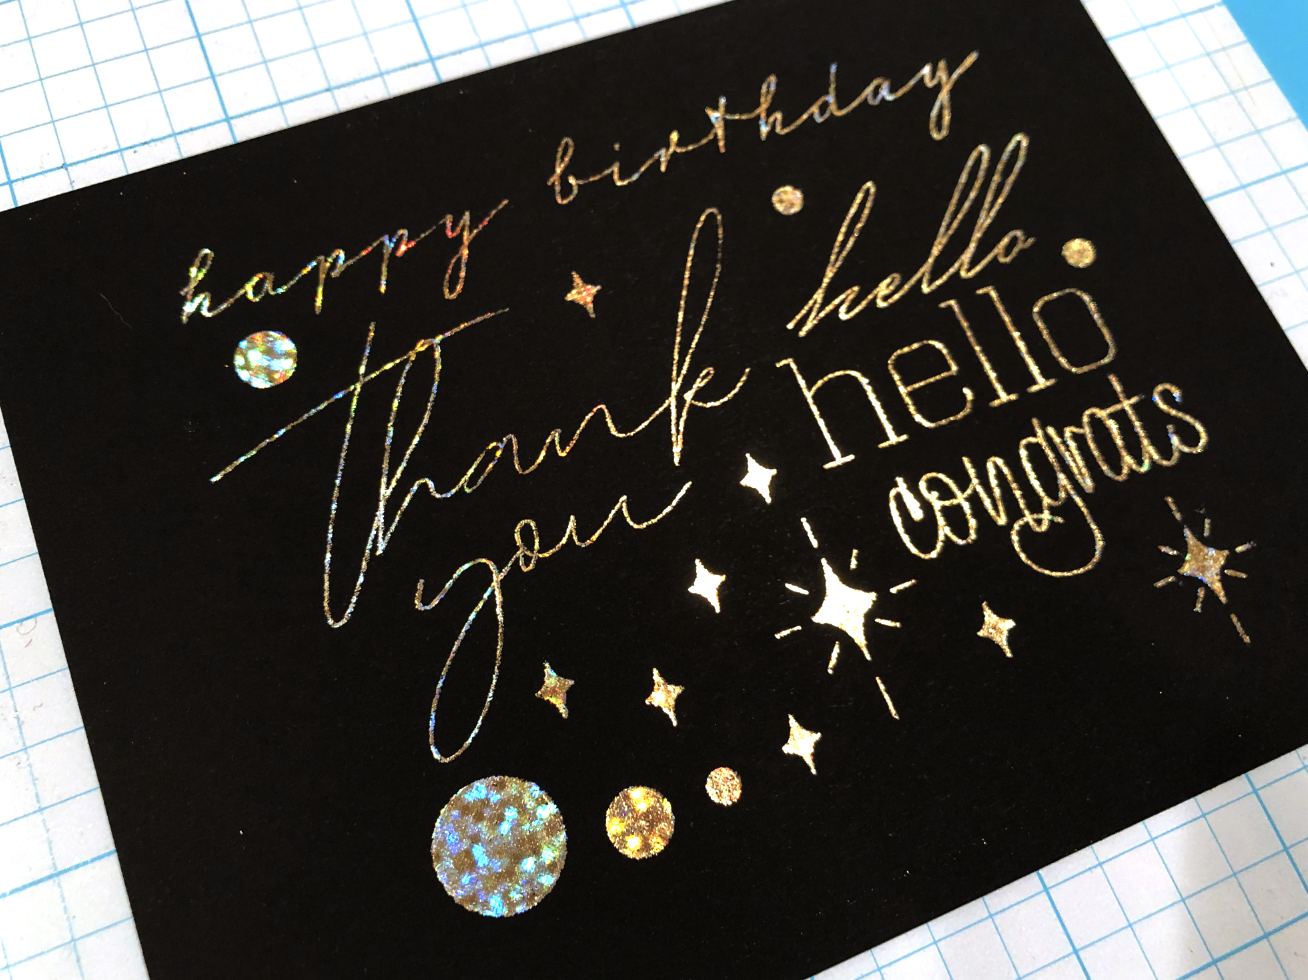
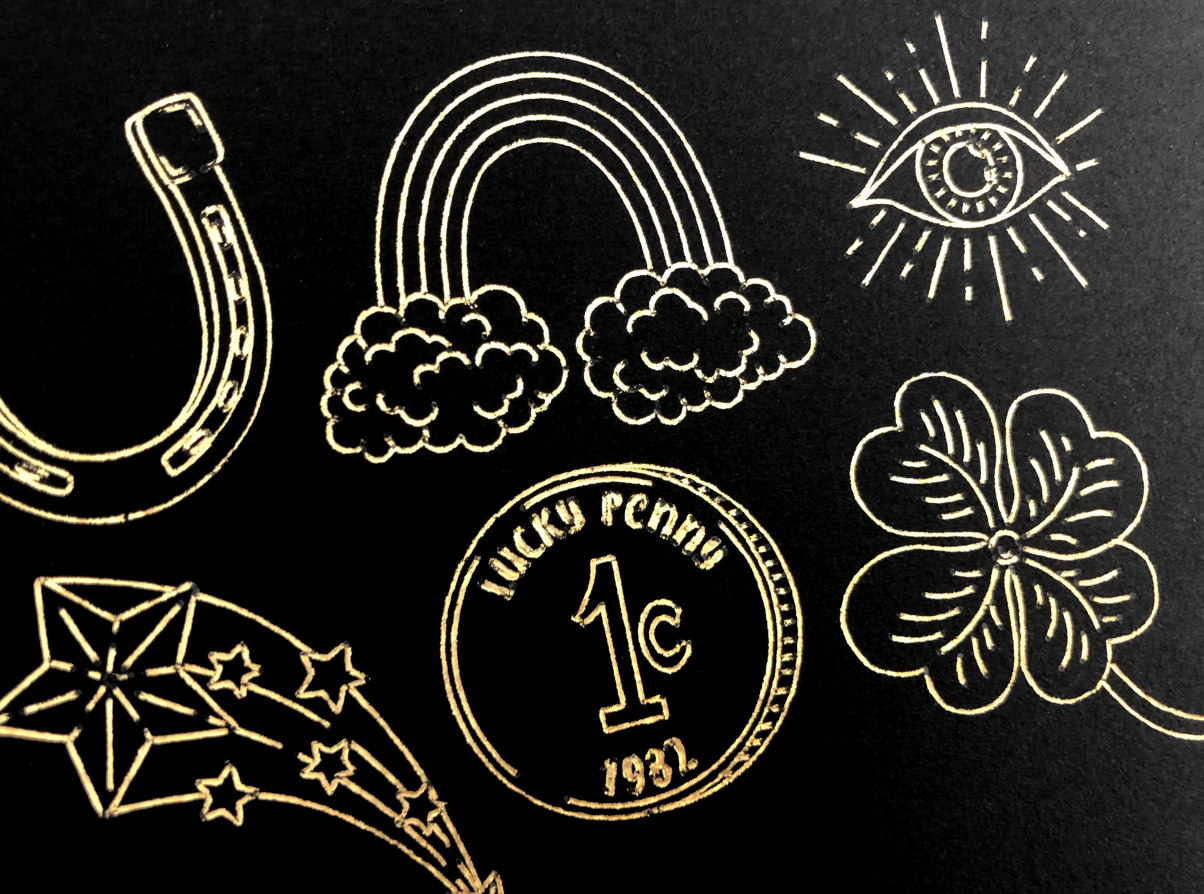
First I tried the gold foil. I used my celestial artwork from last week and the foil quill medium tip on my favorite black cardstock. On my Portrait 3 my speed is set to 2 and force is 22, I typically get good results foiling with these settings. And I got really great results with this foil!

WRMK Foil Quill, Recollections Gold Foil Transfer Sheets
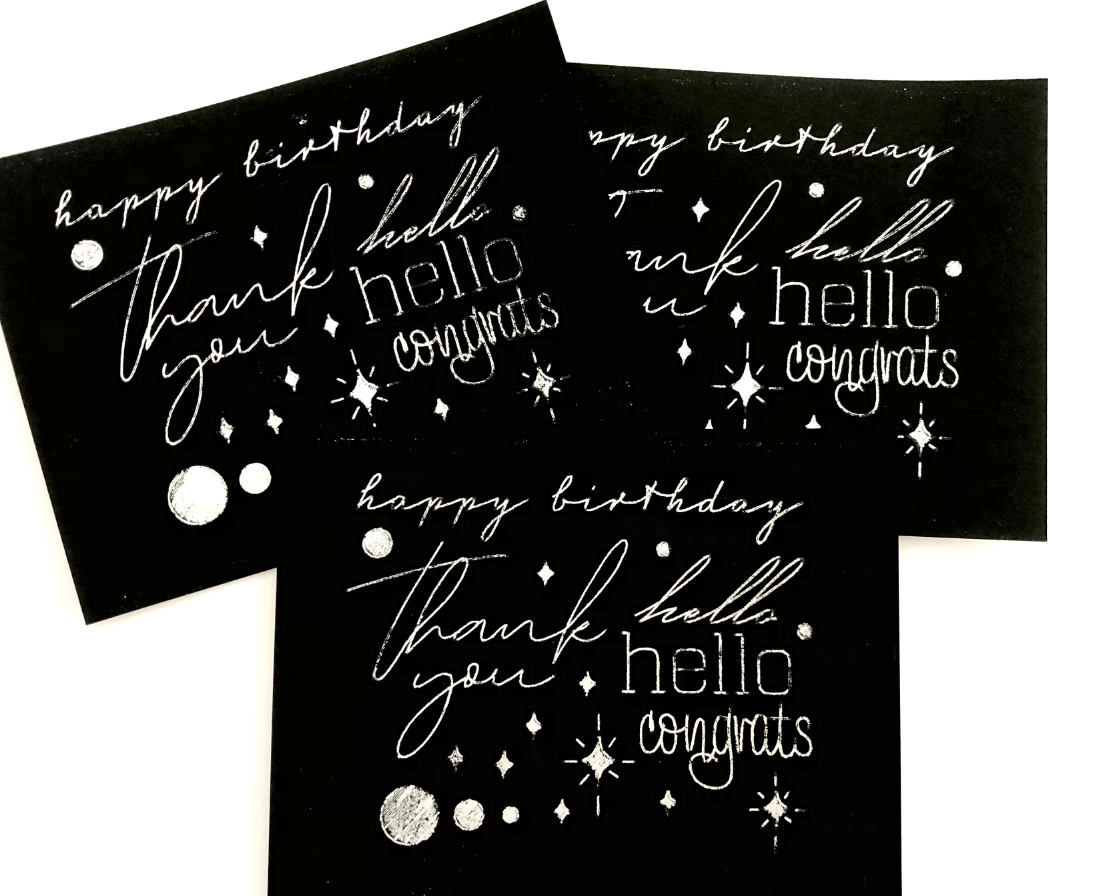
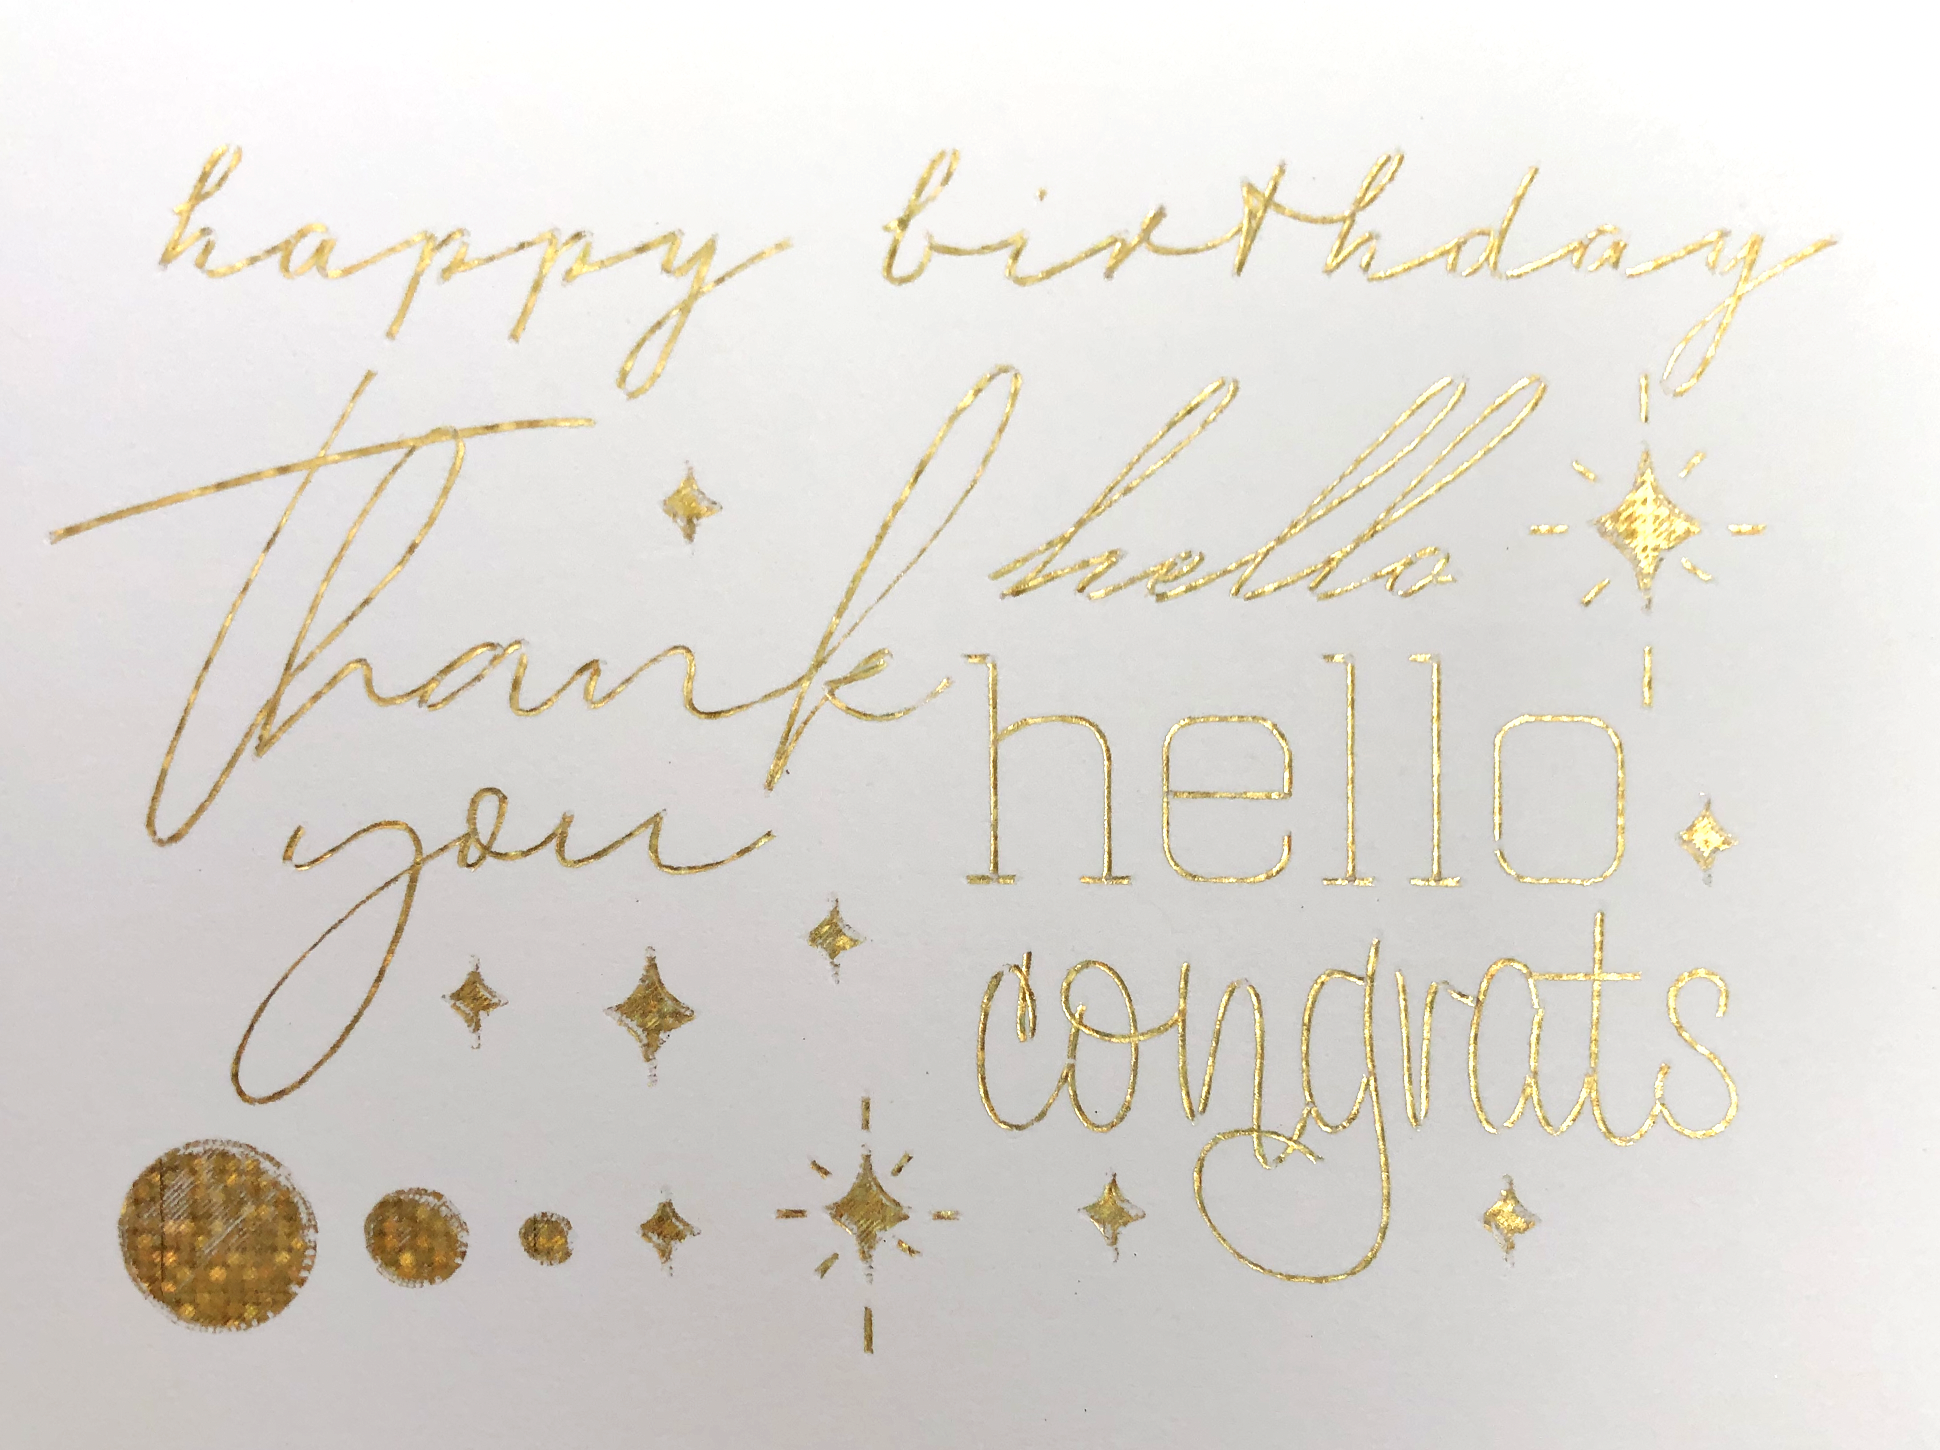
Here it is next to the Cricut Foil Transfer tool version from last week.
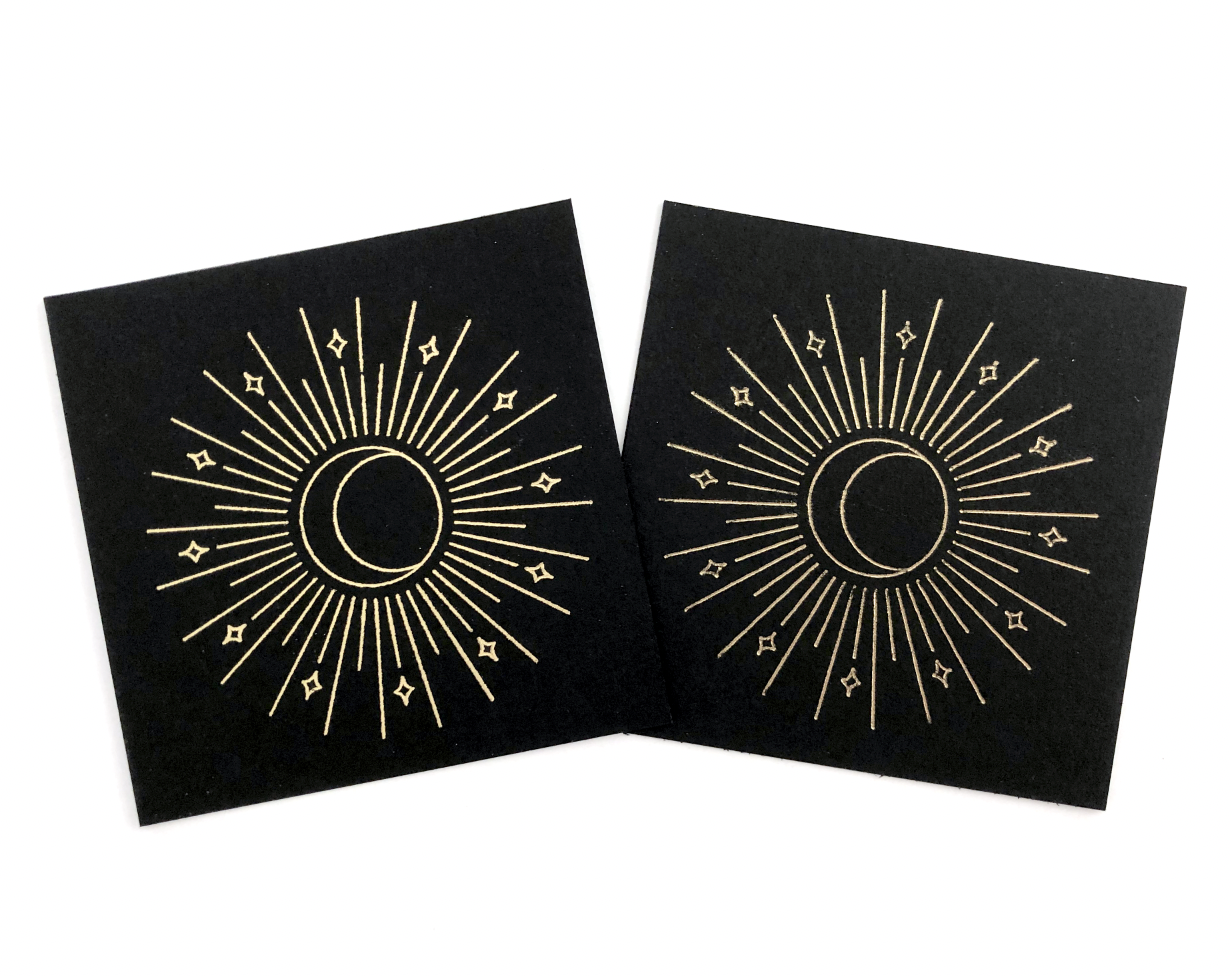
(L) WRMK Foil Quill Medium Tip, (R) Cricut Foil TRansfer Tool Medium Tip
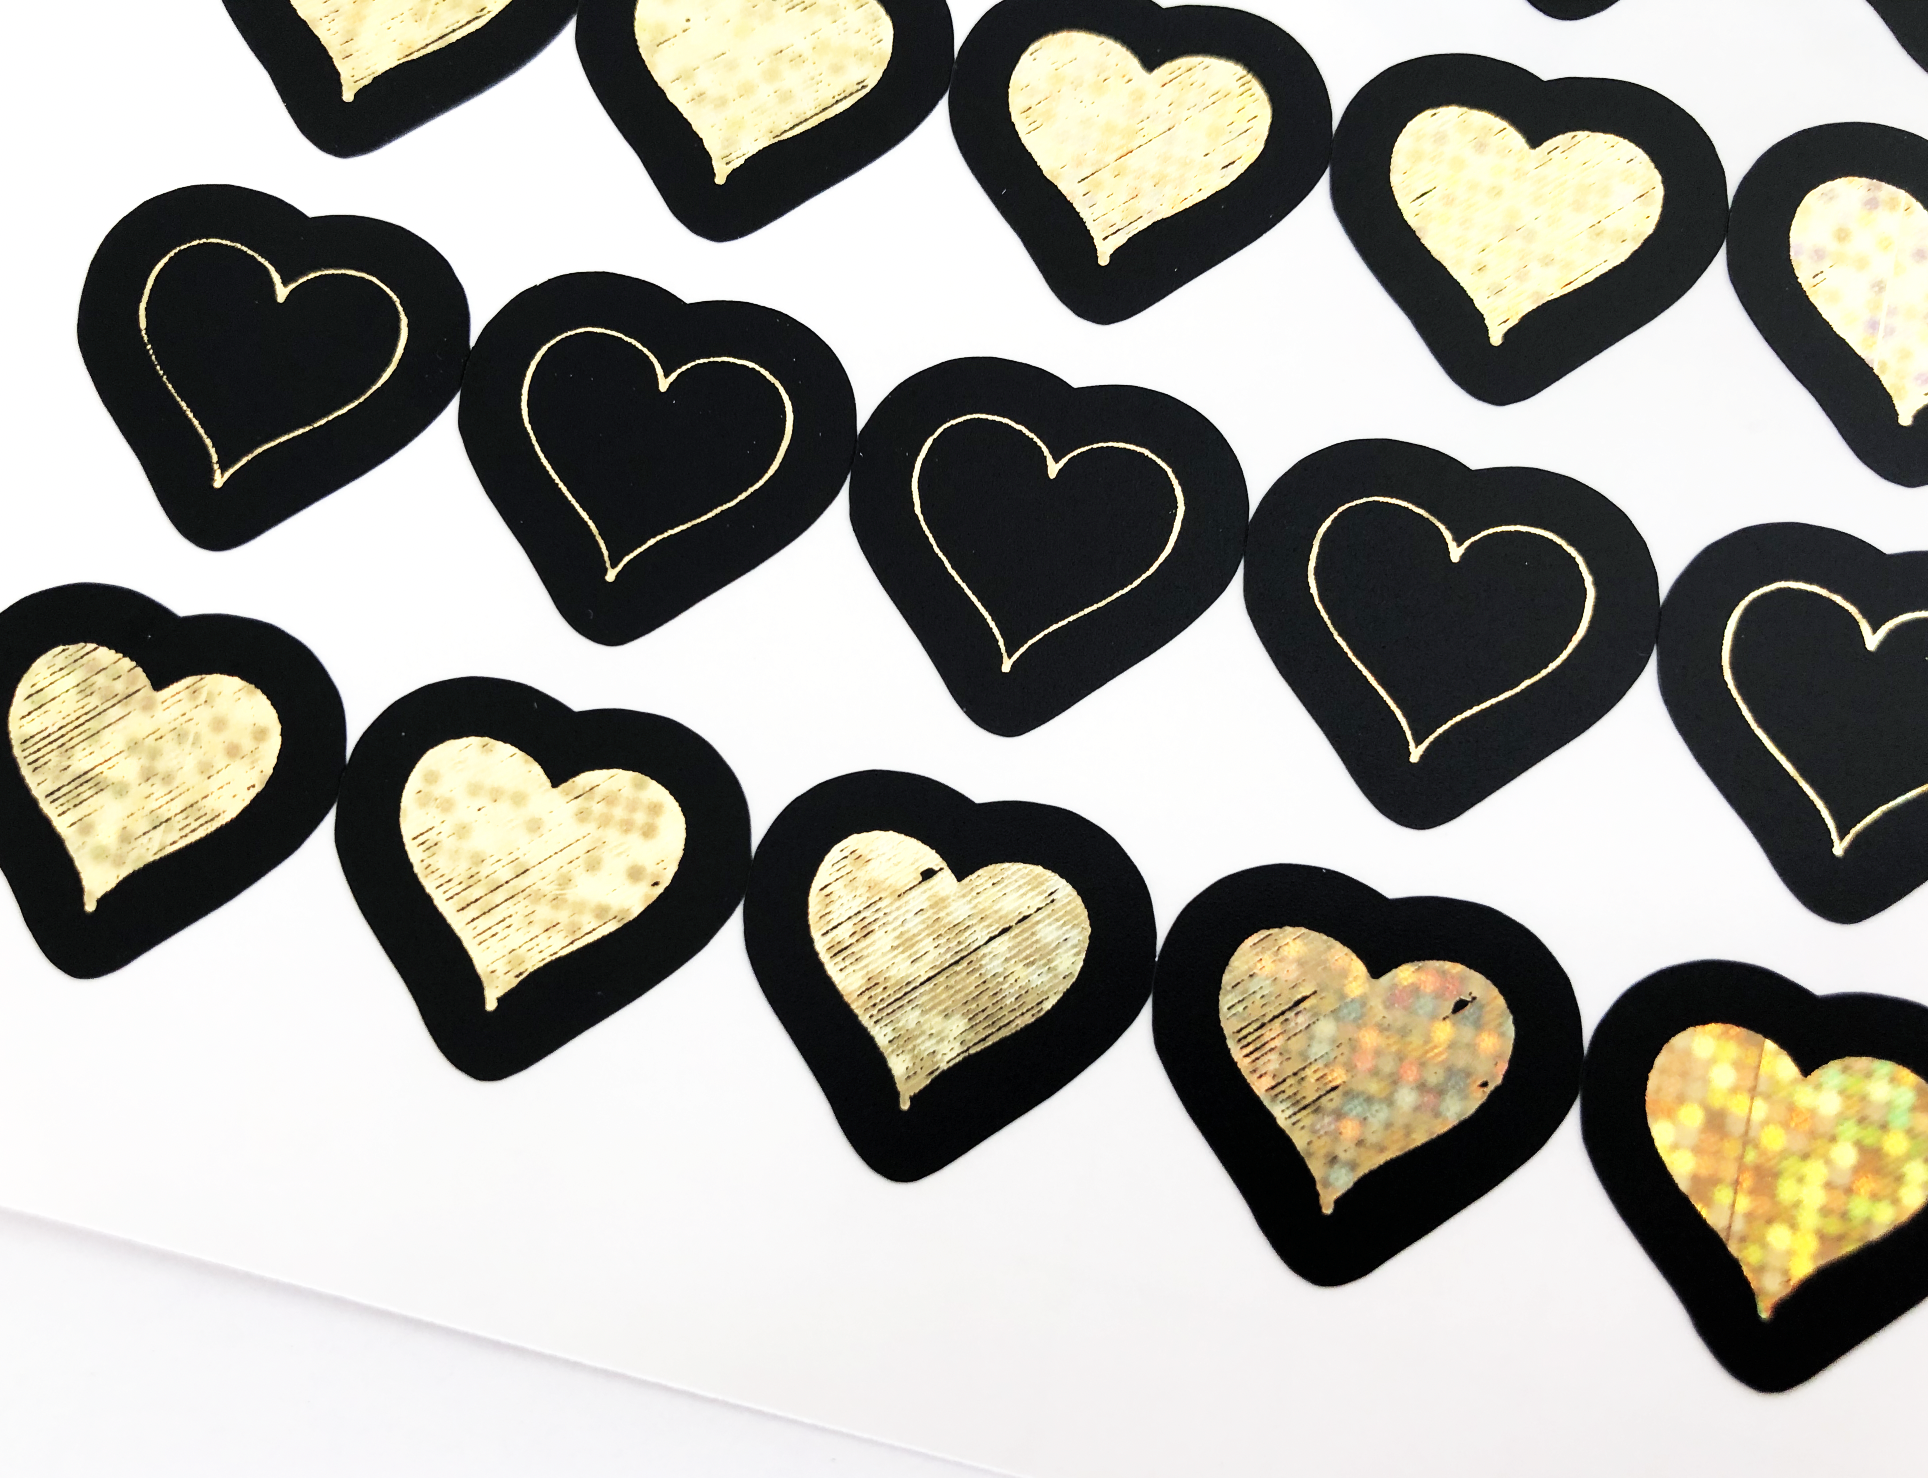
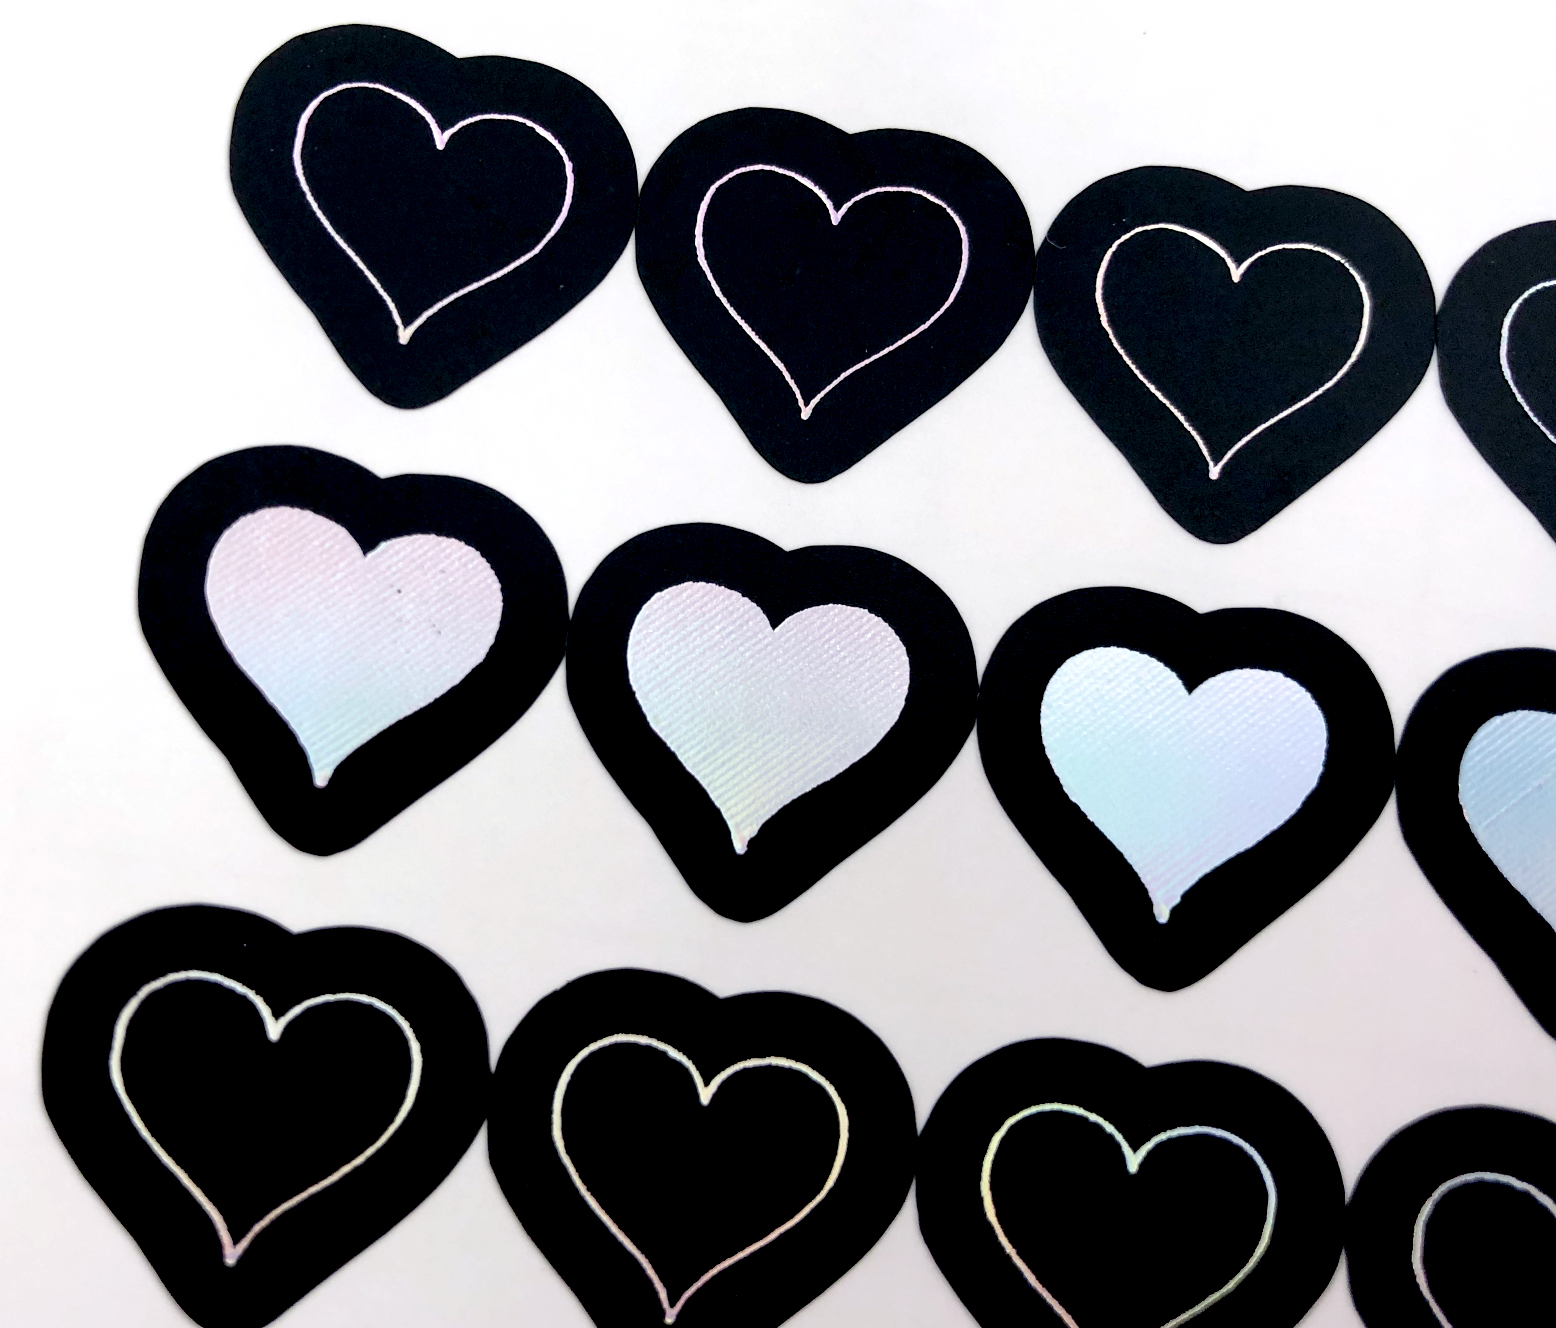
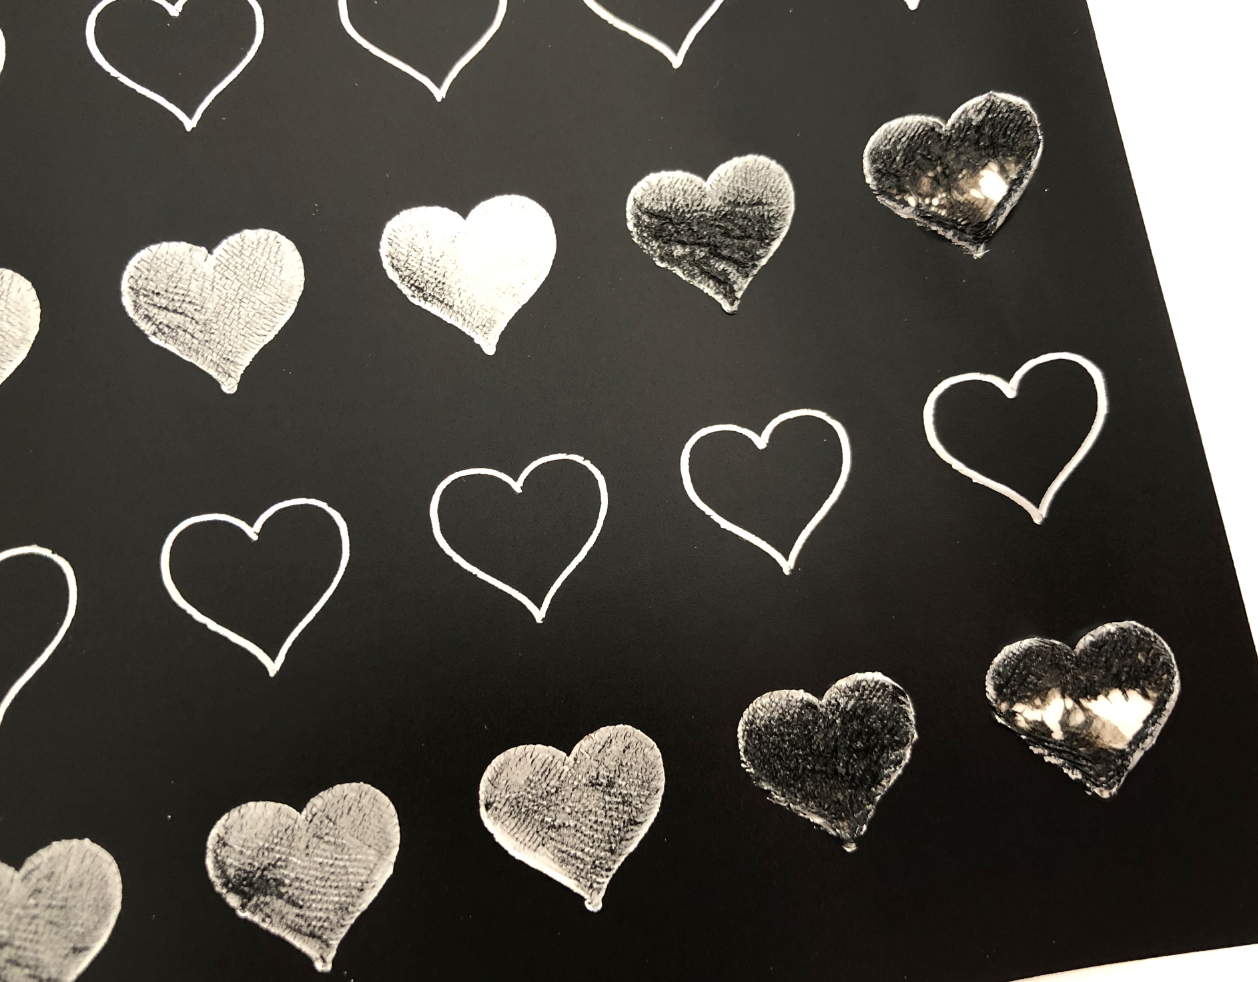
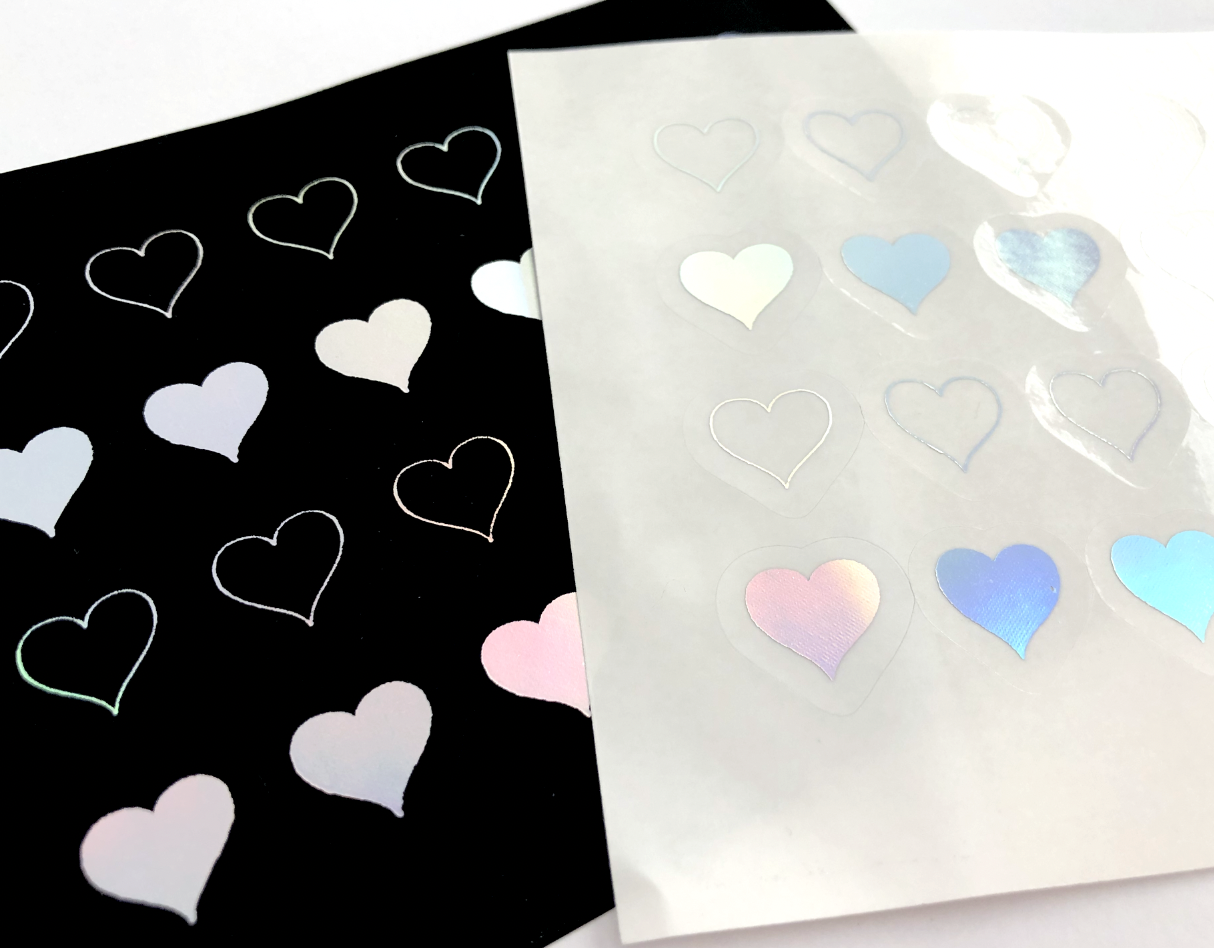
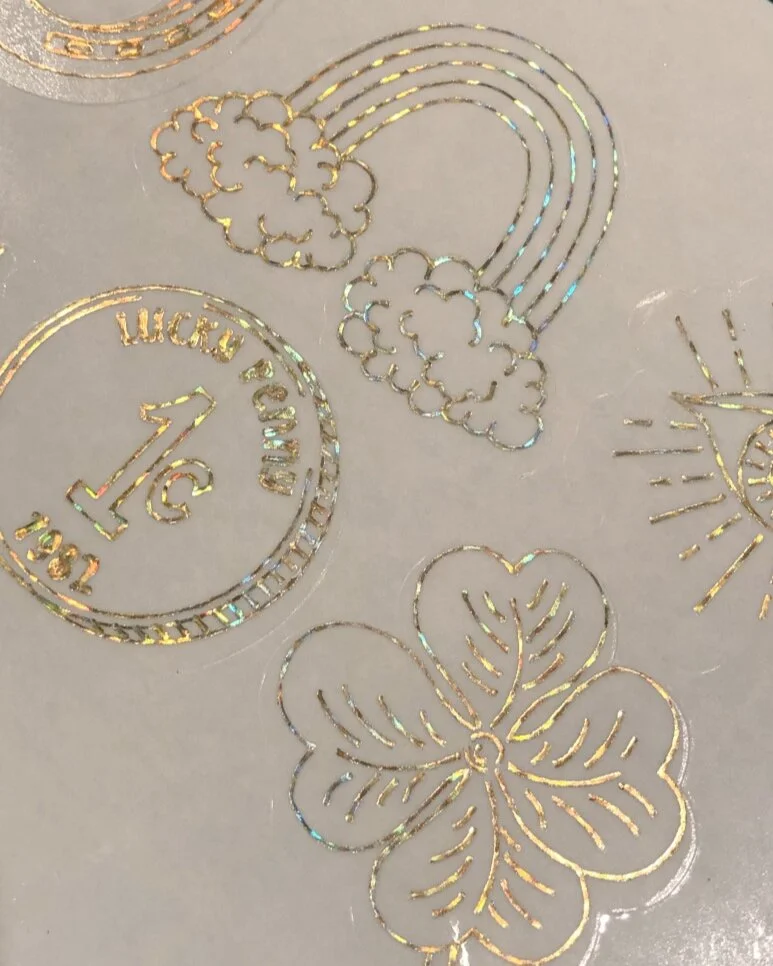
Next I tried the holographic foil. The results with the Cricut foil transfer tool were disappointing. But the results with the Foil Quill are beautiful! You can actually see the holographic effect on the on the cardstock.
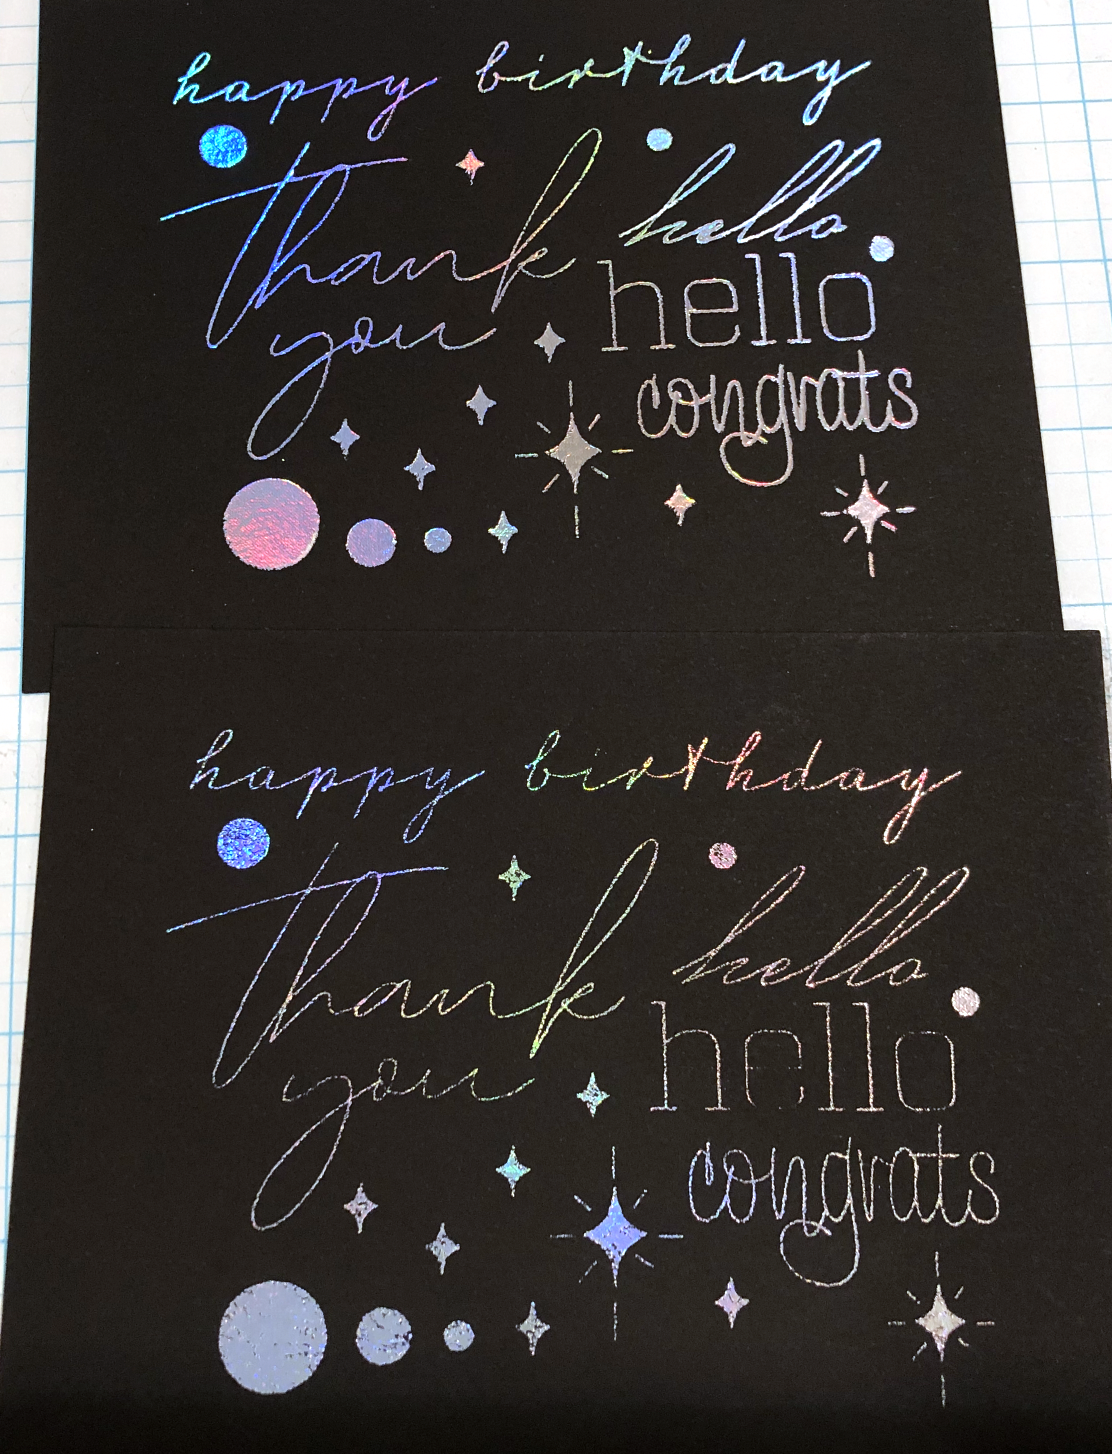
Here’s a side by side of the holographic foil using Cricut Foil Transfer tool versus the Foil Quill. The Foil Quill version is stunning!
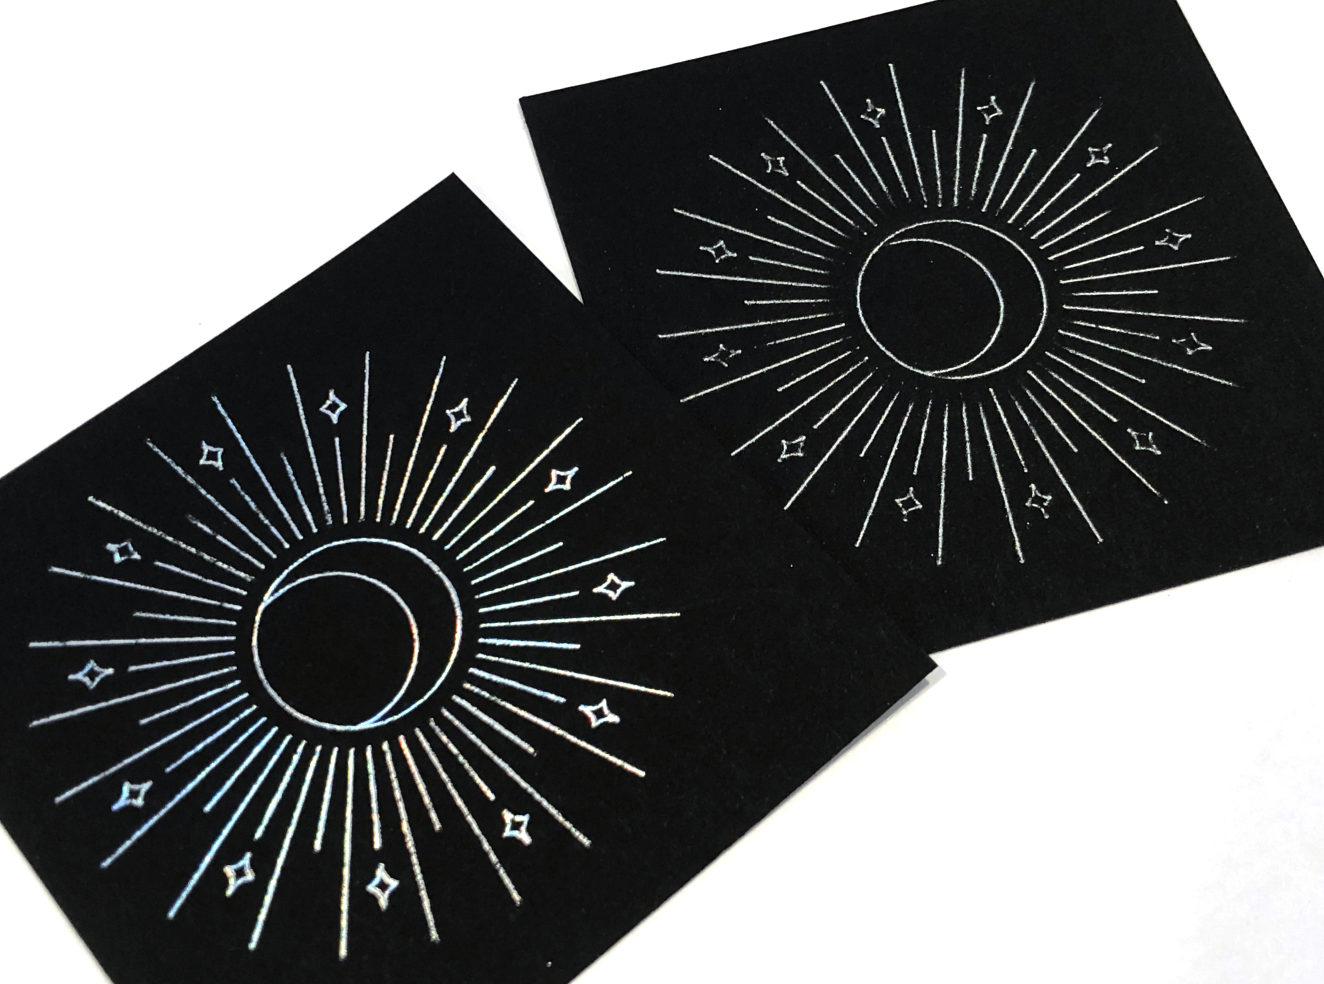
(L) WRMK Foil Quill Medium Tip, (R) Cricut Foil TRansfer Tool Medium Tip
This foil is not labeled as being heat sensitive, but it works perfectly! It’s a really great option if you only need a small amount of foil and don’t want to buy an entire roll.
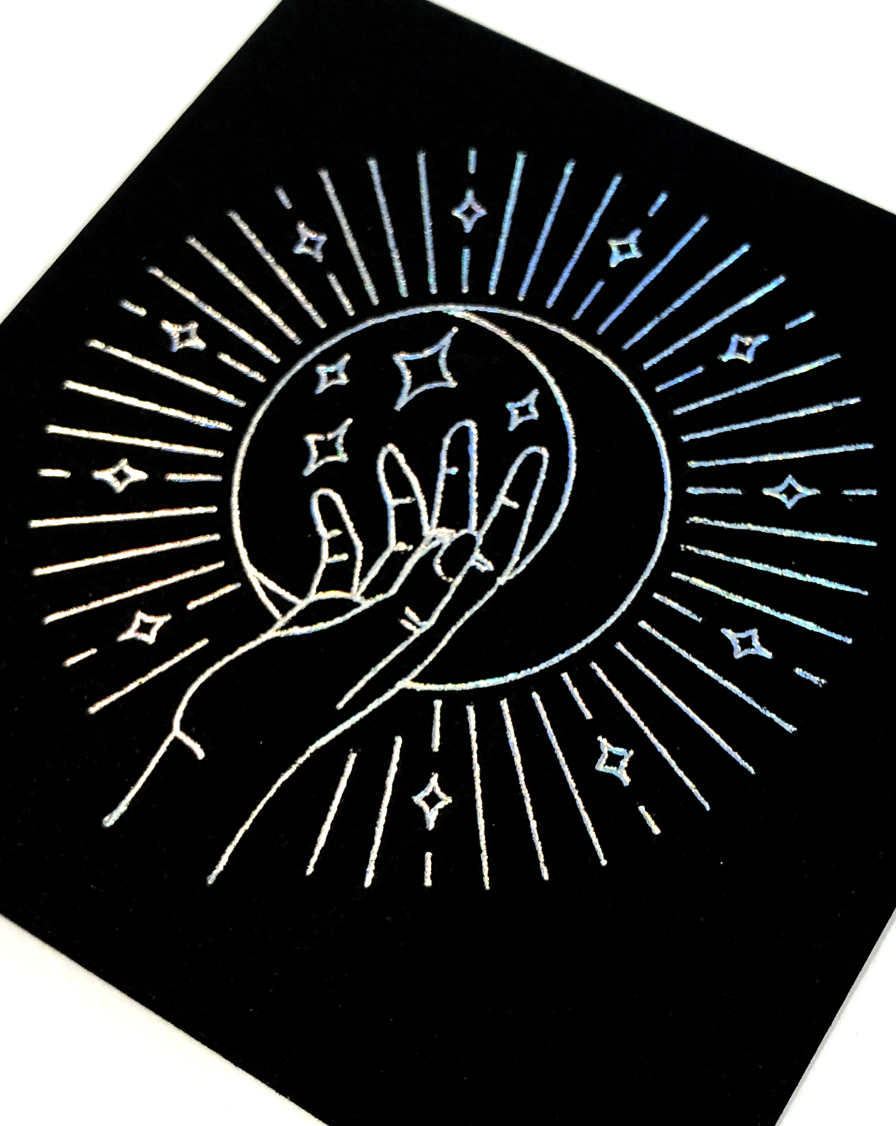
WRMK Foil Quill, Recollections Holographic Foil Transfer Sheet