portrait 3 foil

Foil Quill on Acrylic with the Portrait 3

Hi Everyone!

It’s hard to believe it’s already November! This month I’m going to be focusing on projects for the holidays. Today’s project will be acrylic ornaments decorated by using the WRMK foil quill. Let’s get started!

Supplies:

(Links below may be affiliate links)

Silhouette Portrait 3

Standard Grip Mat

Chipboard with 3” circle cutout (optional)

3 inch round 2mm thick acrylic ornament blanks

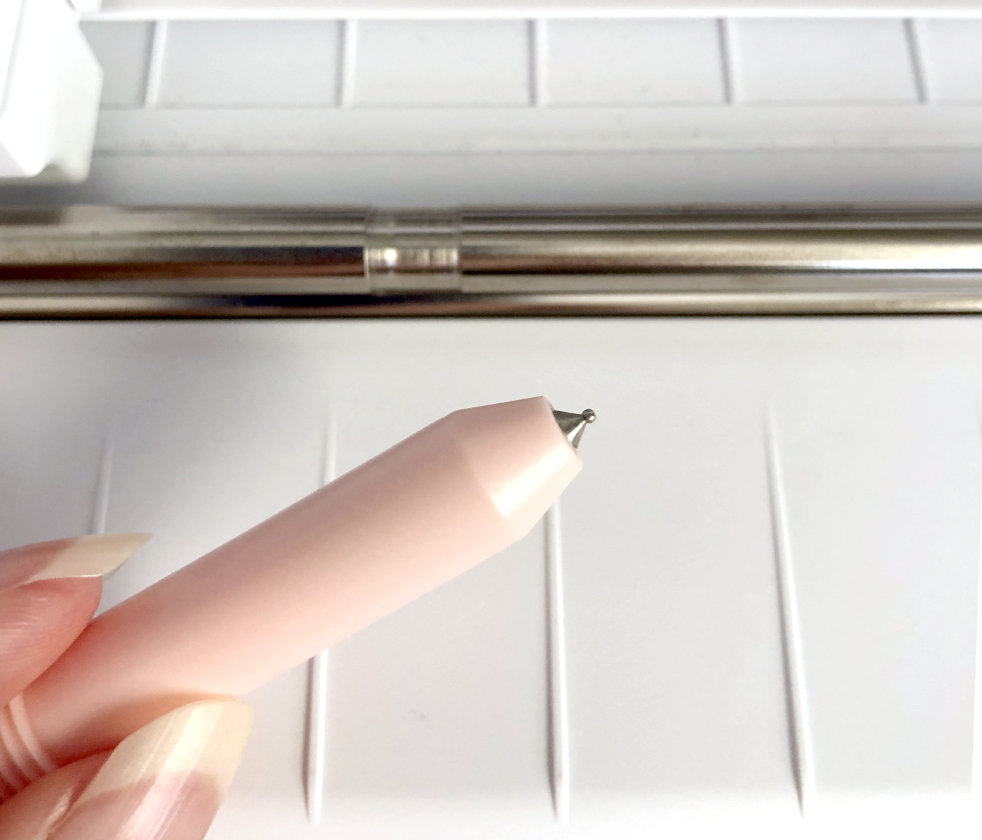
Medium Tip Foil Quill

Gold Foil heat reactive foil or any foil color of your choice

9-12 inch length of ribbon or twine


Project:

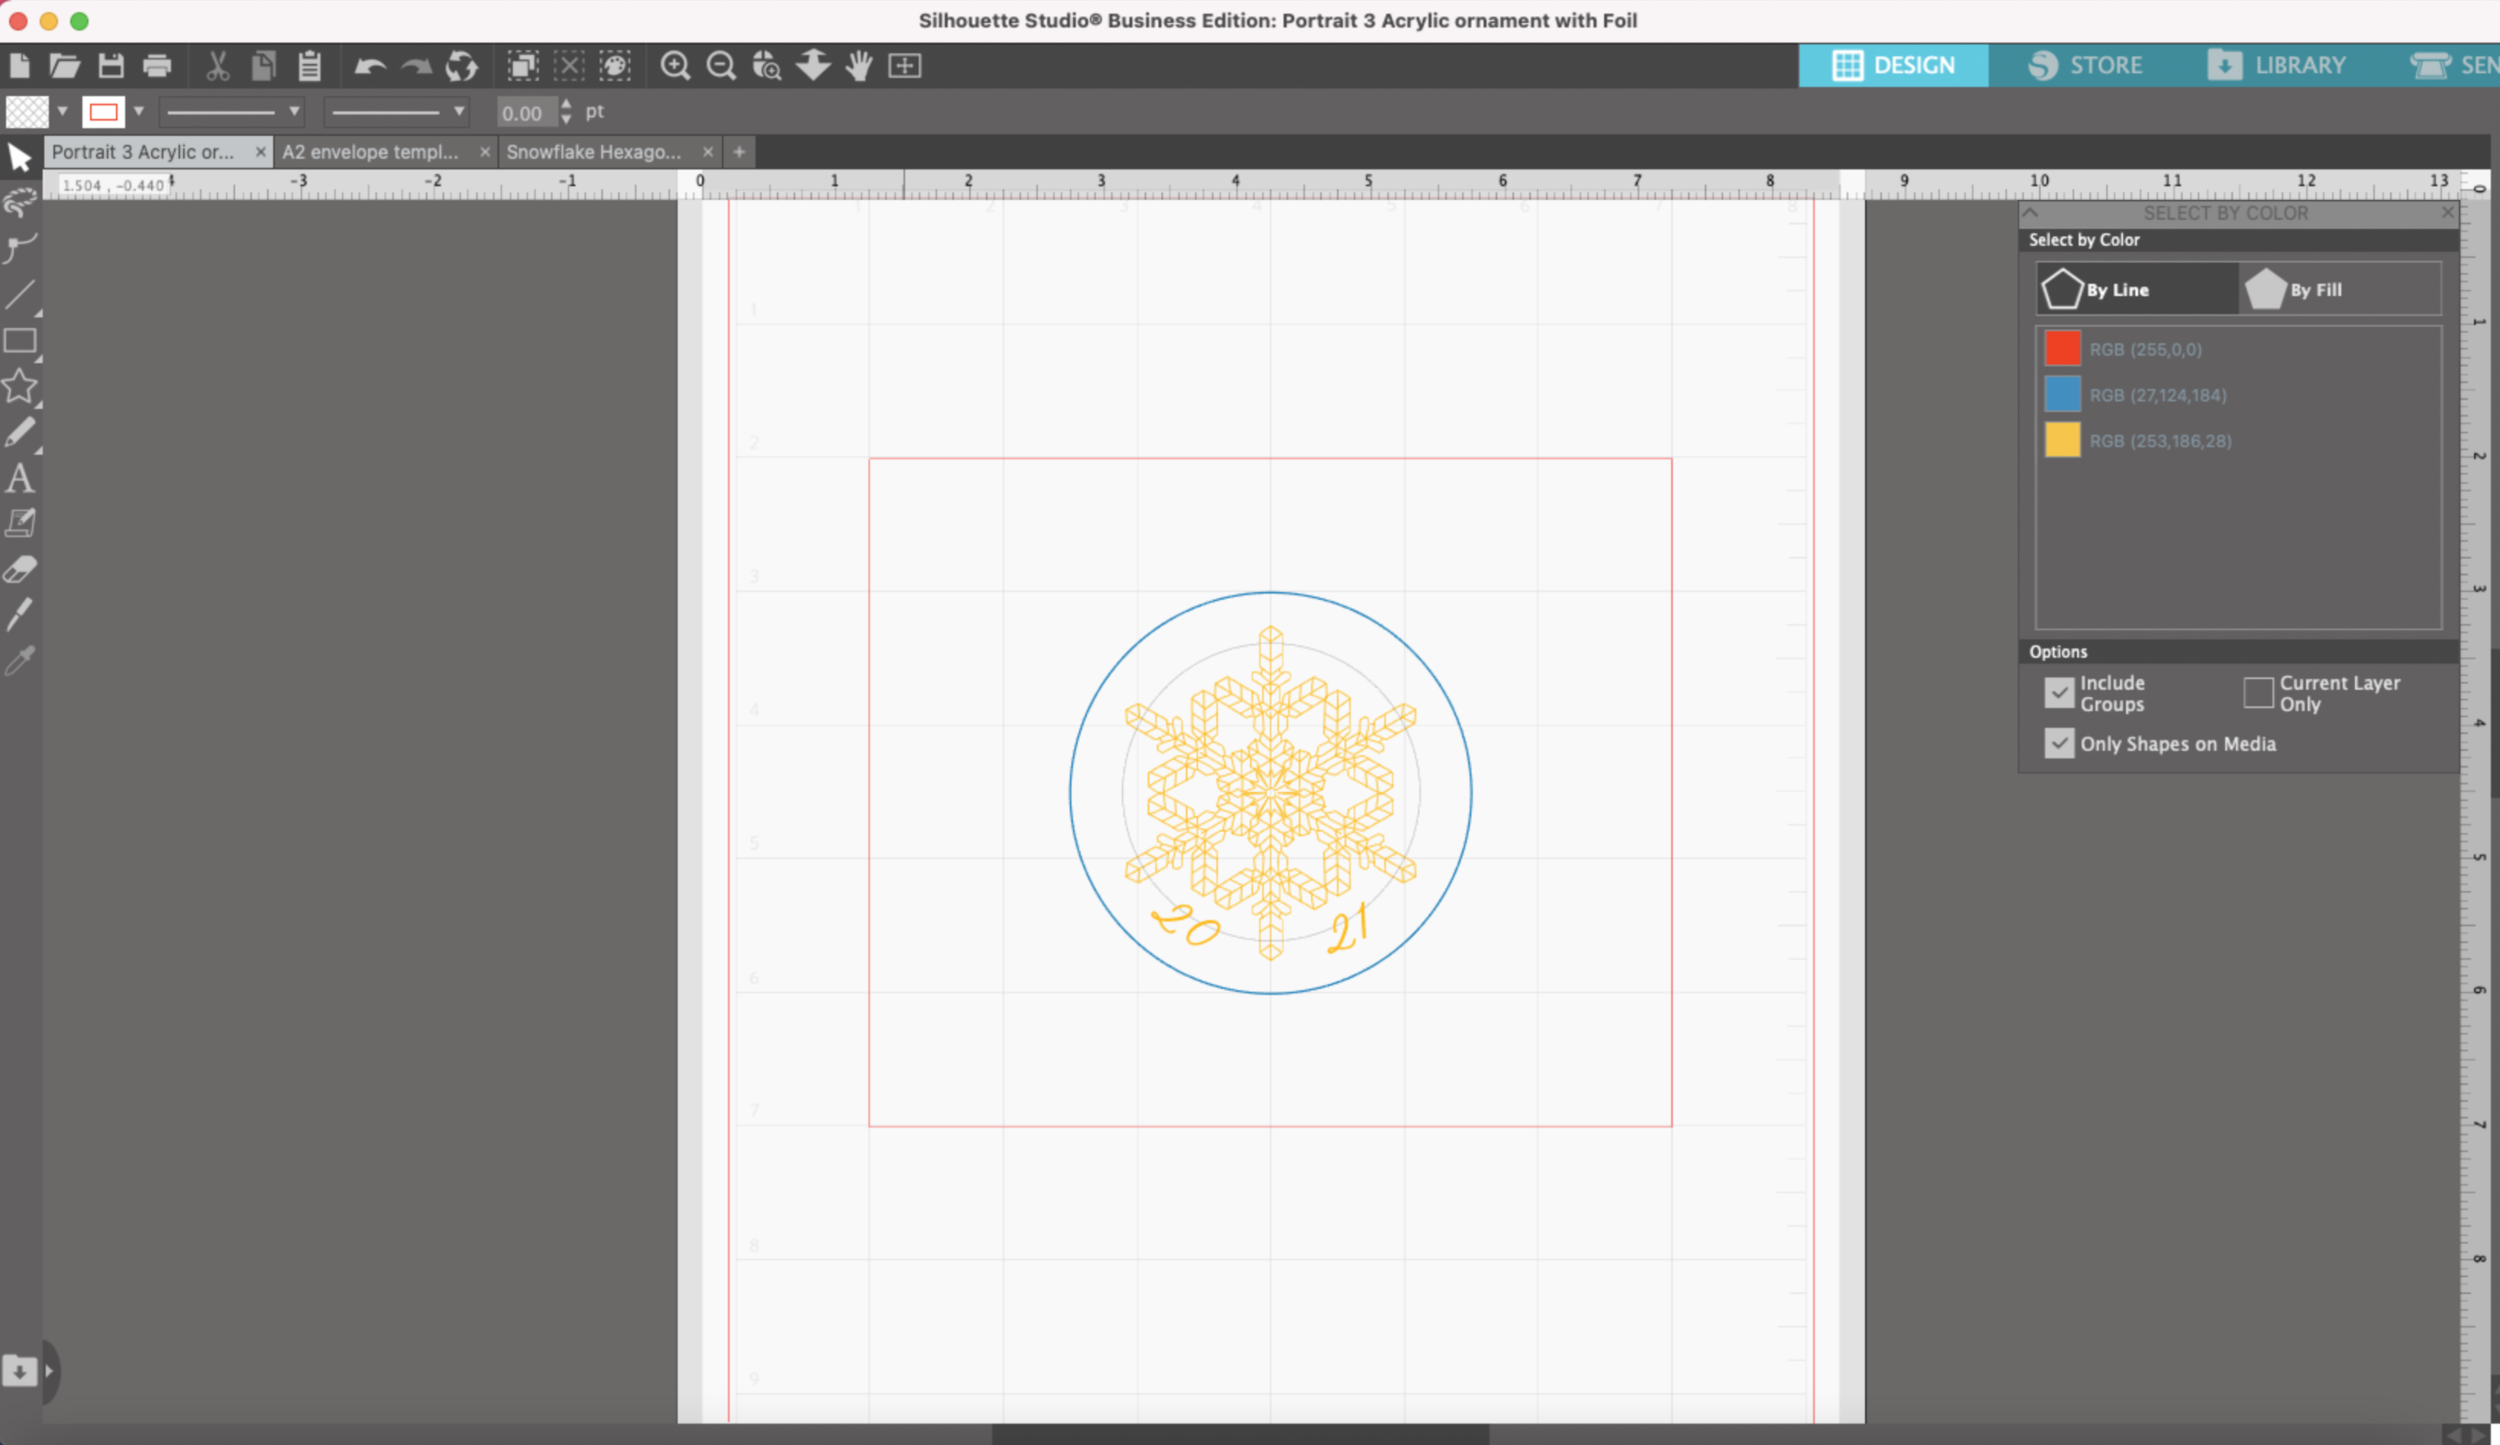
I created a 3 inch circle in Silhouette Studio and I centered one of the snowflakes from my Snowflake Single Line SVGs

I added 2021 at the bottom using the font La Bohemienne.

Artwork set up in Silhouette Studio

I am going to send this to my machine by line color. Everything in Yellow will foiled.

My acrylic blanks are already cut into 3 inch circles, so I won’t need to actually cut them.

I already had a piece of chip board with a 3 inch circle cut out so I will be using that to help align my acrylic pieces on the cutting mat. I have it placed pretty far down on my mat so I can easily remove the foil and the ornament without removing the mat from the machine. (I will create a post later showing you how to make a chip board pattern and how to realign it to use it if over and over again.)

Mat prep for foil quill on acrylic

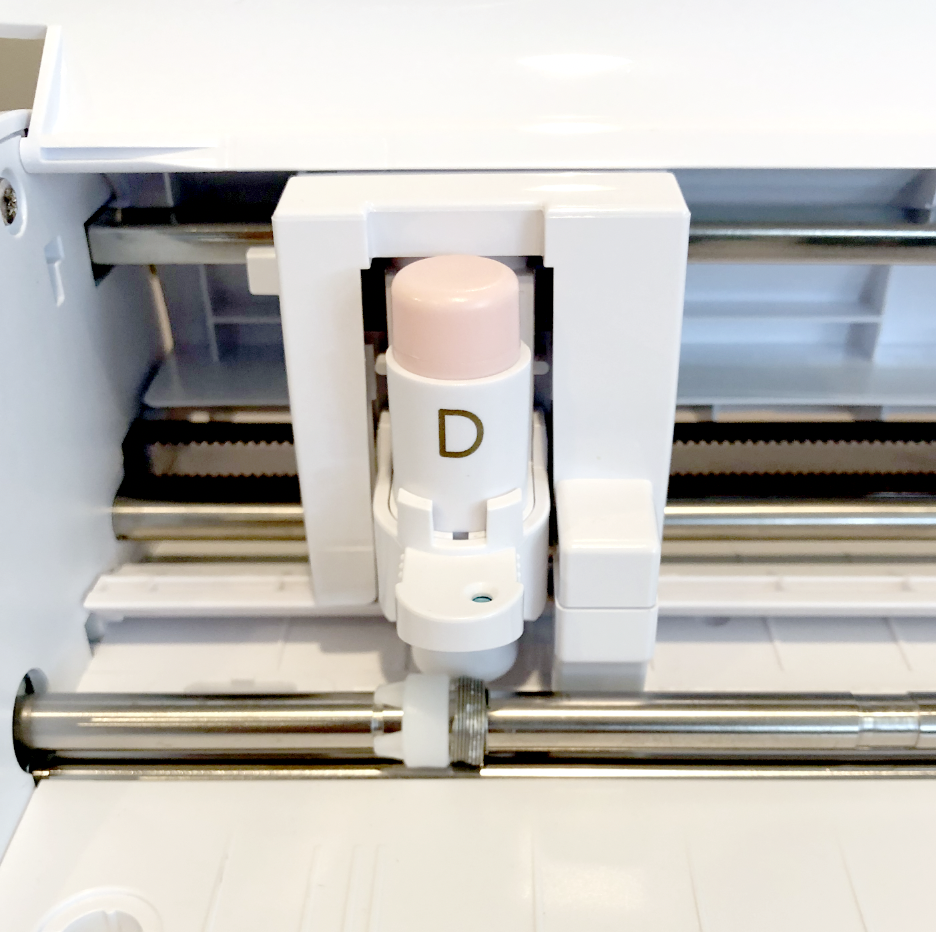
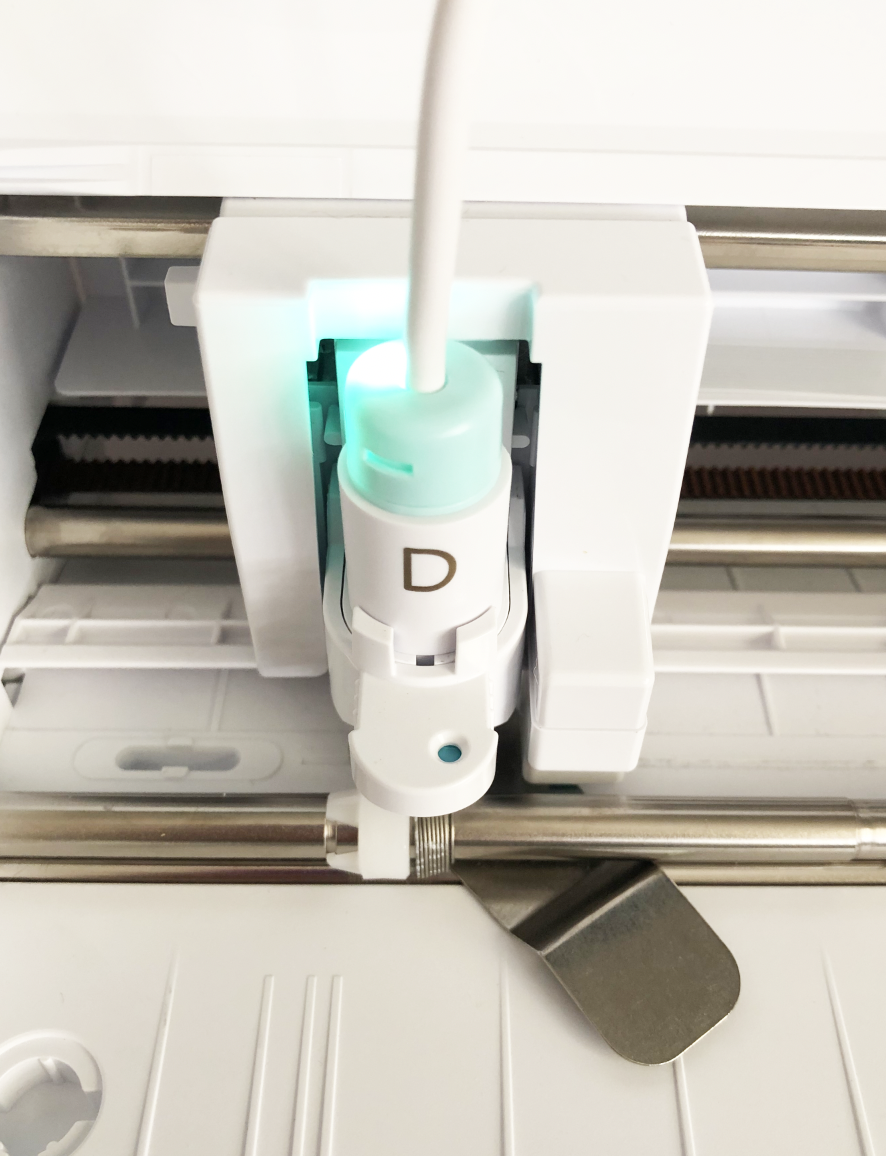
Plug in your Medium Foil Quill tip so it has time to heat up. I’m using the D adapter that came with the foil quill.

Medium tip foil quill using D adapter

Remove only one side of the clear plastic coating from the acrylic blank - this is the side you will have face up to foil on.

Remove plastic coating from acrylic blank

Place the acrylic blank inside the circle in the chipboard with the side that still has the plastic coating is face down against the mat.

Acrylic blank inside chipboard template

Tape down your foil over the acrylic round, make sure it’s nice and tight. My foil piece is about 4 inches x 4 inches

Tape foil over acrylic blank

In Silhouette Studio, I have just the Yellow line selected. For my material I chose Craft Foam since that’s a thicker material. My Action is Sketch, Tool is Pen, Force of 5, speed 2.

machine settings for foil on acrylic

I load my mat and press send.

After the machine is done, if you plan to make multiples, DO NOT unload the mat.

Carefully remove the foil and ornament from the mat, without taking the mat out of the machine.

I put a piece of metallic twine through the top hole and now you have pretty ornament to give as a gift or use it to jazz up your gift wrapping!

Finished ornament with gold foil on acrylic

The metallic foil sticks really well to the acrylic, the heat from the foil quill kind of melts it into the ornament. It’s so pretty, I can’t wait to try this out with different artwork on different foil colors!

Detail of gold foil on acrylic
Finished ornament gold foil on clear acrylic

Foiling with the Silhouette Portrait 3 and WRMK Bevel Quill

Links in the article below may be affiliate links.

Hi Everyone!

Last week I did some foiling with my Portrait 3 and the WRMK foil quill. This week I wanted to share another technique you can use to foil with your Silhouette Portrait 3 or Cameo.

I found the WRMK Bevel Quill a few weeks ago in the clearance section at my local JoAnn’s, and I’m a sucker for all the little attachments for Cricut and Silhouette machines. Another bonus, I can use this tip in either my Cricut Maker or my Portrait 3.

The bevel tip has a small ball point and is intended to deboss on the “bevel board" materials that are included with the tip , but I wanted to try it with the Spellbinders Glimmer Foil since the foil is also pressure sensitive.

WRMK Bevel Quill

WRMK Bevel Quill

The A adapter included in the kit is intended for the Silhouette machines, but it doesn’t fit the Portrait 3 or Cameo 4.

First, I tried it with the D adapter that also came in the kit, but it doesn’t fit very snugly in the Portrait 3 and pops up out of the tool holder every so slightly when the machine presses down on the tip and there’s no longer any pressure for the tip to apply the foil.

So I grabbed the D adapter from my foil quill set, it’s just a hair wider than the other D adapter. It makes such a big difference, and it stays nice and snug in the tool holder.

D adapter from Foil Quill set

D adapter from Foil Quill set

Once again, I used my favorite black cardstock and the Standard grip mat with the regular copper and gold Spellbinder foils. I tried out a few different settings. I ended up getting pretty decent results with my Force between 20-25, Speed 2, and 2 passes.

Copper foil and gold foil on black cardstock

Copper foil and gold foil on black cardstock

The results are pretty close to what I get with my Cricut Foil Transfer tool and my Maker. The foil doesn’t always stick in some places and it can be a little dusty when you remove the foil sheet after transferring. The WRMK Foil Quill is still my favorite tool for foiling, but this is definitely a good option if you don’t want to be bothered heating up the WRMK Foil Quill.

Foiling with WRMK Bevel Quill

Silhouette Portrait 3 and the WRMK Foil Quill

Links in the article below may be affiliate links.

Hi Everyone! A few months ago I finally crossed over and got a Silhouette Portrait 3, and I love it!! It works like I always thought my Cricut should work.

Last week I tried the Spellbinders Glimmer Foil with the WRMK Foil Quill in my Cricut Maker. The results weren’t great on cardstock, but it looked really nice on my clear sticker paper. So this week, I decided to try it on my Portrait 3 because I can adjust the speed and pressure with the Foil Quill, unlike the Cricut.

I have to use the D adapter for the Foil Quill with the Portrait 3, the usual A adapter for Silhouette doesn’t fit the newer machines.

Use Adapter D for the Silhouette Portrait 3.

Use Adapter D for the Silhouette Portrait 3.

First I tried the regular copper metallic foil on my favorite black cardstock. I’m using the Standard Grip mat with a Force of 22 and Speed 2. It looks fantastic!

Copper Foil, Medium Foil Quill Tip

Copper Foil, Medium Foil Quill Tip

Then I tried the regular gold foil, also on black cardstock. It looks pretty nice, there are a few spots where the foil didn’t stick great, but I might not have had my foil taped down tight enough (very important when foiling).

Gold Foil, Medium Foil Quill Tip

Gold Foil, Medium Foil Quill Tip

Next I tried the Silver iridescent foil with the same Force of 22, Speed 2. It looks sooooooo much better than it did on my Cricut Maker! There are a couple fo spots where the foil didn’t stick so I’m going to try a few more settings.

Iridescent Silver, Medium Foil Quill Tip

Iridescent Silver, Medium Foil Quill Tip

I tried a bunch of different pressures and speeds, but none of them are as good as the Force 22, speed 2.

Iridescent Silver, Medium Tip, different pressures and speeds

Iridescent Silver, Medium Tip, different pressures and speeds

I also tried the gold holographic foil, it did much better on the the Portrait 3 than with my Cricut Maker, but there are still a few spots where it didn’t stick to the cardstock.

Gold Holographic Foil, Medium Foil Quill Tip

Gold Holographic Foil, Medium Foil Quill Tip

Then I wanted to try it on some black vinyl for stickers. It came out pretty good, but there are some gaps in the solid hearts.

Gold Holographic Foil, Medium Tip on Black Adhesive Vinyl

Gold Holographic Foil, Medium Tip on Black Adhesive Vinyl

I changed the fill for the solid hearts from just diagonal lines to a crosshatch fill. Which is SUPER EASY to do in Silhouette Studio, and the results are much better!

Silver Iridescent Foil, Medium Tip on Black Adhesive Vinyl

Silver Iridescent Foil, Medium Tip on Black Adhesive Vinyl

I wanted to try using the Light Grip mat since the backing of the vinyl sticks a lot to the Standard Grip mat. The Light Grip mat is slightly thicker than the Standard Grip and it’s just enough difference that no matter what force I use, it’s too much and it even melted my vinyl.

Silver Iridescent Foil, Medium Tip on Black Adhesive Vinyl using Light Grip Mat

Silver Iridescent Foil, Medium Tip on Black Adhesive Vinyl using Light Grip Mat

So I switched back to the Standard Mat and it works much better! There are still some little gaps where the foil didn’t cover, so I decided to do a test with the Bold Tip Quill to see if it gets better coverage with the filled shapes.

Gold Holographic Foil, Medium Tip using crosshatch fill

Gold Holographic Foil, Medium Tip using crosshatch fill

Yes! The Bold Tip does an even better job with the filled shapes!

Gold Holographic Foil, Bold Tip using crosshatch fill

Gold Holographic Foil, Bold Tip using crosshatch fill

Silver Iridescent Foil, Bold Tip using crosshatch fill

Silver Iridescent Foil, Bold Tip using crosshatch fill

One final test with the Bold Tip on cardstock. I ended up having to switch my mat to the Light grip mat, I wasn't getting enough pressure with the Standard mat. The Bold Tip gives a really nice flat fill, but I think I like the Medium tip better for lettering.

Gold Holographic Foil, Medium Tip using crosshatch fill, Light Grip Mat

Gold Holographic Foil, Medium Tip using crosshatch fill, Light Grip Mat

An important lesson learned this week is that the cutting mat can have a really big impact on the outcome of the project!

Silver Iridescent Foil, Bold Tip using crosshatch fill. Top is using the Light Grip Mat. Bottom is using the Standard Grip Mat.

Silver Iridescent Foil, Bold Tip using crosshatch fill. Top is using the Light Grip Mat. Bottom is using the Standard Grip Mat.