Links in the article below may be affiliate links.
Hi Everyone!
Last week I did some foiling with my Portrait 3 and the WRMK foil quill. This week I wanted to share another technique you can use to foil with your Silhouette Portrait 3 or Cameo.
I found the WRMK Bevel Quill a few weeks ago in the clearance section at my local JoAnn’s, and I’m a sucker for all the little attachments for Cricut and Silhouette machines. Another bonus, I can use this tip in either my Cricut Maker or my Portrait 3.
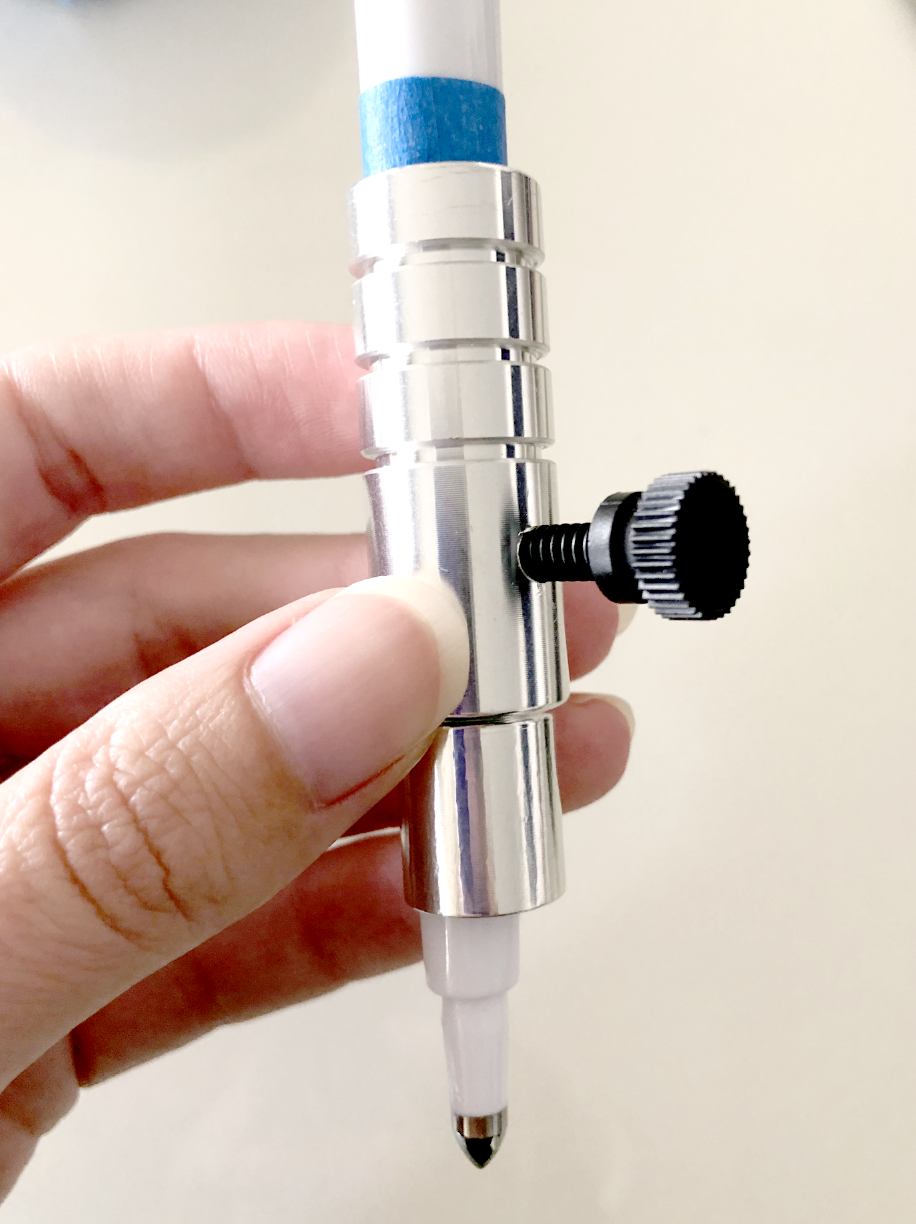
The bevel tip has a small ball point and is intended to deboss on the “bevel board" materials that are included with the tip , but I wanted to try it with the Spellbinders Glimmer Foil since the foil is also pressure sensitive.
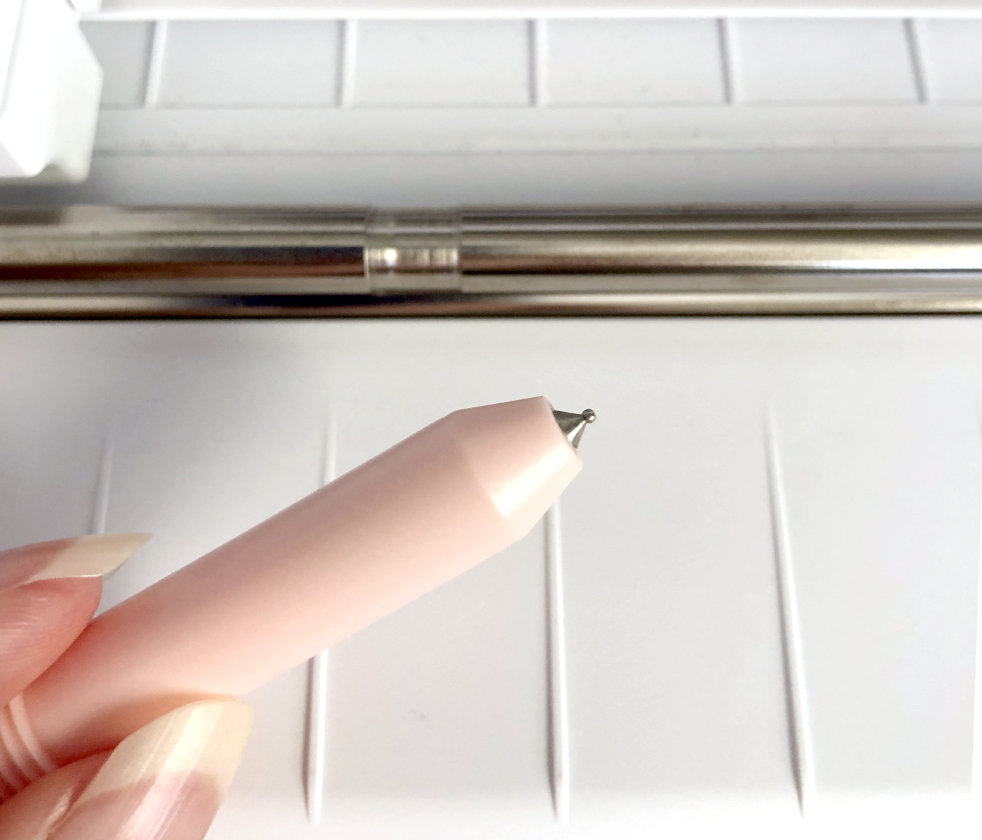
WRMK Bevel Quill
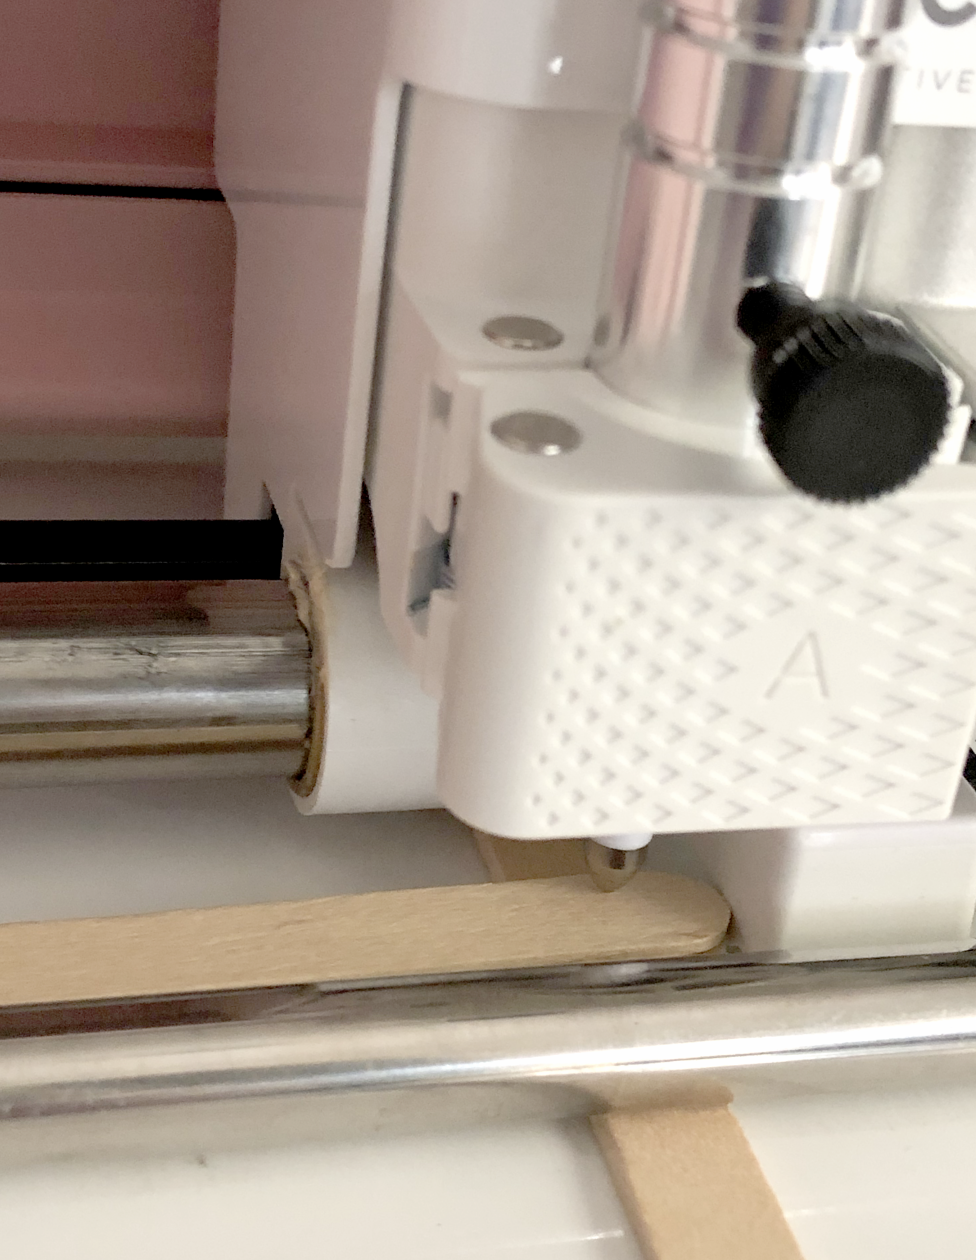
The A adapter included in the kit is intended for the Silhouette machines, but it doesn’t fit the Portrait 3 or Cameo 4.
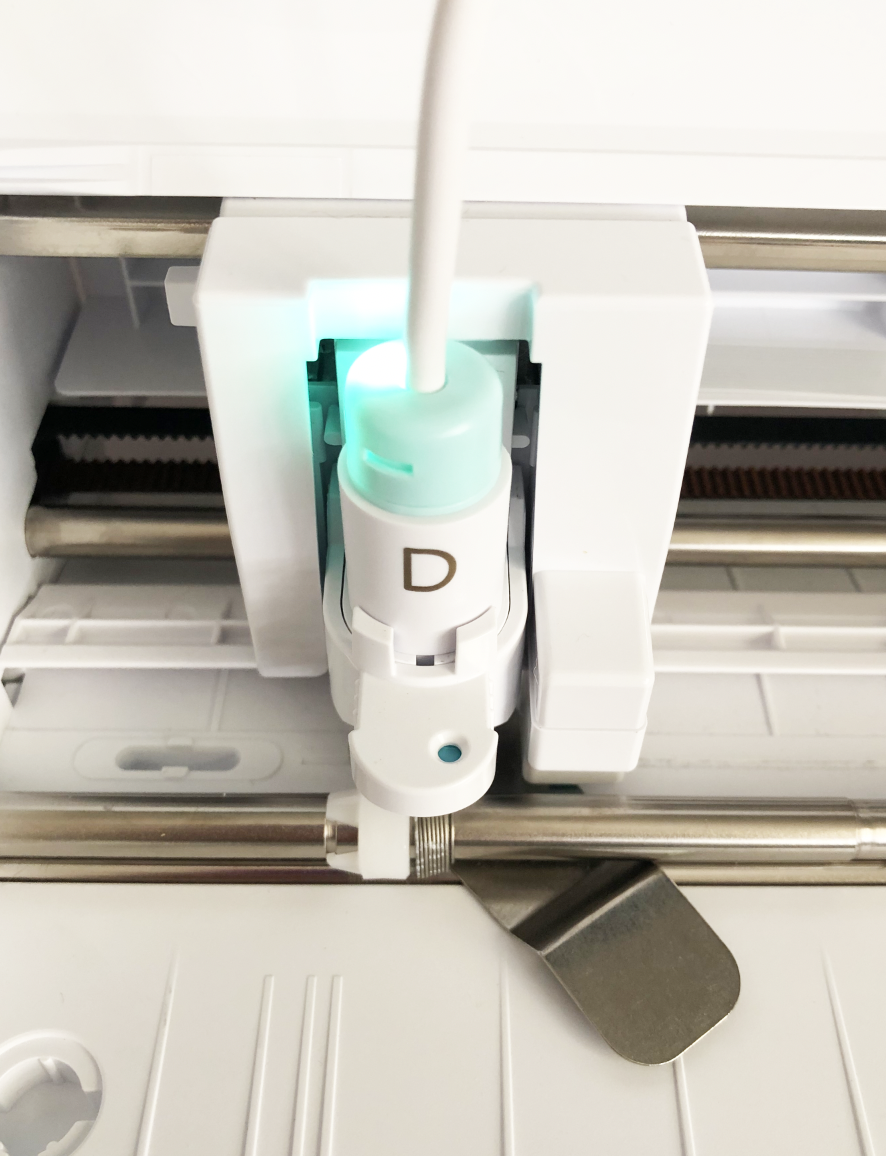
First, I tried it with the D adapter that also came in the kit, but it doesn’t fit very snugly in the Portrait 3 and pops up out of the tool holder every so slightly when the machine presses down on the tip and there’s no longer any pressure for the tip to apply the foil.
So I grabbed the D adapter from my foil quill set, it’s just a hair wider than the other D adapter. It makes such a big difference, and it stays nice and snug in the tool holder.
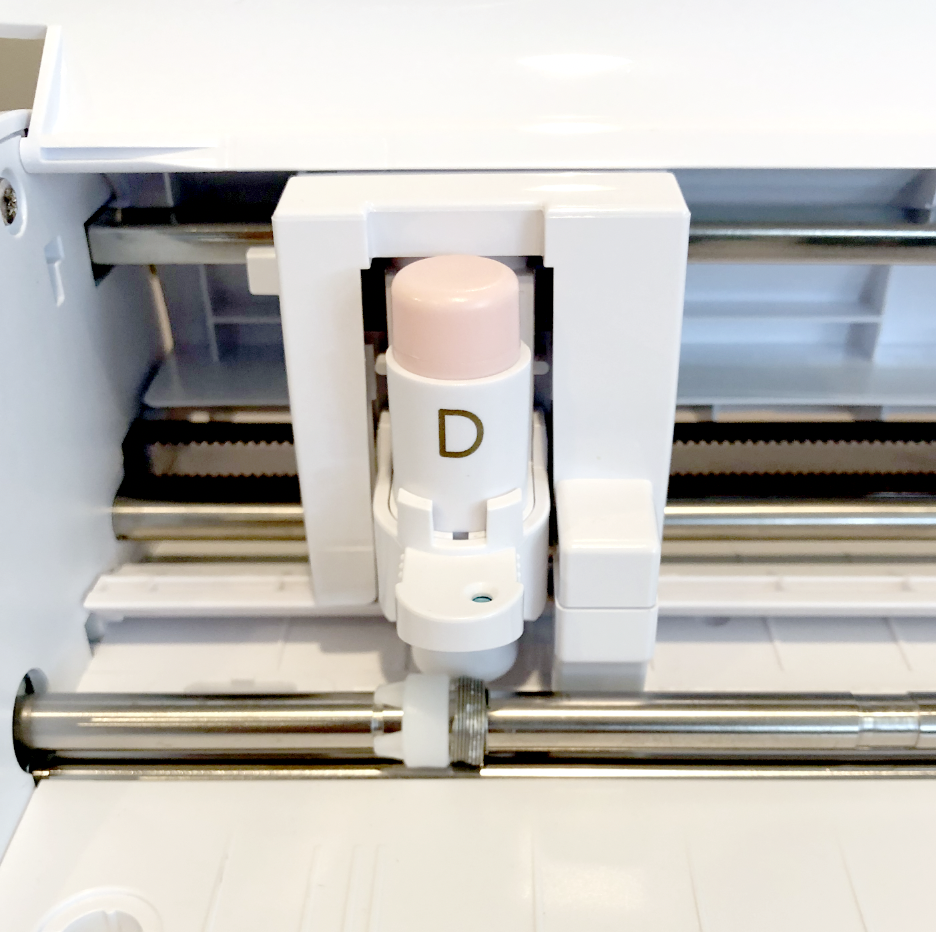
D adapter from Foil Quill set
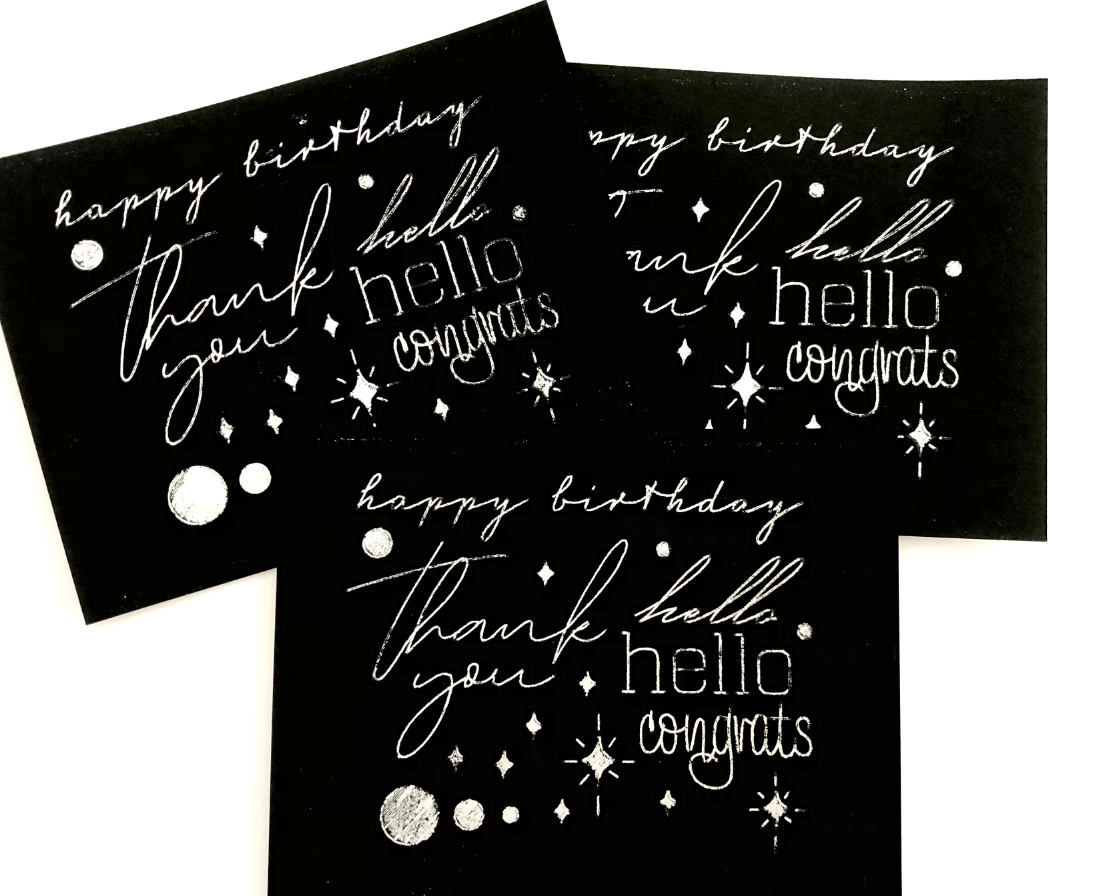
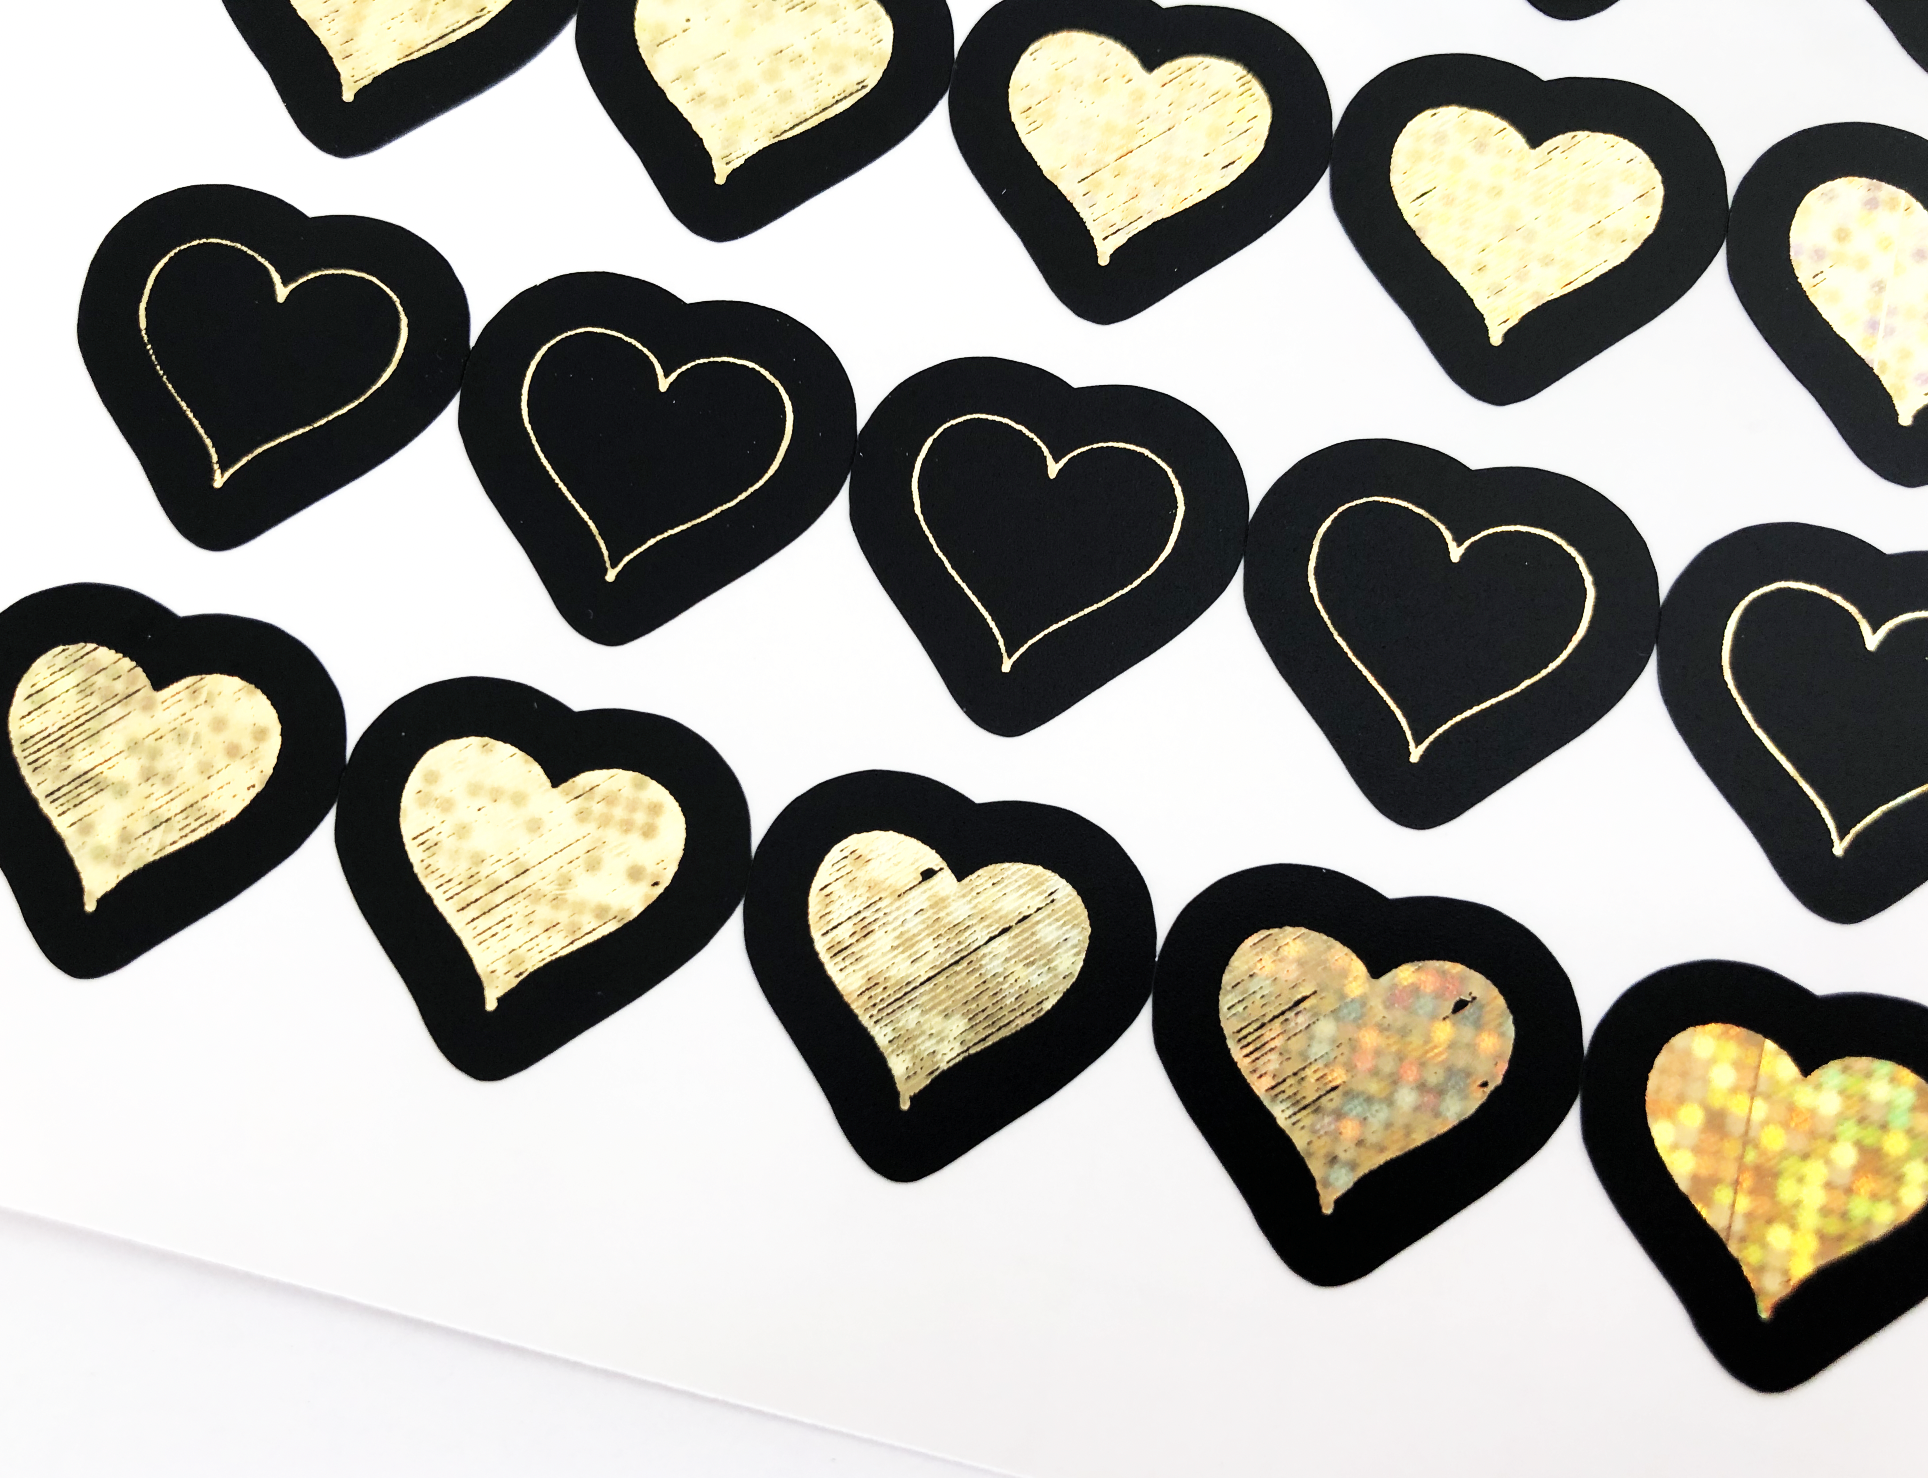
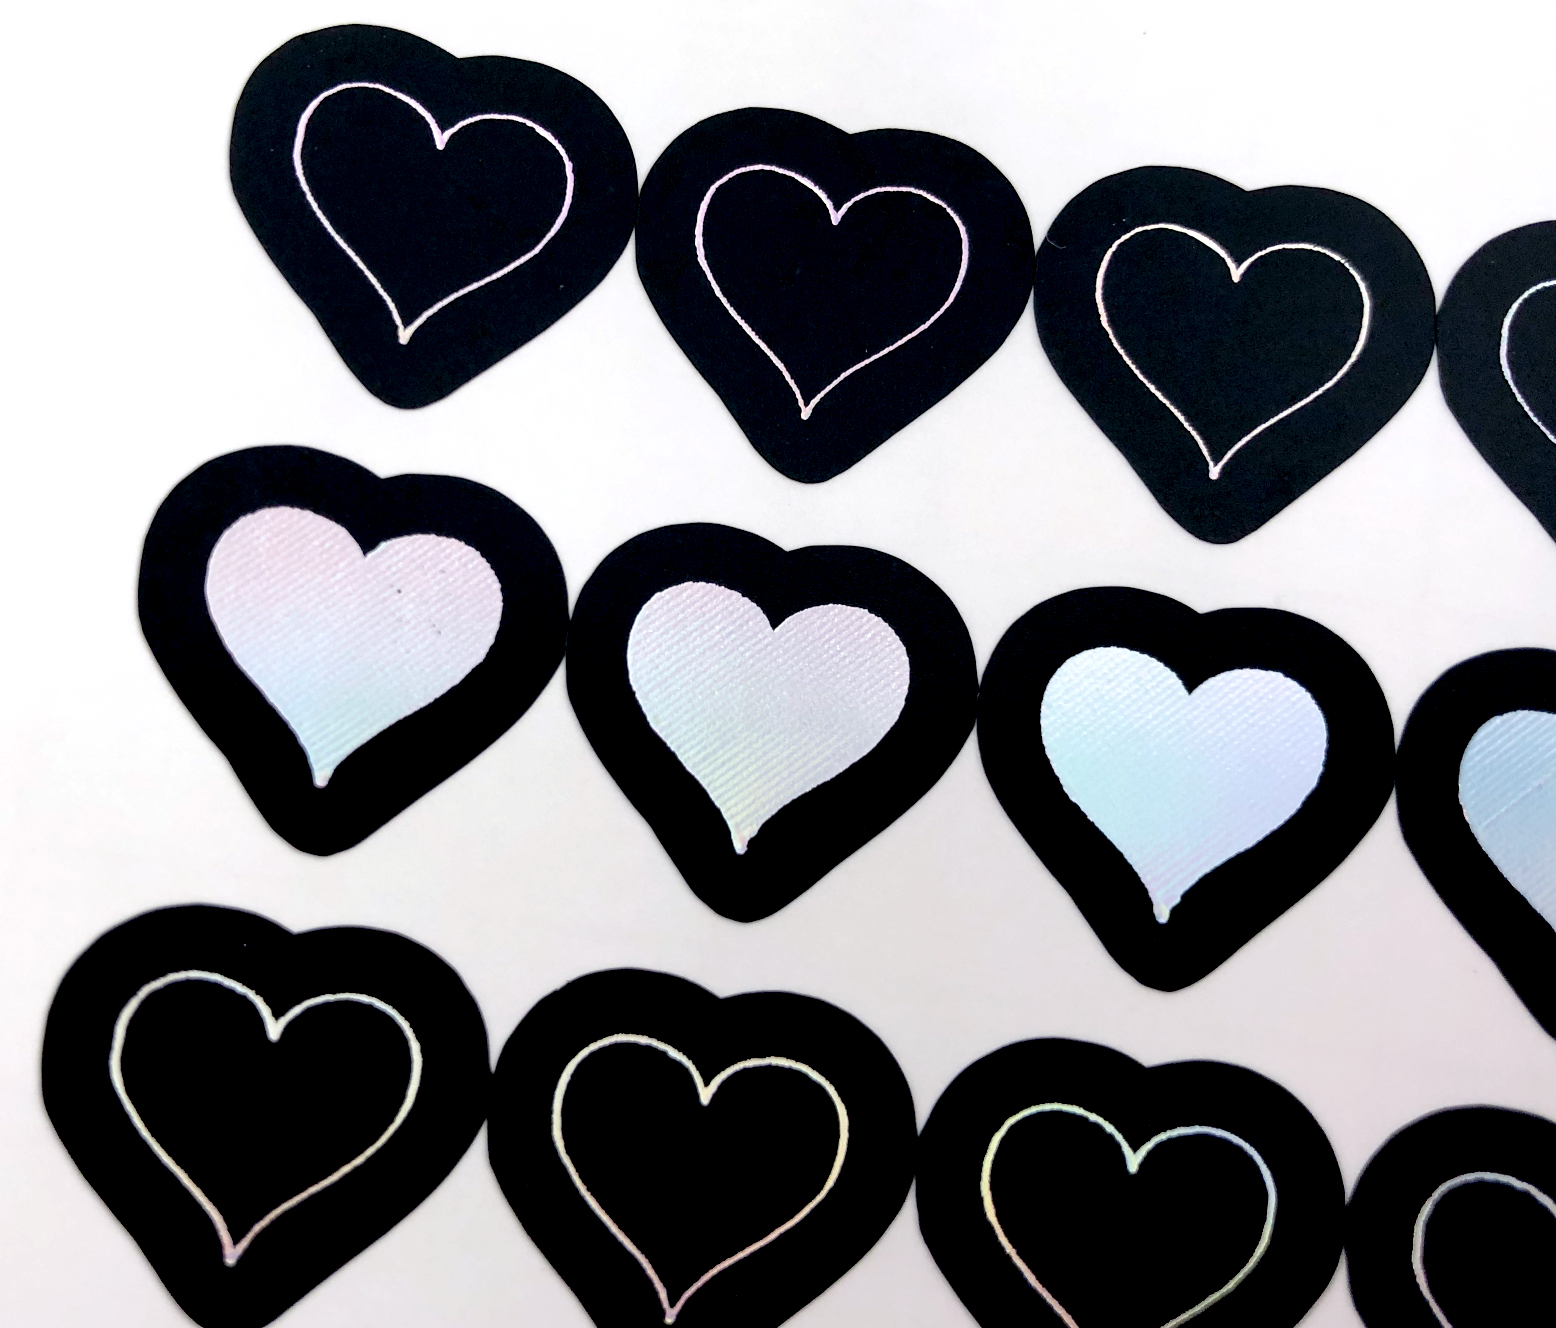
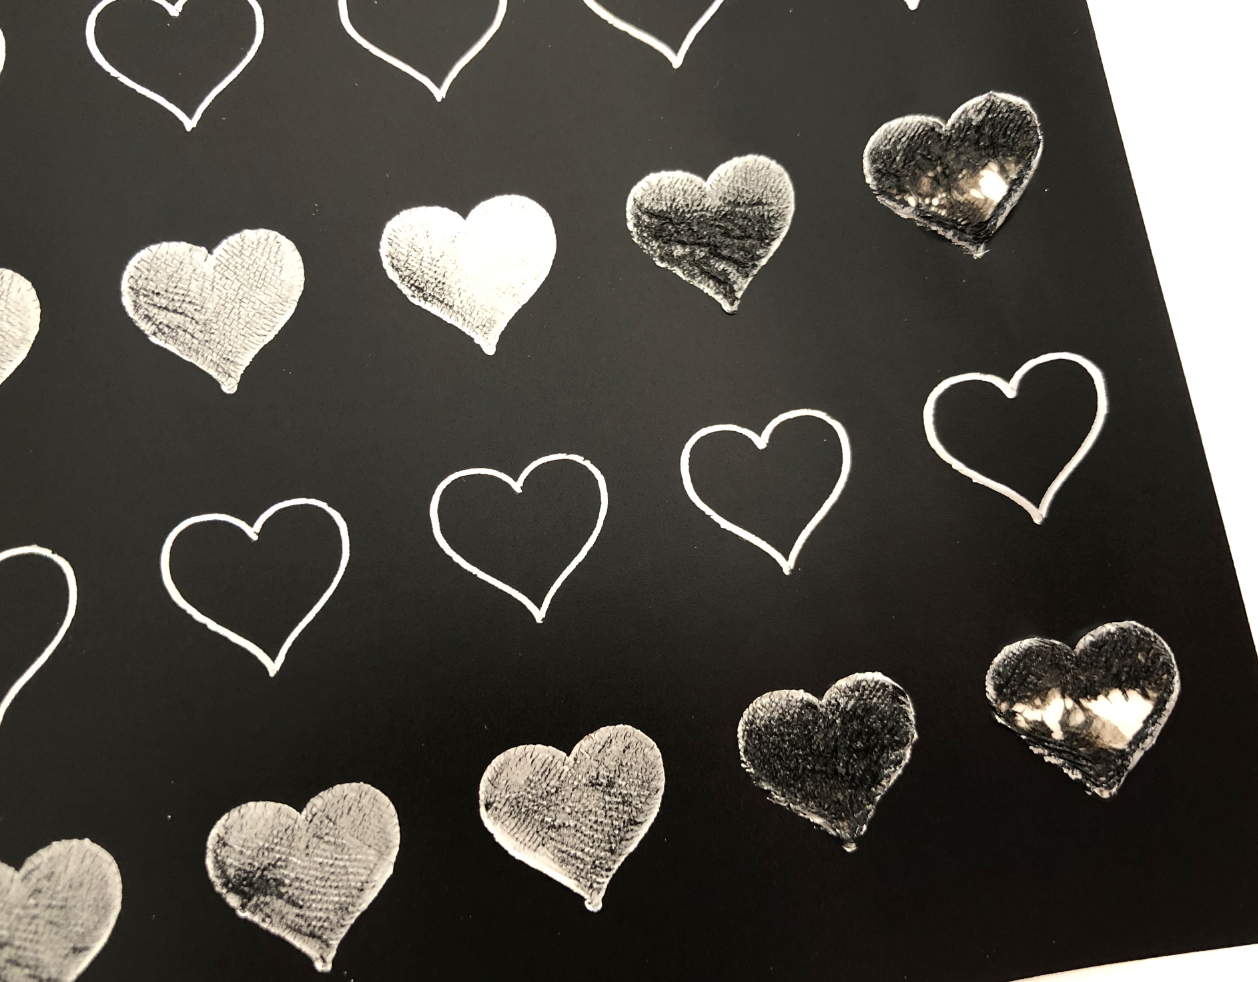
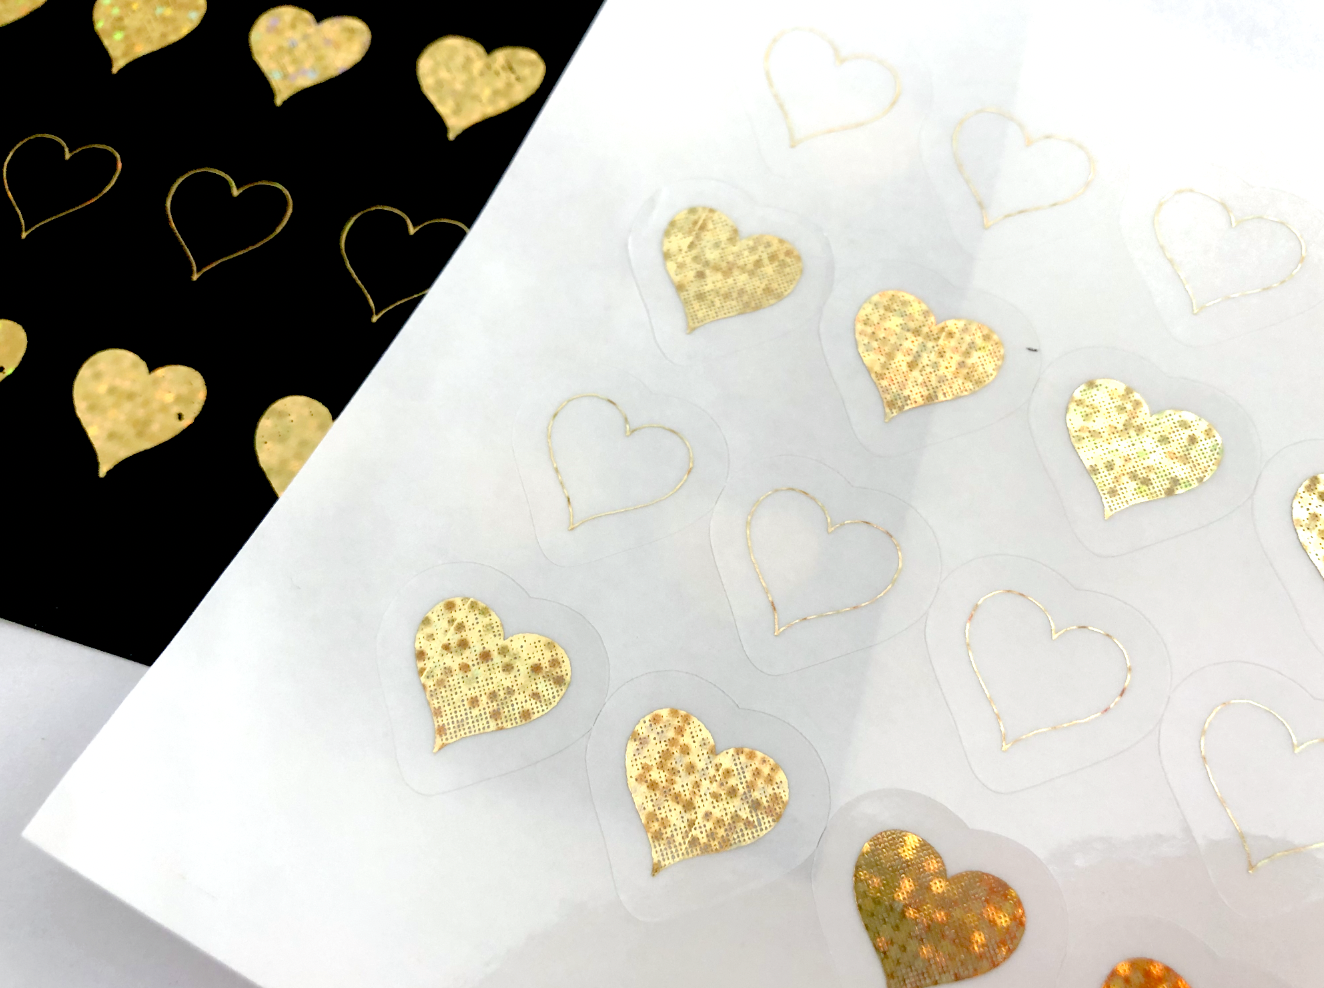
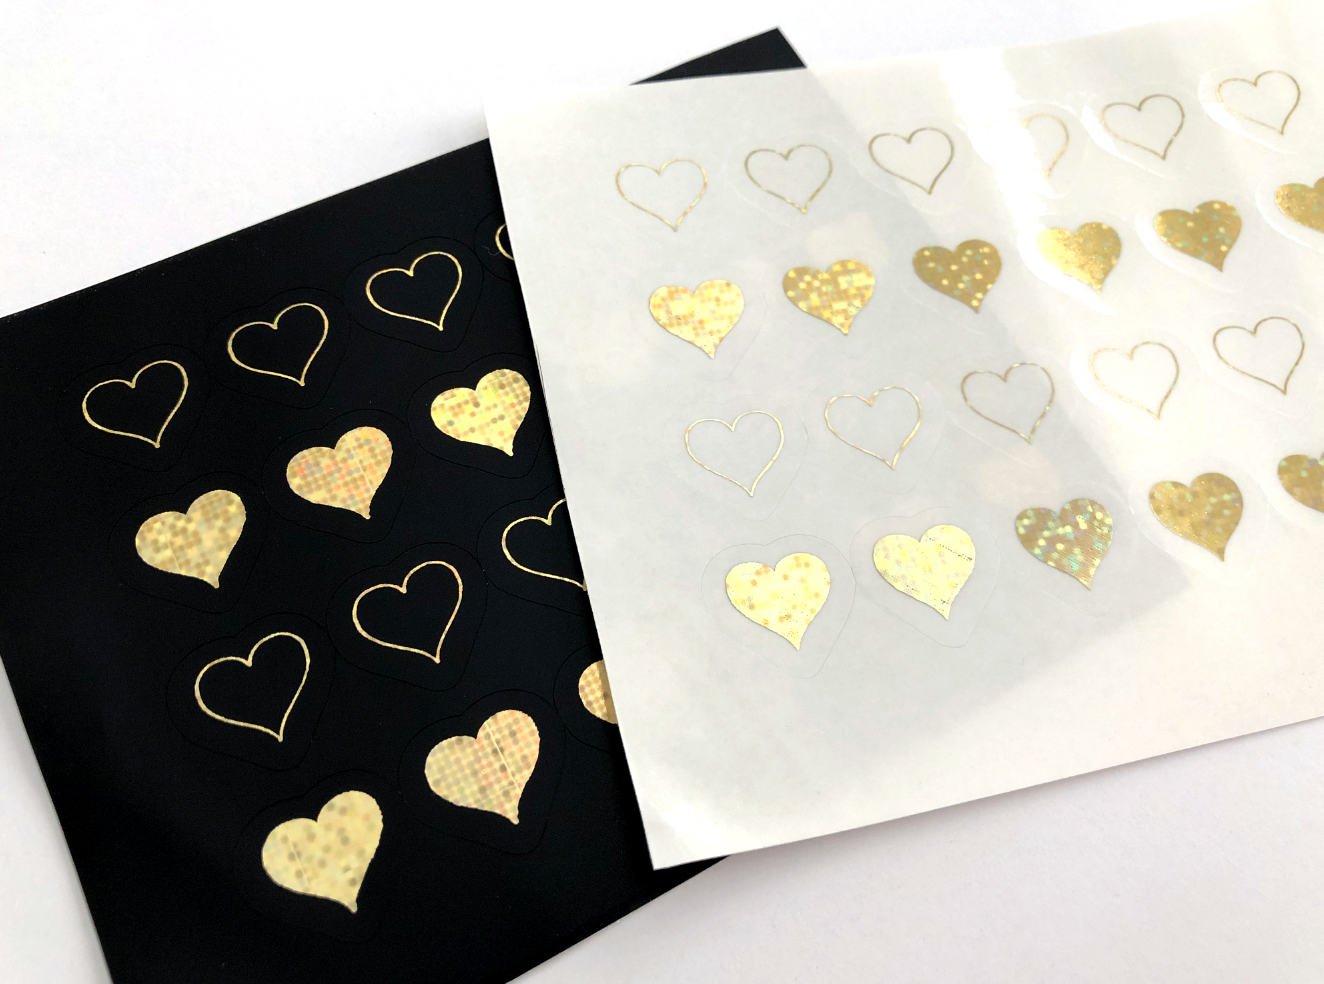
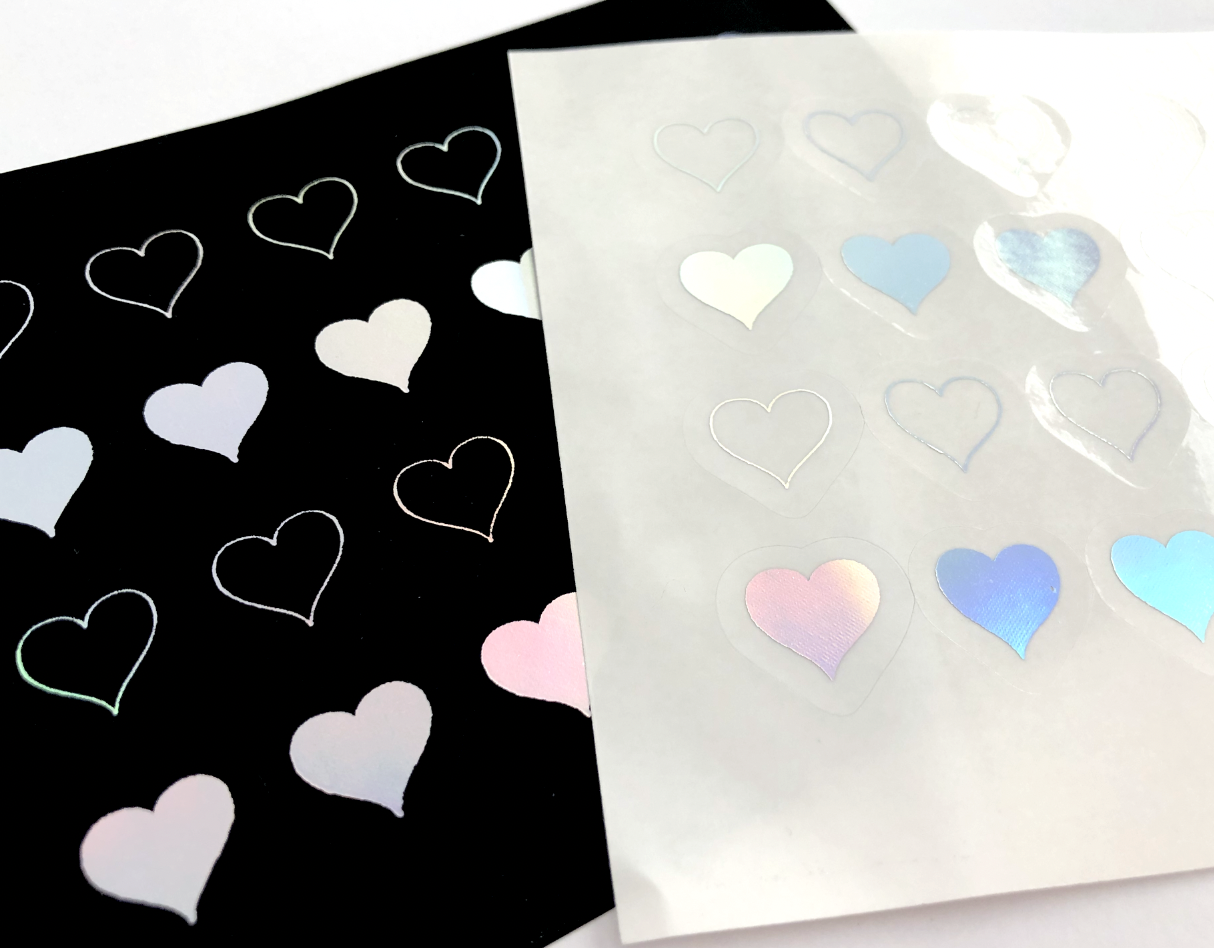
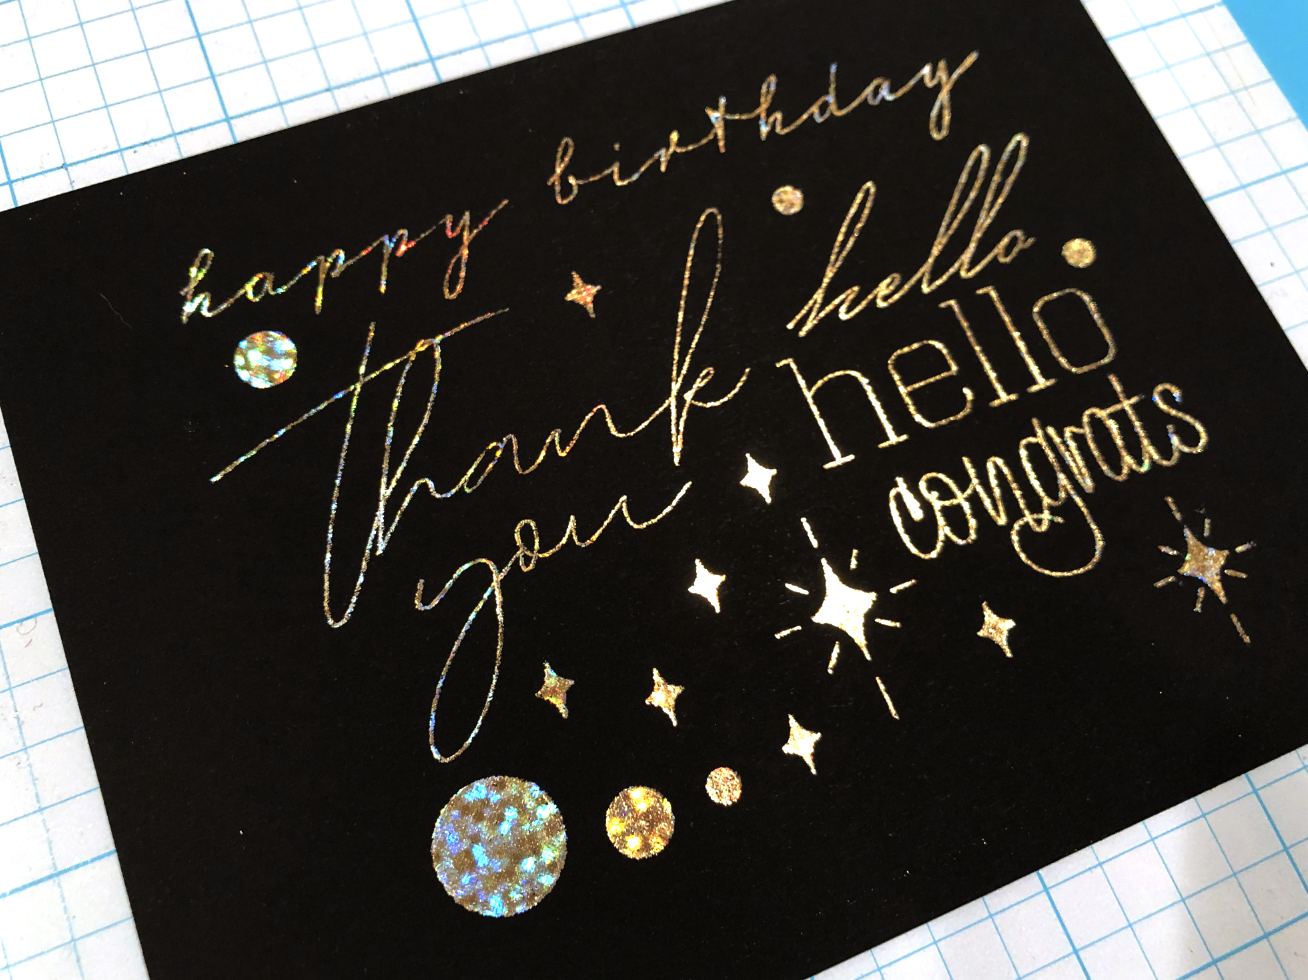
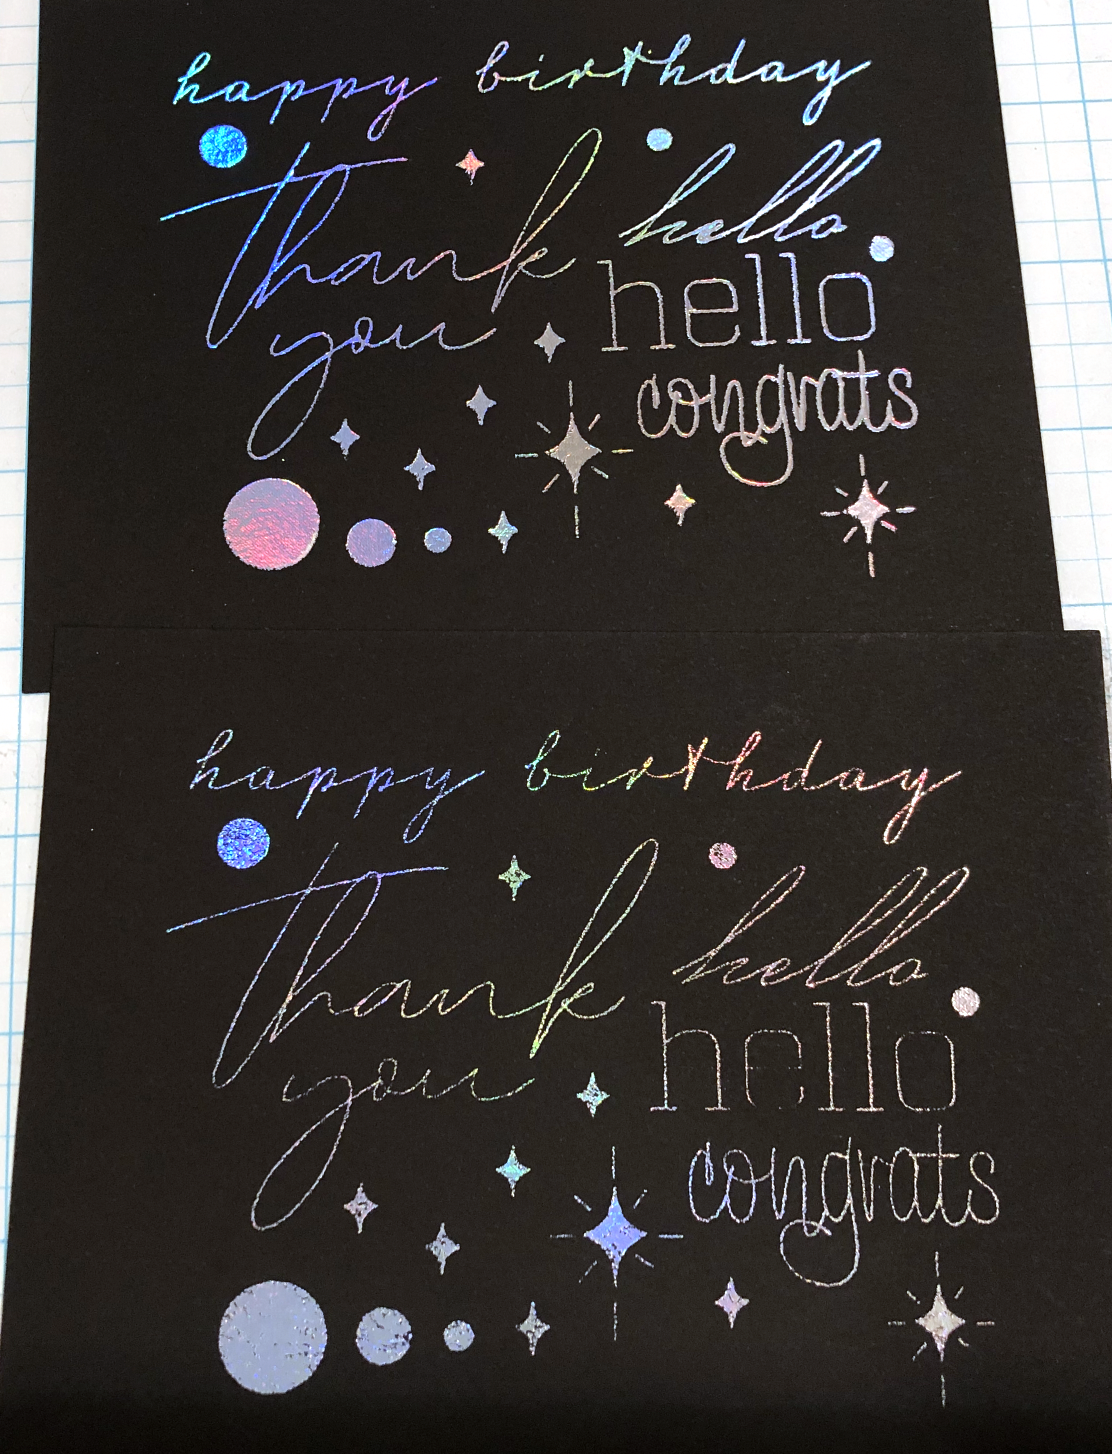
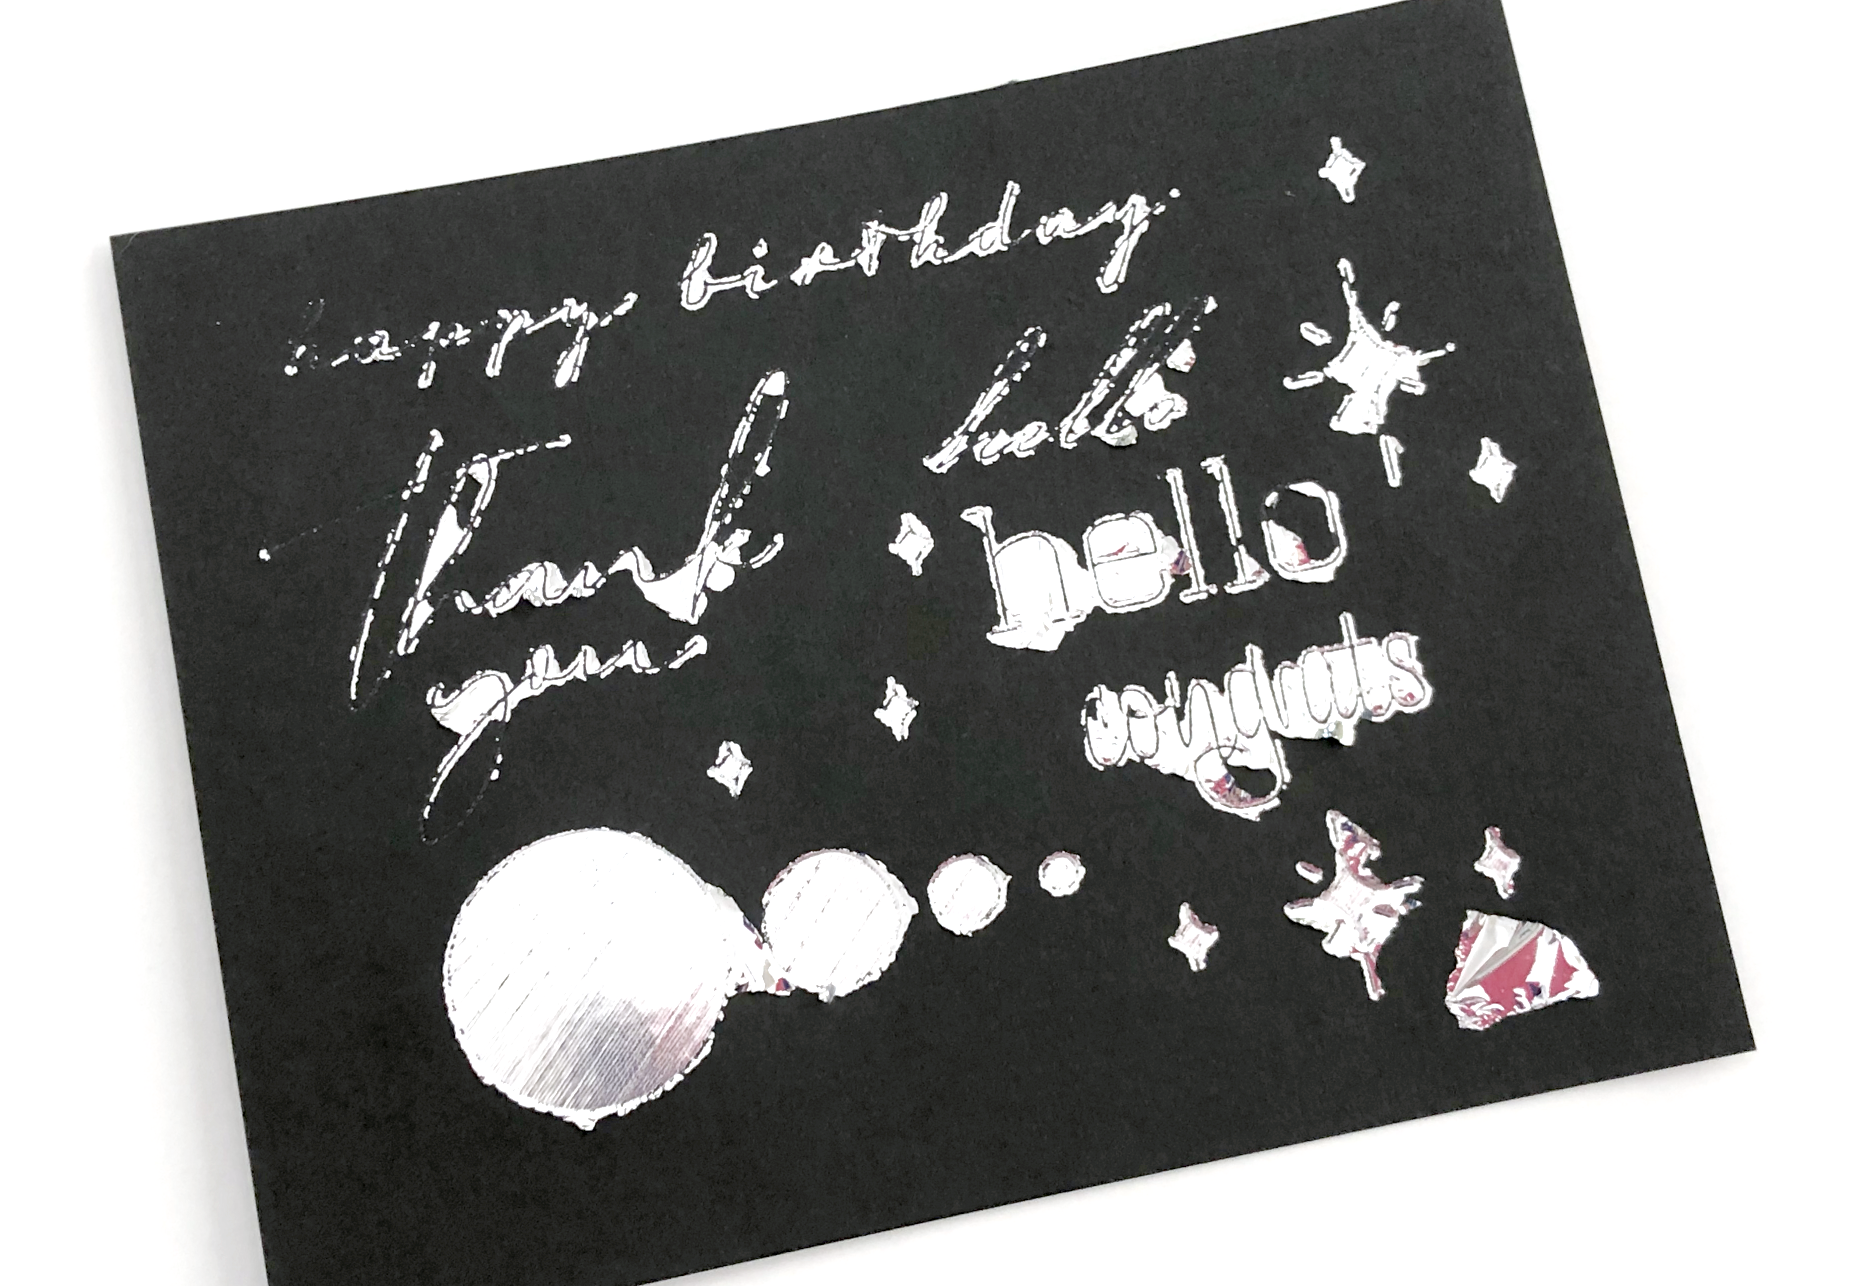
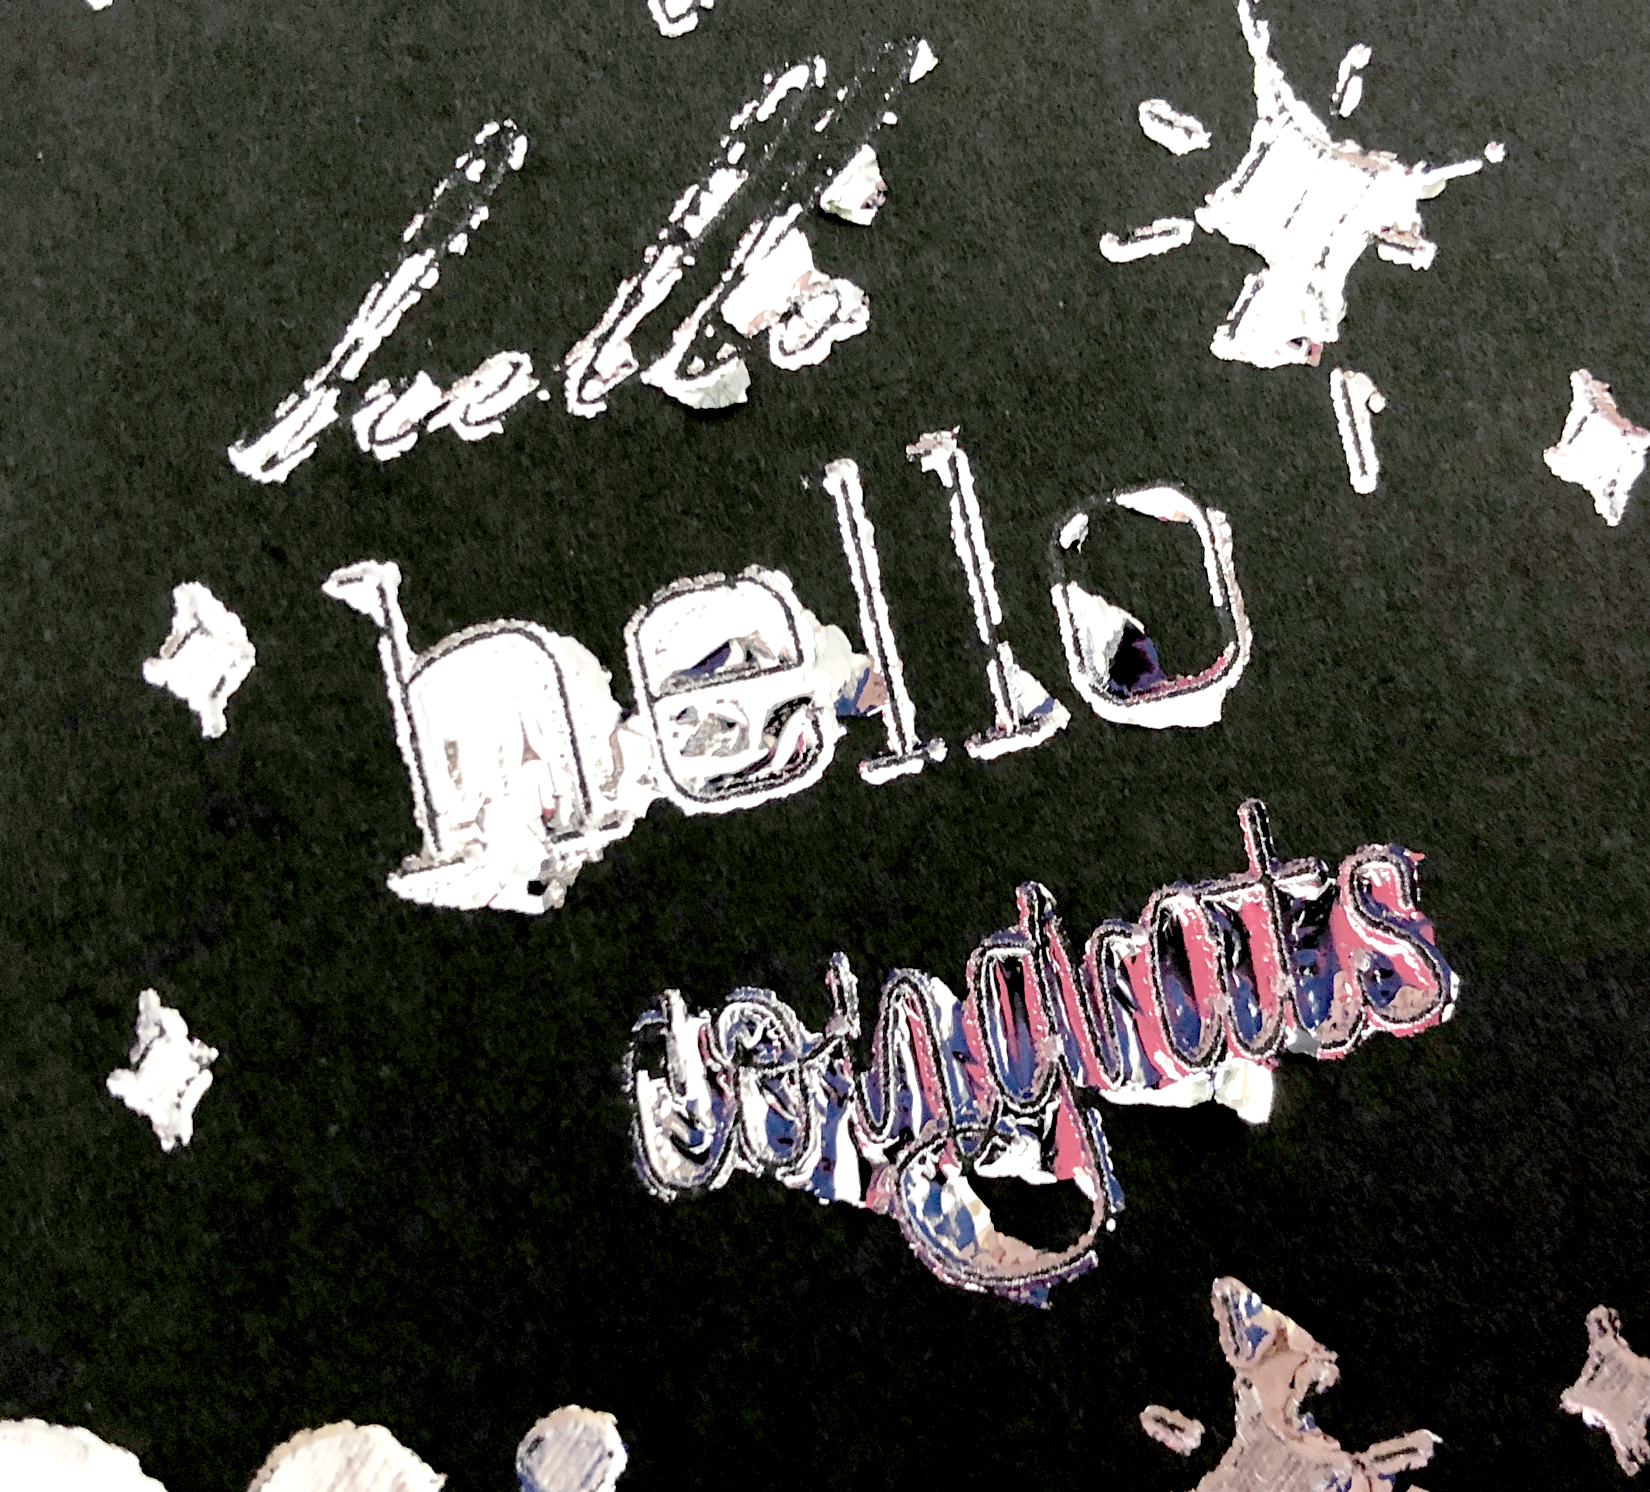
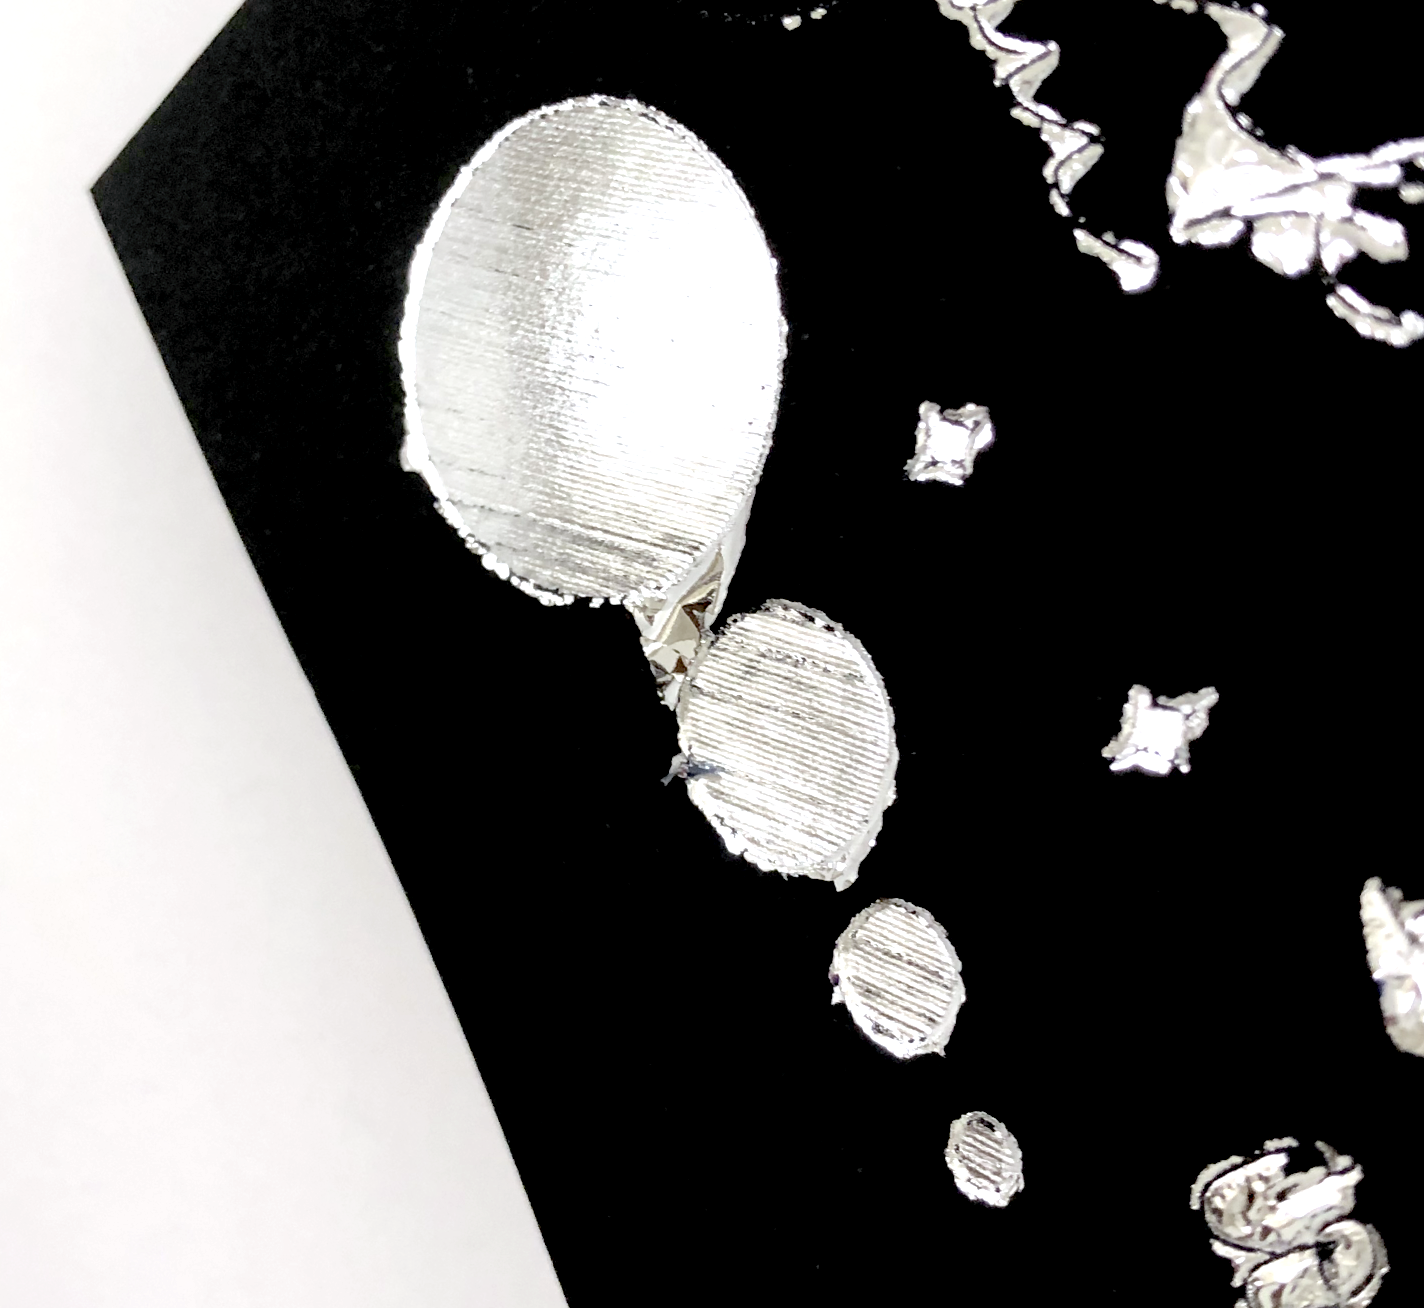
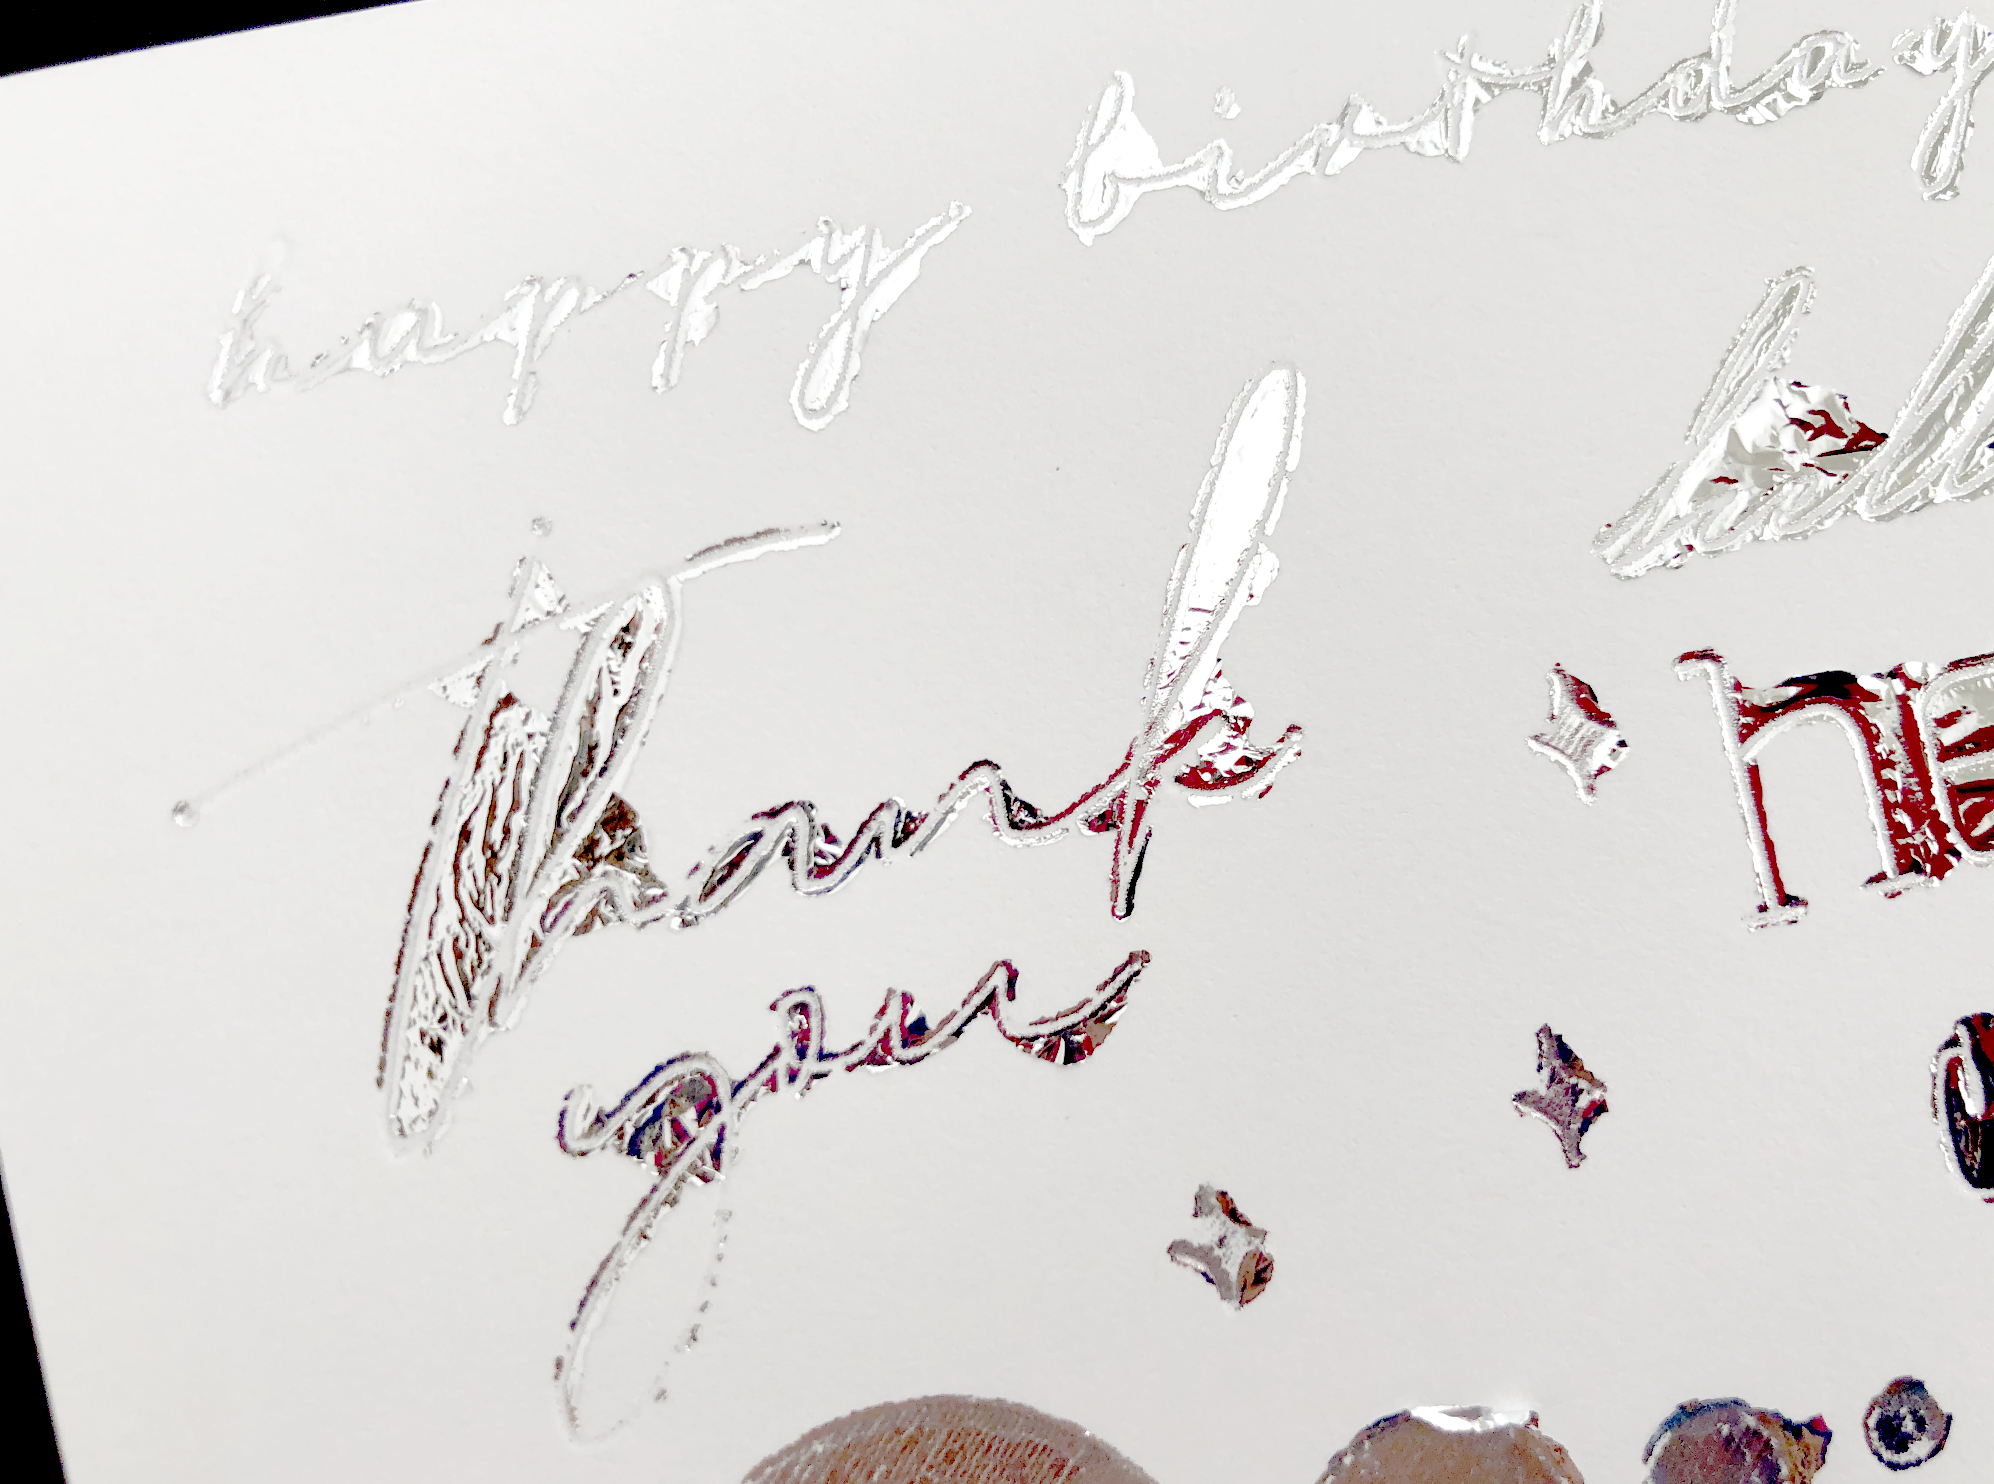
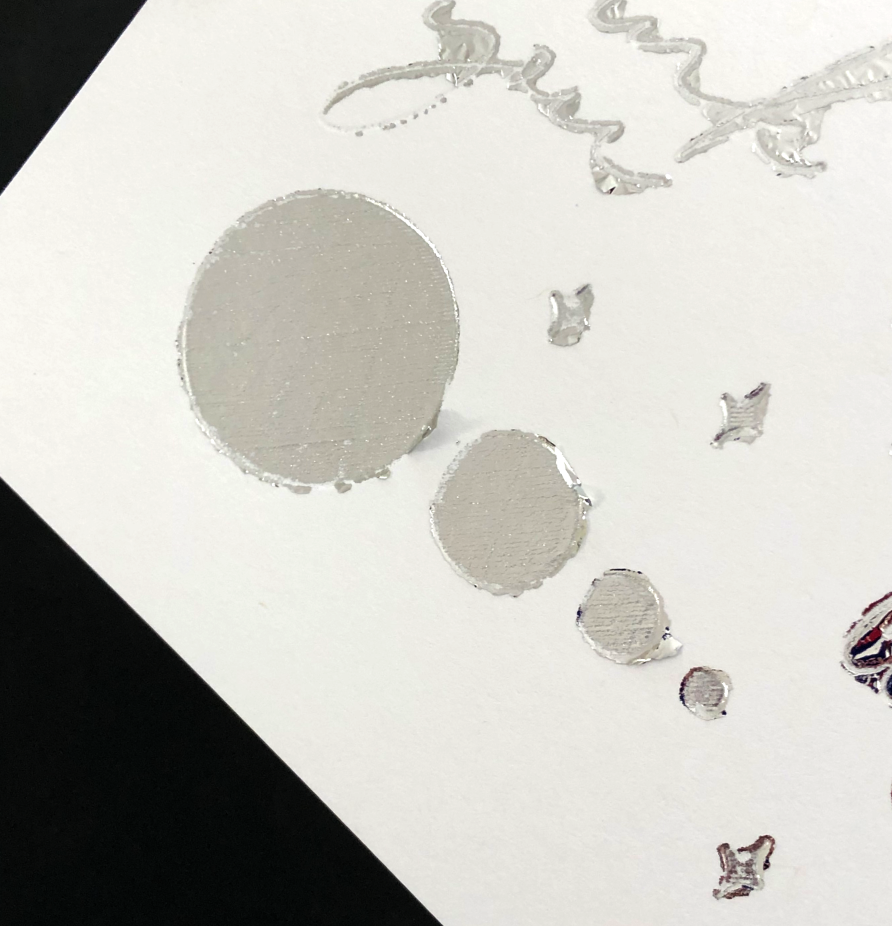
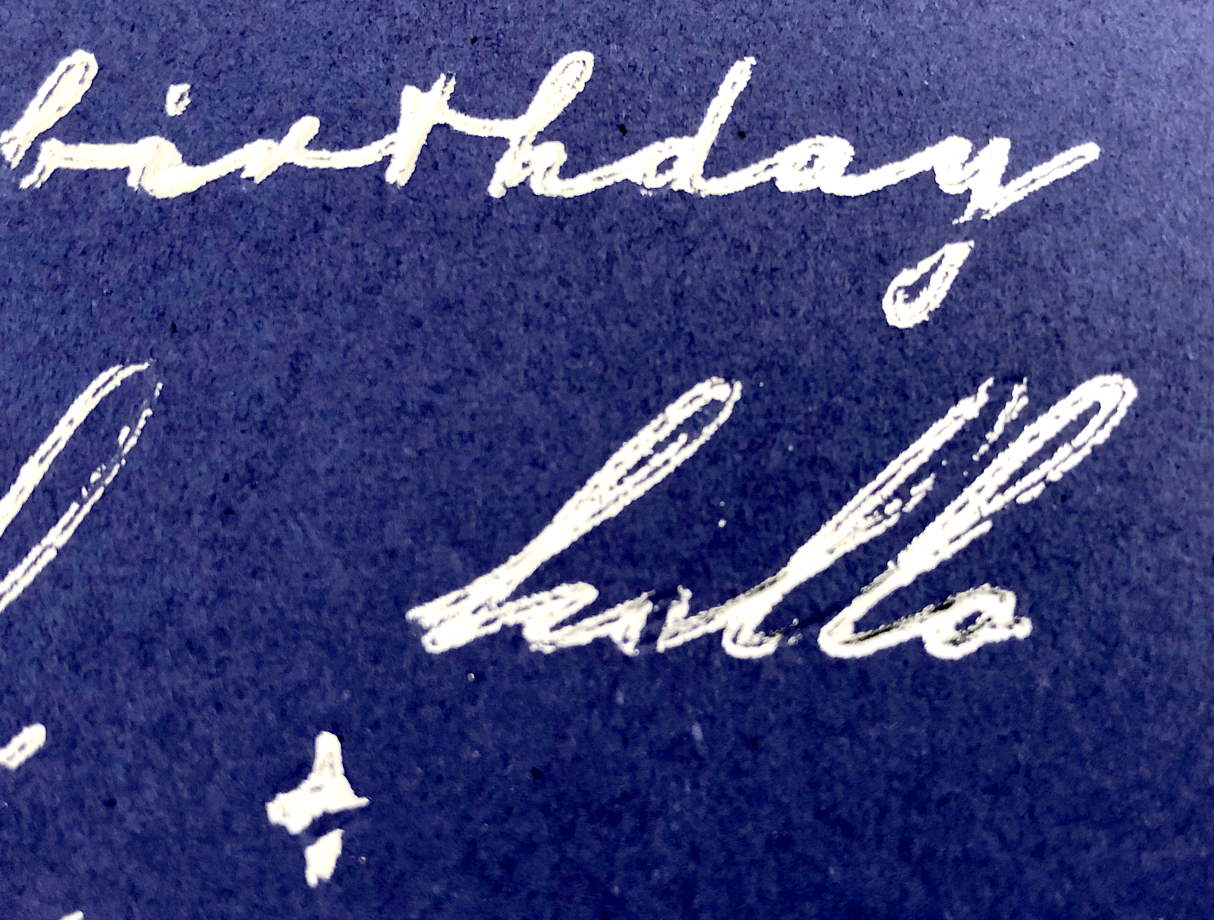
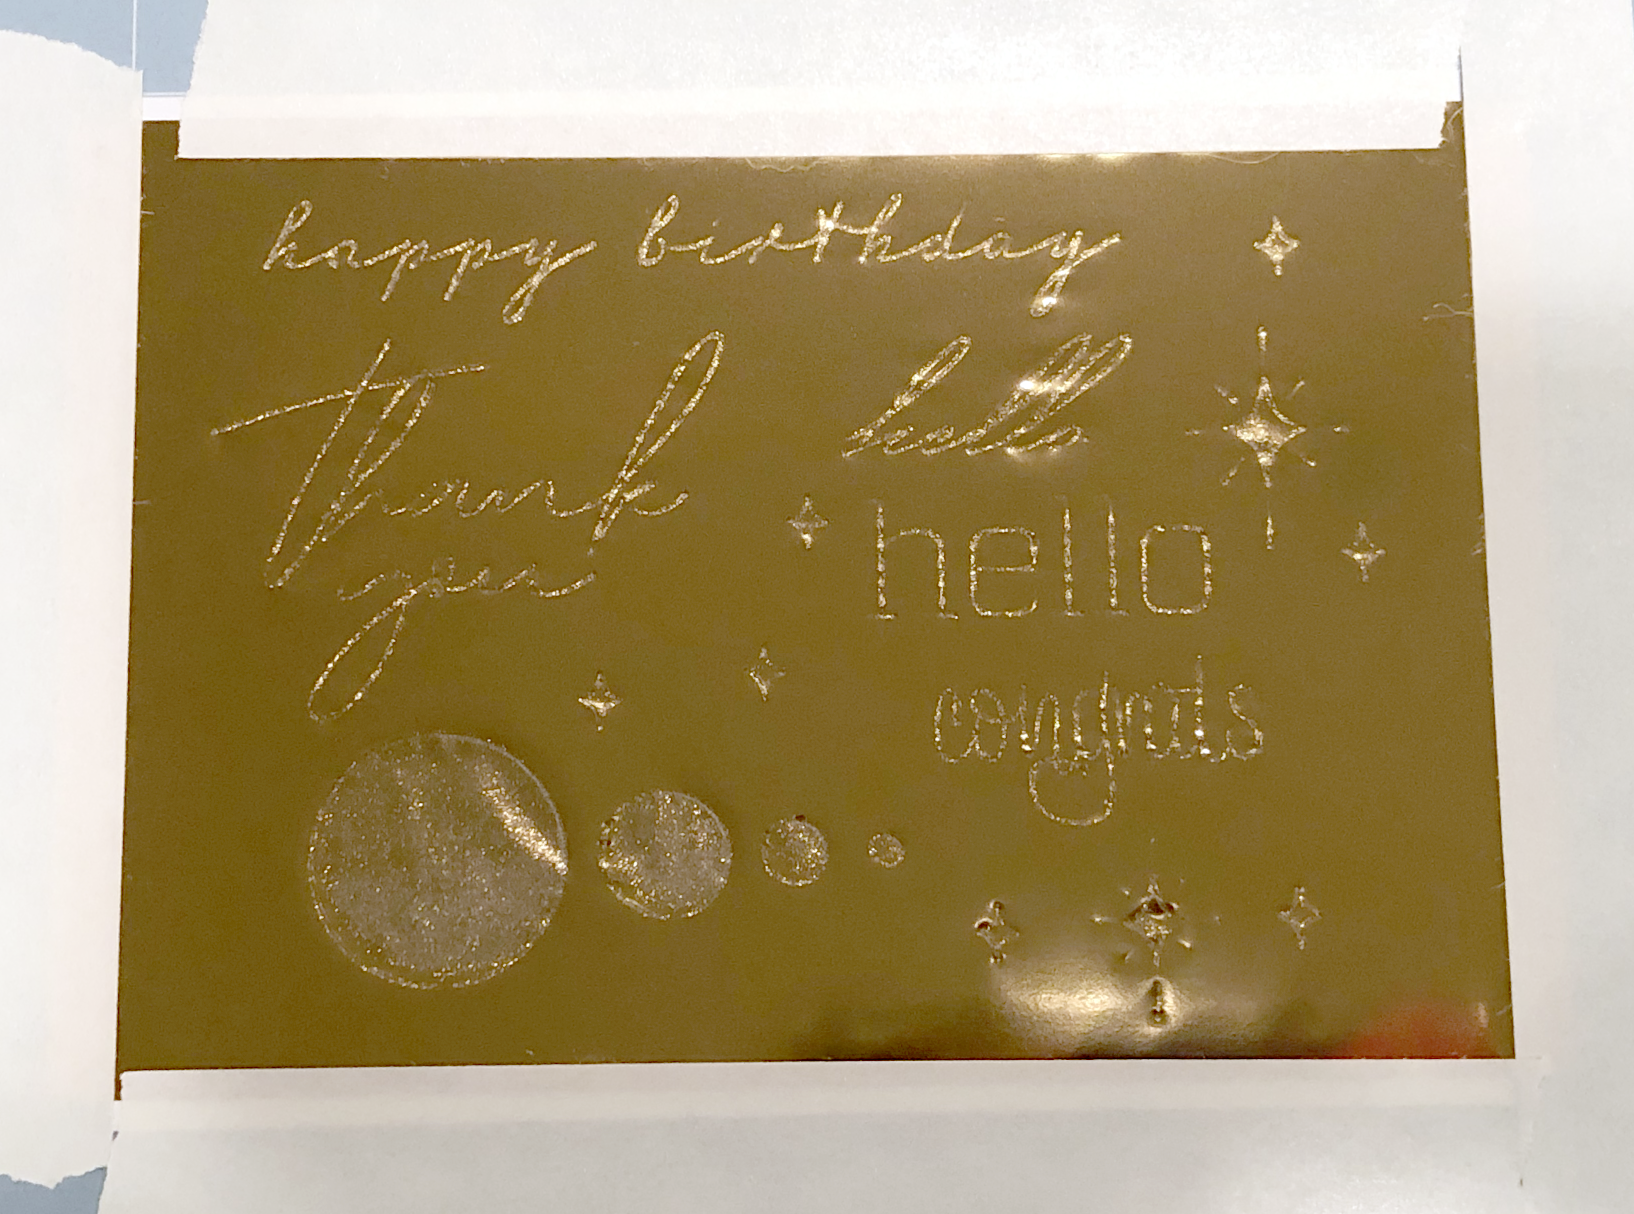
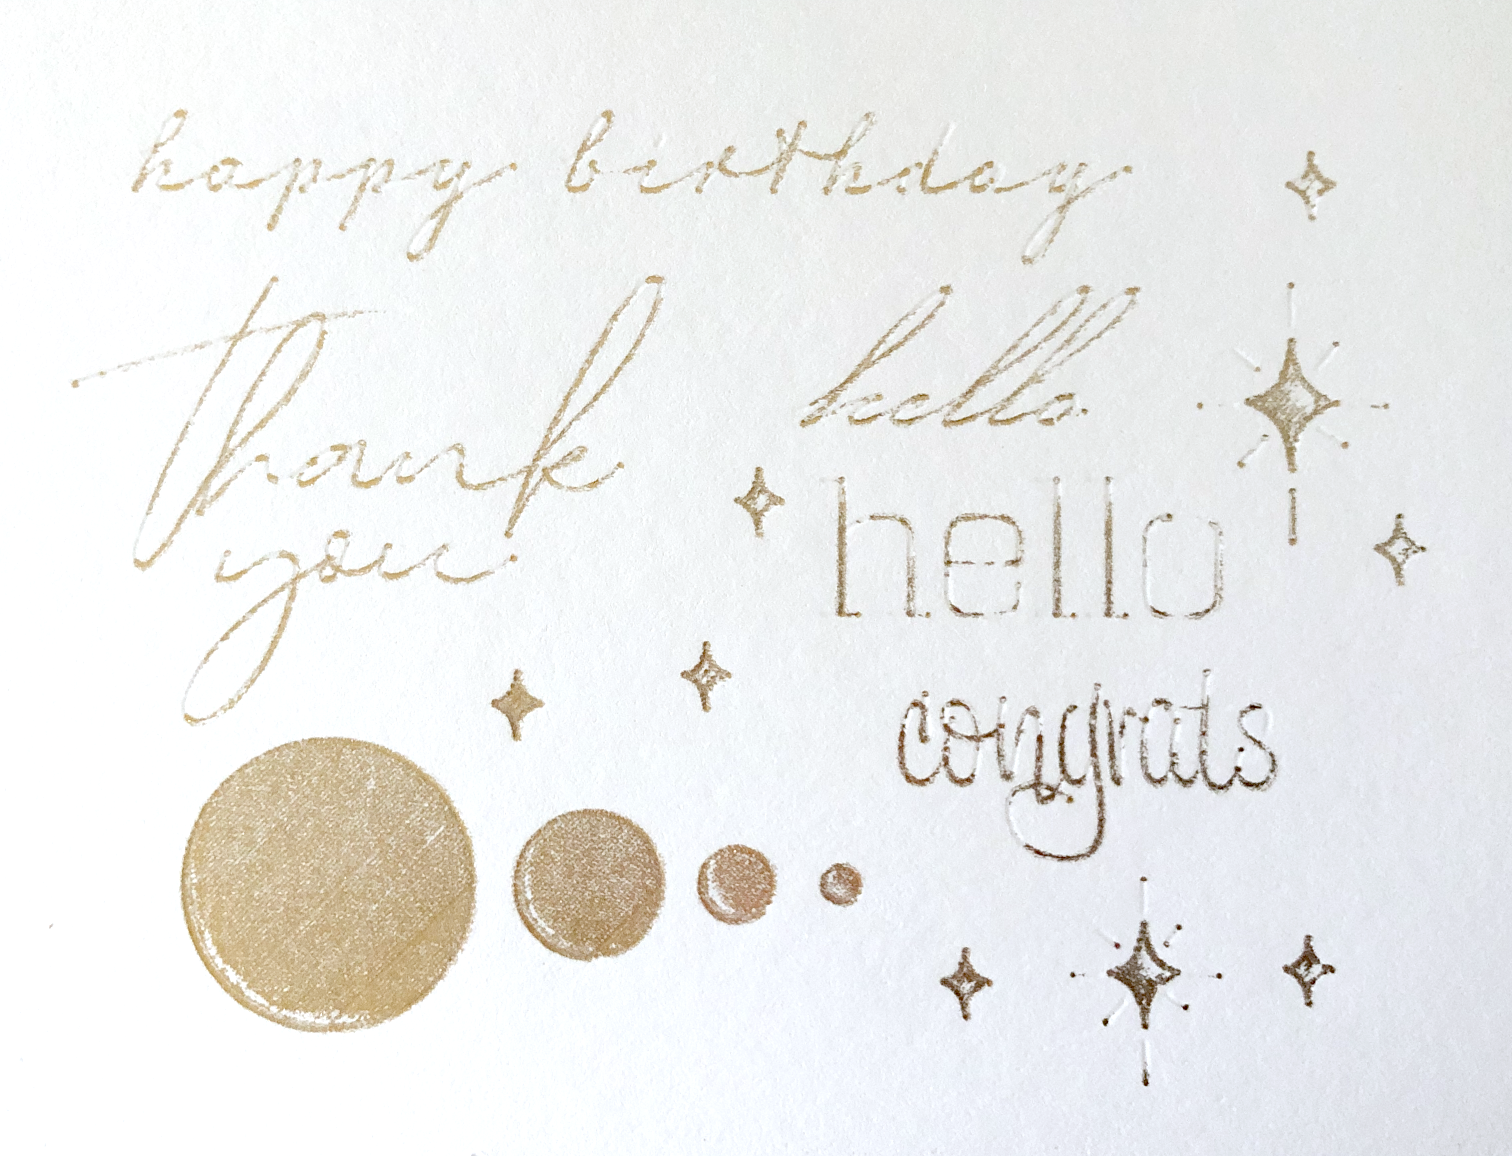
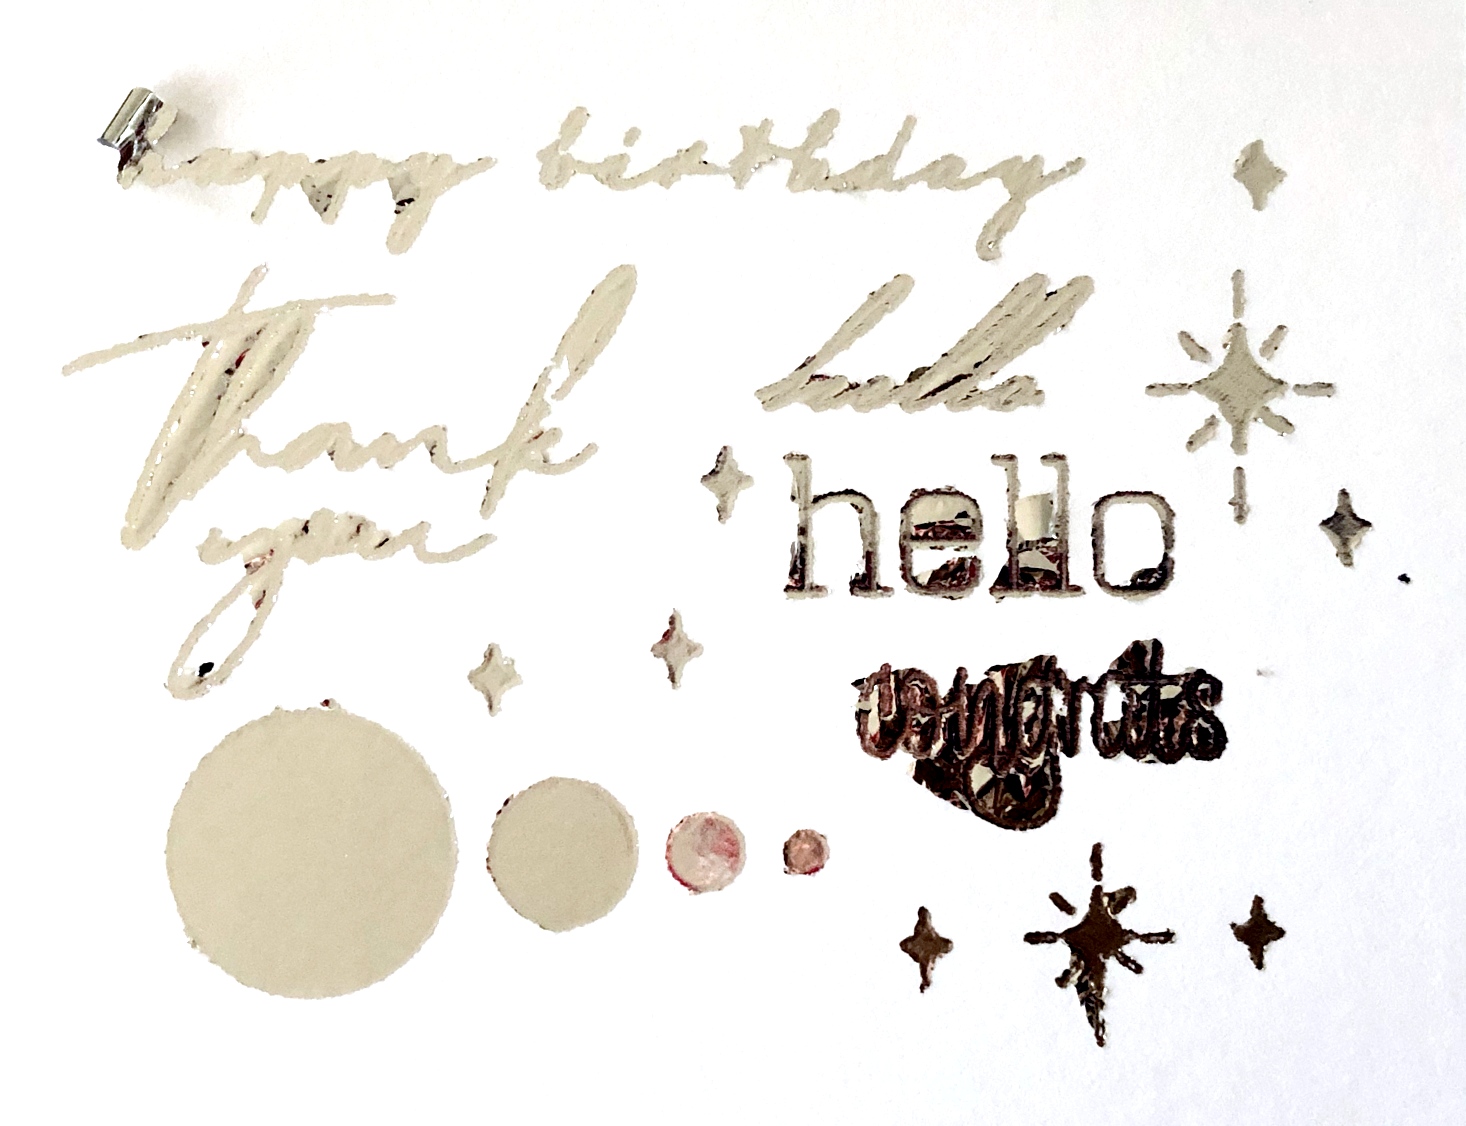
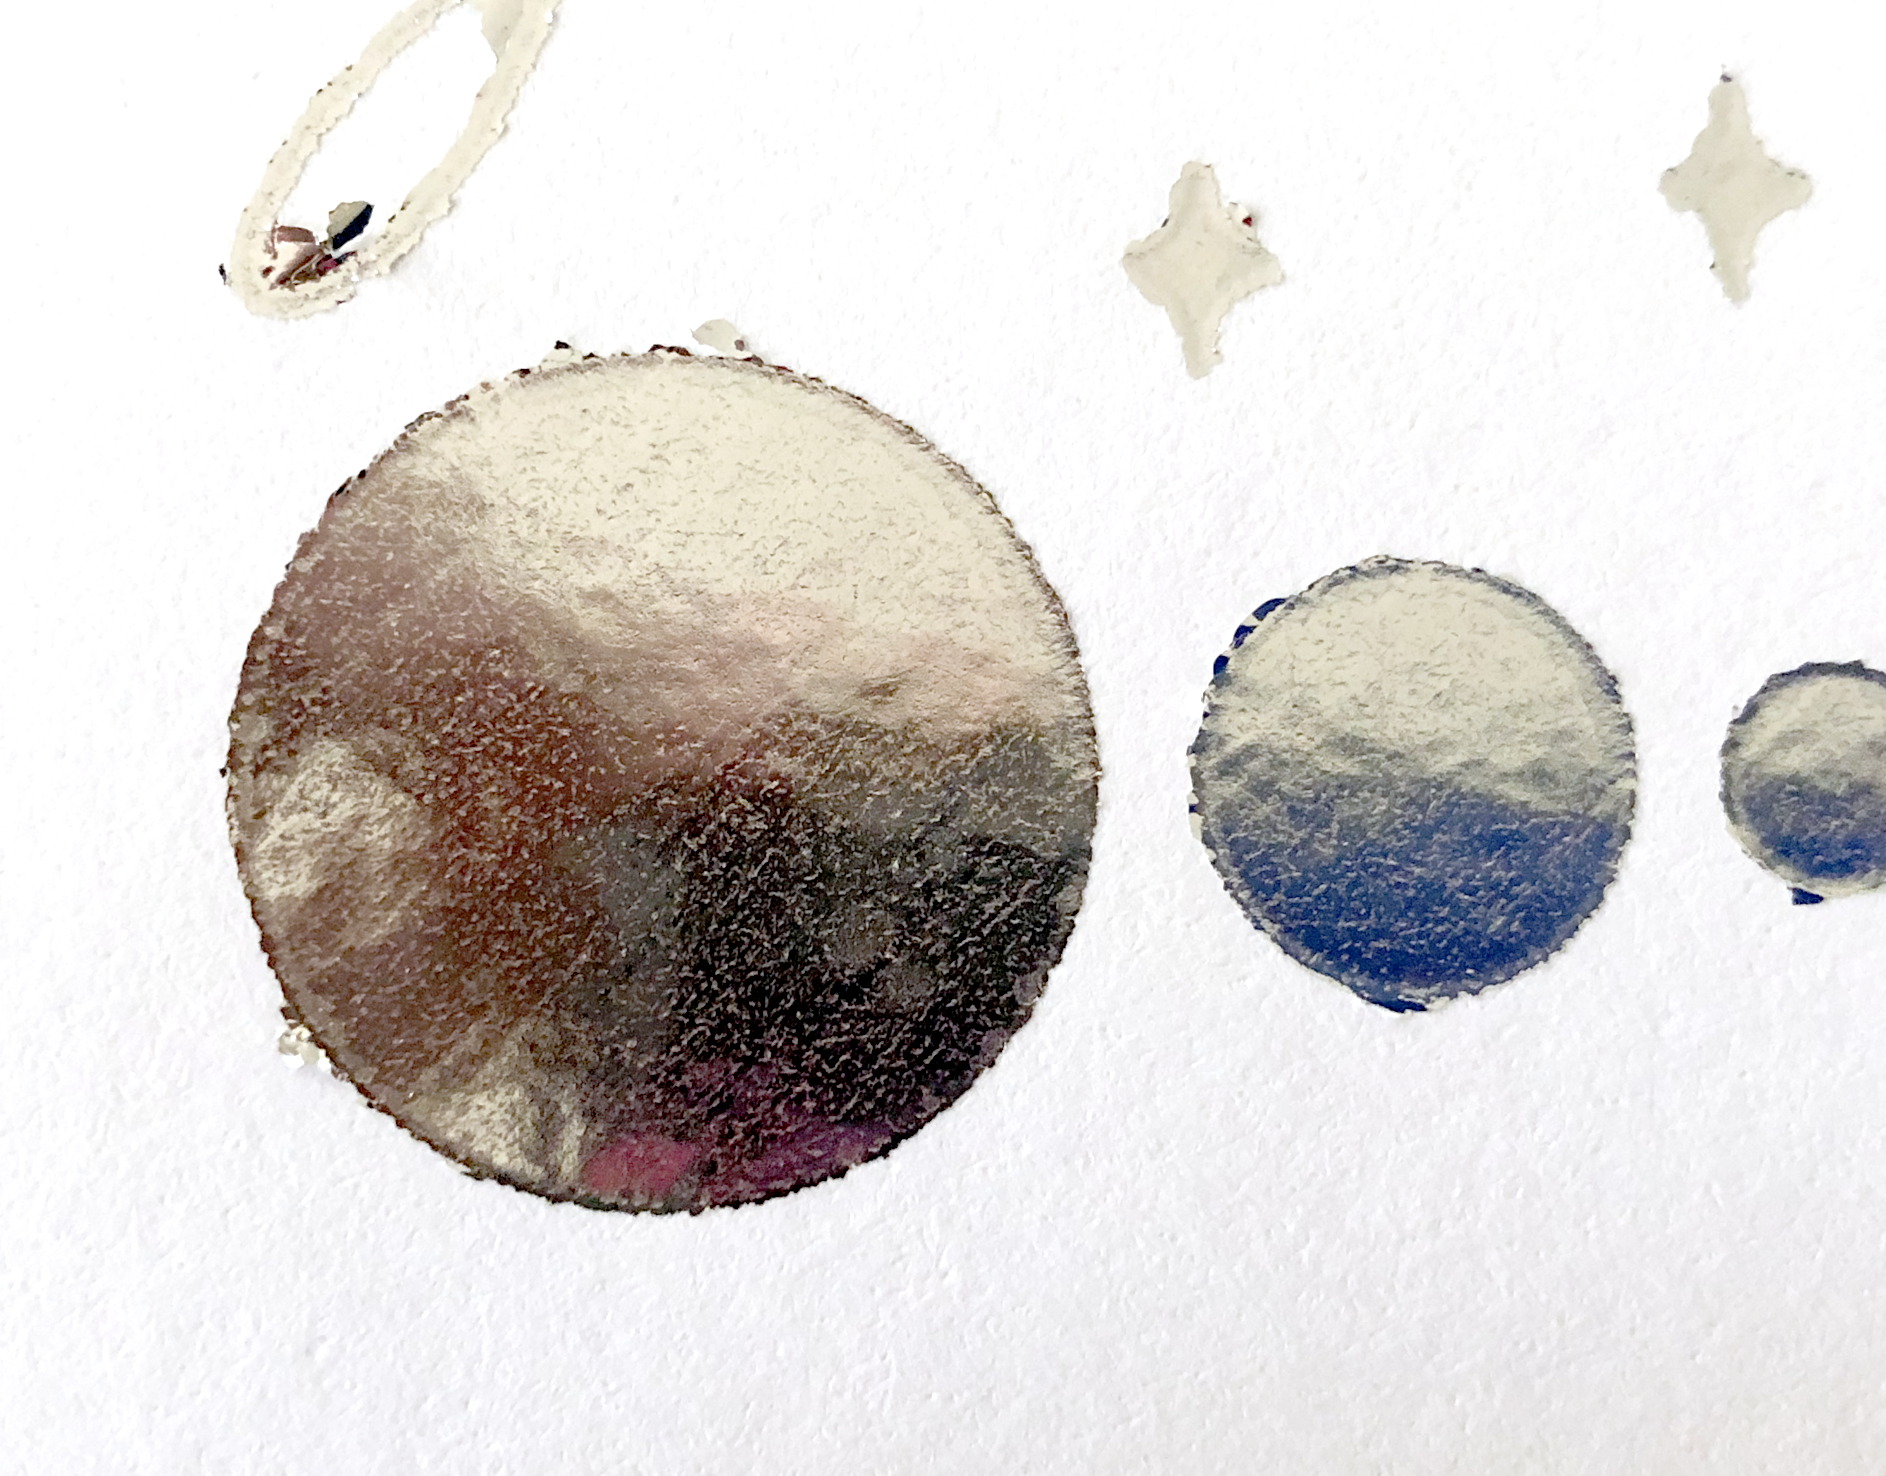
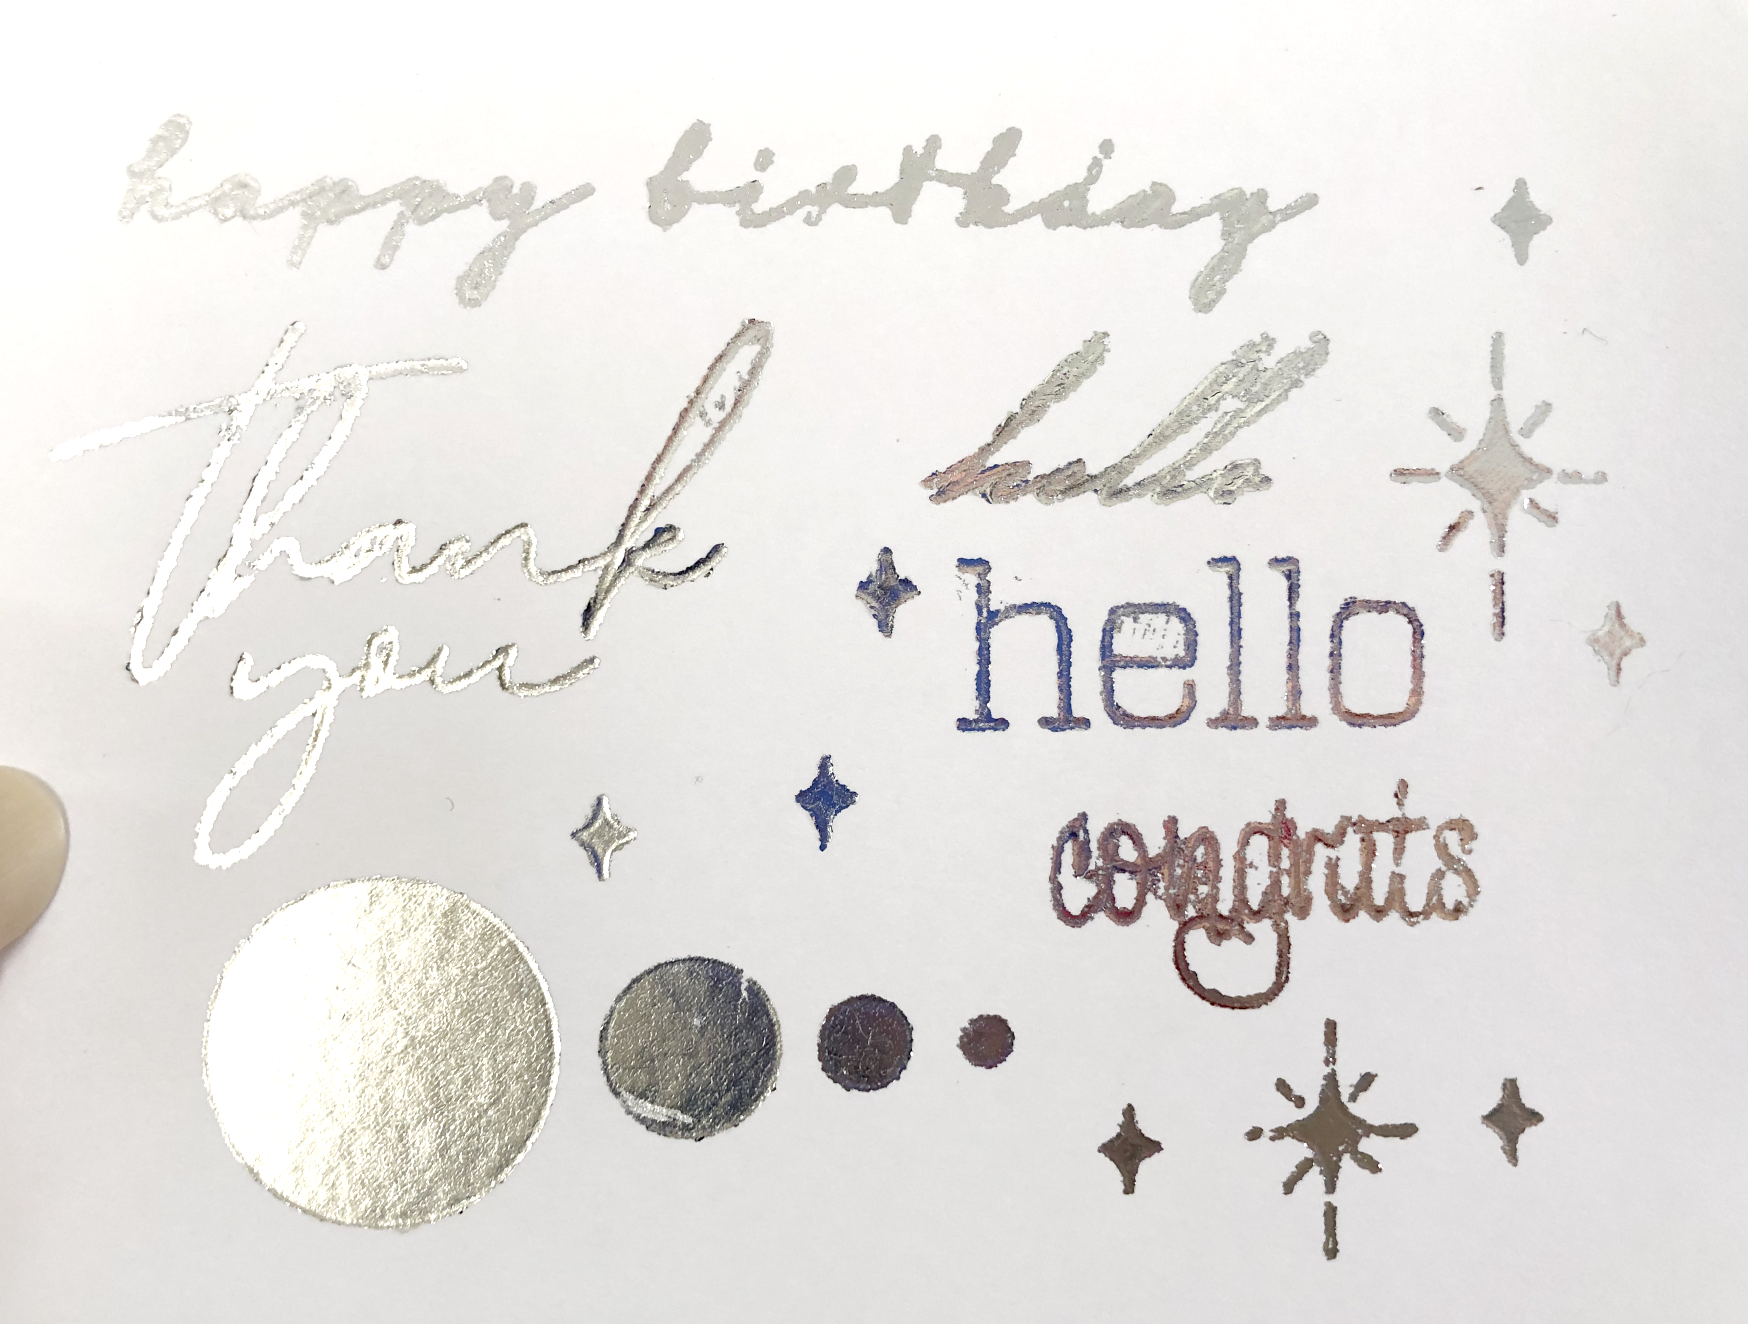
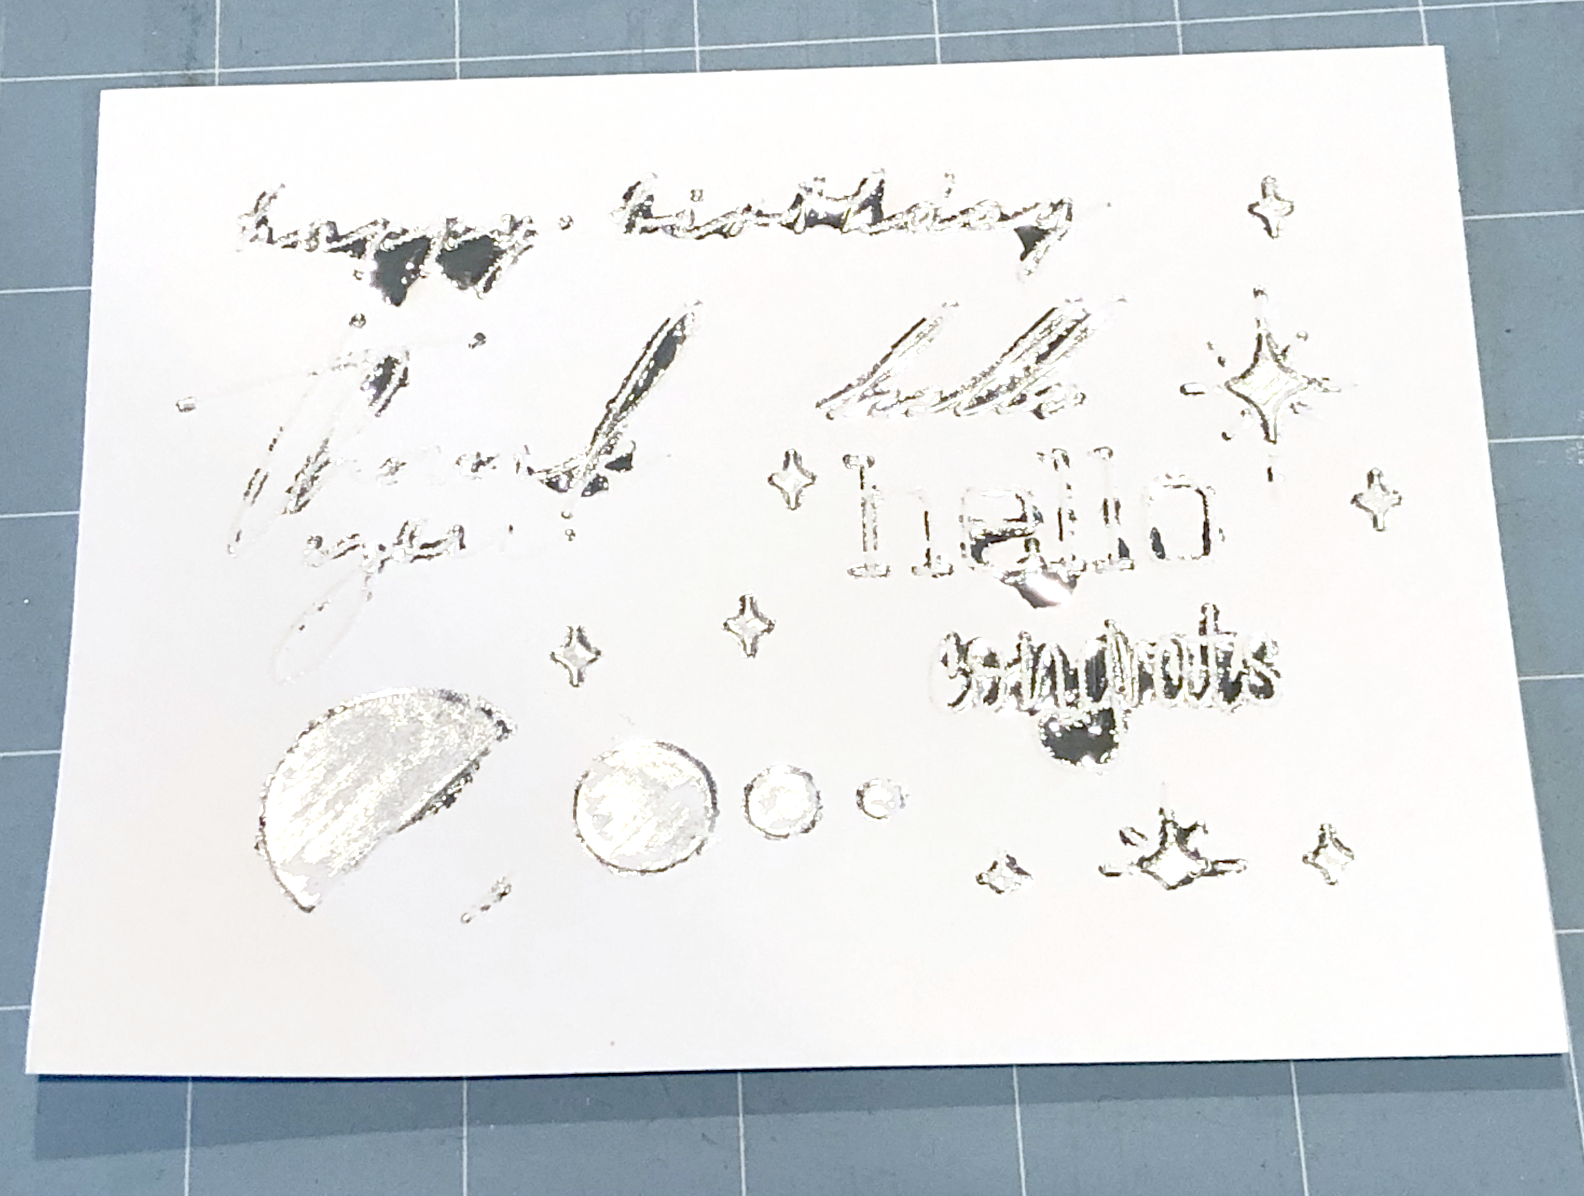
Once again, I used my favorite black cardstock and the Standard grip mat with the regular copper and gold Spellbinder foils. I tried out a few different settings. I ended up getting pretty decent results with my Force between 20-25, Speed 2, and 2 passes.

Copper foil and gold foil on black cardstock
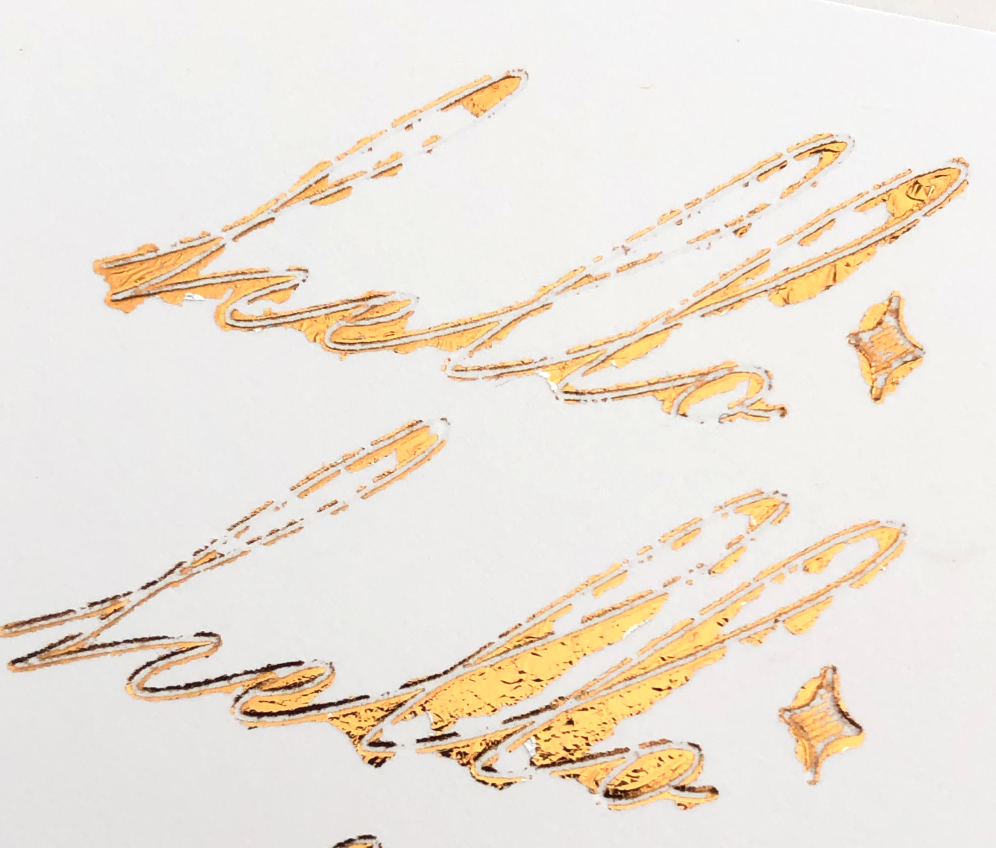
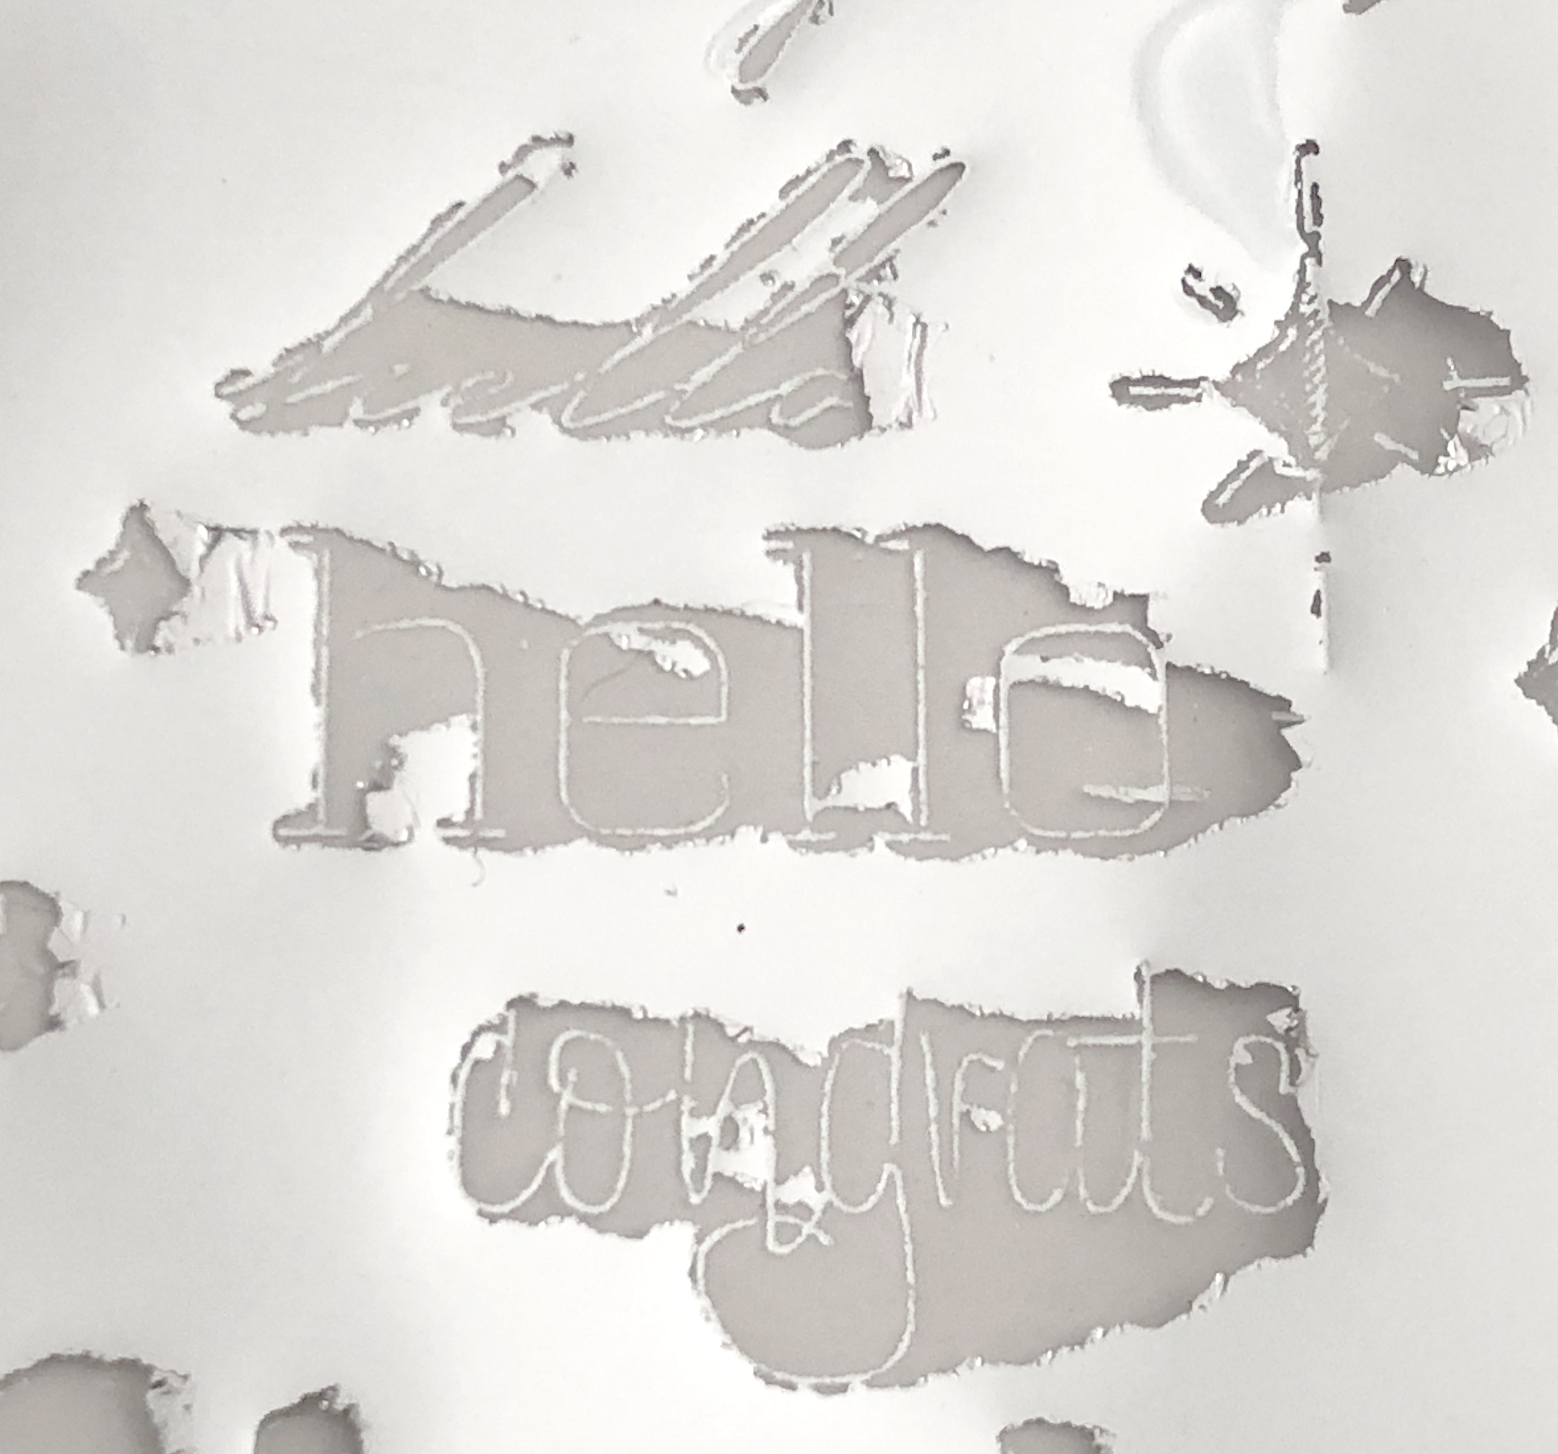
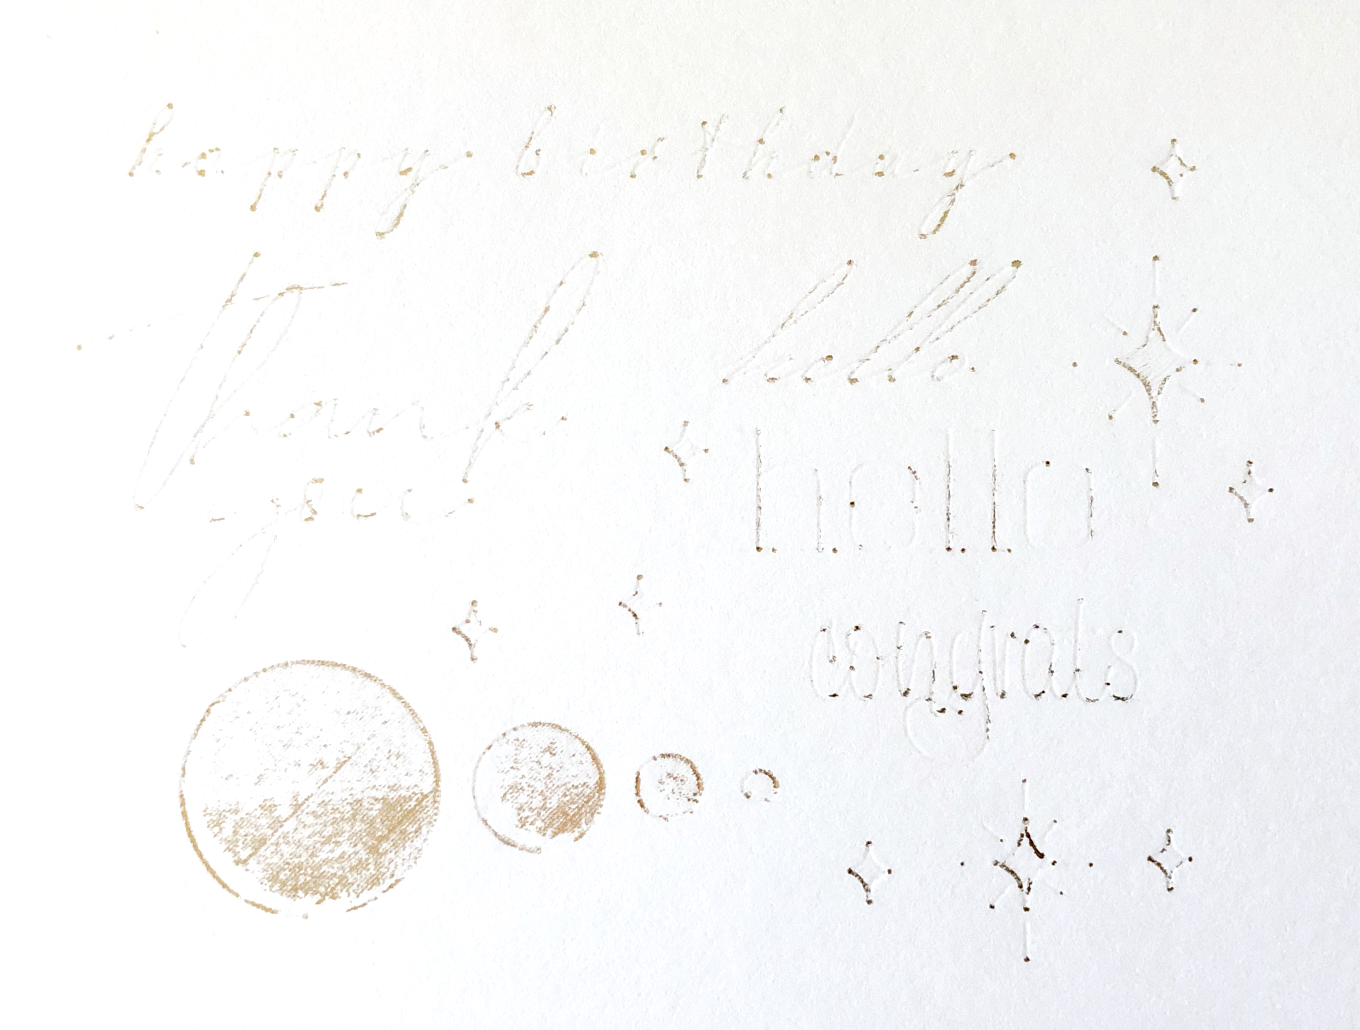
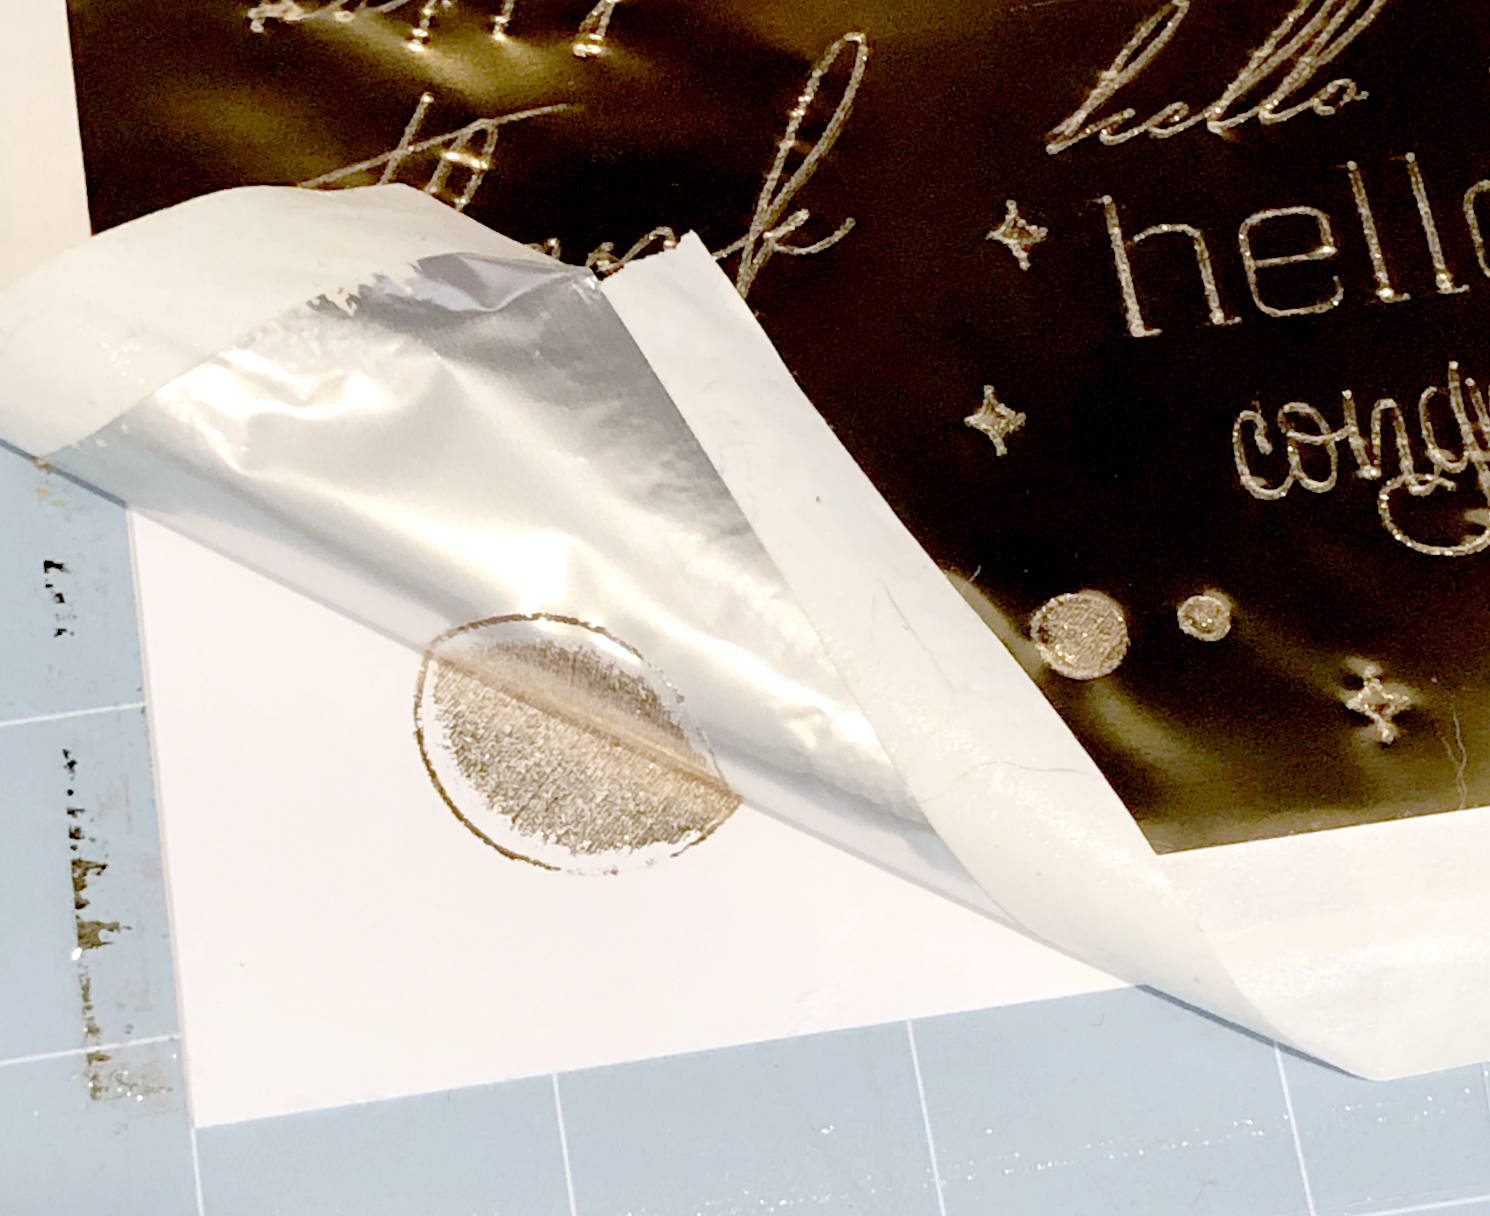
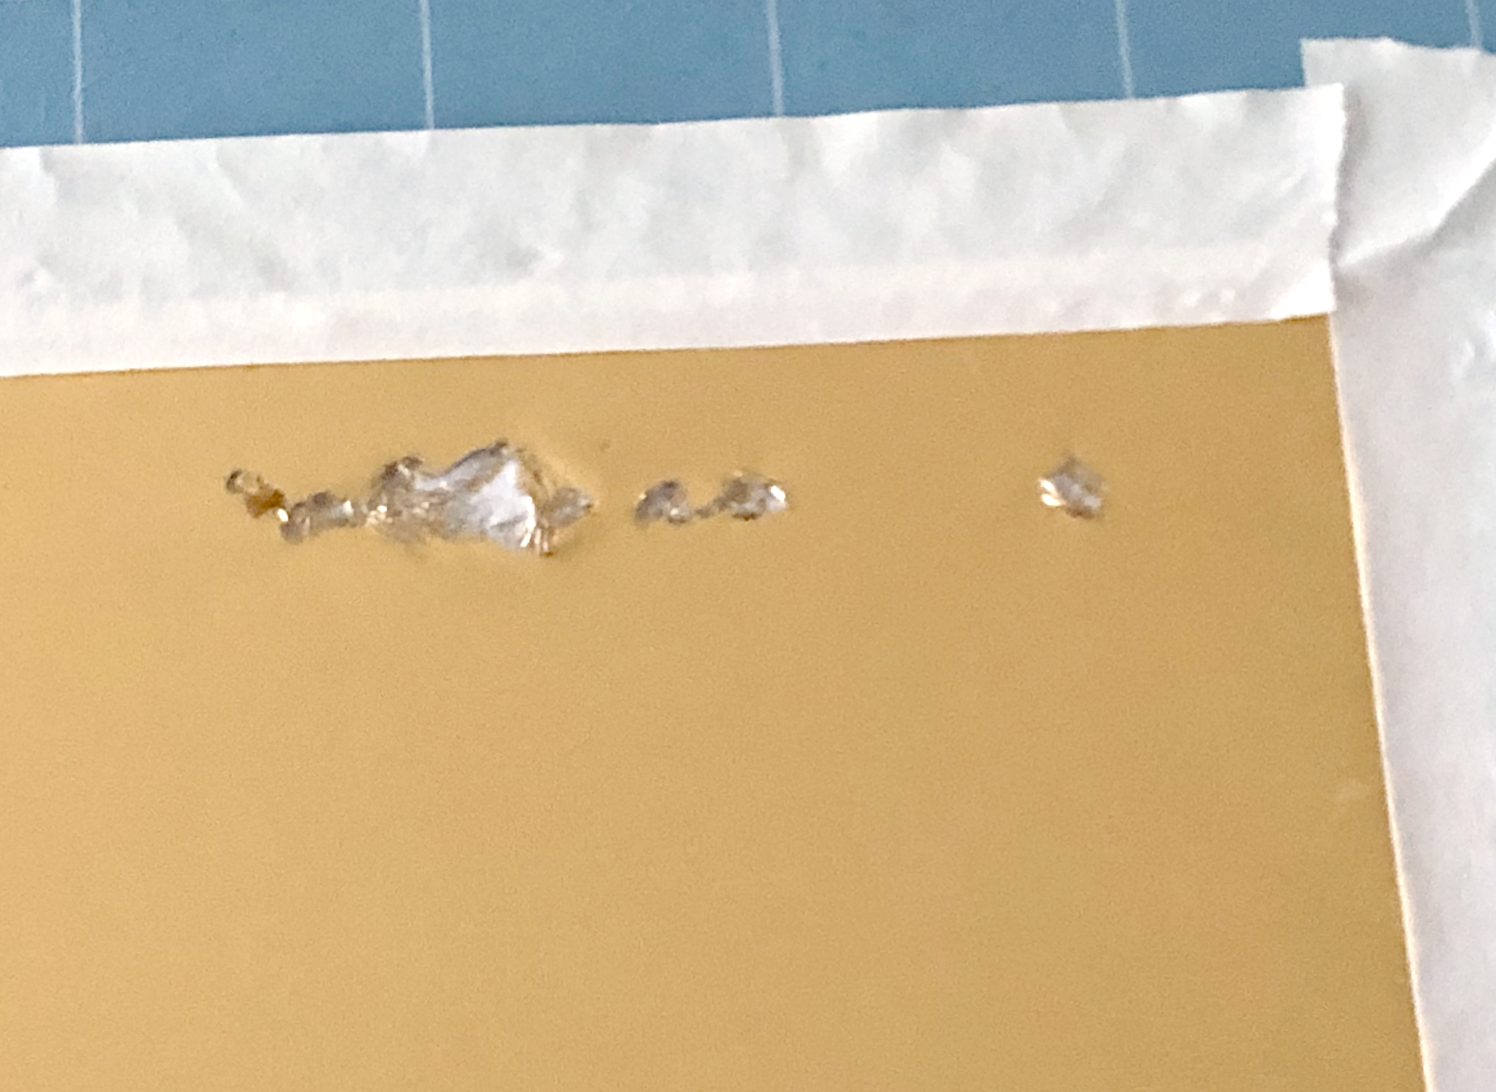
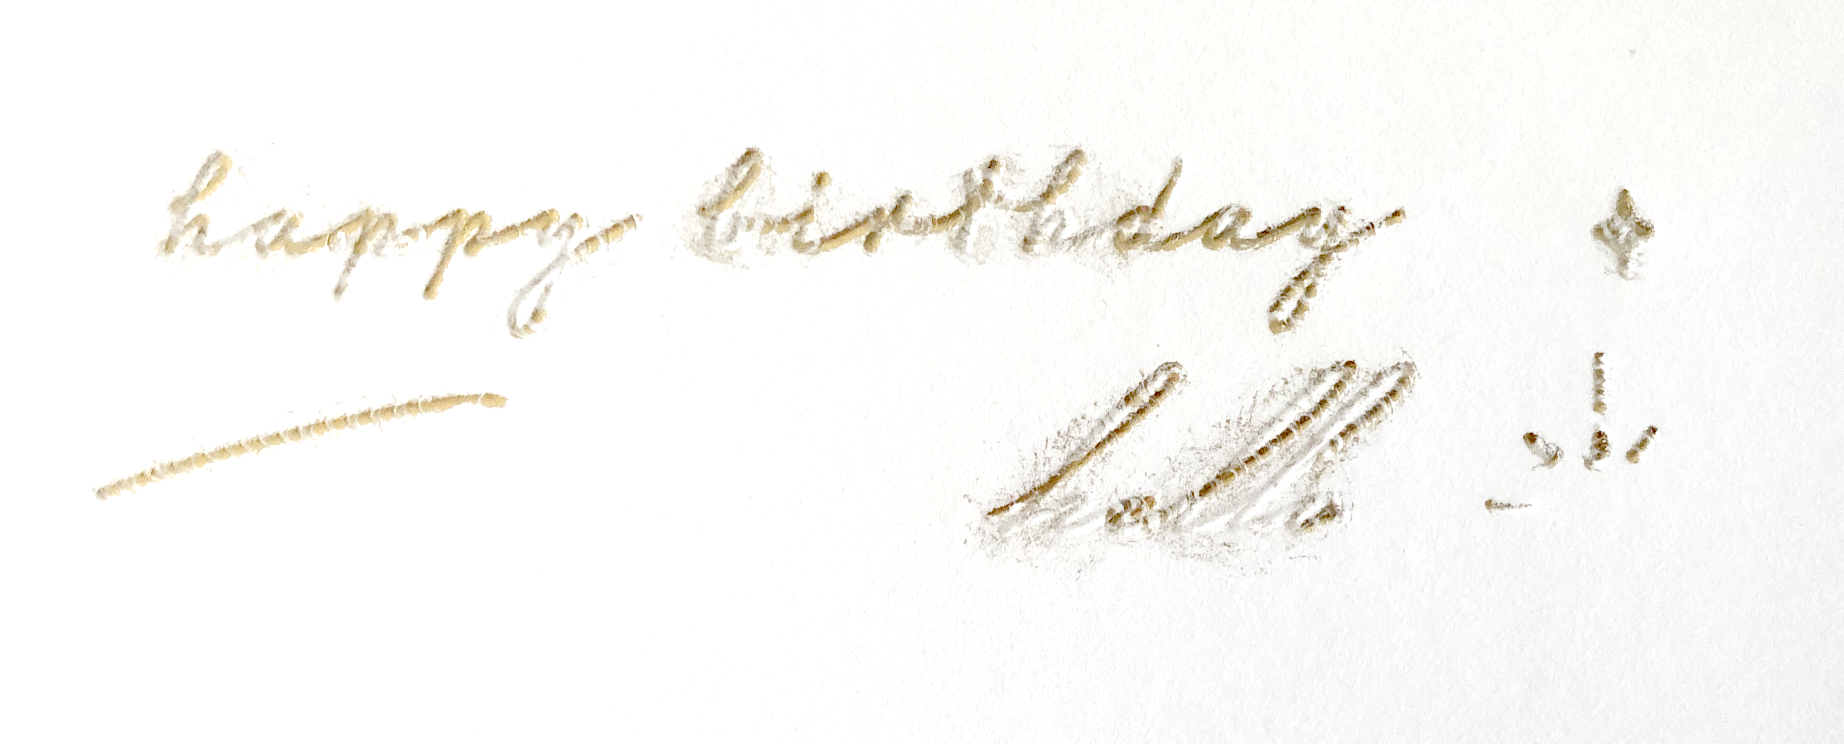
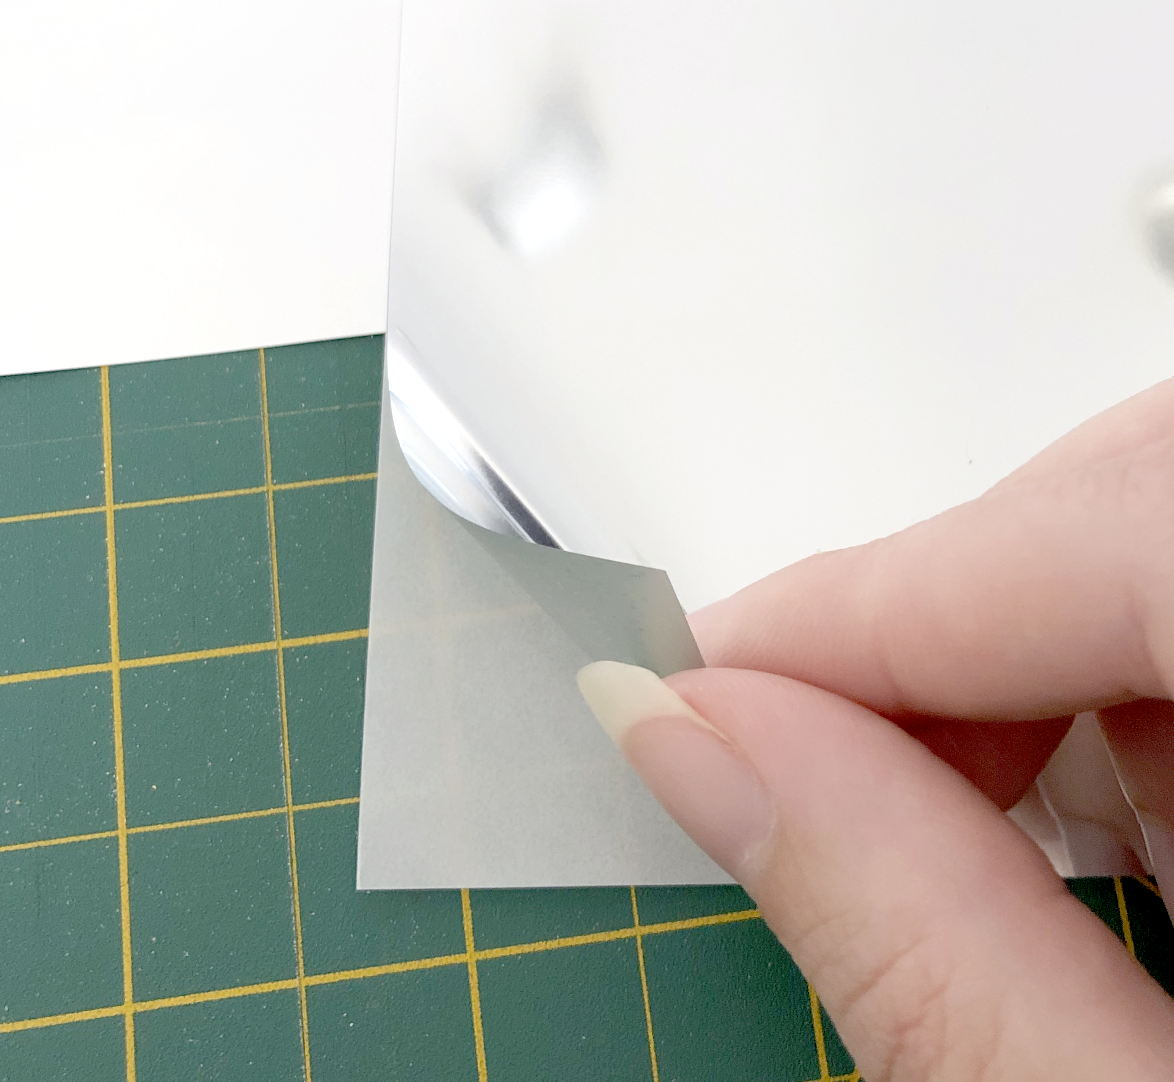
The results are pretty close to what I get with my Cricut Foil Transfer tool and my Maker. The foil doesn’t always stick in some places and it can be a little dusty when you remove the foil sheet after transferring. The WRMK Foil Quill is still my favorite tool for foiling, but this is definitely a good option if you don’t want to be bothered heating up the WRMK Foil Quill.