Links in the article below may be affiliate links.
Hi Everyone! I know it can be difficult getting the results you want with the Cricut Foil Transfer tool. I still struggle with it sometimes, especially on new projects. Here are some of my top tips for working with the foil transfer tool…
Choose a cardstock that is smooth, but not super smooth
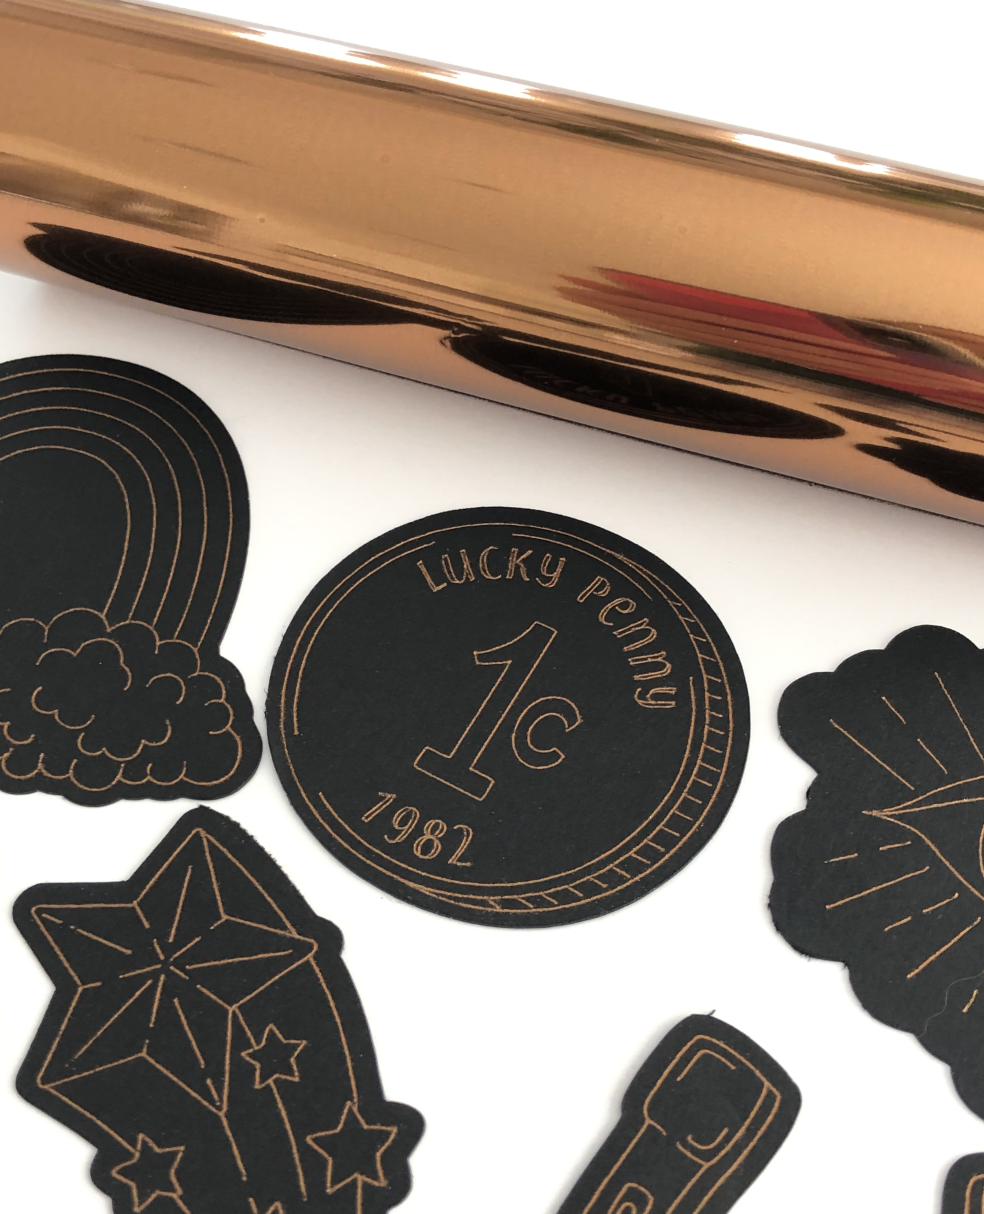
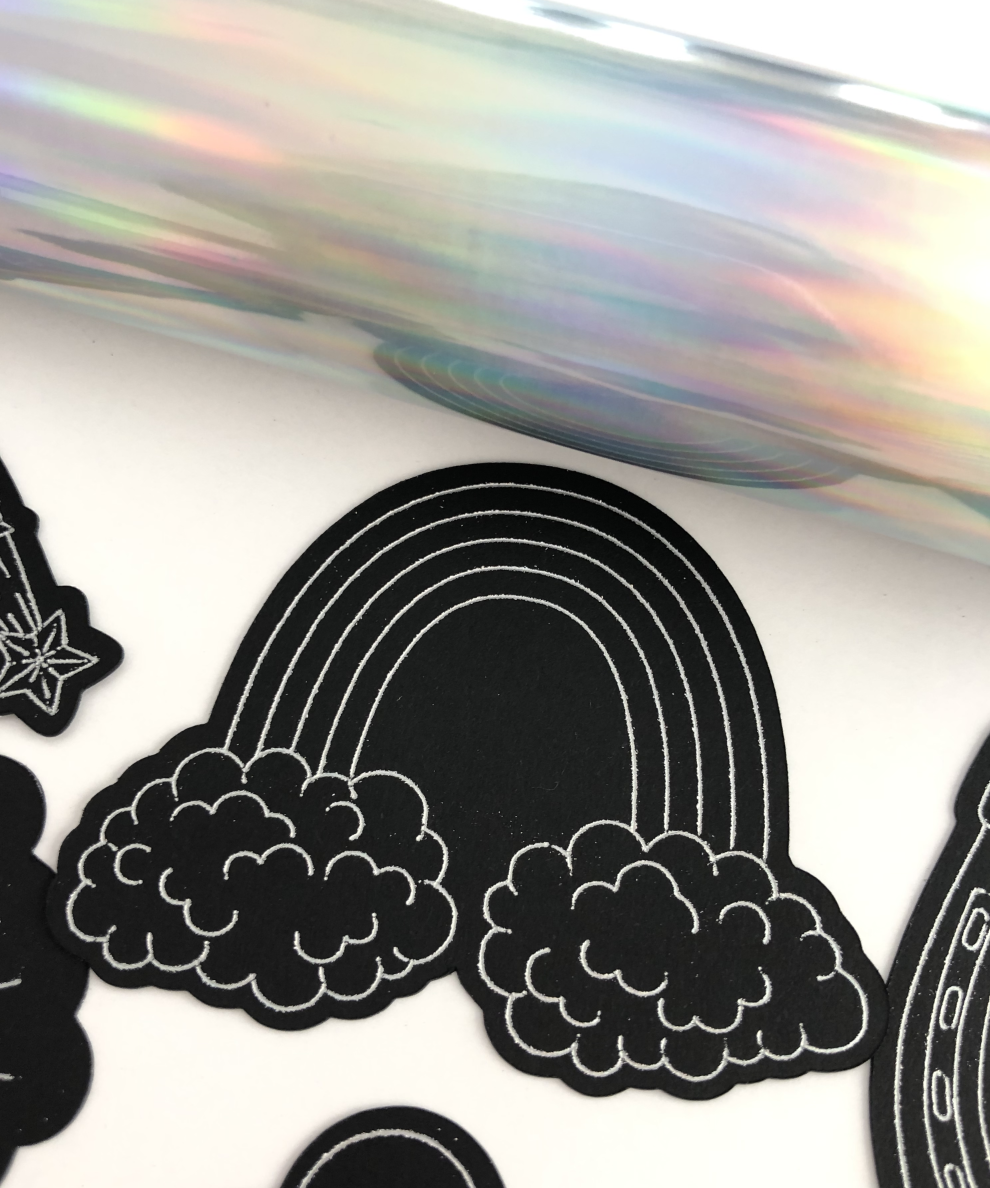
Not all cardstocks are created equal. I have my favorite black cardstock, that after some testing, takes the foil beautifully and another black cardstock that ends up very patchy and the foil rubs off.
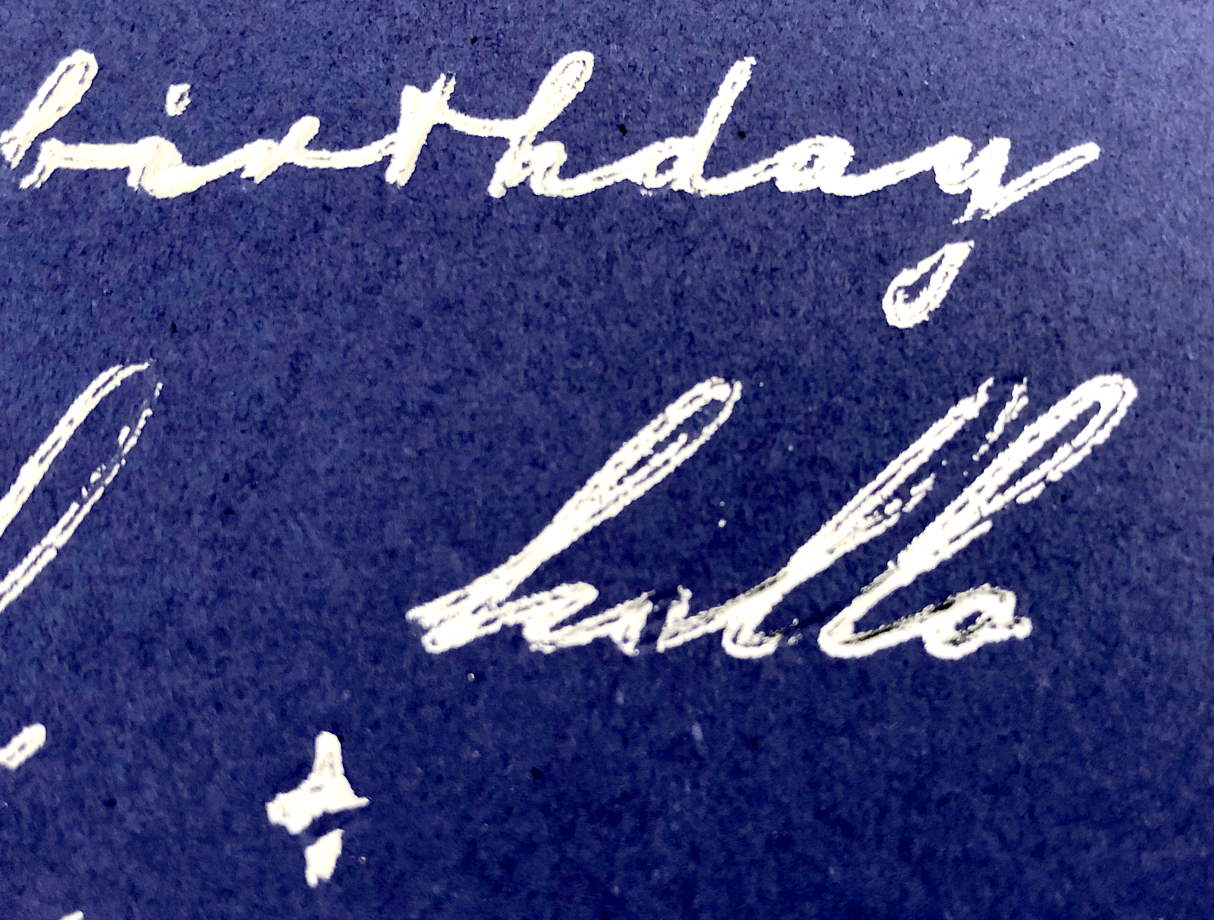
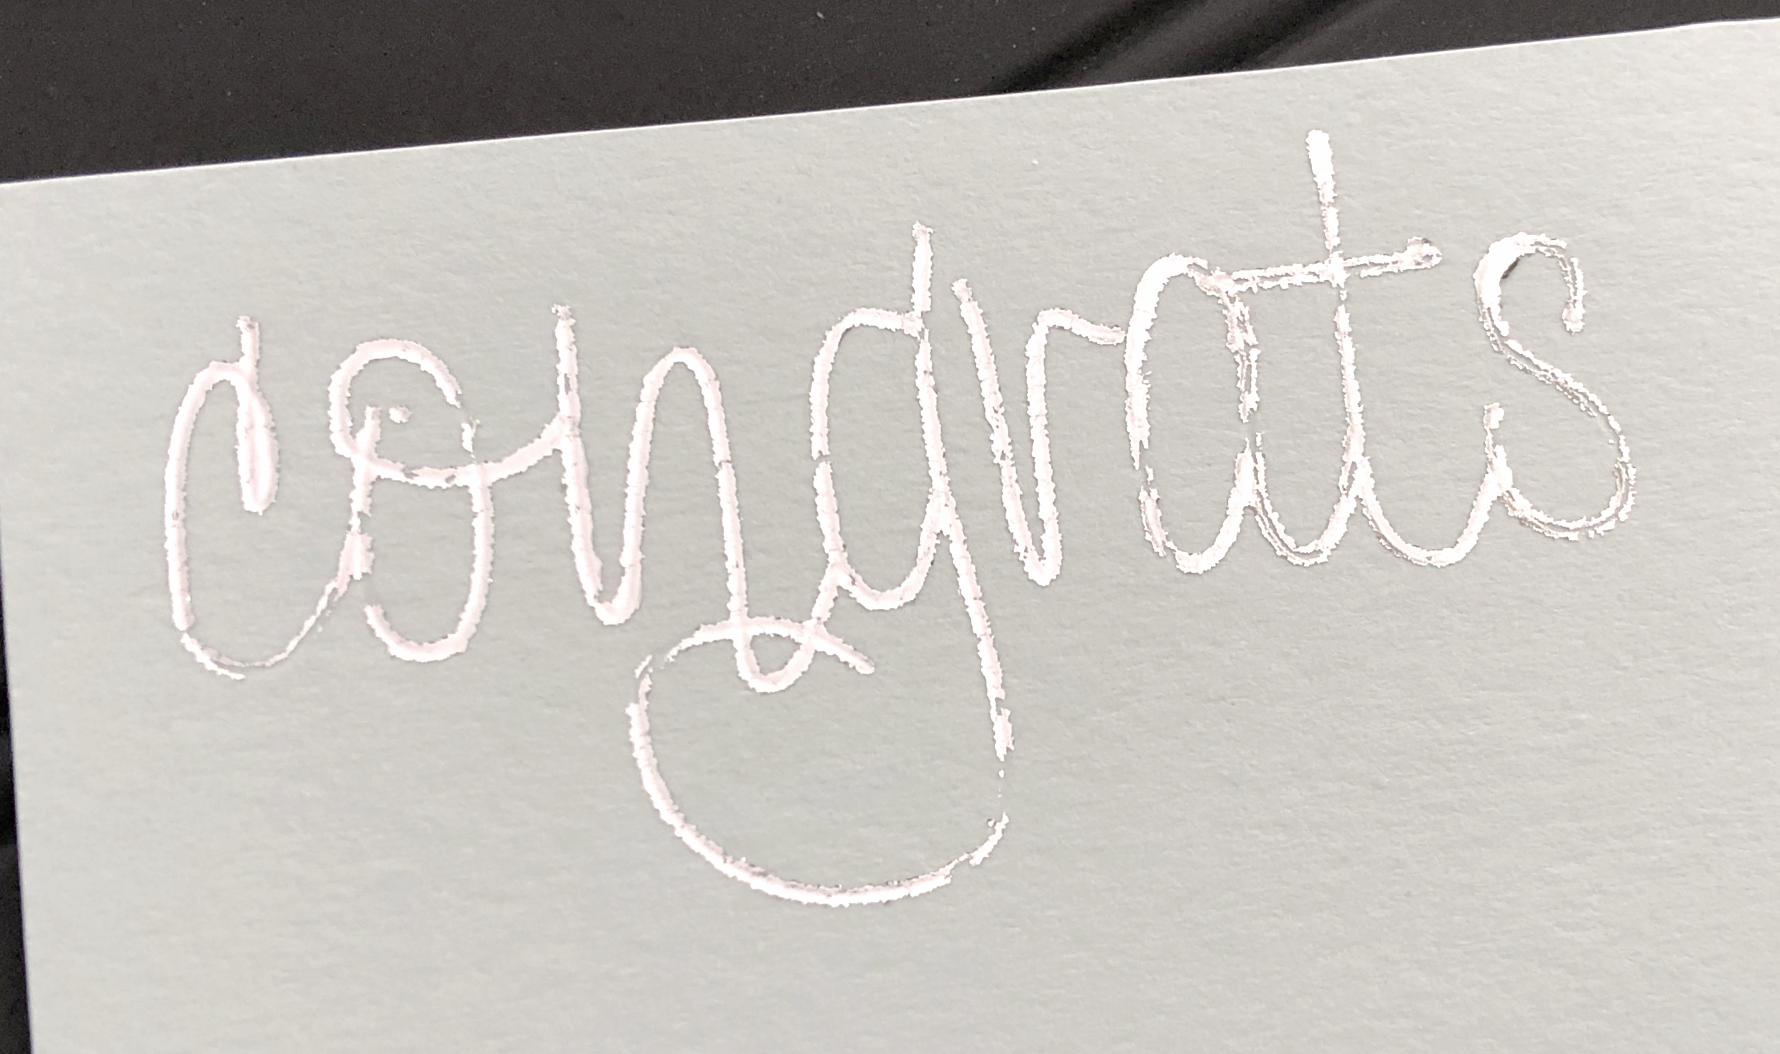
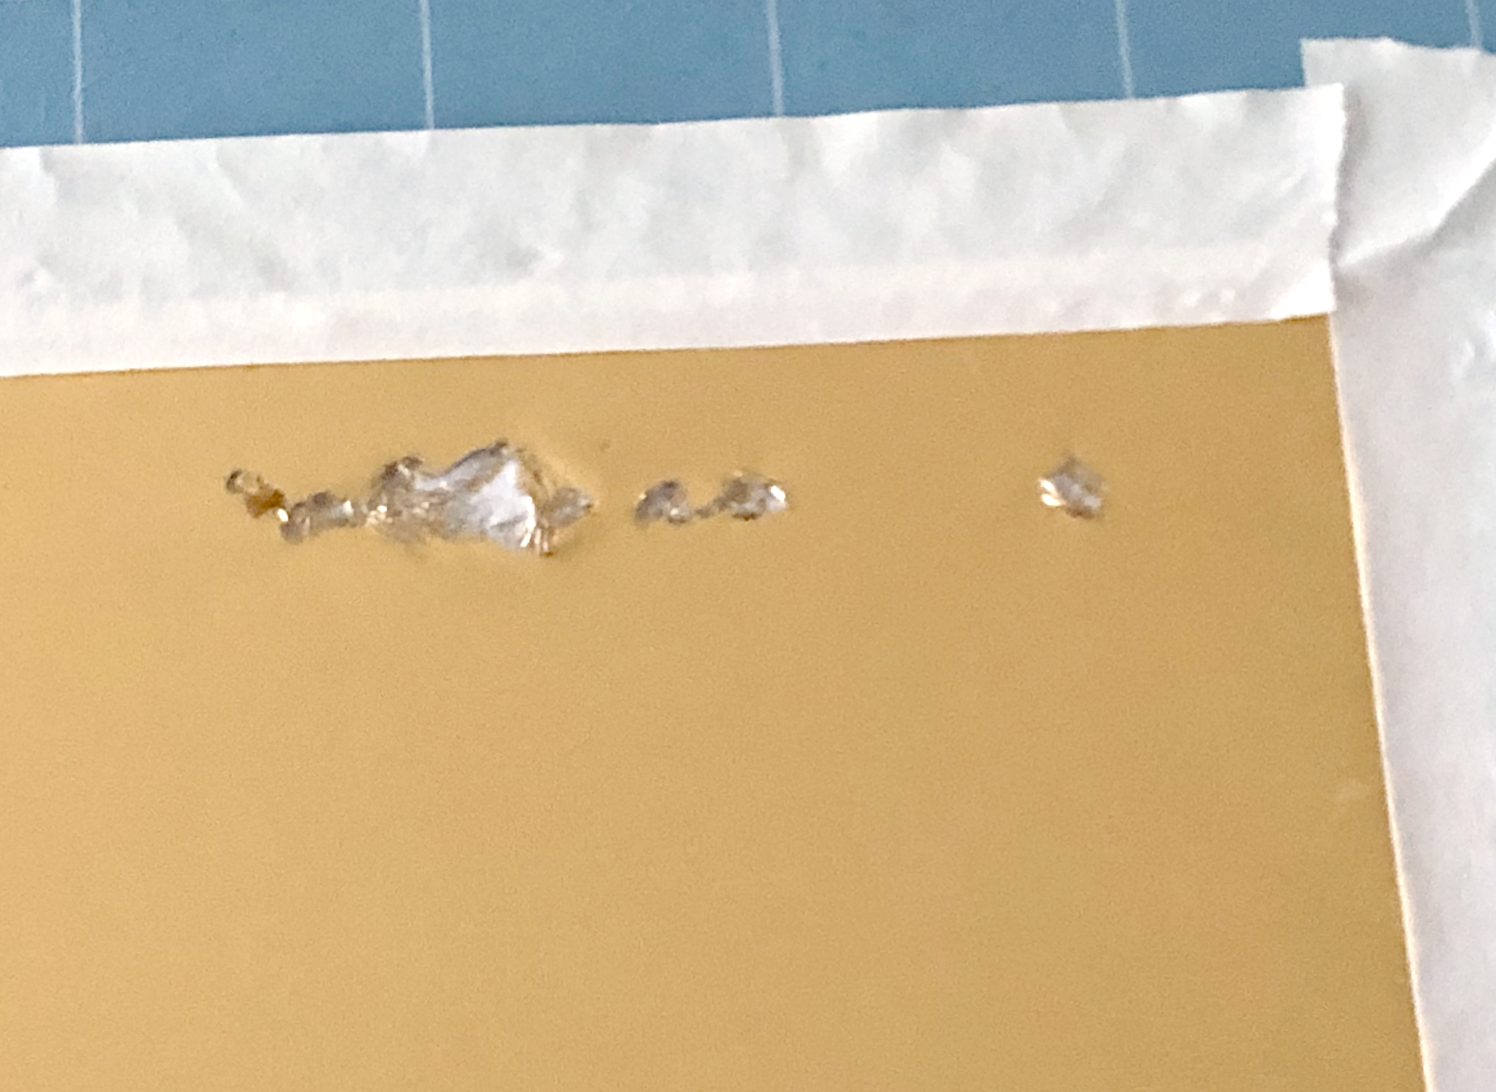
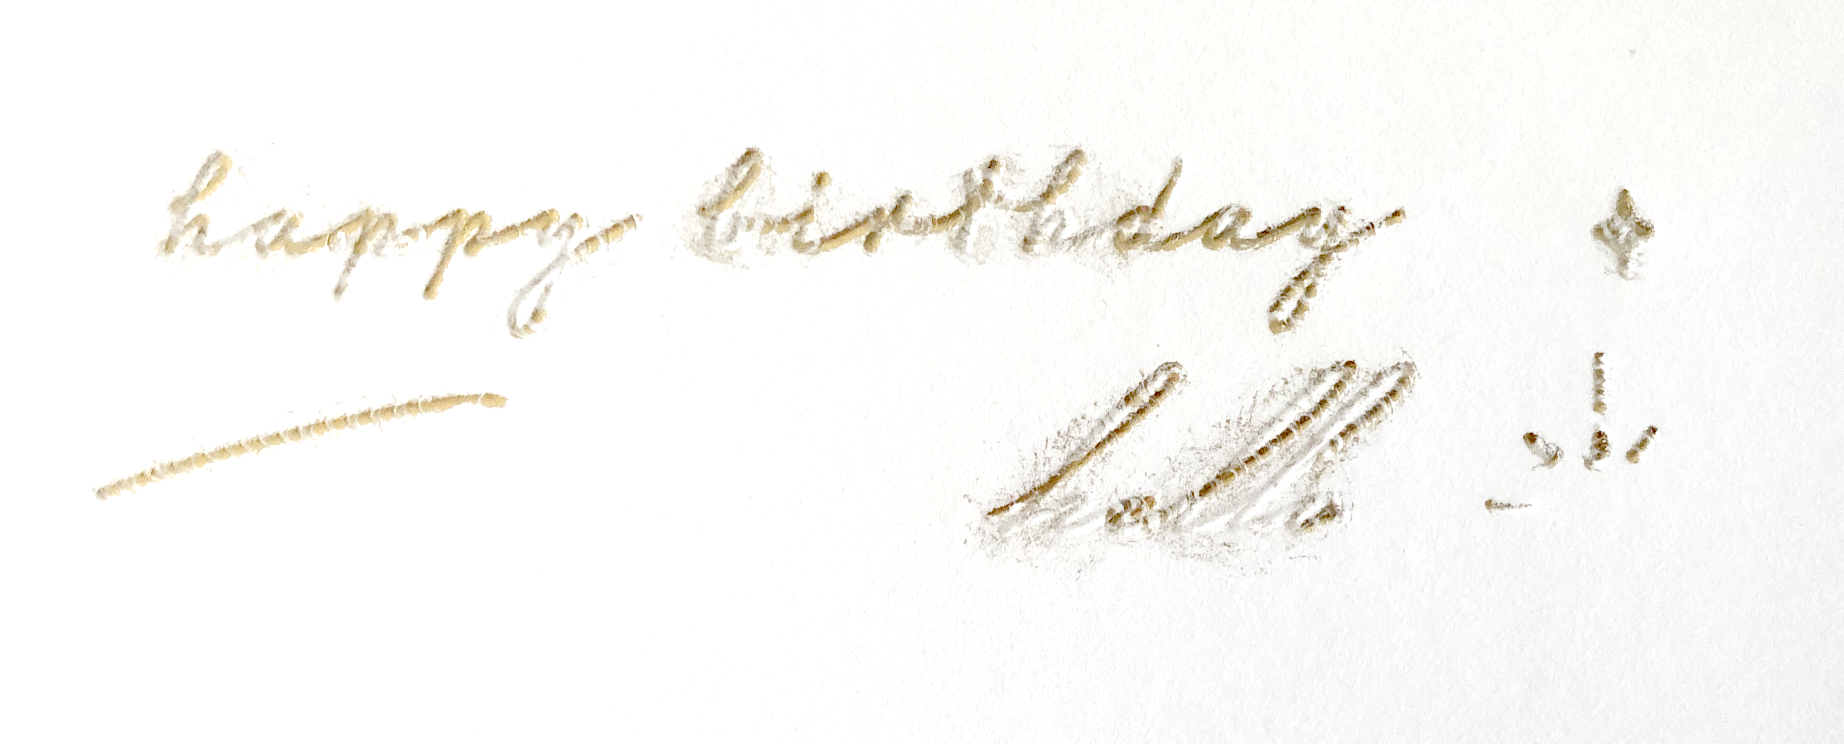
I also have a multi color pack of 65lb Recollections cardstock that I purchased from Michael’s. Although the cardstocks should all the the same quality, I’ve noticed that the surfaces of some of the colors are slightly smoother than the others. The darker colors especially seem to be smoother and the foil doesn’t always stick well (see photo of blue cardstock below). The foil sticks great to some of the lighter colors that aren’t quite as smooth (see photo of light grey cardstock below).
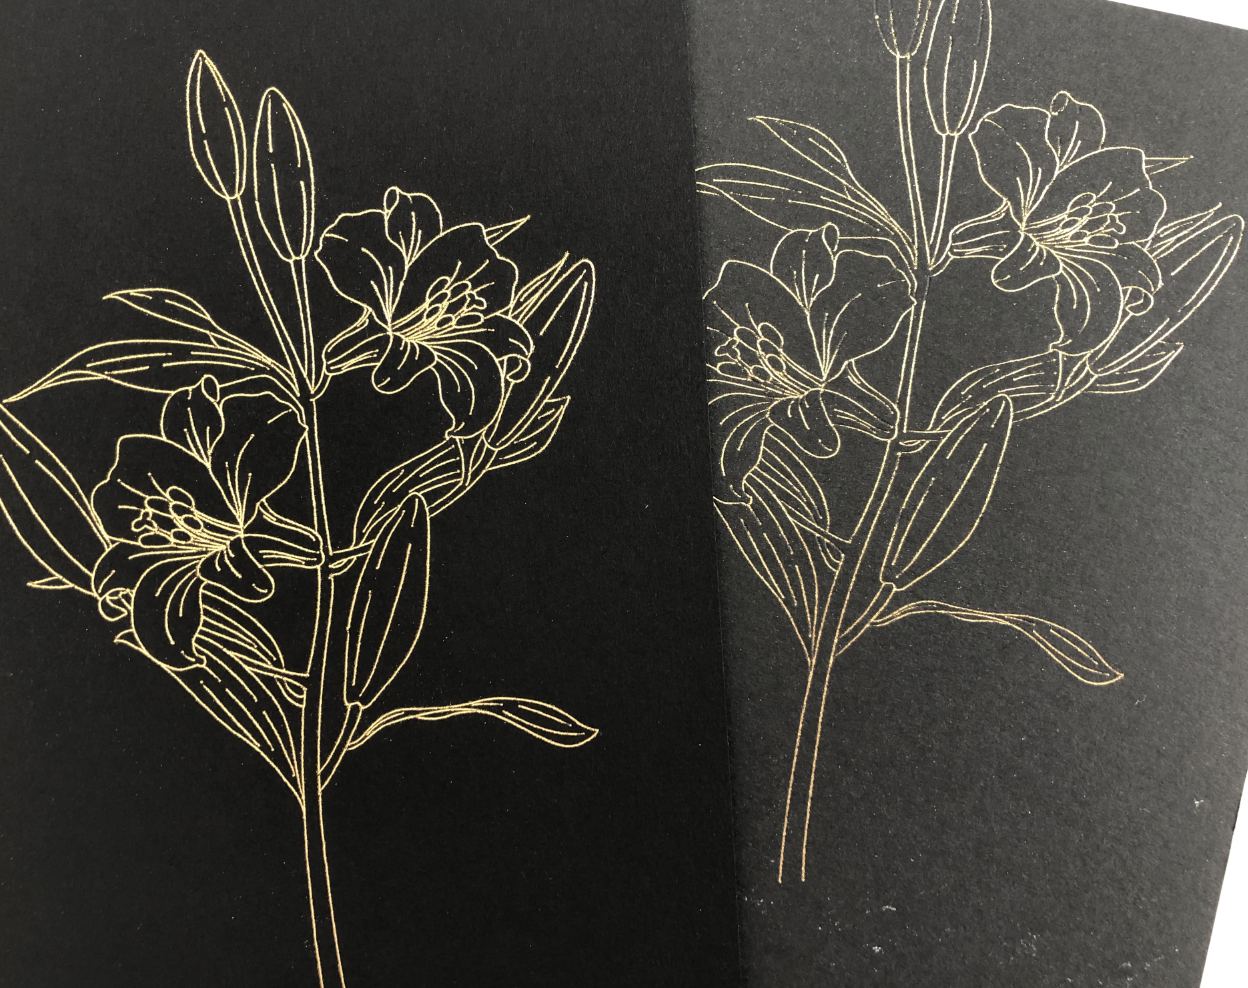
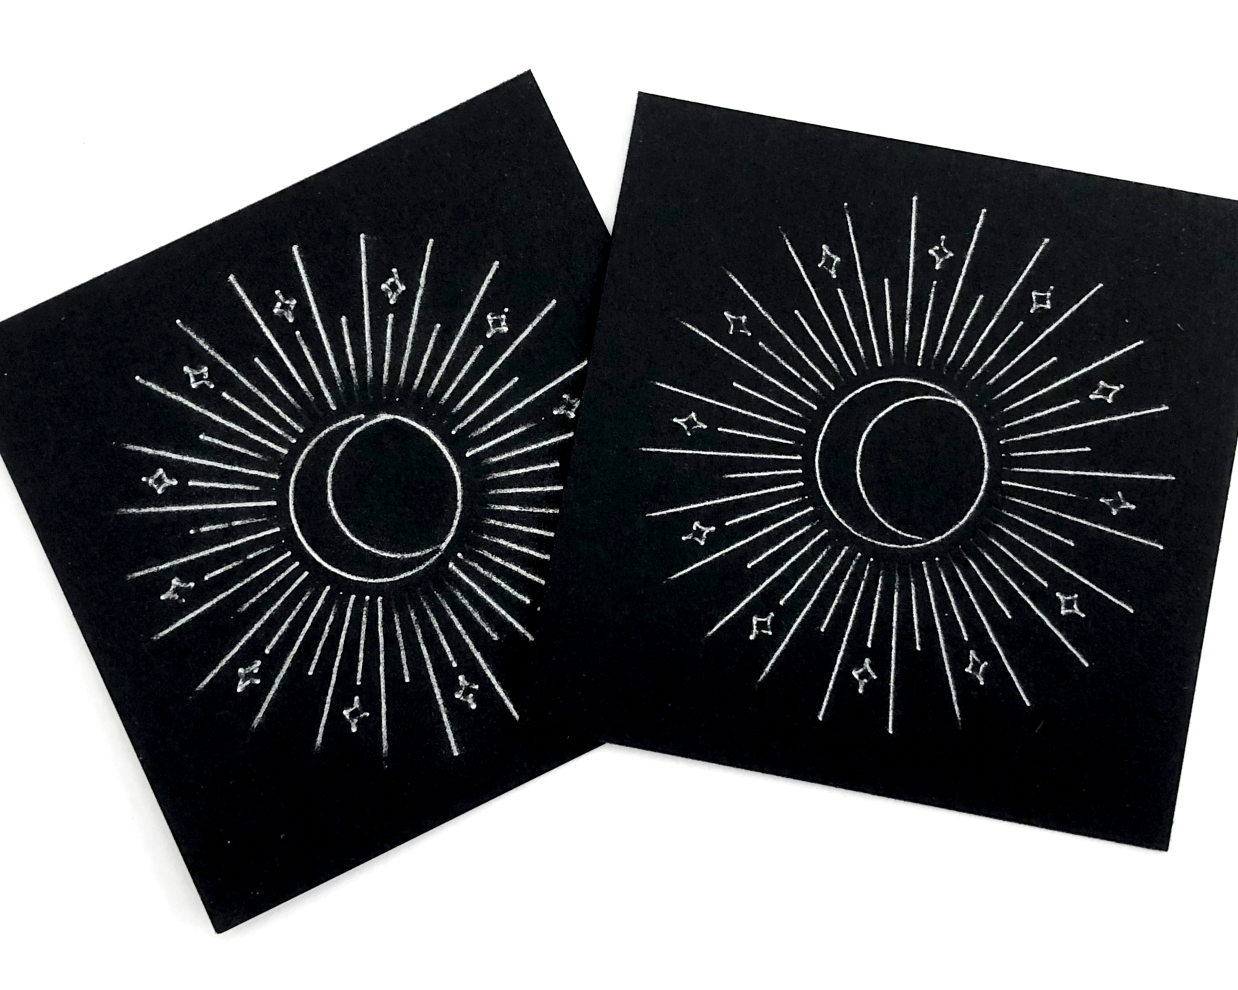
(L) My favorite black cardstock that foils beautifully, (R) Black cardstock that is smoother, but the foil does NOT transfer well.
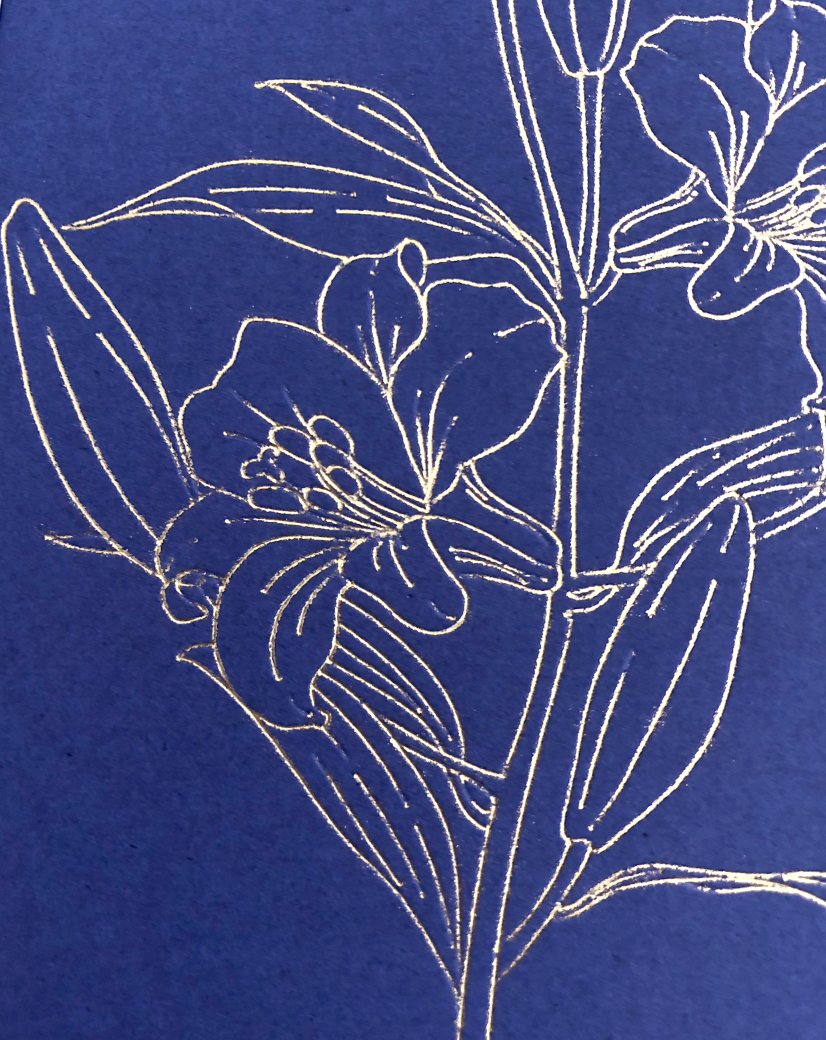
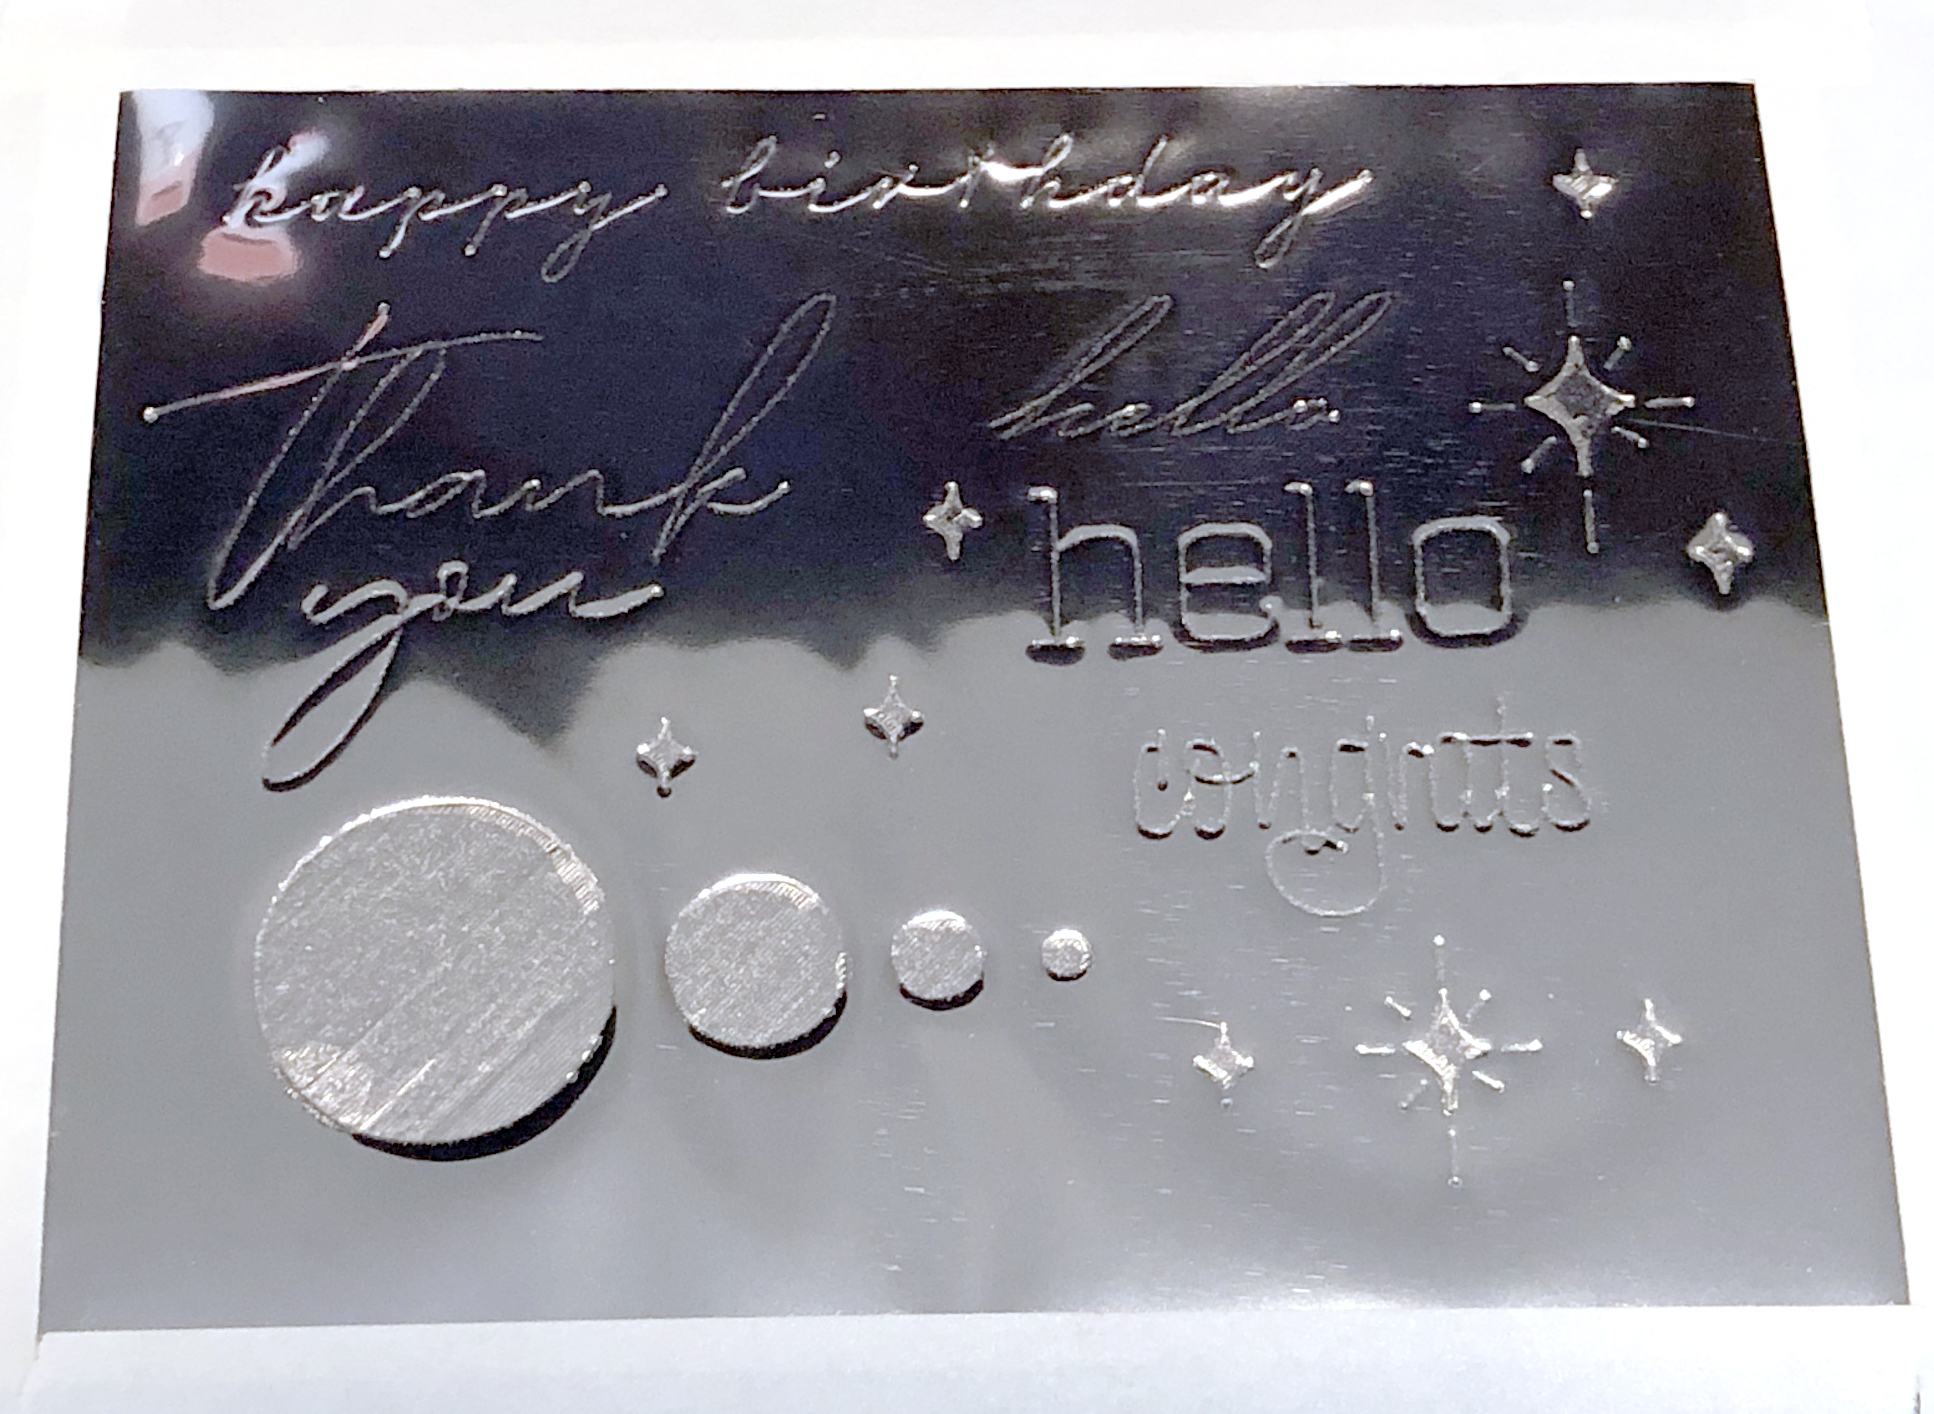
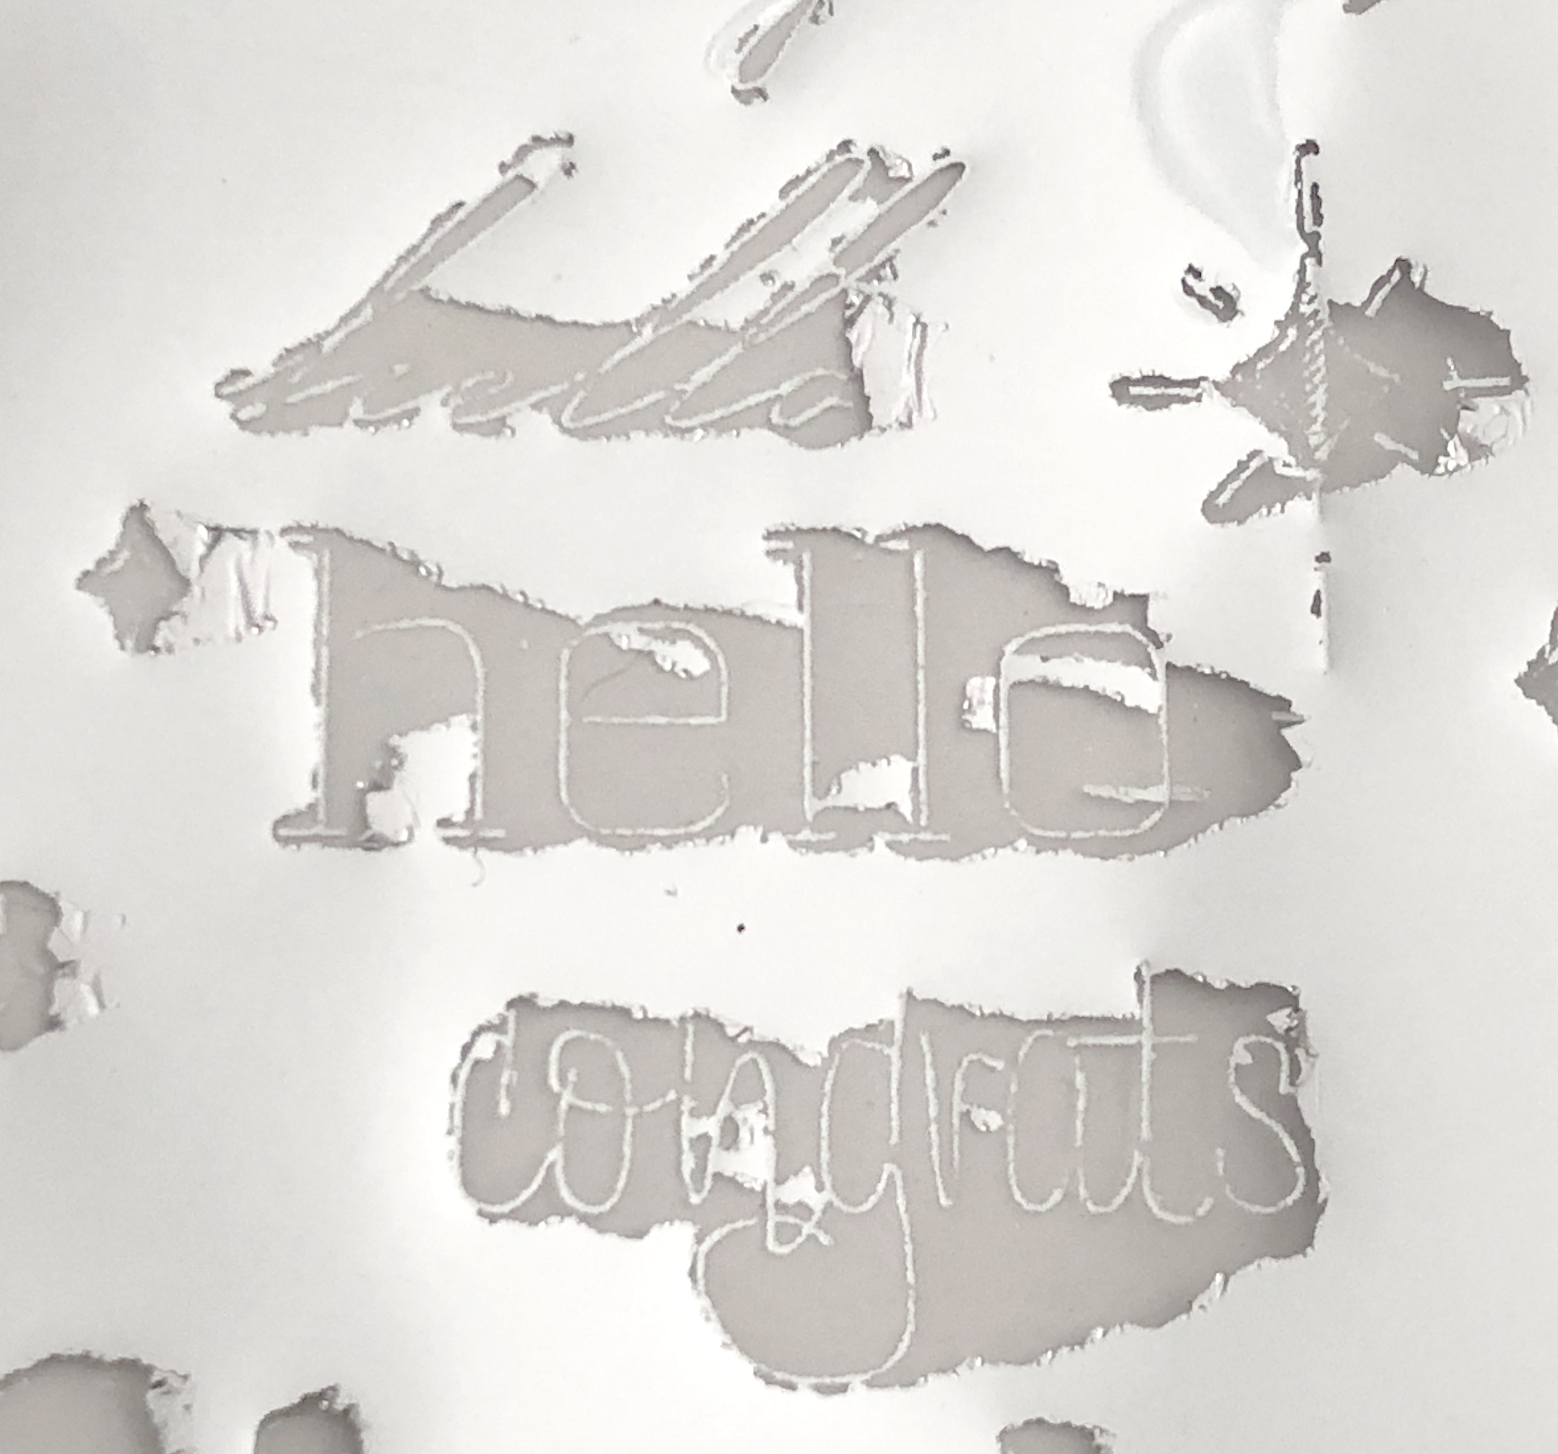
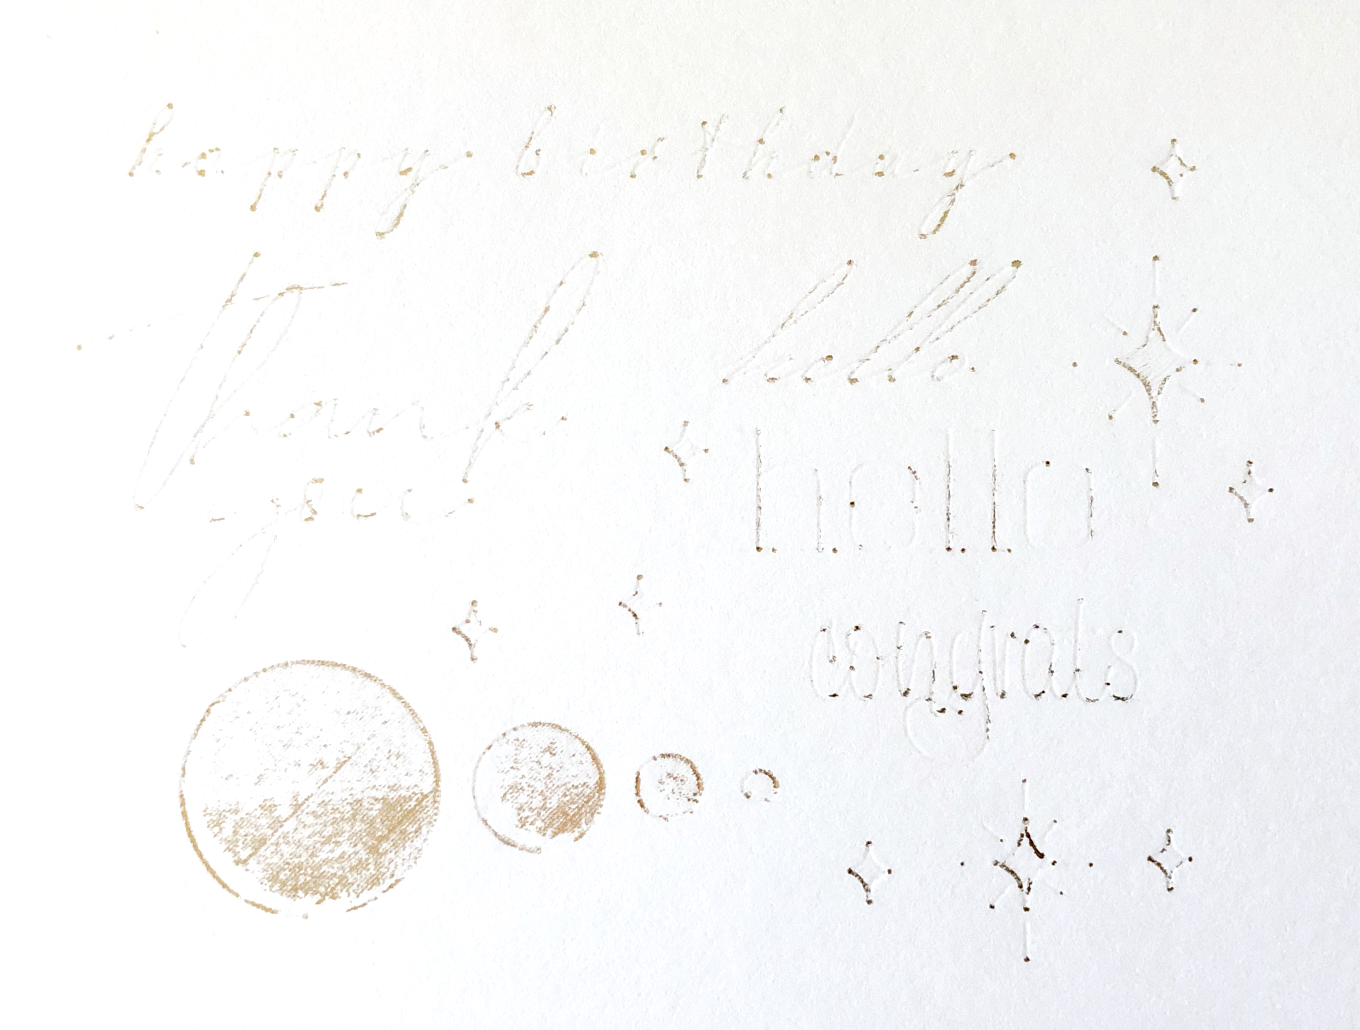
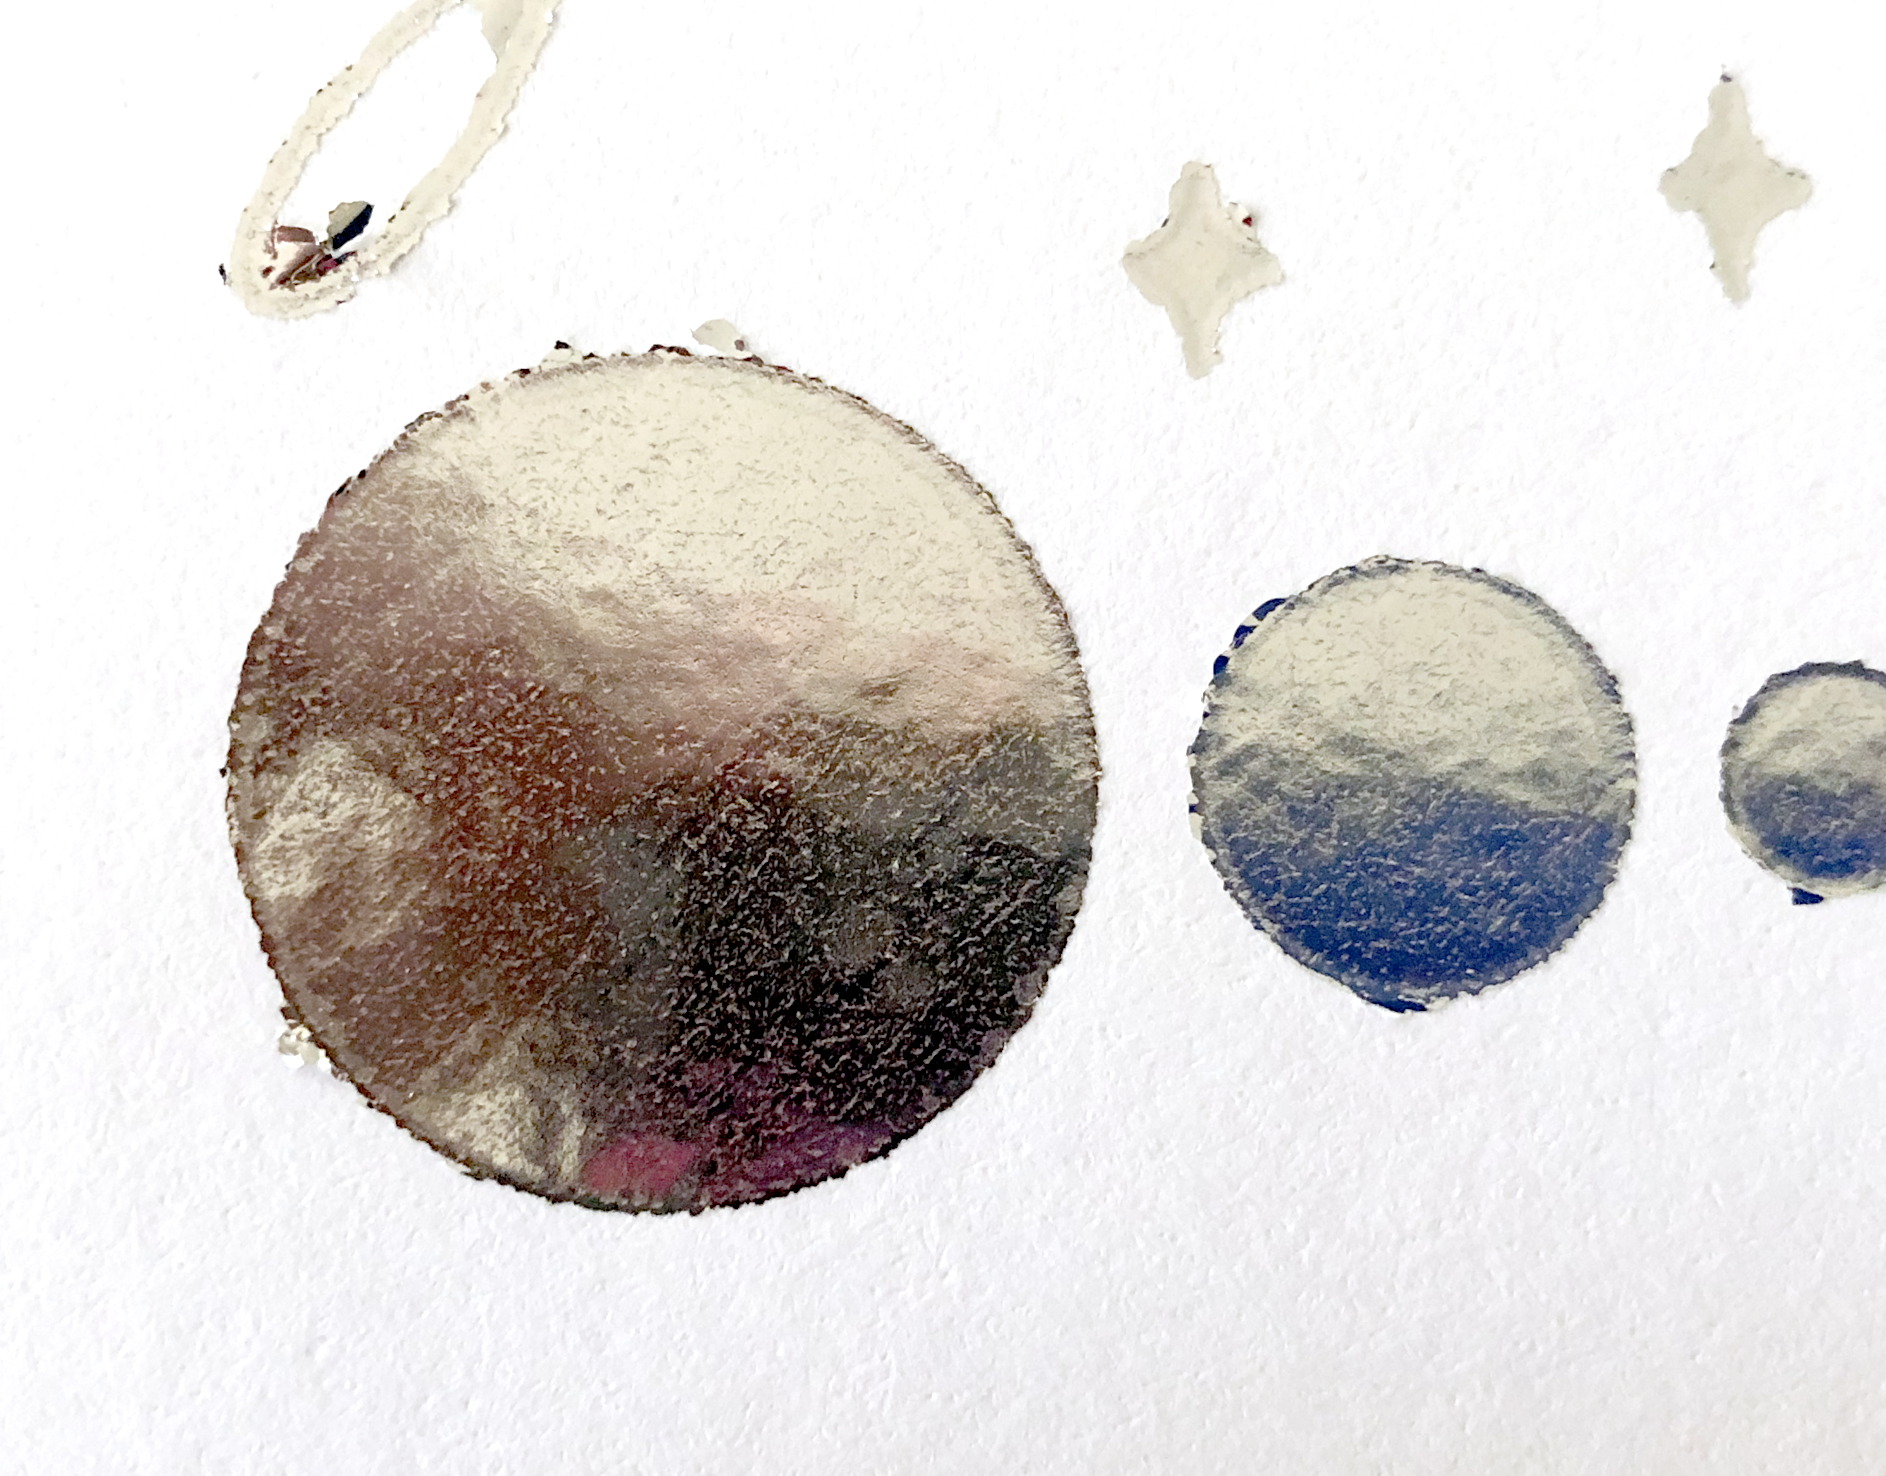
65lb blue cardstock from Recollections multicolor pack, Medium Foil transfer tip, Settings: Light cardstock & less pressure
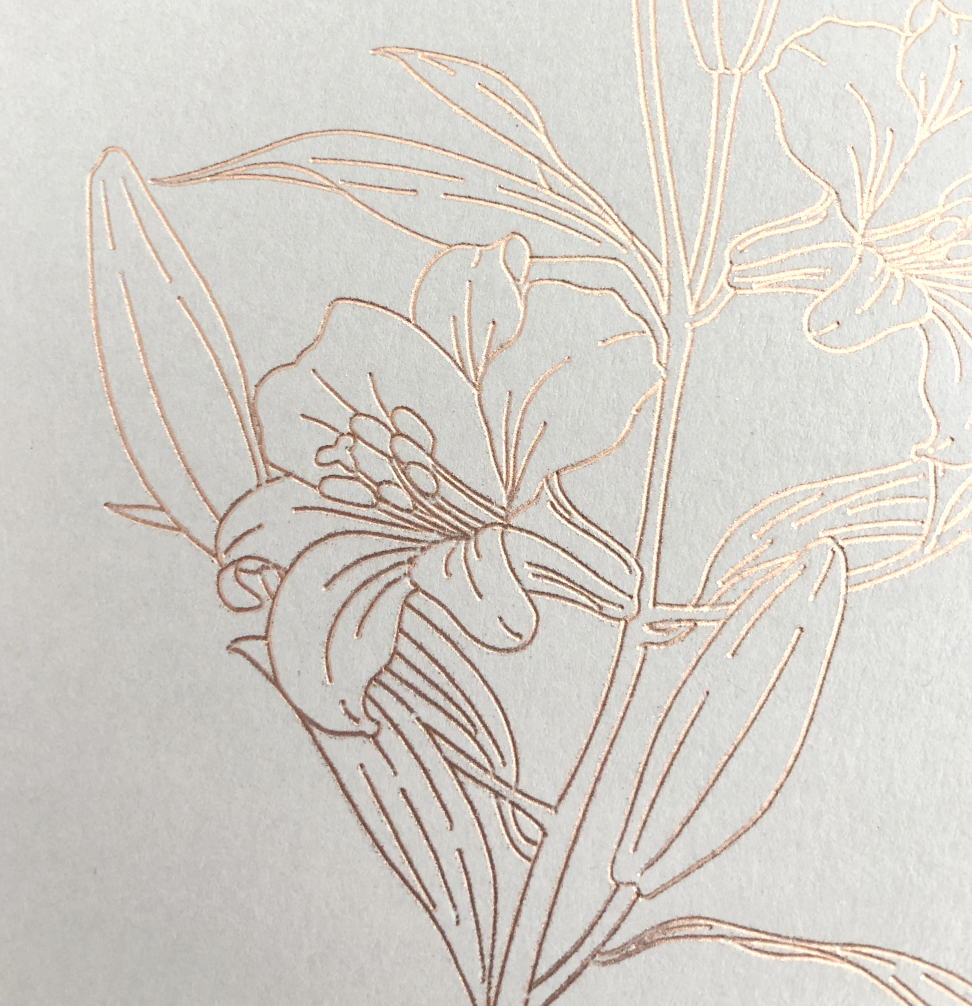
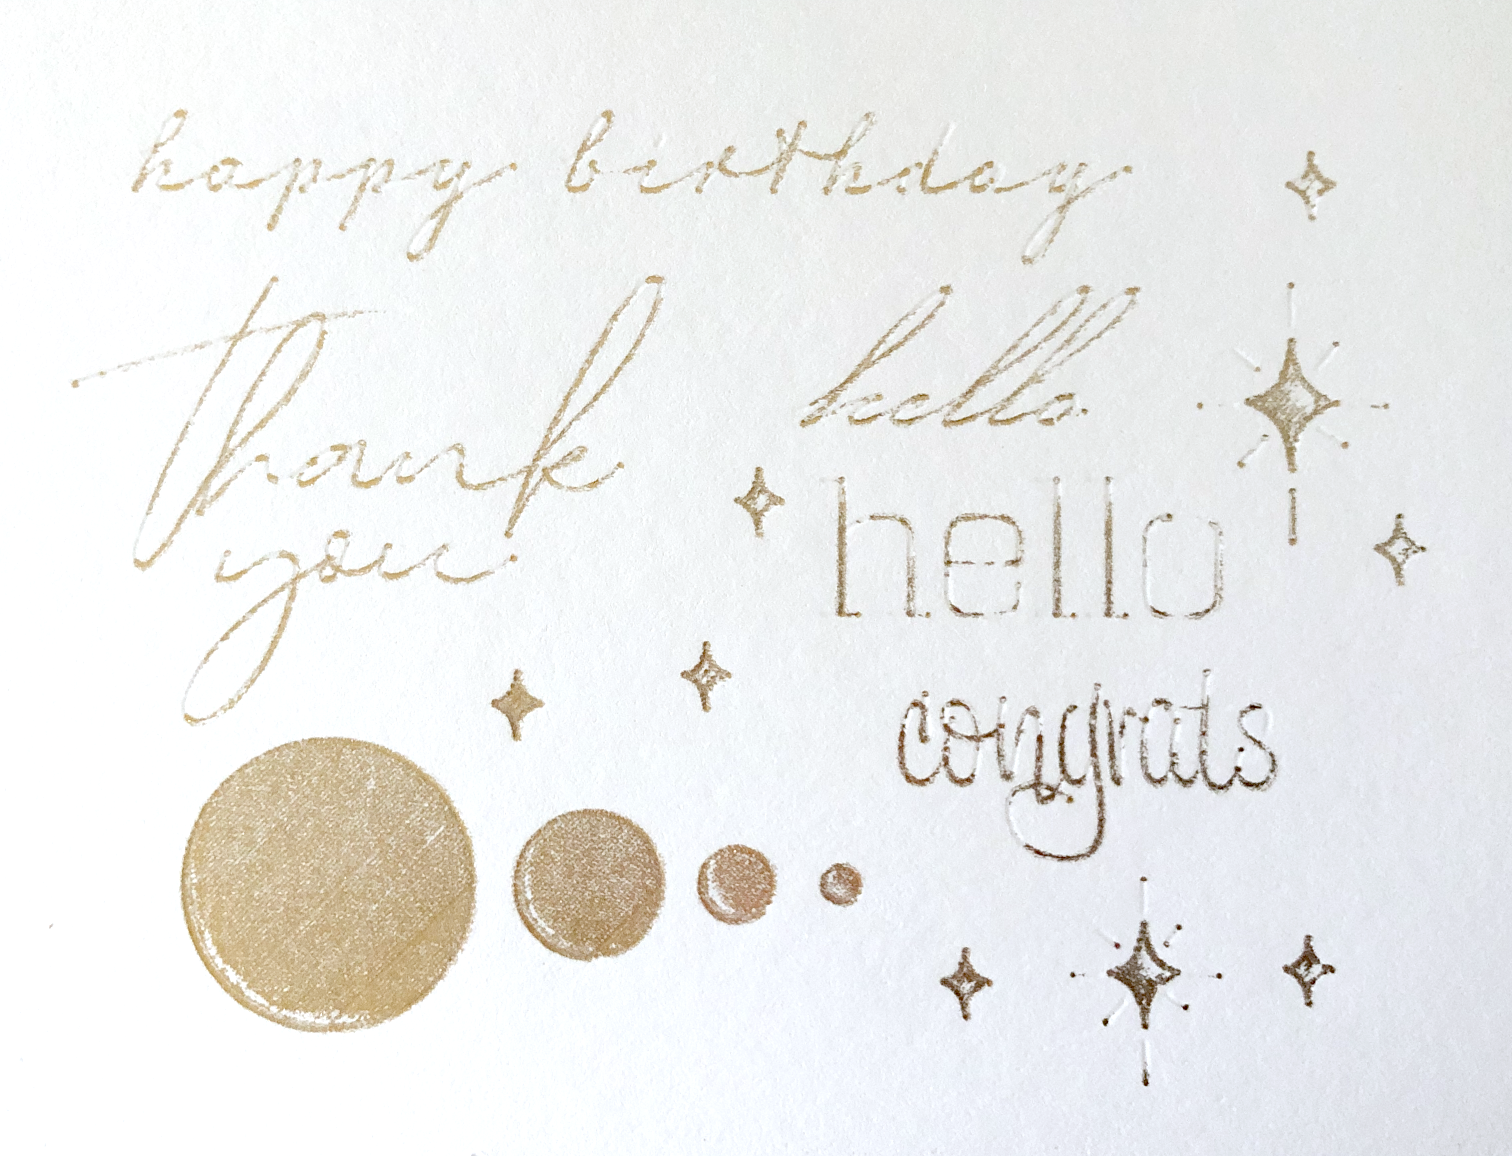
65lb light grey cardstock from the same Recollections multicolor pack, Medium Foil transfer tip, Settings: Light cardstock & less pressure
Use Masking Tape, Blue Painters Tape or Washi Tape
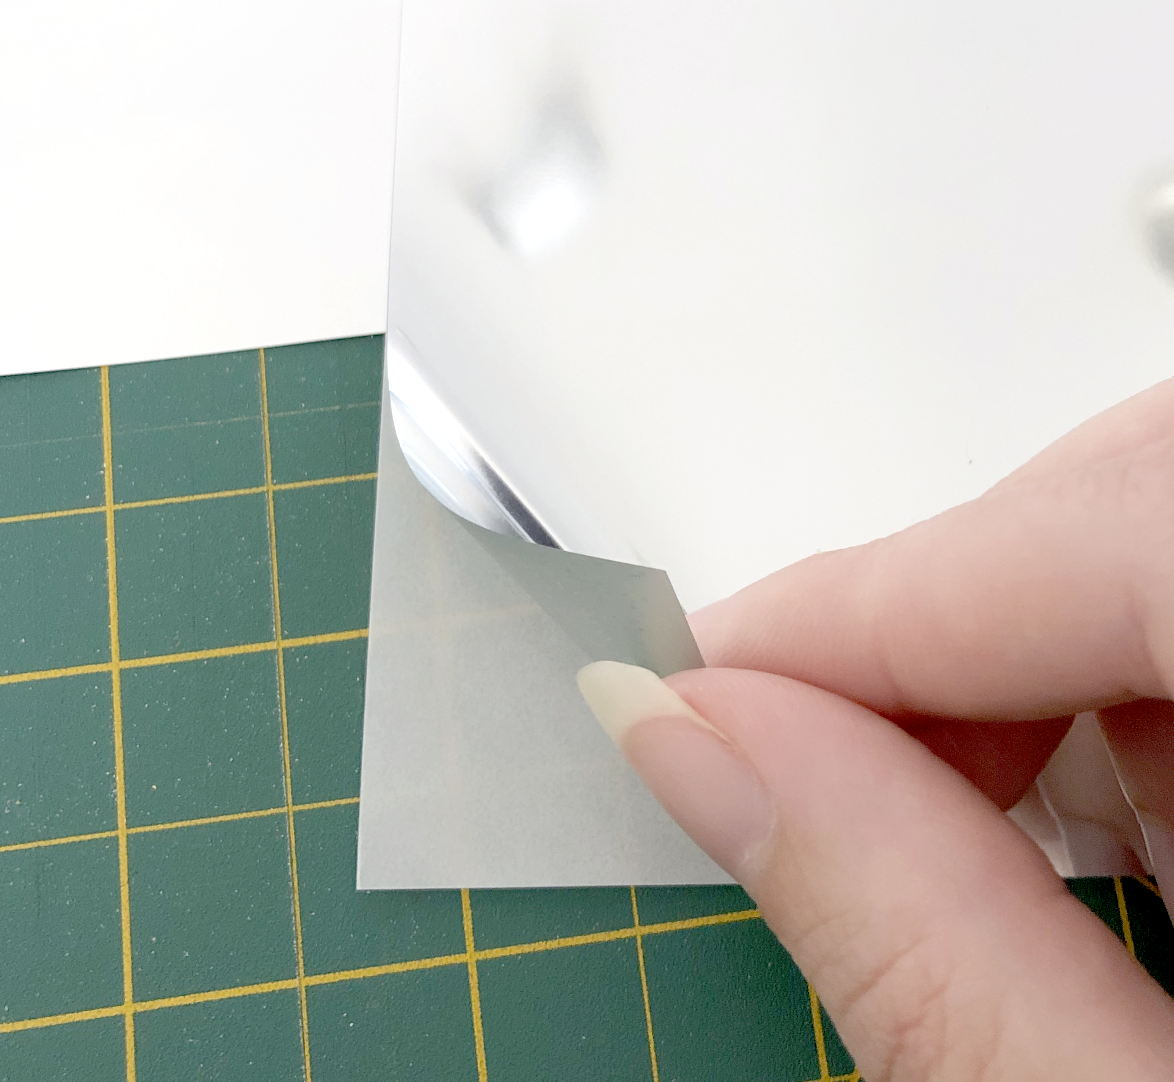
The tape that comes with the foil transfer sheets is designed to NOT stick to the mat. Depending on my design, sometimes my foil sheet goes right to the edge of my cardstock and I need my tape to stick to the mat. I prefer to use masking tape, blue painter’s tape or Washi tape. These tapes all stick well to the mat, and I can usually reuse them a few times.
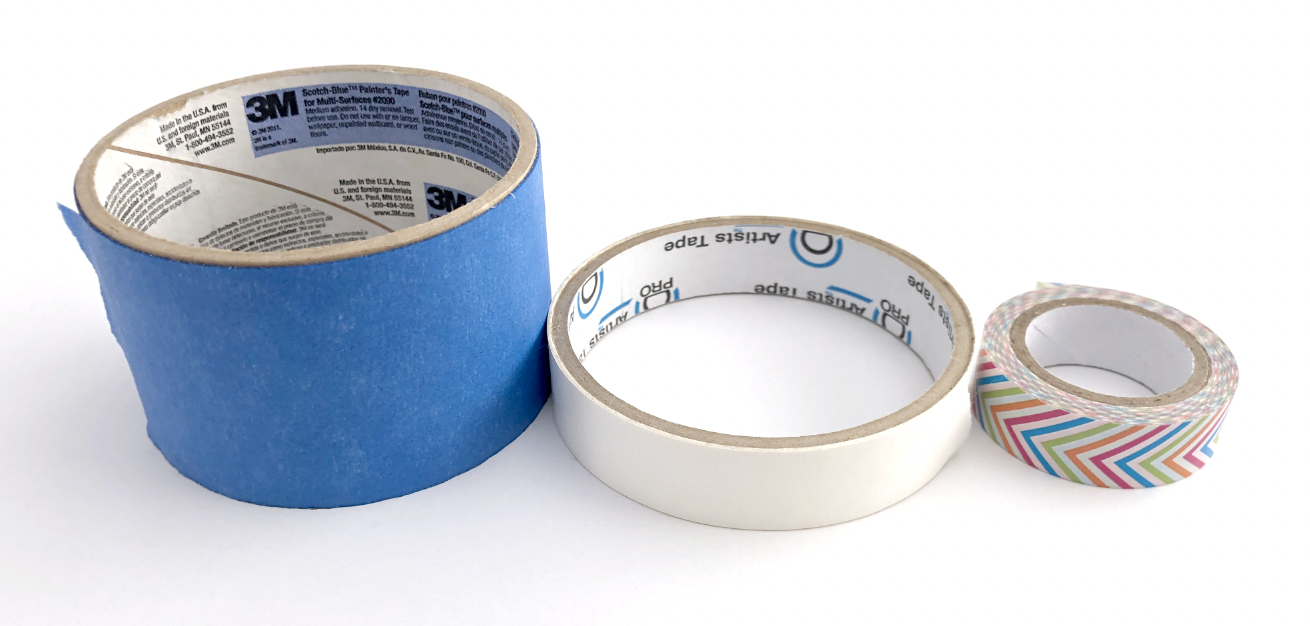
(L) Blue painter’s tape, (C) masking tape, (R) Washi tape
Tape the foil sheet as flat and tight as possible
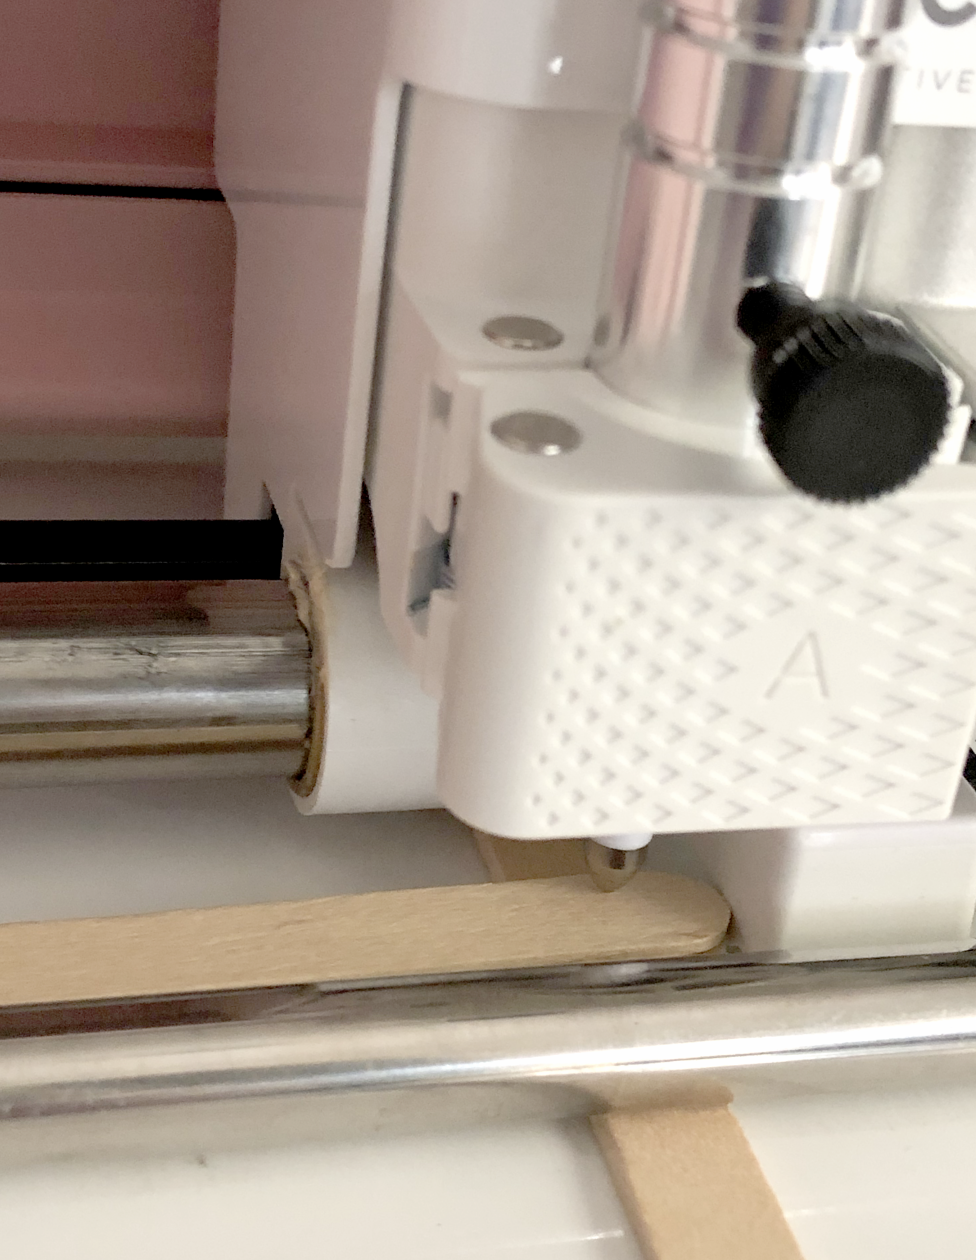
Before taping down your foil, use a brayer to fully adhere your cardstock or whatever material you are using to the mat.

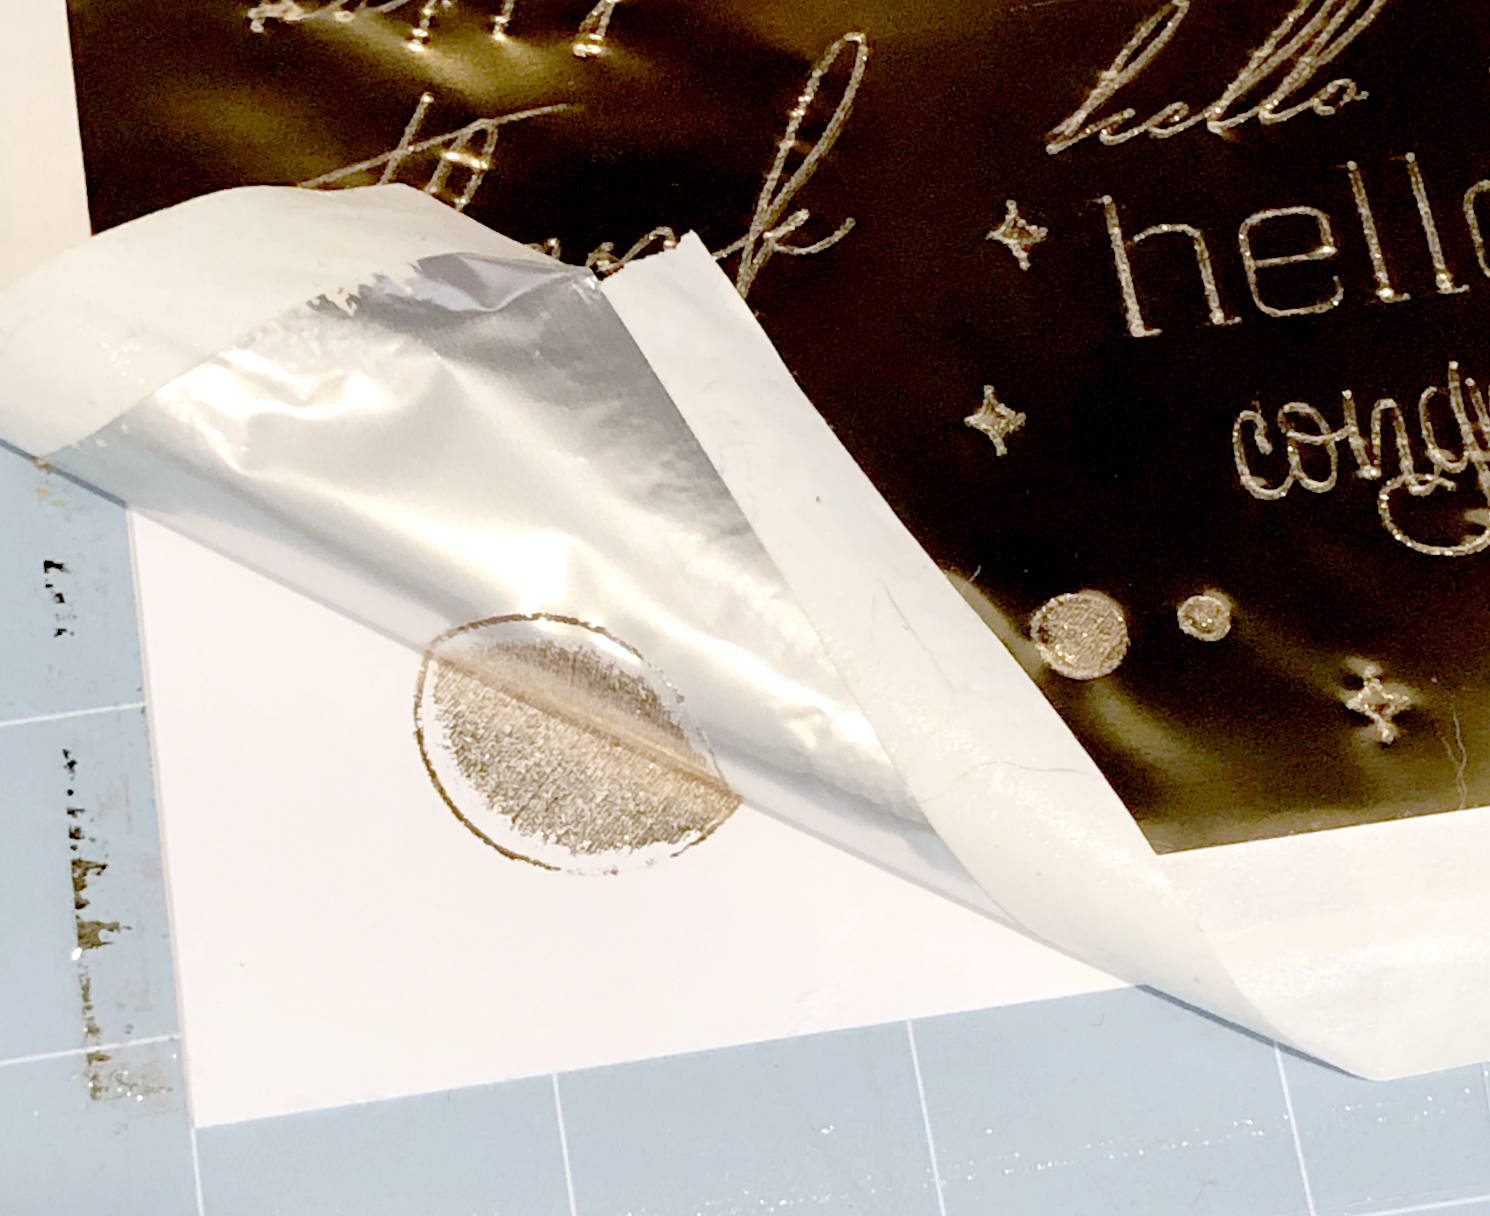
Then lay the foil over the cardstock and tape it on all four sides as tight and flat as possible. As the transfer tool moves around it stretches the foil transfer sheet, so it’s best to start out with no wrinkles and get it as tight as possible in the beginning.
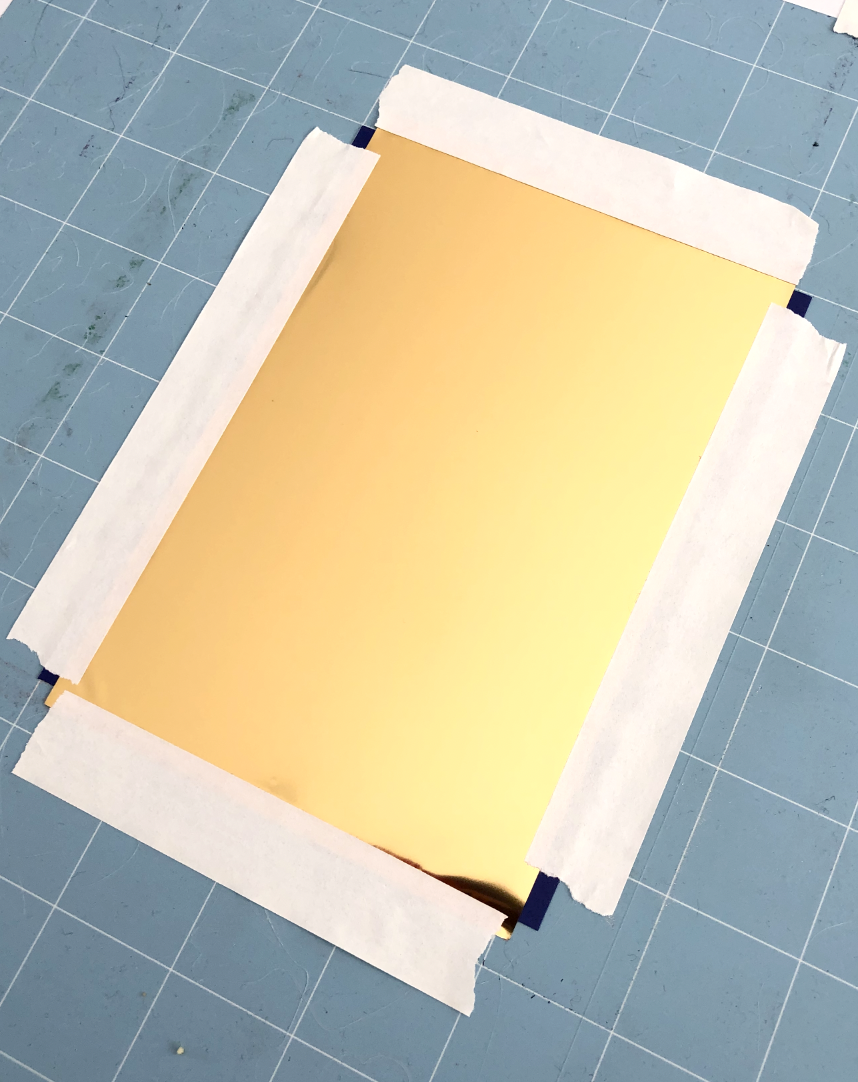
Tape all four sides so the foil is flat and taut.
Always test your materials that you will be foiling
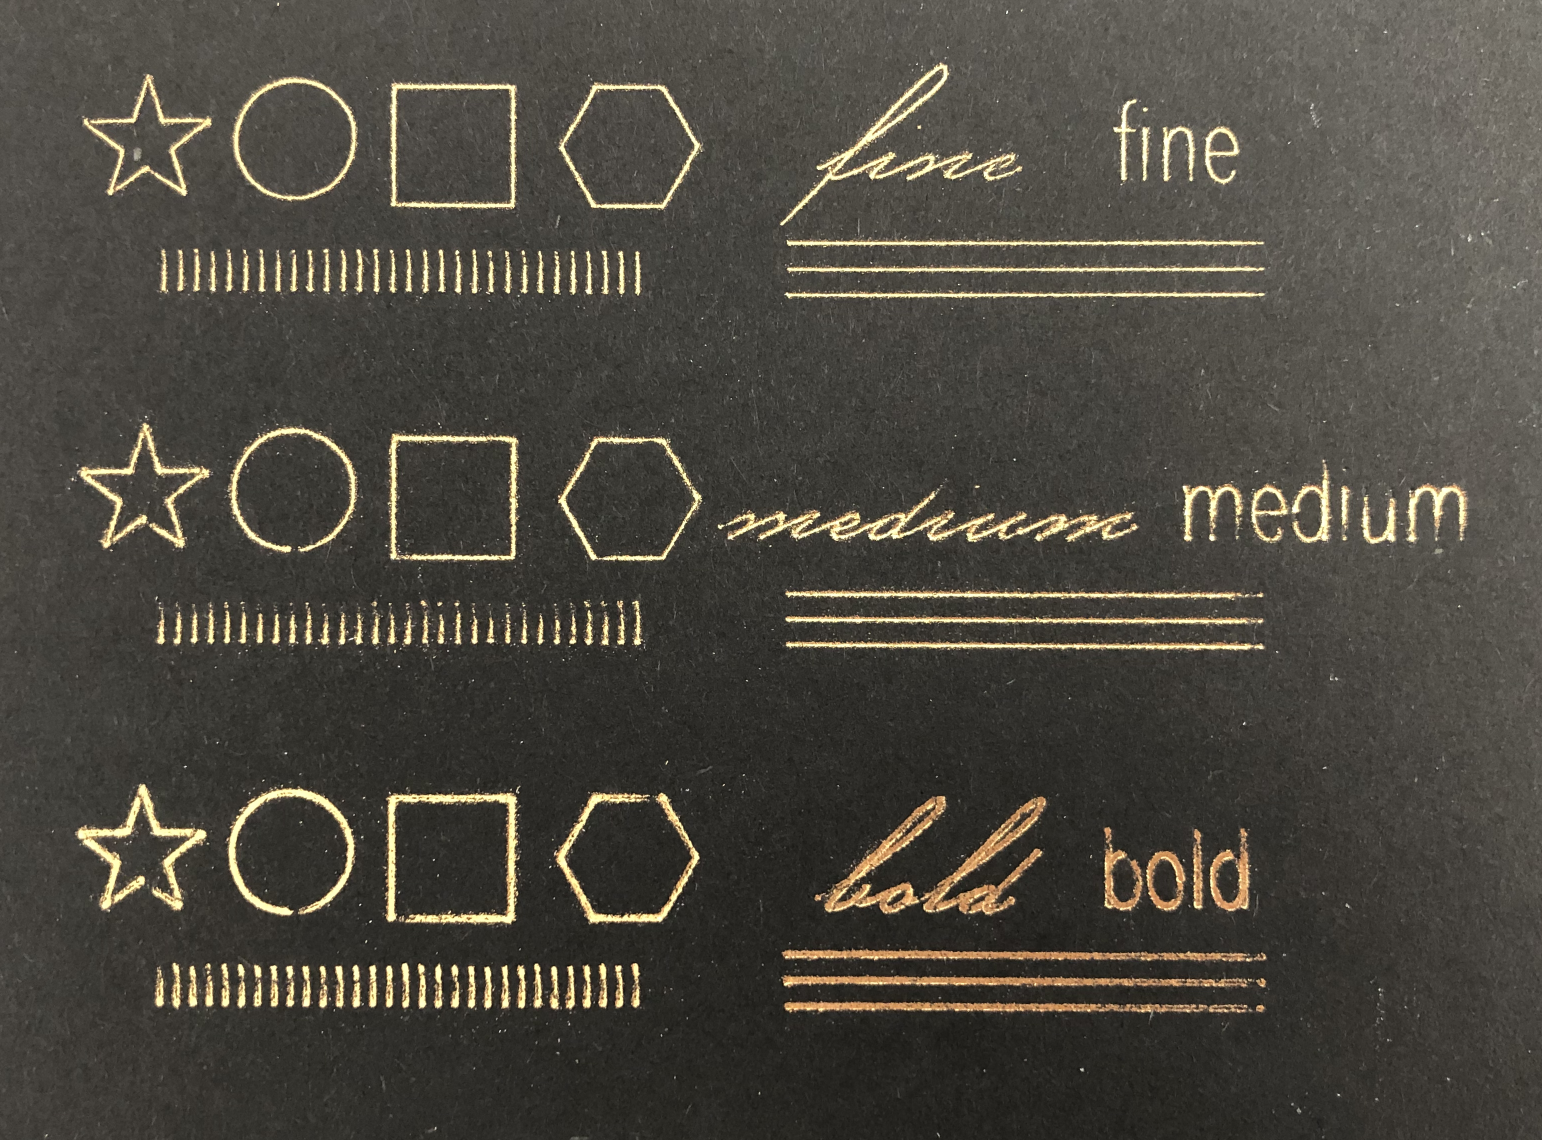
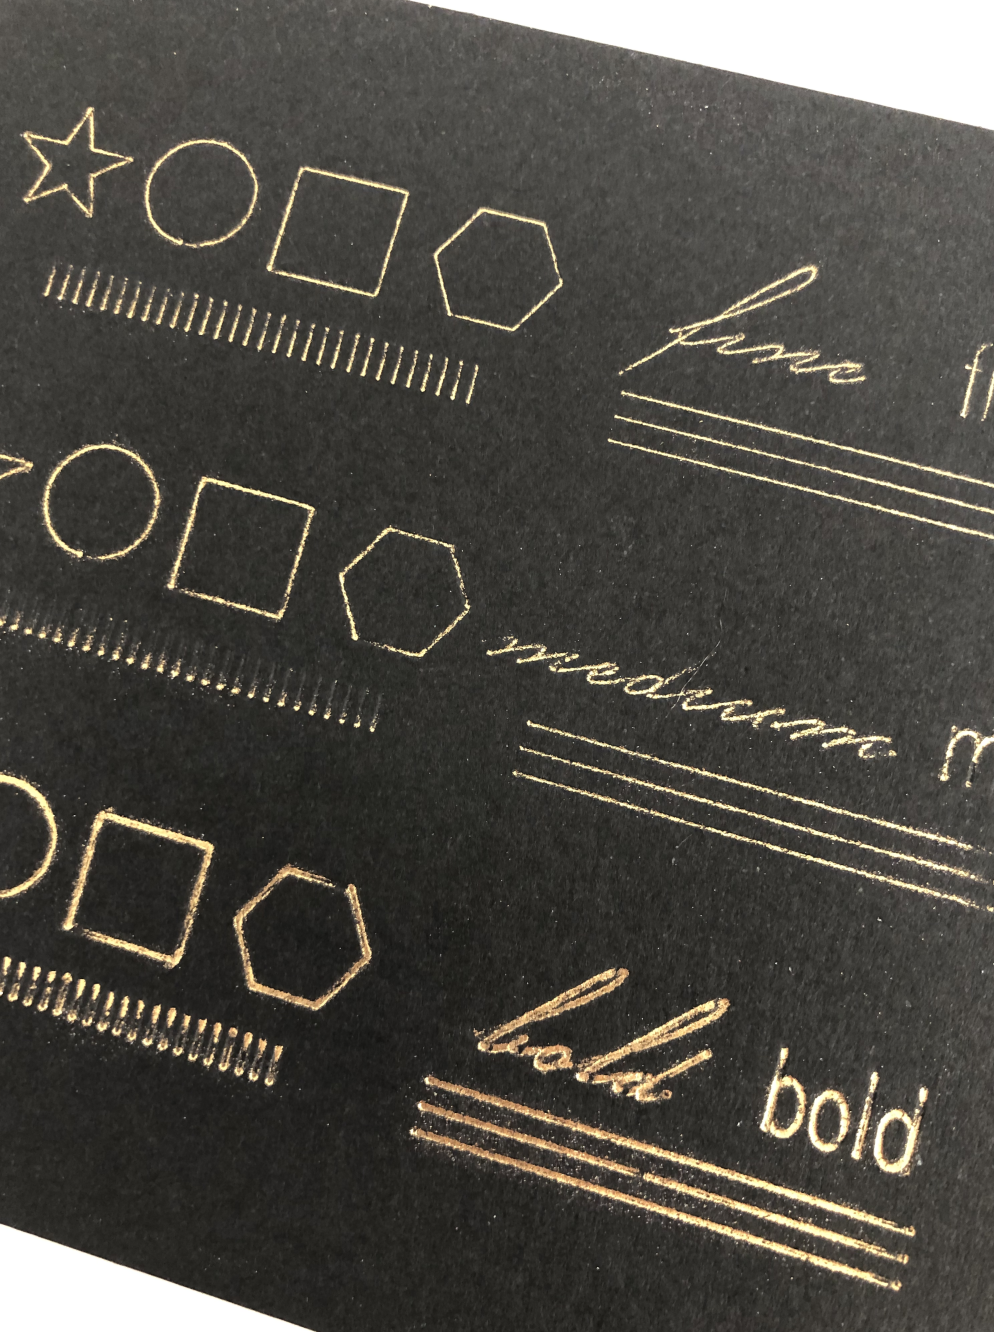
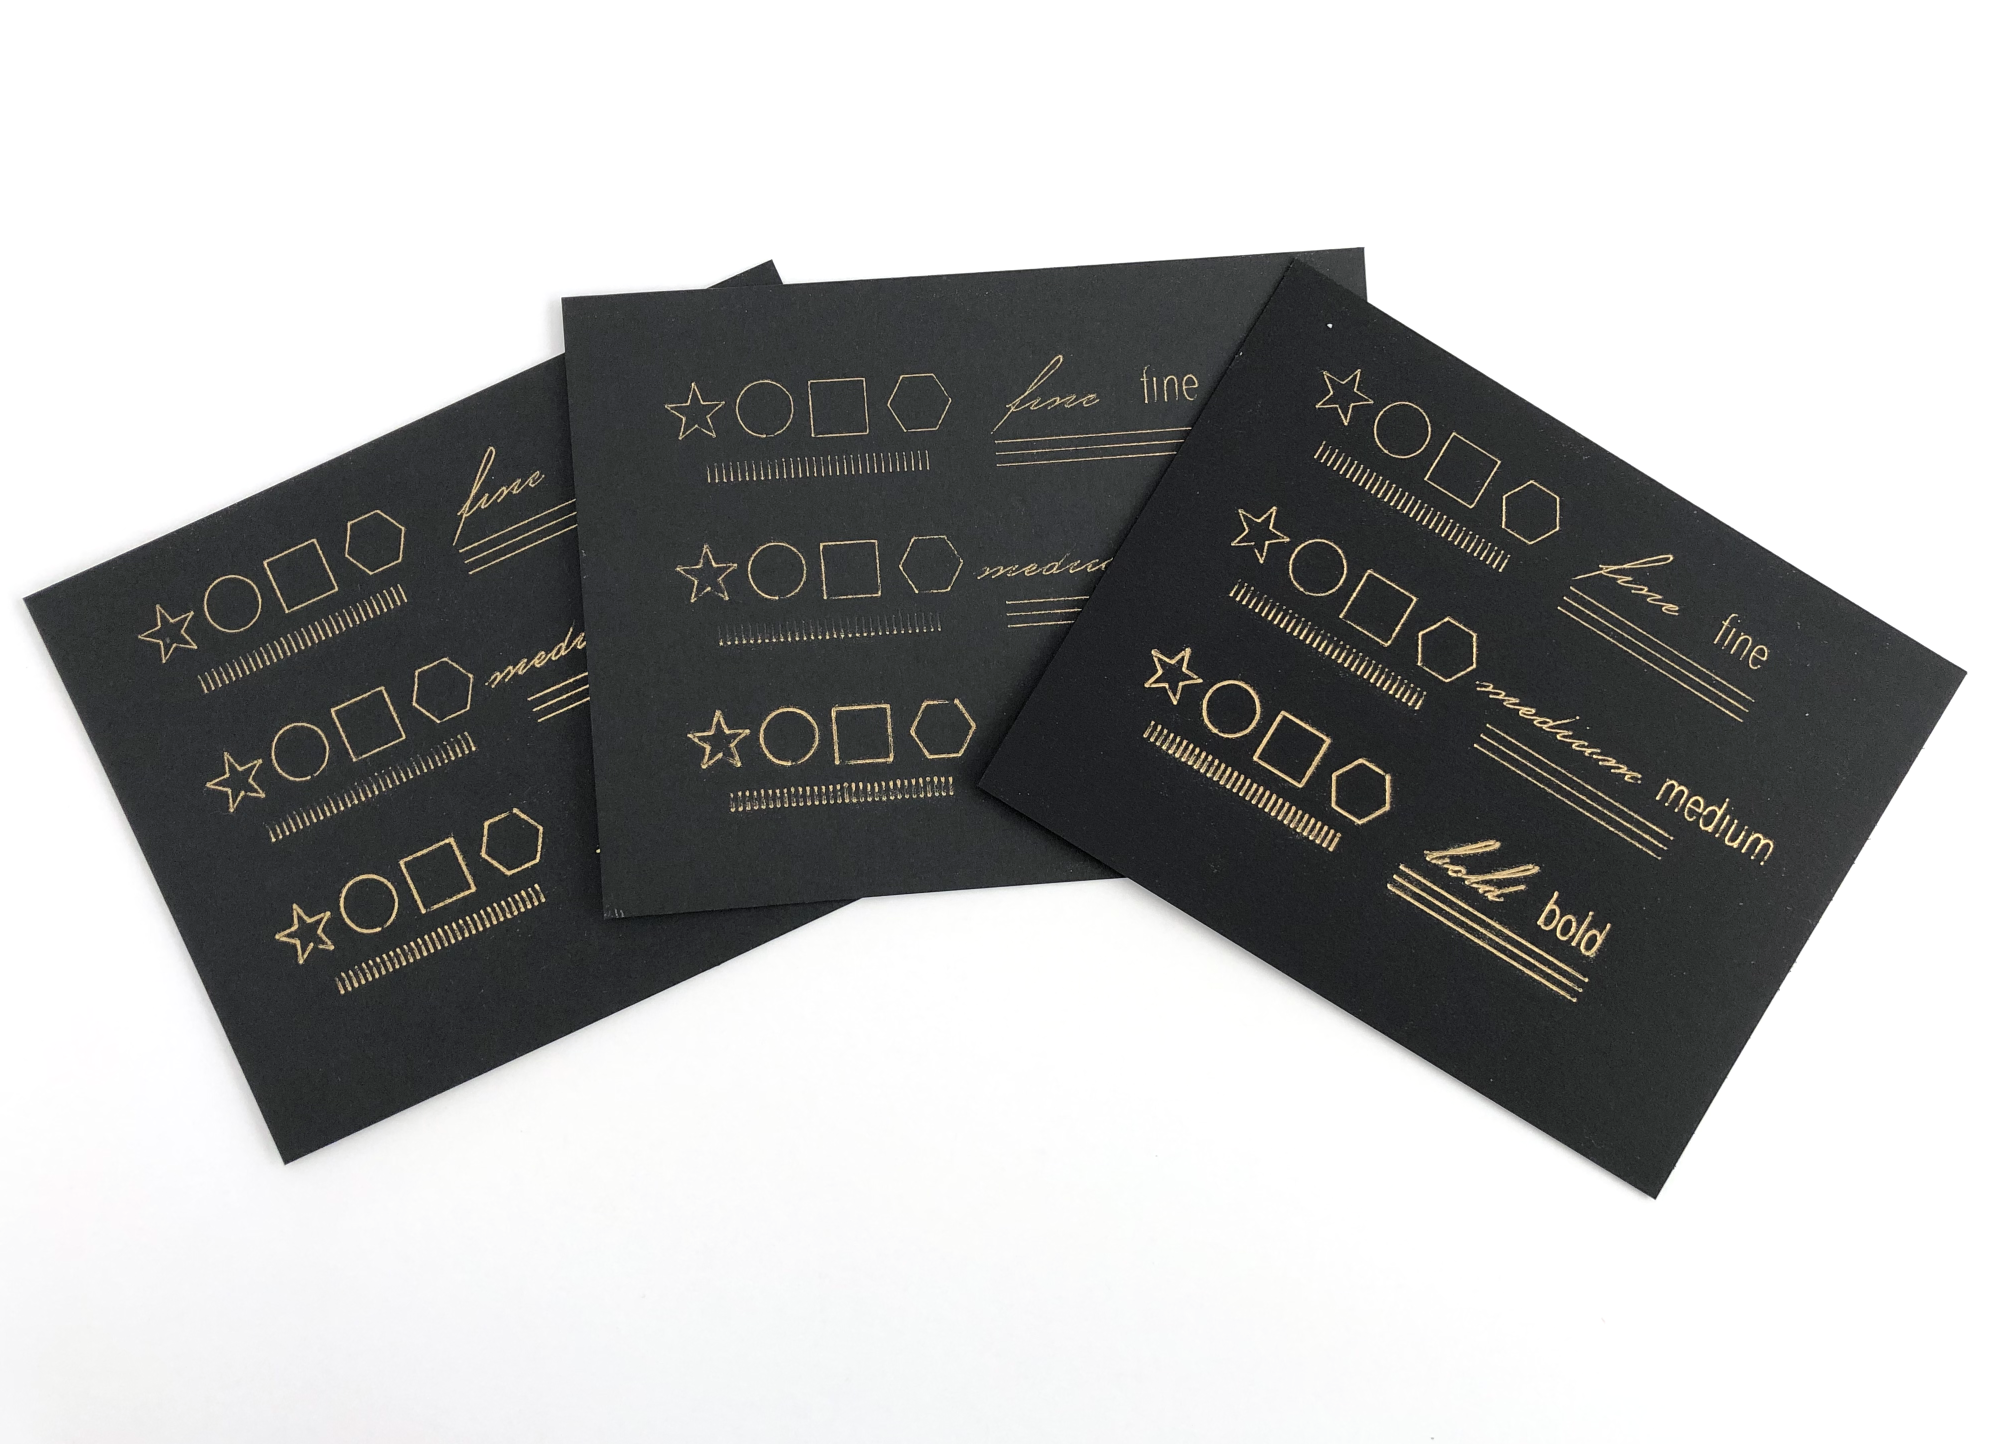
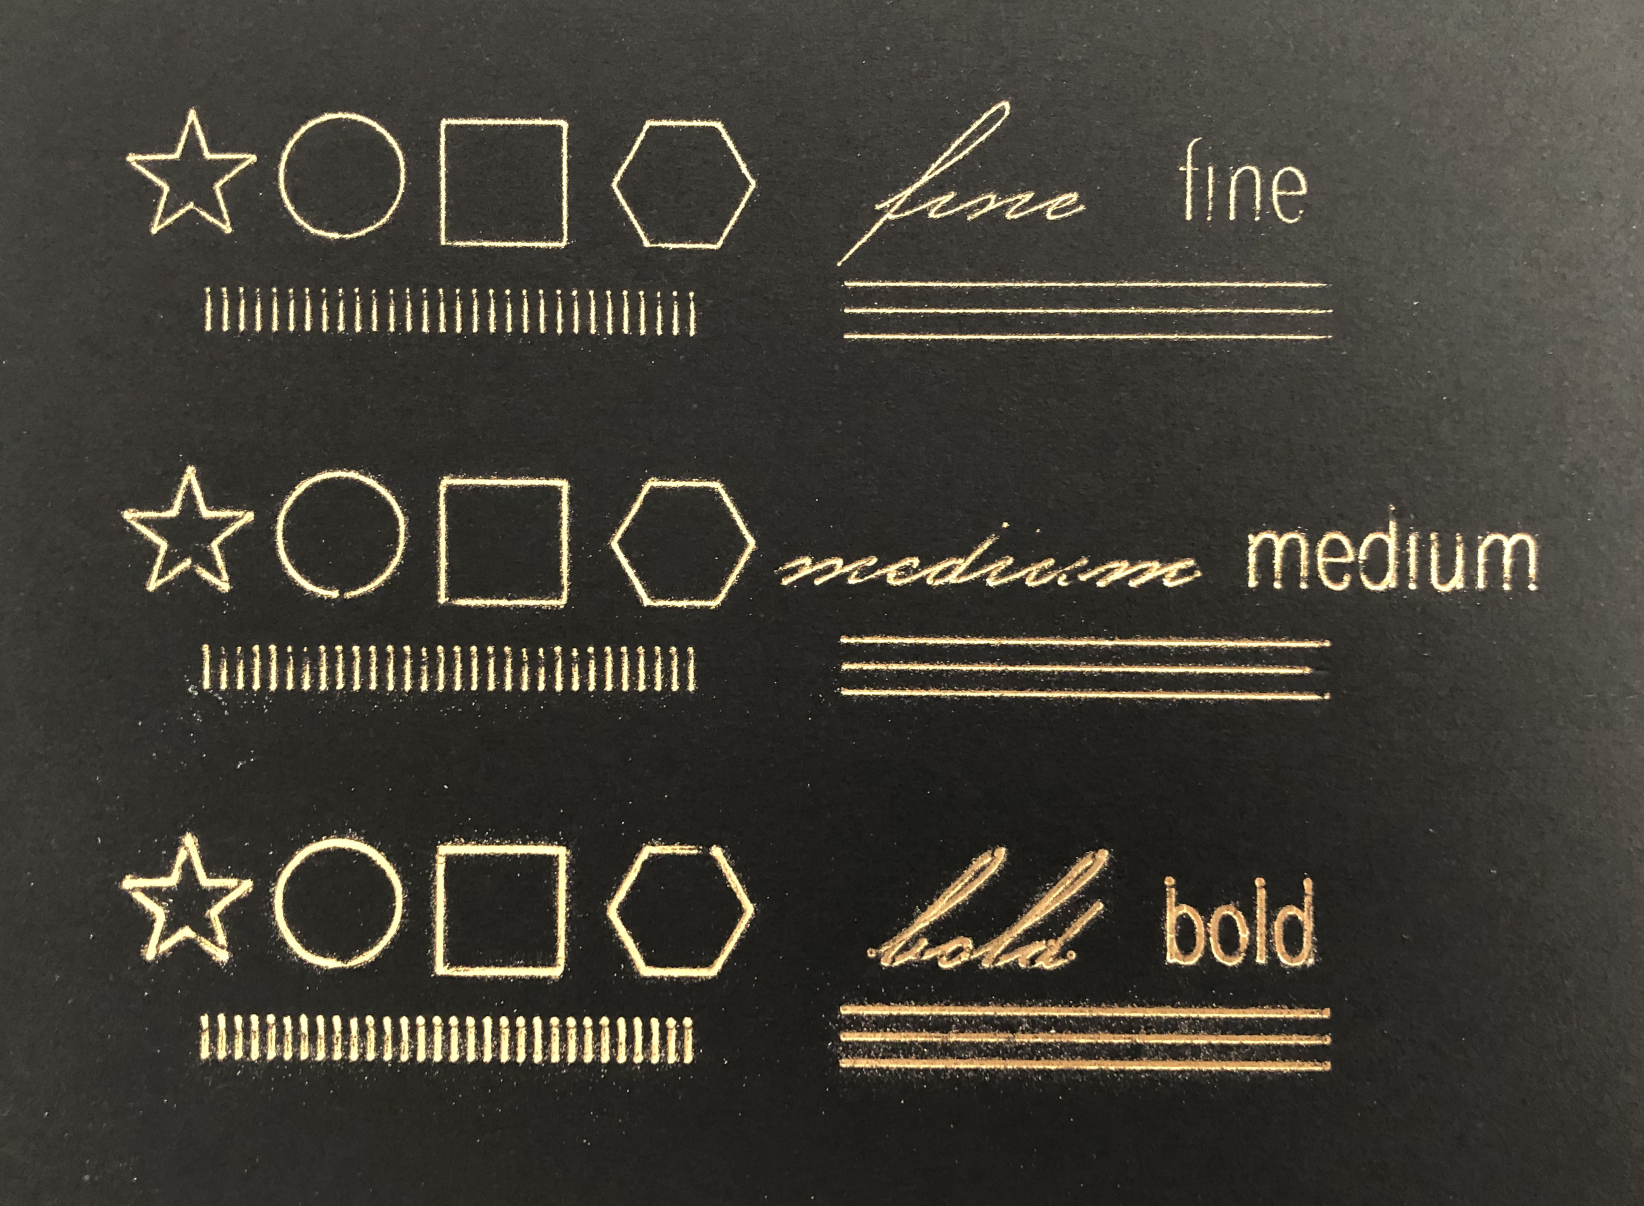
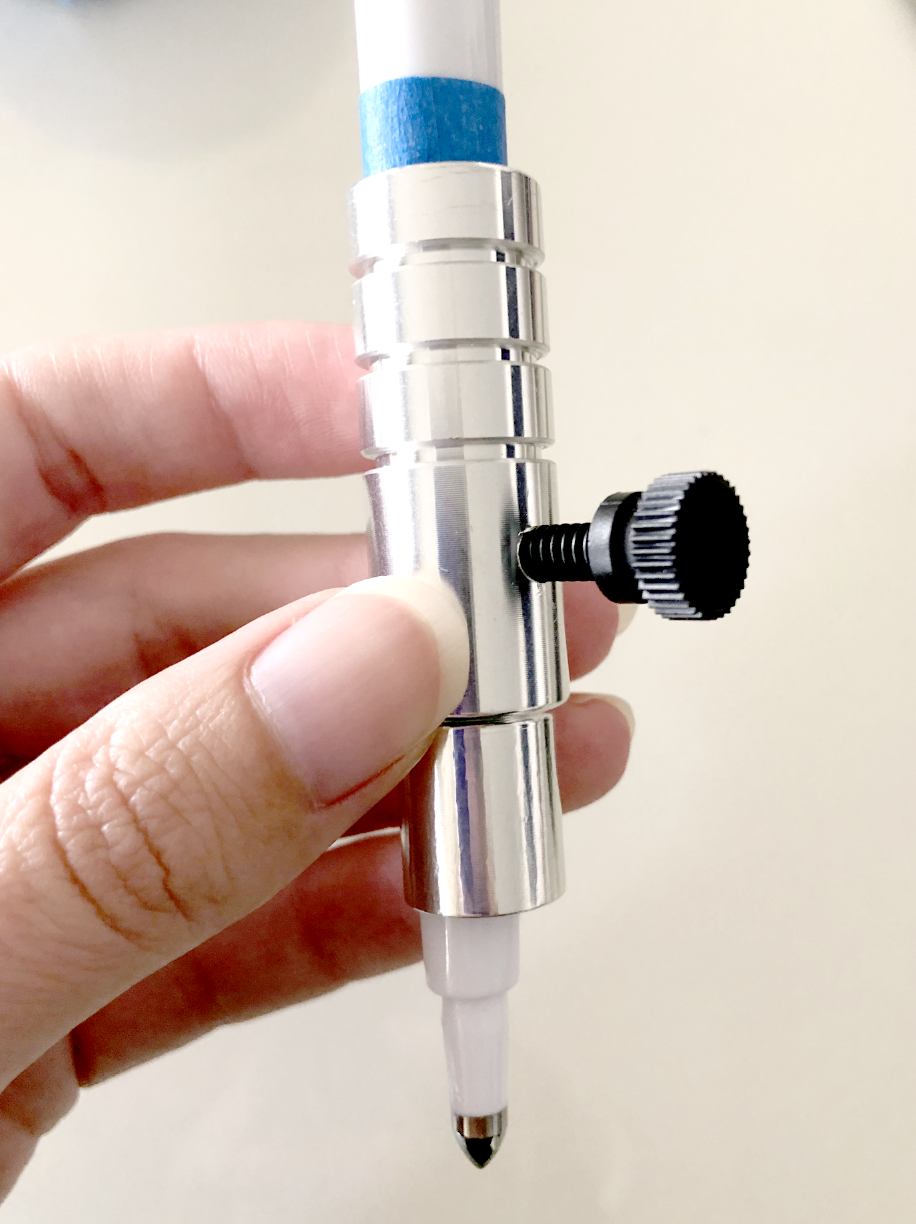
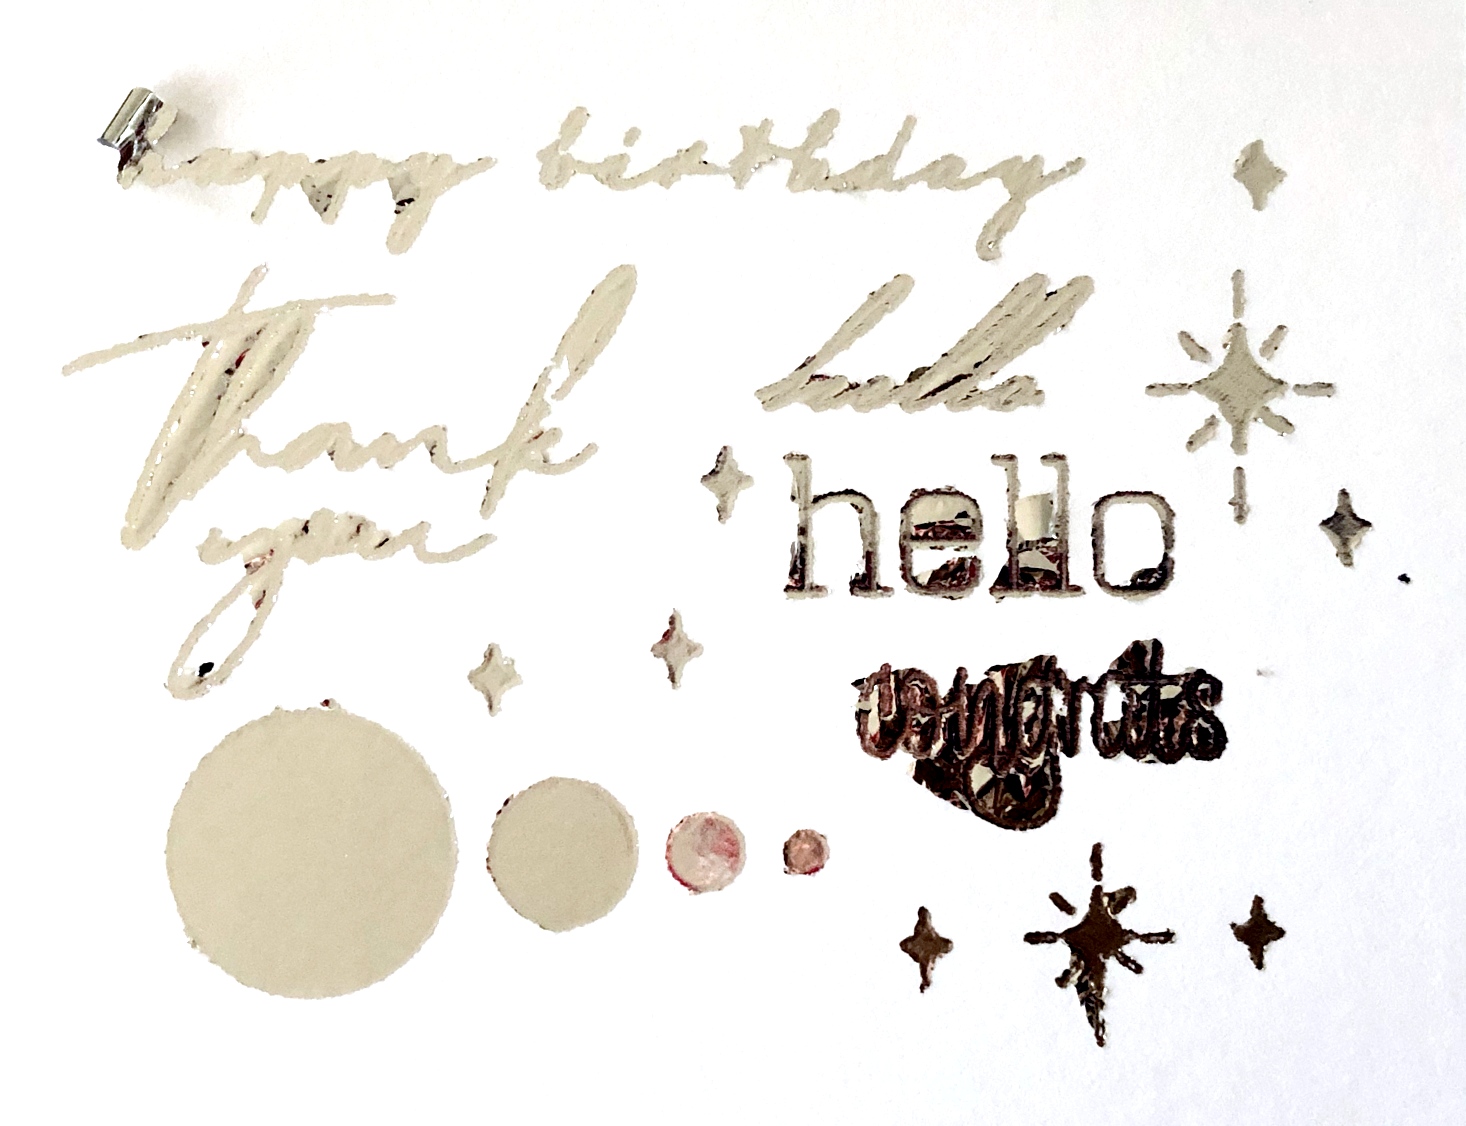
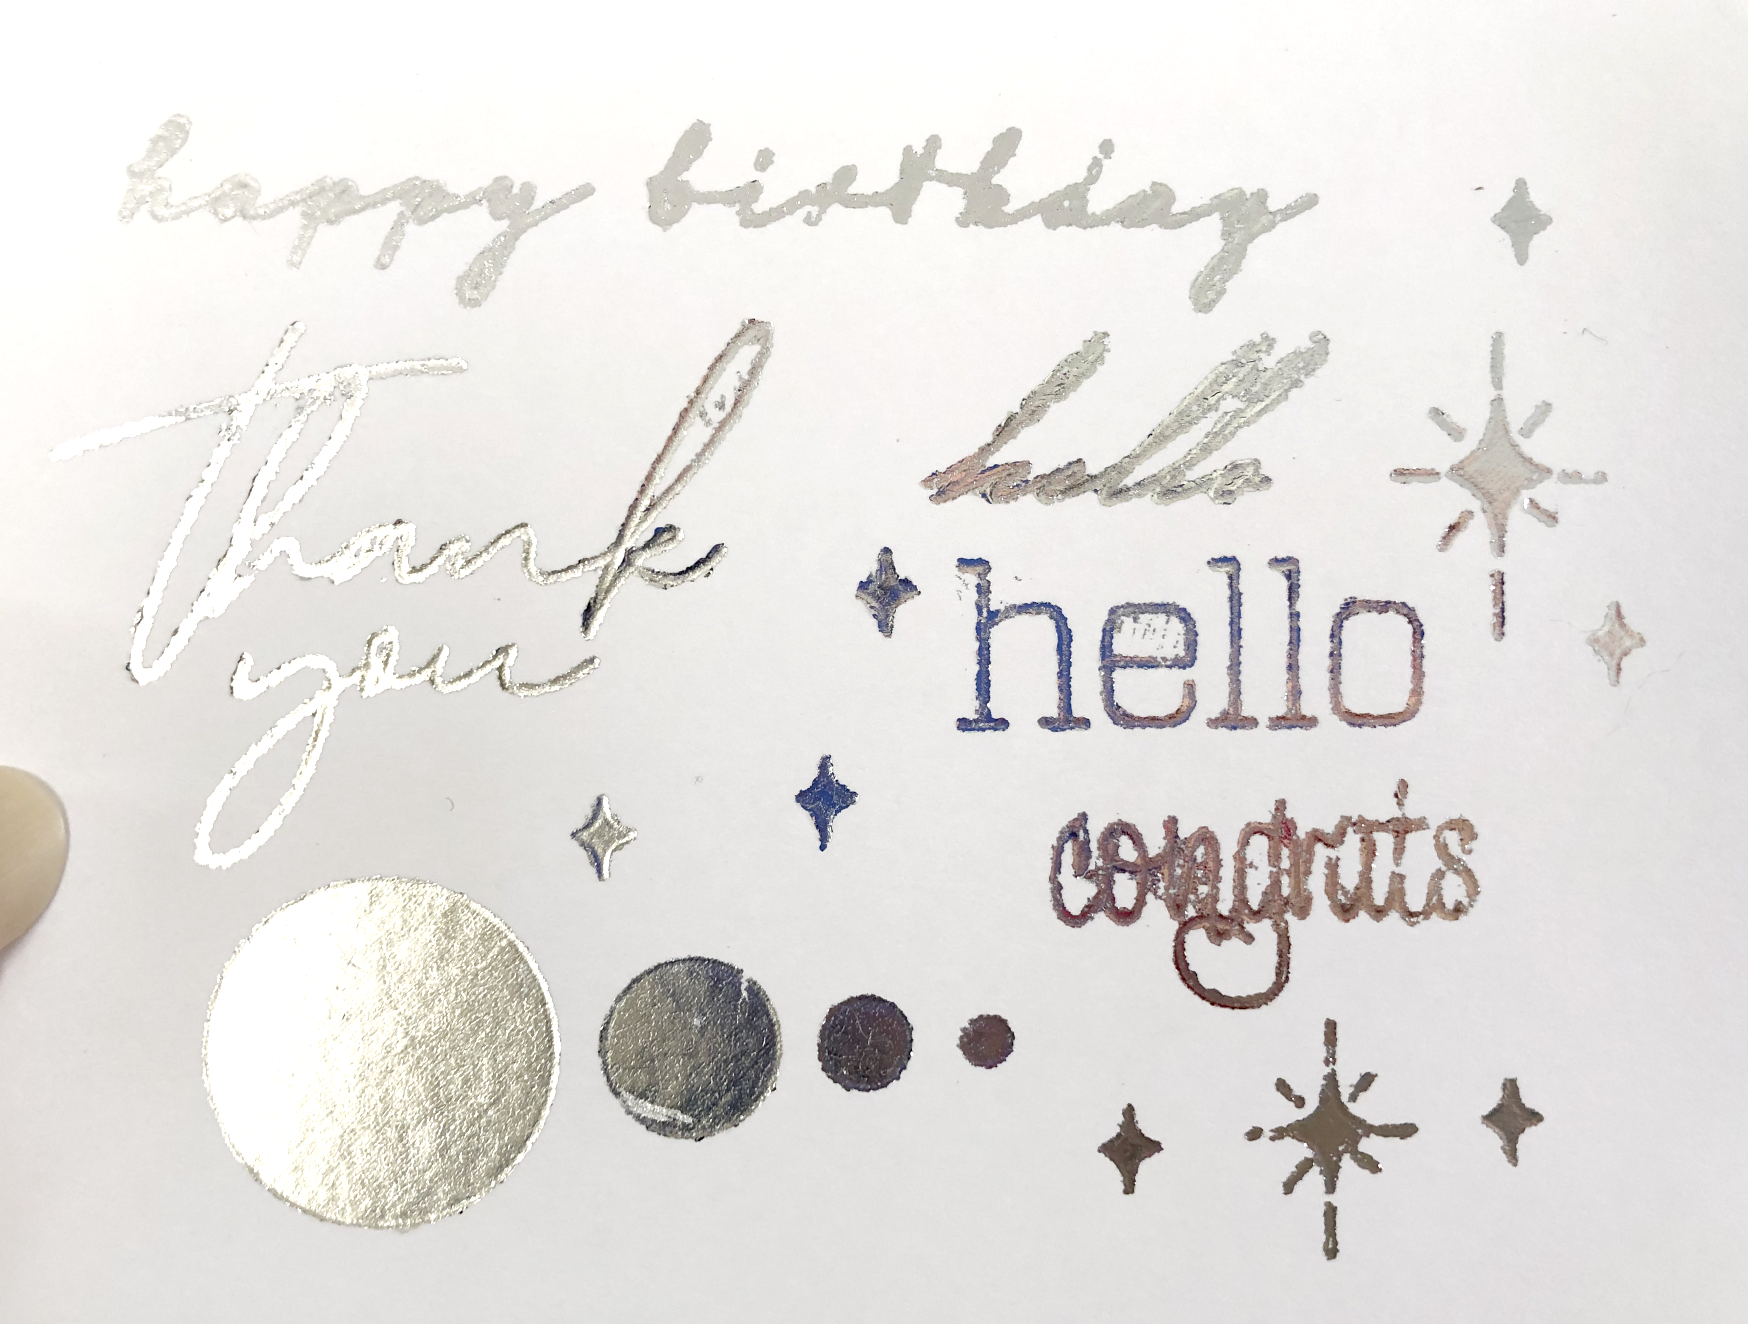
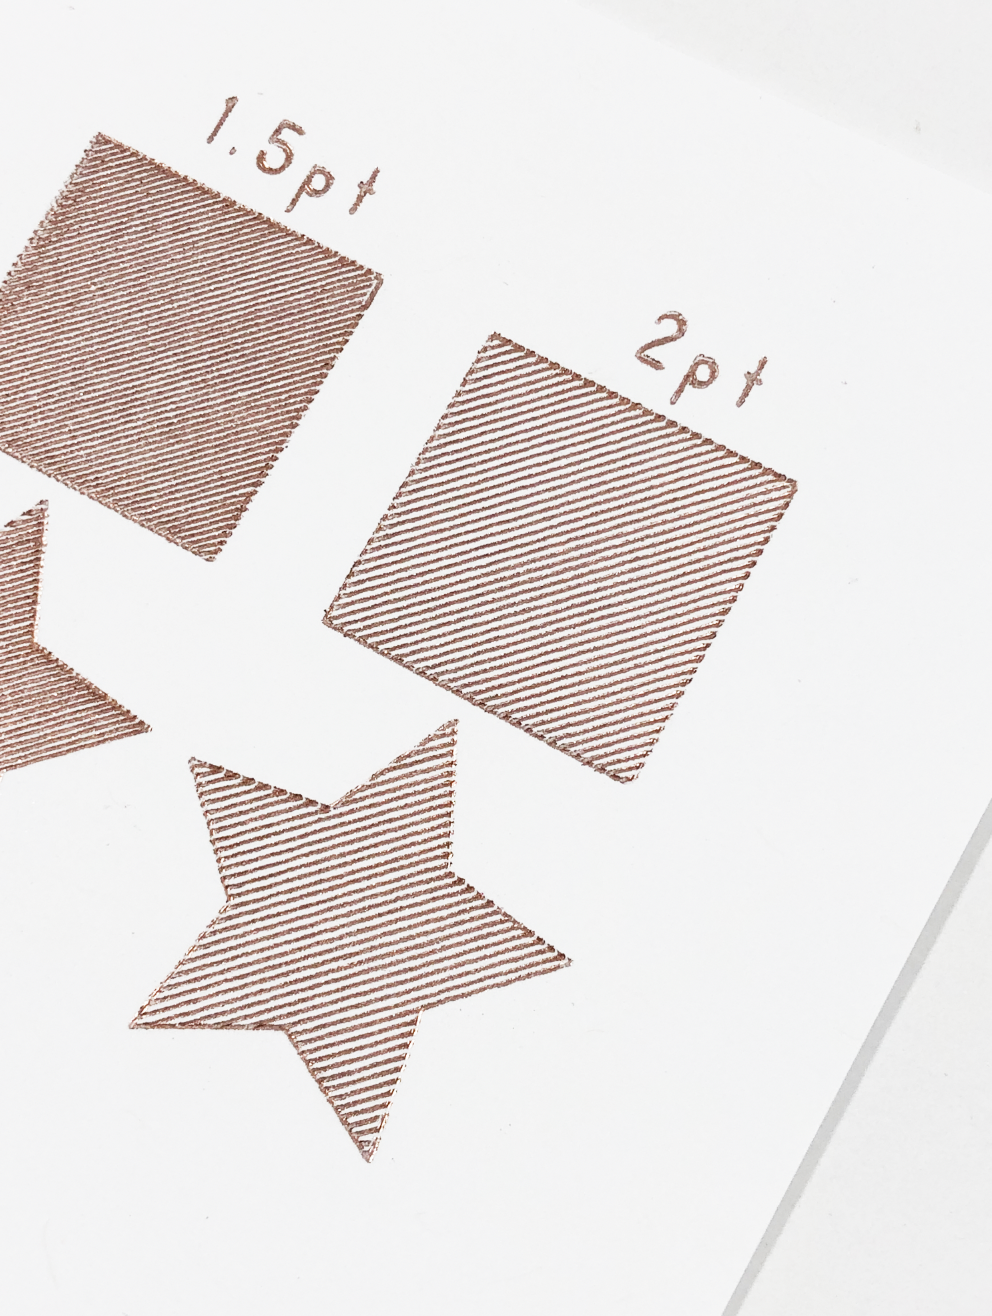
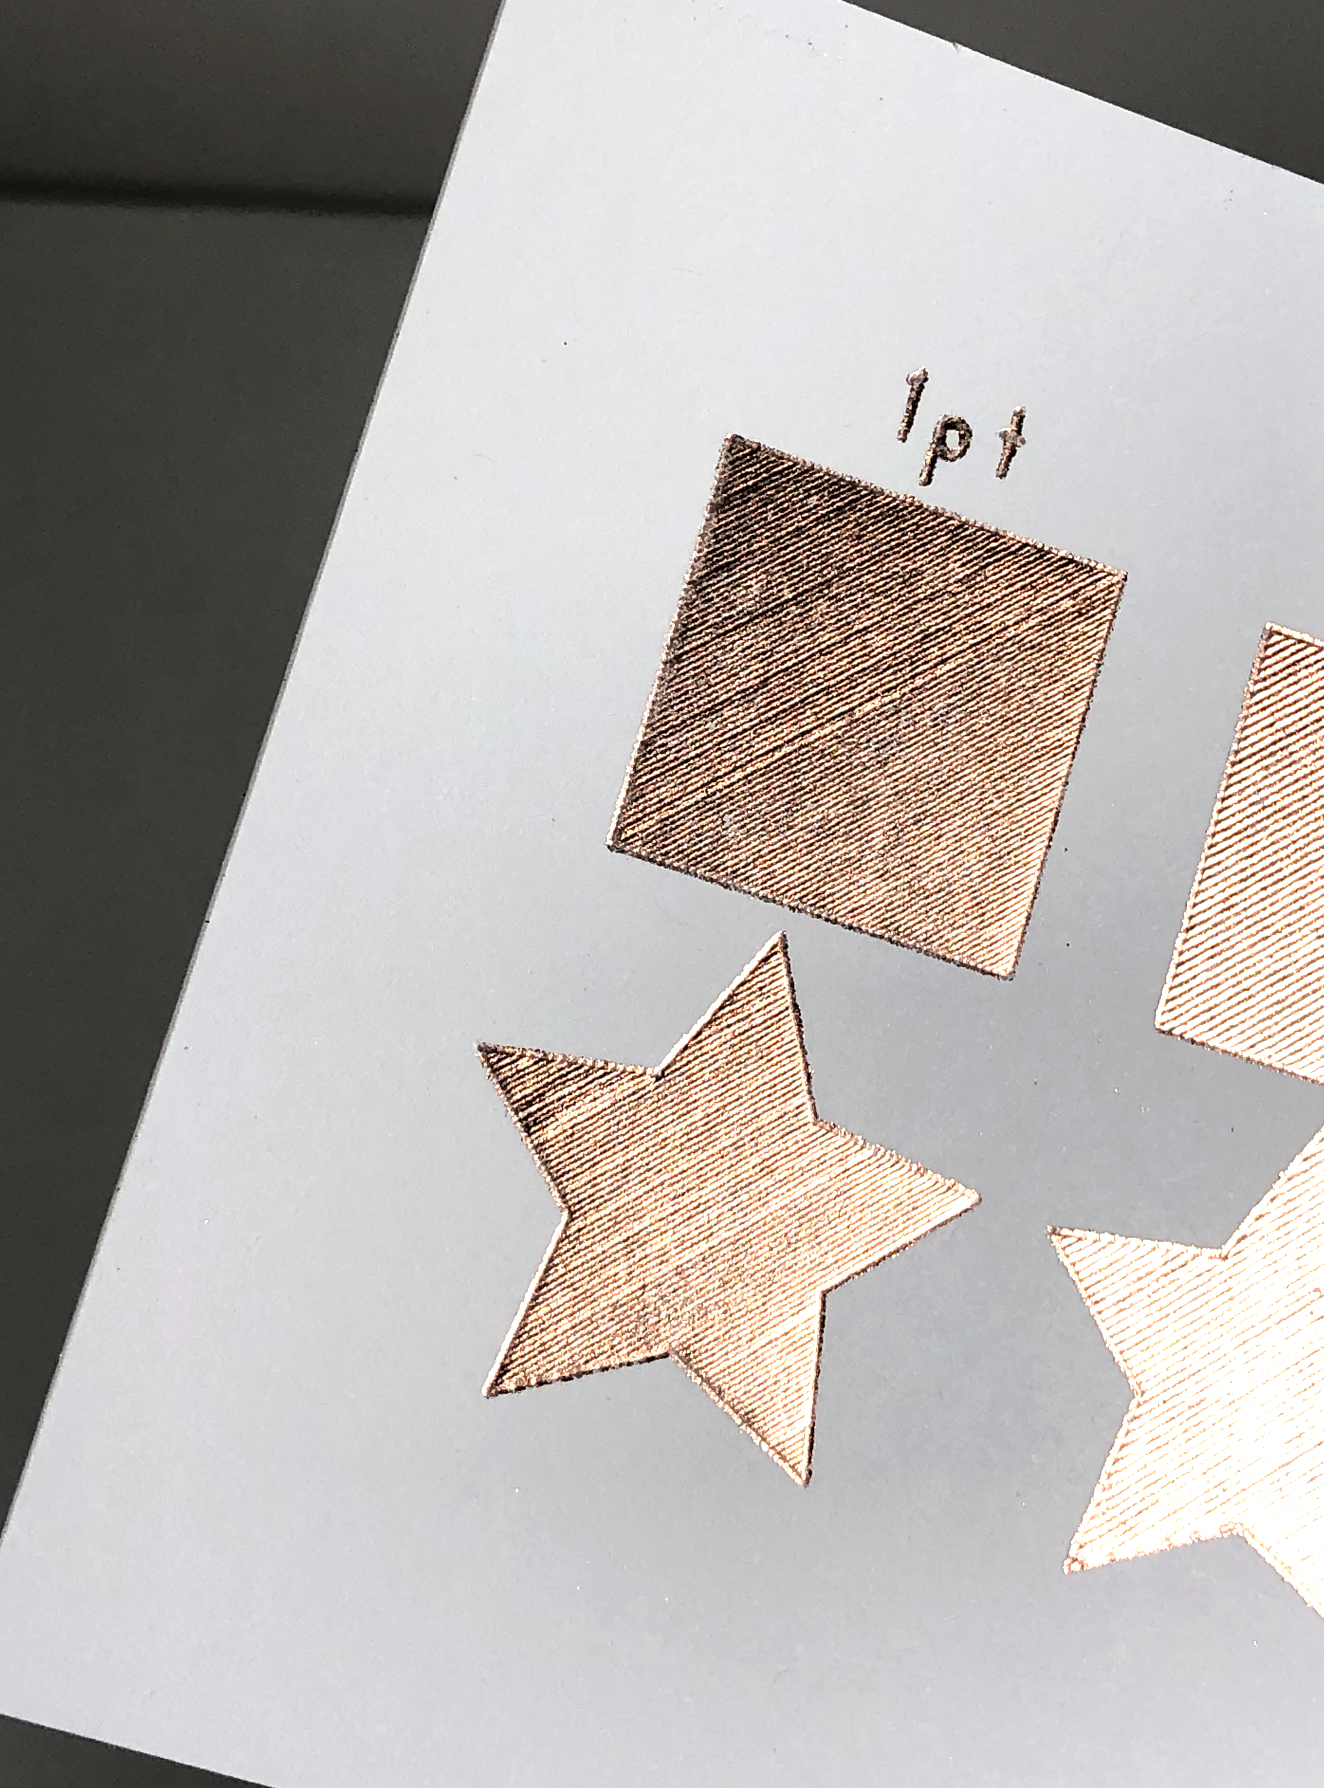
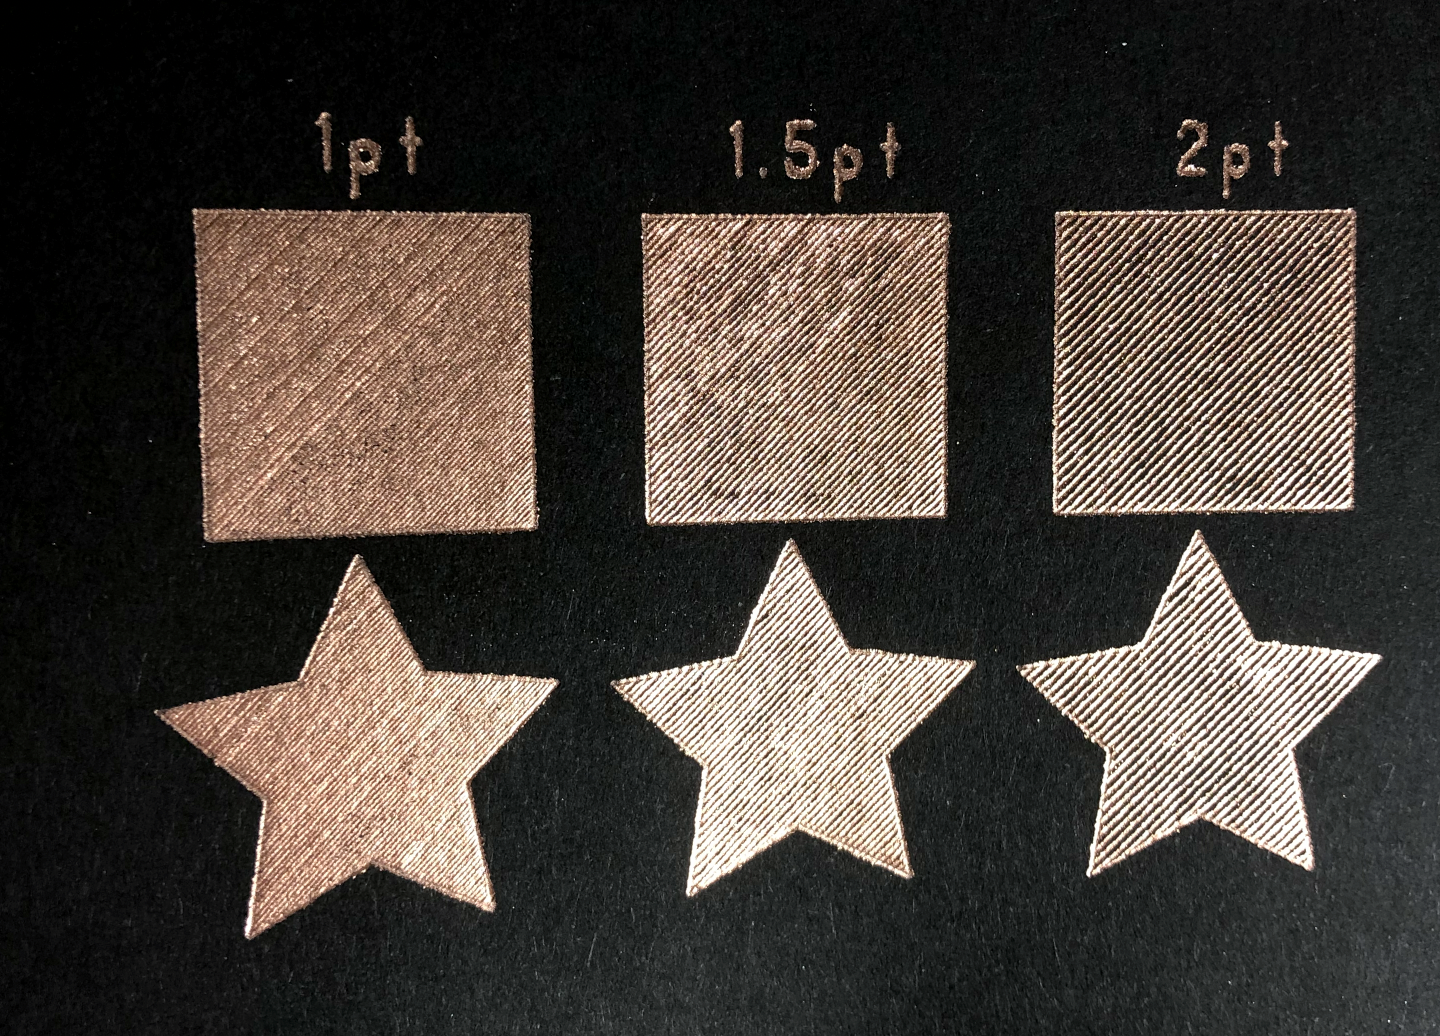
If you’re not sure the foil will stick to the materials you plan to use for your project, do a small test first. Also, you may need to do a small test to figure out the optimal pressure settings for your material. The default material settings can give you a jumping off point, but they don’t always produce the best results. I find I usually get the best results with the fine or medium tips. I haven’t been satisfied with any results from the bold tip.
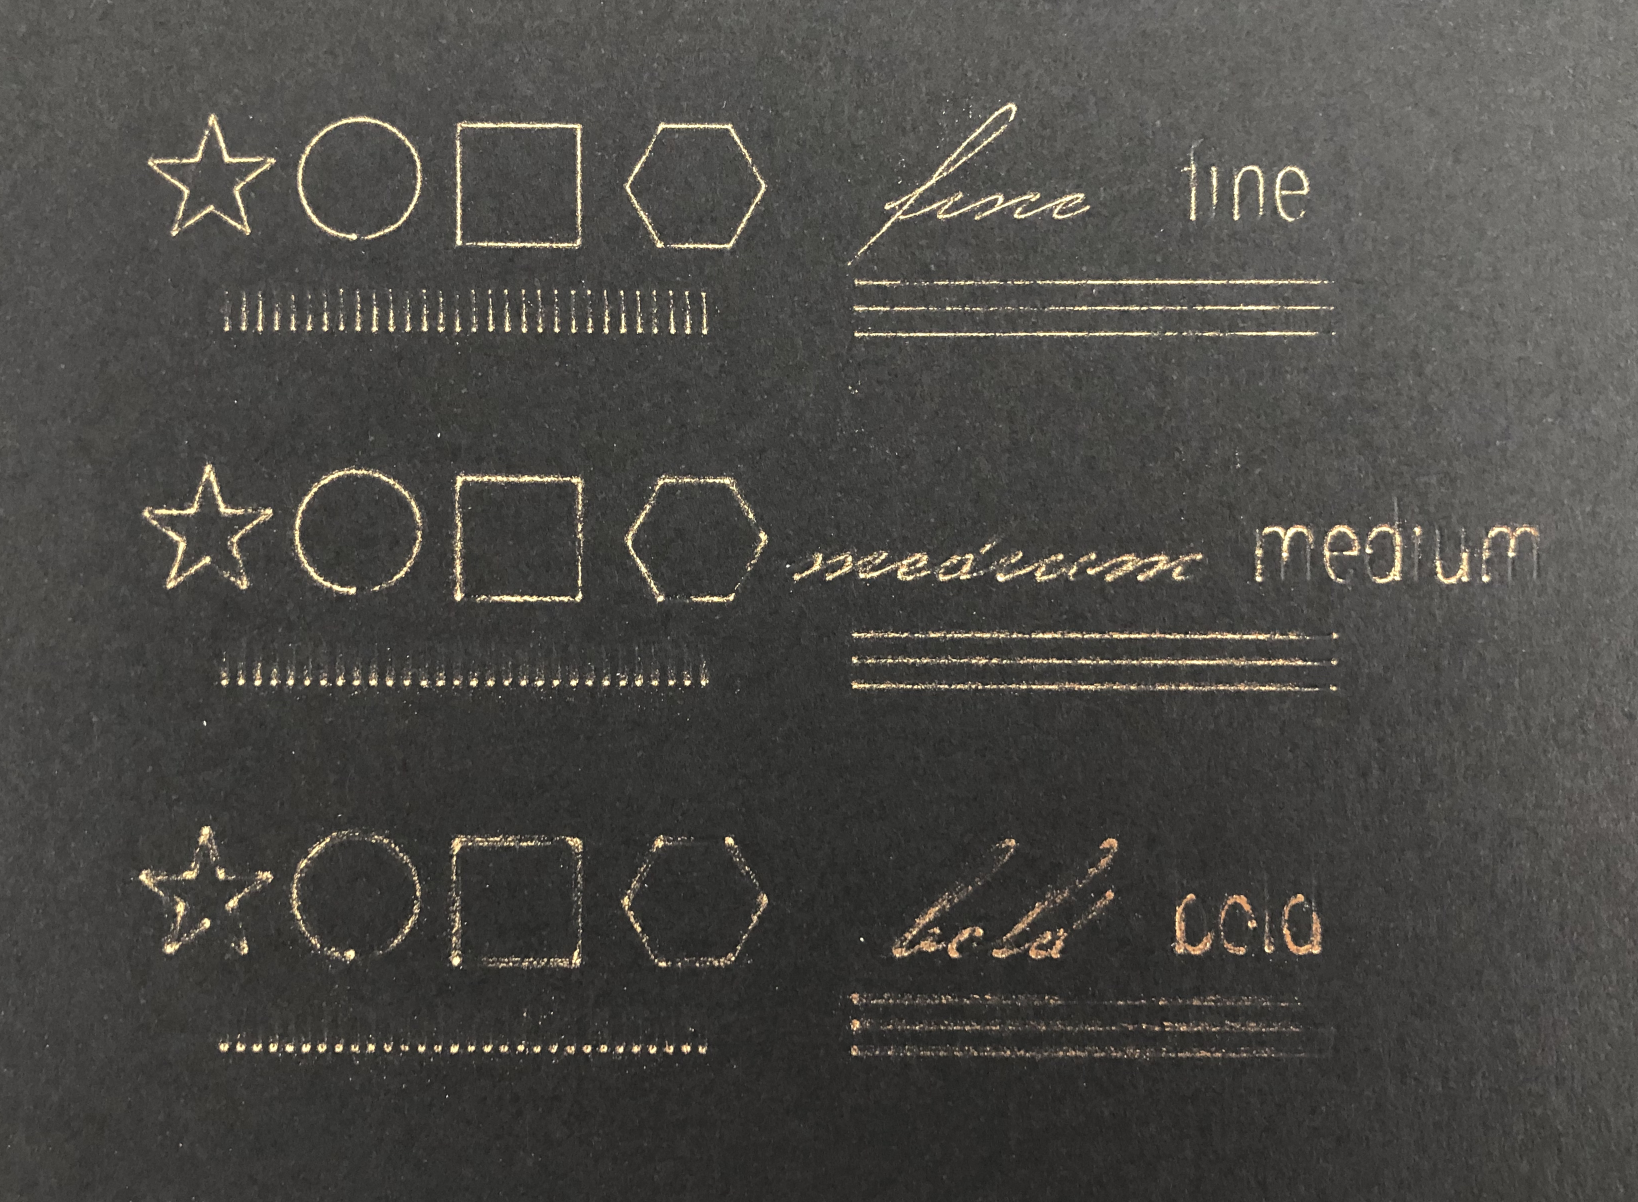
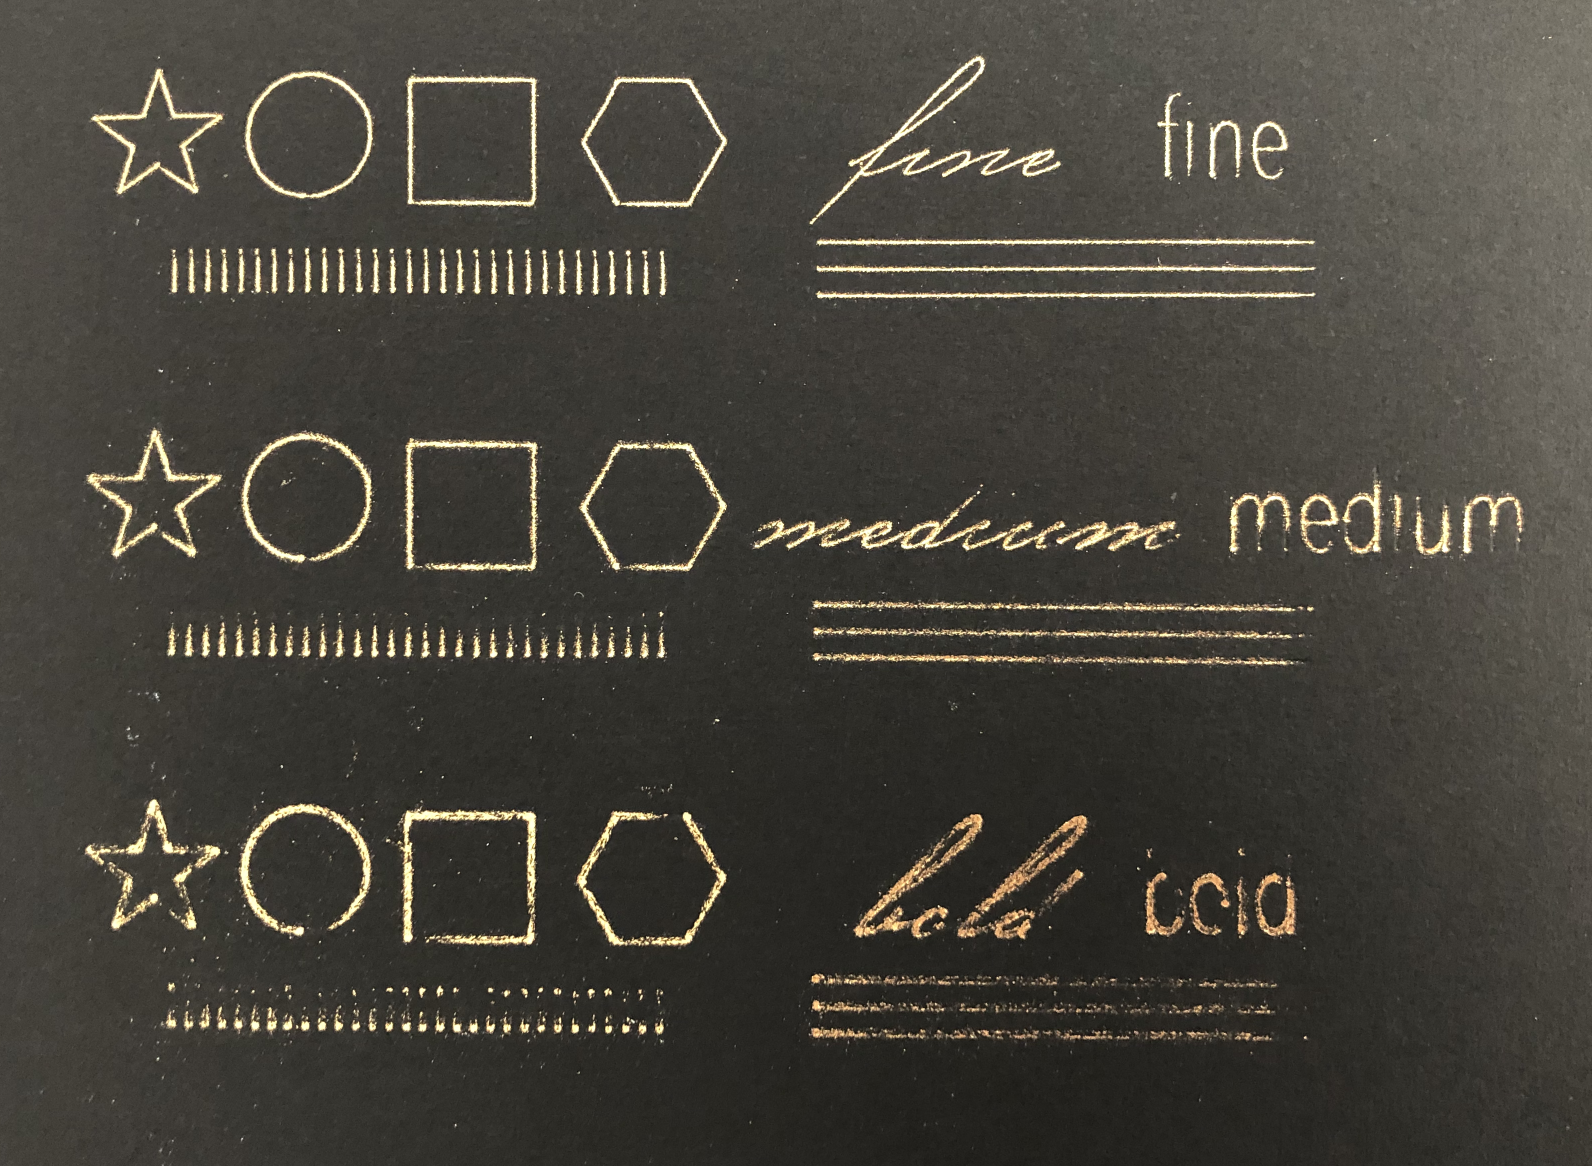
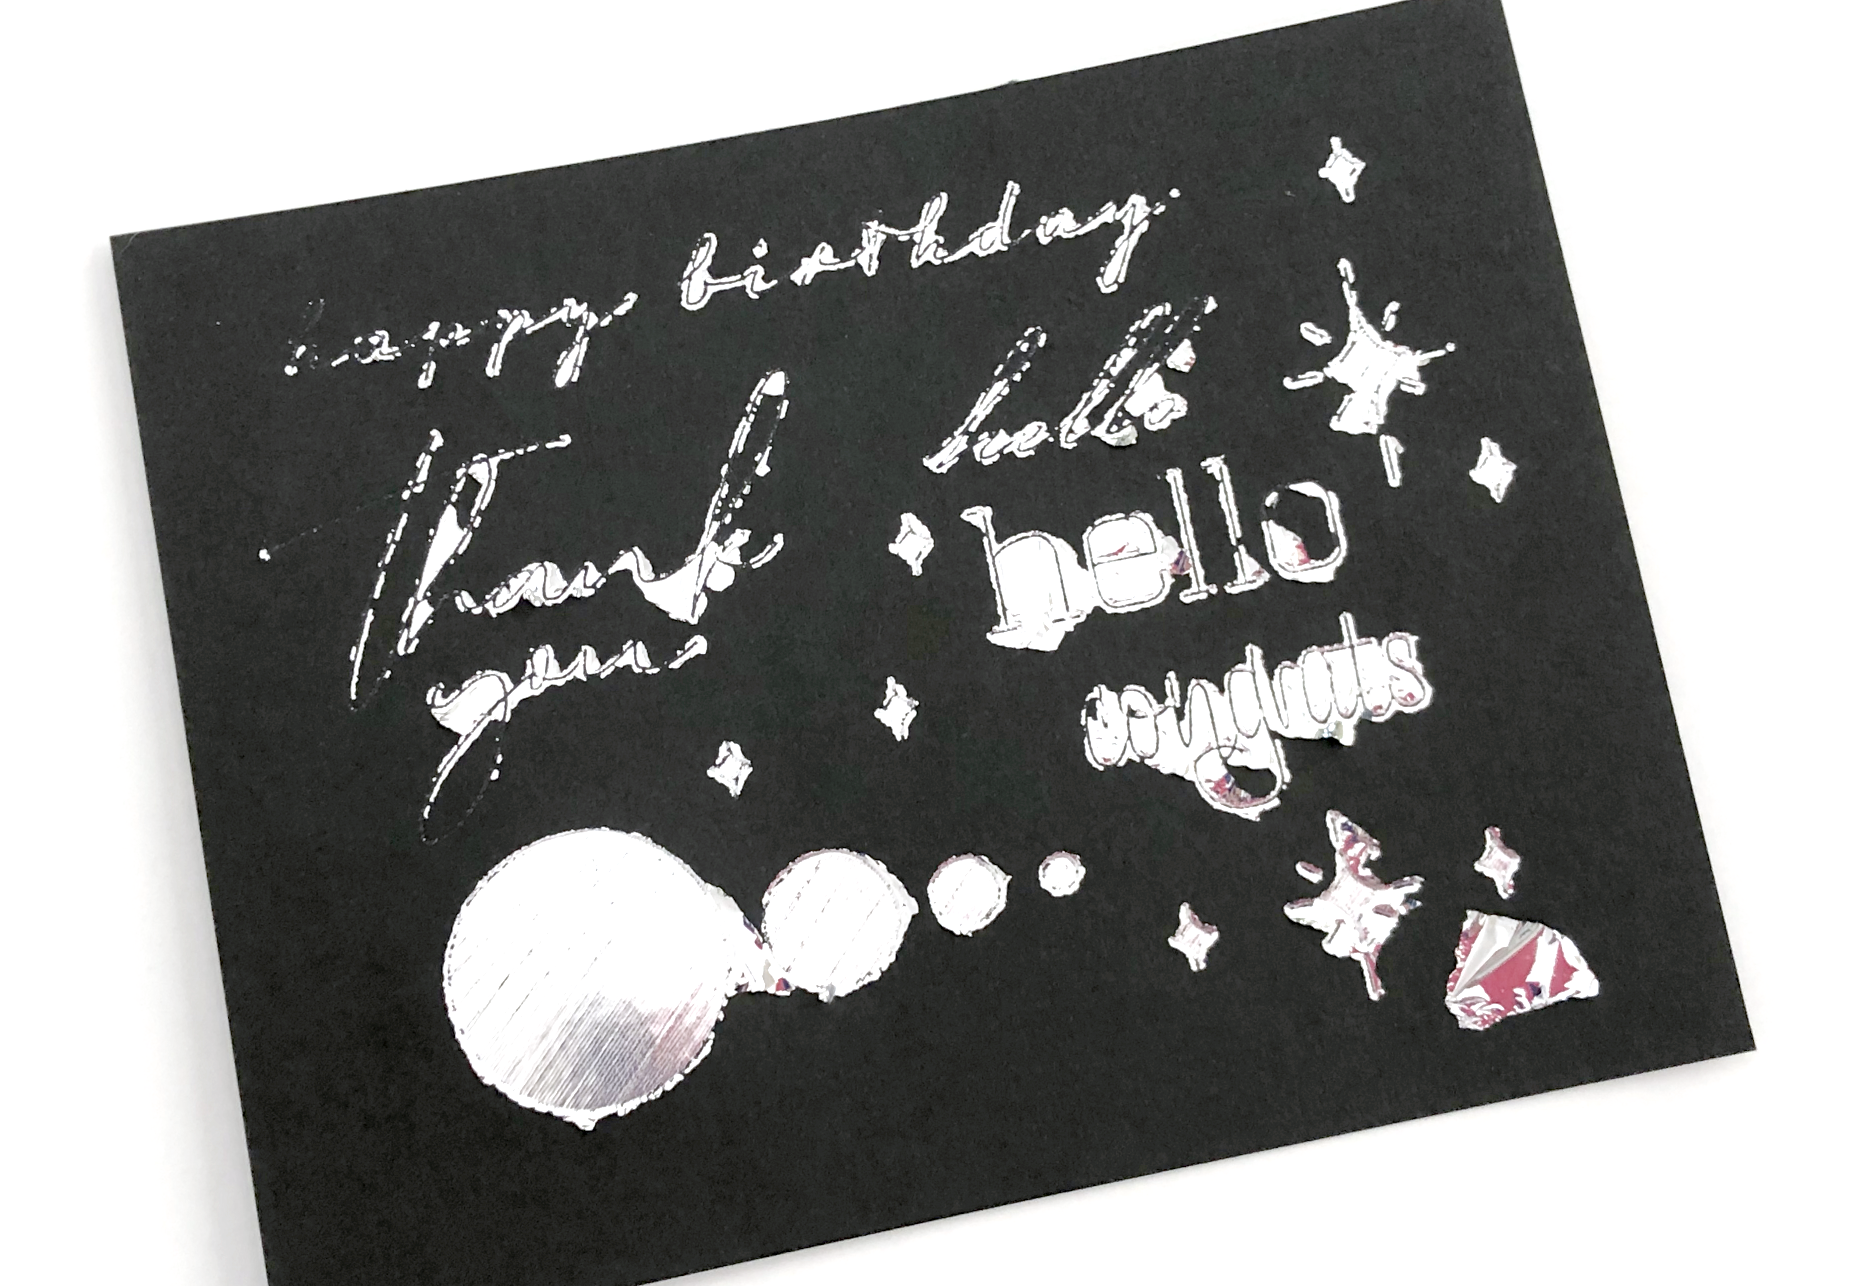
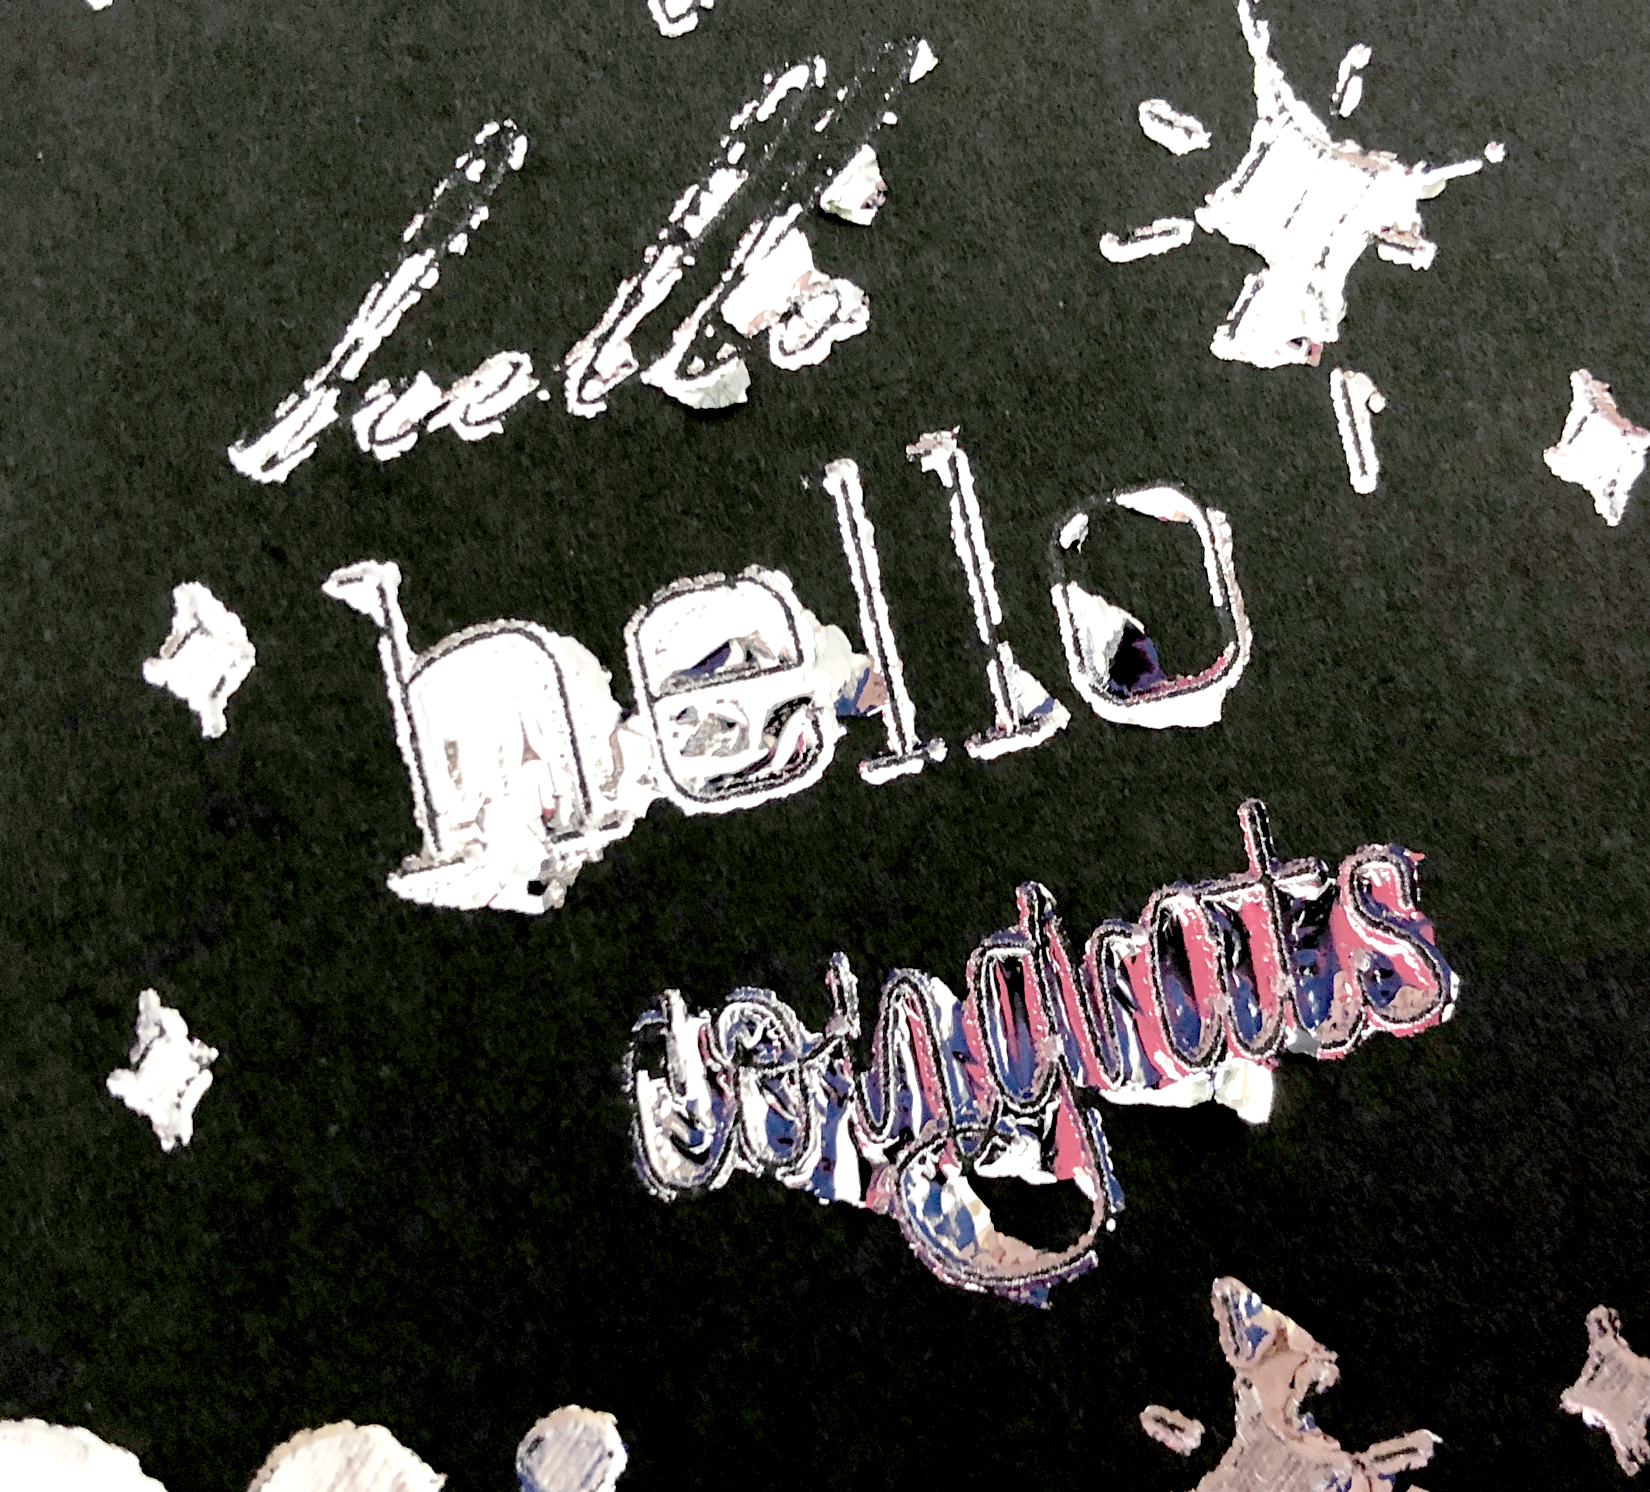
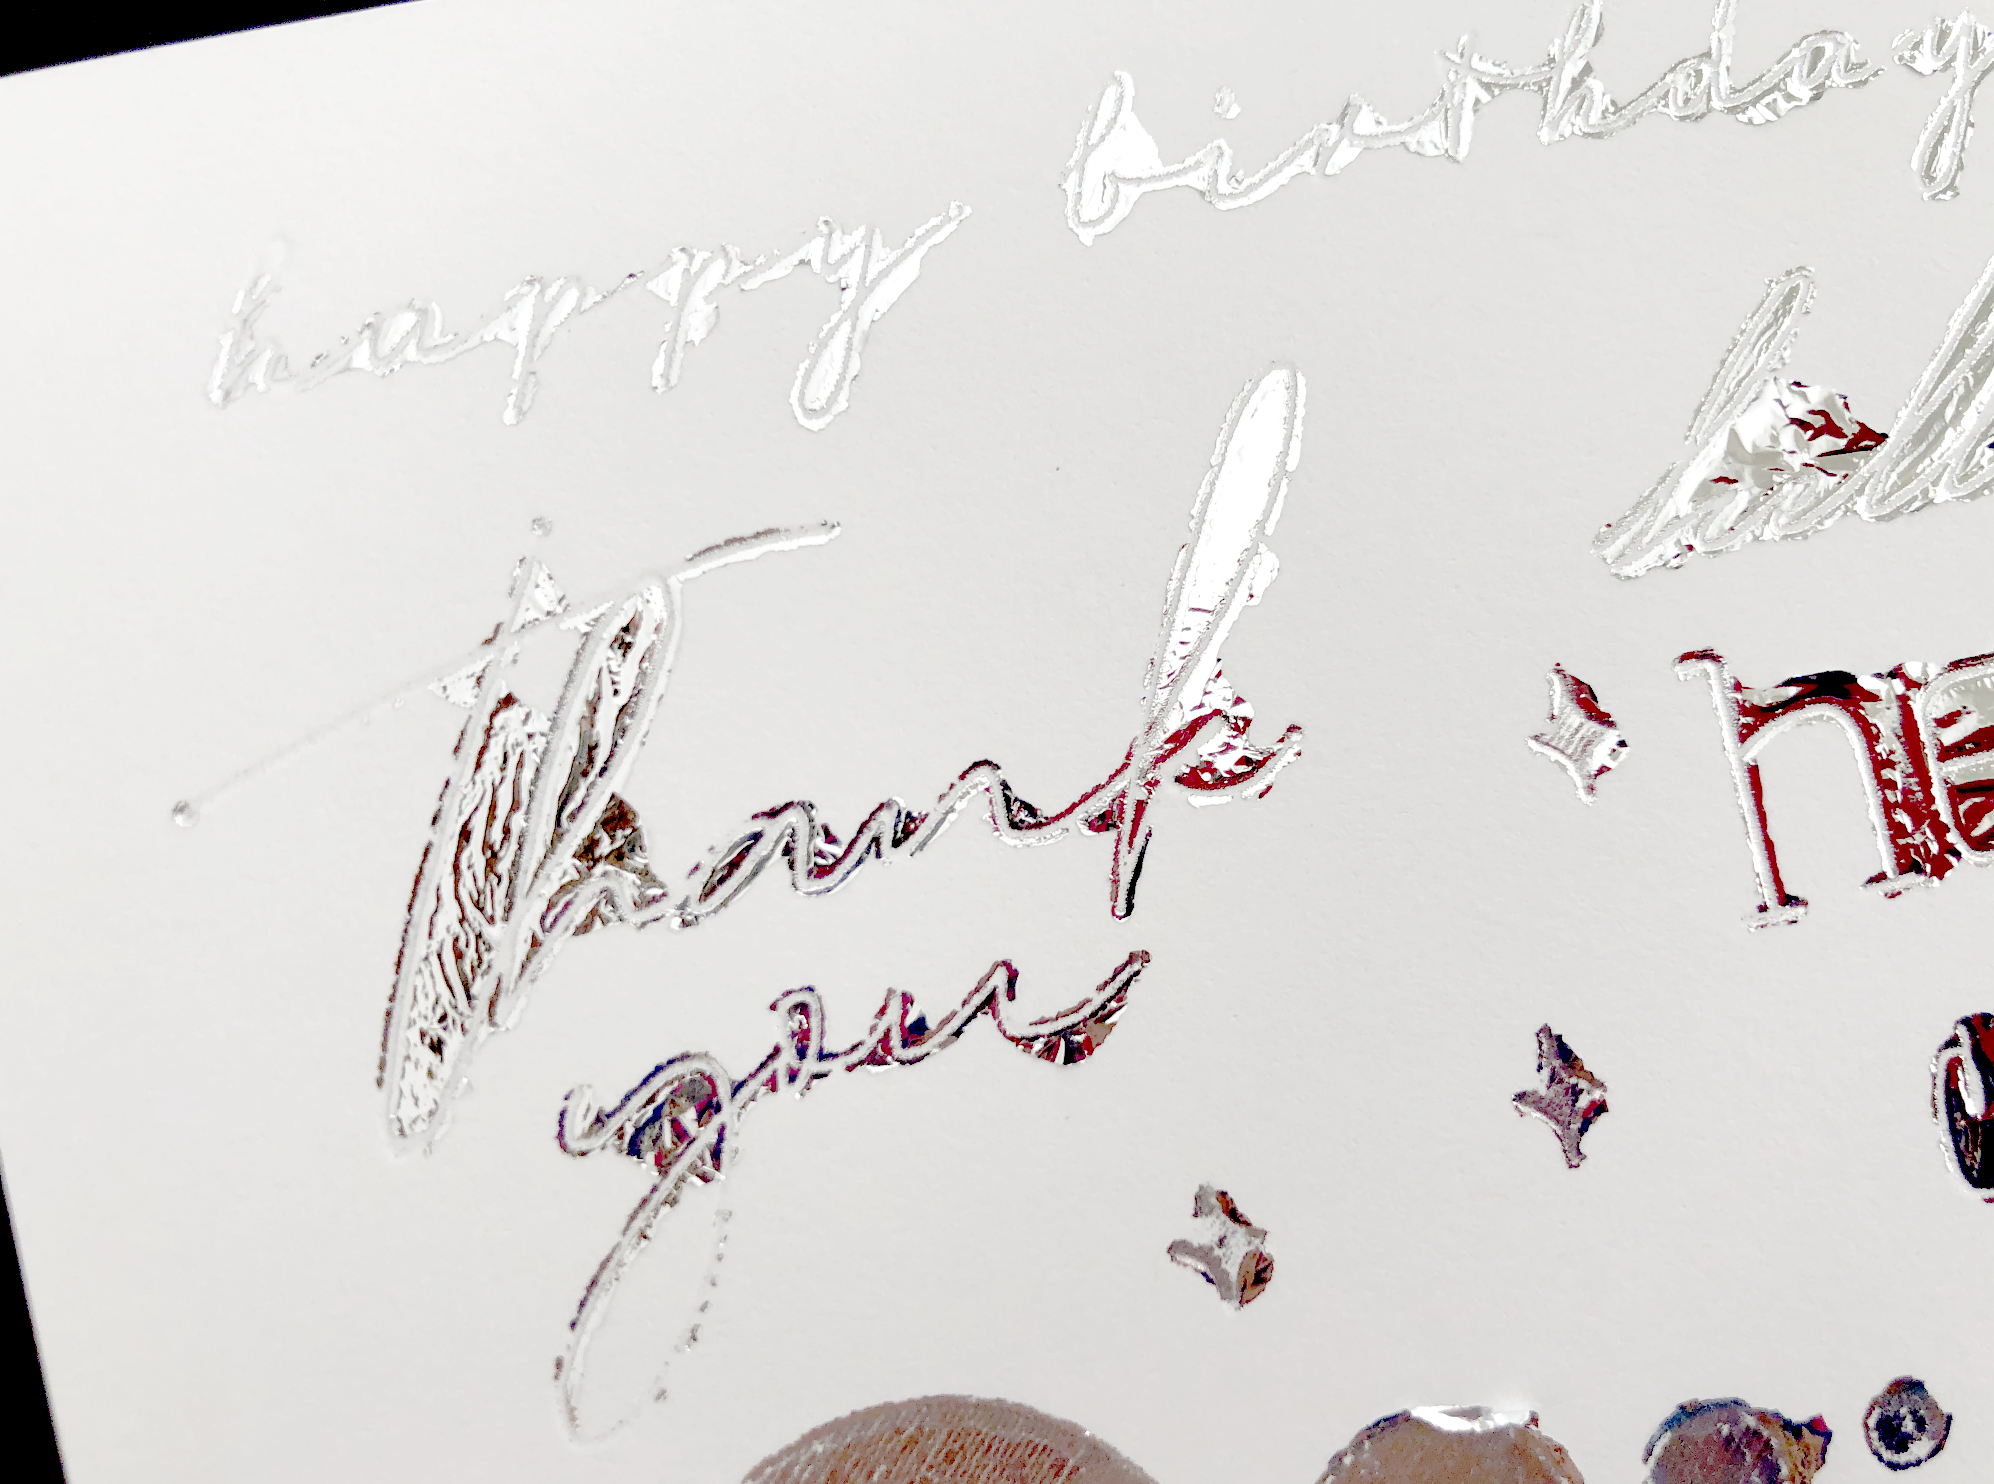
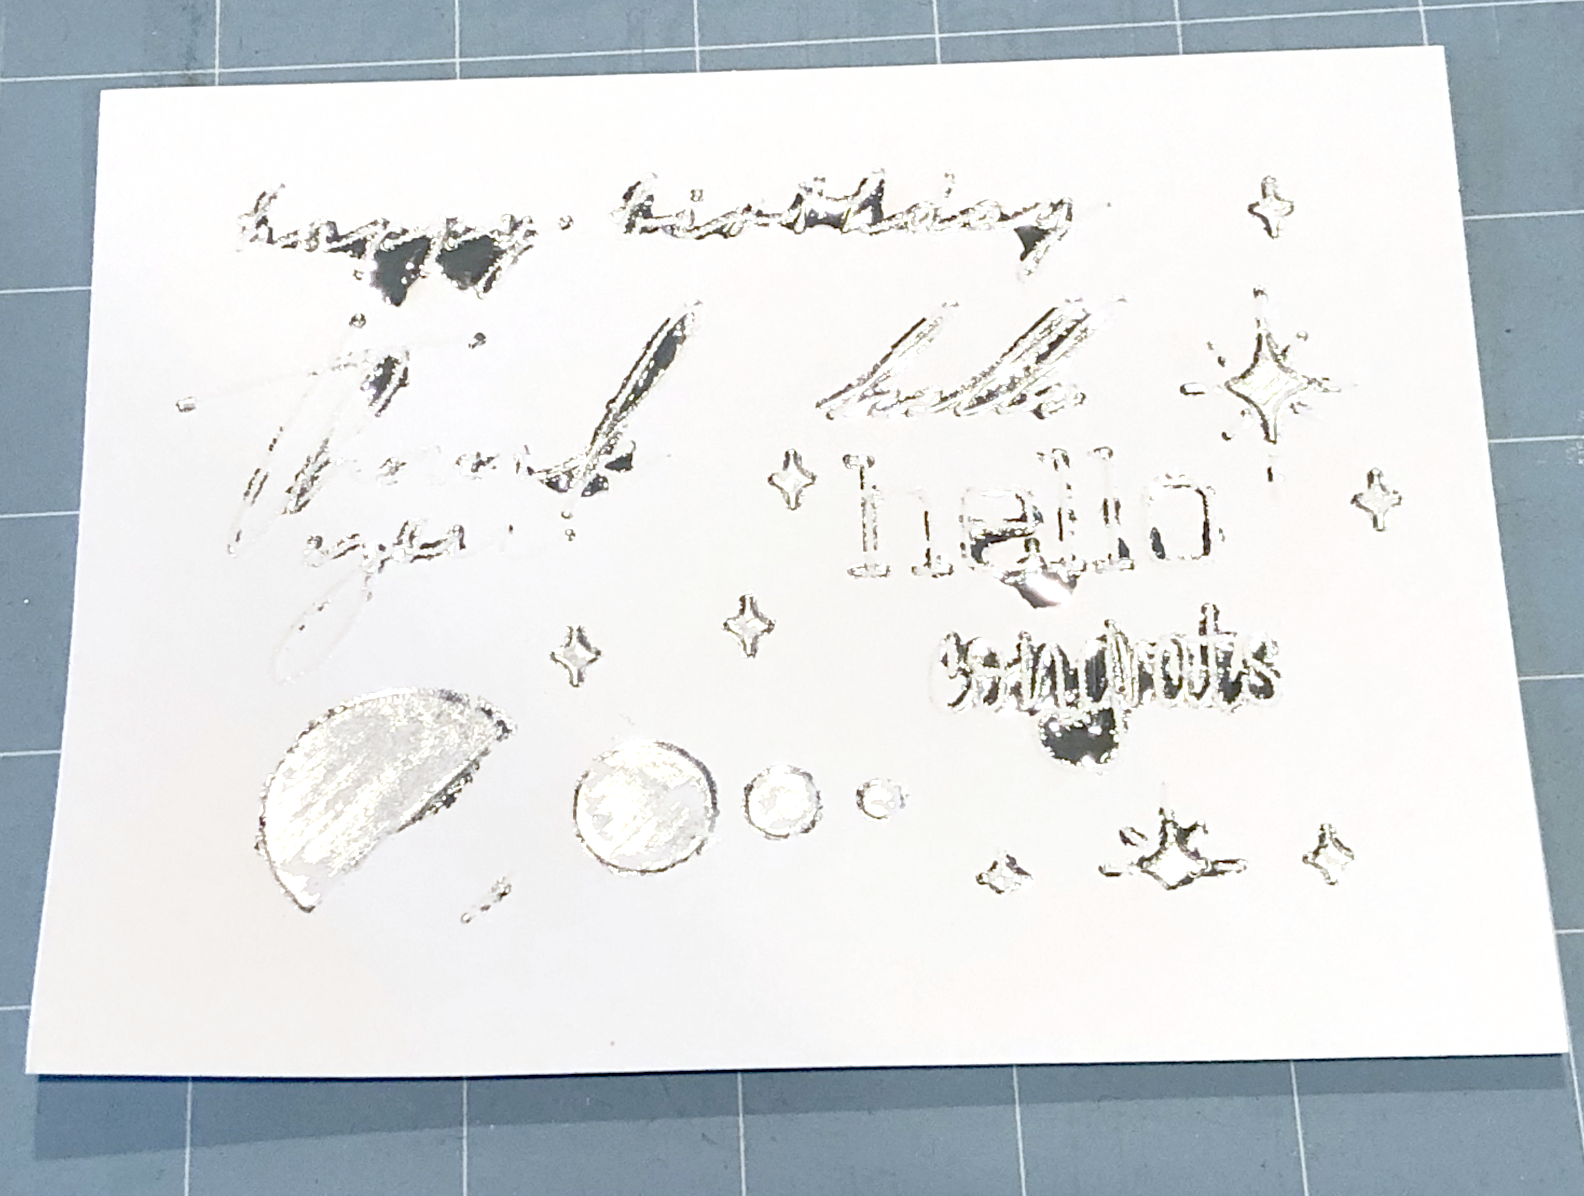
Testing different tip sizes and pressure settings on black cardstock, no good results on this test.
Use Less Pressure
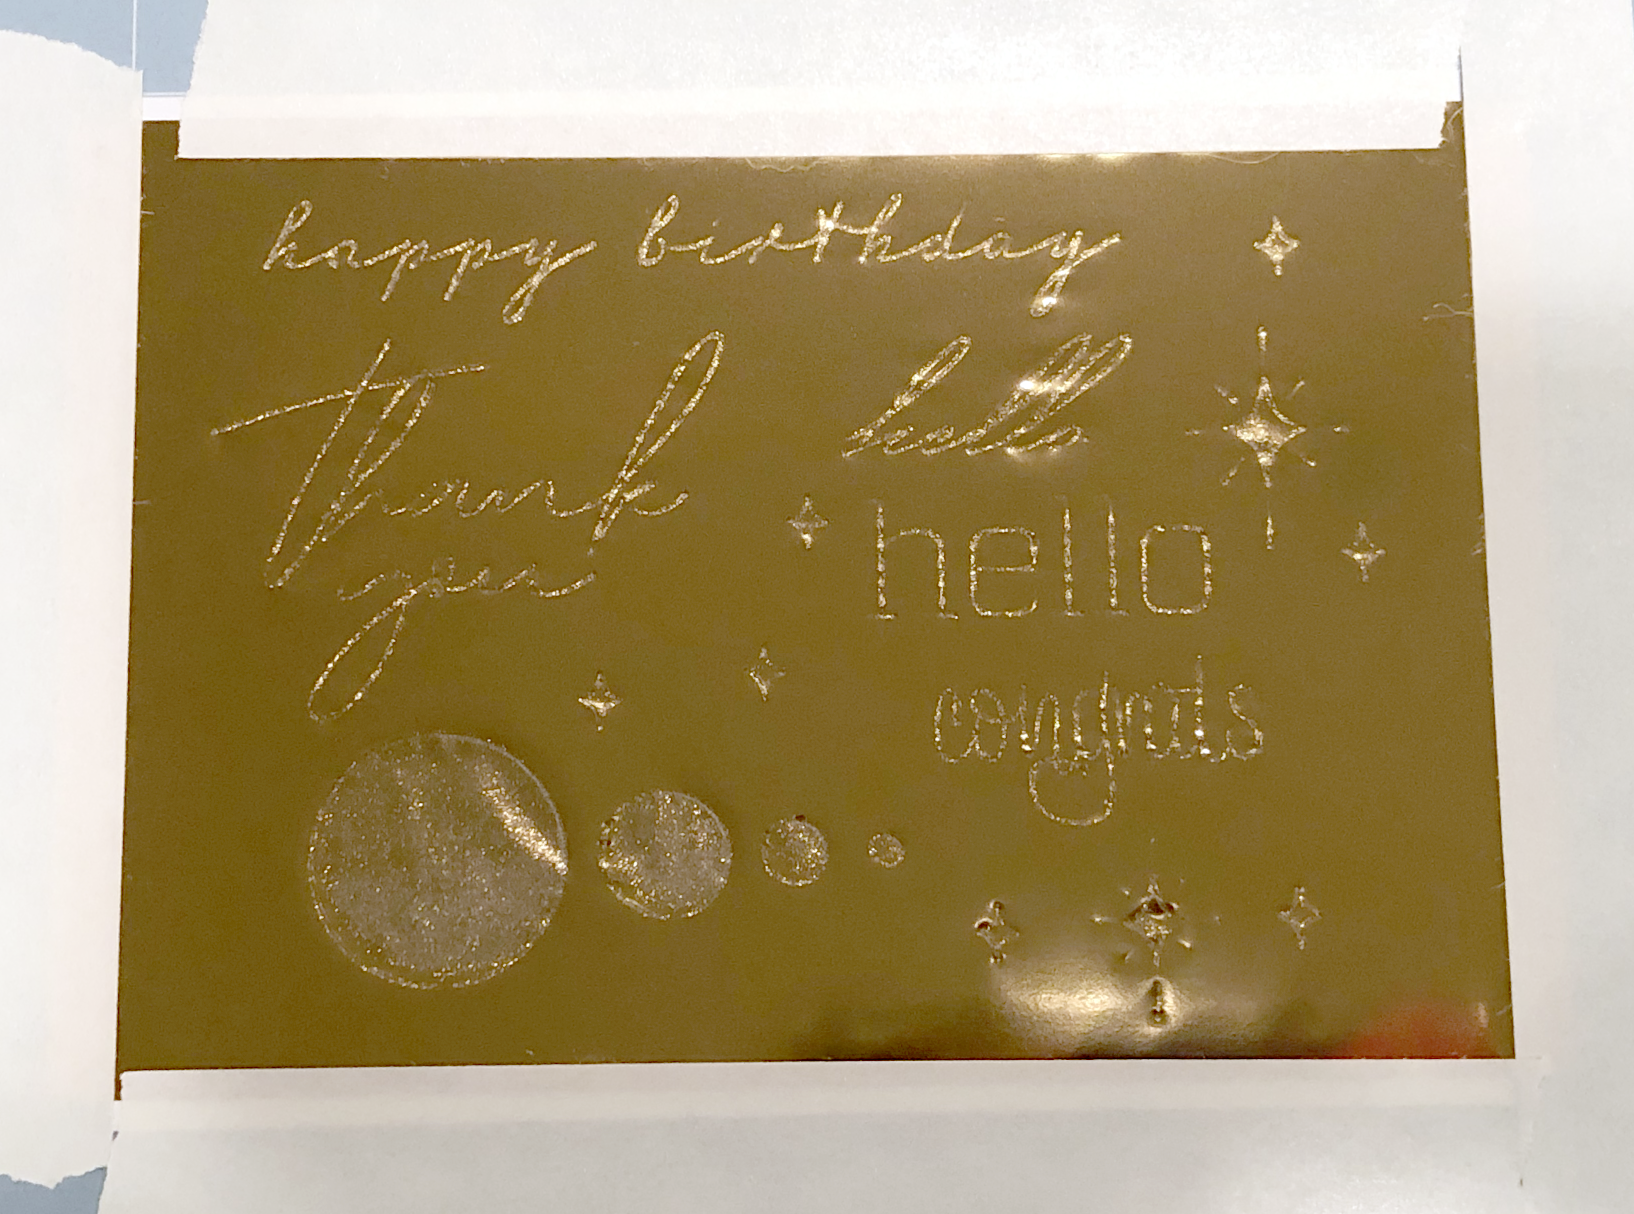
It kind of sounds counterintuitive, but I typically have better success when I select “Less Pressure” when I’m foiling. If it’s too much pressure, the foil does not stick completely, I’m usually left with an empty thin line from the tip of the transfer tool, or it just doesn’t stick in certain parts of the design.
For my heavier cardstocks (100lb-110lb) I’ve been getting good results with 20lb Copy Paper, Default Pressure settings.
For my 65lb Recollections cardstock I typically use the 65lb Lightweight Cardstock, Less Pressure settings, or the 20lb Copy Paper, Default Pressure settings.
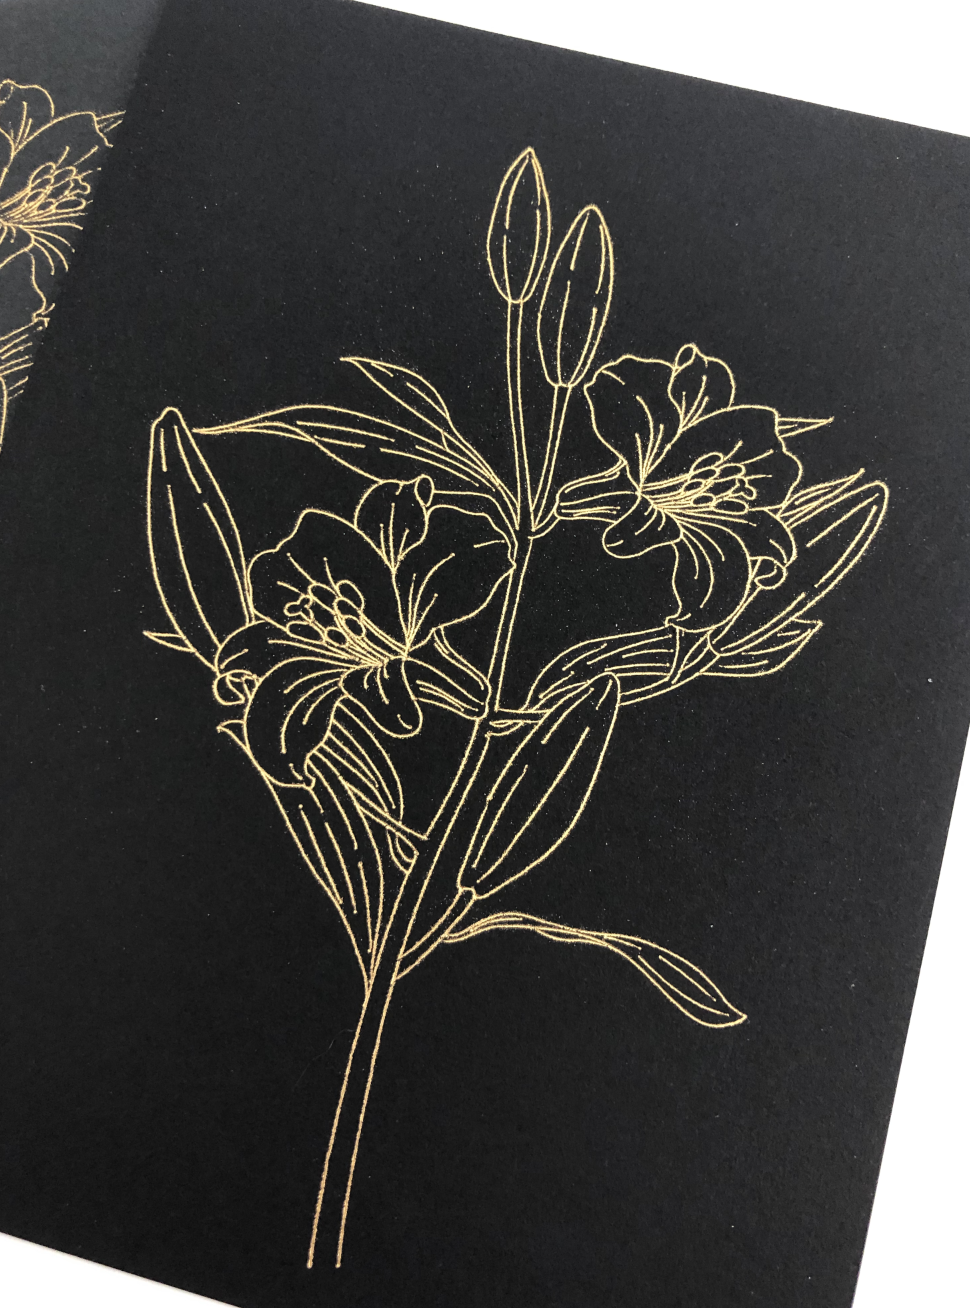
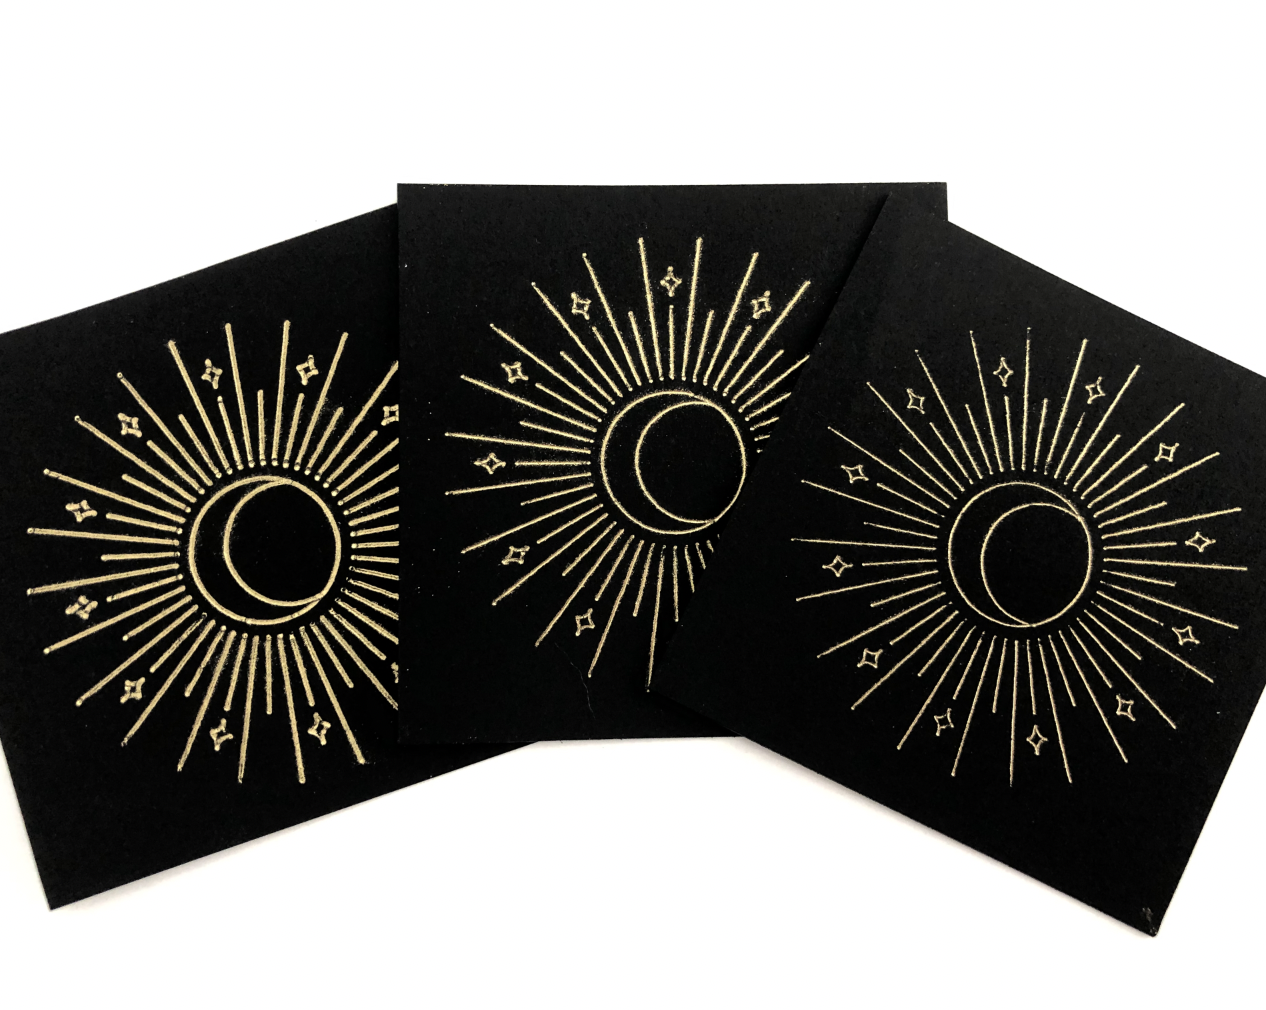
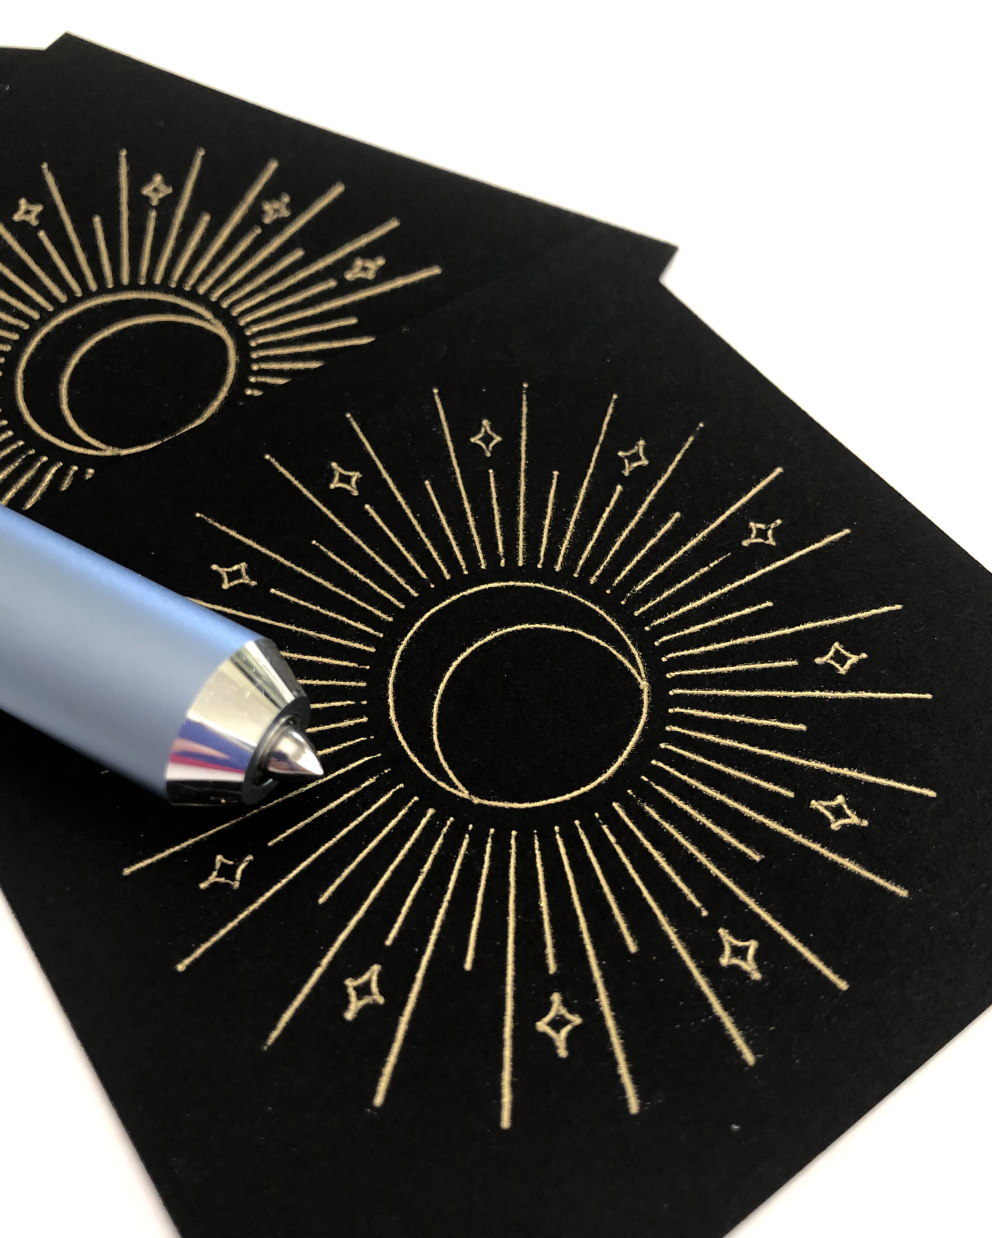
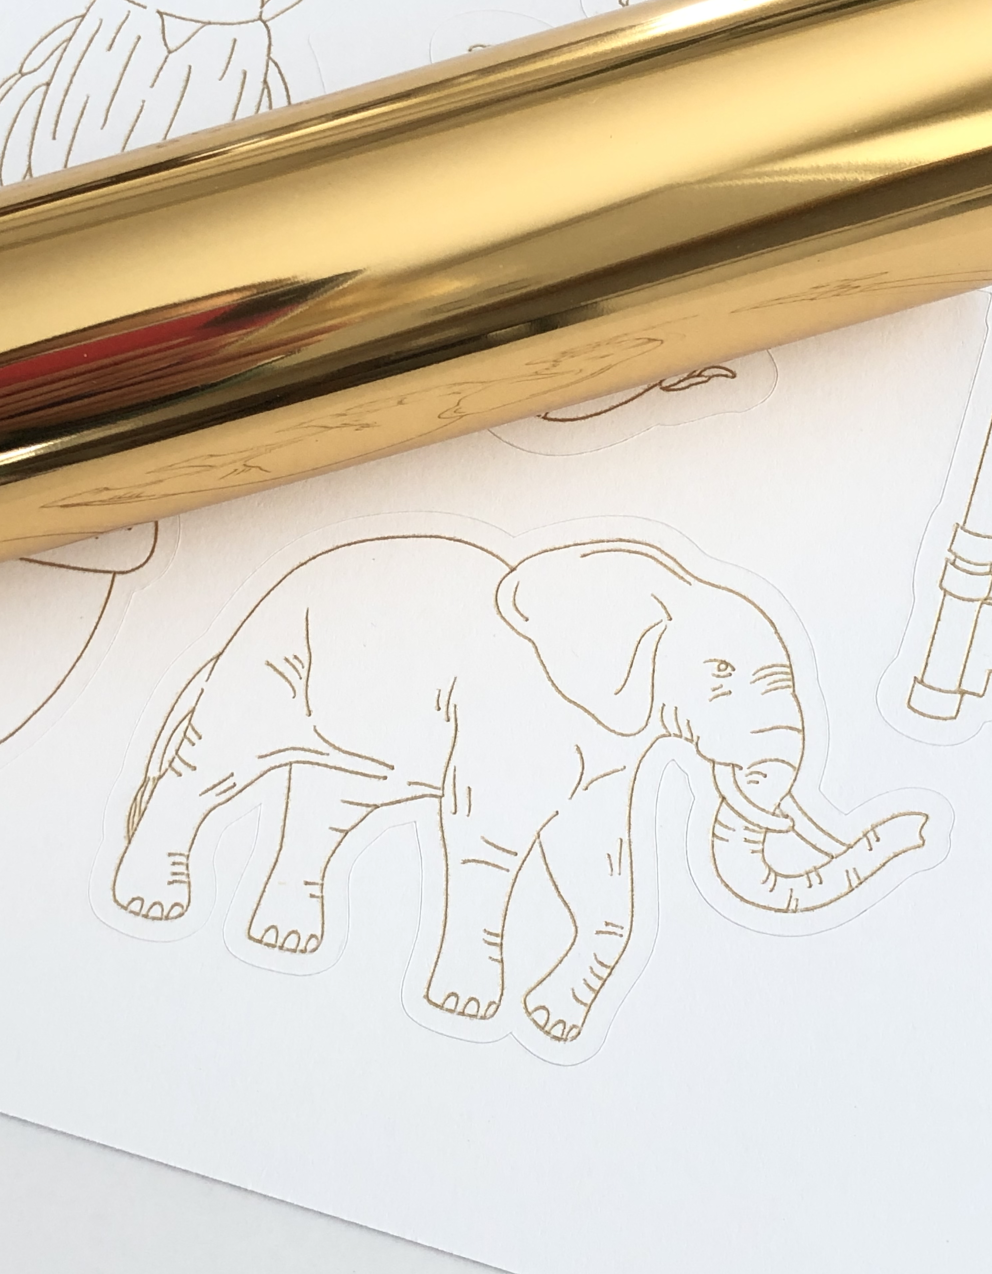
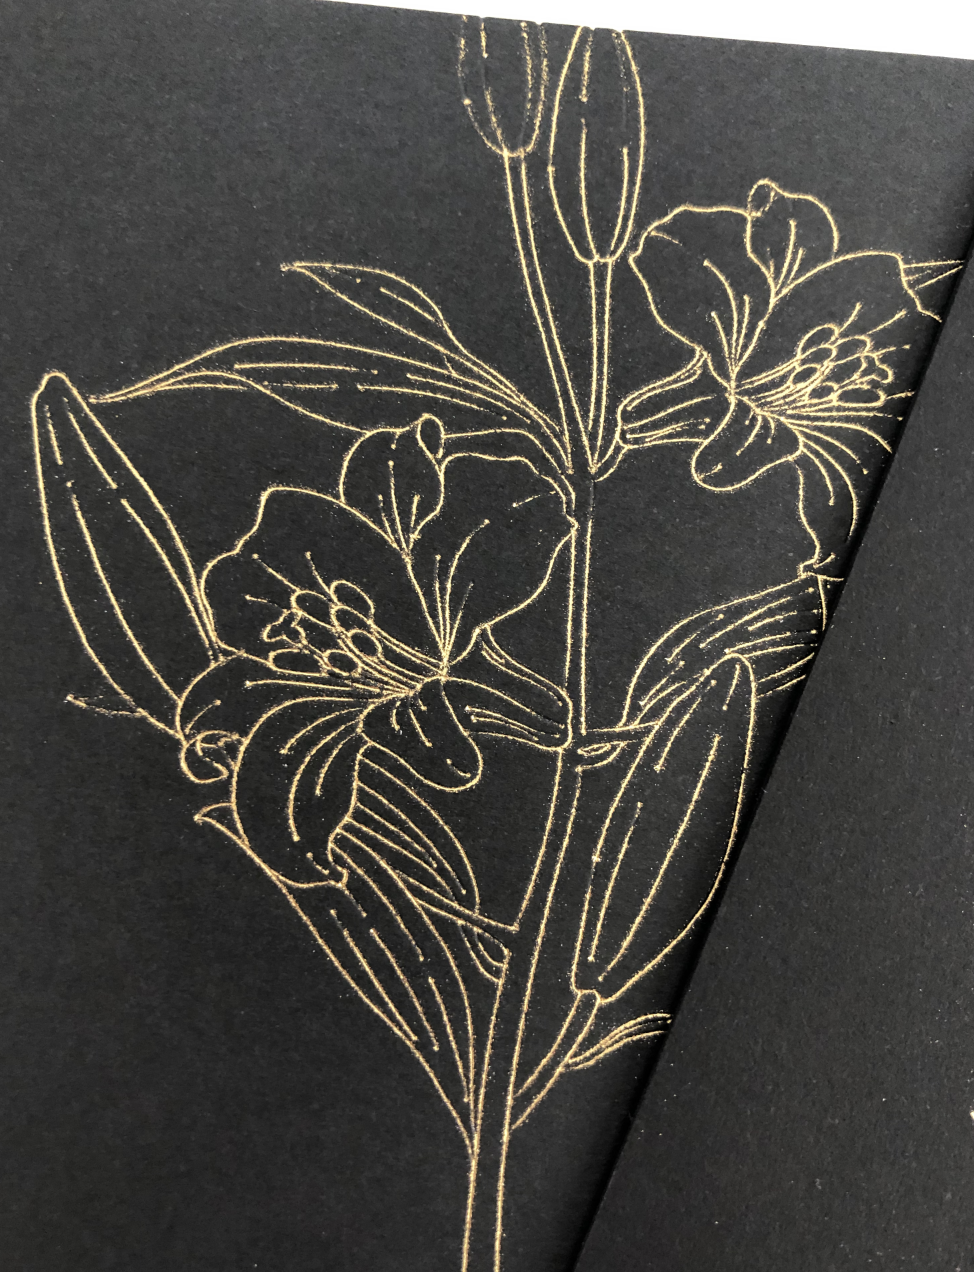
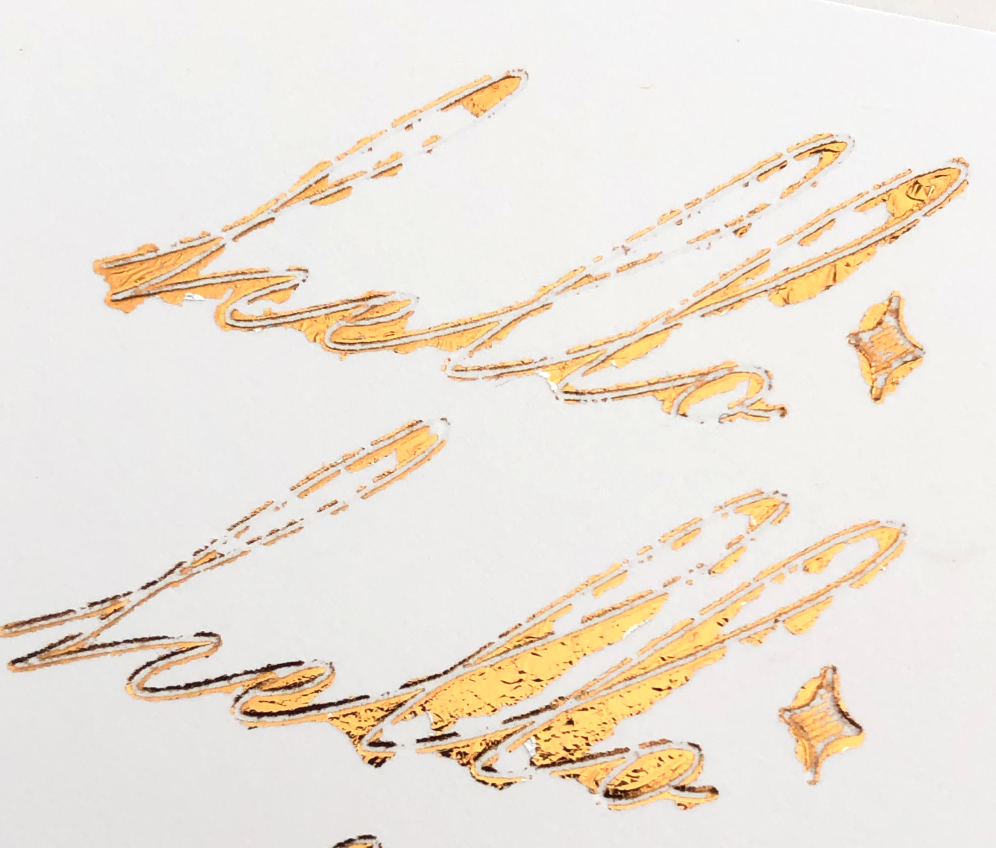
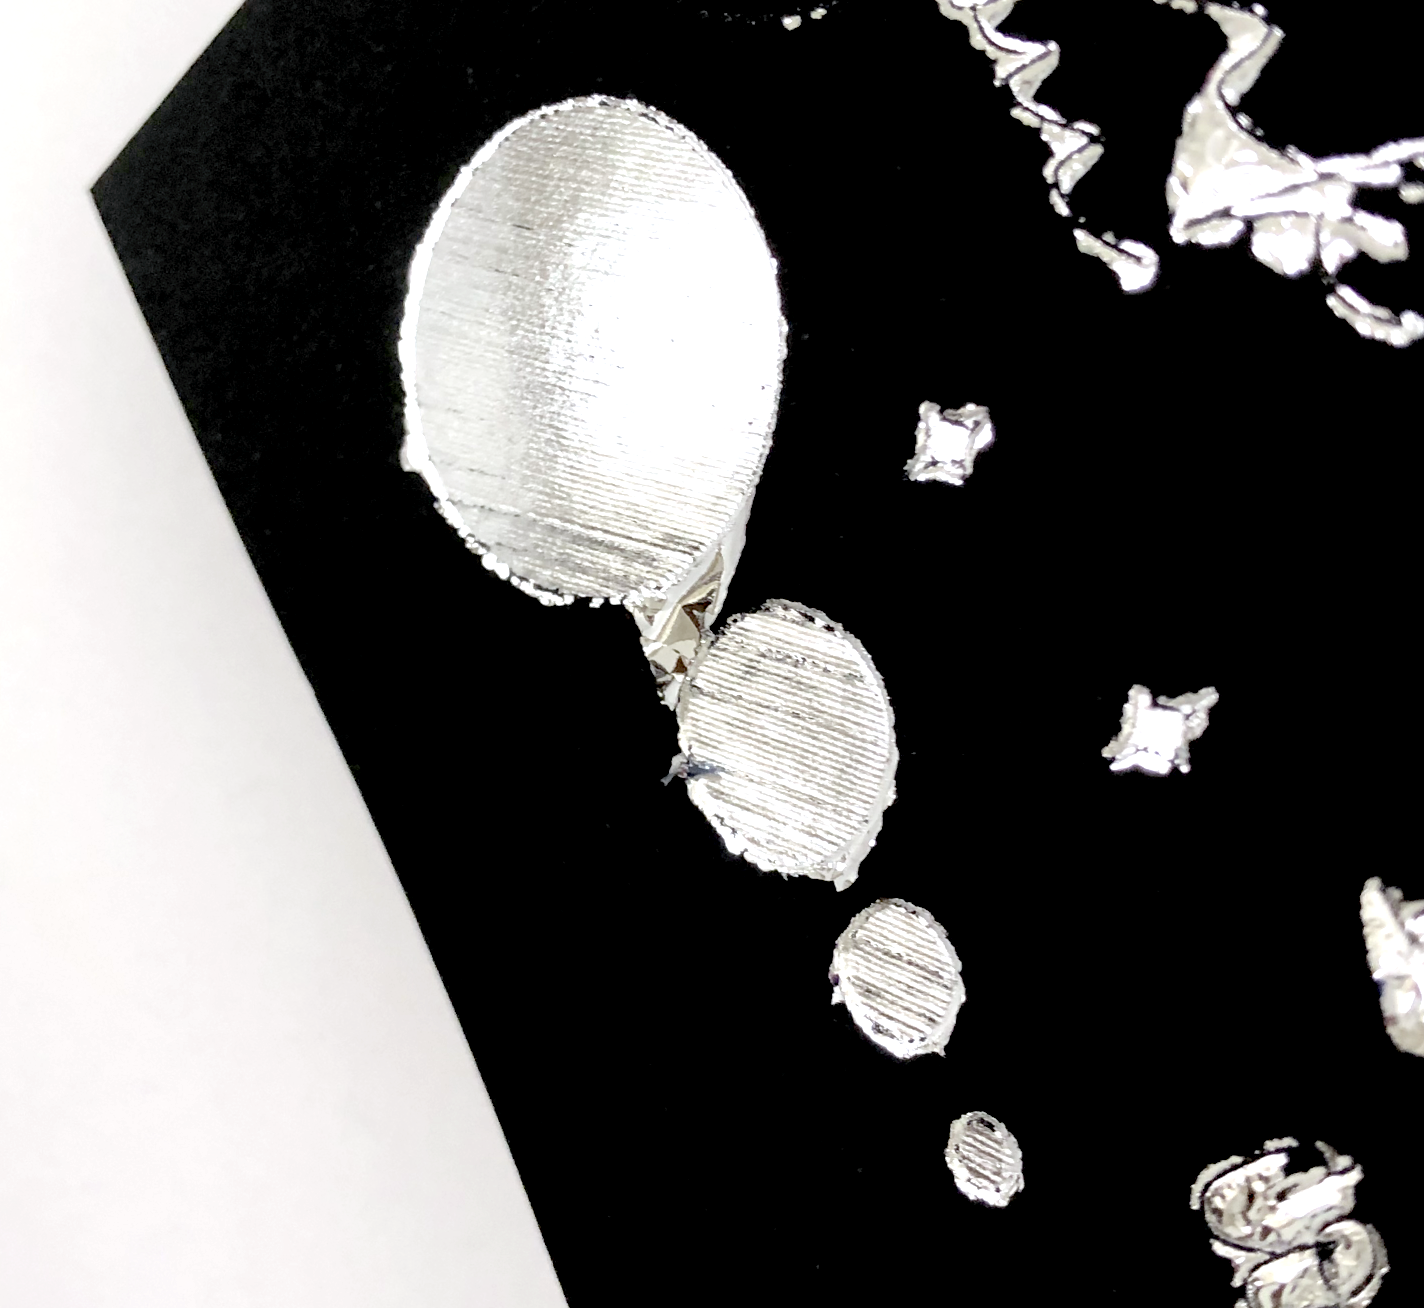
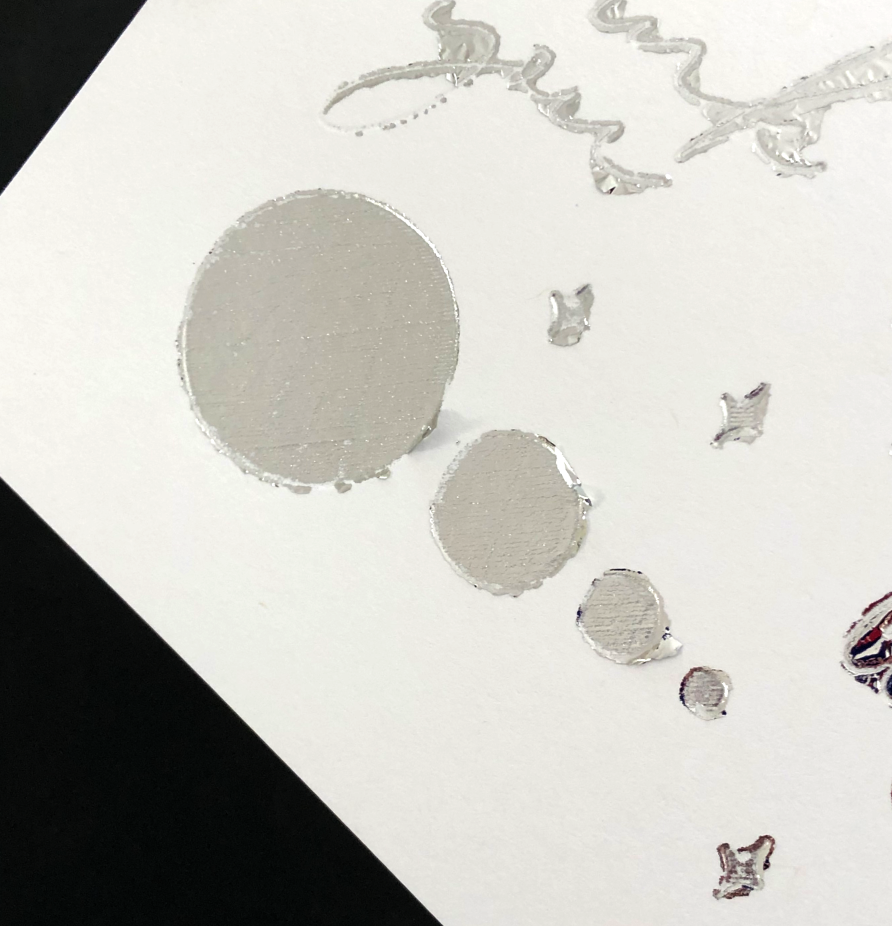
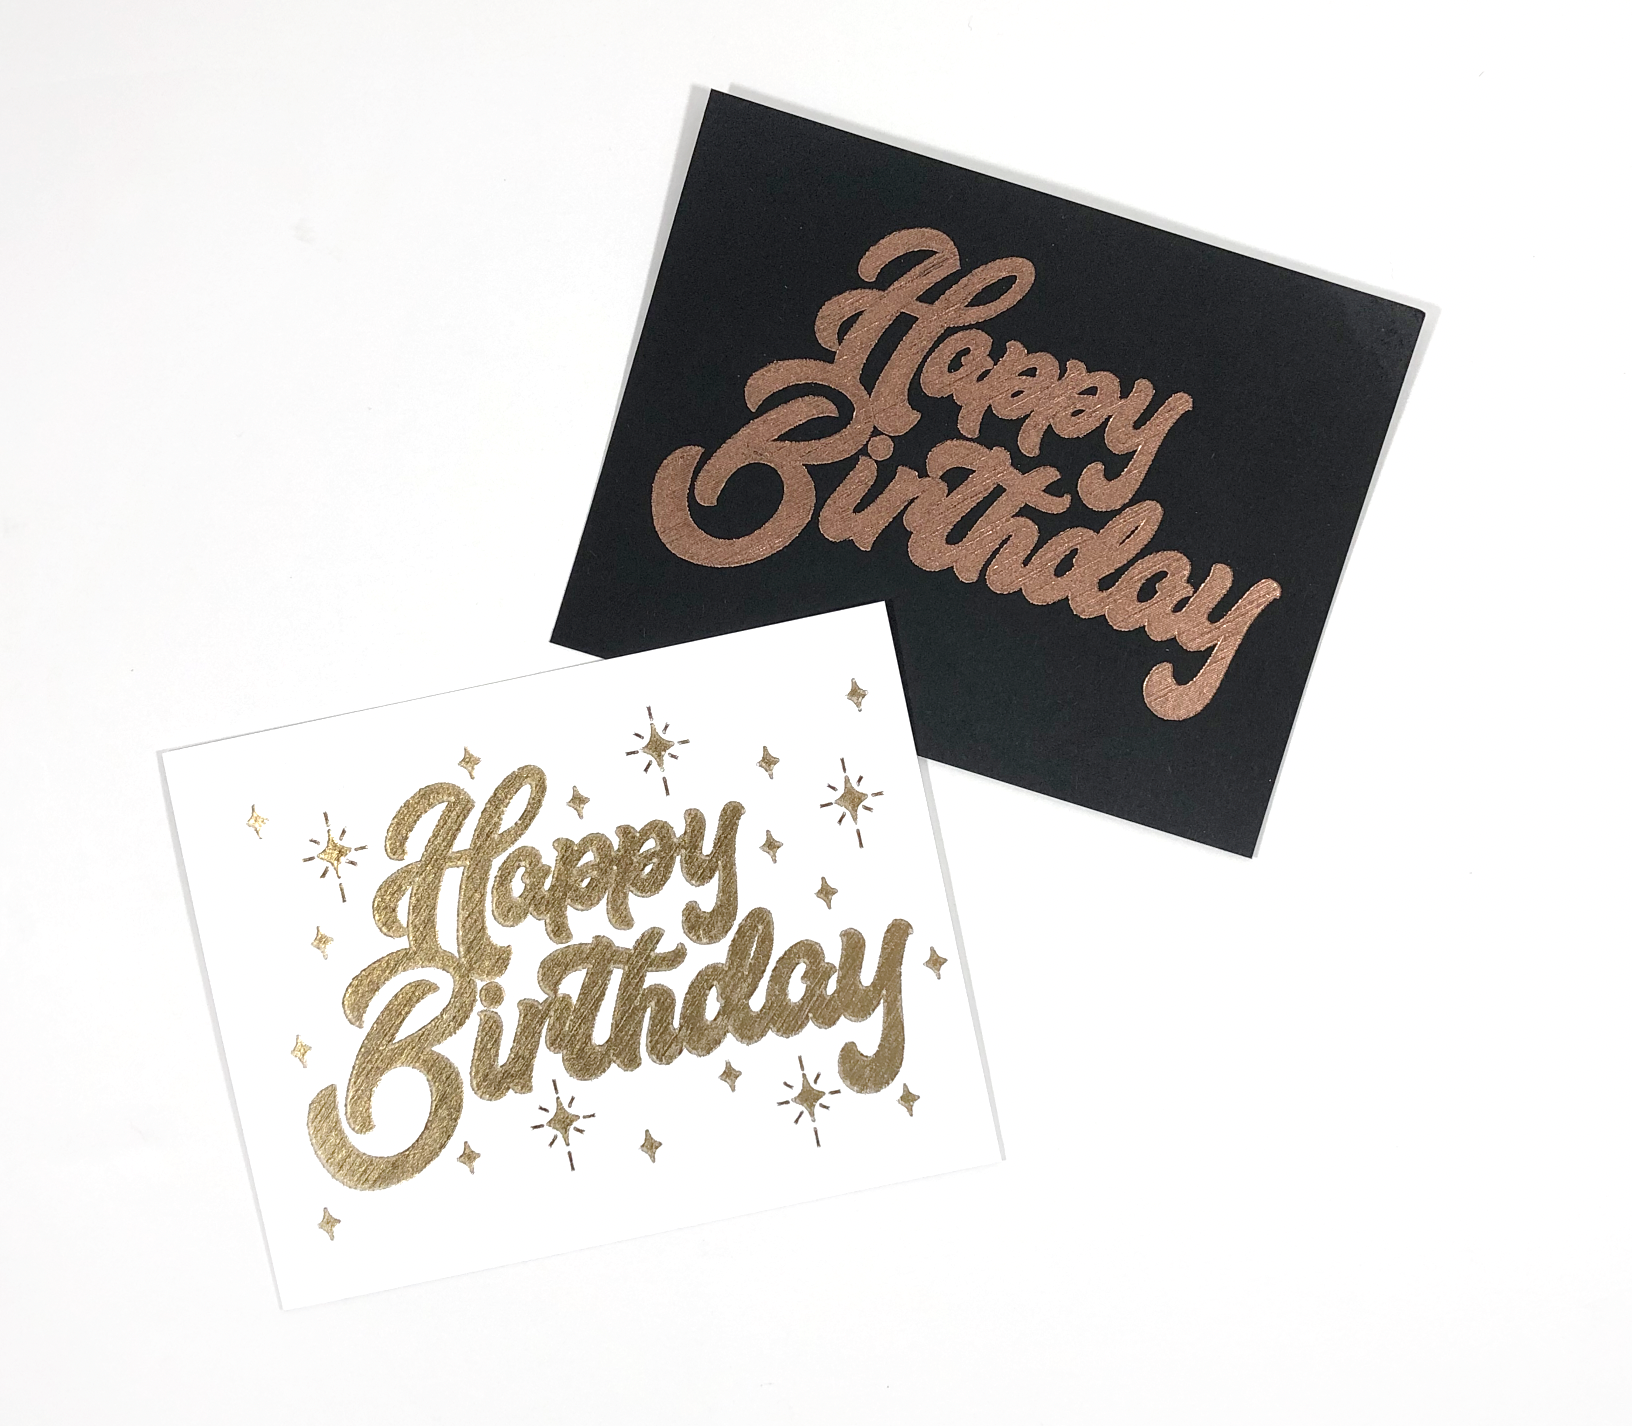
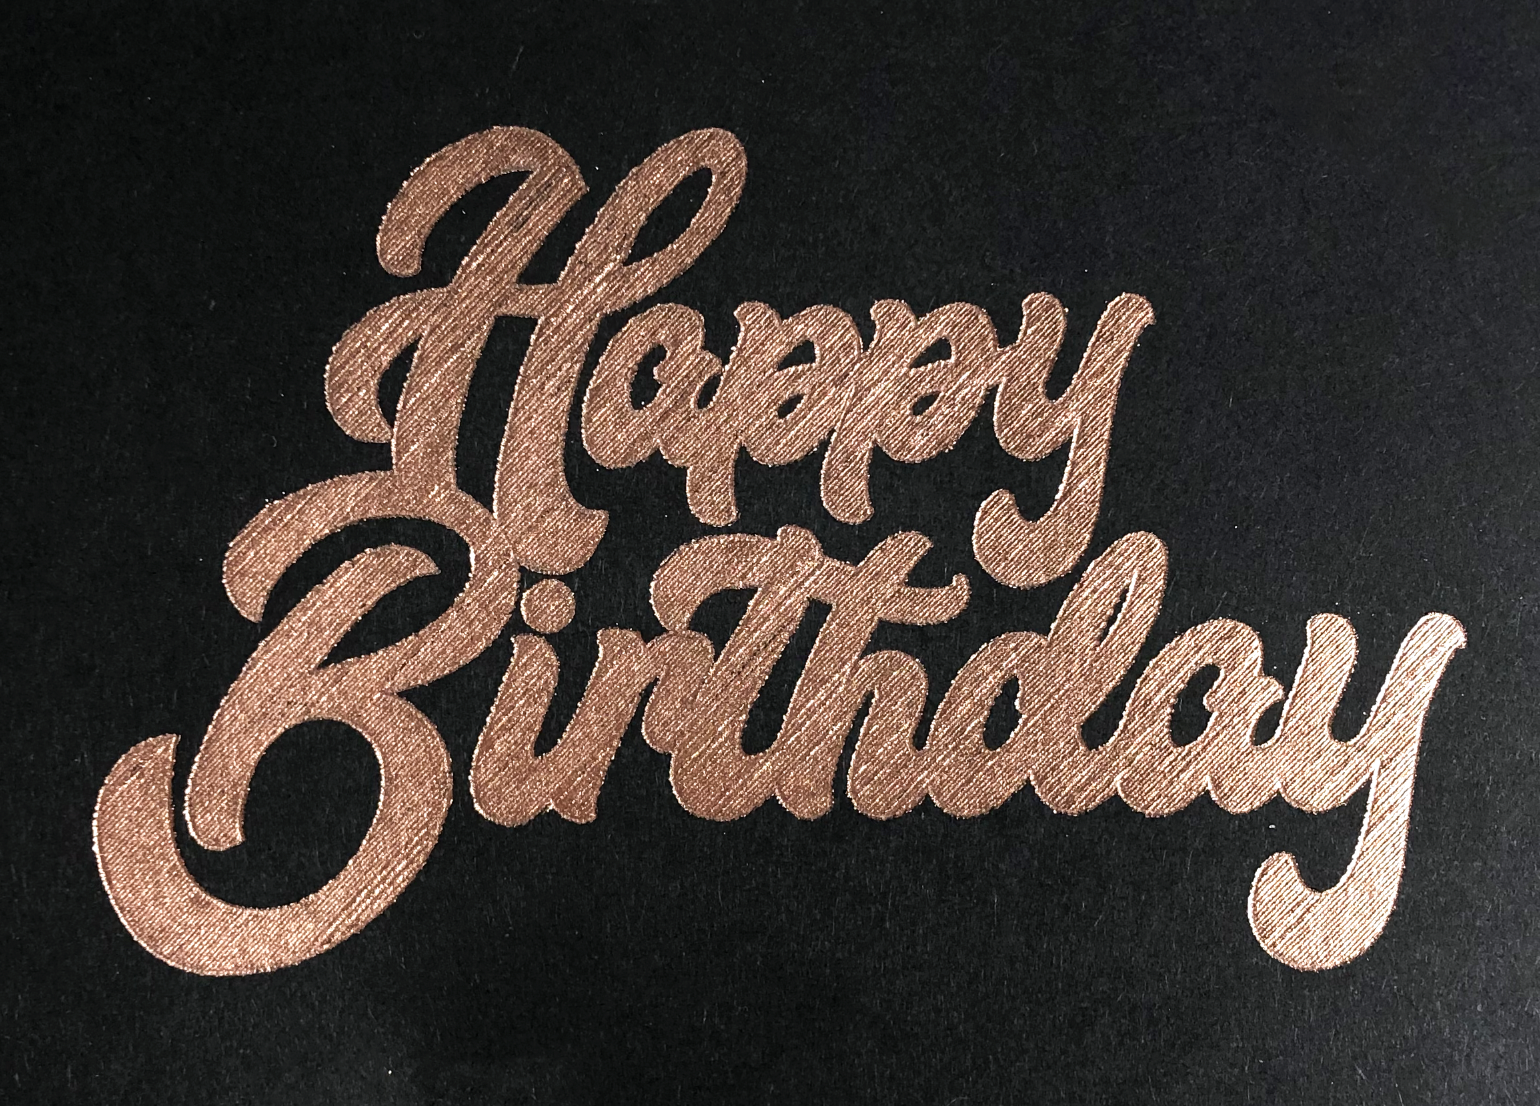
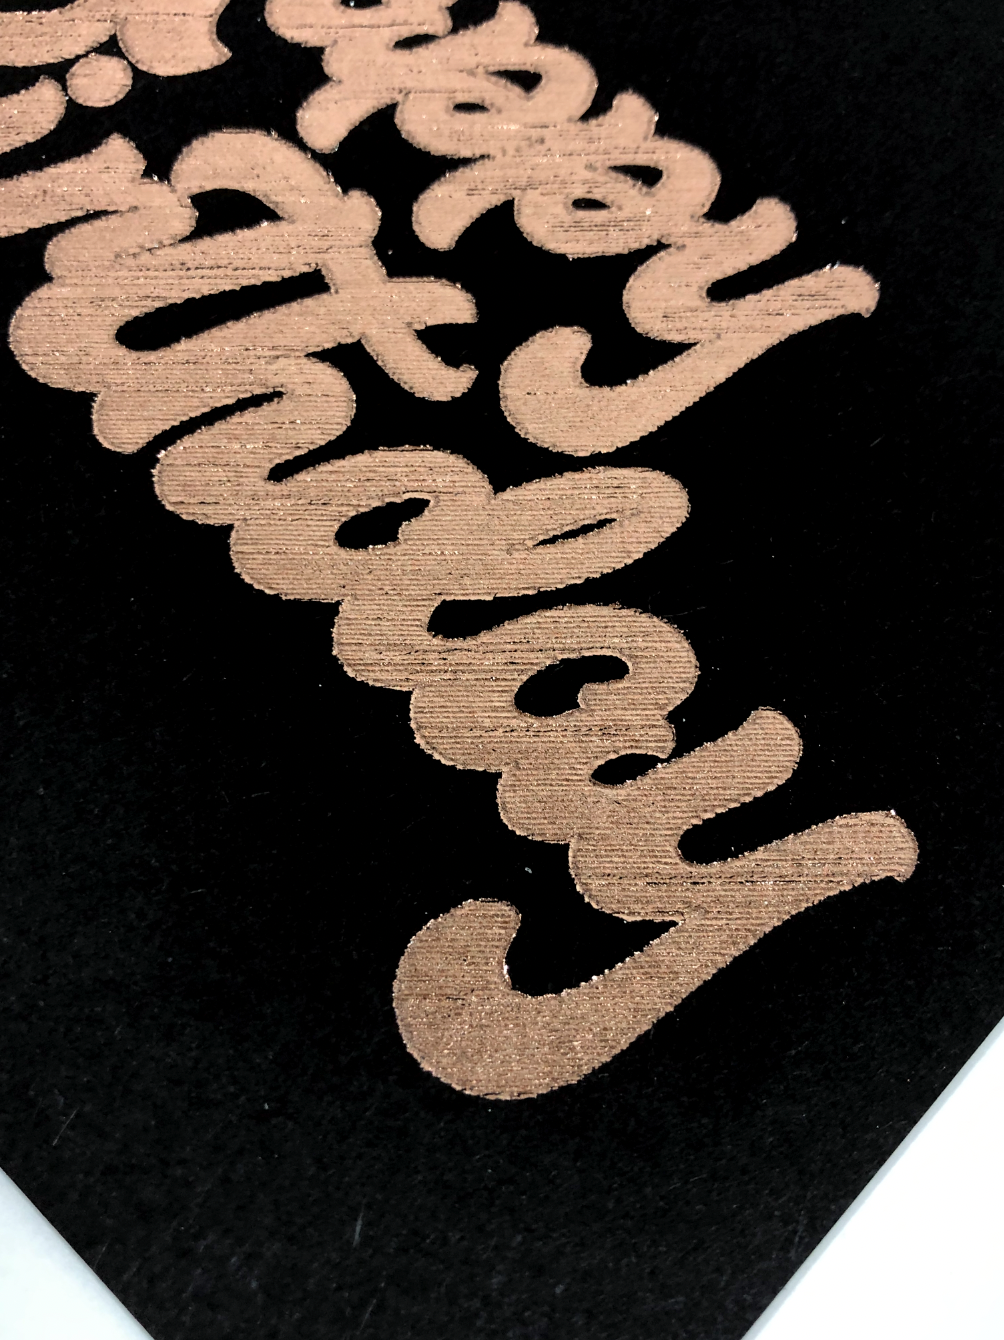
Beautiful results on black heavy cardstock using settings: 20lb copy paper, default pressure.