cricut foil alternative

Another Cricut Foil Transfer Sheet Alternative

Links in the article below may be affiliate links.

Hi Everyone! I was browsing the Michael’s website for more foil colors for the Cricut Foil Transfer tool and I came across some foil transfer sheets from Recollections. The foil transfer sheets are described as no heat or tools needed. The packaging instructions instructions recommend using a double sided sticker or adhesive with the foil. There is no mention of them being pressure sensitive, but one of the reviewers mentioned that they work with her Cricut Maker. So I found some at my local store and decided to give them a try.

I bought the gold sheets and the holographic sheets to try initially. You get 5 sheets that are 5.5” x 5.5” squares, so slightly different dimensions than the smaller Cricut sheets and really great if you plan to make square cards. Another bonus, you can use your Michael’s coupons!

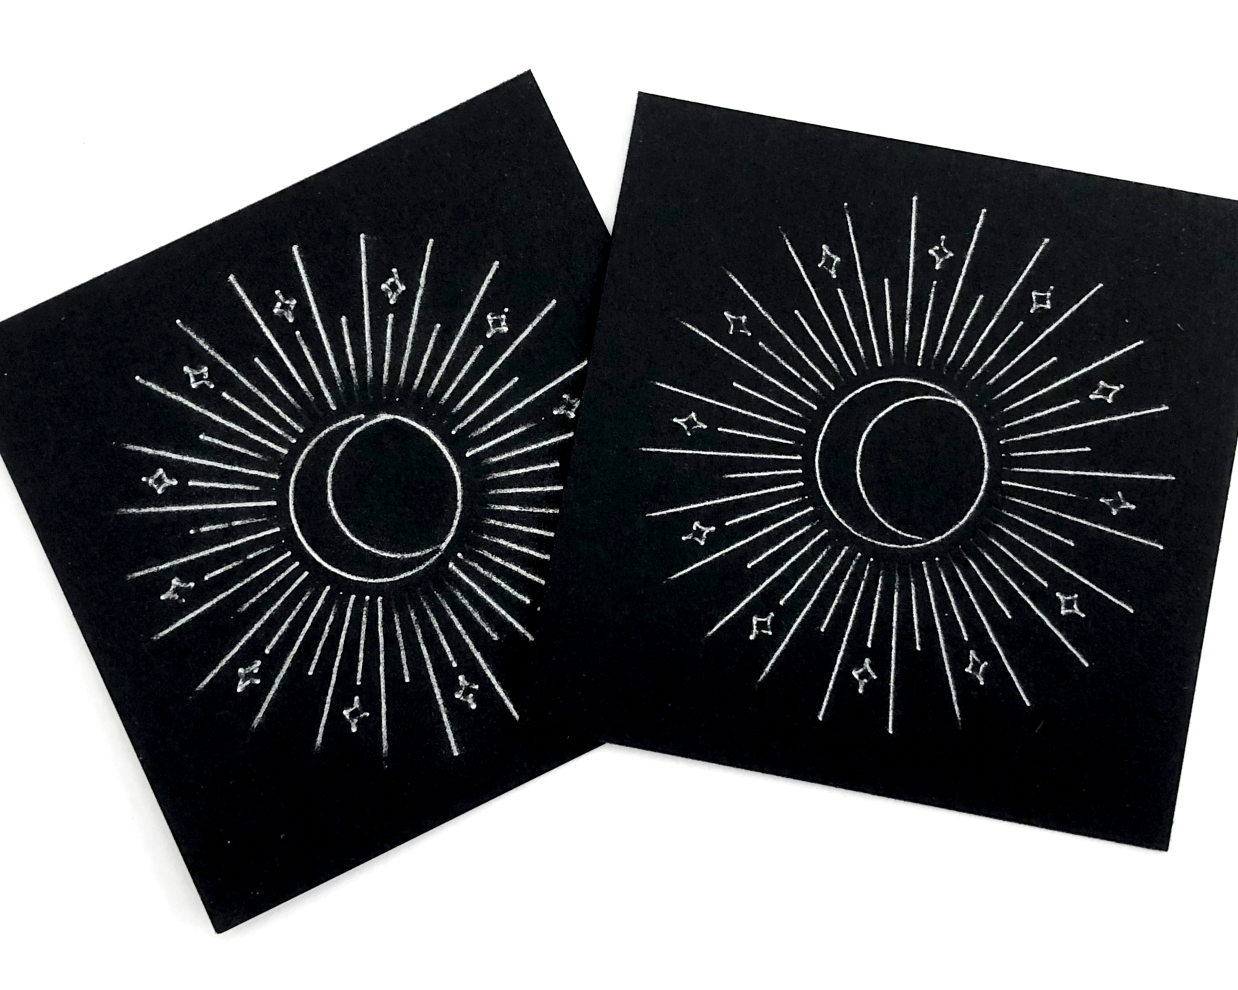
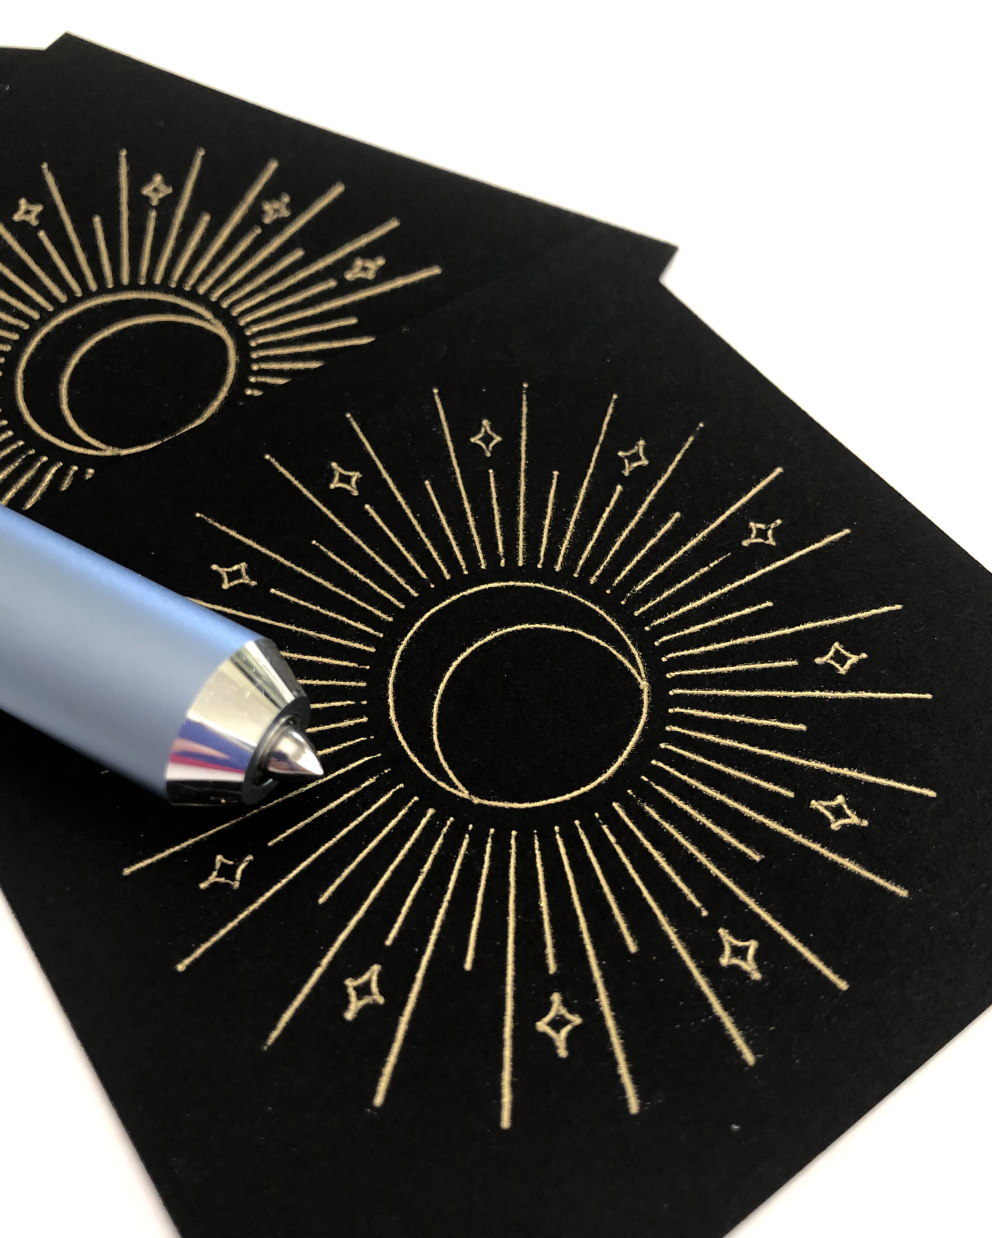
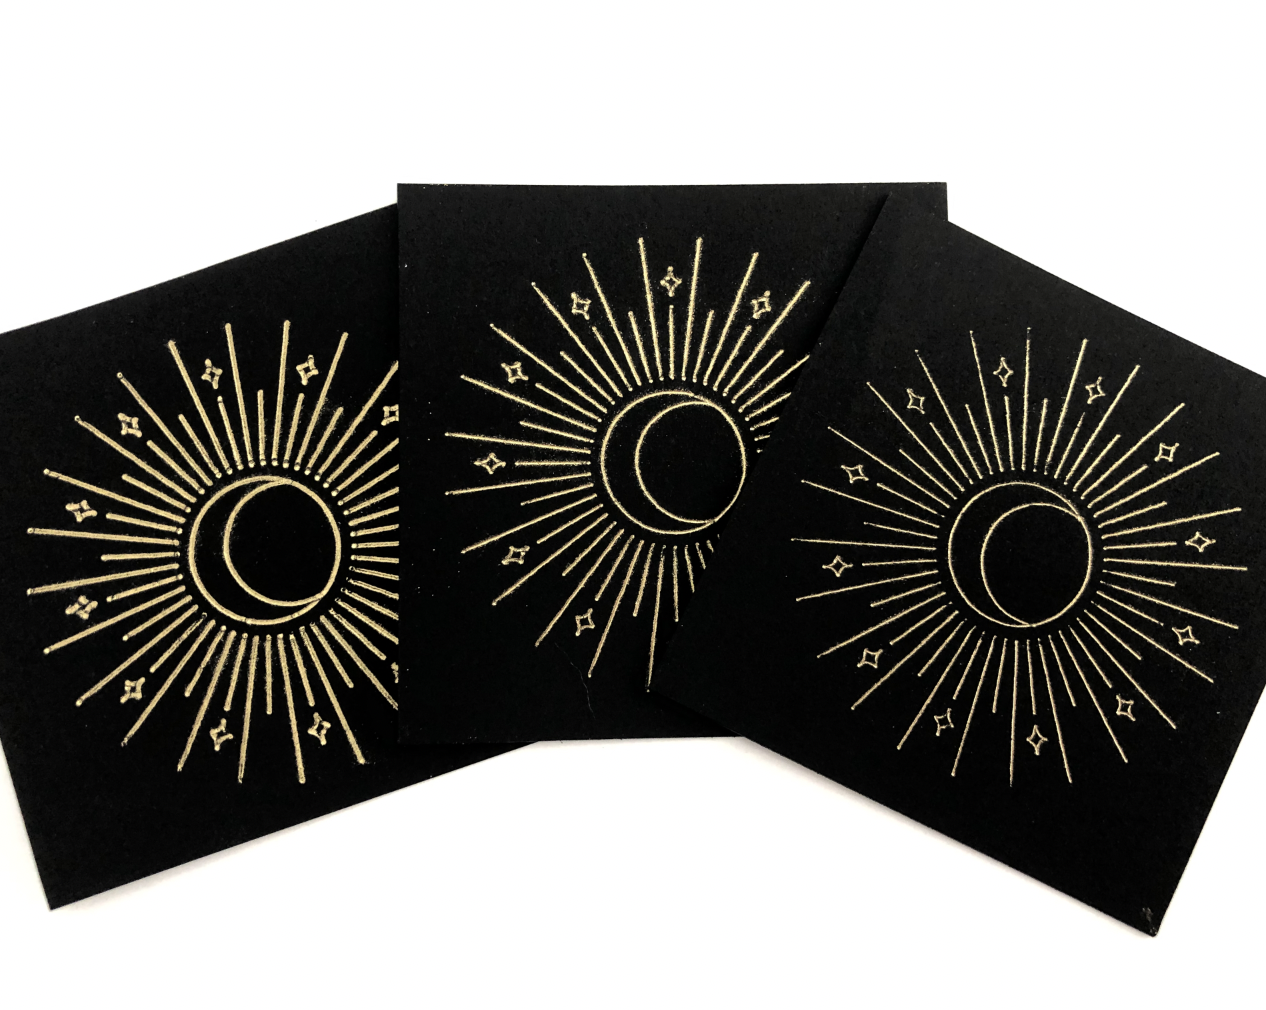
I tried one of my new celestial designs with the gold foil on my favorite black cardstock.

I tested all three tips for the foil transfer tool, and they all worked pretty well with this foil. There are still the little spots where it didn’t stick to the cardstock all way. It’s also a little dusty when you remove the foil sheet, but you can carefully lift the foil dust away with some Washi tape or blue painters tape. Overall, the results were pretty similar to the Cricut brand foil.

Recollections Gold Foil Transfer Sheet (L) Bold Tip, (C) Medium Tip, (R) Fine Tip

Recollections Gold Foil Transfer Sheet (L) Bold Tip, (C) Medium Tip, (R) Fine Tip

Next, I tried the holographic foil. It did not transfer as well as the gold foil and it just looks silver, not holographic. Overall, this one was a bit disappointing.

Recollections Holographic Foil Transfer Sheet (L) Medium Tip, (R) Fine Tip

Recollections Holographic Foil Transfer Sheet (L) Medium Tip, (R) Fine Tip

Since the gold worked pretty well, I’m interested to try some of the other colors like rose gold and the multicolor pack. I also plan to test this foil with the WRMK foil quill and my Silhouette Portrait 3 machine.

Screen Shot 2021-07-05 at 5.18.55 PM.png


Spellbinders Glimmer Foil with the WRMK Foil Quill

Links in the article below may be affiliate links.

Hi Everyone! Last week I tried out the Spellbinders Glimmer foils with the Cricut Foil Transfer tool and my Cricut Maker, and I got some pretty decent results. This week I want to try the foils with my WRMK Foil Quills since they are actually intended to be hot foils. So here we go!

I am most excited to try the holographic foils. They transferred okay with the Cricut Foil Transfer tool, but the holographic effects were kind of lost.

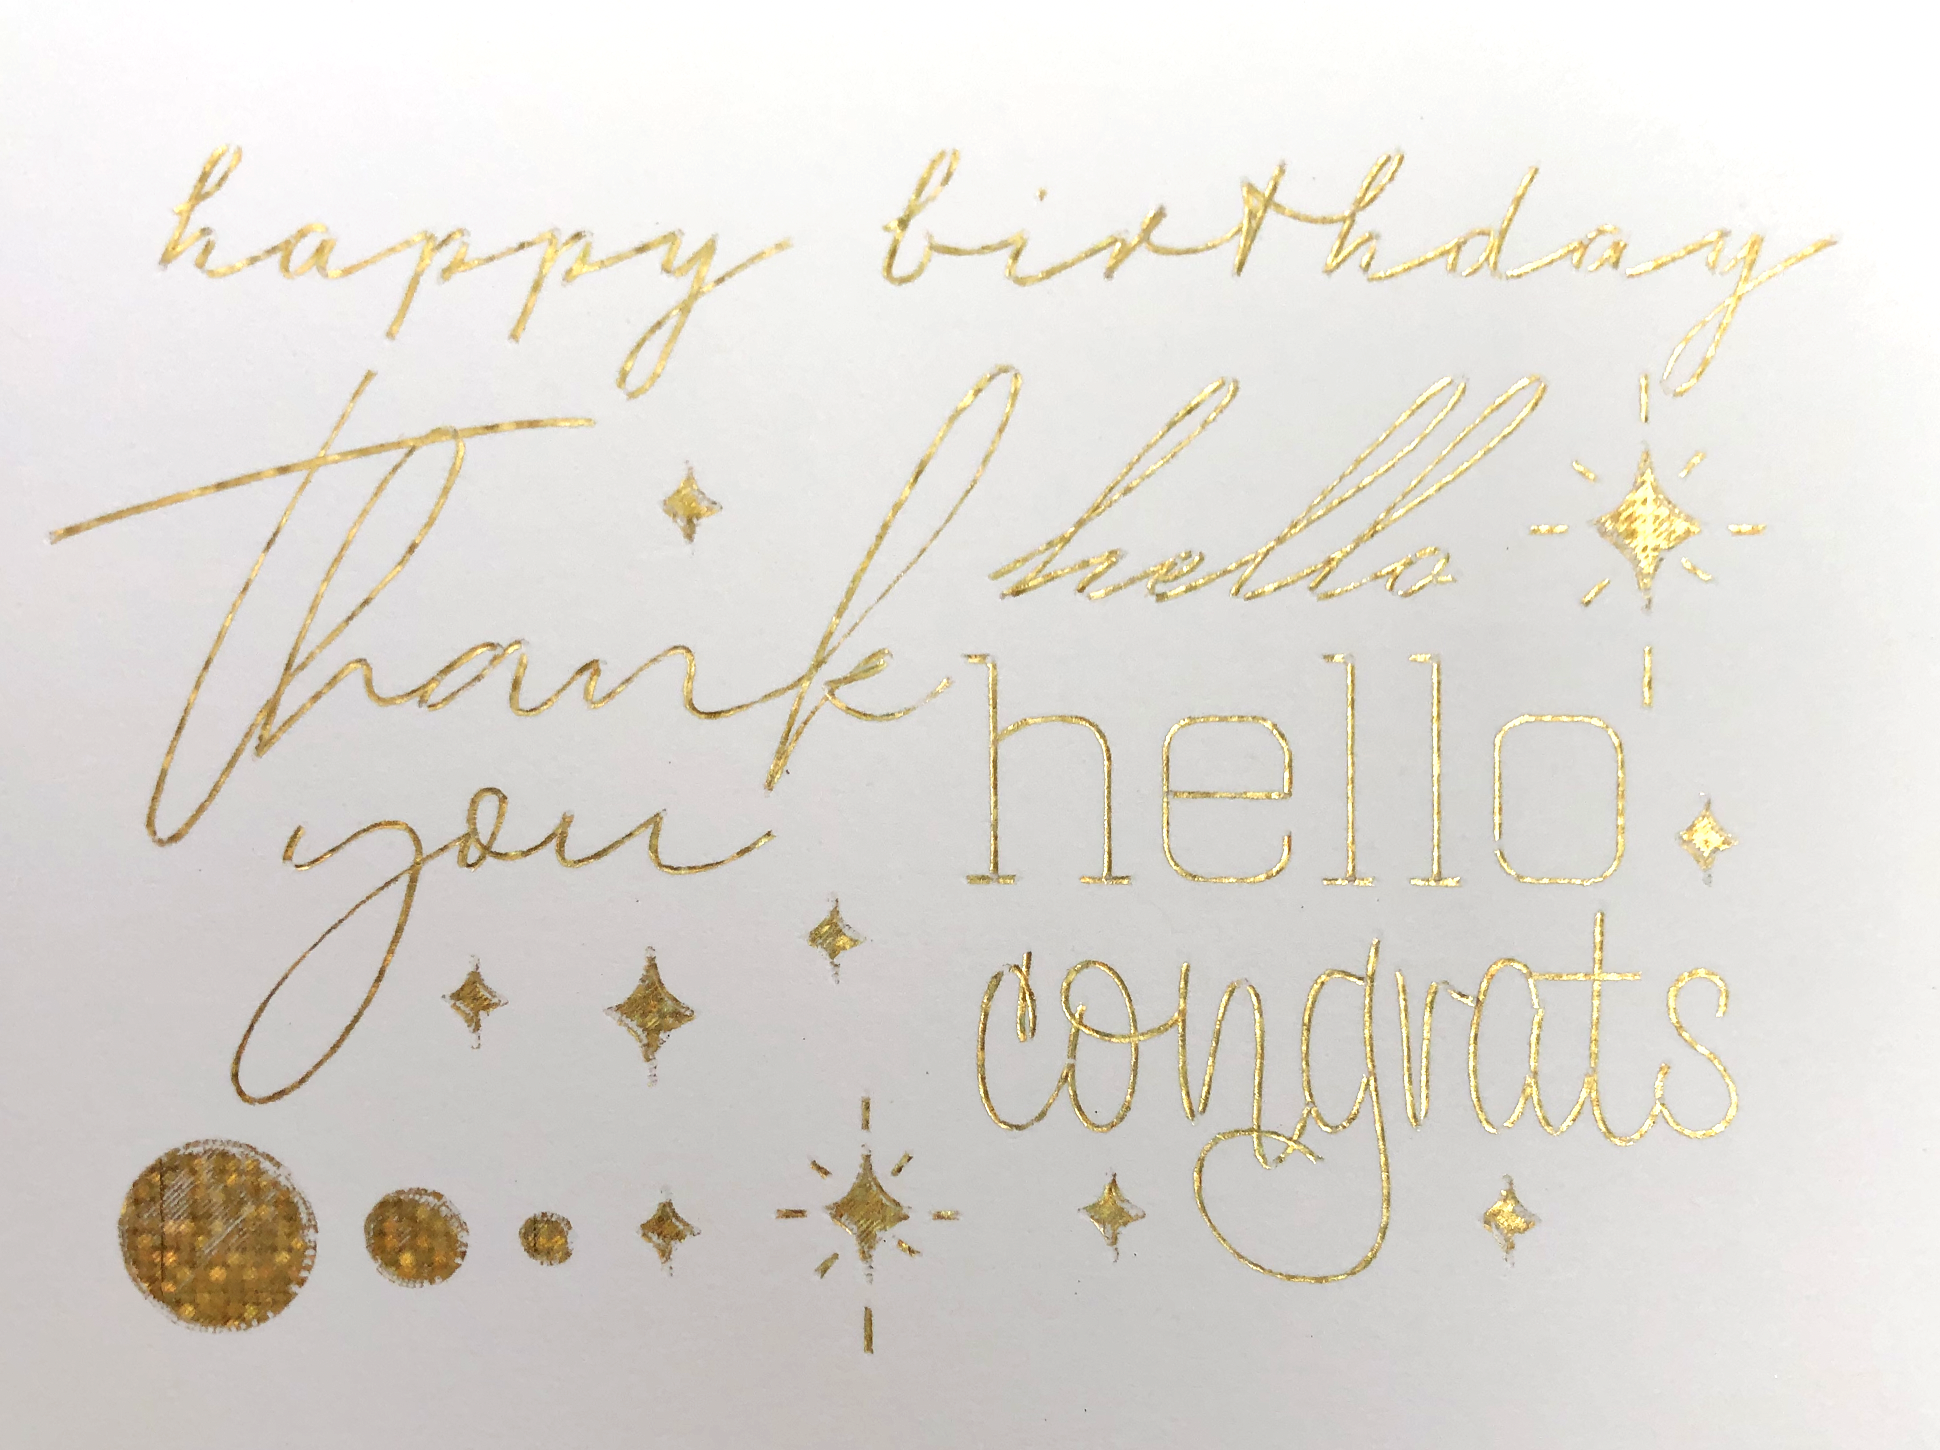
I started out with the gold glittery foil on my heavy white cardstock with the medium foil quill. There are some little spots where the foil didn't transfer completely, especially in my filled shapes. But you can see the glittery effect much more that you could with the foil transfer tool.

Spellbinders Holographic Foil with Foil Quill

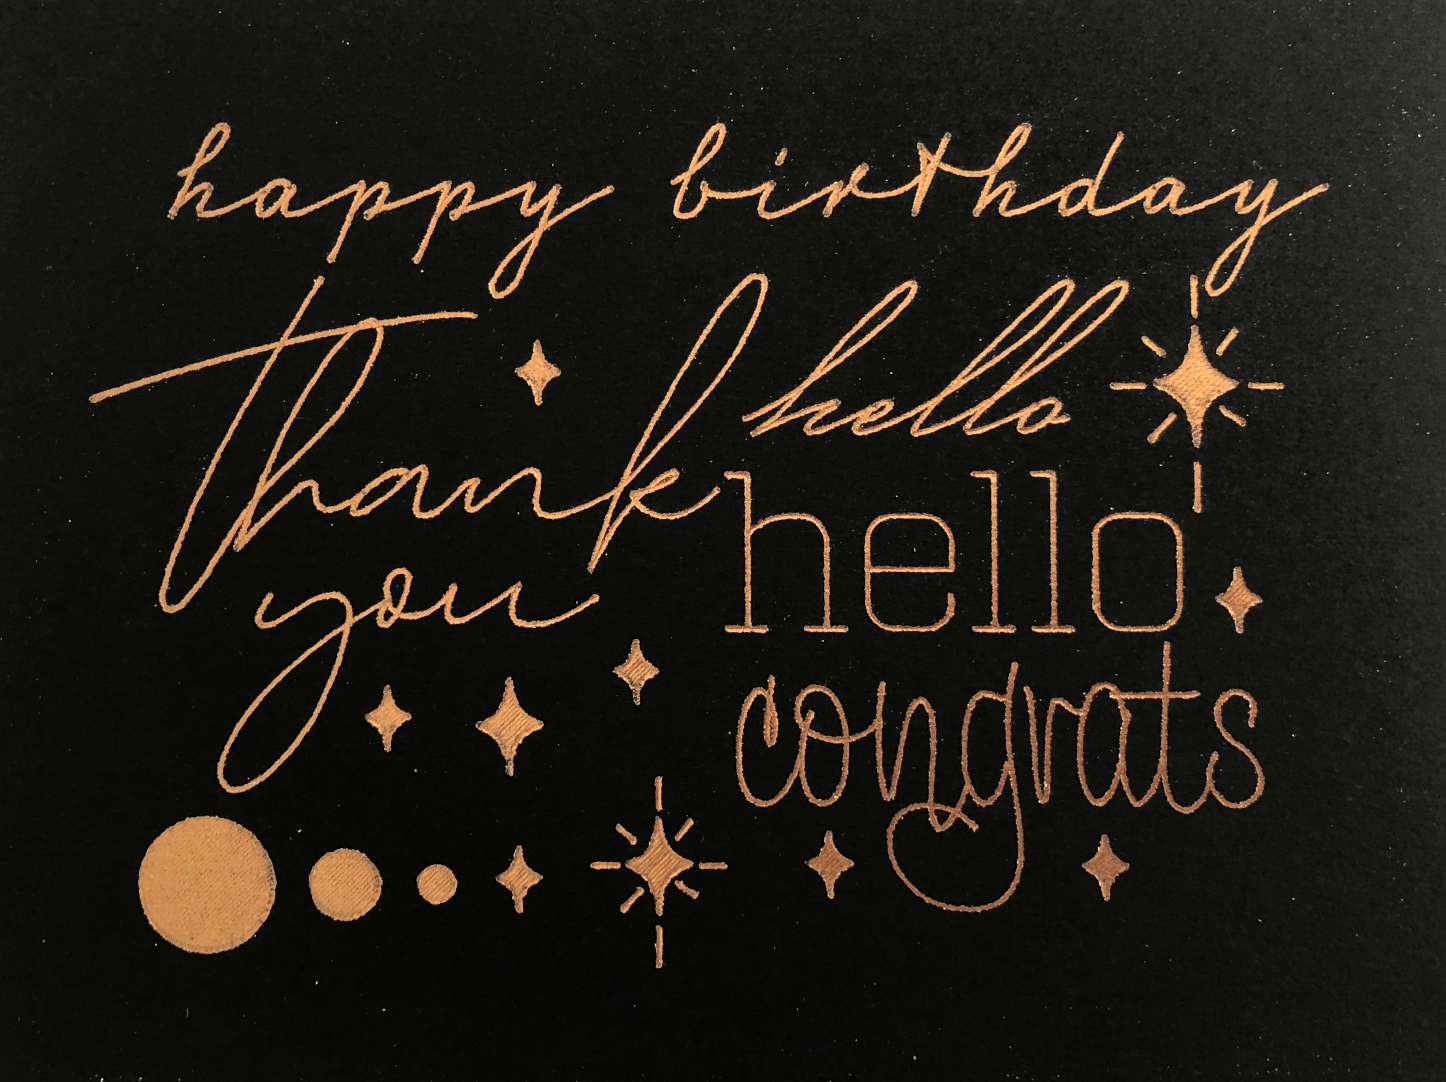
I tried it out again on black cardstock with some different single line drawings. Again, some spots where it didn’t completely. The holographic effect was also not as noticeable on the black cardstock. So overall, the gold holographic glitter didn’t do great on cardstock.

Spellbinders Holographic Foil with Foil Quill

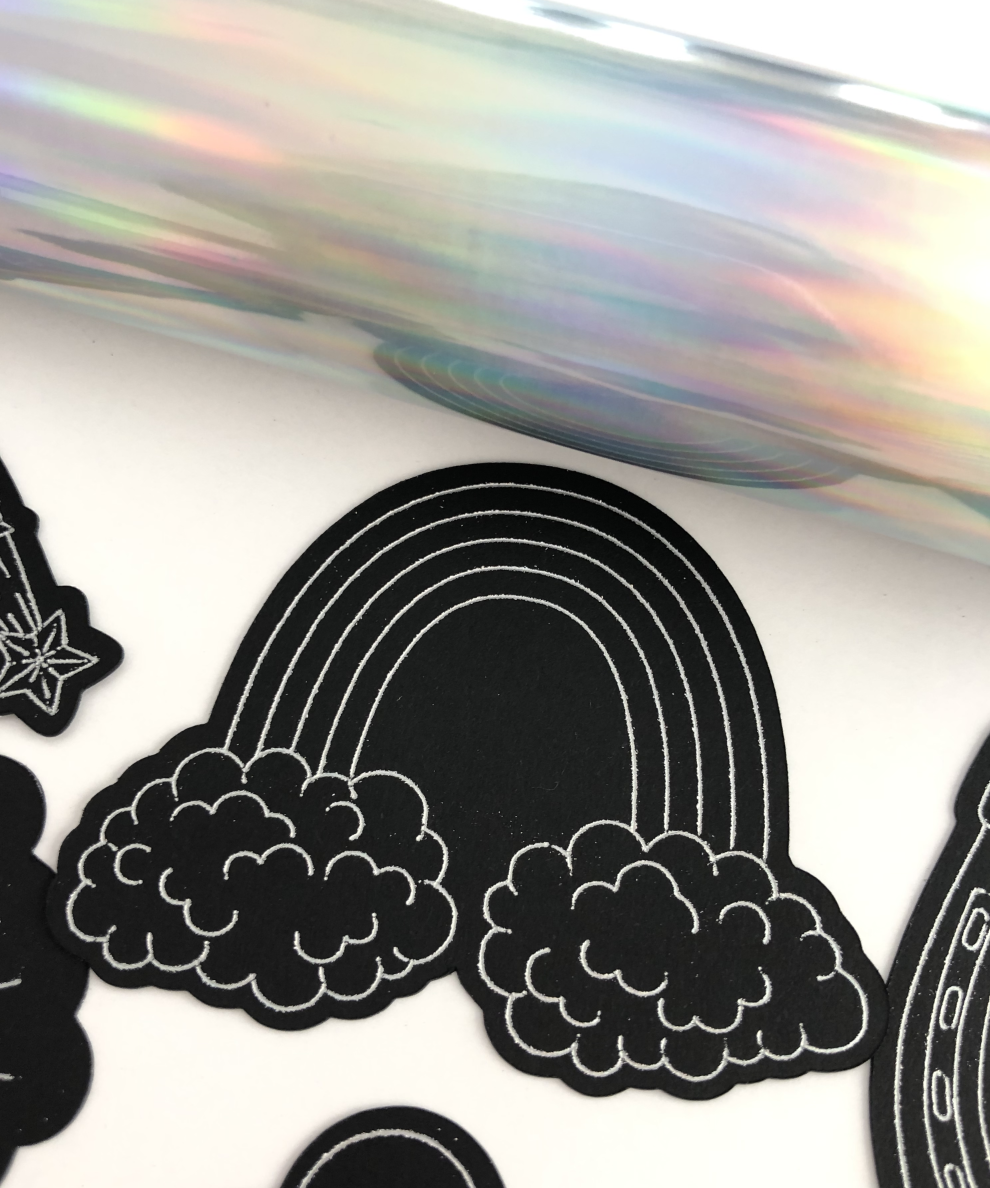
Next I tried the silver holographic foil on black cardstock. Also, some spots where it didn’t transfer completely, especially in the filled shapes. But you can see the iridescent effect, especially when you hold the card at an angle. It’s really difficult to capture in a photo, but the iridescence is there!

Spellbinders Holographic Foil with Foil Quill

Then I tried the regular metallics. First, the copper on black cardstock, still with the medium tip. It transferred BEAUTIFULLY!!

Screen Shot 2021-06-13 at 10.54.11 AM.png

After that I tried the gold on my heavy white cardstock. It also worked beautifully!

Screen Shot 2021-06-13 at 10.56.19 AM.png

I decided to give the holographic foils one last shot on some glossy clear sticker paper. First, I tried the gold holographic glitter with the medium tip. It transferred REALLY well to the sticker paper, and you can see sparkly holgraphic effect. (again, super difficult to photograph, but it looks really good in person).

Spellbinders Holographic Foil with Foil Quill

Finally, my personal favorite, the silver holographic foil on the clear sticker paper. It is so pretty and transferred perfectly.

Spellbinders Holographic Foil with Foil Quill

Overall, the holographic foils didn’t work great on cardstock, but they are gorgeous on my clear sticker paper. The regular metallics worked really well on cardstock, I didn’t test them on the sticker paper, but I imagine they would work great on that as well.

I’m really excited to try these foils with my Silhouette Portrait 3 machine where I can actually adjust the speed and pressure for the foil quill. I will post about that next week!


A Cricut Foil Transfer Sheet Alternative

Links in the article may be affiliate links.

Hi Everyone! Now that I’ve found some good black cardstock and decent pressure settings, I’ve been experimenting more and more with my Cricut Foil Transfer tool. One of the drawbacks to the foil transfer tool is that there aren’t really any pressure sensitive foils available, aside from the Cricut brand.

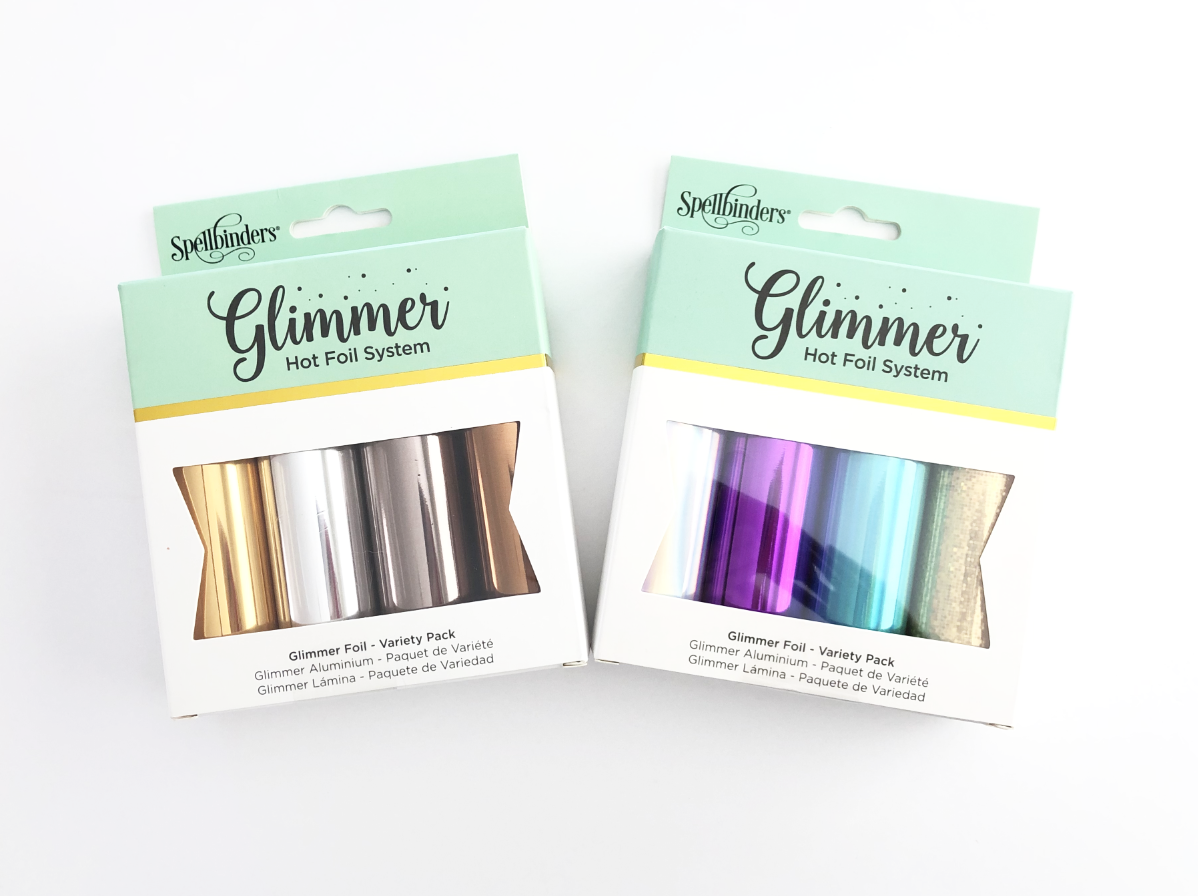
I’ve been researching other foils to use and came across some people having success with the Spellbinders Glimmer Hot Foils. They are labeled as hot foils, not pressure sensitive, but other people have been getting good results with them, so I thought I would give them a try. I purchased the essential metallics set, which includes a roll of gold, silver, copper, and pewter. I also bought a set of iridescents that contains a roll of silver, gold, purple, and teal.

These rolls are only 5 inches wide which is something to consider when laying out your design. But they are also 15 ft. long, so there’s a lot of length to work with. You’re not just limited to the 4x6 or 12x12 sheets like the Cricut brand.

I going to test some of my single line SVG files on heavy cardstock. I’m using the Cricut Foil Transfer Fine Point tip.

Since I use gold a lot, I’m first going to test the gold from the essential metallics set. I think the foil sheet is little heavier than the Cricut brand. It didn’t curl up and was pretty easy to tape it down flat even though I cut it from a roll.

Even though I’m using heavy 100lb cardstock, I set my material to Copy Paper 20lb, default pressure for the Foil Transfer tool. I’ve been getting the best results so far with these settings.

After my machine is done, I peel back the foil and the results are BEAUTIFUL!!!

Cricut Foil Alternative

Next, I’m trying the copper from the same essential metallics set. This time I’m testing it on my new favorite black cardstock. Again, the results are GORGEOUS! The copper is a little dustier than the gold. I was able to carefully clean it up with some blue painters tape, without the tape removing foil from the actual design.

Cricut Foil Alternative

Now, I’m going to try a couple of the colors from the iridescent set. First up is the silver iridescent. It transferred nicely, but the iridescence gets a little lost, most likely due to the thinness of the lines.

Screen Shot 2021-06-06 at 11.20.23 AM.png

I also tried the gold confetti iridescent roll. Again, it transferred nicely, but the iridescent effect gets lost. Once again, probably due to the thickness of my lines.

Cricut Foil Alternative

Overall, I REALLY like this foil. I feel like I get more consistent and better results than with the Cricut foil. They also have a wider selection of colors than the Cricut brand. The only drawback I have found so far is the 5 inch width of the roll. But it shouldn’t be that much of an issue if I plan my designs accordingly.

I also plan on trying this foil with my WRMK foil quill. I’ll post those results later.