foiling on cardstock

Foiling with Glue Pens

Hi Everyone!

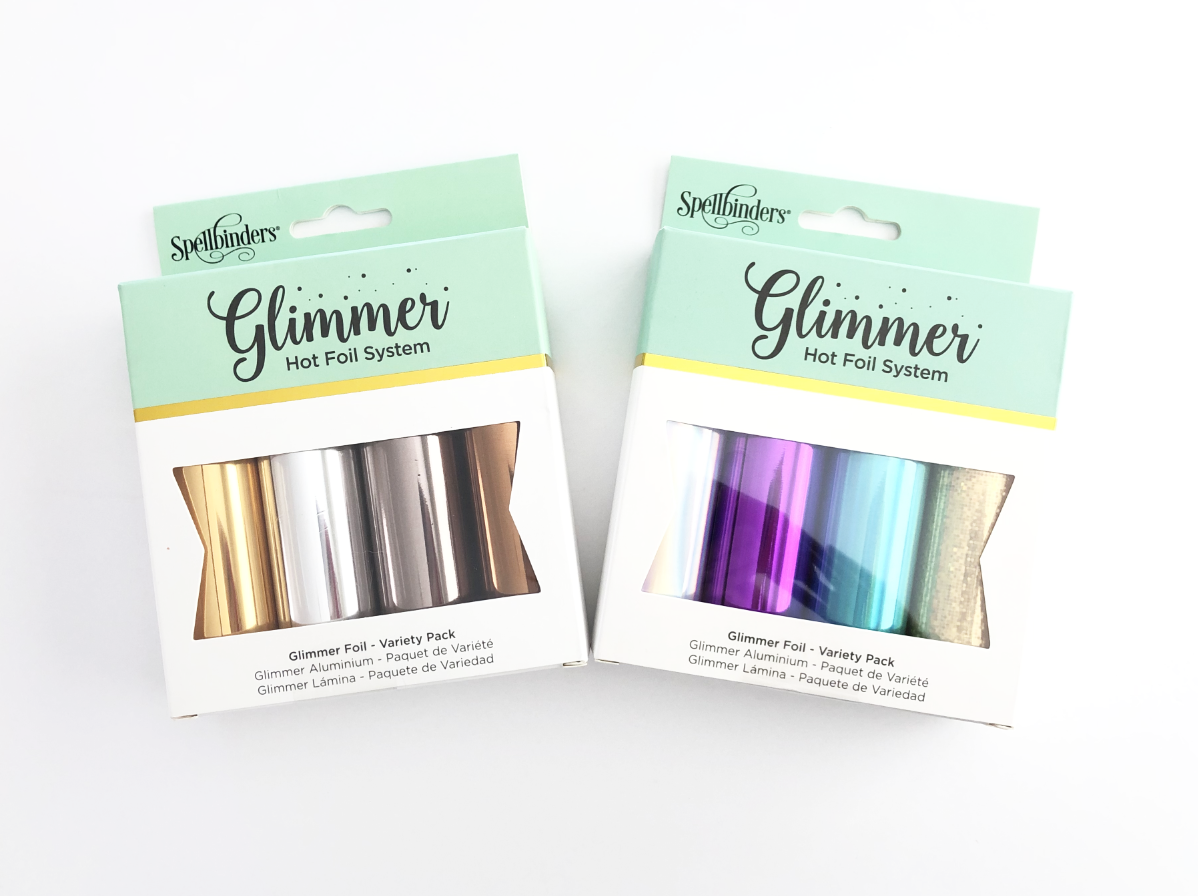
This week I want to share a little foiling technique that doesn’t require any heat or a cutting mat! I will be using my Silhouette Portrait 3, a glue pen, and some reactive foil (I’ll be using a Minc brand roll of foil that I already have).

I’ve been working on some holiday single line SVG files for gift tags and cards, so I want to test them out using this technique.

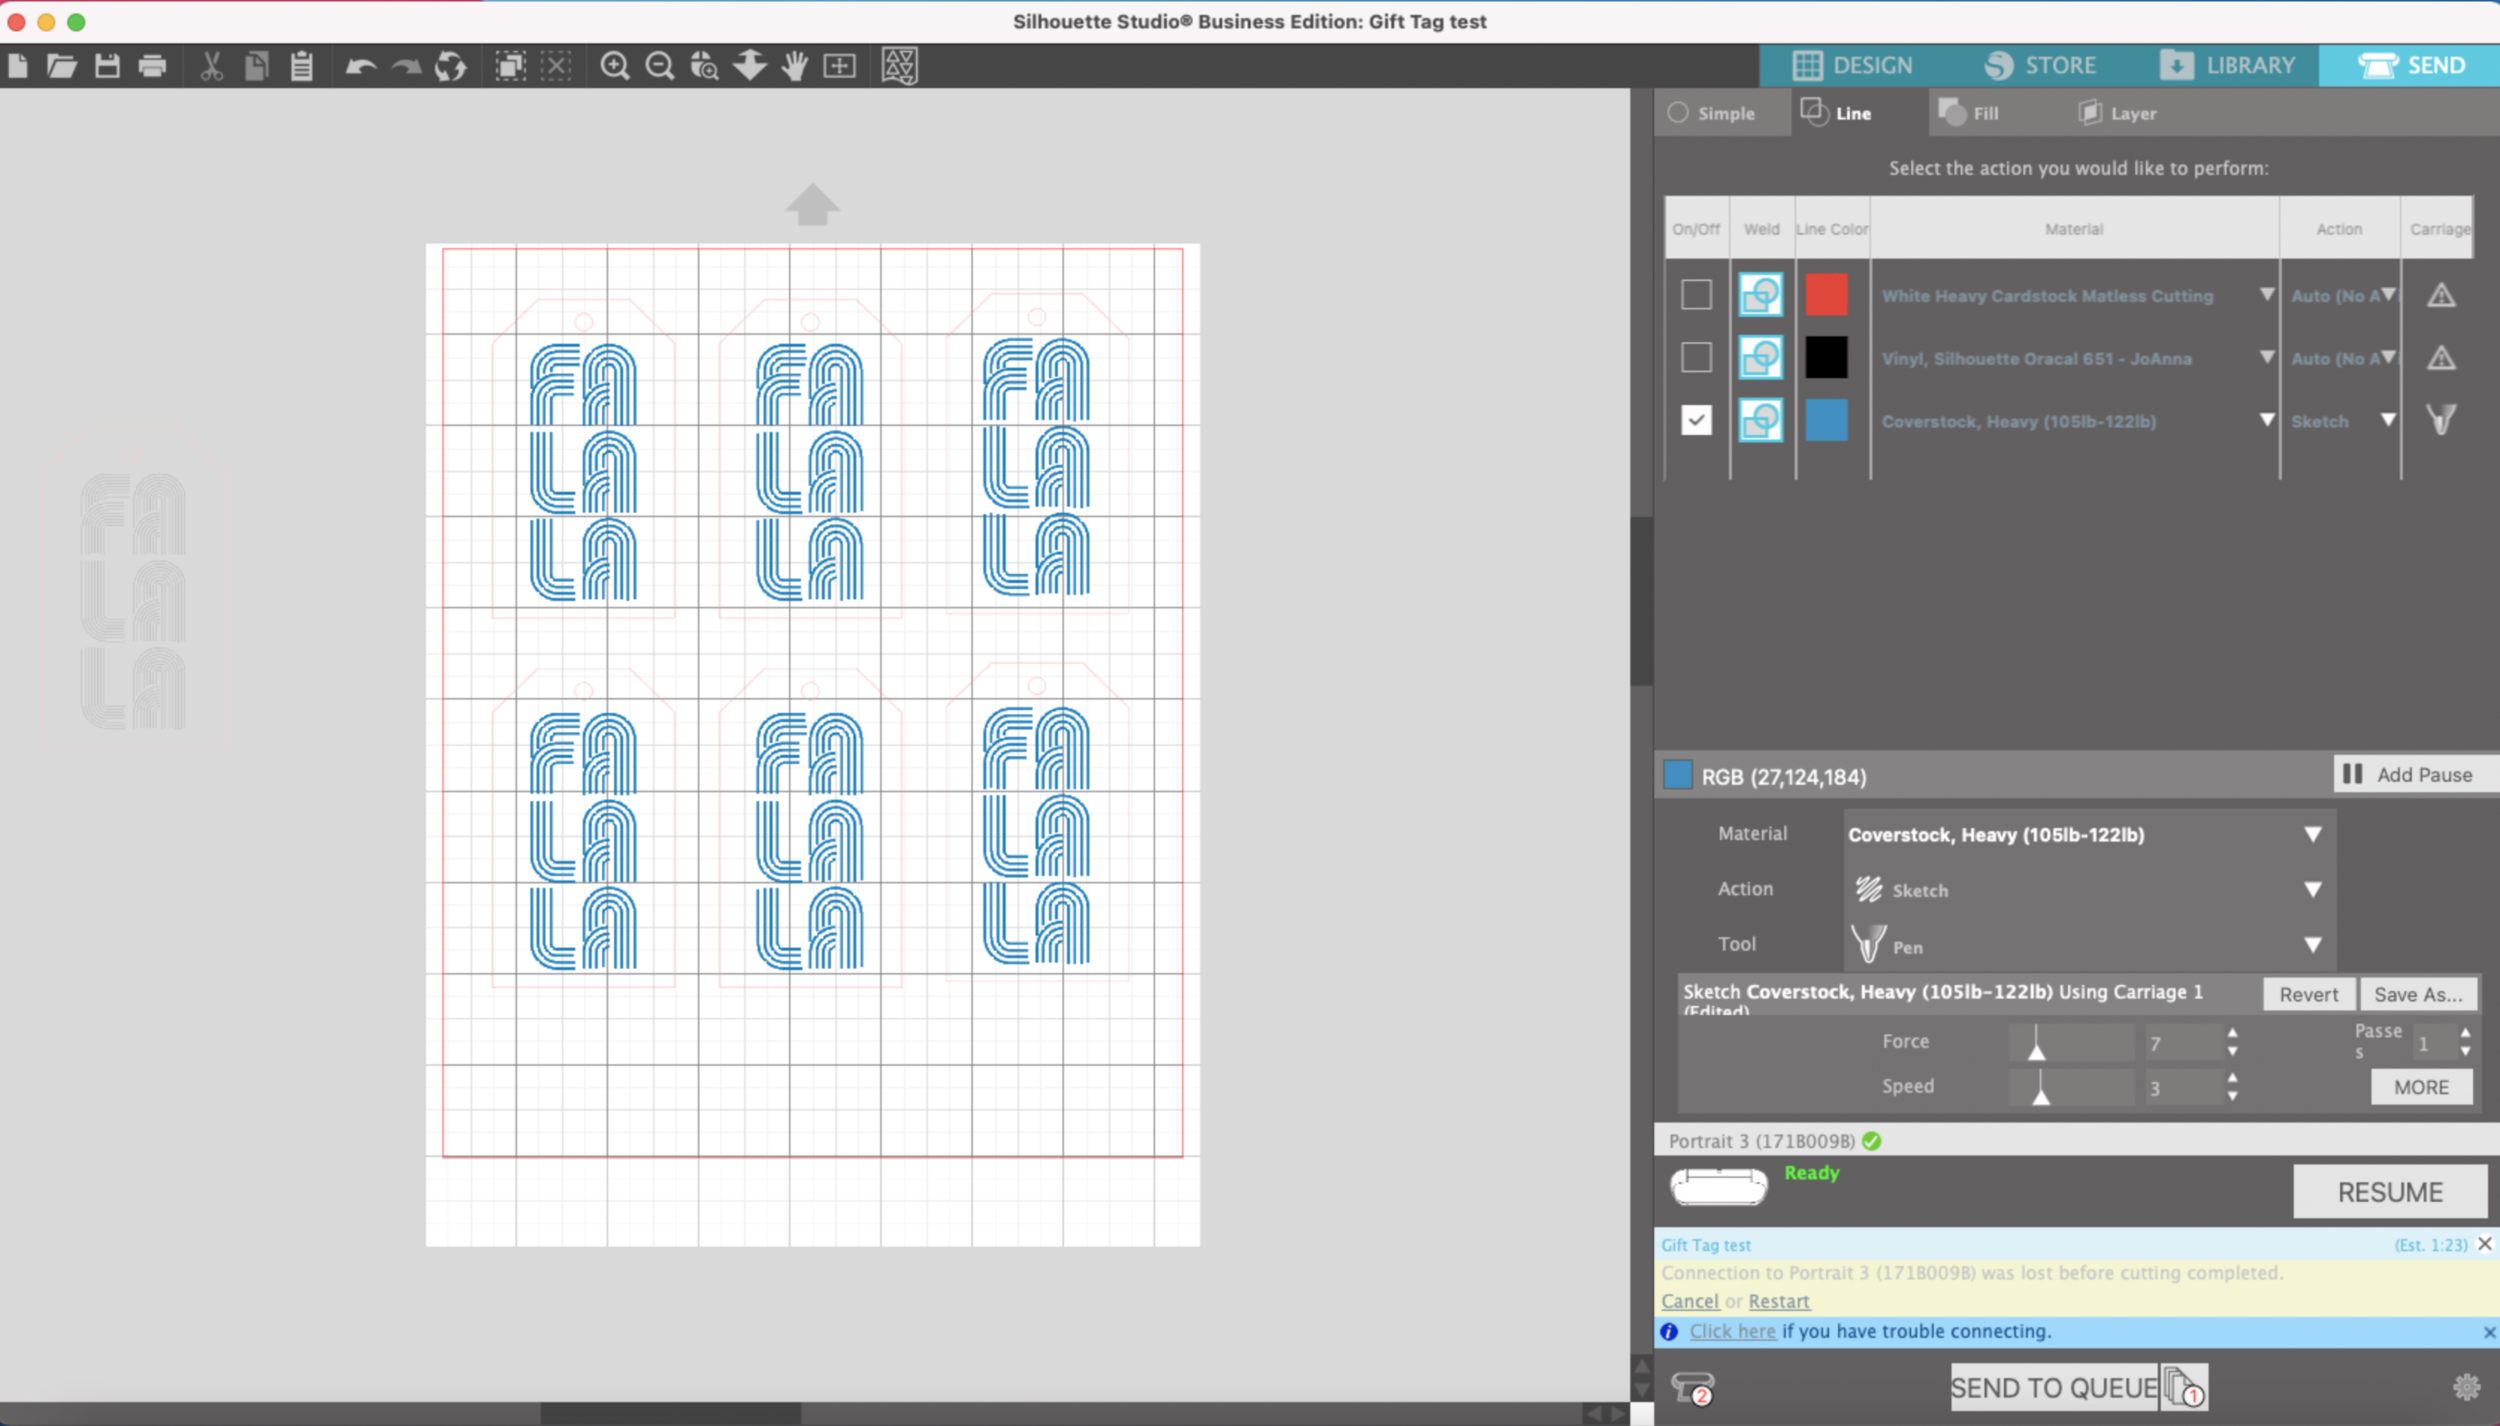
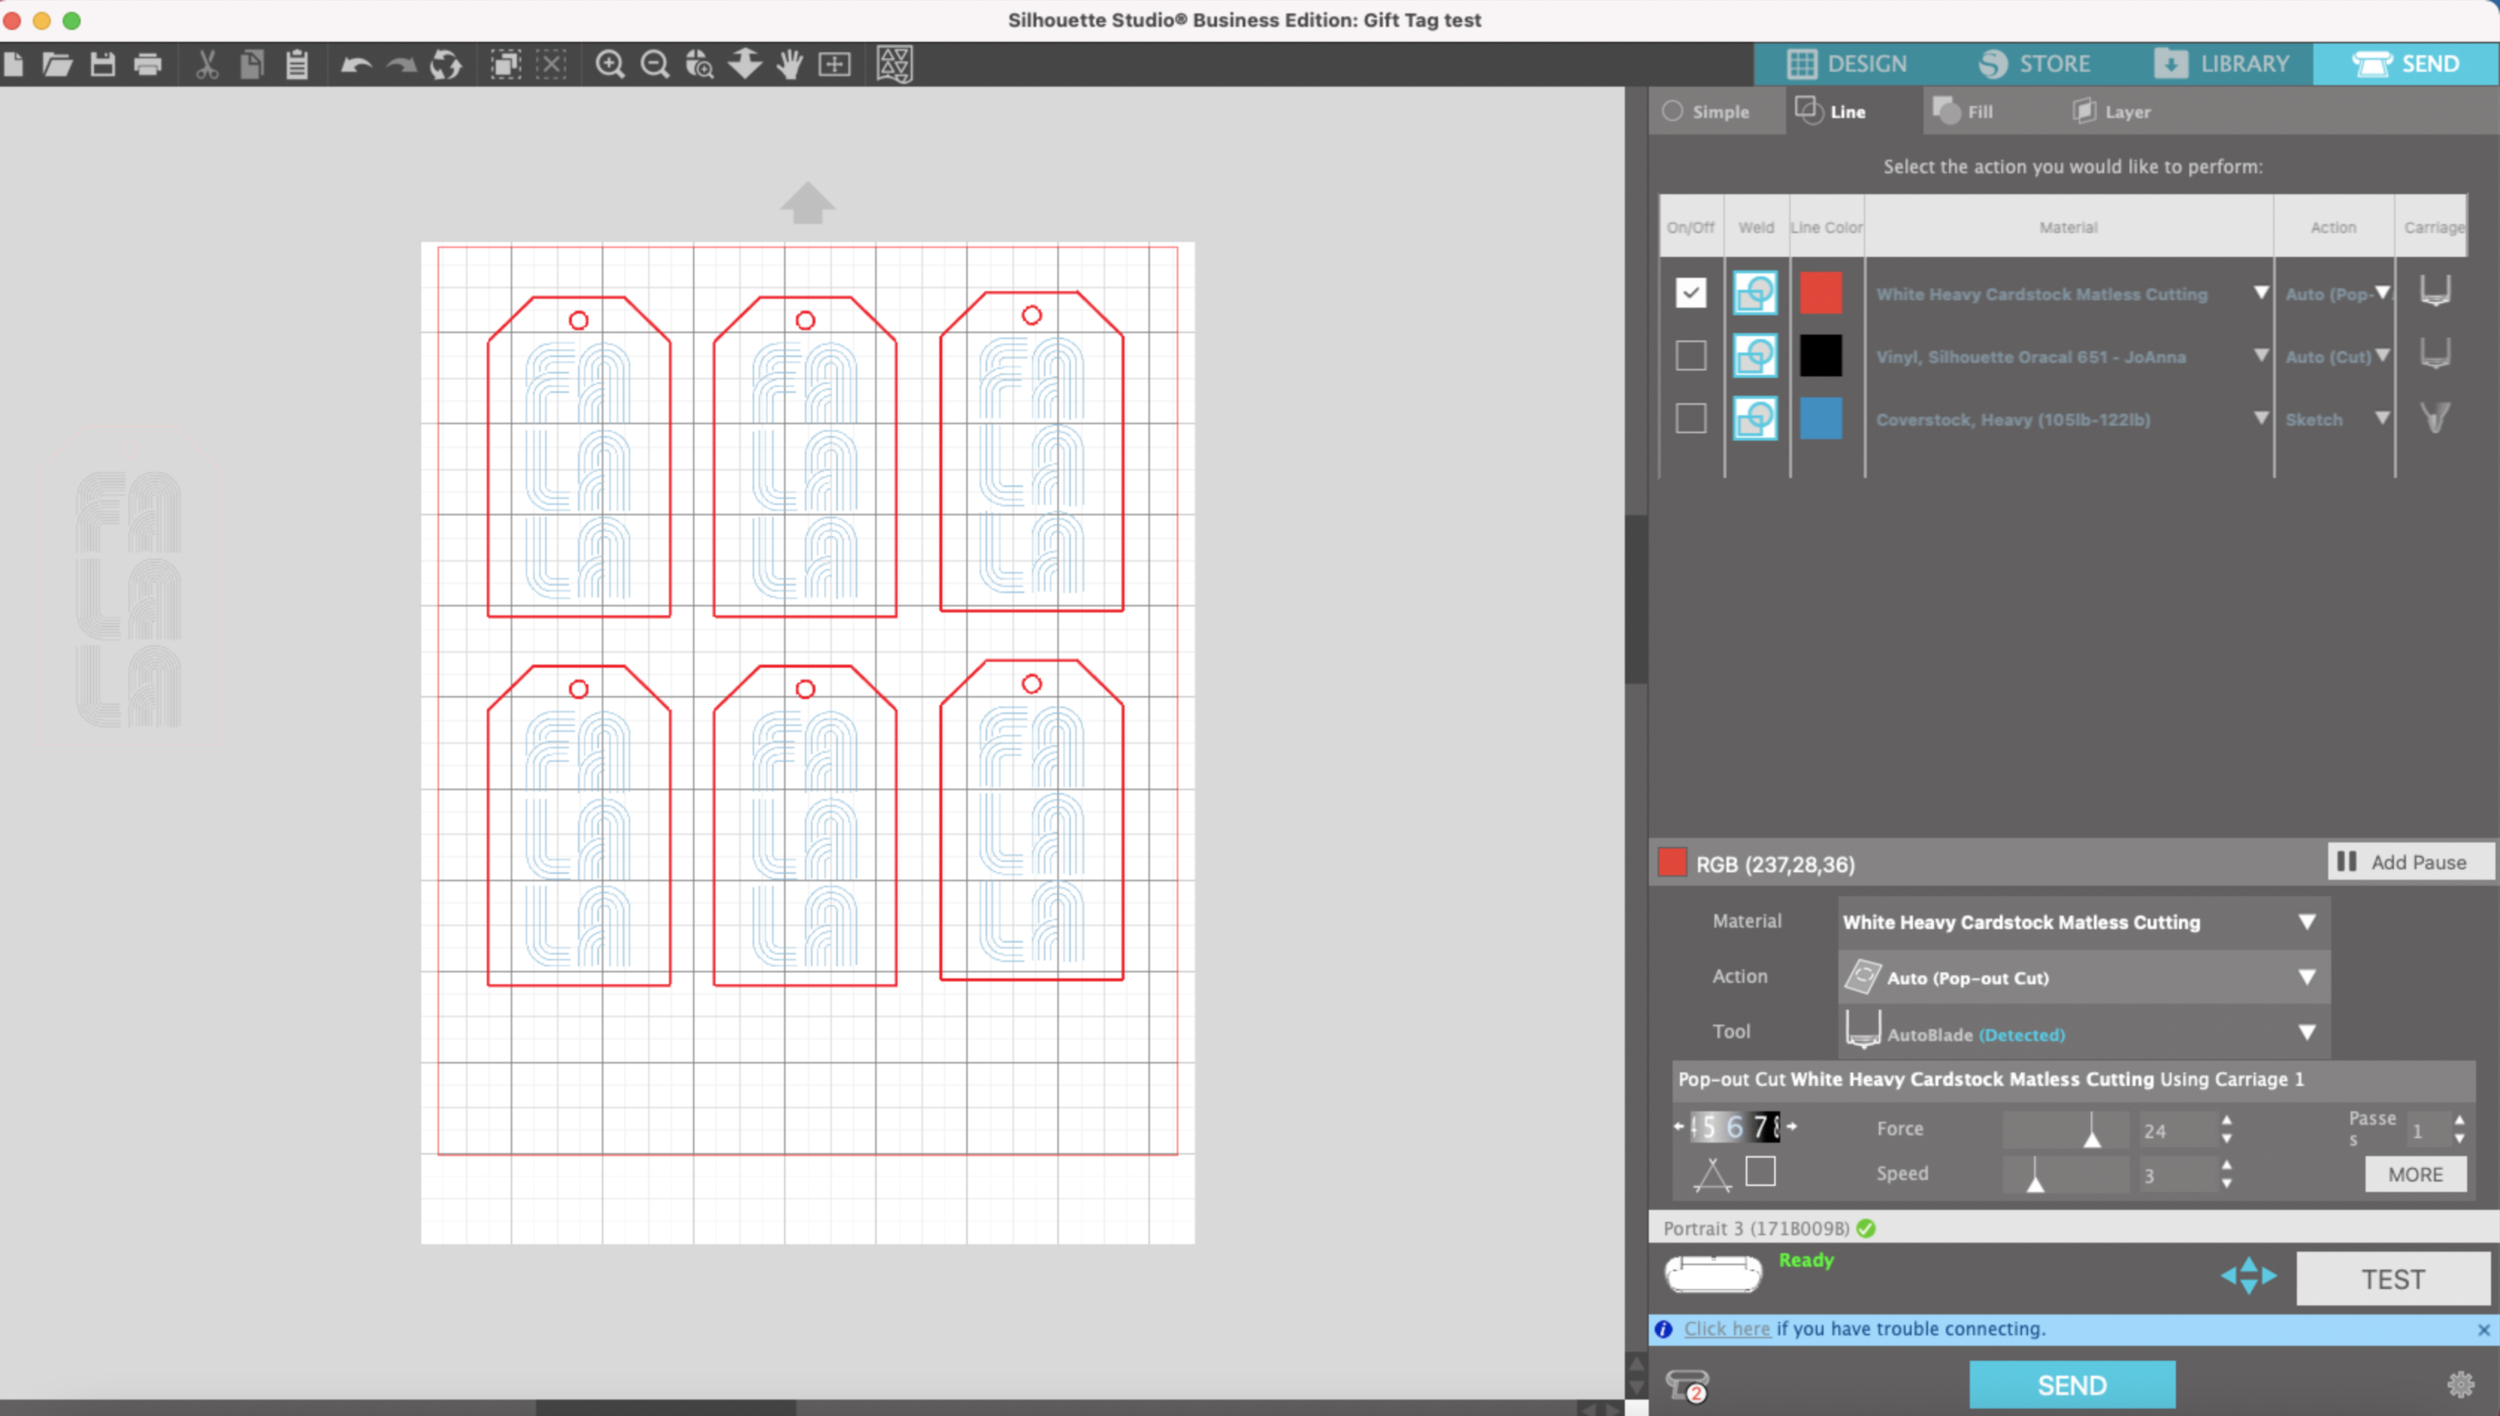
I already set up my design to be drawn and cut matless. Each operation will be done according to line color - the blue lines will be drawn with the glue pen, the red lines will be cut. Make sure your design is set up so it is between the rollers on your machine, you don’t want to get glue all over the rollers!

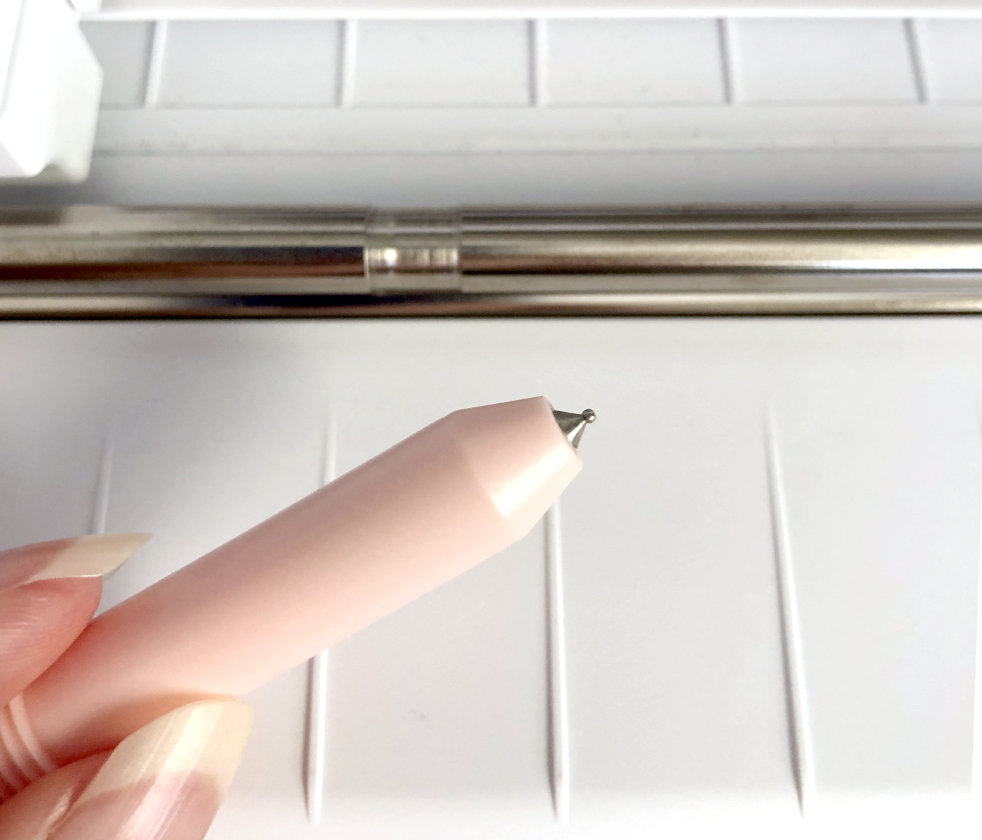
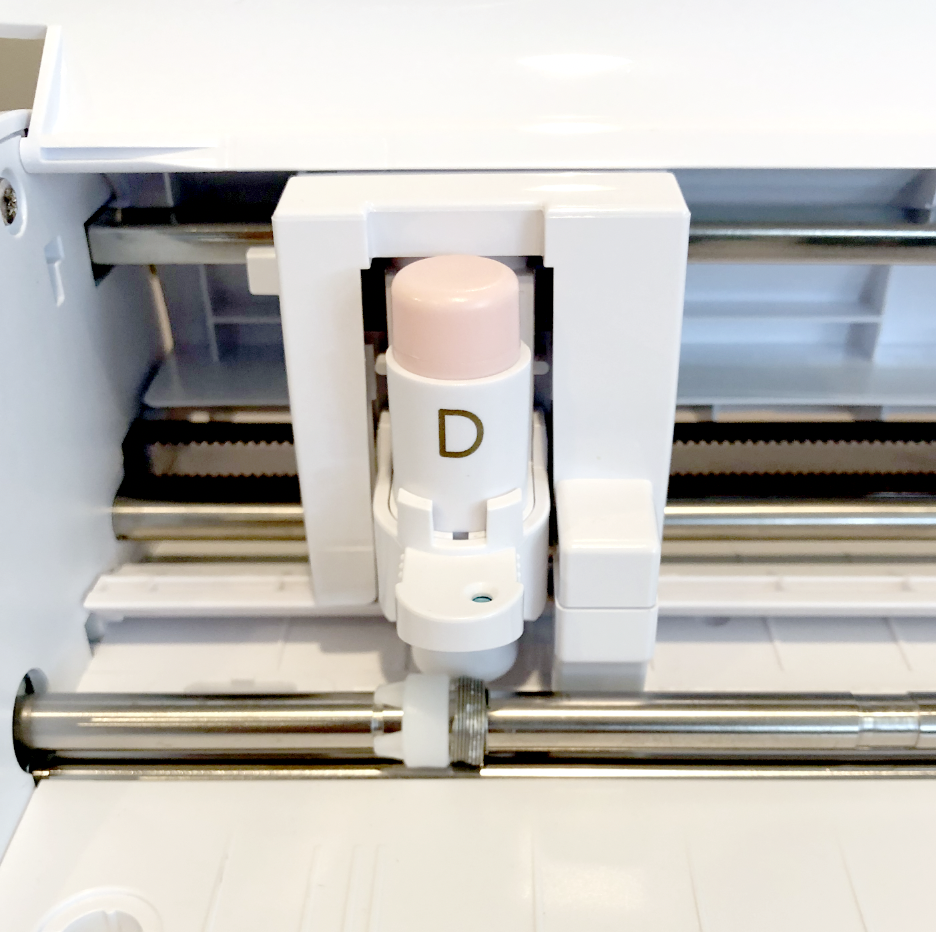
First, I’m going to start with the WRMK Glue Quill. (there are other brands of glue pens you can try, but this is the one I have on hand.) Before loading you pen into the machine, be sure to scribble your pen on a little piece of scrap paper to make sure the glue is flowing. I am using the pen adapter that is made for the Silhouette machines.

I’m going to do the drawing with the glue pen first (the blue lines). I select the heavy coverstock as my material. I’m going to slow down the speed from 5 to a 3, so the glue flows from the pen evenly.

Screen Shot 2021-08-15 at 12.19.28 PM.png

After the machine is done drawing, DO NOT remove the cardstock. I’m going to let the glue dry for a few minutes. It dries pretty quickly and still remains a little tacky, which is exactly what we need to apply the foil.

Screen Shot 2021-08-15 at 12.17.44 PM.png

After the glue is dry, I’m going to cut out my gift tags. I check the box for the red lines & use the Pop out cut.

Screen Shot 2021-08-15 at 10.45.28 AM.png

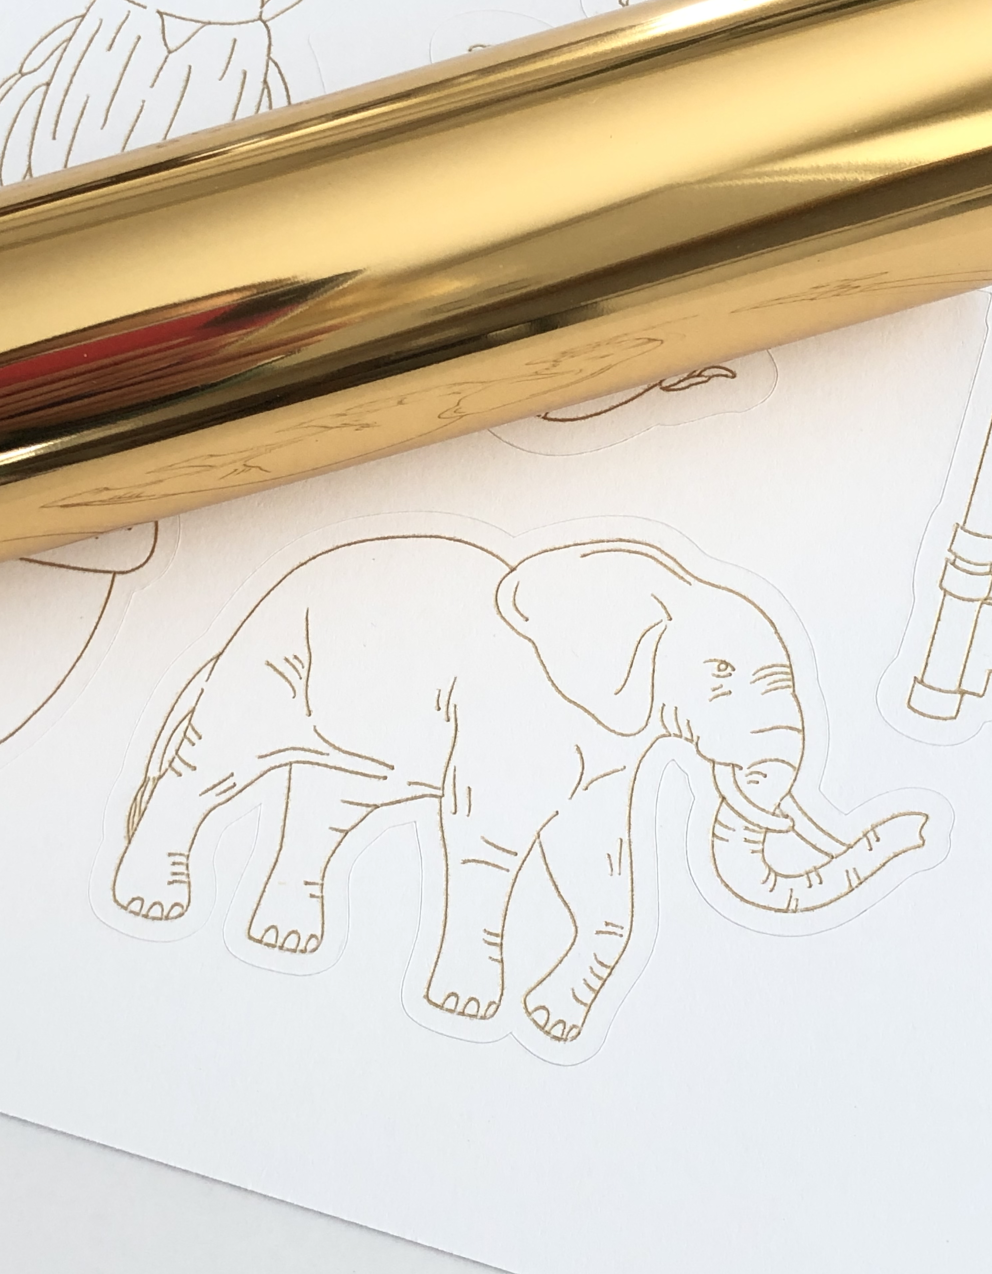
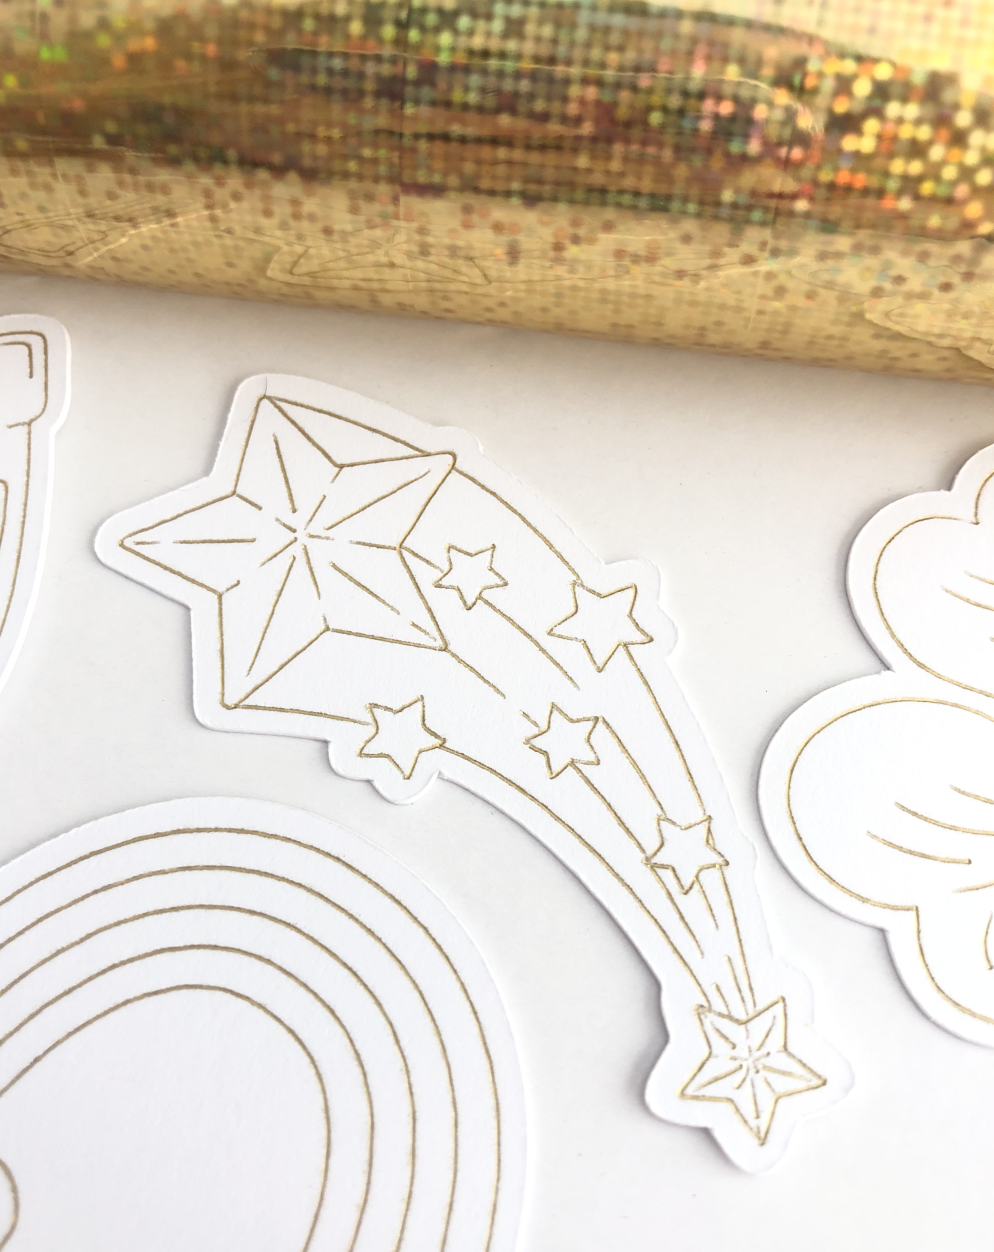
I cut some small pieces of foil to fit the gift tags. I lay the foil over the gift tag, making sure all of the glue areas are covered by the foil.

Screen Shot 2021-08-15 at 12.23.05 PM.png

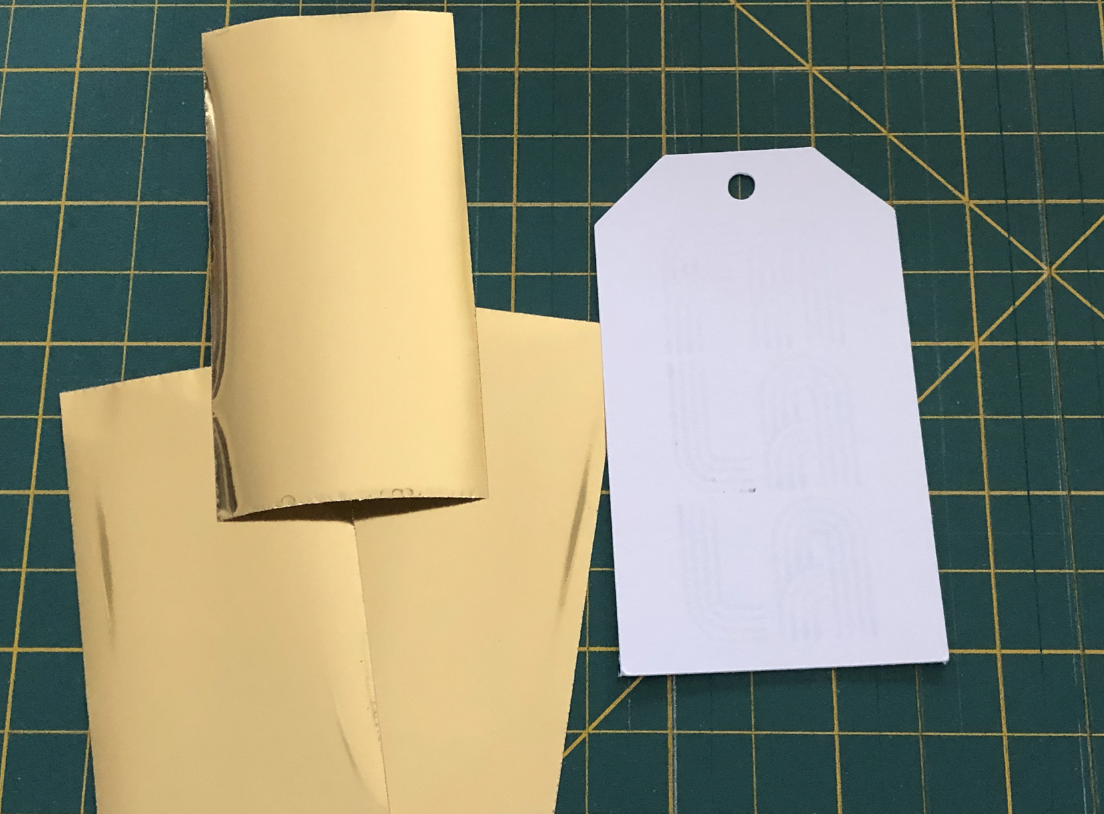
I use an old credit card as a scraper, but you can also use a small squeegee. I smooth the foil down in all directions, vertical, horizontal, etc.

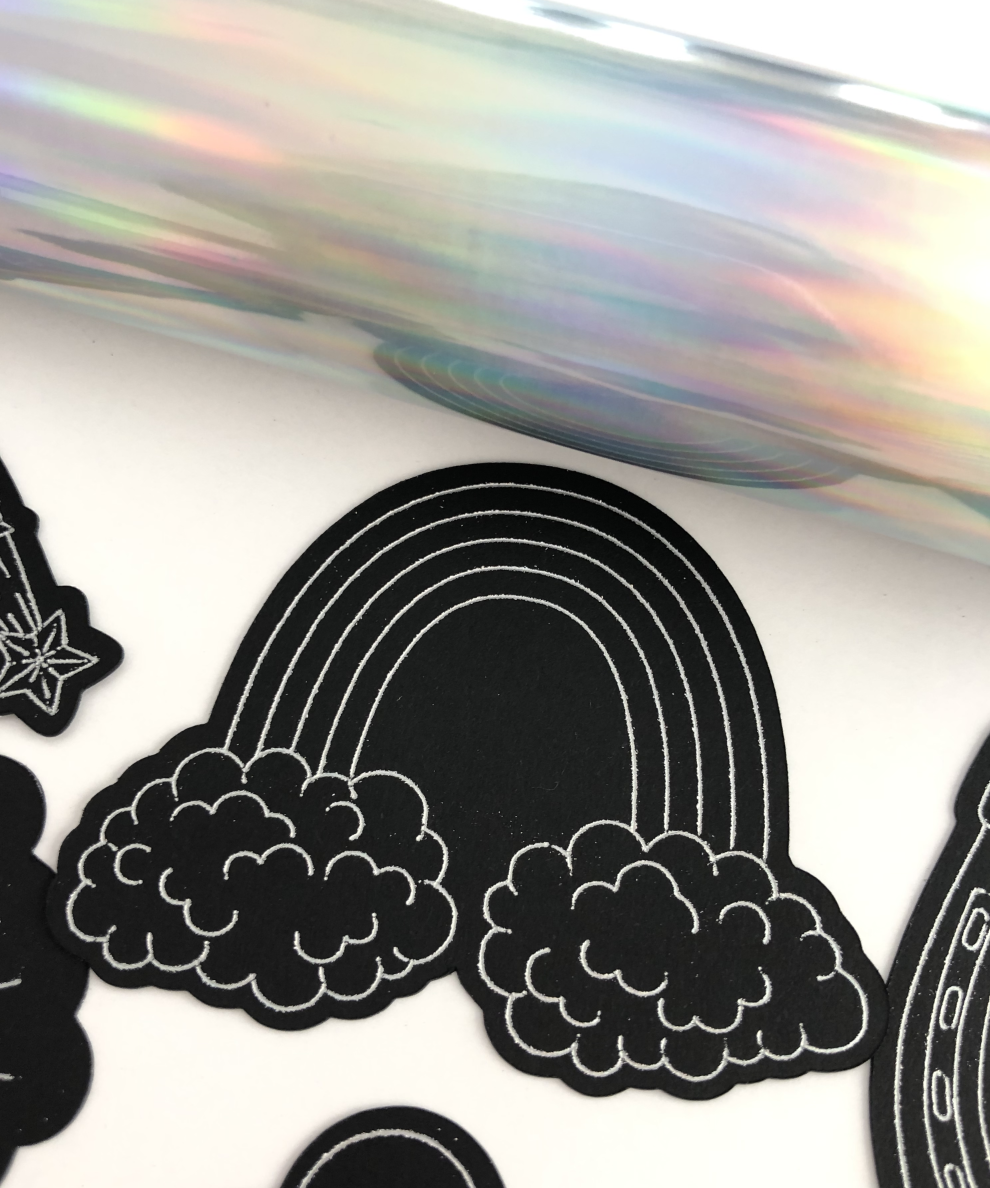
Once I see the letters starting to appear, I lift the foil to check my progress. If there are a few spots missing the foil, you can continue to go over it with the squeegee, you can even reposition to foil if needed and continue to squeegee.

Screen Shot 2021-08-15 at 12.24.16 PM.png

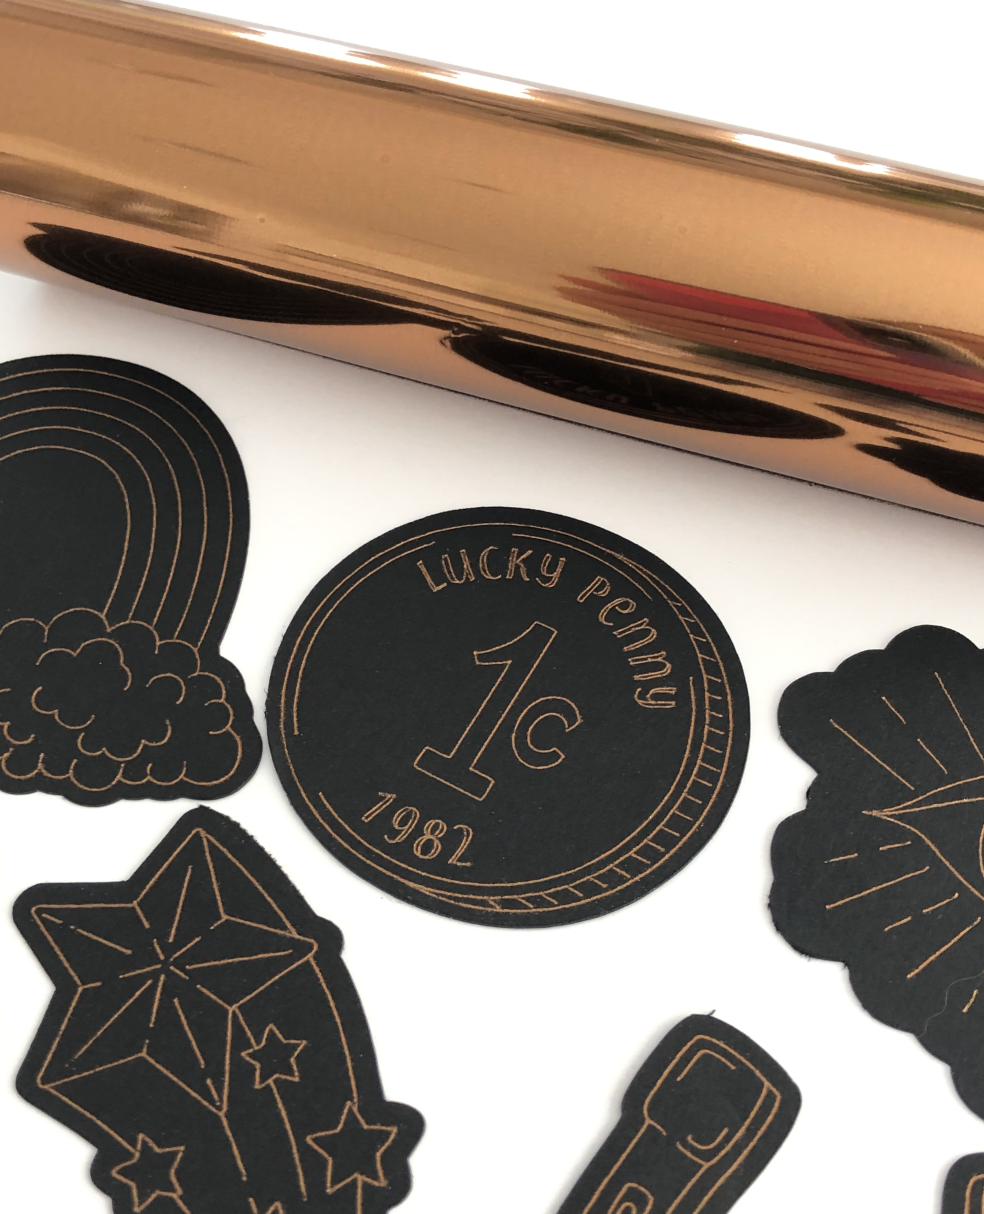
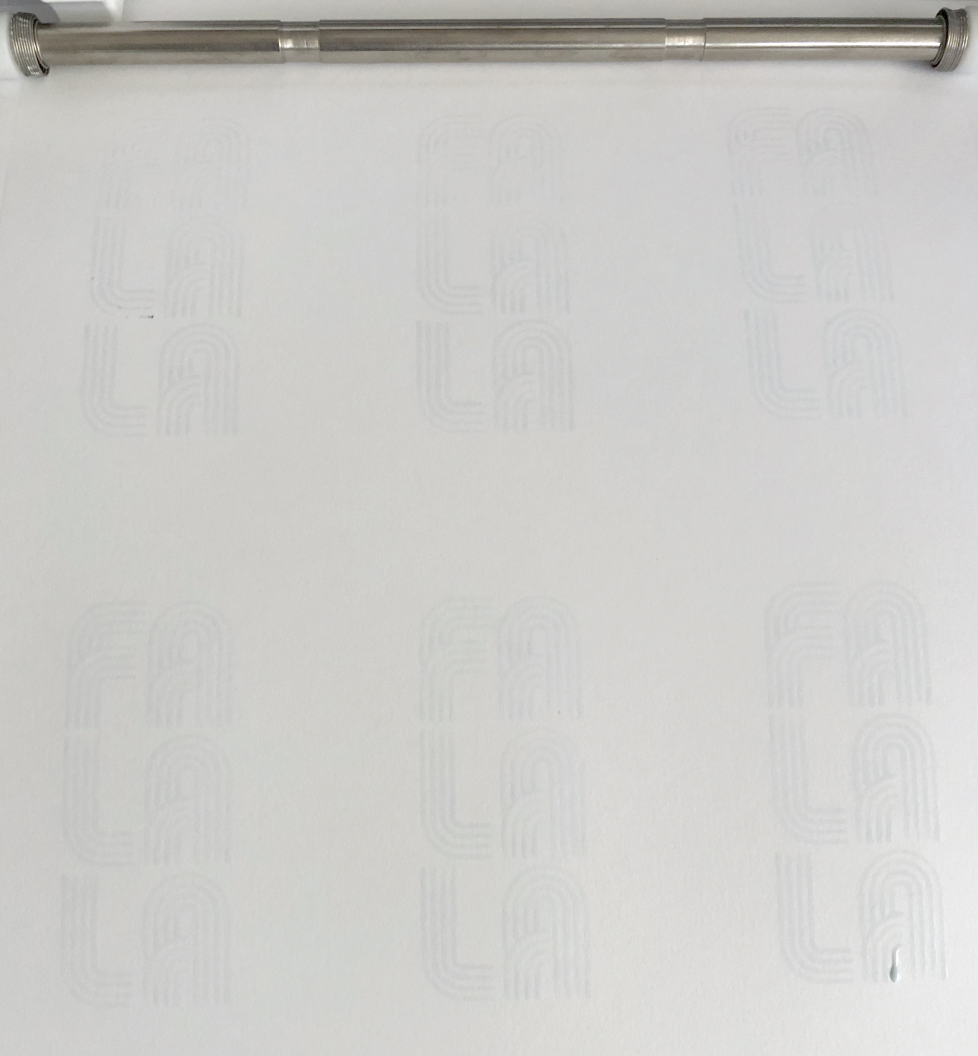
Once it’s done, I carefully brush off any foil dust and you have a foiled gift tag! This technique gives the lines kind of a vintage, distressed look.

Screen Shot 2021-08-15 at 12.28.34 PM.png

Foiling with the Silhouette Portrait 3 and WRMK Bevel Quill

Links in the article below may be affiliate links.

Hi Everyone!

Last week I did some foiling with my Portrait 3 and the WRMK foil quill. This week I wanted to share another technique you can use to foil with your Silhouette Portrait 3 or Cameo.

I found the WRMK Bevel Quill a few weeks ago in the clearance section at my local JoAnn’s, and I’m a sucker for all the little attachments for Cricut and Silhouette machines. Another bonus, I can use this tip in either my Cricut Maker or my Portrait 3.

The bevel tip has a small ball point and is intended to deboss on the “bevel board" materials that are included with the tip , but I wanted to try it with the Spellbinders Glimmer Foil since the foil is also pressure sensitive.

WRMK Bevel Quill

WRMK Bevel Quill

The A adapter included in the kit is intended for the Silhouette machines, but it doesn’t fit the Portrait 3 or Cameo 4.

First, I tried it with the D adapter that also came in the kit, but it doesn’t fit very snugly in the Portrait 3 and pops up out of the tool holder every so slightly when the machine presses down on the tip and there’s no longer any pressure for the tip to apply the foil.

So I grabbed the D adapter from my foil quill set, it’s just a hair wider than the other D adapter. It makes such a big difference, and it stays nice and snug in the tool holder.

D adapter from Foil Quill set

D adapter from Foil Quill set

Once again, I used my favorite black cardstock and the Standard grip mat with the regular copper and gold Spellbinder foils. I tried out a few different settings. I ended up getting pretty decent results with my Force between 20-25, Speed 2, and 2 passes.

Copper foil and gold foil on black cardstock

Copper foil and gold foil on black cardstock

The results are pretty close to what I get with my Cricut Foil Transfer tool and my Maker. The foil doesn’t always stick in some places and it can be a little dusty when you remove the foil sheet after transferring. The WRMK Foil Quill is still my favorite tool for foiling, but this is definitely a good option if you don’t want to be bothered heating up the WRMK Foil Quill.

Foiling with WRMK Bevel Quill

A Cricut Foil Transfer Sheet Alternative

Links in the article may be affiliate links.

Hi Everyone! Now that I’ve found some good black cardstock and decent pressure settings, I’ve been experimenting more and more with my Cricut Foil Transfer tool. One of the drawbacks to the foil transfer tool is that there aren’t really any pressure sensitive foils available, aside from the Cricut brand.

I’ve been researching other foils to use and came across some people having success with the Spellbinders Glimmer Hot Foils. They are labeled as hot foils, not pressure sensitive, but other people have been getting good results with them, so I thought I would give them a try. I purchased the essential metallics set, which includes a roll of gold, silver, copper, and pewter. I also bought a set of iridescents that contains a roll of silver, gold, purple, and teal.

These rolls are only 5 inches wide which is something to consider when laying out your design. But they are also 15 ft. long, so there’s a lot of length to work with. You’re not just limited to the 4x6 or 12x12 sheets like the Cricut brand.

I going to test some of my single line SVG files on heavy cardstock. I’m using the Cricut Foil Transfer Fine Point tip.

Since I use gold a lot, I’m first going to test the gold from the essential metallics set. I think the foil sheet is little heavier than the Cricut brand. It didn’t curl up and was pretty easy to tape it down flat even though I cut it from a roll.

Even though I’m using heavy 100lb cardstock, I set my material to Copy Paper 20lb, default pressure for the Foil Transfer tool. I’ve been getting the best results so far with these settings.

After my machine is done, I peel back the foil and the results are BEAUTIFUL!!!

Cricut Foil Alternative

Next, I’m trying the copper from the same essential metallics set. This time I’m testing it on my new favorite black cardstock. Again, the results are GORGEOUS! The copper is a little dustier than the gold. I was able to carefully clean it up with some blue painters tape, without the tape removing foil from the actual design.

Cricut Foil Alternative

Now, I’m going to try a couple of the colors from the iridescent set. First up is the silver iridescent. It transferred nicely, but the iridescence gets a little lost, most likely due to the thinness of the lines.

Screen Shot 2021-06-06 at 11.20.23 AM.png

I also tried the gold confetti iridescent roll. Again, it transferred nicely, but the iridescent effect gets lost. Once again, probably due to the thickness of my lines.

Cricut Foil Alternative

Overall, I REALLY like this foil. I feel like I get more consistent and better results than with the Cricut foil. They also have a wider selection of colors than the Cricut brand. The only drawback I have found so far is the 5 inch width of the roll. But it shouldn’t be that much of an issue if I plan my designs accordingly.

I also plan on trying this foil with my WRMK foil quill. I’ll post those results later.