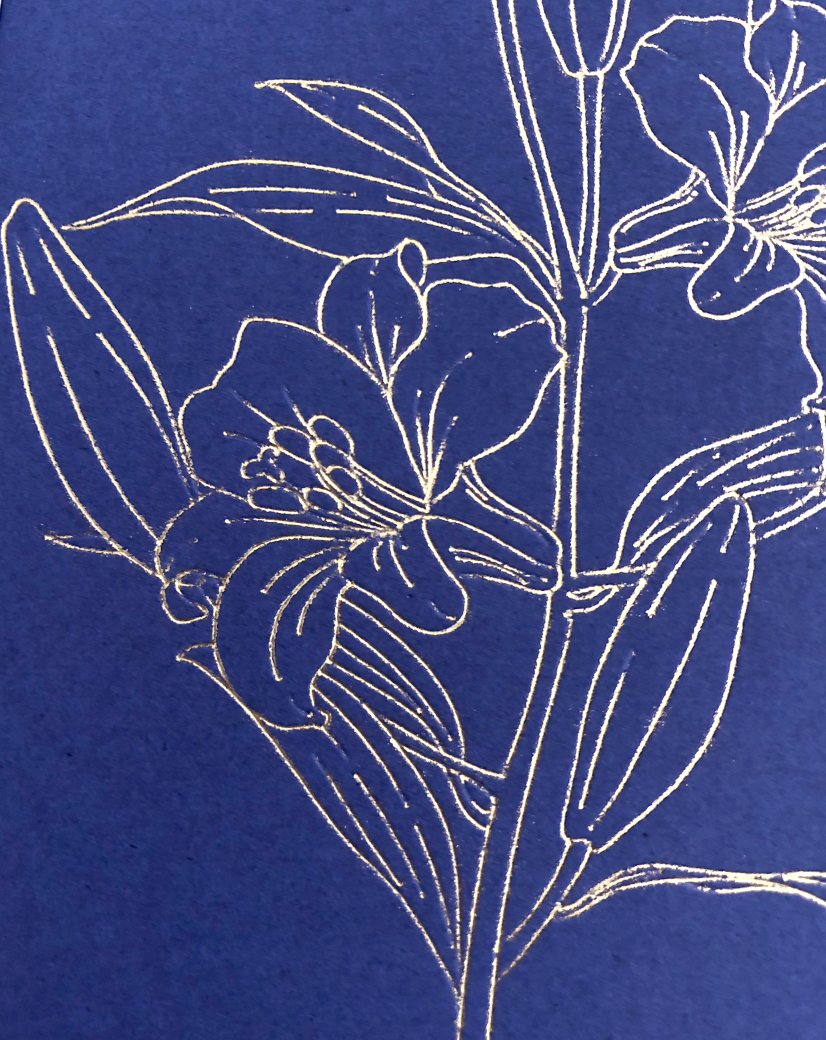
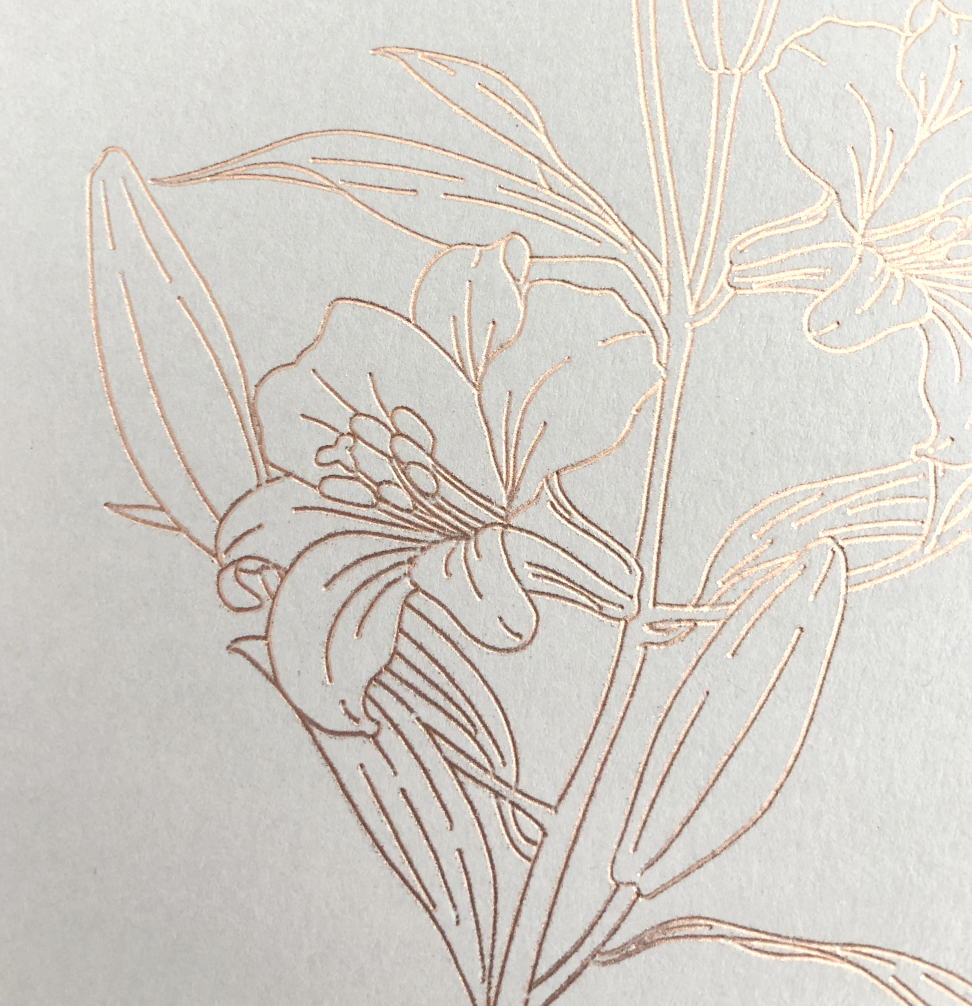
Cricut Foil Transfer Tool

My Top 5 Tips for Using the Cricut Foil Transfer Tool

Links in the article below may be affiliate links.

Hi Everyone! I know it can be difficult getting the results you want with the Cricut Foil Transfer tool. I still struggle with it sometimes, especially on new projects. Here are some of my top tips for working with the foil transfer tool…

Choose a cardstock that is smooth, but not super smooth

Not all cardstocks are created equal. I have my favorite black cardstock, that after some testing, takes the foil beautifully and another black cardstock that ends up very patchy and the foil rubs off.

I also have a multi color pack of 65lb Recollections cardstock that I purchased from Michael’s. Although the cardstocks should all the the same quality, I’ve noticed that the surfaces of some of the colors are slightly smoother than the others. The darker colors especially seem to be smoother and the foil doesn’t always stick well (see photo of blue cardstock below). The foil sticks great to some of the lighter colors that aren’t quite as smooth (see photo of light grey cardstock below).

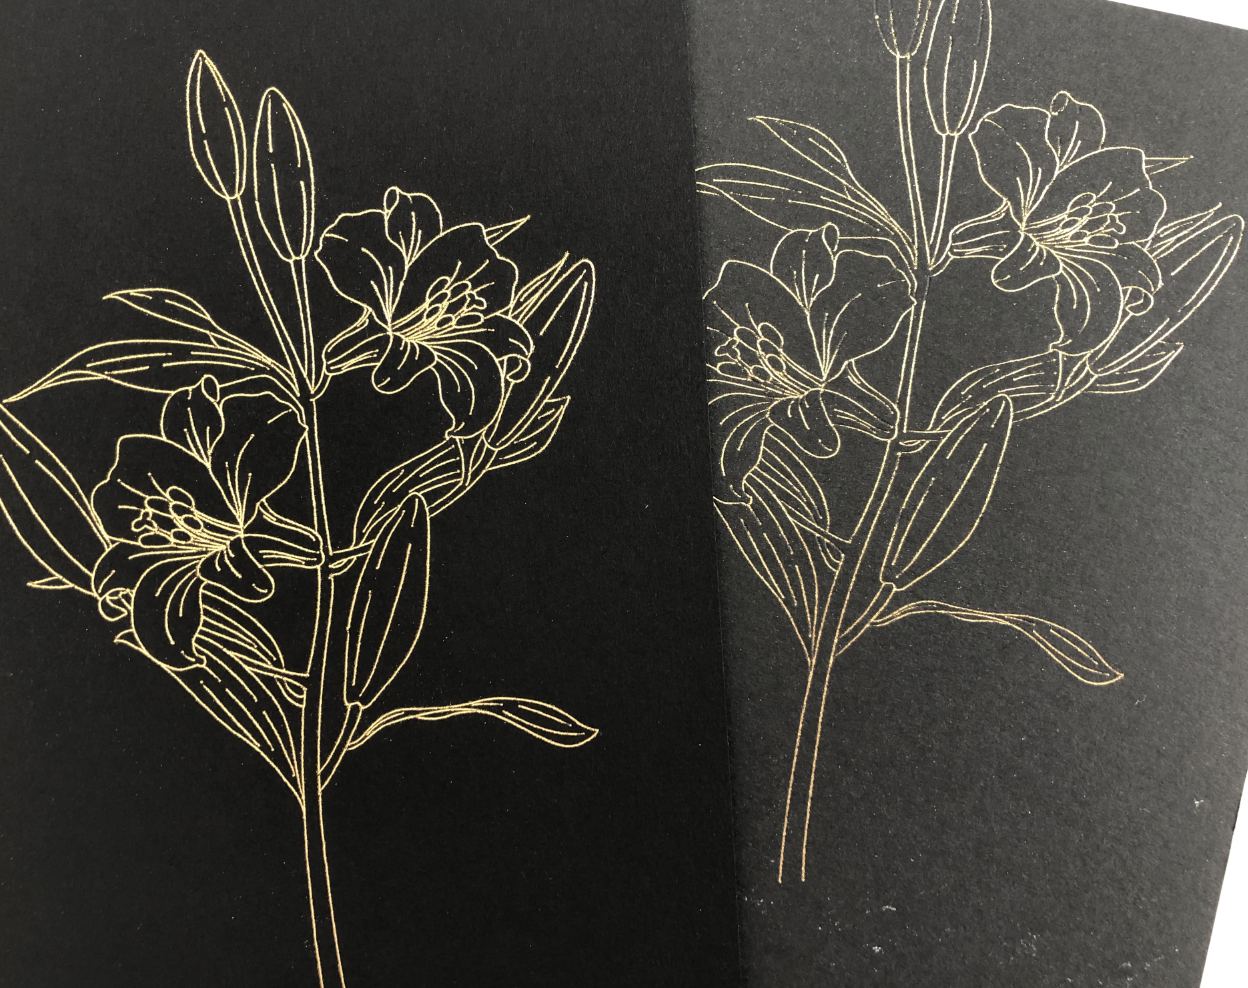
(L) My favorite black cardstock that foils beautifully, (R) Black cardstock that is smoother, but the foil does NOT transfer well.

(L) My favorite black cardstock that foils beautifully, (R) Black cardstock that is smoother, but the foil does NOT transfer well.

65lb blue cardstock from Recollections multicolor pack, Medium Foil transfer tip, Settings: Light cardstock & less pressure

65lb blue cardstock from Recollections multicolor pack, Medium Foil transfer tip, Settings: Light cardstock & less pressure

65lb light grey cardstock from the same Recollections multicolor pack, Medium Foil transfer tip, Settings: Light cardstock & less pressure

65lb light grey cardstock from the same Recollections multicolor pack, Medium Foil transfer tip, Settings: Light cardstock & less pressure

Use Masking Tape, Blue Painters Tape or Washi Tape

The tape that comes with the foil transfer sheets is designed to NOT stick to the mat. Depending on my design, sometimes my foil sheet goes right to the edge of my cardstock and I need my tape to stick to the mat. I prefer to use masking tape, blue painter’s tape or Washi tape. These tapes all stick well to the mat, and I can usually reuse them a few times.

(L) Blue painter’s tape, (C) masking tape, (R) Washi tape

(L) Blue painter’s tape, (C) masking tape, (R) Washi tape

Tape the foil sheet as flat and tight as possible

Before taping down your foil, use a brayer to fully adhere your cardstock or whatever material you are using to the mat.

Cricut Foil Transfer tool tips

Then lay the foil over the cardstock and tape it on all four sides as tight and flat as possible. As the transfer tool moves around it stretches the foil transfer sheet, so it’s best to start out with no wrinkles and get it as tight as possible in the beginning.

Tape all four sides so the foil is flat and taut.

Tape all four sides so the foil is flat and taut.

Always test your materials that you will be foiling

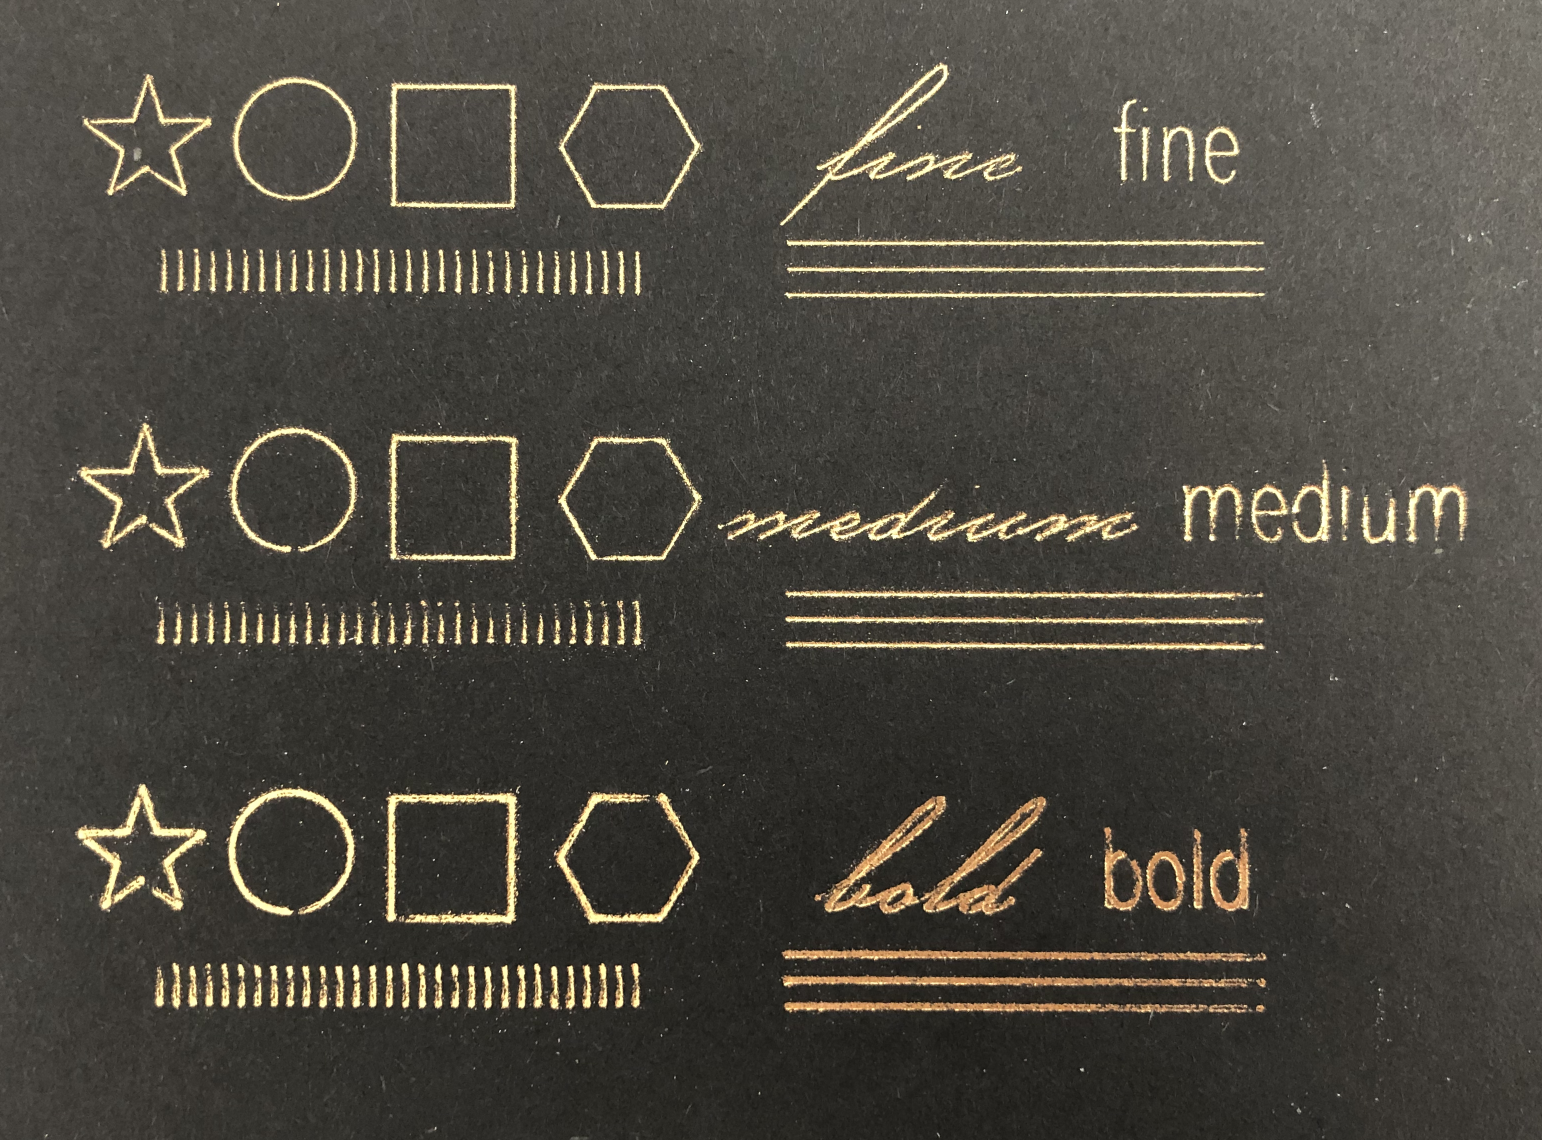
If you’re not sure the foil will stick to the materials you plan to use for your project, do a small test first. Also, you may need to do a small test to figure out the optimal pressure settings for your material. The default material settings can give you a jumping off point, but they don’t always produce the best results. I find I usually get the best results with the fine or medium tips. I haven’t been satisfied with any results from the bold tip.

Testing different tip sizes and pressure settings on black cardstock, no good results on this test.

Testing different tip sizes and pressure settings on black cardstock, no good results on this test.

Use Less Pressure

It kind of sounds counterintuitive, but I typically have better success when I select “Less Pressure” when I’m foiling. If it’s too much pressure, the foil does not stick completely, I’m usually left with an empty thin line from the tip of the transfer tool, or it just doesn’t stick in certain parts of the design.

For my heavier cardstocks (100lb-110lb) I’ve been getting good results with 20lb Copy Paper, Default Pressure settings.

For my 65lb Recollections cardstock I typically use the 65lb Lightweight Cardstock, Less Pressure settings, or the 20lb Copy Paper, Default Pressure settings.

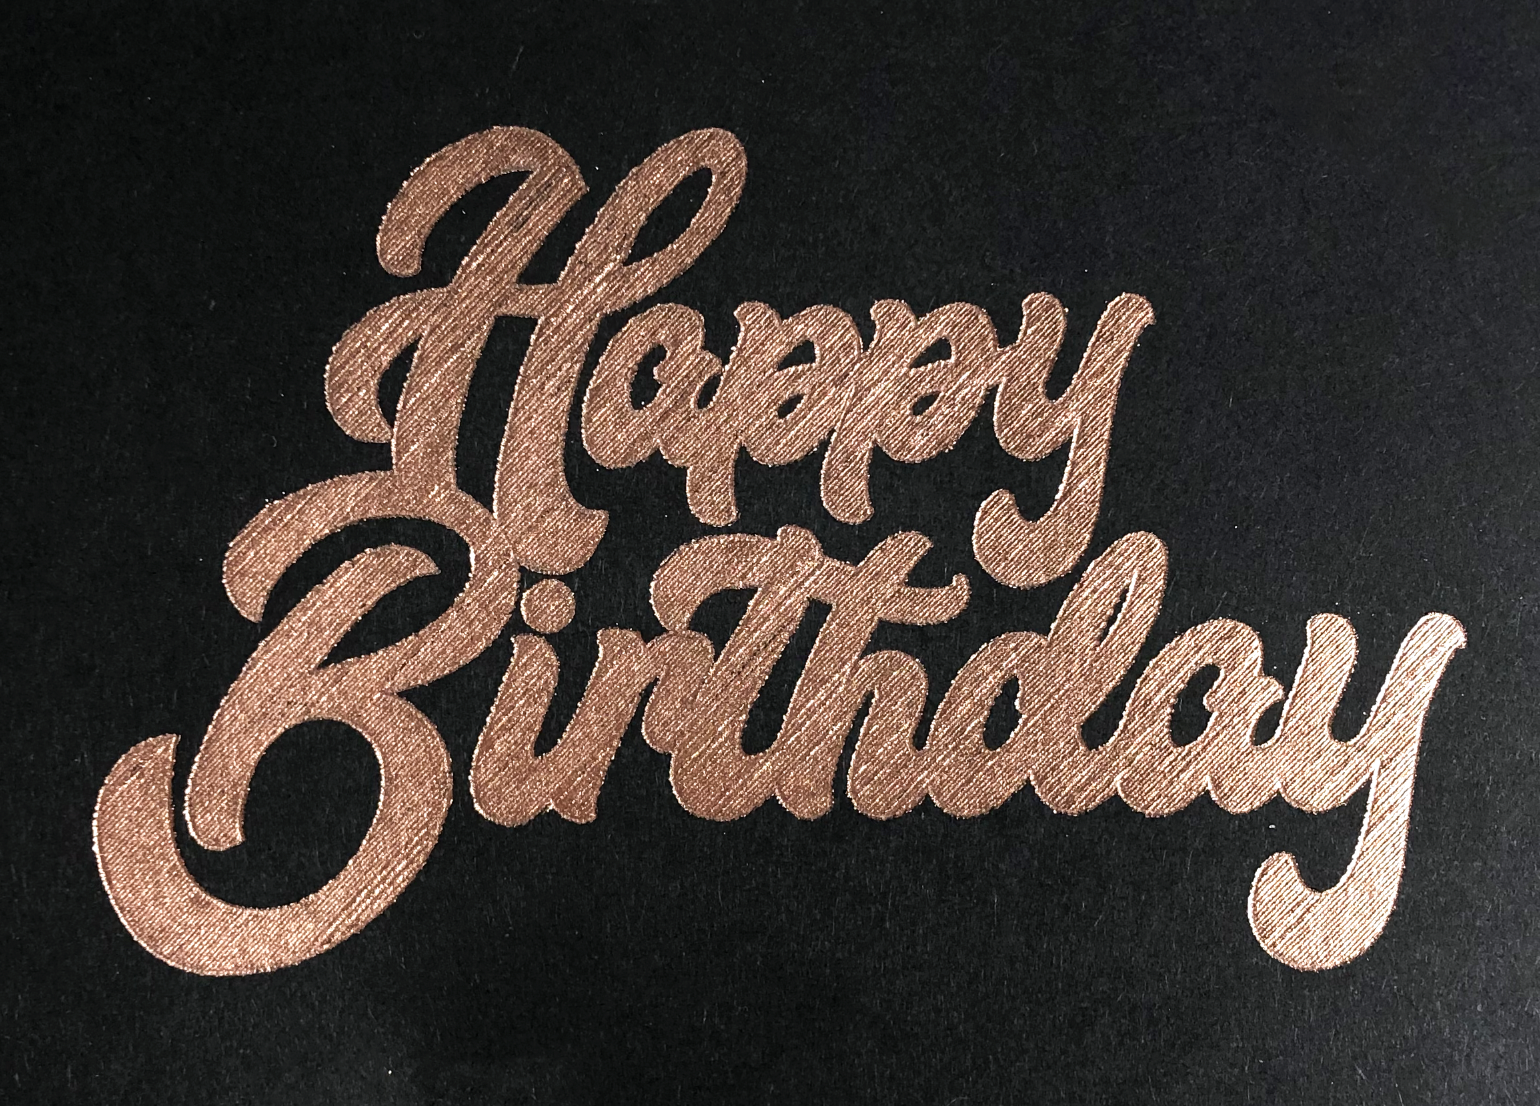
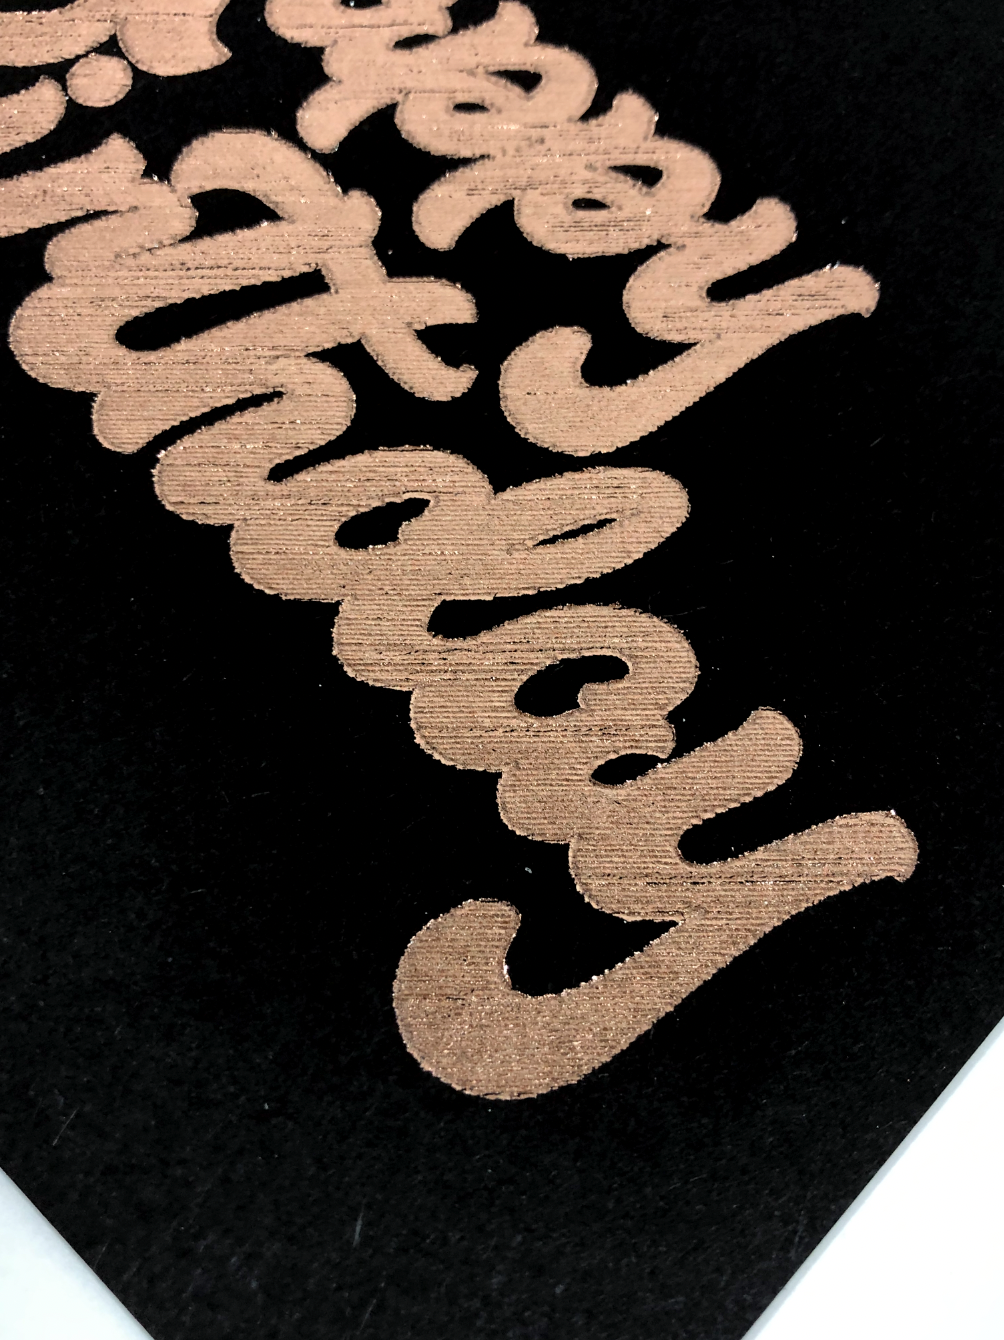
Beautiful results on black heavy cardstock using settings: 20lb copy paper, default pressure.

Beautiful results on black heavy cardstock using settings: 20lb copy paper, default pressure.
WRMK Foil Quill & Recollections Foil Transfer Sheets

Links in the article below may be affiliate links.

Hi Everyone! Last week I tested the Recollections brand foil transfer sheets with the Cricut Foil Transfer tool. This week I tried out the foil transfer sheets with the WRMK Foil Quill on my Silhouette Portrait 3 machine.

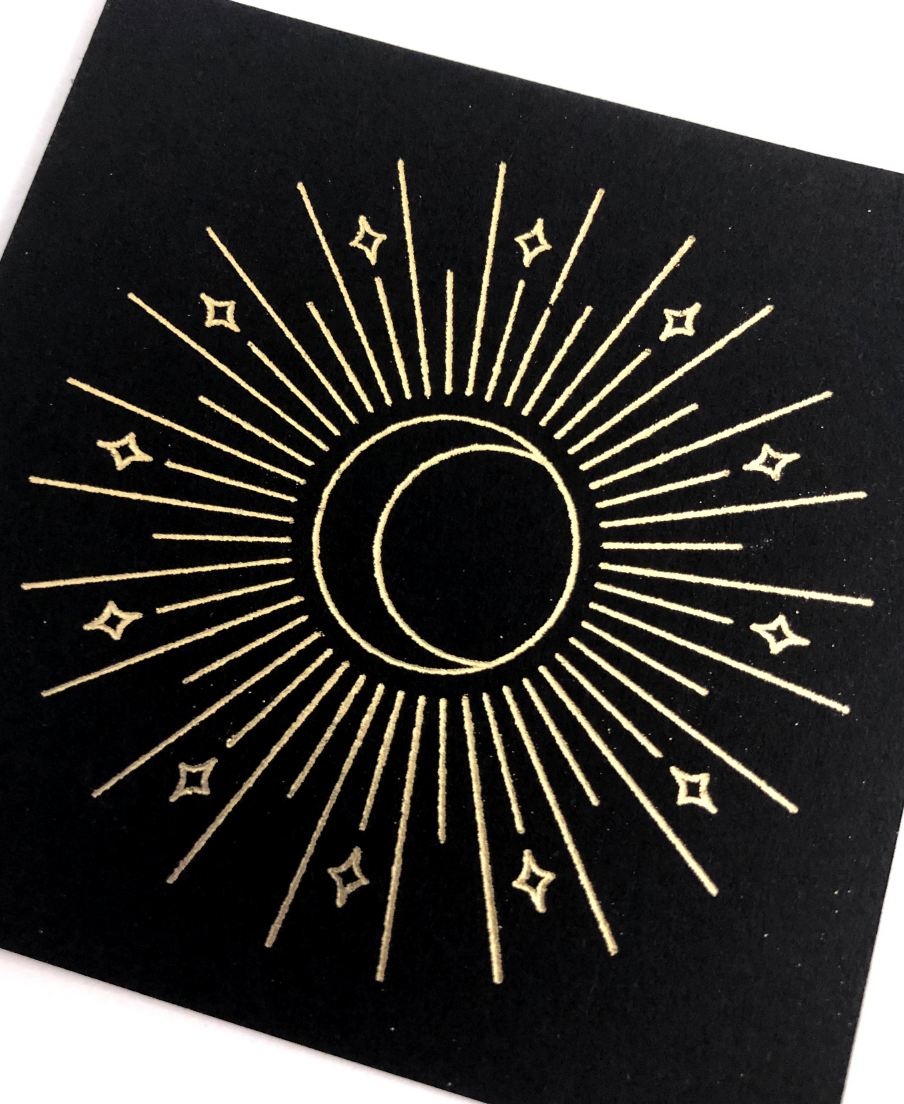
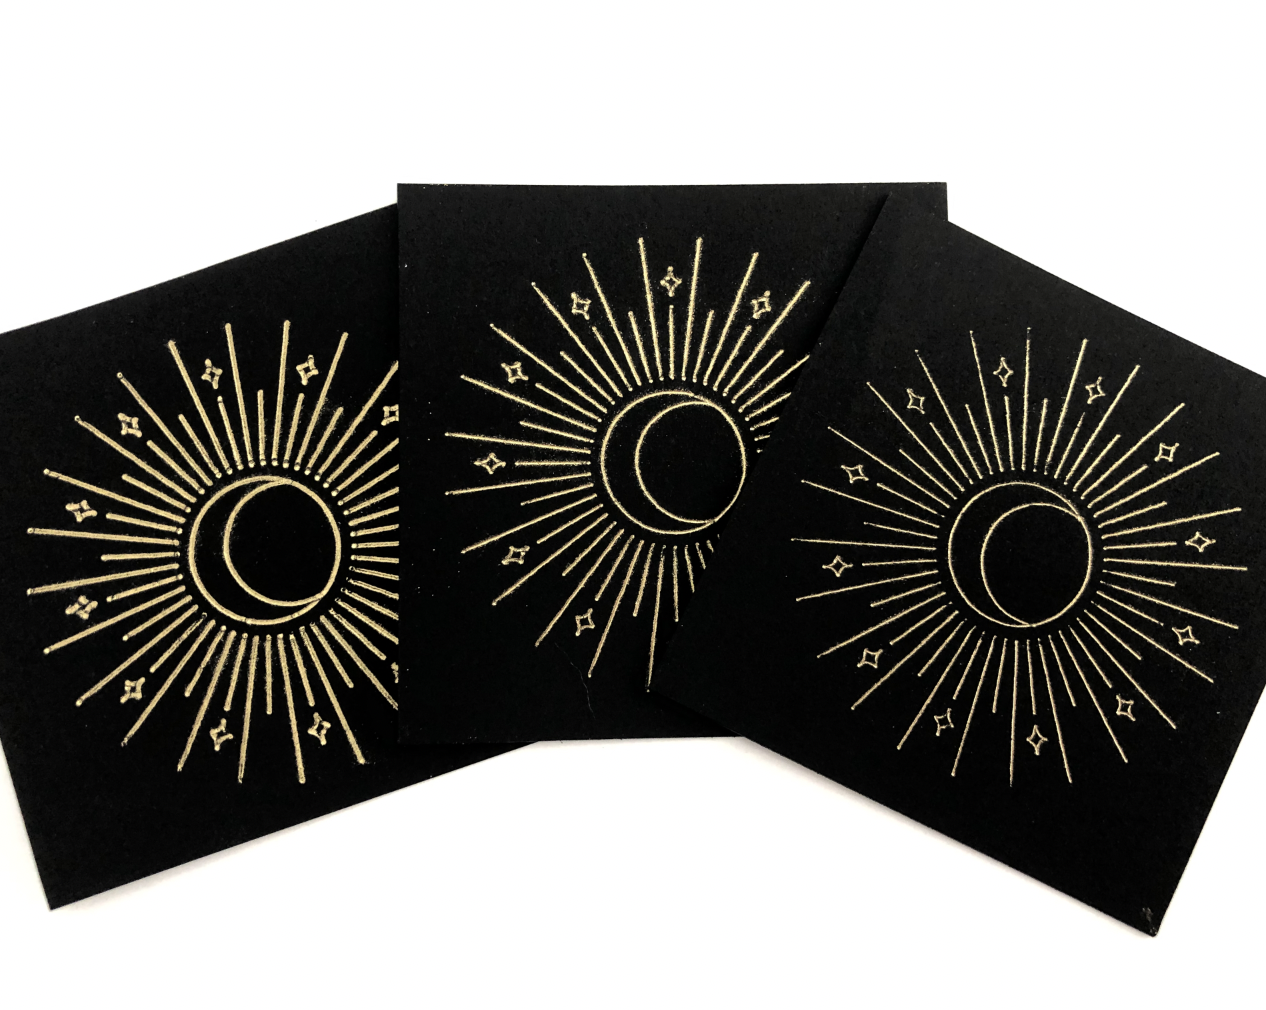
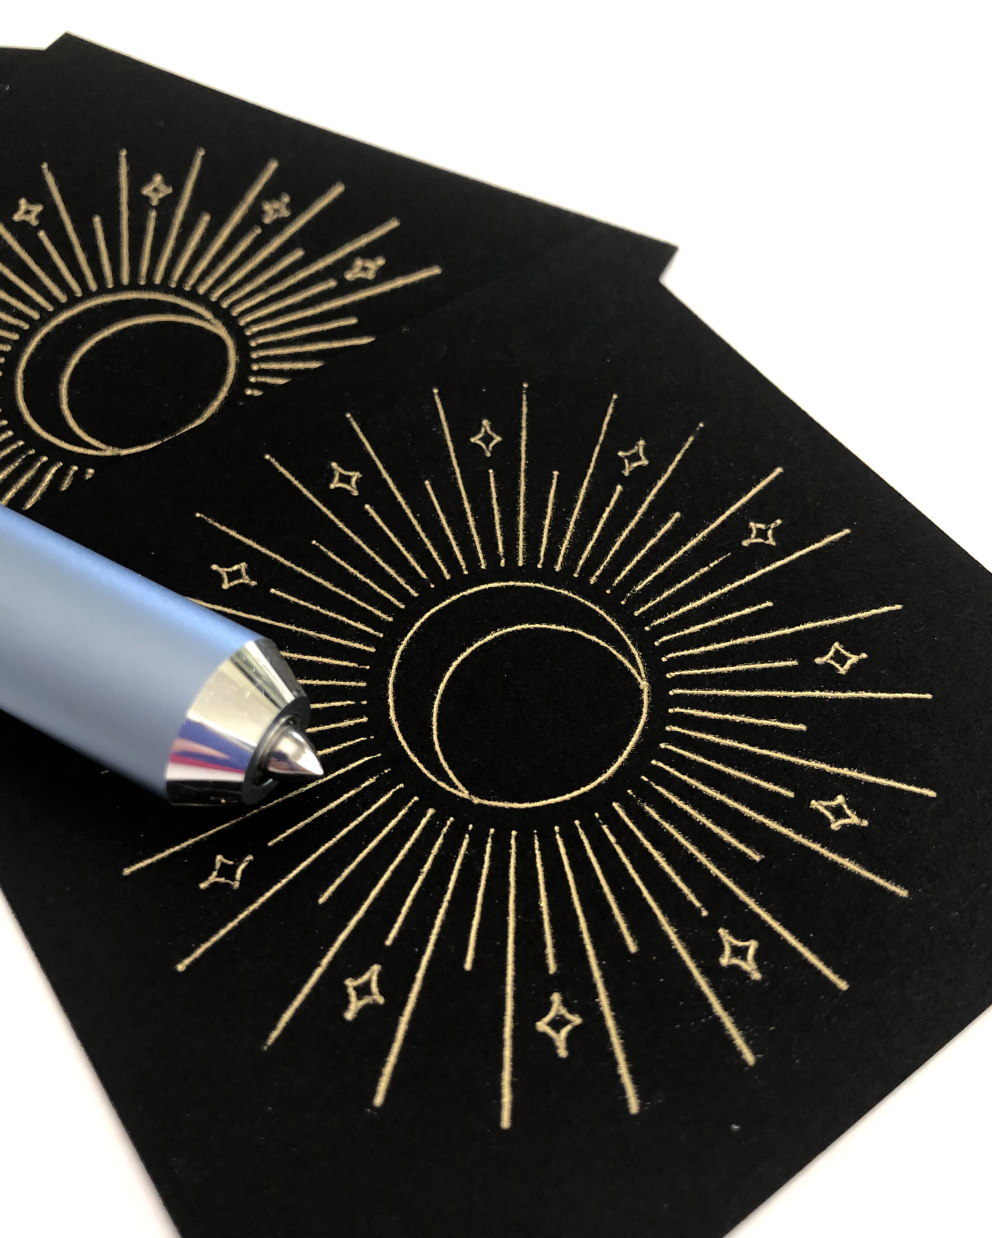
First I tried the gold foil. I used my celestial artwork from last week and the foil quill medium tip on my favorite black cardstock. On my Portrait 3 my speed is set to 2 and force is 22, I typically get good results foiling with these settings. And I got really great results with this foil!

WRMK Foil Quill, Recollections Gold Foil Transfer Sheets

WRMK Foil Quill, Recollections Gold Foil Transfer Sheets

Here it is next to the Cricut Foil Transfer tool version from last week.

(L) WRMK Foil Quill Medium Tip, (R) Cricut Foil TRansfer Tool Medium Tip

(L) WRMK Foil Quill Medium Tip, (R) Cricut Foil TRansfer Tool Medium Tip

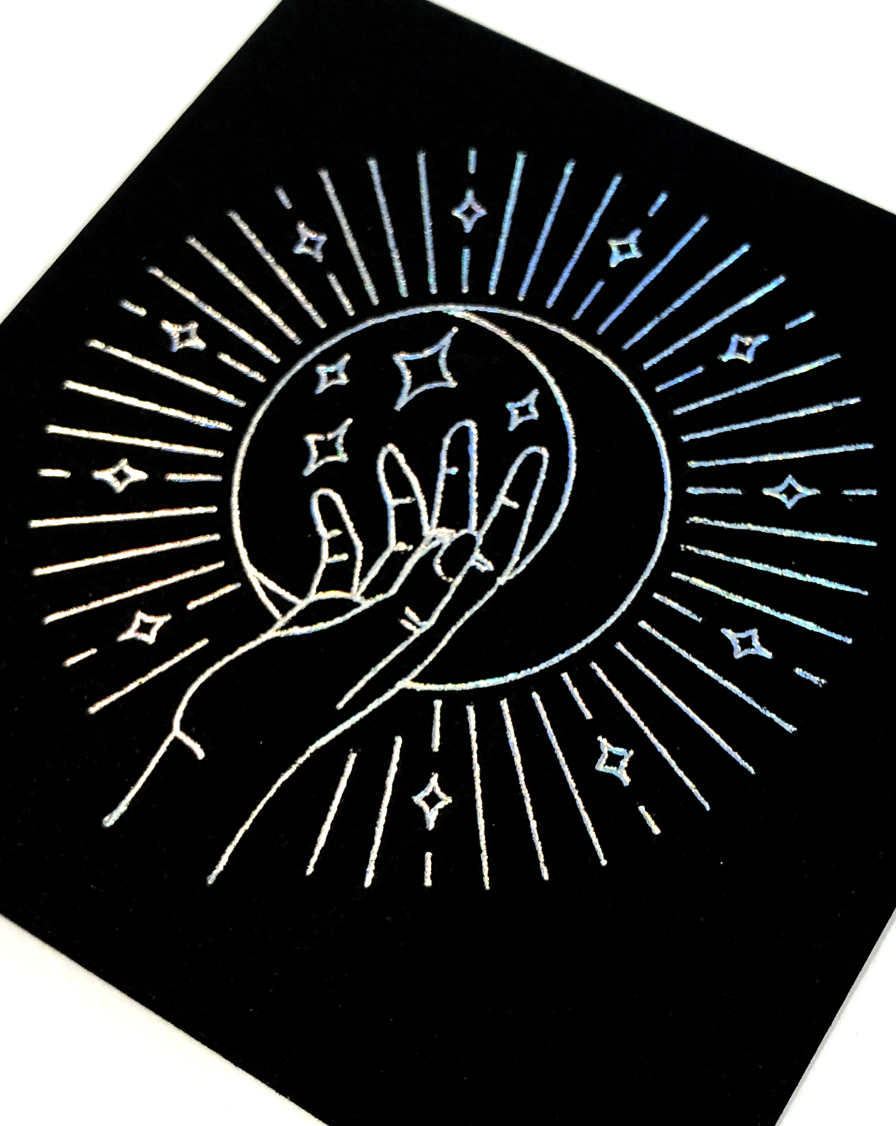
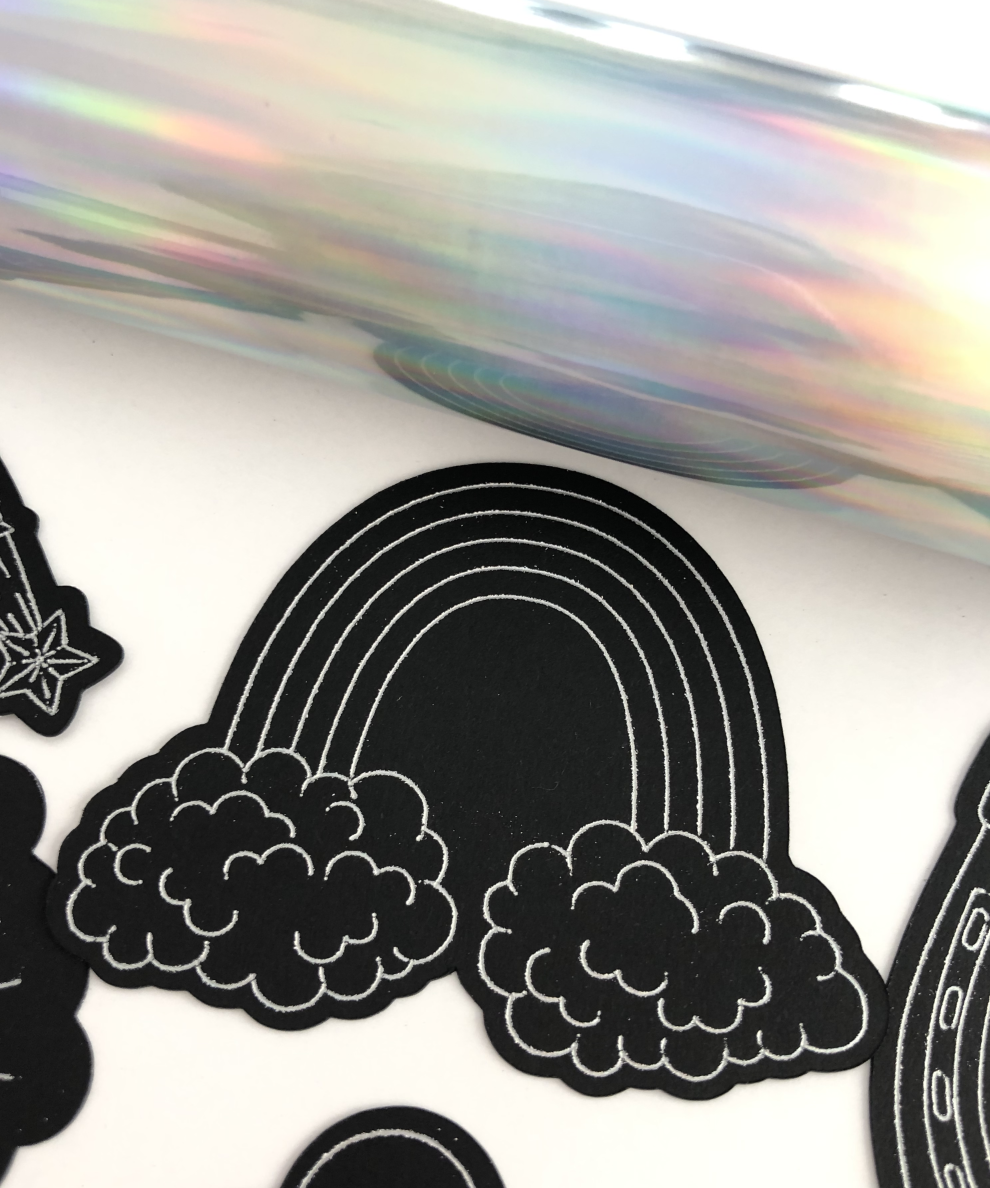
Next I tried the holographic foil. The results with the Cricut foil transfer tool were disappointing. But the results with the Foil Quill are beautiful! You can actually see the holographic effect on the on the cardstock.

Here’s a side by side of the holographic foil using Cricut Foil Transfer tool versus the Foil Quill. The Foil Quill version is stunning!

(L) WRMK Foil Quill Medium Tip, (R) Cricut Foil TRansfer Tool Medium Tip

(L) WRMK Foil Quill Medium Tip, (R) Cricut Foil TRansfer Tool Medium Tip

This foil is not labeled as being heat sensitive, but it works perfectly! It’s a really great option if you only need a small amount of foil and don’t want to buy an entire roll.

WRMK Foil Quill, Recollections Holographic Foil Transfer Sheet

WRMK Foil Quill, Recollections Holographic Foil Transfer Sheet

Another Cricut Foil Transfer Sheet Alternative

Links in the article below may be affiliate links.

Hi Everyone! I was browsing the Michael’s website for more foil colors for the Cricut Foil Transfer tool and I came across some foil transfer sheets from Recollections. The foil transfer sheets are described as no heat or tools needed. The packaging instructions instructions recommend using a double sided sticker or adhesive with the foil. There is no mention of them being pressure sensitive, but one of the reviewers mentioned that they work with her Cricut Maker. So I found some at my local store and decided to give them a try.

I bought the gold sheets and the holographic sheets to try initially. You get 5 sheets that are 5.5” x 5.5” squares, so slightly different dimensions than the smaller Cricut sheets and really great if you plan to make square cards. Another bonus, you can use your Michael’s coupons!

I tried one of my new celestial designs with the gold foil on my favorite black cardstock.

I tested all three tips for the foil transfer tool, and they all worked pretty well with this foil. There are still the little spots where it didn’t stick to the cardstock all way. It’s also a little dusty when you remove the foil sheet, but you can carefully lift the foil dust away with some Washi tape or blue painters tape. Overall, the results were pretty similar to the Cricut brand foil.

Recollections Gold Foil Transfer Sheet (L) Bold Tip, (C) Medium Tip, (R) Fine Tip

Recollections Gold Foil Transfer Sheet (L) Bold Tip, (C) Medium Tip, (R) Fine Tip

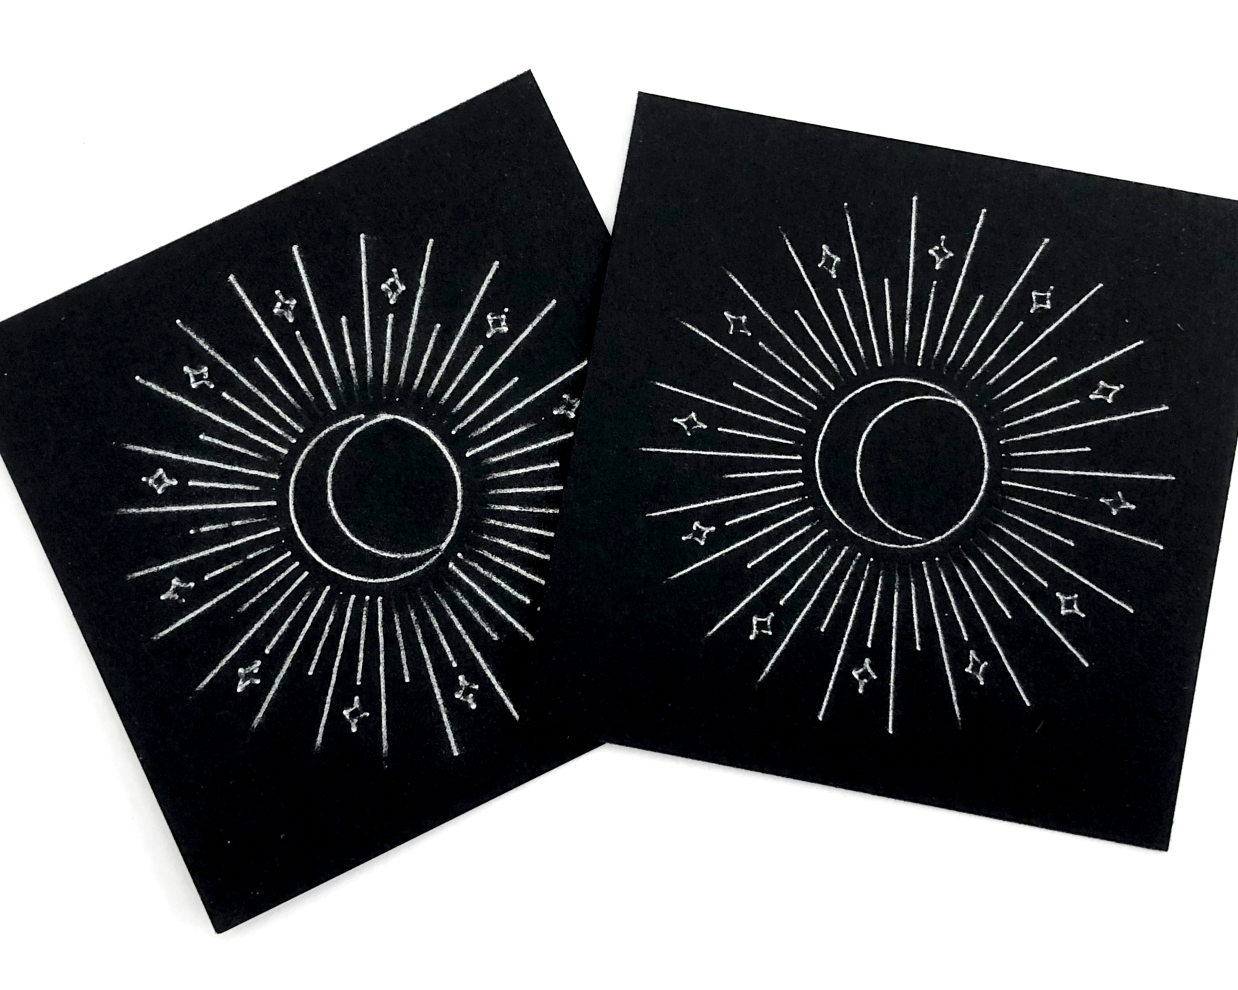
Next, I tried the holographic foil. It did not transfer as well as the gold foil and it just looks silver, not holographic. Overall, this one was a bit disappointing.

Recollections Holographic Foil Transfer Sheet (L) Medium Tip, (R) Fine Tip

Recollections Holographic Foil Transfer Sheet (L) Medium Tip, (R) Fine Tip

Since the gold worked pretty well, I’m interested to try some of the other colors like rose gold and the multicolor pack. I also plan to test this foil with the WRMK foil quill and my Silhouette Portrait 3 machine.

Screen Shot 2021-07-05 at 5.18.55 PM.png


A Cricut Foil Transfer Sheet Alternative

Links in the article may be affiliate links.

Hi Everyone! Now that I’ve found some good black cardstock and decent pressure settings, I’ve been experimenting more and more with my Cricut Foil Transfer tool. One of the drawbacks to the foil transfer tool is that there aren’t really any pressure sensitive foils available, aside from the Cricut brand.

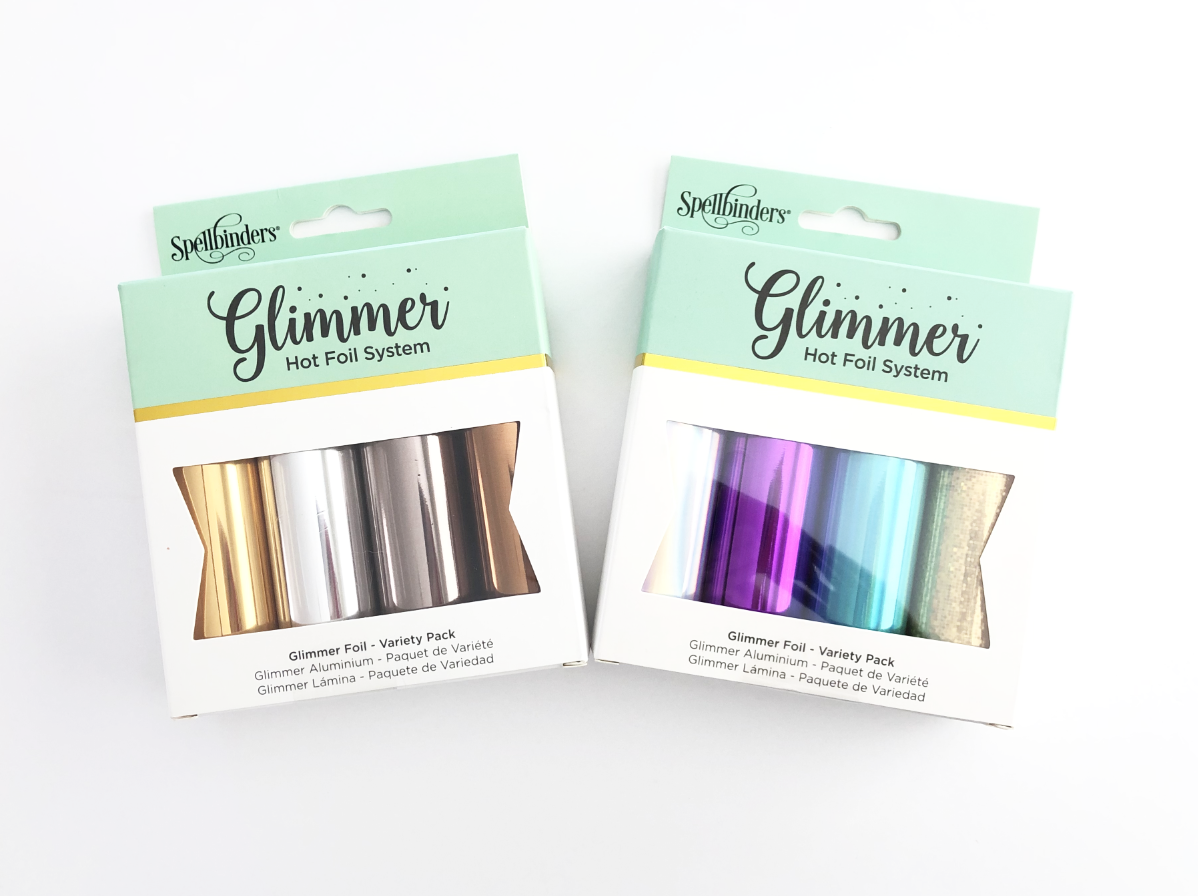
I’ve been researching other foils to use and came across some people having success with the Spellbinders Glimmer Hot Foils. They are labeled as hot foils, not pressure sensitive, but other people have been getting good results with them, so I thought I would give them a try. I purchased the essential metallics set, which includes a roll of gold, silver, copper, and pewter. I also bought a set of iridescents that contains a roll of silver, gold, purple, and teal.

These rolls are only 5 inches wide which is something to consider when laying out your design. But they are also 15 ft. long, so there’s a lot of length to work with. You’re not just limited to the 4x6 or 12x12 sheets like the Cricut brand.

I going to test some of my single line SVG files on heavy cardstock. I’m using the Cricut Foil Transfer Fine Point tip.

Since I use gold a lot, I’m first going to test the gold from the essential metallics set. I think the foil sheet is little heavier than the Cricut brand. It didn’t curl up and was pretty easy to tape it down flat even though I cut it from a roll.

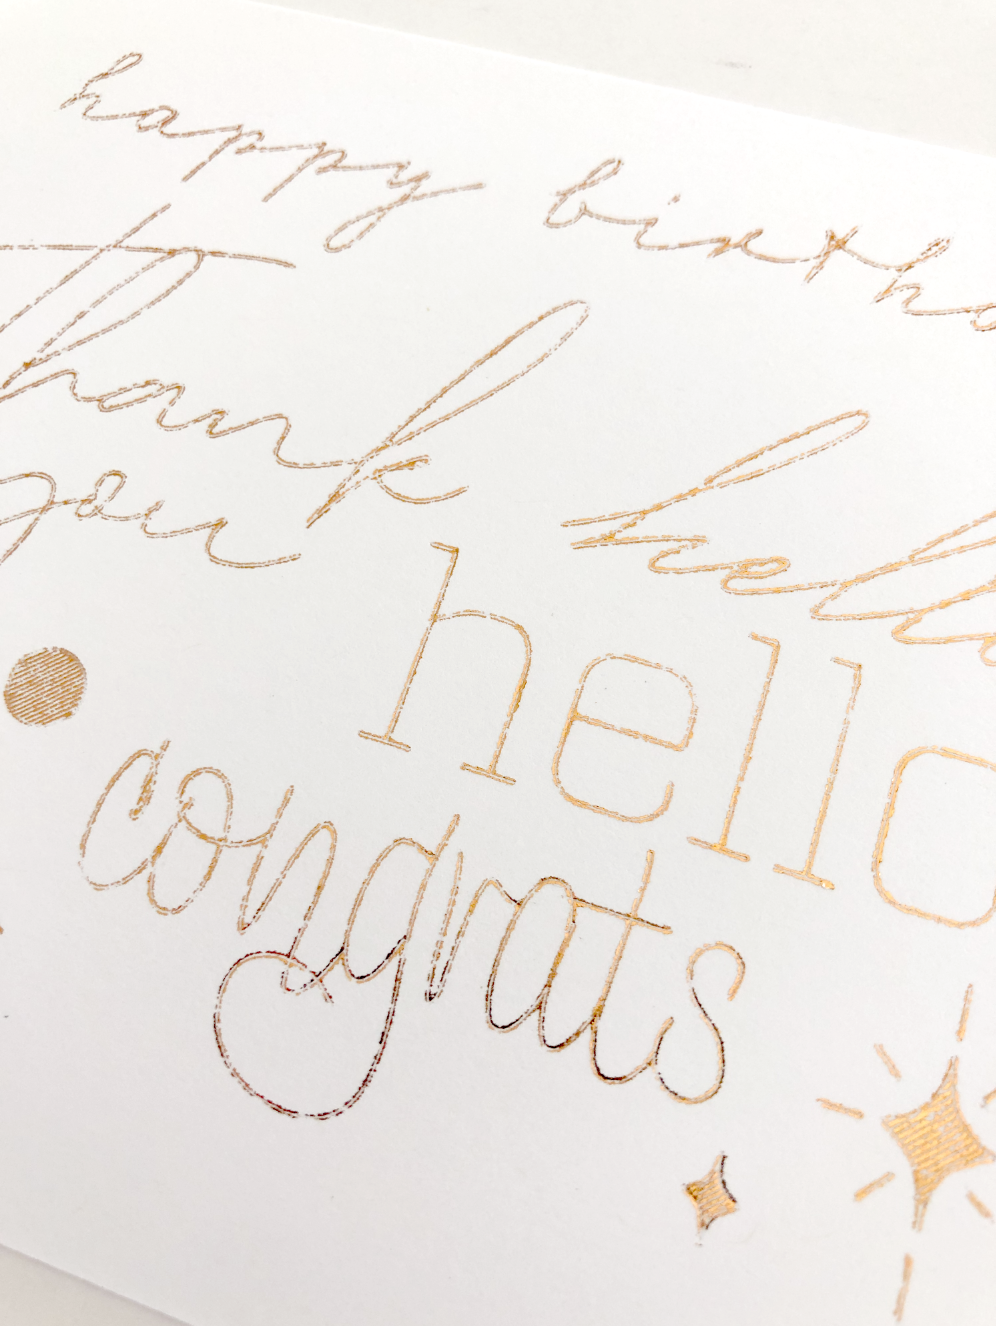
Even though I’m using heavy 100lb cardstock, I set my material to Copy Paper 20lb, default pressure for the Foil Transfer tool. I’ve been getting the best results so far with these settings.

After my machine is done, I peel back the foil and the results are BEAUTIFUL!!!

Cricut Foil Alternative

Next, I’m trying the copper from the same essential metallics set. This time I’m testing it on my new favorite black cardstock. Again, the results are GORGEOUS! The copper is a little dustier than the gold. I was able to carefully clean it up with some blue painters tape, without the tape removing foil from the actual design.

Cricut Foil Alternative

Now, I’m going to try a couple of the colors from the iridescent set. First up is the silver iridescent. It transferred nicely, but the iridescence gets a little lost, most likely due to the thinness of the lines.

Screen Shot 2021-06-06 at 11.20.23 AM.png

I also tried the gold confetti iridescent roll. Again, it transferred nicely, but the iridescent effect gets lost. Once again, probably due to the thickness of my lines.

Cricut Foil Alternative

Overall, I REALLY like this foil. I feel like I get more consistent and better results than with the Cricut foil. They also have a wider selection of colors than the Cricut brand. The only drawback I have found so far is the 5 inch width of the roll. But it shouldn’t be that much of an issue if I plan my designs accordingly.

I also plan on trying this foil with my WRMK foil quill. I’ll post those results later.

Tips for Using the Cricut Foil Transfer Tool - Cardstock Quality

Links in the article below may be affiliate links.

Hi Everyone! I purchased the Cricut Foil Transfer Kit the day it was released back in September 2020. I was super excited about it and it’s a tool I’ve wanted to love, but mainly it’s brought A LOT of frustration and wasted materials. I’ve seen so many people get really great results with this tool and I keep thinking what am I doing wrong, or what am I missing?

I’ve gone though A LOT of trial and error when using the foil transfer tool. One of the biggest problems I have encountered is the foil just not sticking to my cardstock, especially my black cardstock. I decided to tested 3 different black cardstocks that I have and here are my results.

65LB Recollections Black Cardstock

I’ve had this 65lb cardstock from Michael’s for a while. It’s a multi-color pack, some of the colors take the Cricut Foil beautifully, others just don’t stick. I definitely have had issues in the past with the foil not really sticking to the black if I use the Lightweight Cardstock setting with default pressure.
I’ve seen people having success using the Paper + setting on their Explore Air machines, so I decided to try the Copy Paper 20lb setting on my Maker.

The results with the Copy Paper 20lb setting Default pressure are slightly better than using the Lightweight cardstock setting with the fine tip. The medium tip was OK a little bit of skipping, the bold tip was also OK but a lot of foil dust. Overall, the fine tip had the best results with this setting.

With some of the other colors in the cardstock pack I can get nice results with the medium tip, light cardstock setting, less pressure. I haven’t found a setting yet for the Medium or Bold tip that I am satisfied with yet for the black cardstock.

65lb cardstock using Copy Paper 20lb material setting, default pressure

65lb cardstock using Copy Paper 20lb material setting, default pressure

LUXPaper Cardstock - 18pt

This is a heavier weight cardstock that I purchased on Amazon a while ago, in the description it’s referred to as 18pt. In general, it has really good reviews, but nothing in reference to using the Cricut Foil Transfer tool. It’s not super expensive so I decided to give it a shot. It’s pretty heavy, very smooth and more of a faded black.

First I tried the 100lb heavy cardstock default pressure setting, the foil barely sticks to it and rubs off if I run my finger over it.

LUXPaper Heavy Cardstock, Heavy Cardstock material setting, default pressure

LUXPaper Heavy Cardstock, Heavy Cardstock material setting, default pressure

Next I tried the Copy Paper 20lb Default pressure setting. The results were better, but still not super great. The fine tip worked the best and the bold tip left a lot of foil dust. I think this cardstock might be too smooth for the foil to adhere properly.

LUXPaper Heavy Cardstock, Copy Paper 20lb material setting, default pressure

LUXPaper Heavy Cardstock, Copy Paper 20lb material setting, default pressure

Sirio Ultra Black Cardstock - 104lb

I just recently purchased this cardstock on Amazon after reading some articles about people using Sirio cardstock and getting great results with the Foil Transfer tool. This cardstock is a much richer black than the Recollections and LuxPaper cardstocks. It’s also not quite as smooth as the other two.

(Left) 65lb Recollections Cardstock, (Center) 18pt LUXPaper Cardstock, (Right) Sirio 104lb Cardstock

(Left) 65lb Recollections Cardstock, (Center) 18pt LUXPaper Cardstock, (Right) Sirio 104lb Cardstock

I first tried it out on Heavy Cardstock Default pressure setting. The fine tip did OK, medium tip was meh, the bold tip was not great at all.

Sirio 104lb Cardstock, Heavy Cardstock Material Setting, default pressure

Sirio 104lb Cardstock, Heavy Cardstock Material Setting, default pressure

Next I tried the Light Cardstock Default pressure setting. Again, the fine tip did OK. The medium and bold tips did better than on the heavy cardstock setting.

Sirio 104lb Cardstock, Light Cardstock Material Setting, default pressure

Sirio 104lb Cardstock, Light Cardstock Material Setting, default pressure

Finally I tried the Copy Paper 20lb default pressure setting. The fine tip did great. The medium and bold tips did ok, but still not as good as I would like.

Sirio 104lb Cardstock, Copy Paper 20lb Material Setting, default pressure

Sirio 104lb Cardstock, Copy Paper 20lb Material Setting, default pressure

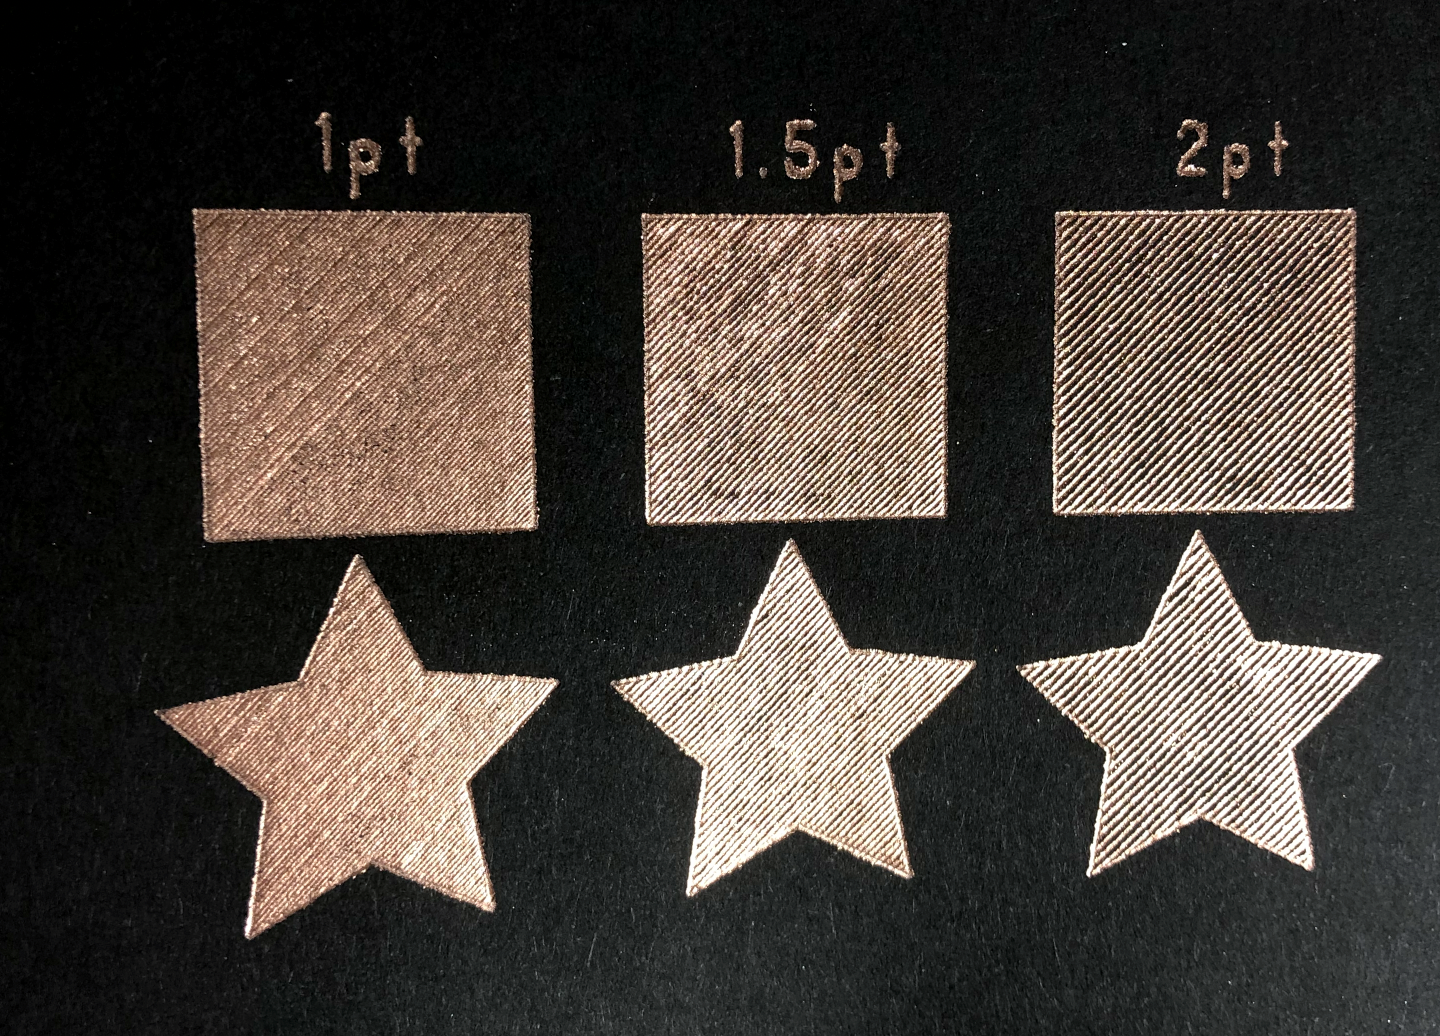
Overall the Copy Paper 20lb Default pressure setting worked the best with the fine point tip on the 65lb Recollections cardstock and the Sirio 104lb cardstock. Not the settings I would have guessed, but most things with my Cricut machine don’t work as I think they should LOL!

(Left) 65lb Recollections Cardstock, (Center) 18pt LUXPaper Cardstock, (Right) Sirio 104lb Cardstock

(Left) 65lb Recollections Cardstock, (Center) 18pt LUXPaper Cardstock, (Right) Sirio 104lb Cardstock

I would NOT recommend using the LUXPaper cardstock with the Cricut Foil Transfer tool. My top pick would be the Sirio 104lb cardstock. It is a little pricier than the LUXPaper, but in the end, the quality of the cardstock really matters!

LUXPaper 18pt Cardstock, fine tip, Copy Paper 20lb material setting, default pressure (sorry, my placement was off on my mat, that’s why it’s cut off on the top)

LUXPaper 18pt Cardstock, fine tip, Copy Paper 20lb material setting, default pressure (sorry, my placement was off on my mat, that’s why it’s cut off on the top)

Sirio 104lb Cardstock, Fine Tip, Copy Paper 20lb Material Setting, default pressure

Sirio 104lb Cardstock, Fine Tip, Copy Paper 20lb Material Setting, default pressure

Once again, always make sure you have plenty of materials on hand to TEST, TEST, TEST before you attempt your final project.

Cricut Foil Transfer Tool with Silhouette Brand Foil Sheets

Hi Everyone!

(Links in article below may be affiliate links).

As many of you who work with the Cricut Foil Transfer tool already know, you MUST you pressure sensitive foil. Cricut has their own brand of foil that is designed specifically to work with the foil transfer tool. So far, I haven’t been a huge fan of the Cricut brand foil. It doesn’t stick well to to some card stocks. I have a very tough time using it with my black 100lb cardstock and some of the colors in my 65lb Recollections multipack from Michaels. Also, it will foil perfectly fine in some parts of my design and then the foil doesn’t stick in other parts of the same design. I dunno, maybe I’m being to picky.

So far the only other pressure sensitive foil I have found is the Silhouette brand. I’m going to give the Silhouette foil a try with the Cricut Foil Transfer Tool.

Cricut Foil Transfer Tool - Fine Tip

Unfortunately, the Foil Transfer tool can only be used with the Desktop version of Design Space. I don’t know why that is, but hopefully one day they will make it compatible with the app as well.

I started out with the default pressure on 100lb cardstock. Failure. Like with the scoring stylus in last week’s post, the foil is not sticking to the middle of the letters.

Fine Tip - Default Pressure

Fine Tip - Default Pressure

Then I tried less pressure on the 100lb cardstock, again, failure.

Fine Tip - Less Pressure

Fine Tip - Less Pressure

More pressure?? Nope, still a failure. To be honest, if I hadn’t written my settings on the back of the cards, I wouldn’t be able to tell the difference between them, they all look equally terrible.

Fine Tip - More Pressure

Fine Tip - More Pressure

Cricut Foil Transfer Tool - Medium Tip

To cut down on wasted materials, I tried just the word hello and a filled in star. I can usually get sort of ok results on this cardstock with the Cricut Brand foil the default pressure setting and the medium tip. If any setting were to work, I would assume that it would have been medium tip, default setting. Still terrible results, not matter if it’s default, less, or more pressure.

Cricut Foil Transfer Tool Medium Tip, Top - Default Pressure, Middle - Less Pressure, Bottom - More Pressure

Cricut Foil Transfer Tool Medium Tip, Top - Default Pressure, Middle - Less Pressure, Bottom - More Pressure

Cricut Foil Transfer Tool - Bold Tip

I also gave the bold tip a try. I only tried Default and less pressure, they were both absolutely terrible!

Bold Tip, Top - Default Pressure, Bottom - Less Pressure

Bold Tip, Top - Default Pressure, Bottom - Less Pressure

65lb Cardstock

I made one final attempt on 65lb Recollections cardstock with the medium tip, less pressure. It’s pretty terrible as well.
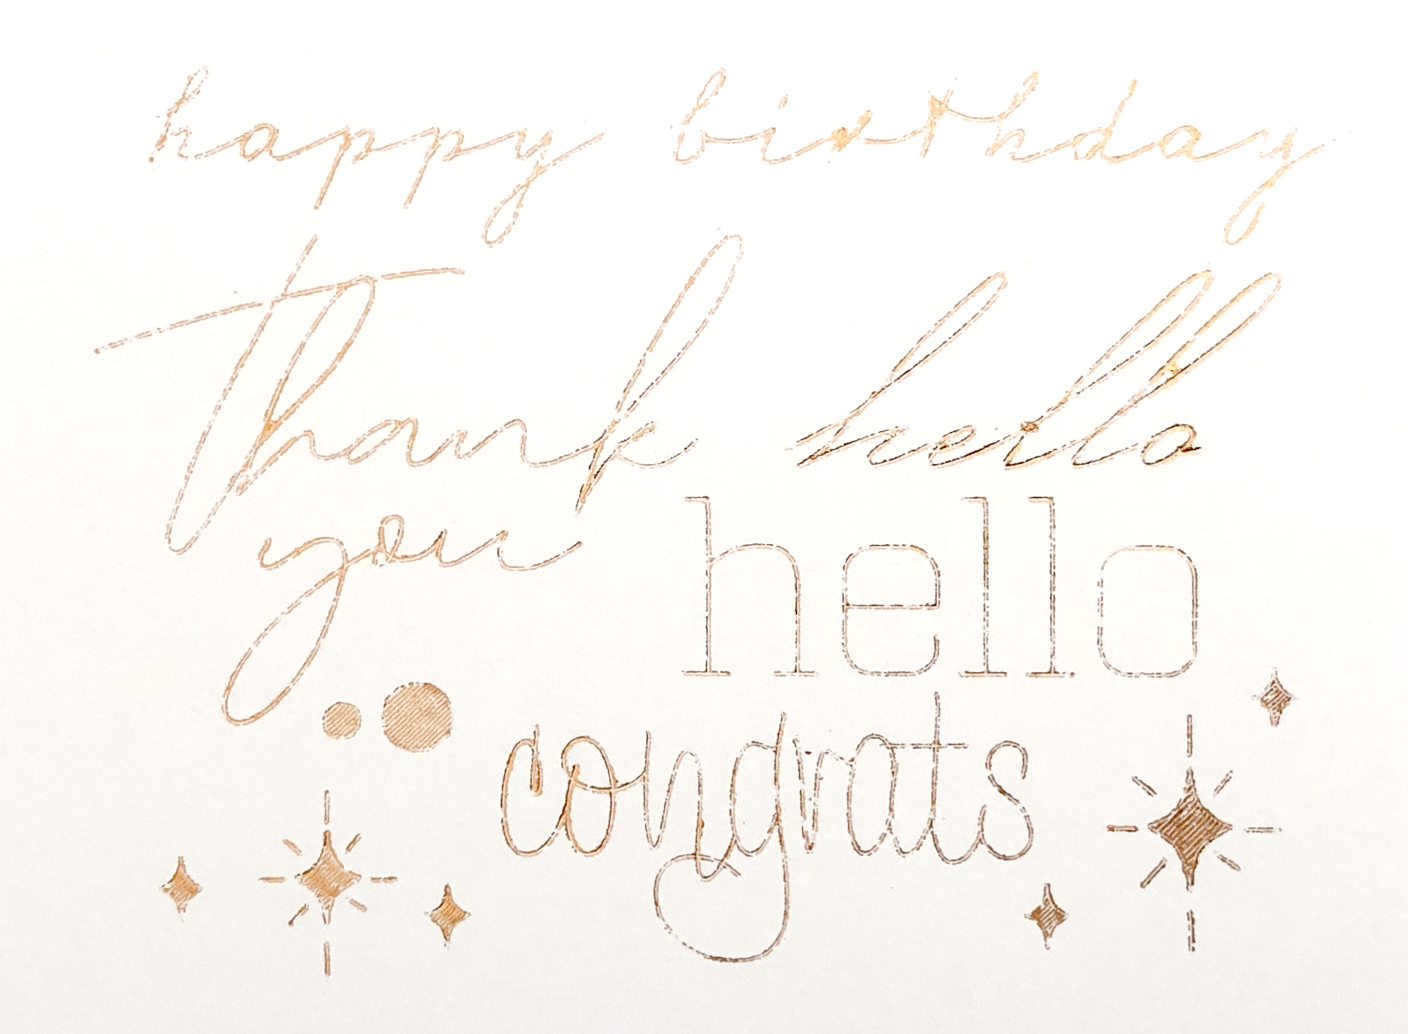
65lb cardstock with Medium Foil Tip, less pressure

65lb cardstock with Medium Foil Tip, less pressure

I think the Cricut Foil Transfer tool uses way too much pressure for this foil. Unfortunately, Cricut is really limited with the adjustments for each tool. I can’t make any other adjustments to the pressure other than default, less, and more. So I DO NOT recommend using this Silhouette foil with the Cricut Foil Transfer tool.

So far the only Cricut Tool I’ve had some success with the Silhouette foil is the Deboss Tip. You can check out my previous post about that here.
Valentine's Day Pillow Box Tutorial

Valentine's Day Pillow Box Tutorial

This week I’m going to start with a cute little project for Valentine’s Day that I created on my Cricut Maker. I designed the artwork for these pillow boxes as draw files to be used with the Cricut Foil Transfer Tool, We R Memory Keepers Foil Quill, or Cricut Pens. They’re perfect for filling with Valentine’s day goodies, like my personal fave, chocolate.
Read More