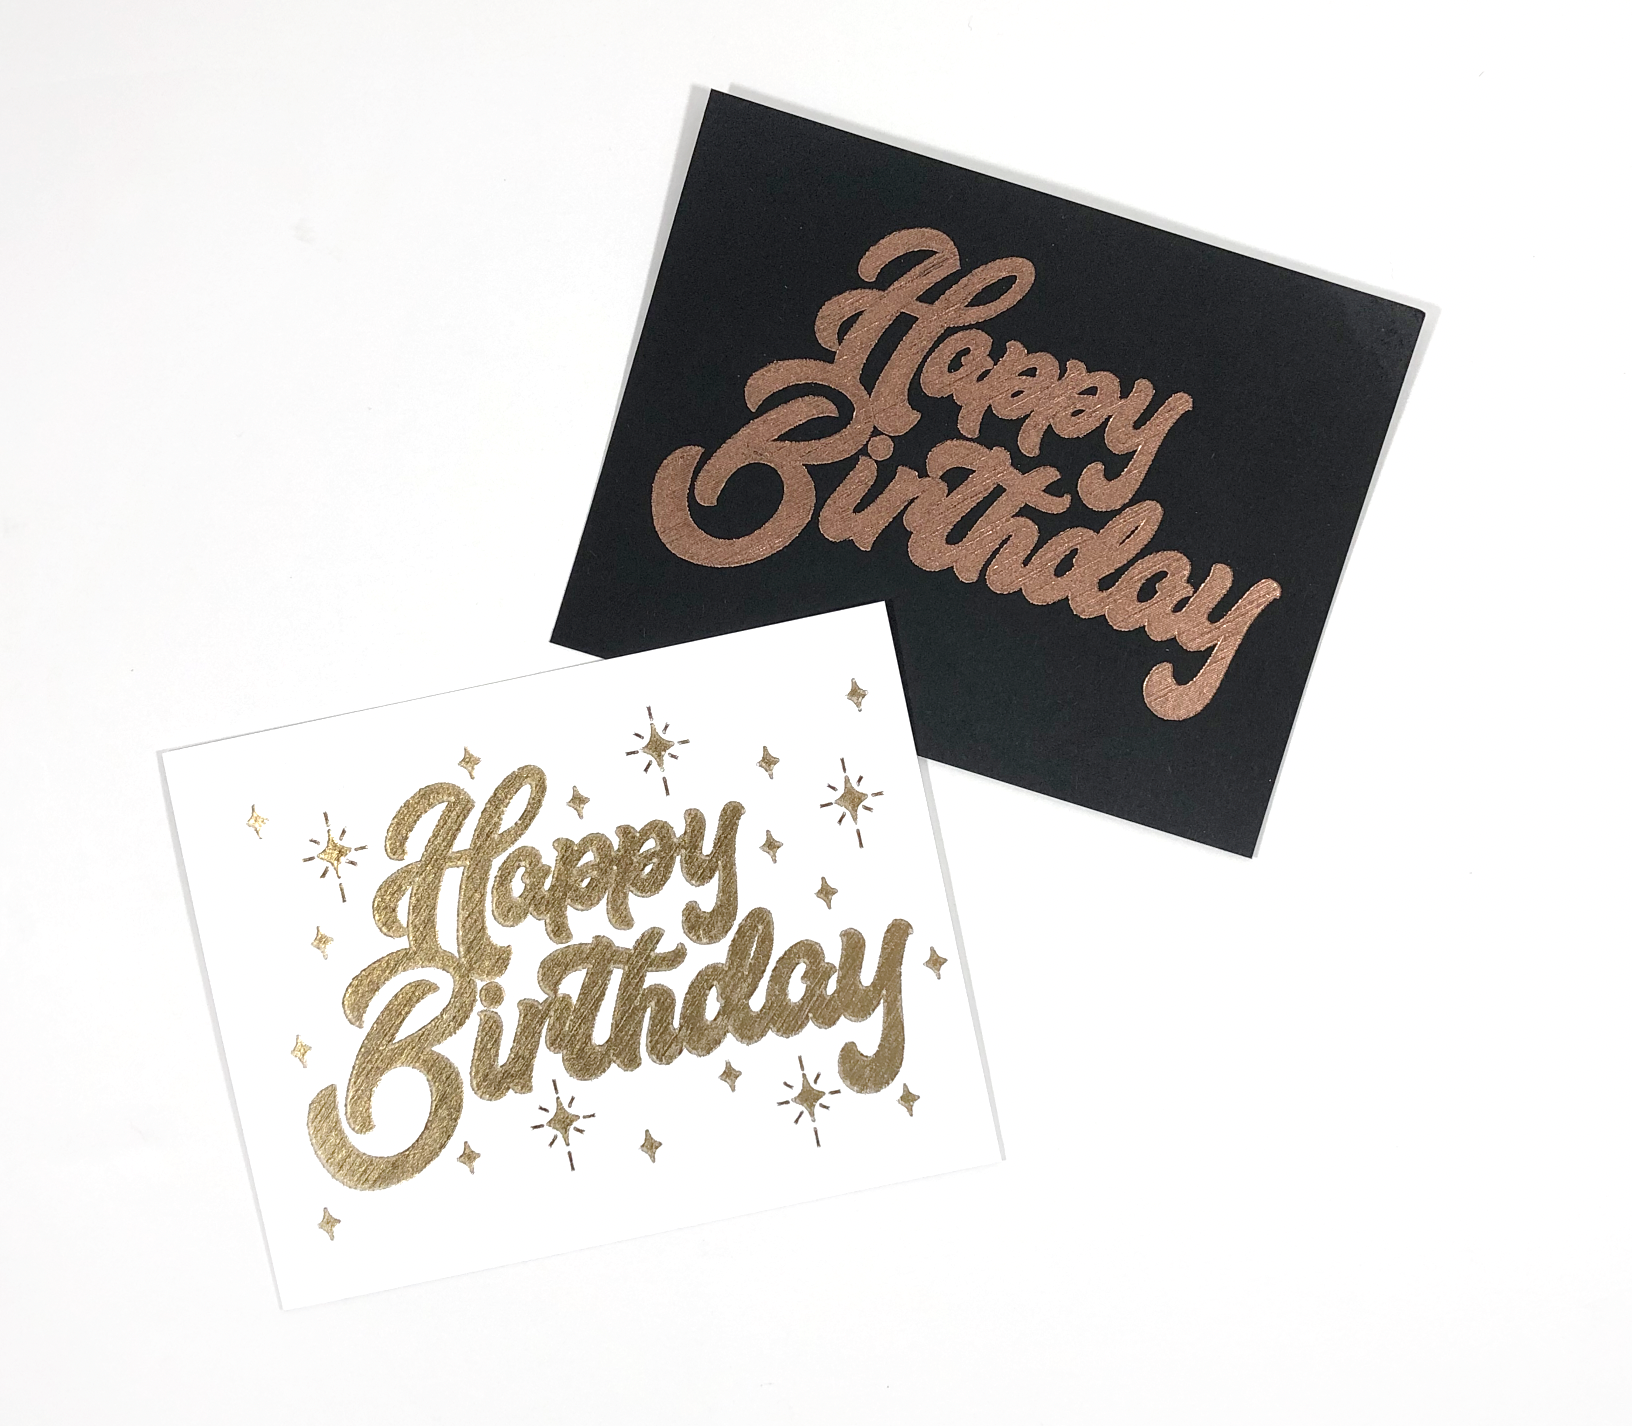
Hi Everyone! This week is a continuation of last week’s post. I’m testing my Happy Birthday filled SVG file and some filled shapes with my We R Memory Keepers Foil Quill.
After last week’s tutorial I still wanted to try my filled SVG design with my We R Memory Keepers Foil Quill. So I gave it a try and the results were pretty nice, but still not as great as I had hoped. I have a love hate relationship with my Foil Quill, sometimes it gets the job done fine, other times I get very uneven results. I wasn’t sure if it was me, the foil quills, my cardstock, or a combination of everthing. My fine point tip has always had some weird corrosion on the metal tip, I have never used it because it scares me. But by the time I had opened and tried out my set I was way past any return policies, so I just kept it and and mainly used the medium and bold tip. The medium tip is my usual go to, but I feel like I was always getting spotty/ uneven results. I don’t know if there’s something wrong with the wiring or what. I would feel the plastic around the metal tip after heating it up for 10 minutes and it felt slightly warm, but not really hot. I had better results with my bold tip, but sometimes I want a finer line.
So long story short, JoAnn’s had the Foil Quill set on sale this weekend for 60% off, so I bought another set just to test it. I think my old set was a dud, the new set gets much hotter, no corrosion on any of the tips and it works SO much better!
The WRMK foil quill is my new favorite for filling in words and shapes! (Sorry Cricut Foil Transfer Tool.)
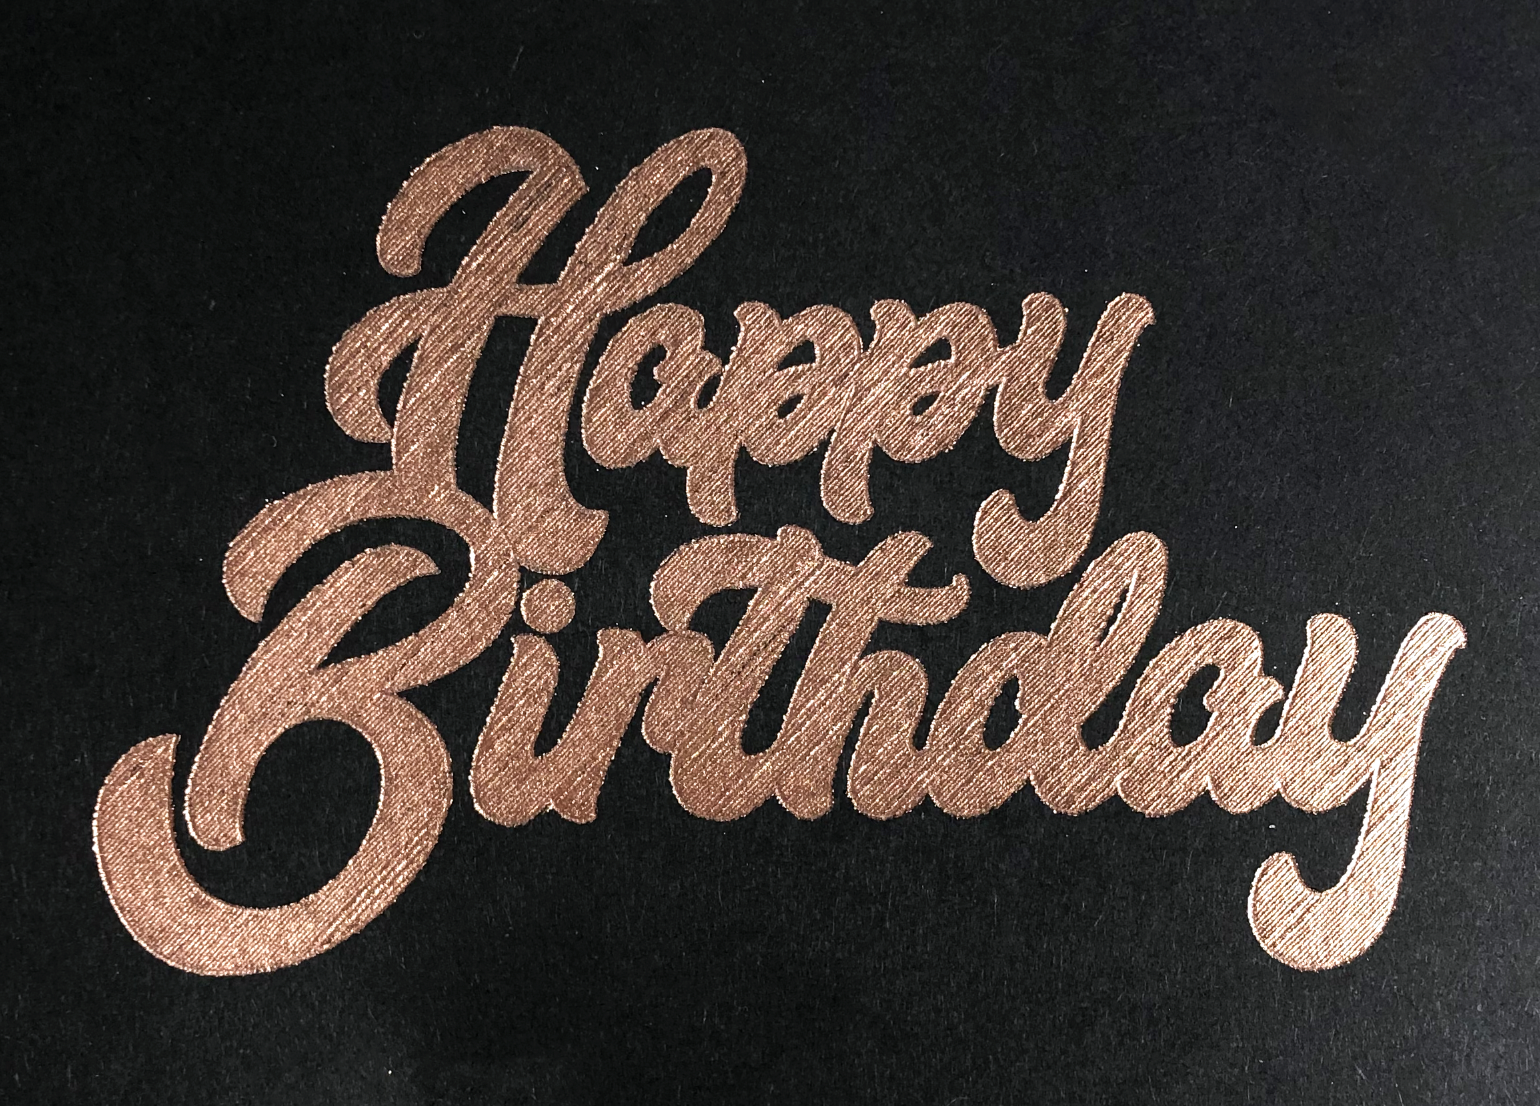
I tried out my Happy Birthday filled SVG that I made last week. It’s so pretty in person, photos don’t do it justice! Keep in mind that this technique will never be flat that foiling with a laser printer and laminator. But I kind of like the texture the foil quill gives.
Medium Tip, Rose Gold Foil
Medium Tip, Rose Gold Foil
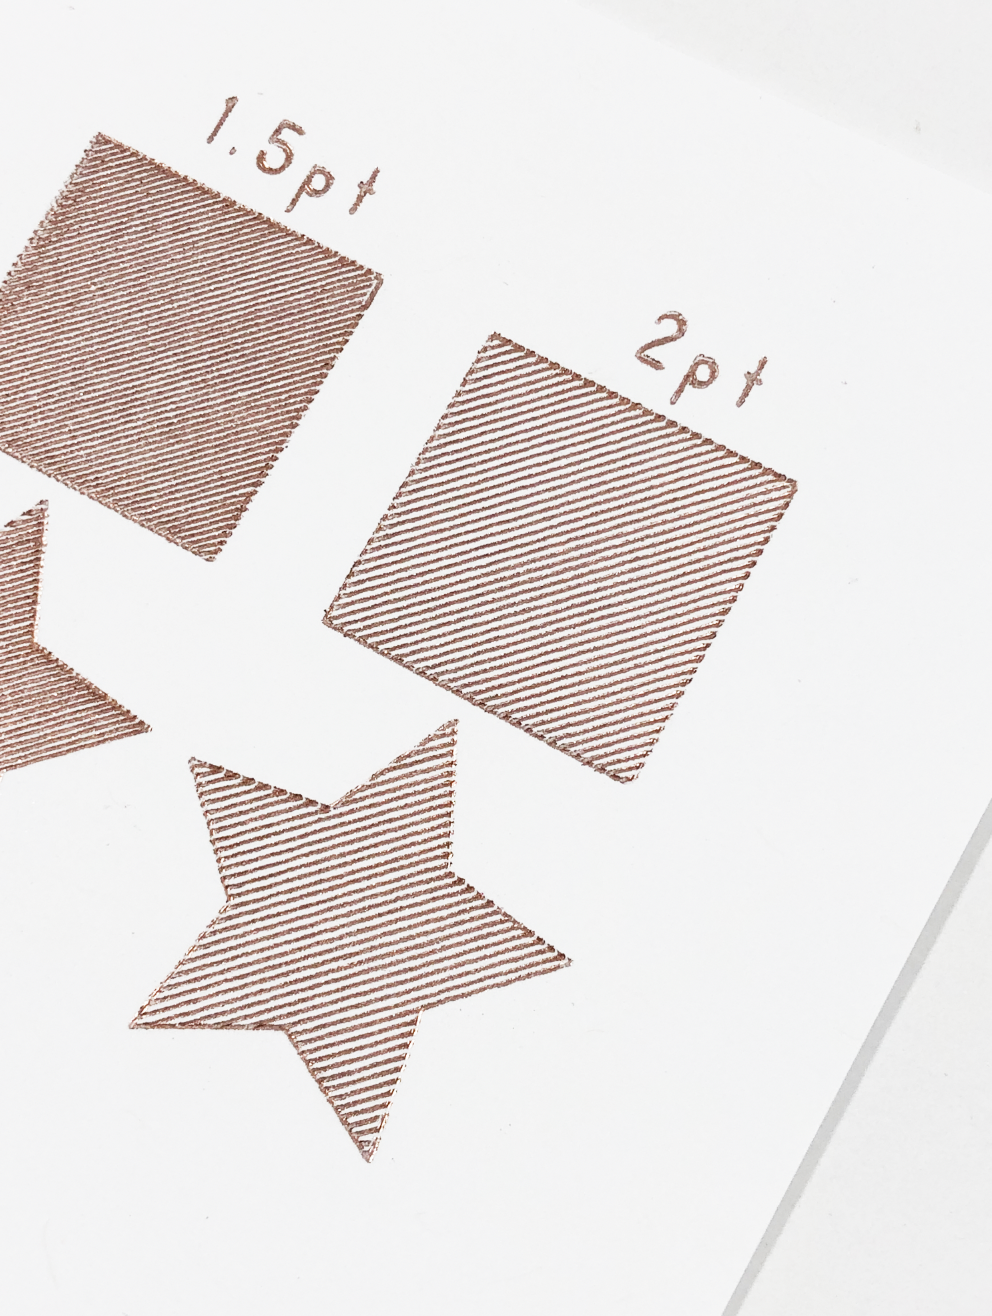
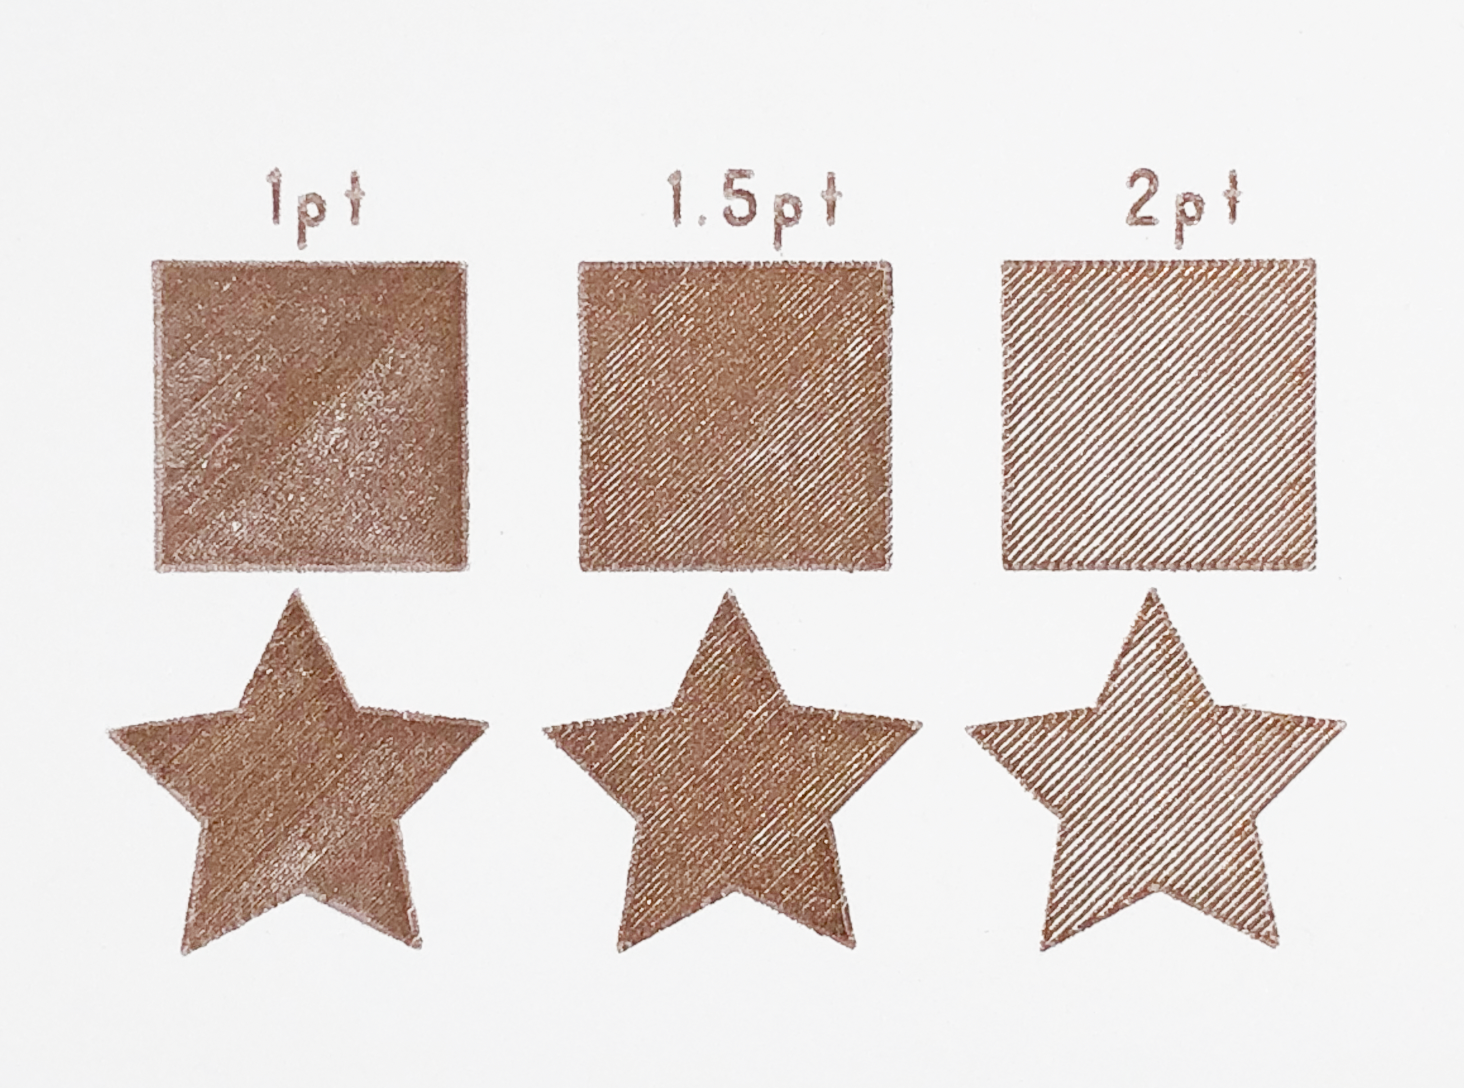
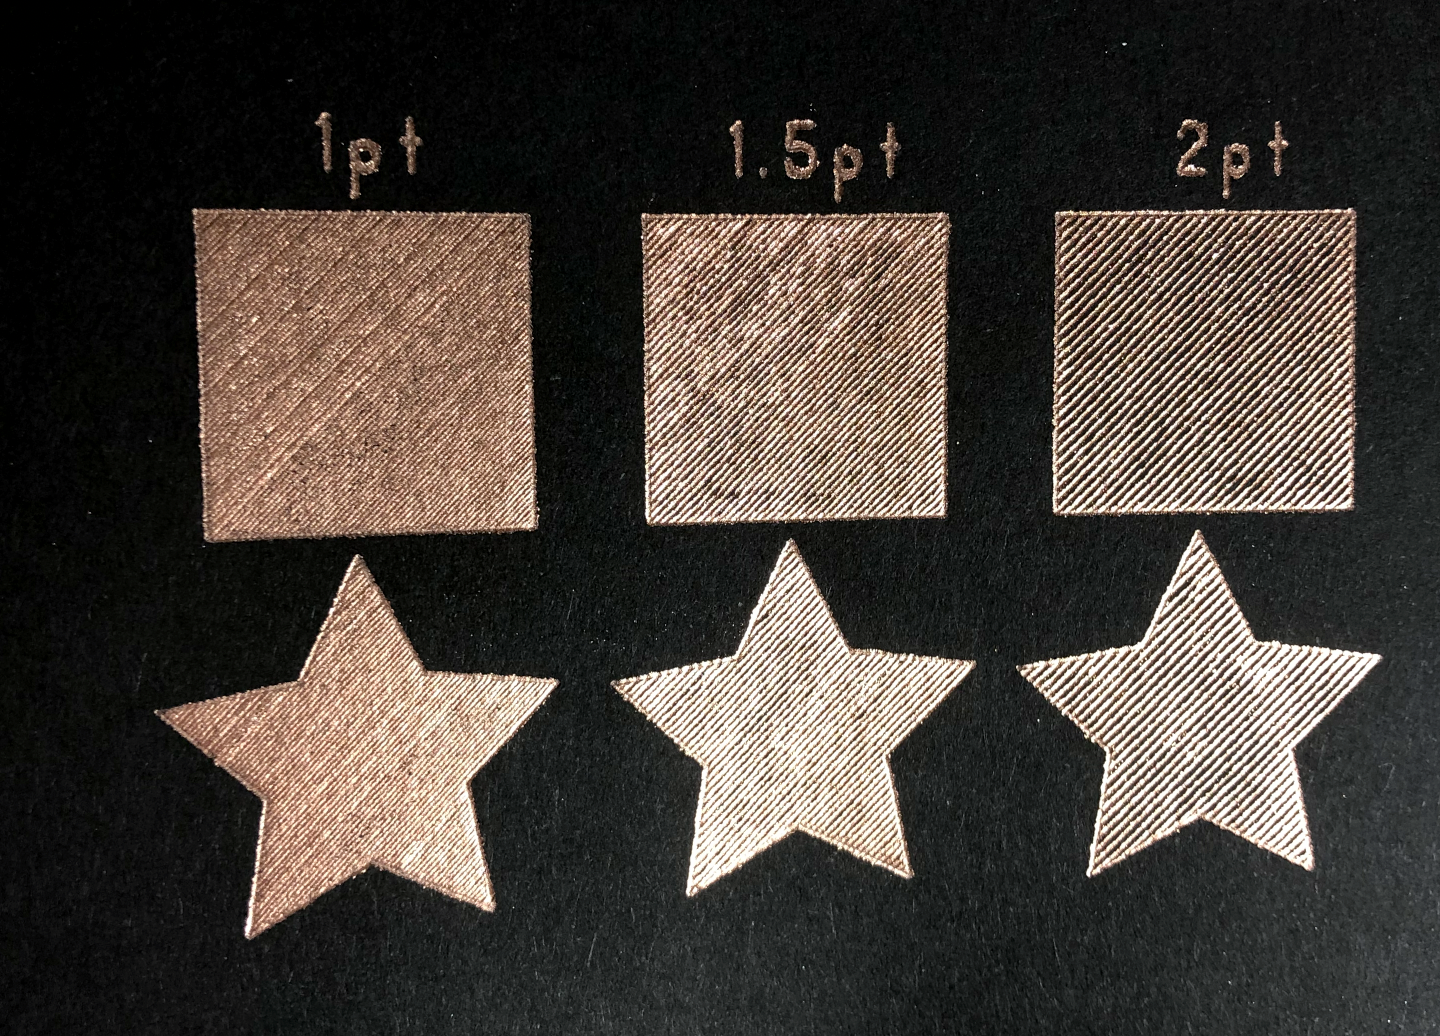
Then I tested all 3 tips that came in my set. Each tip was tested with a 1 inch square and 1 inch star. I wanted to see how the tips did with different spacing between the lines. I tried them with lines spaced 1 point apart, 1.5 points apart and 2 points apart.
I wish Cricut Design Space had an easy way to do fills like the Silhouette software. I had to make all of my fills in Illustrator and import them as SVGs into Design Space.
Fine Tip Foil Quill
The fine tip is not great if you want a more solid fill. It ended up tearing the foil sheet while it was transferring. But it did a gorgeous job with the lines spaced 2 points apart. Something keep in mind if you want an engraved or etched look to your design.
Ripped foil sheet from the Fine Point quill
Fine Tip, Rose Gold Foil
Fine Tip, 2 point space between lines
Medium Tip Foil Quill
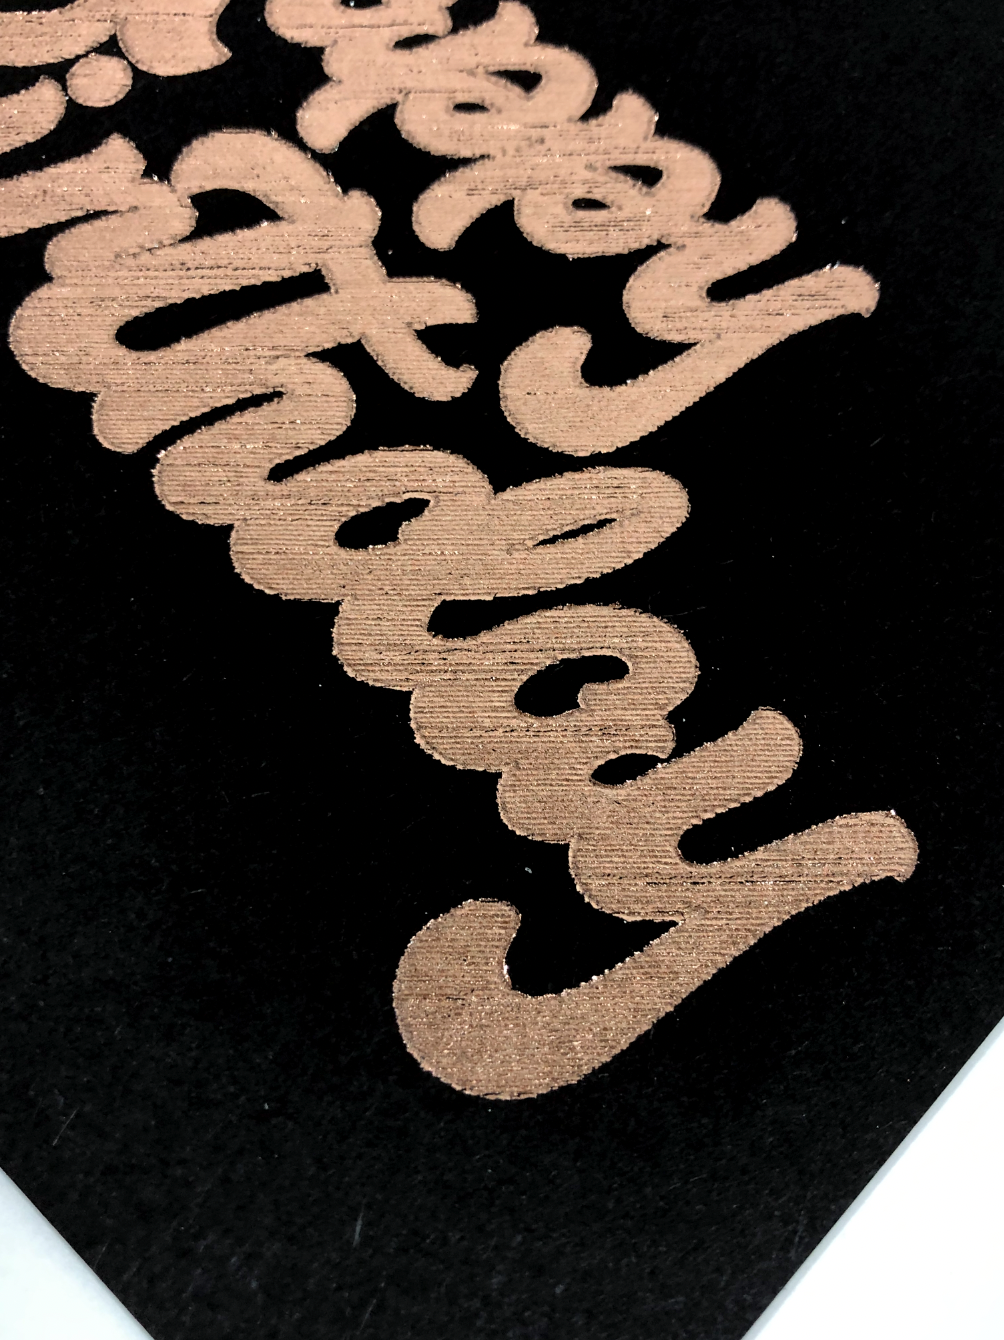
The medium tip is probably my favorite for a solid fill. I like the medium tip best with the lines spaced 1 point apart. I personally like the linear texture and it gives my design a little bit more dimension.
Sorry, the foils are really hard to photograph and this photo doesn’t really do it justice. It’s really beautiful in person!
Here it is at a bit of an angle, so pretty!
Stunning on black cardstock too!
Bold Tip Foil Quill
The bold tip gives the smoothest and flatest fill, it would be my second choice for this technique.
Bold Tip, Rose Gold Foil
Bold Tip, Rose Gold Foil
Bold Tip, Gold Foil
Bold Tip, Gold Foil

