Hi Everyone! A lot of you who use your Cricut or Silhouette machine to write, foil, engrave, deboss, etc. know the frustration of trying to find single line fonts. While single line fonts do exist if you search for them, they aren’t always free and can add up pretty quickly. Also, it may be struggle to find one that you actually like.
I do not pay for a Cricut Access membership and I am not going to pay $5 for a font I can only use in Cricut Design Space, sorry!!
I do, however, have an Adobe Creative Cloud membership at that includes tons of free fonts to use, plus I have lots of fonts from Design Cuts and Creative Market.
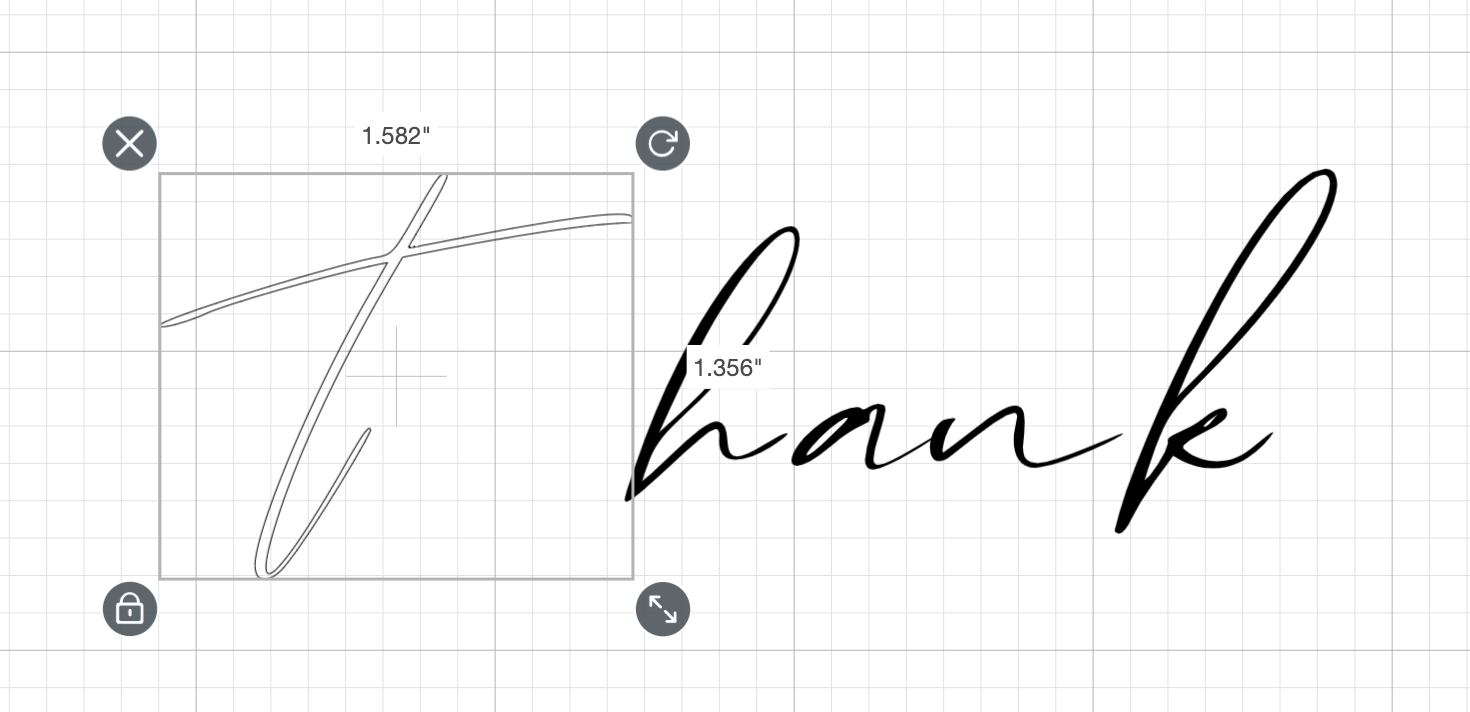
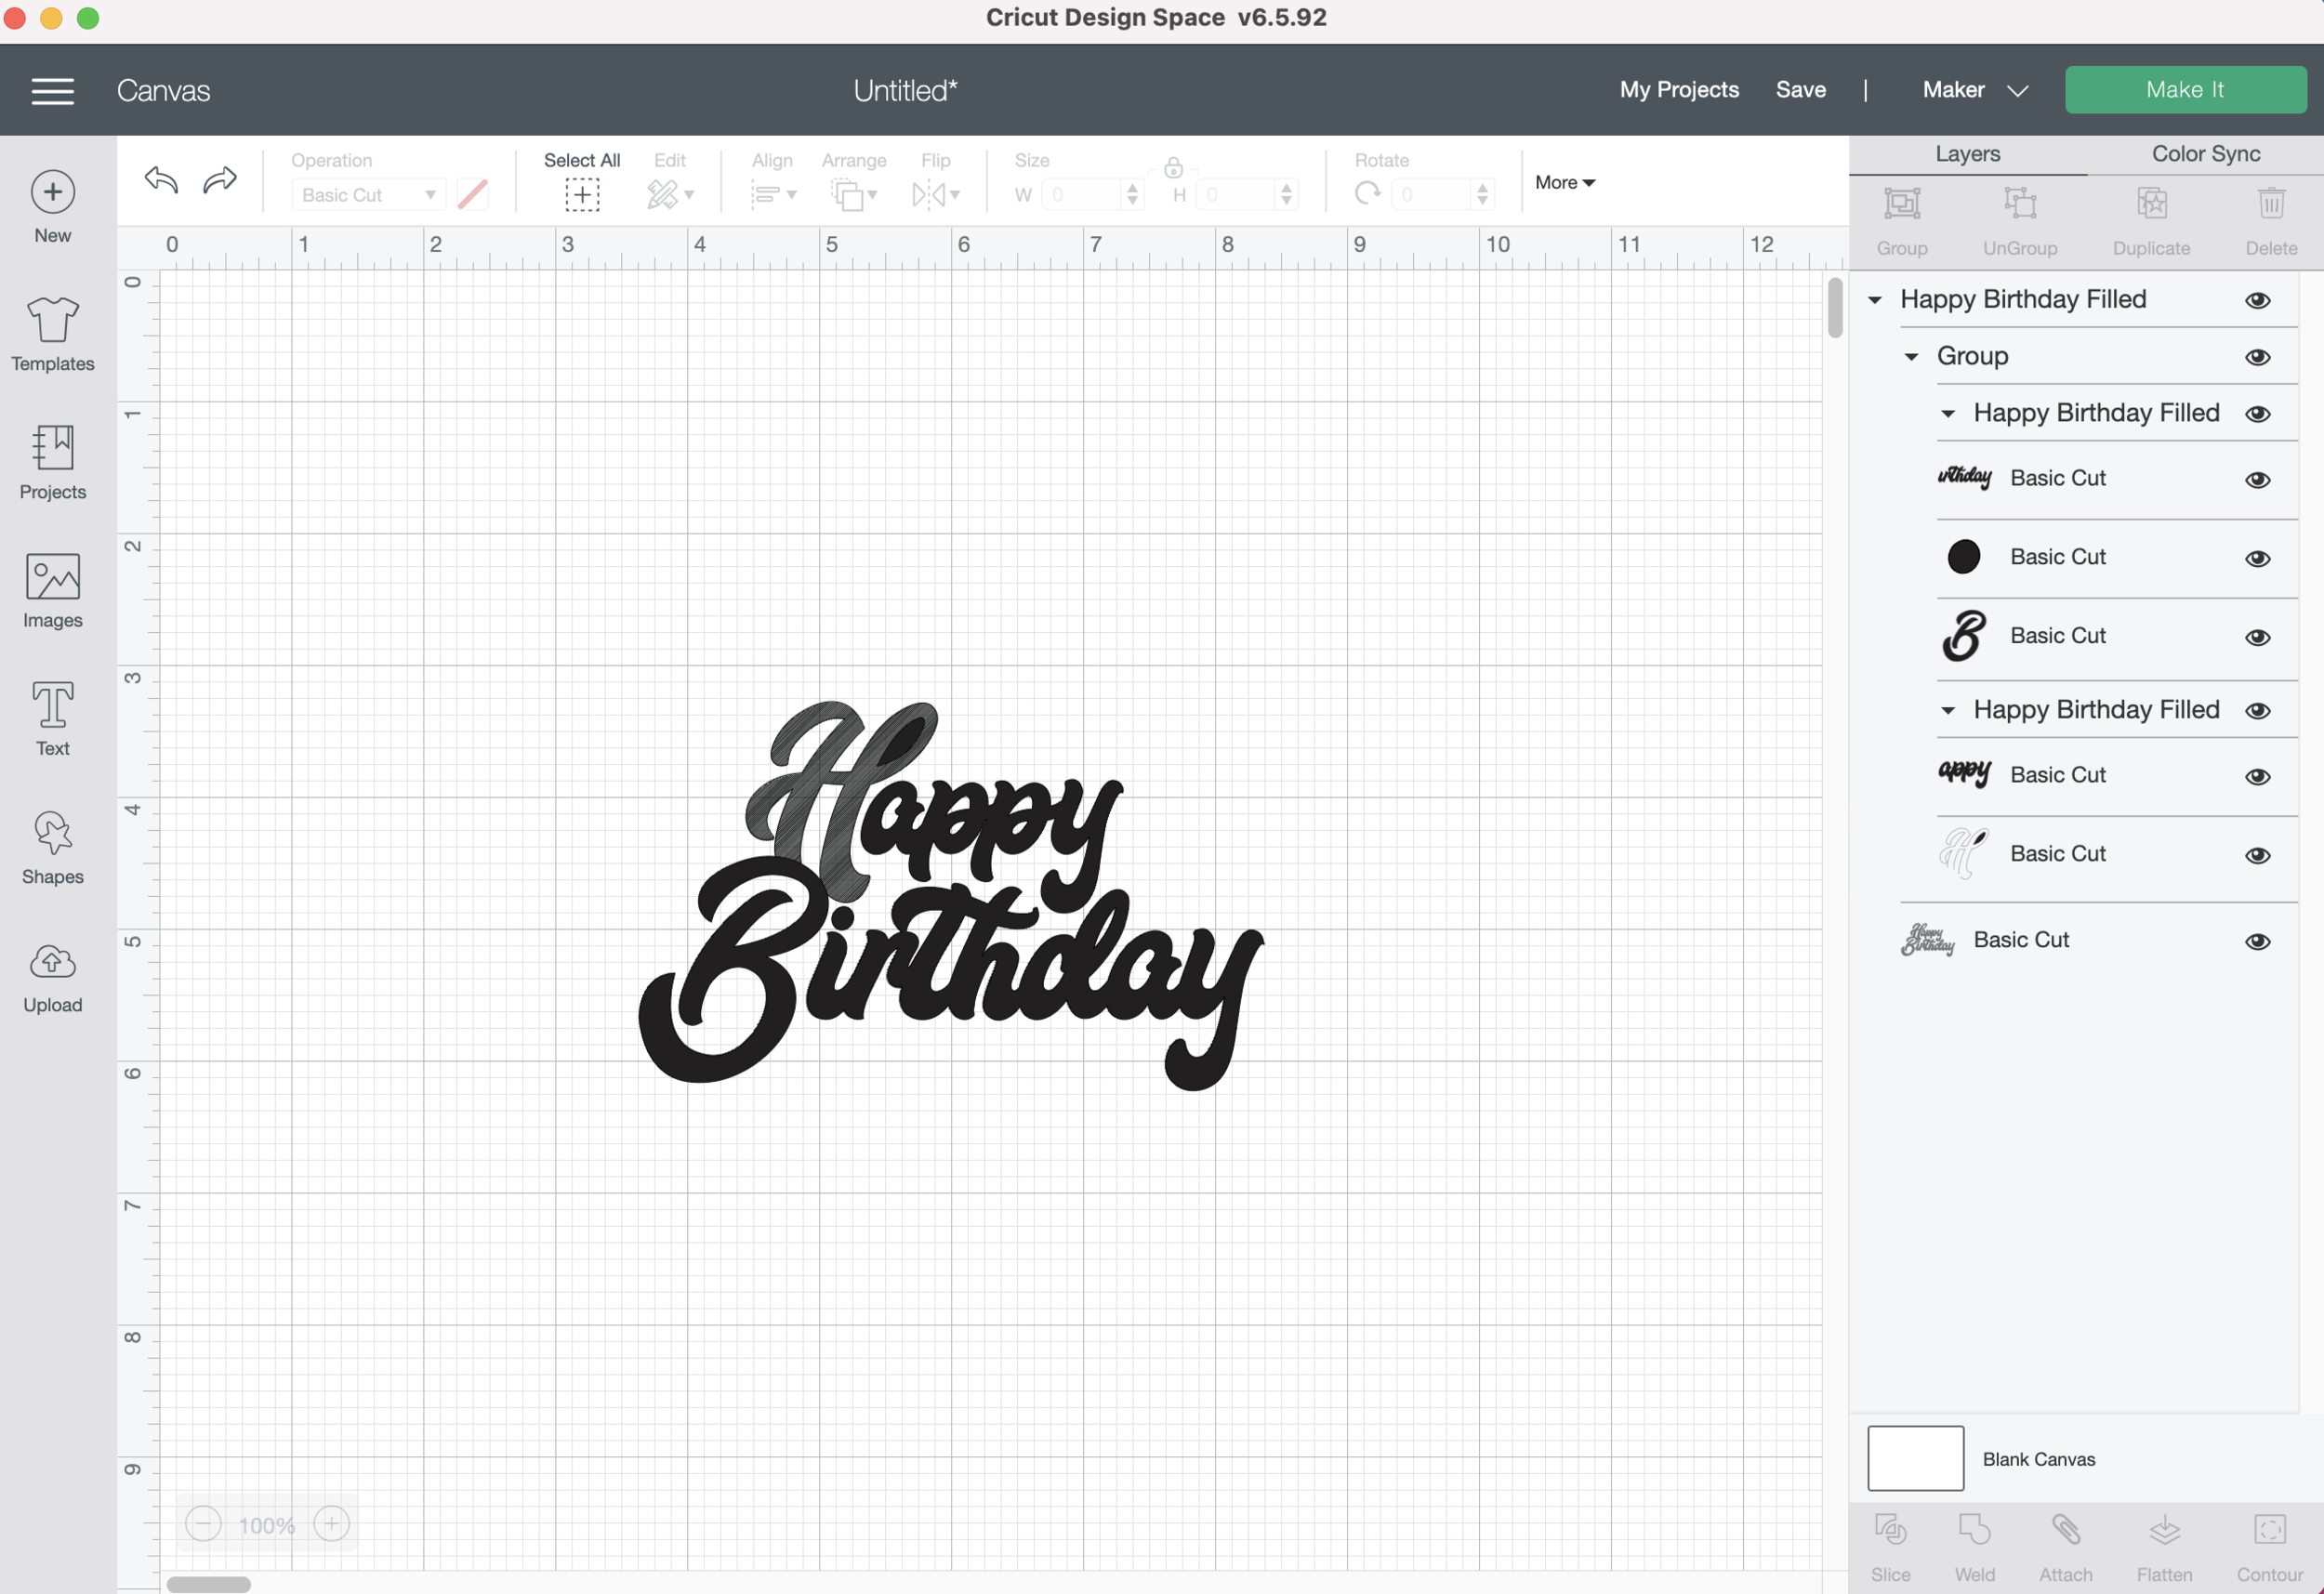
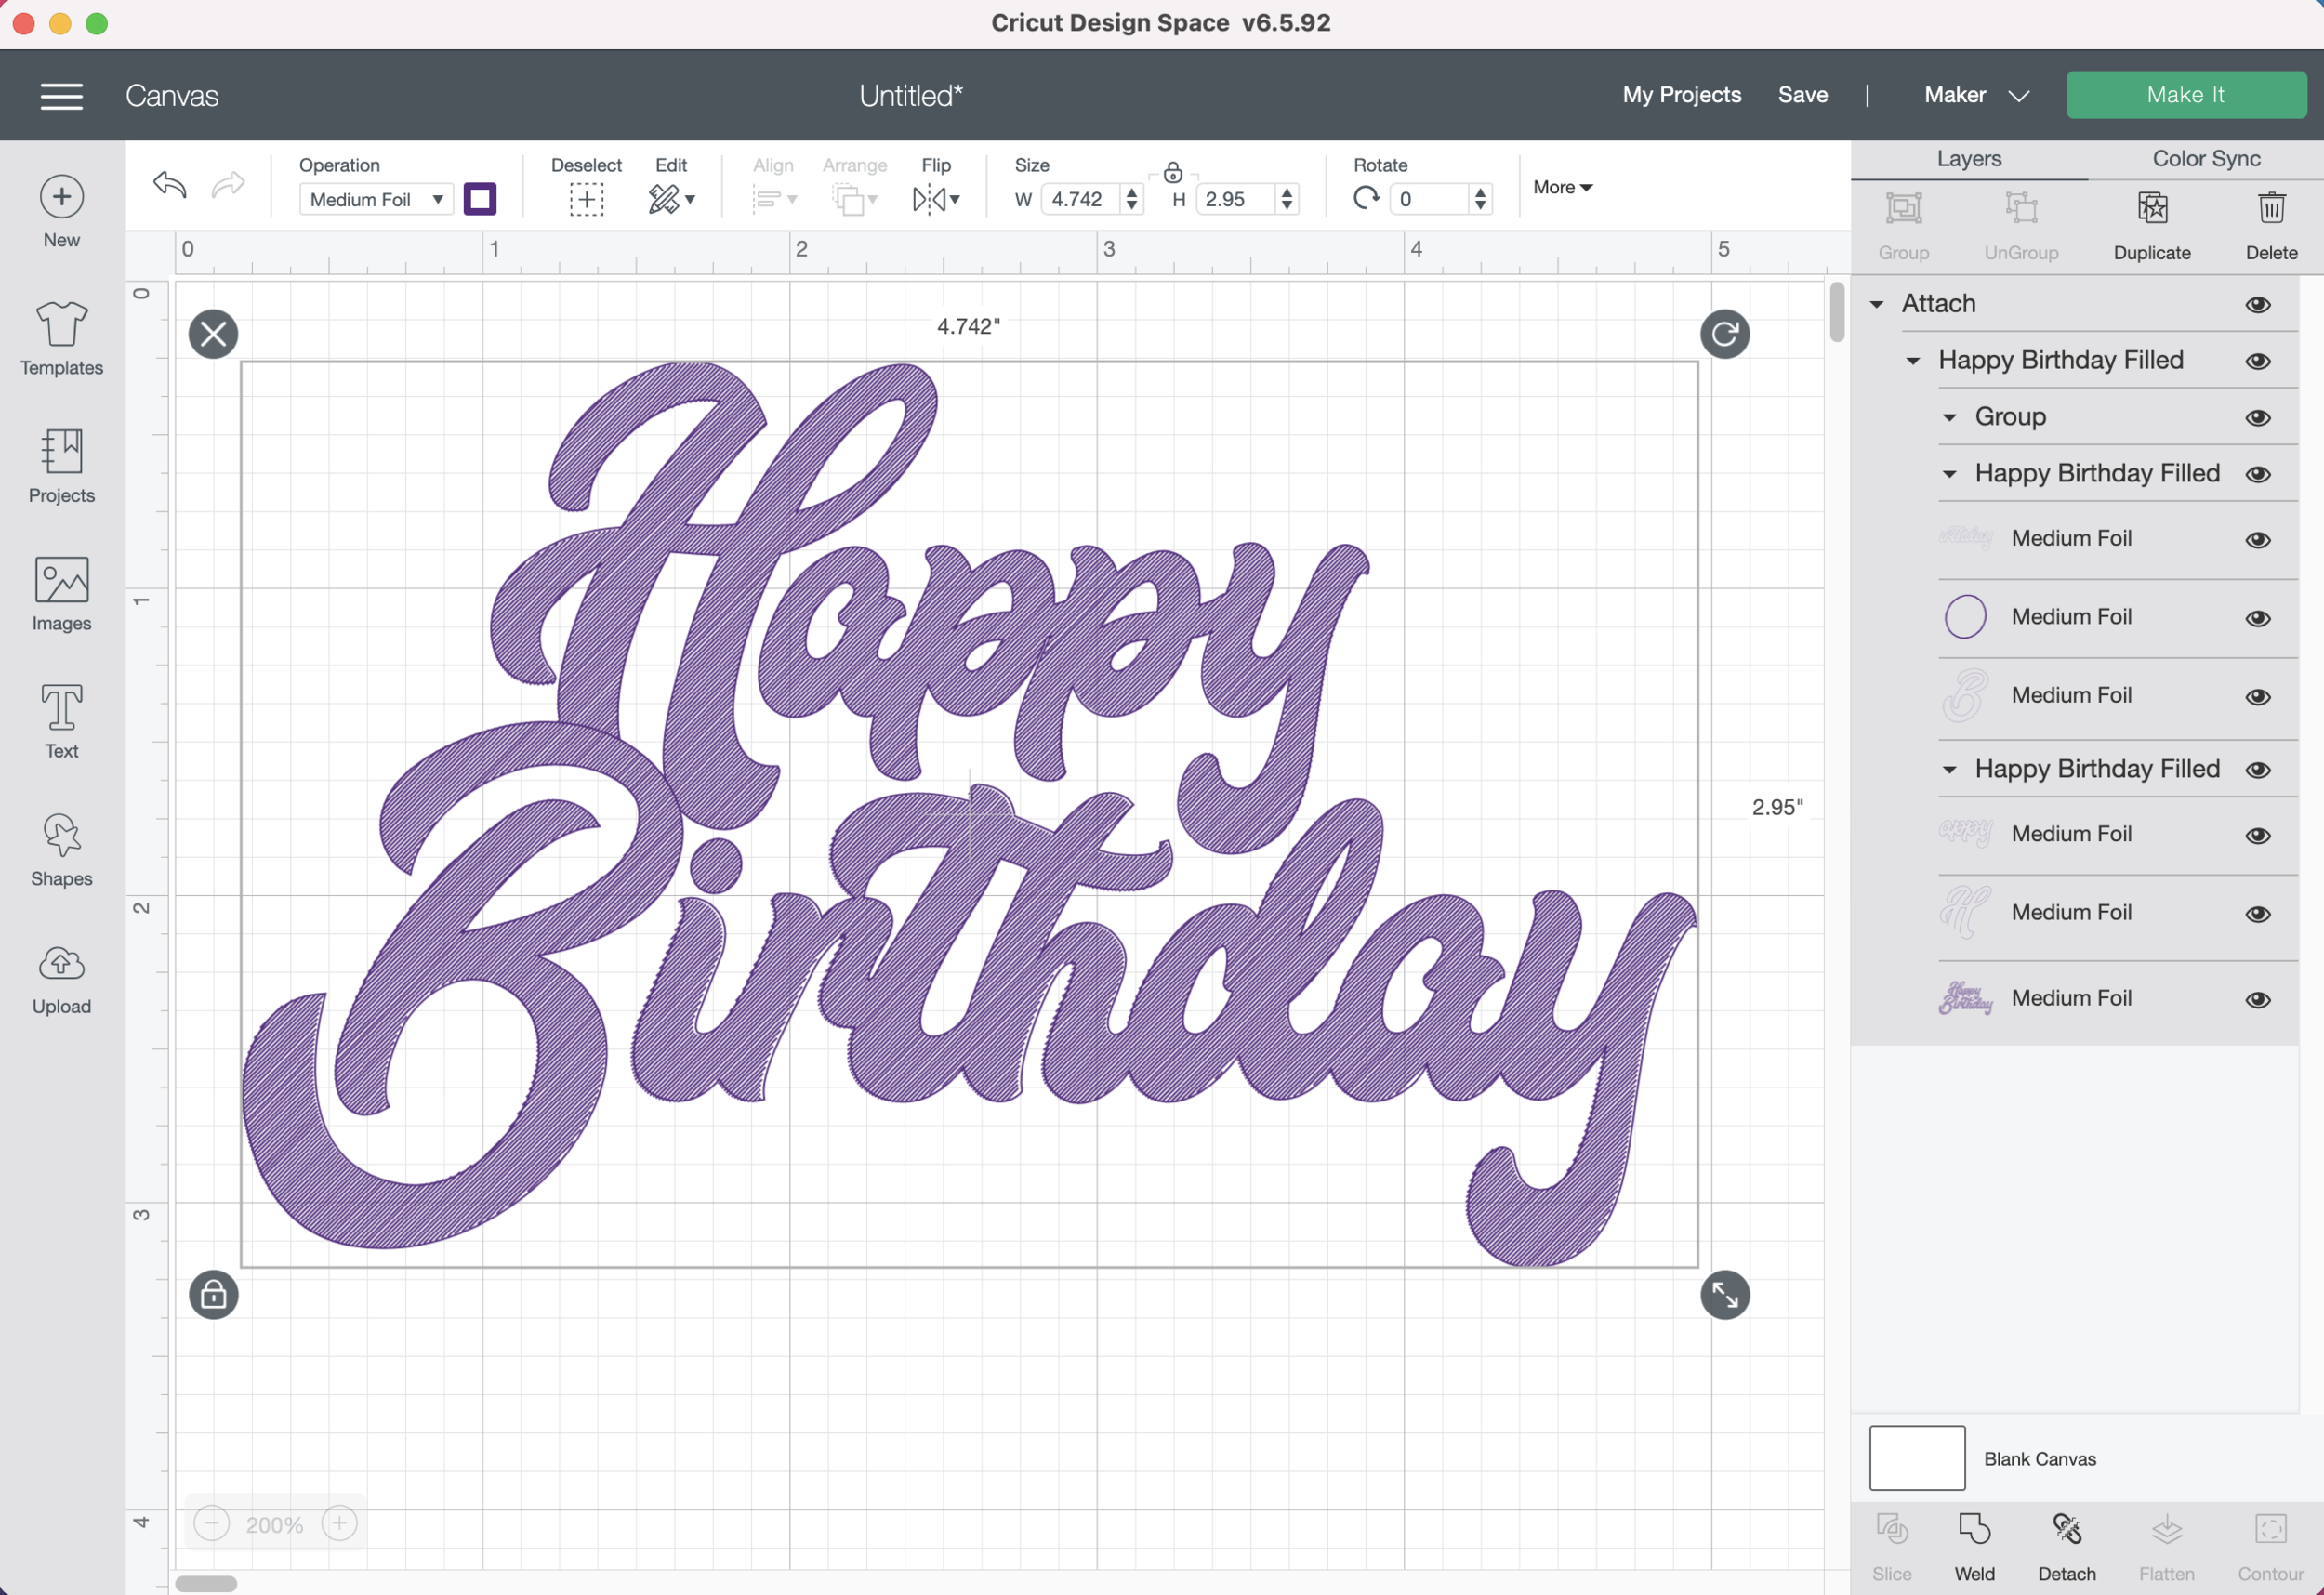
I know I can use my system fonts in Design Space, but if I want to use it as a writing font, it outlines my letters. Not the look I’m going for. Not to mention, the terrible letter spacing that is default for Design Space.
My system font in Design Space - it outlines the letter if I change the lintetype to Draw, and the letter spacing is horrible.
Now I’m going to show you, how to use the font that I already have and make it into a single line word that I can upload into Design Space or Studio and use as a draw file.
You will need Adobe Illustrator, either the app or desktop version. I’m going to be using the app on my iPad with the Apple Pencil for this tutorial.
First, I’m going to create a new file in my Illustrator app. Then I’m going to select the text tool.
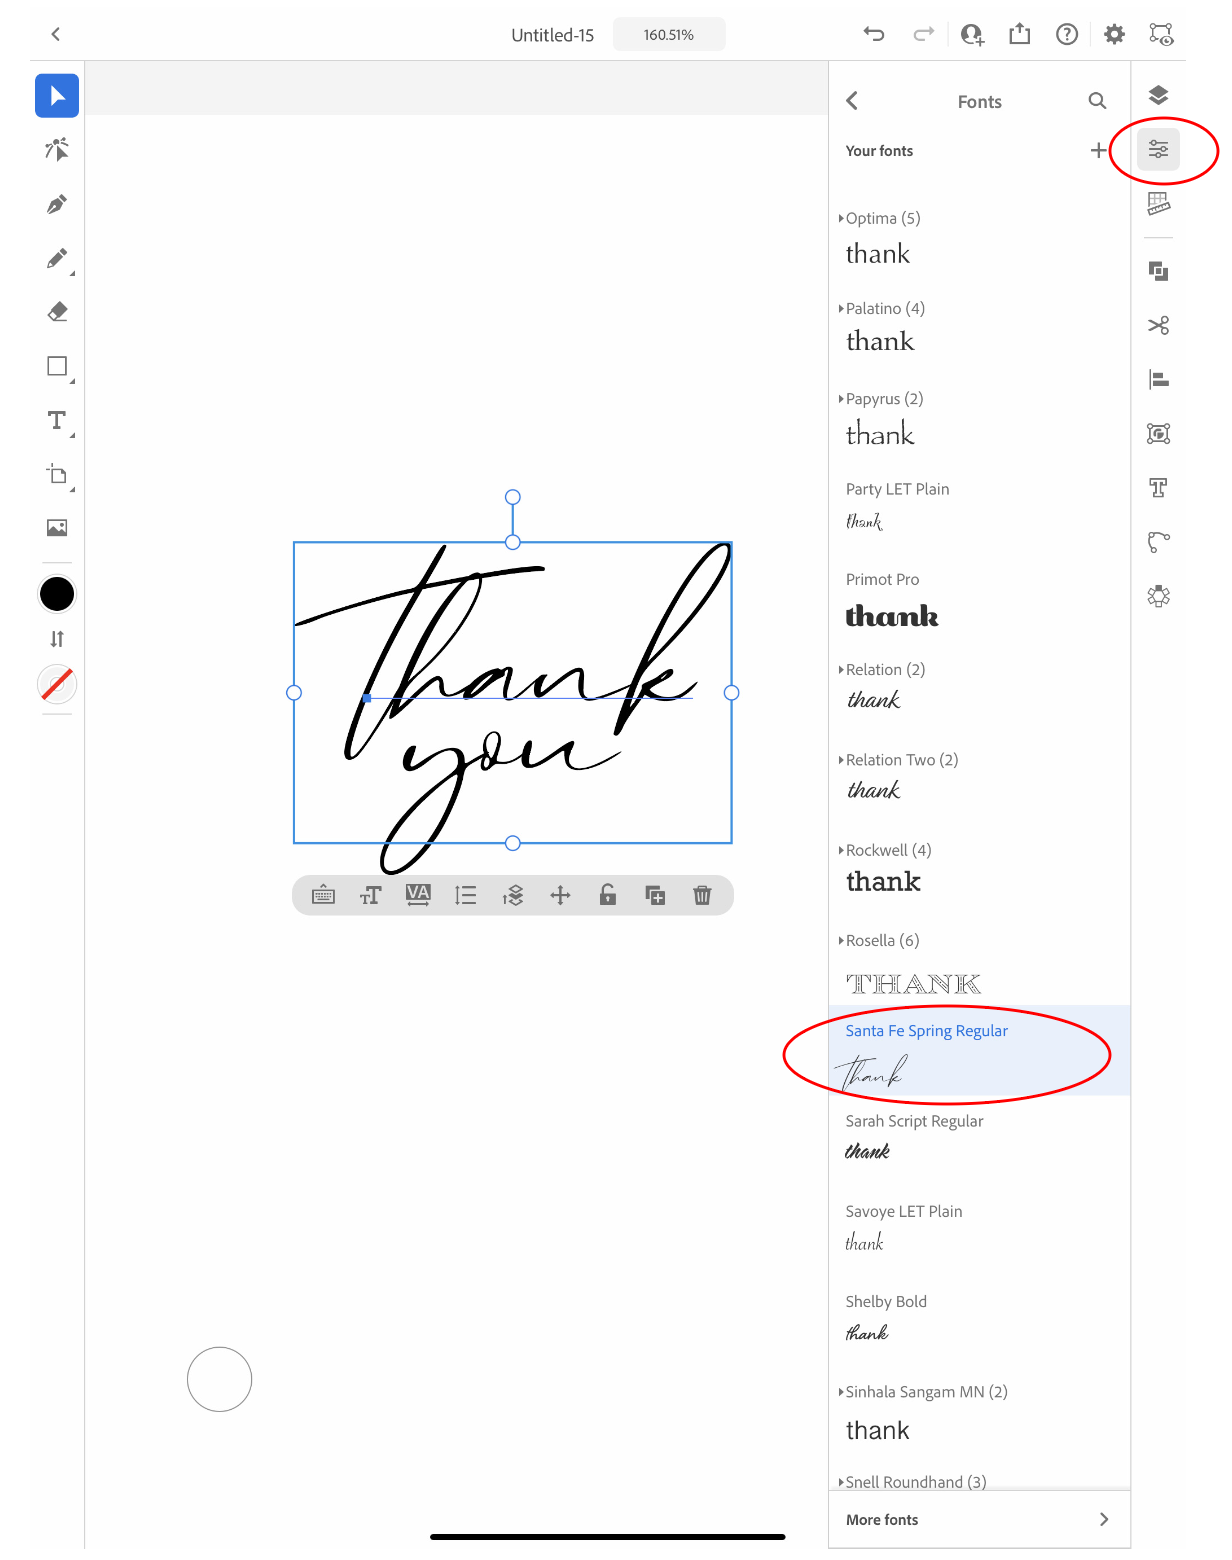
I’m going to keep it pretty simple and type “thank you.” To change the font, I need to have my words selected and click on the “Properties” button on the right side tool bar. The font I’m using is called Santa Fe Spring (it is not part of the Adobe fonts, but I added it to my Creative cloud so I could use it on my iPad).
I’m typed my words as two separate objects so I can adjust their placements.
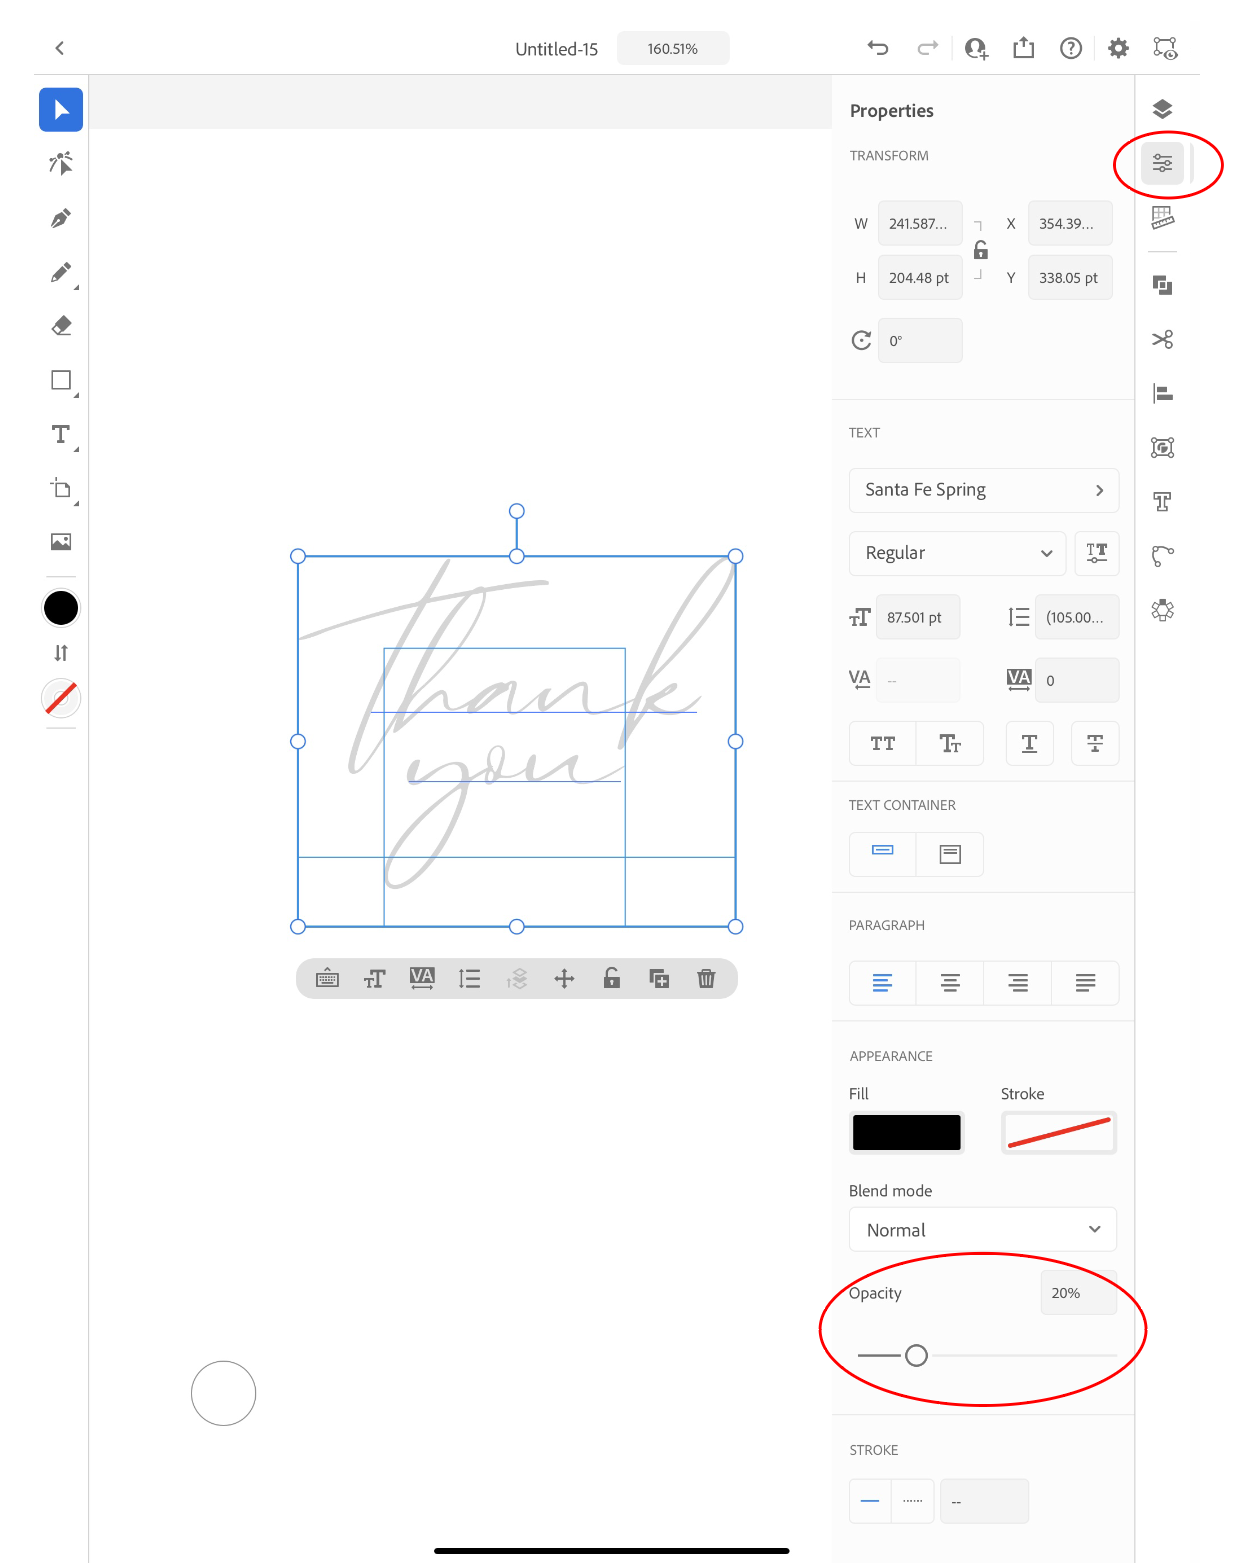
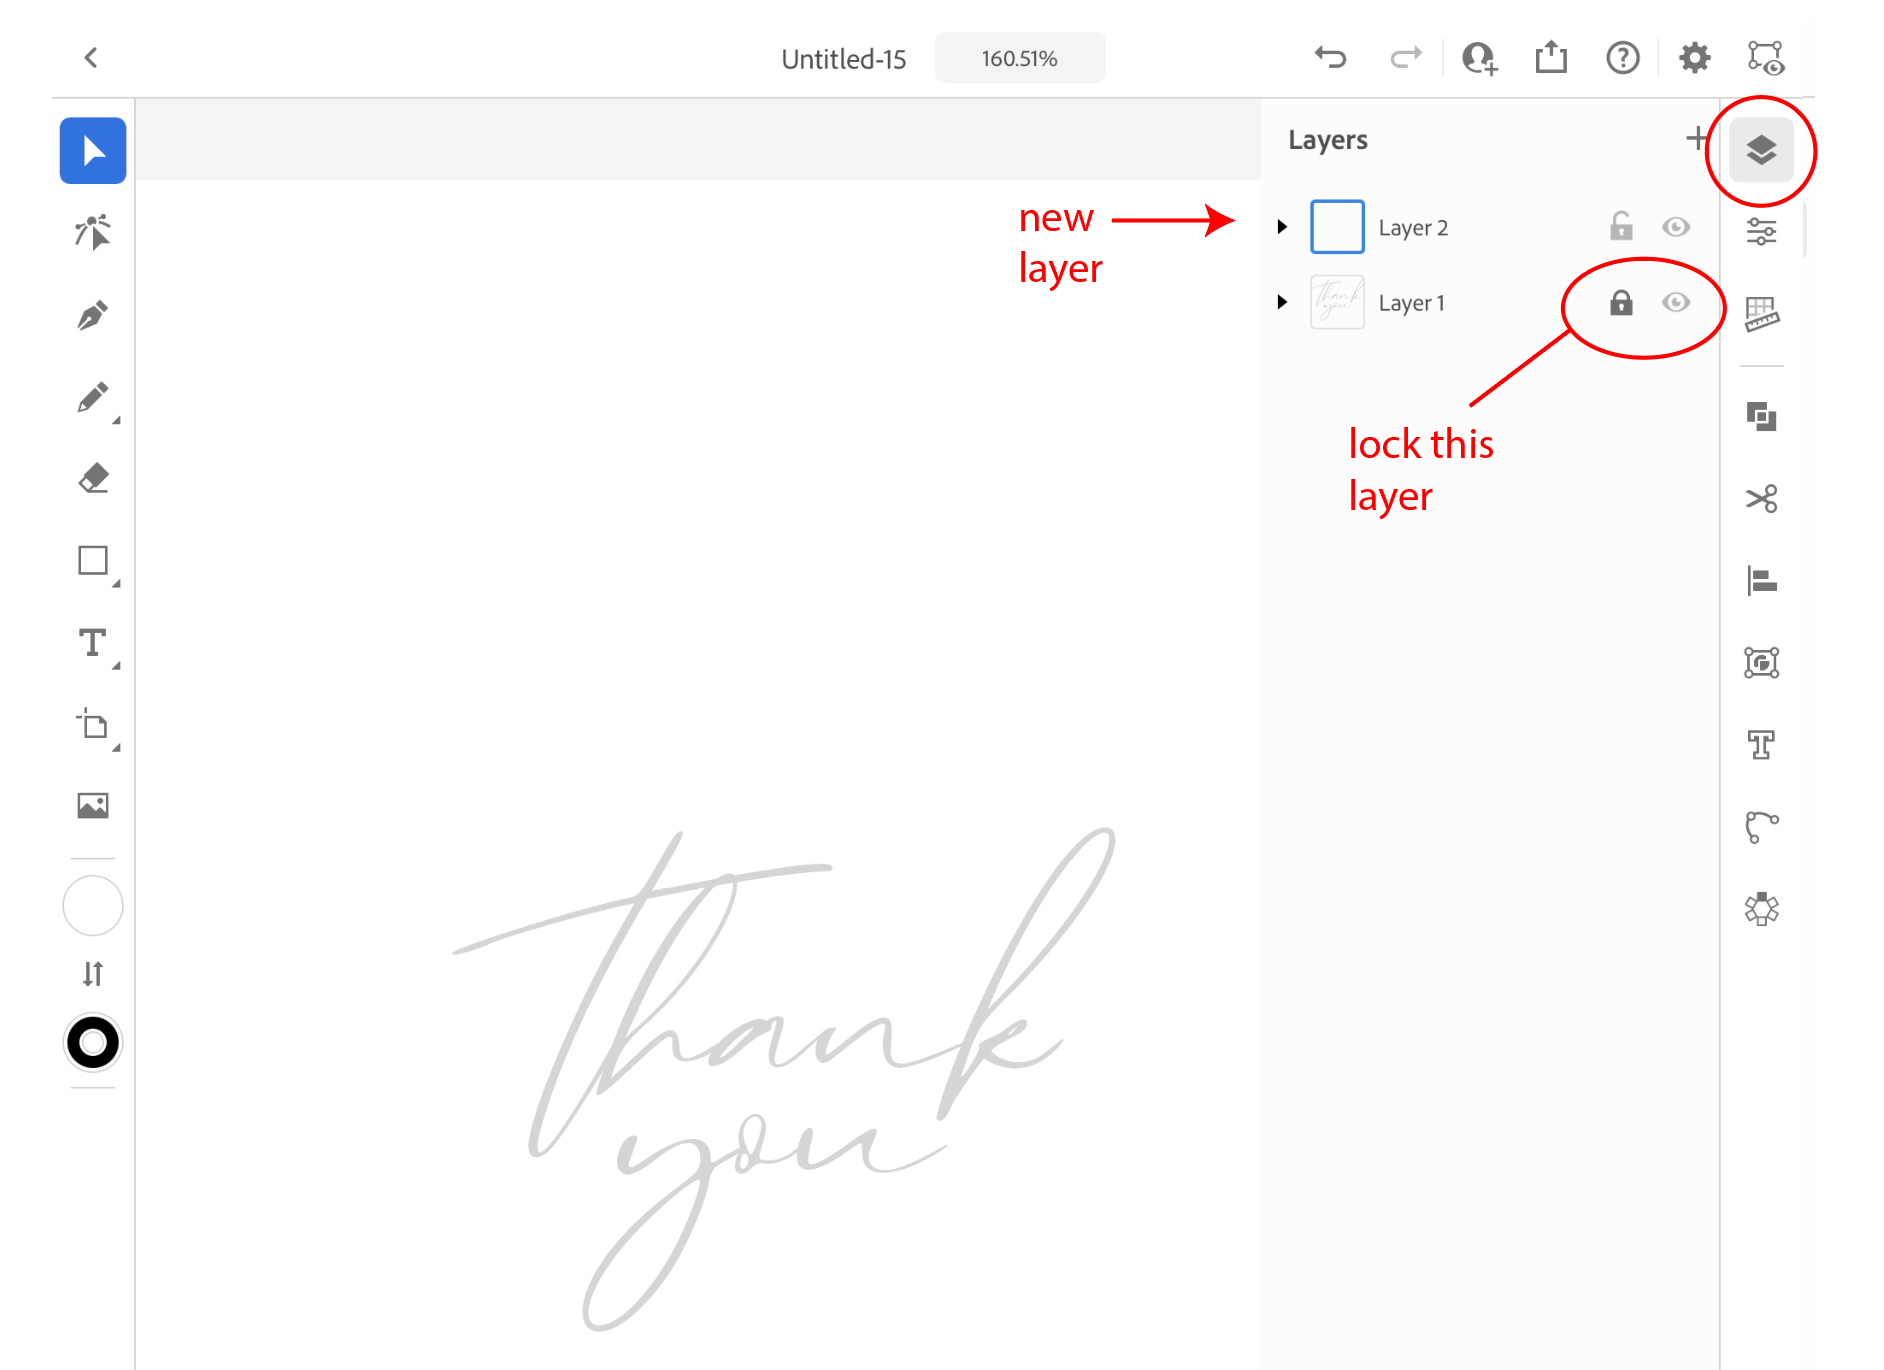
Then, with both words selected, I’m going to lower the opacity of this layer to about 20 percent.
I’m going to lock the layer with my words and create new layer above it, this is the layer I will be drawing on.
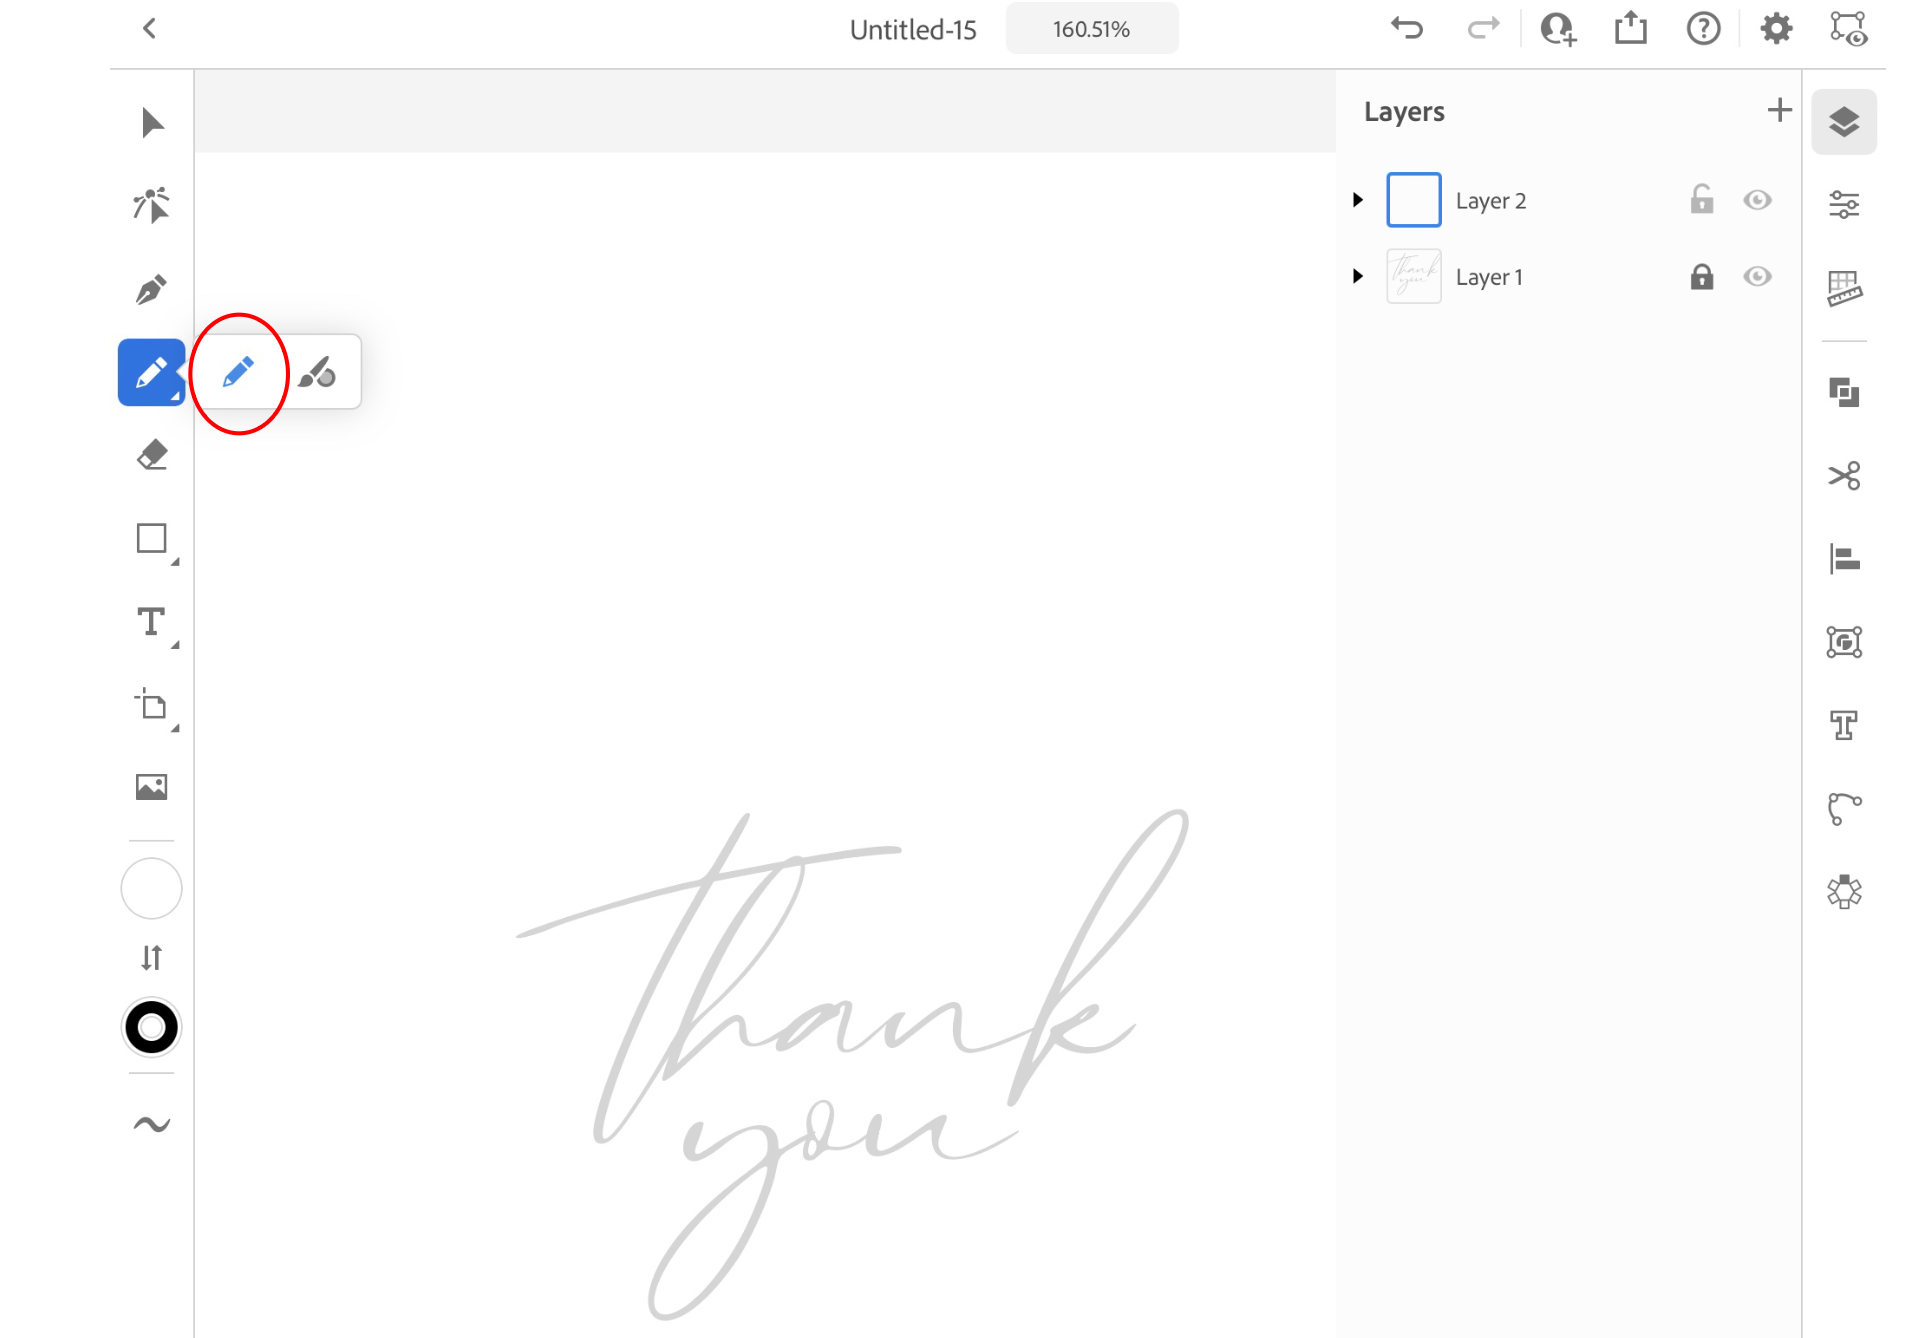
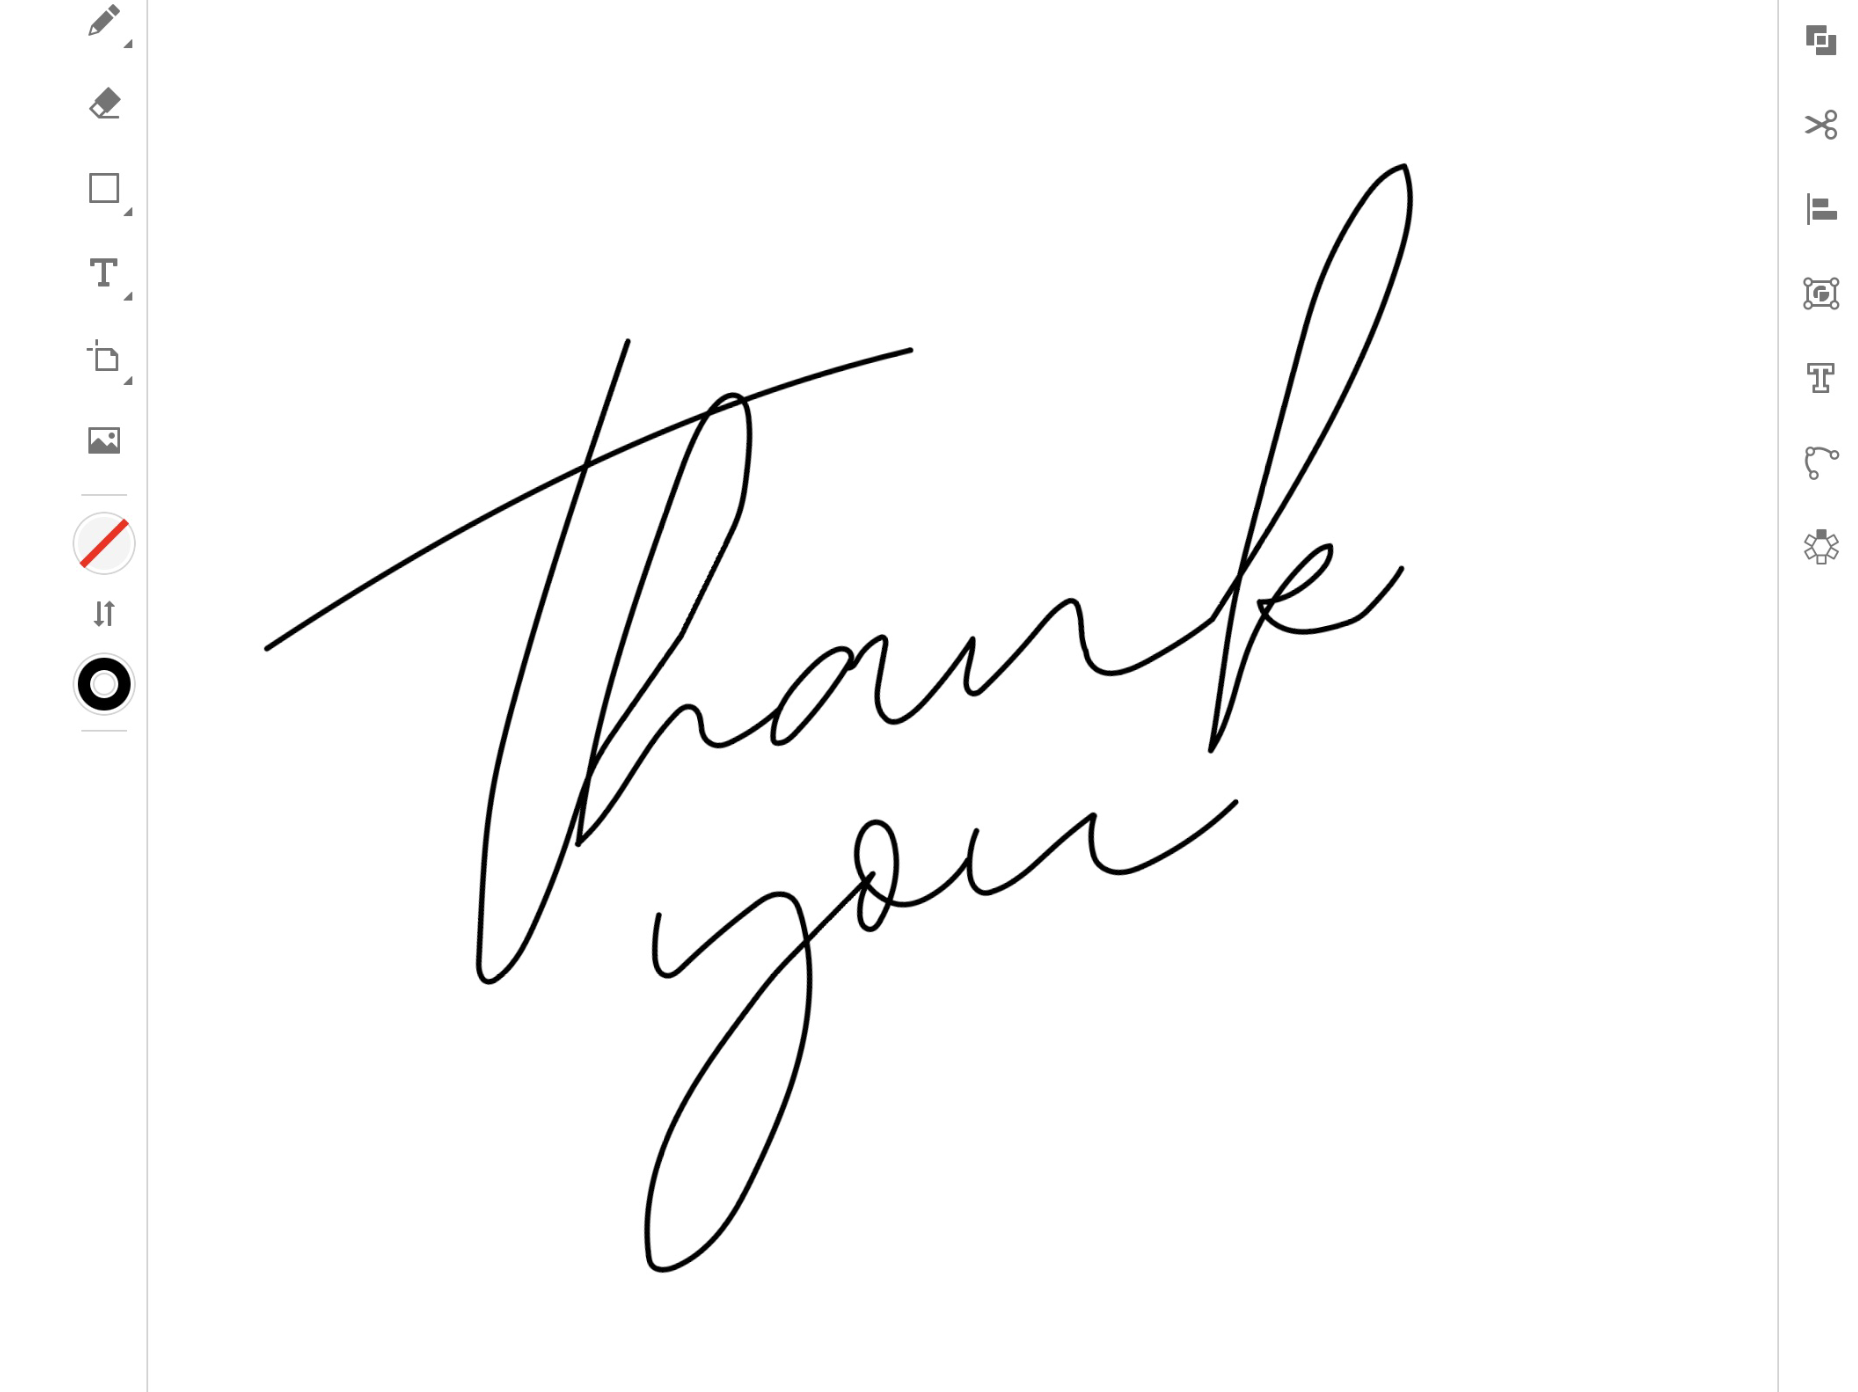
I select the PENCIL tool from the left side tool bar. I’m using the pencil tool because this is a very loose hand-written type font. If you would like more control, you can also use the pen tool. Just DO NOT use the blob brush, we want single line strokes, no fills.
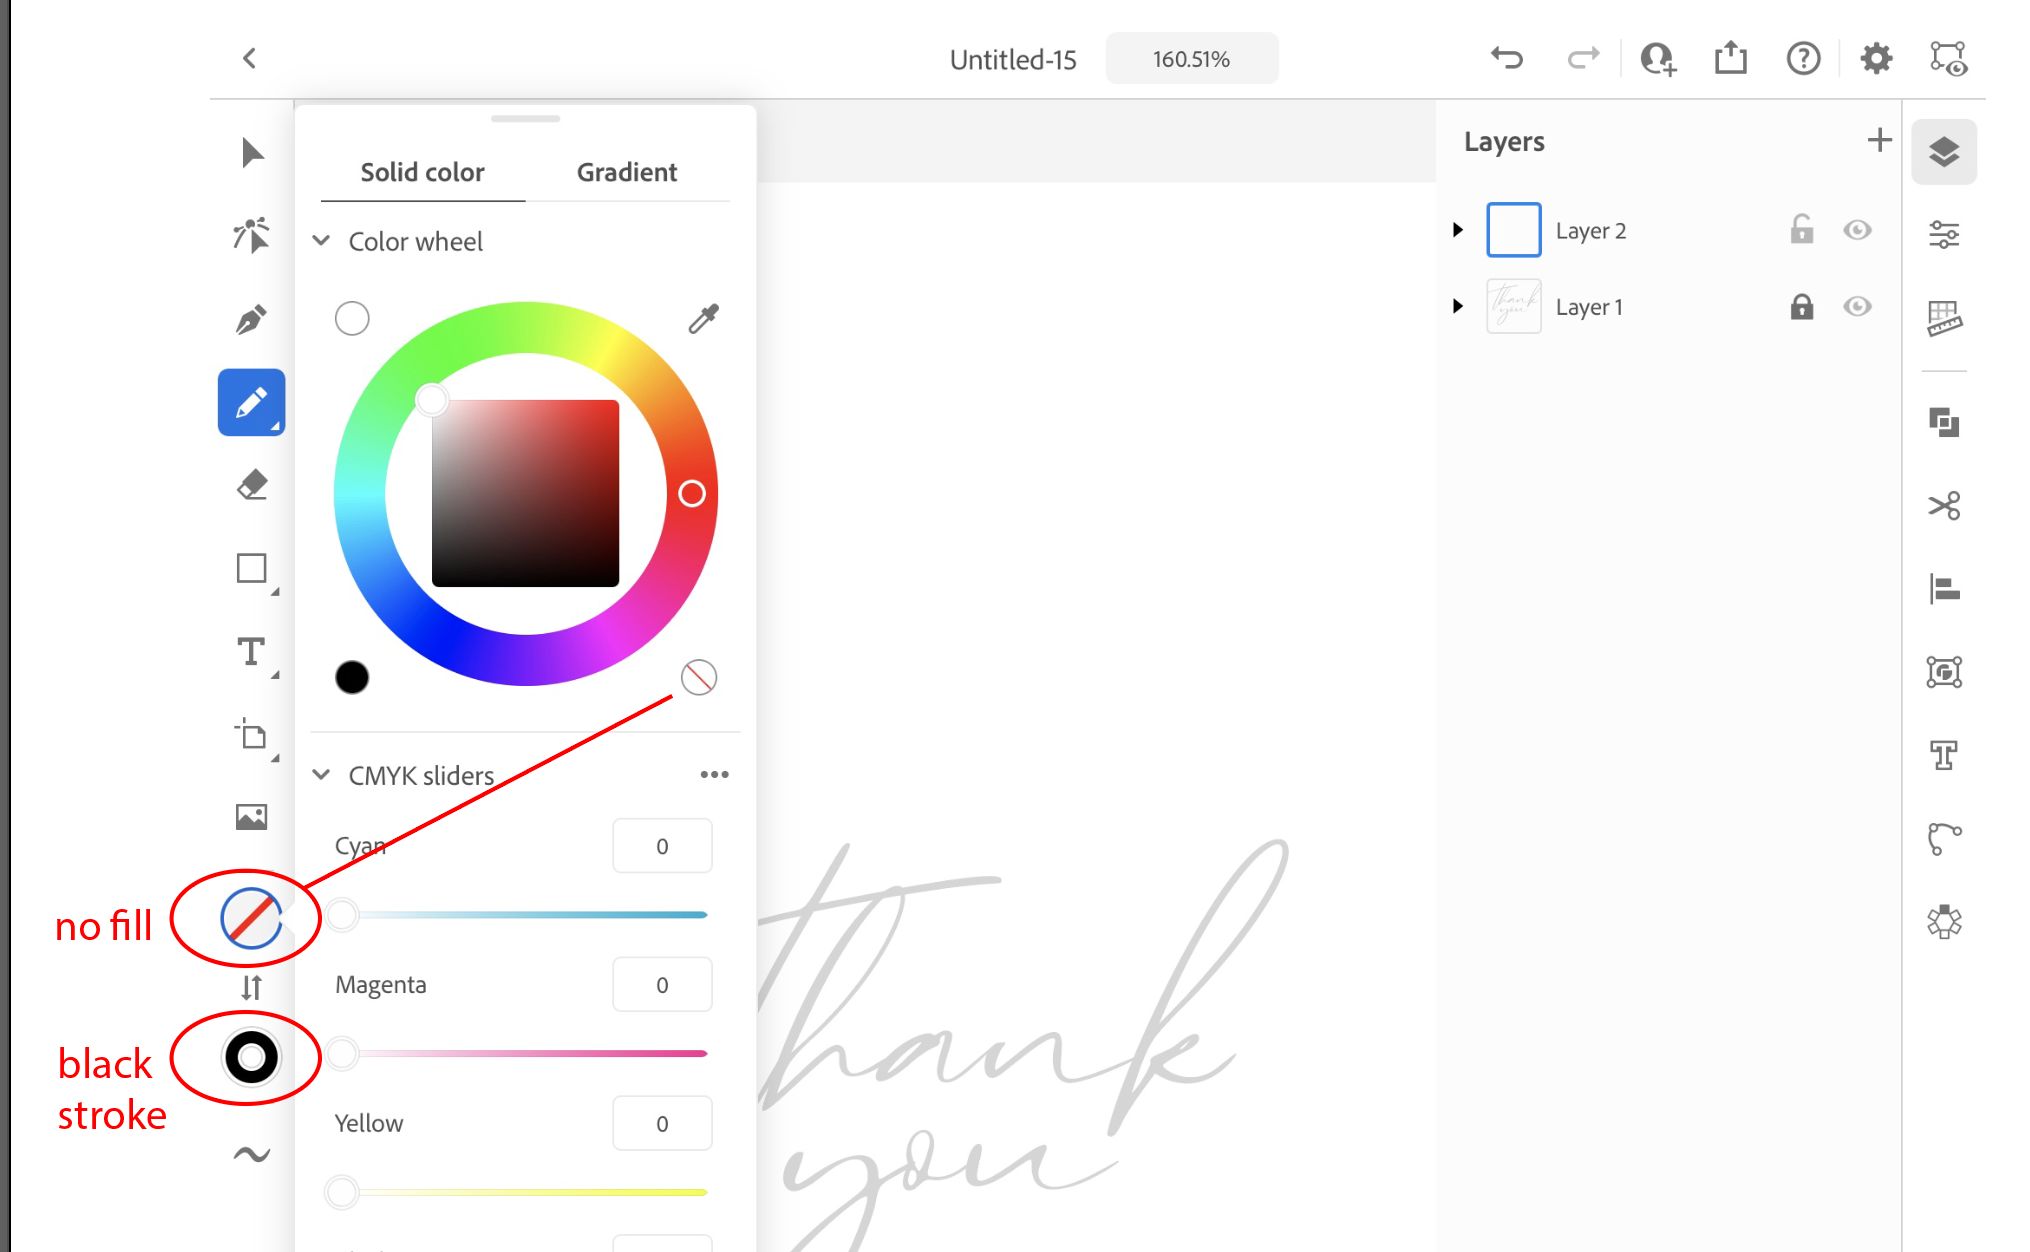
I set my fill to “nothing” and my stoke to black. You can pick whatever color you like as long as it is visible against the typed words.
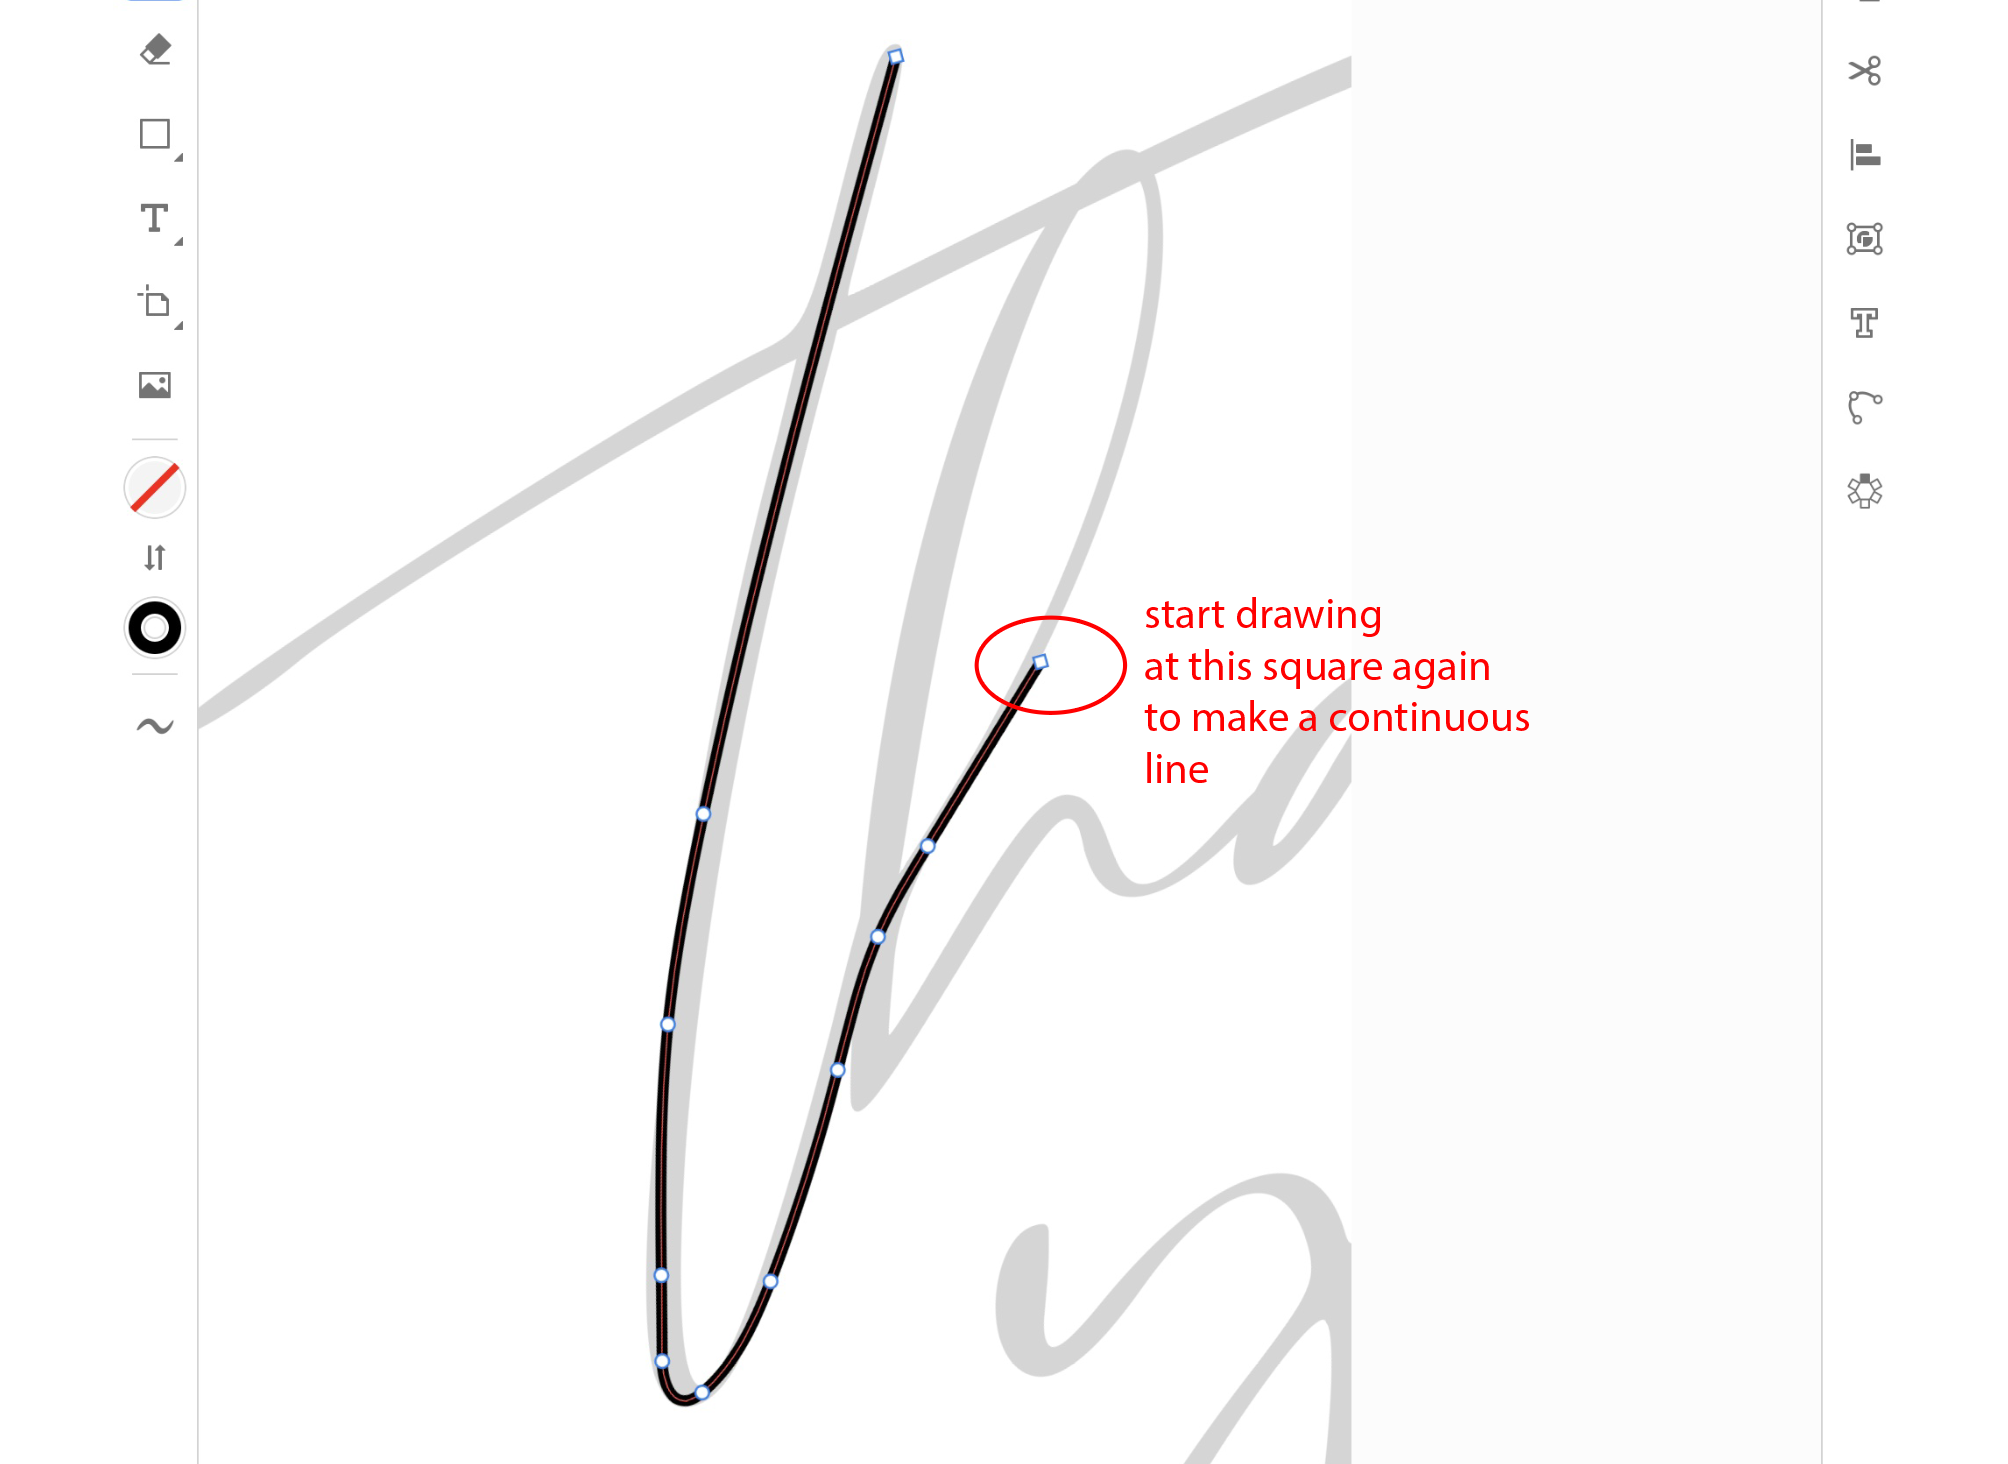
I’m going to start tracing over my typed letters with the pencil tool. I sometimes need to stop and pick up my pencil, that’s okay! If you want your line to continue once you start drawing again make sure to start on the square anchor point where you stopped.
If your lines look a little wonky, it’s ok, we’ll go back at the end and refine everything.
Once I get my letters completed, I turn off the layer with the typed text. My letters definitely need some refining!
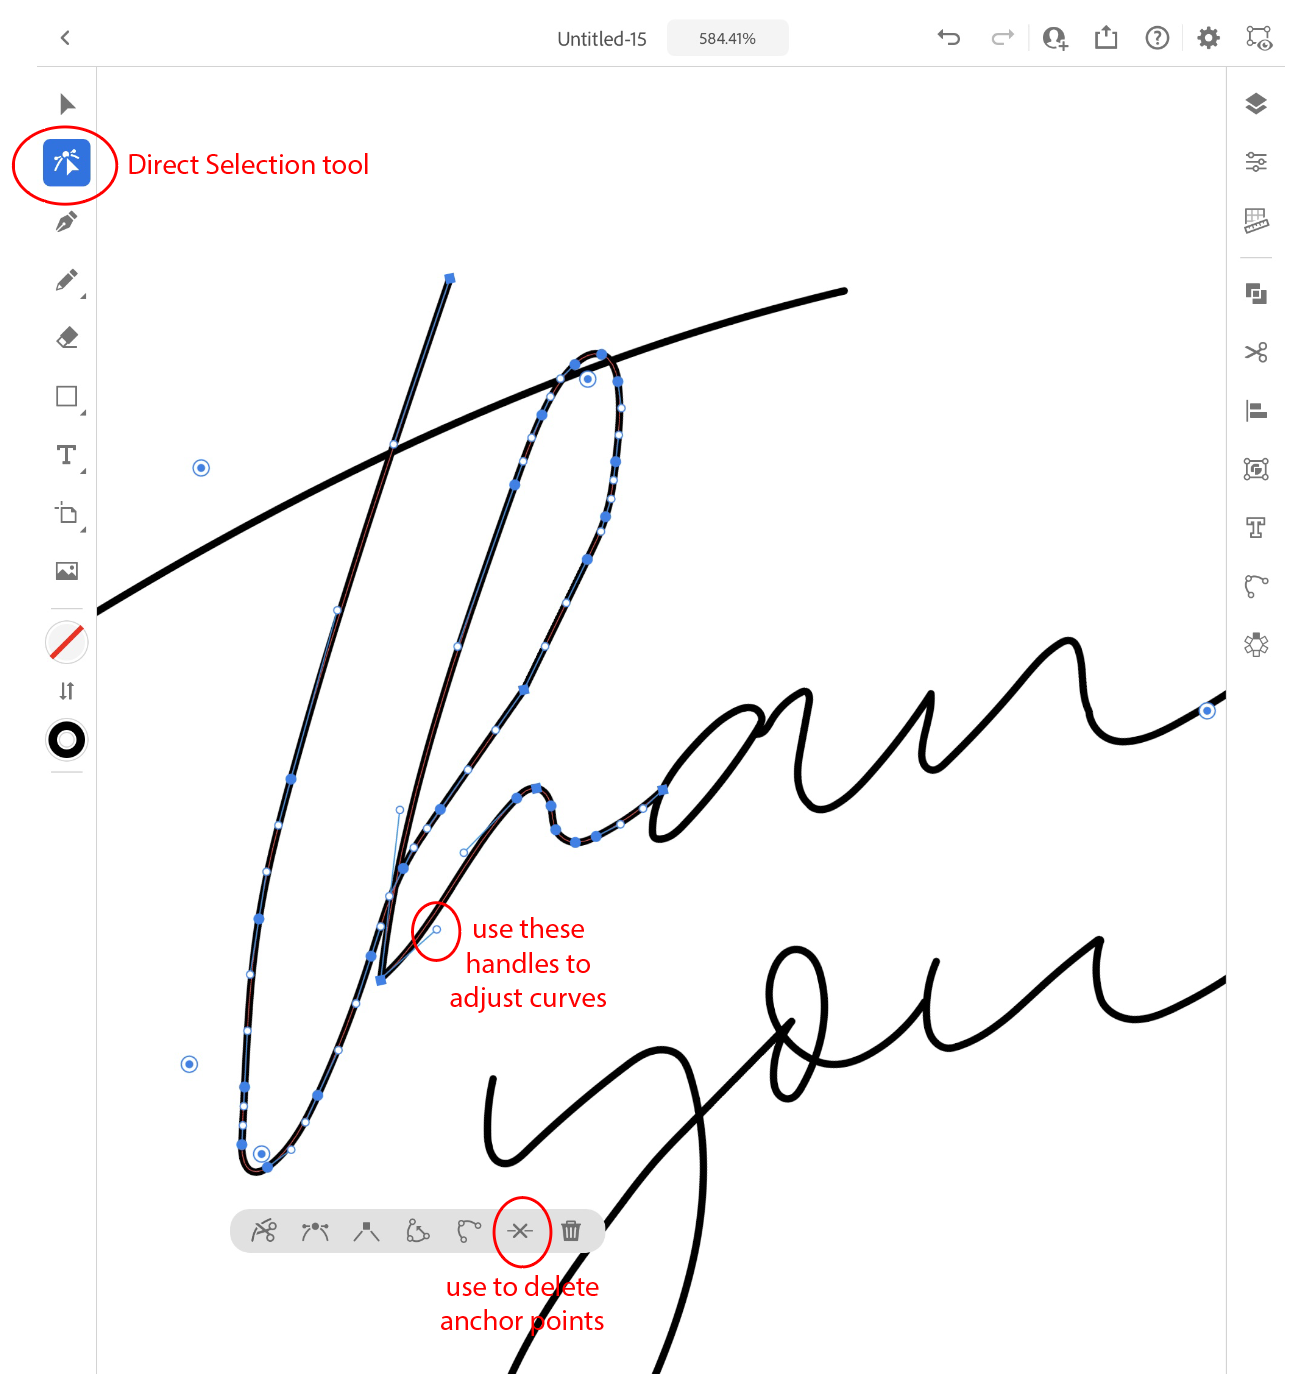
With the Direct Selection tool I can go in and delete anchor points that I don’t need and adjust my curves with the little handles as needed.
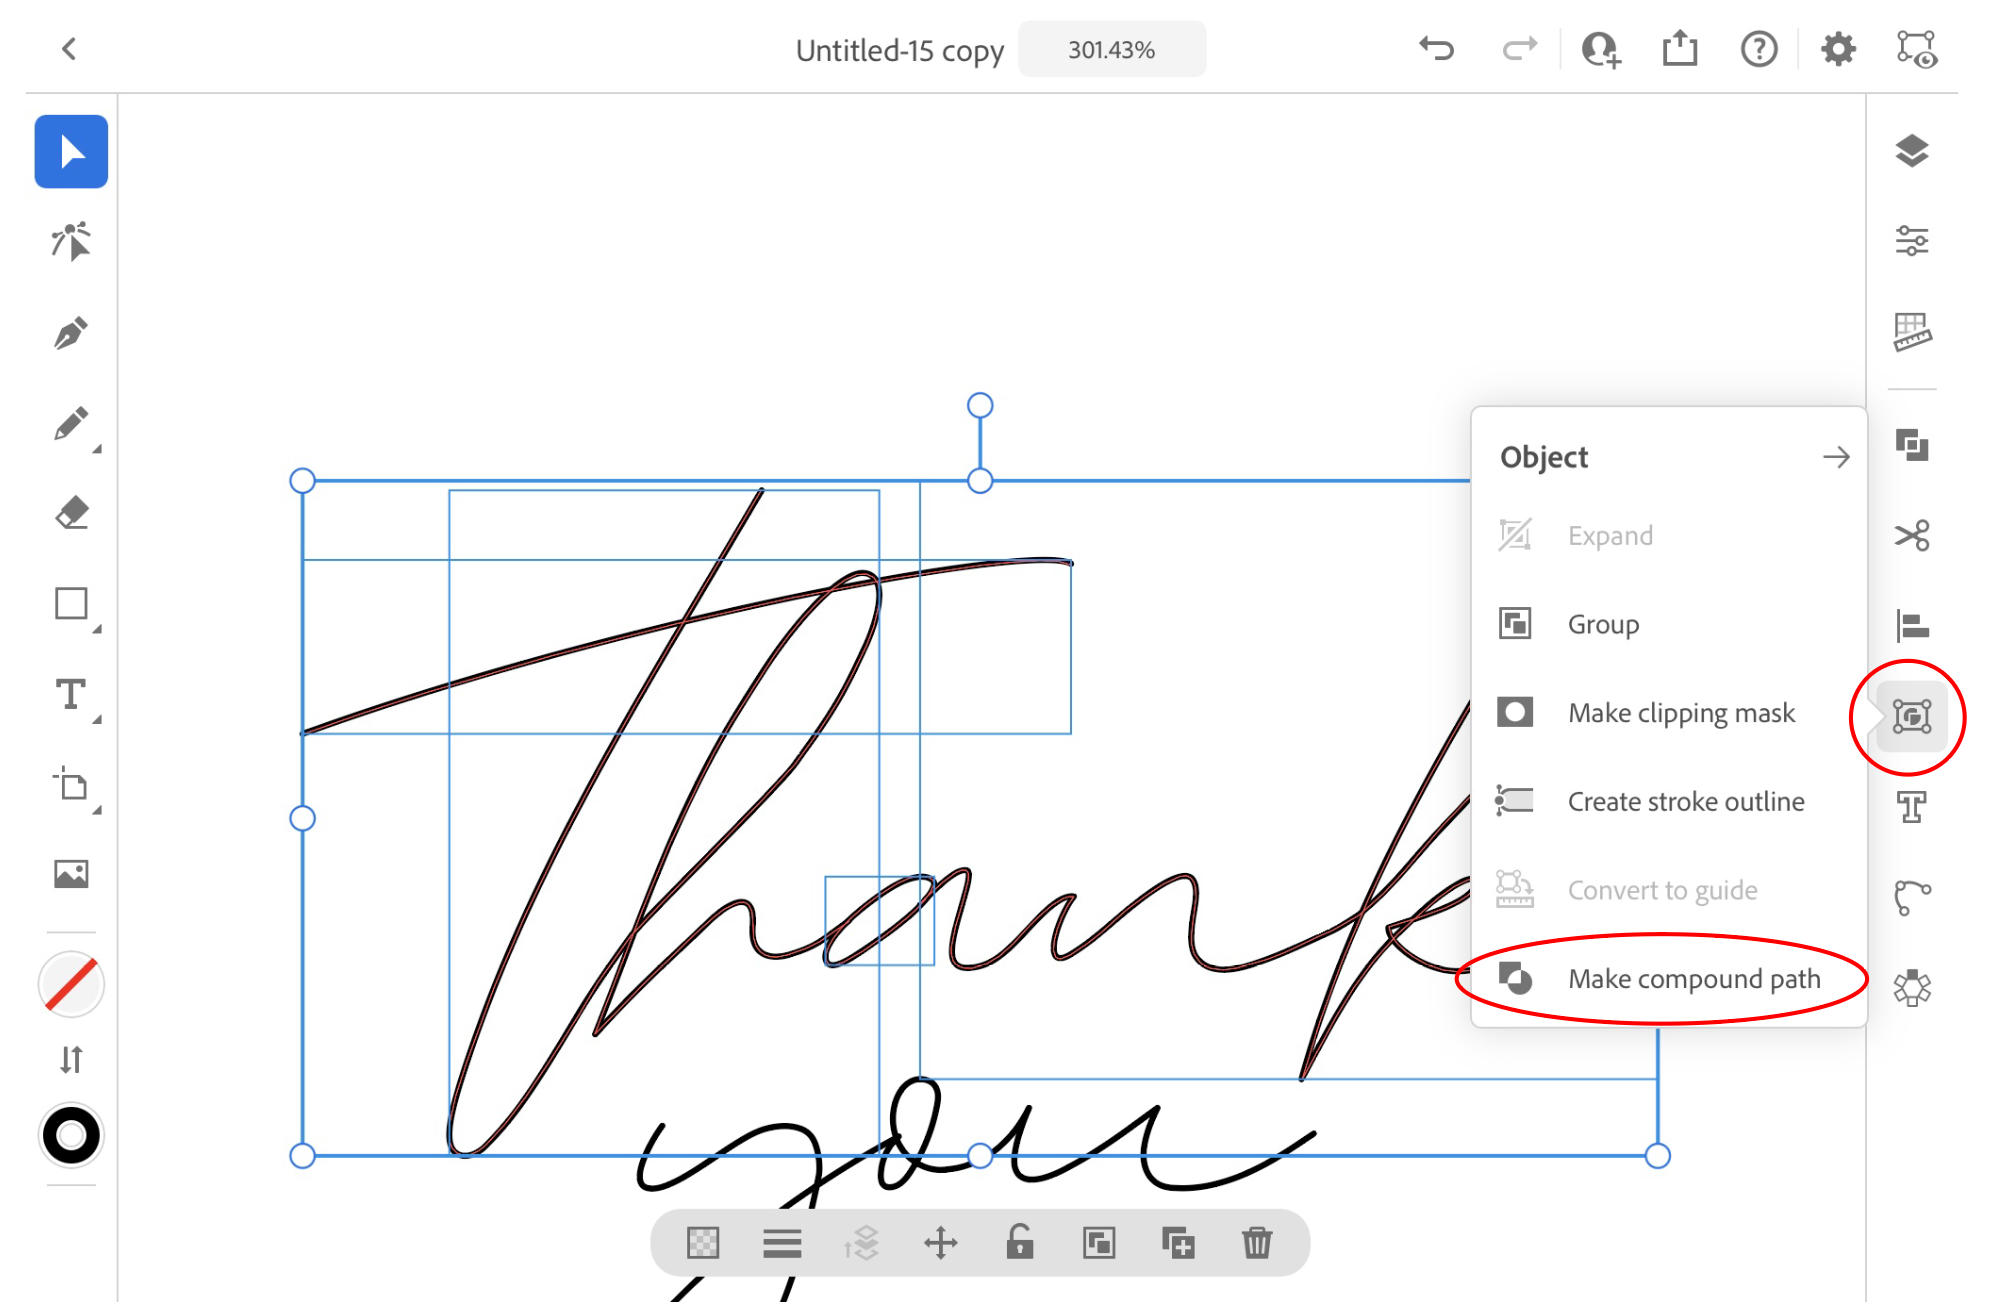
Once I get my letters to my liking, I make each word a Compound Path.
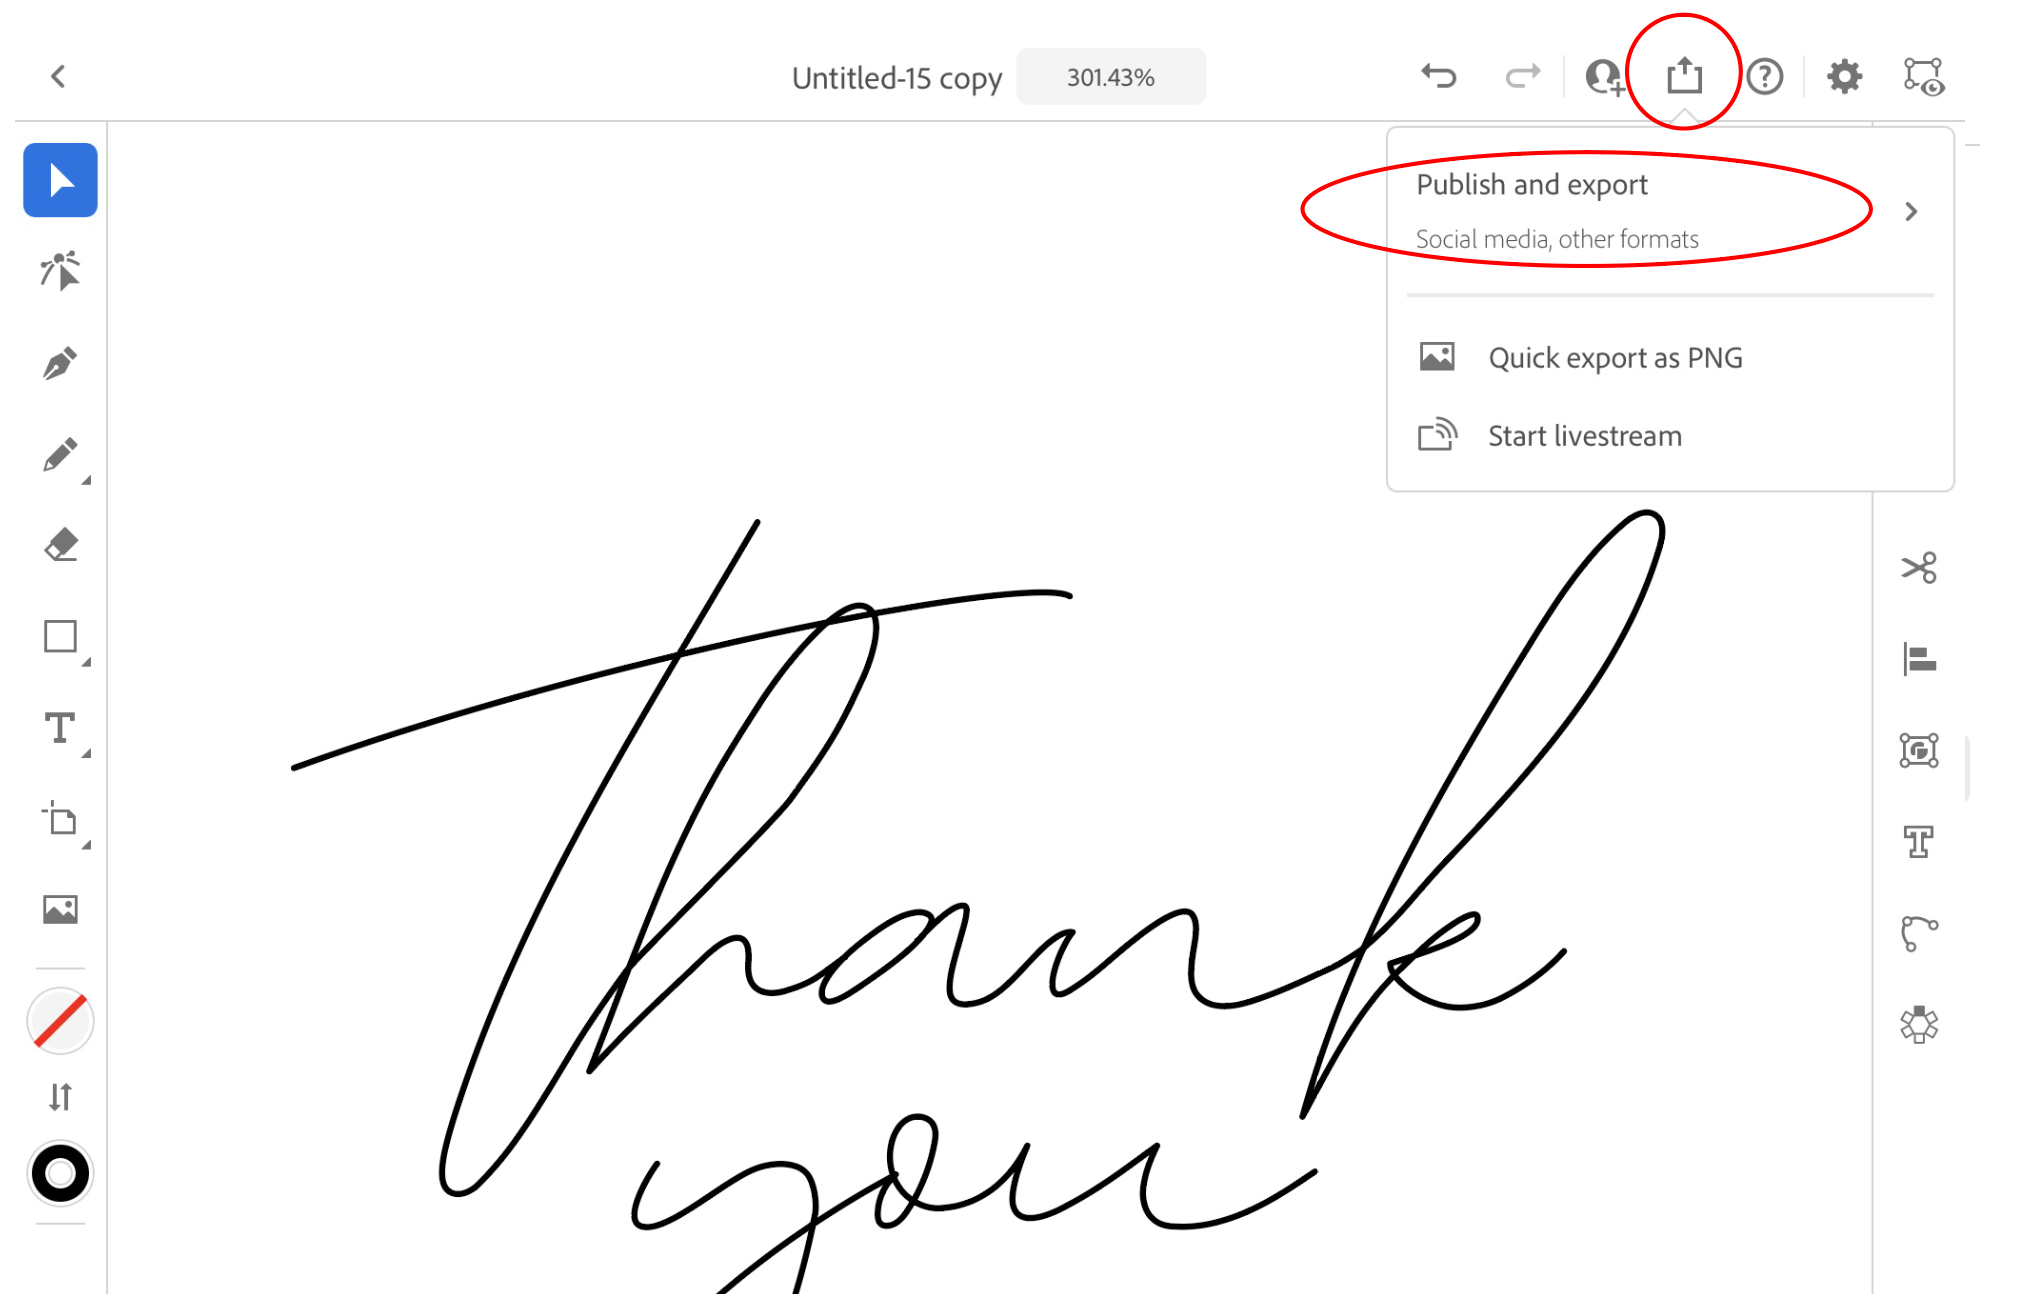
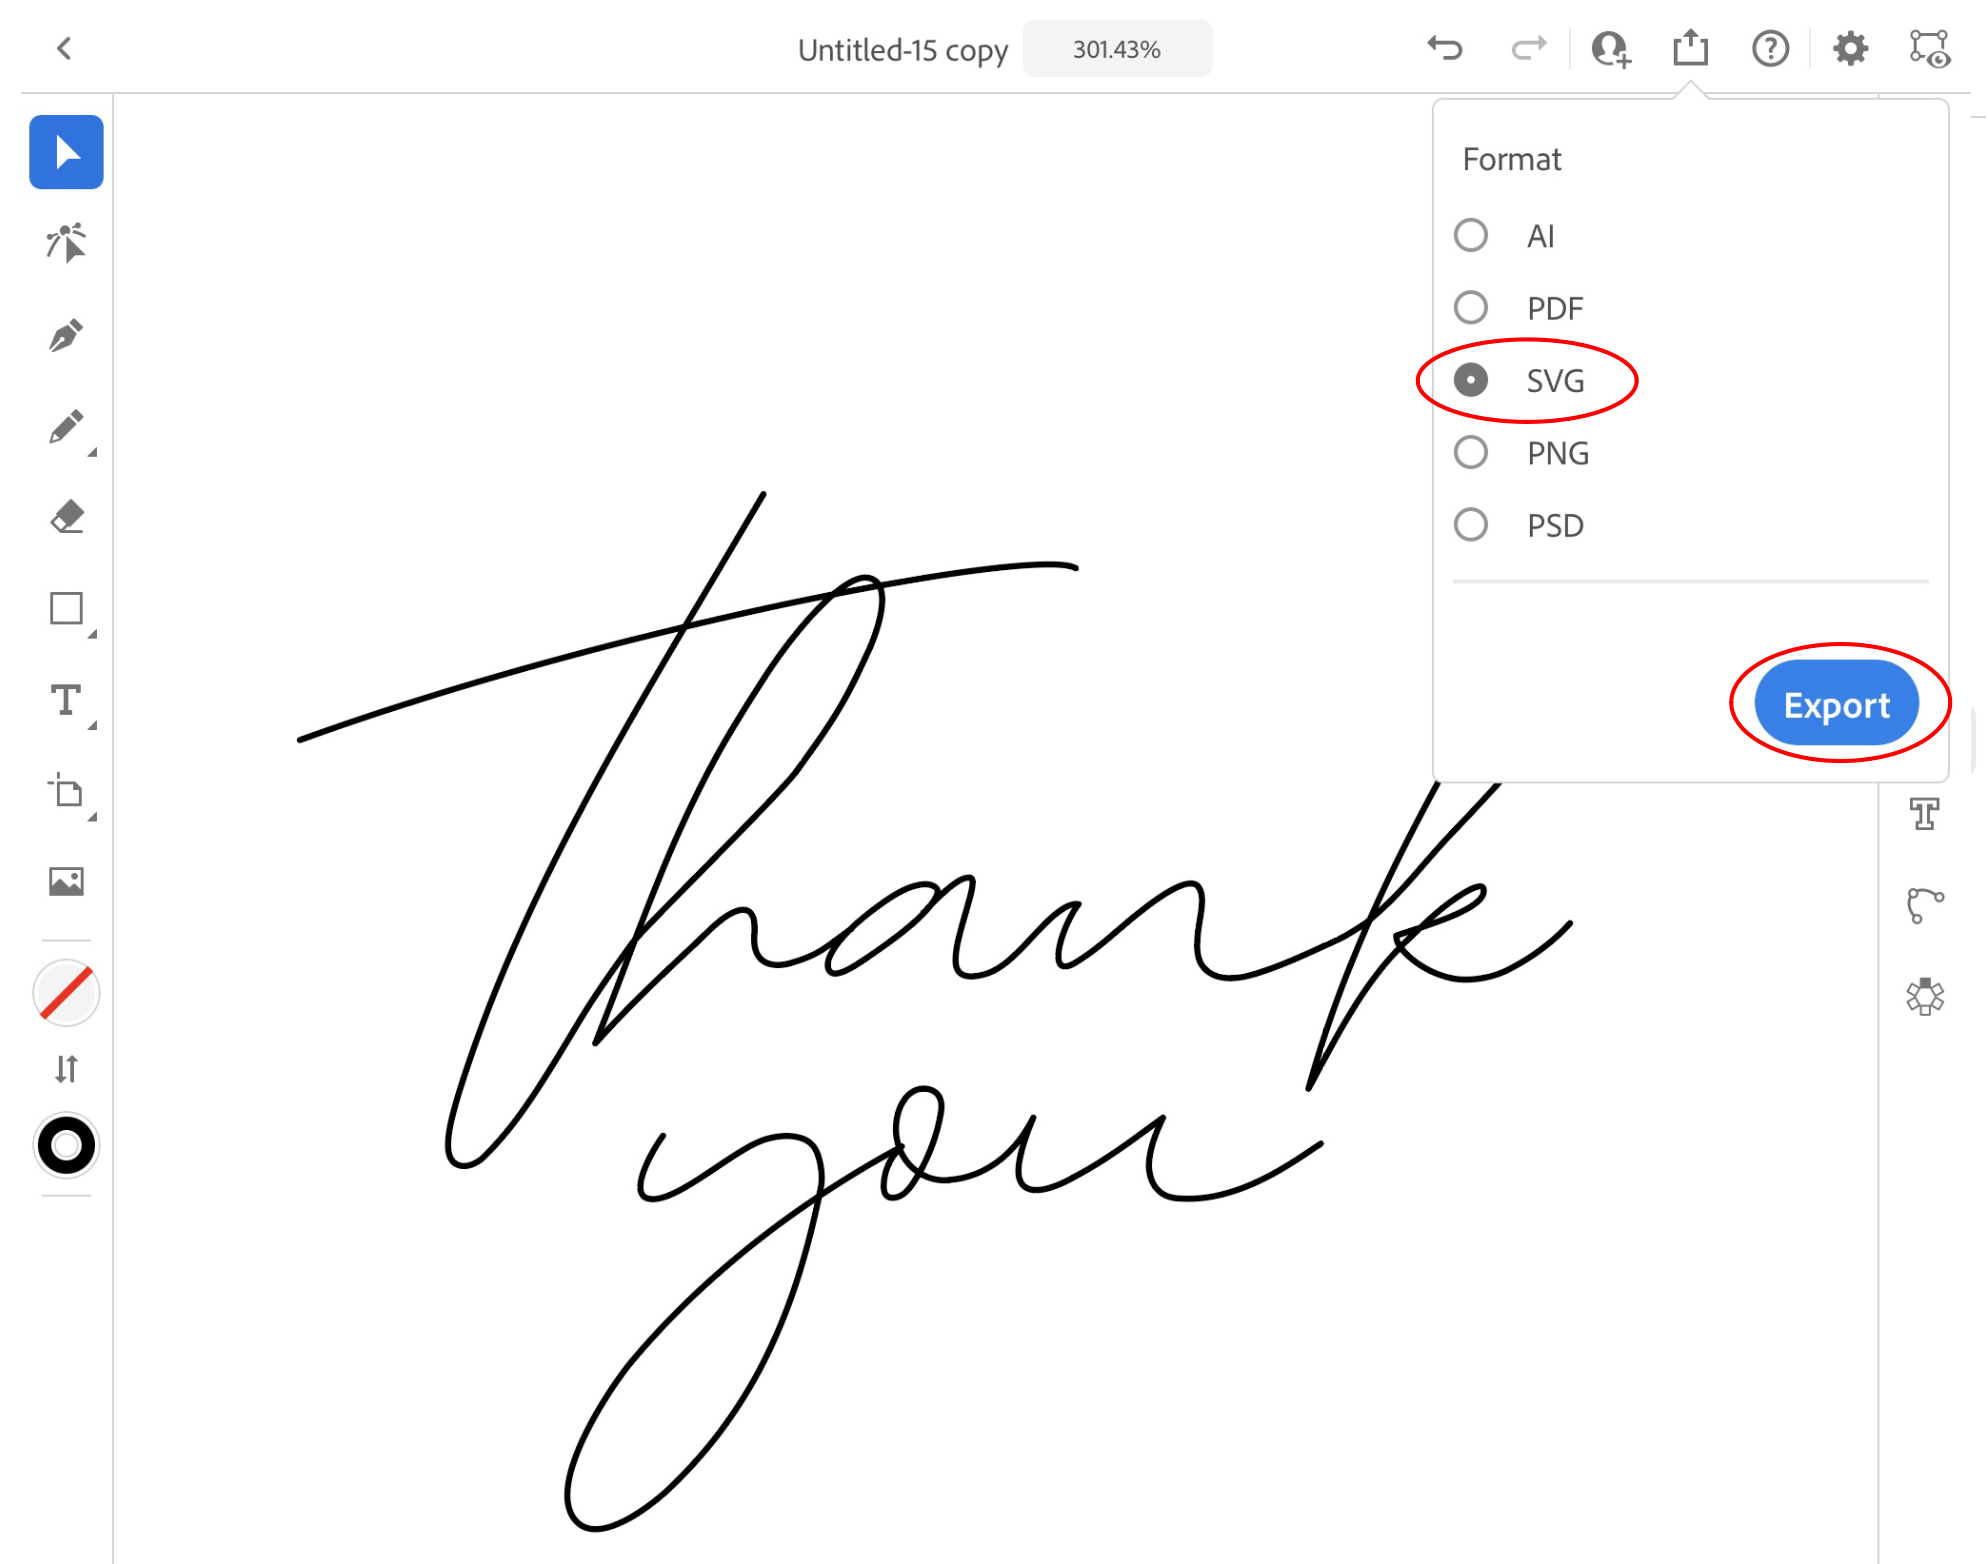
Now it’s time to export! I select the little box with an arrow in the upper right corner and select “Publish and Export.”
I select SVG and click “Export.”
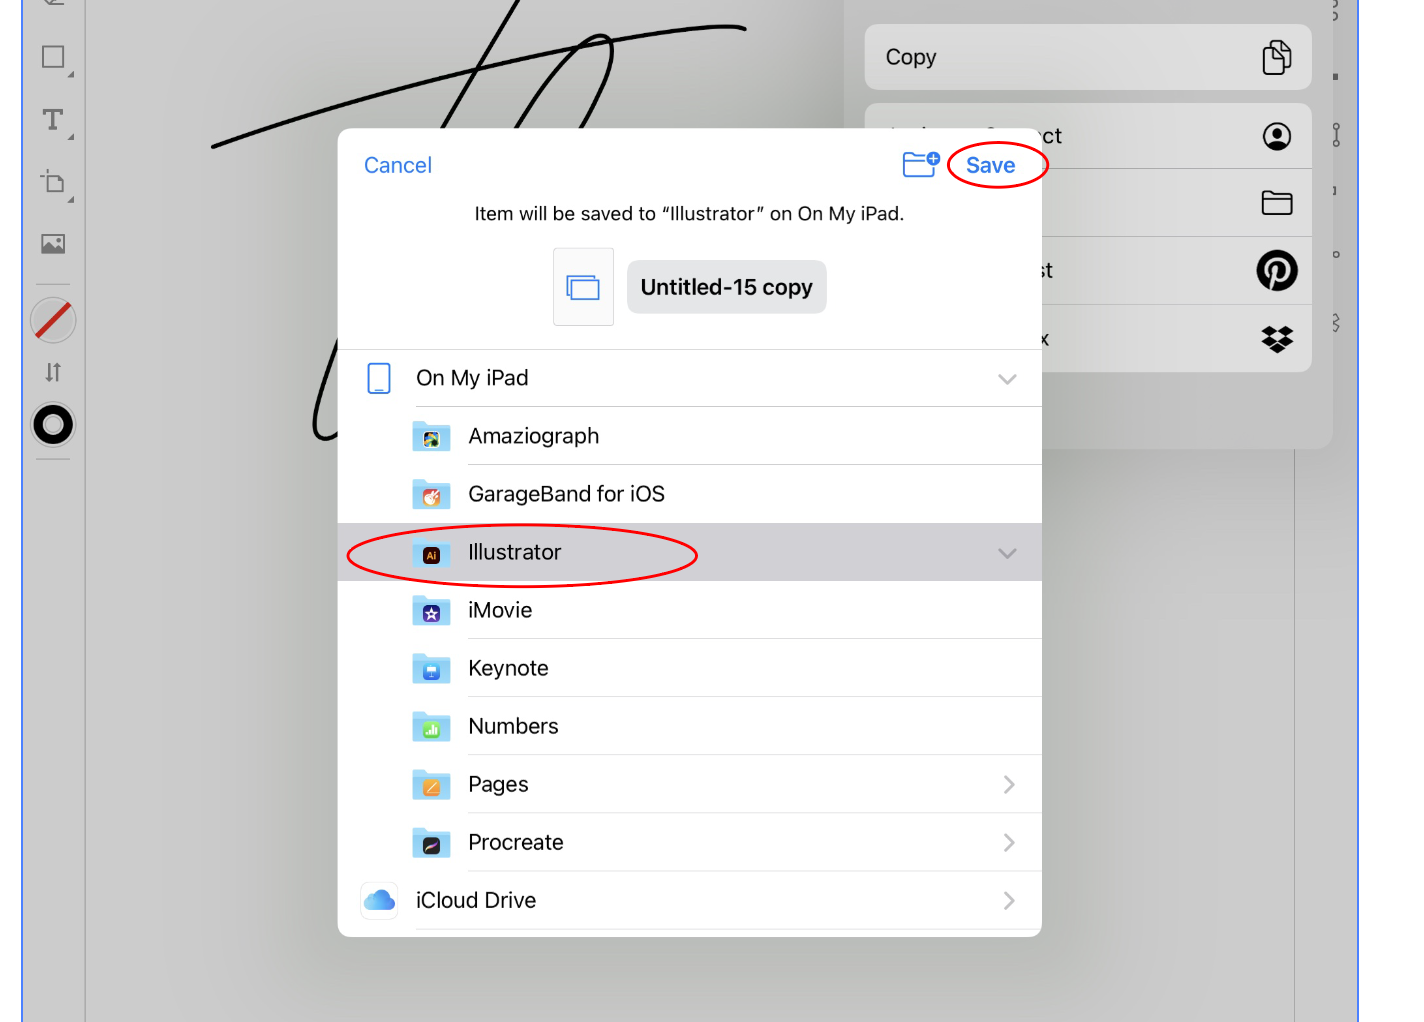
I save it to my Illustrator files on my iPad.
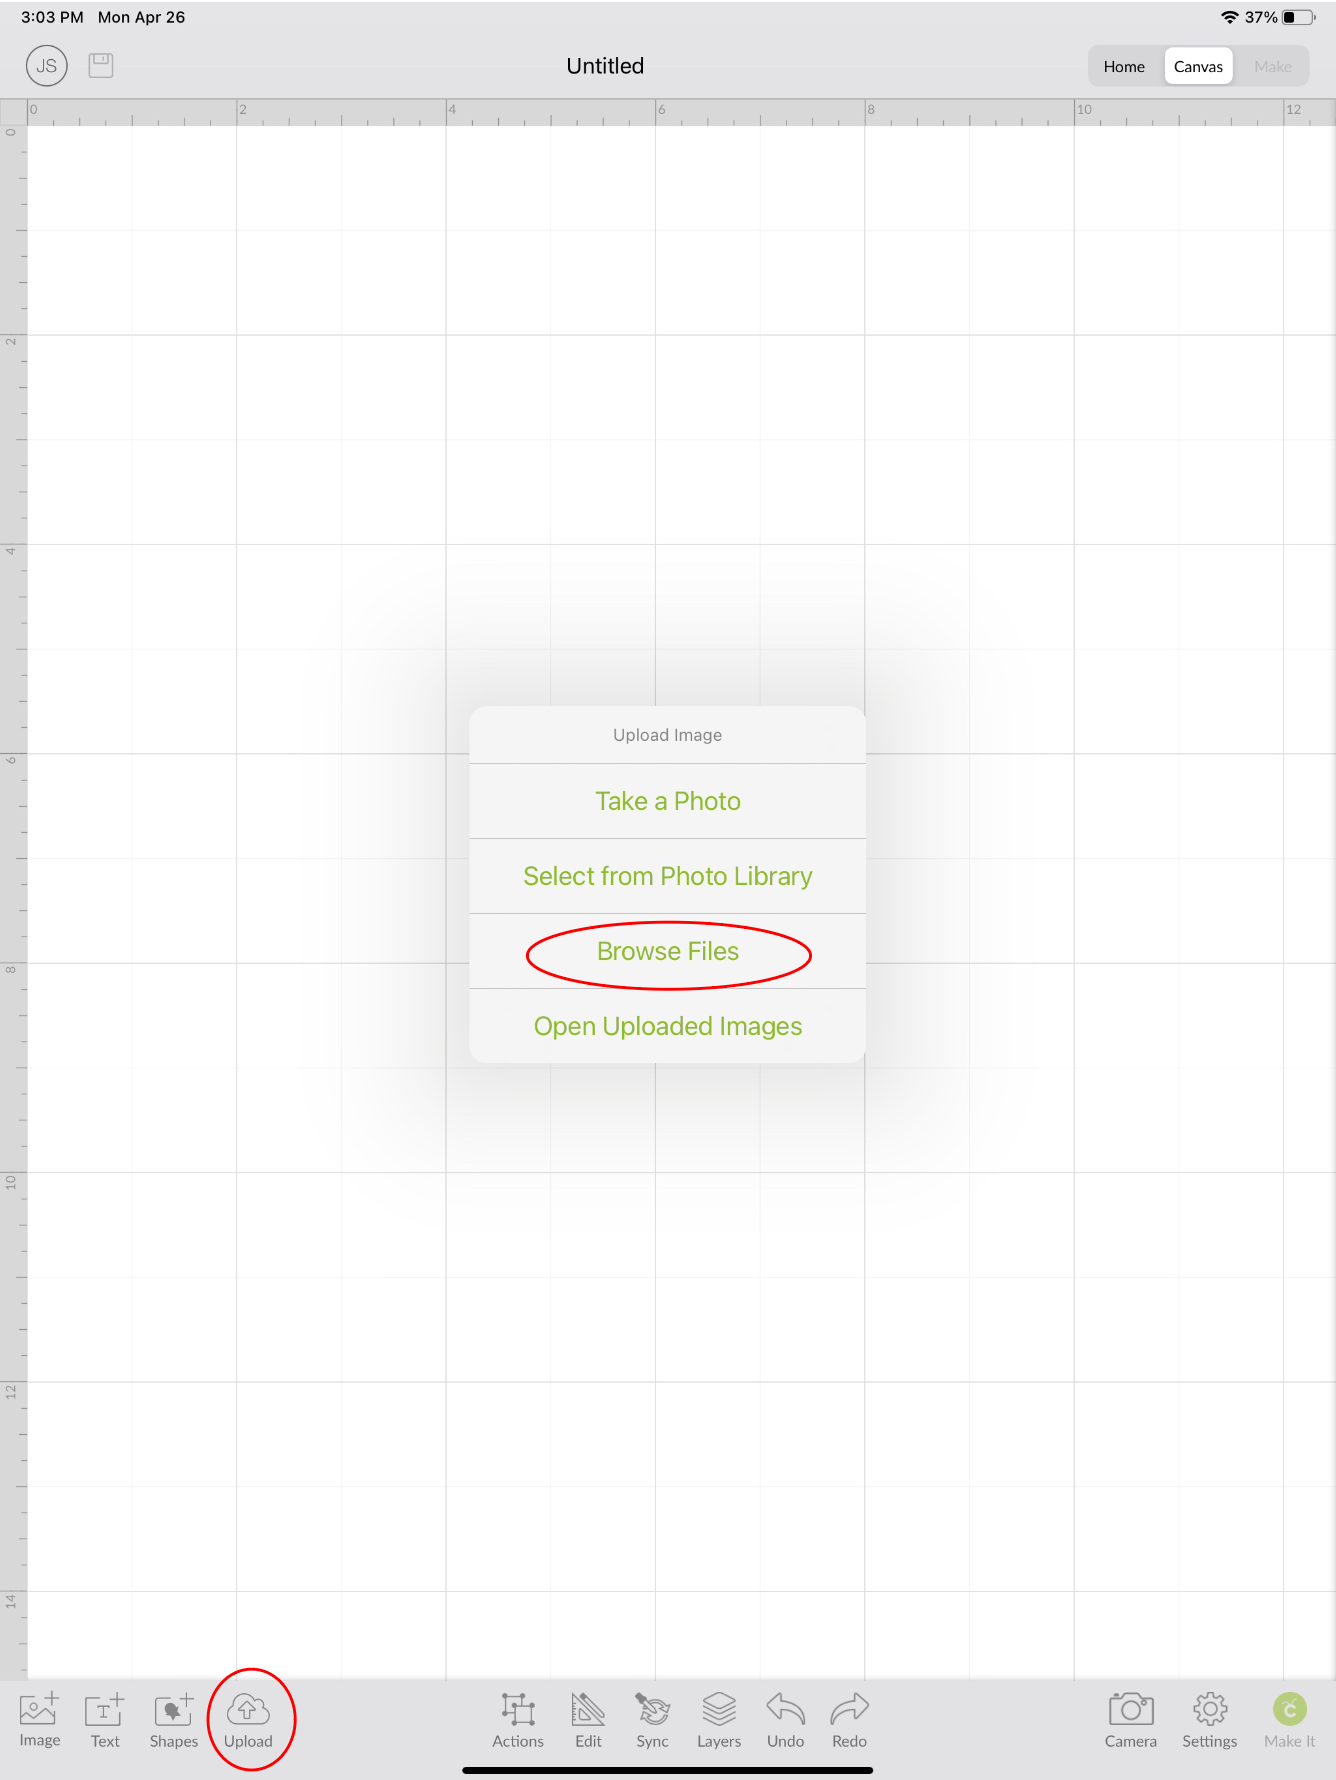
Now I’m going to test my file on my Cricut Maker. I open the Cricut app on my iPad and start a new project. I click the upload icon at the bottom of the screen and select “browse files.”
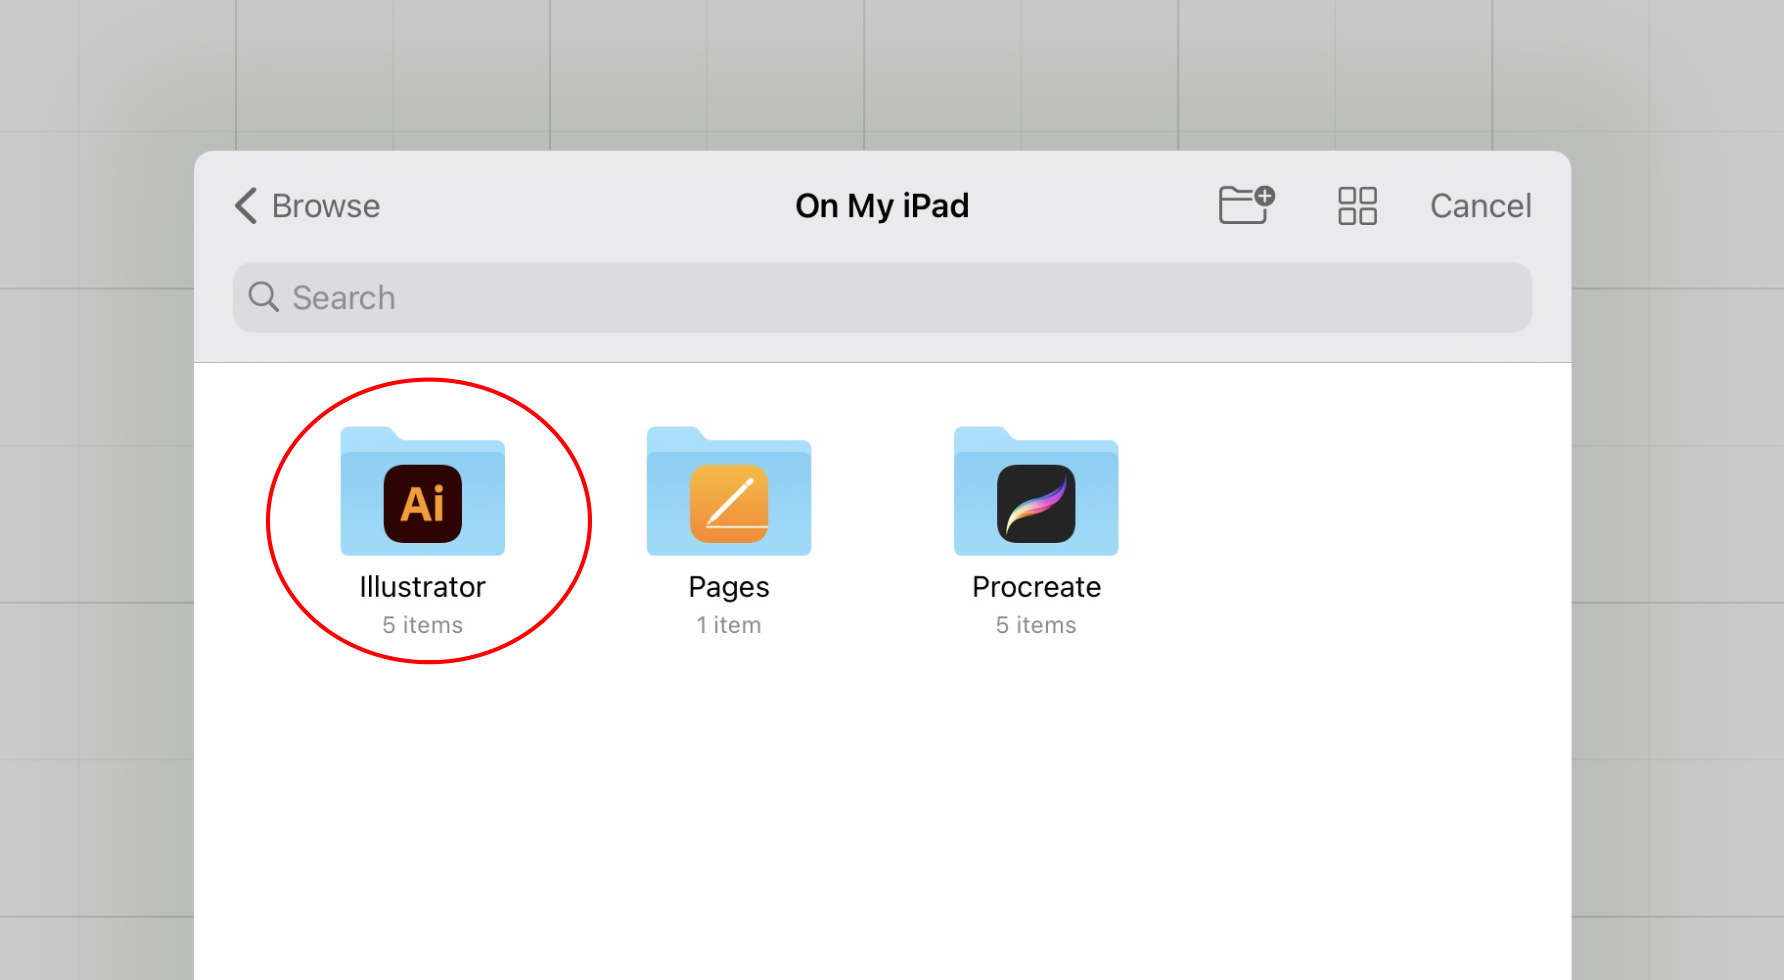
I select the Illustrator folder and find the file I just created.
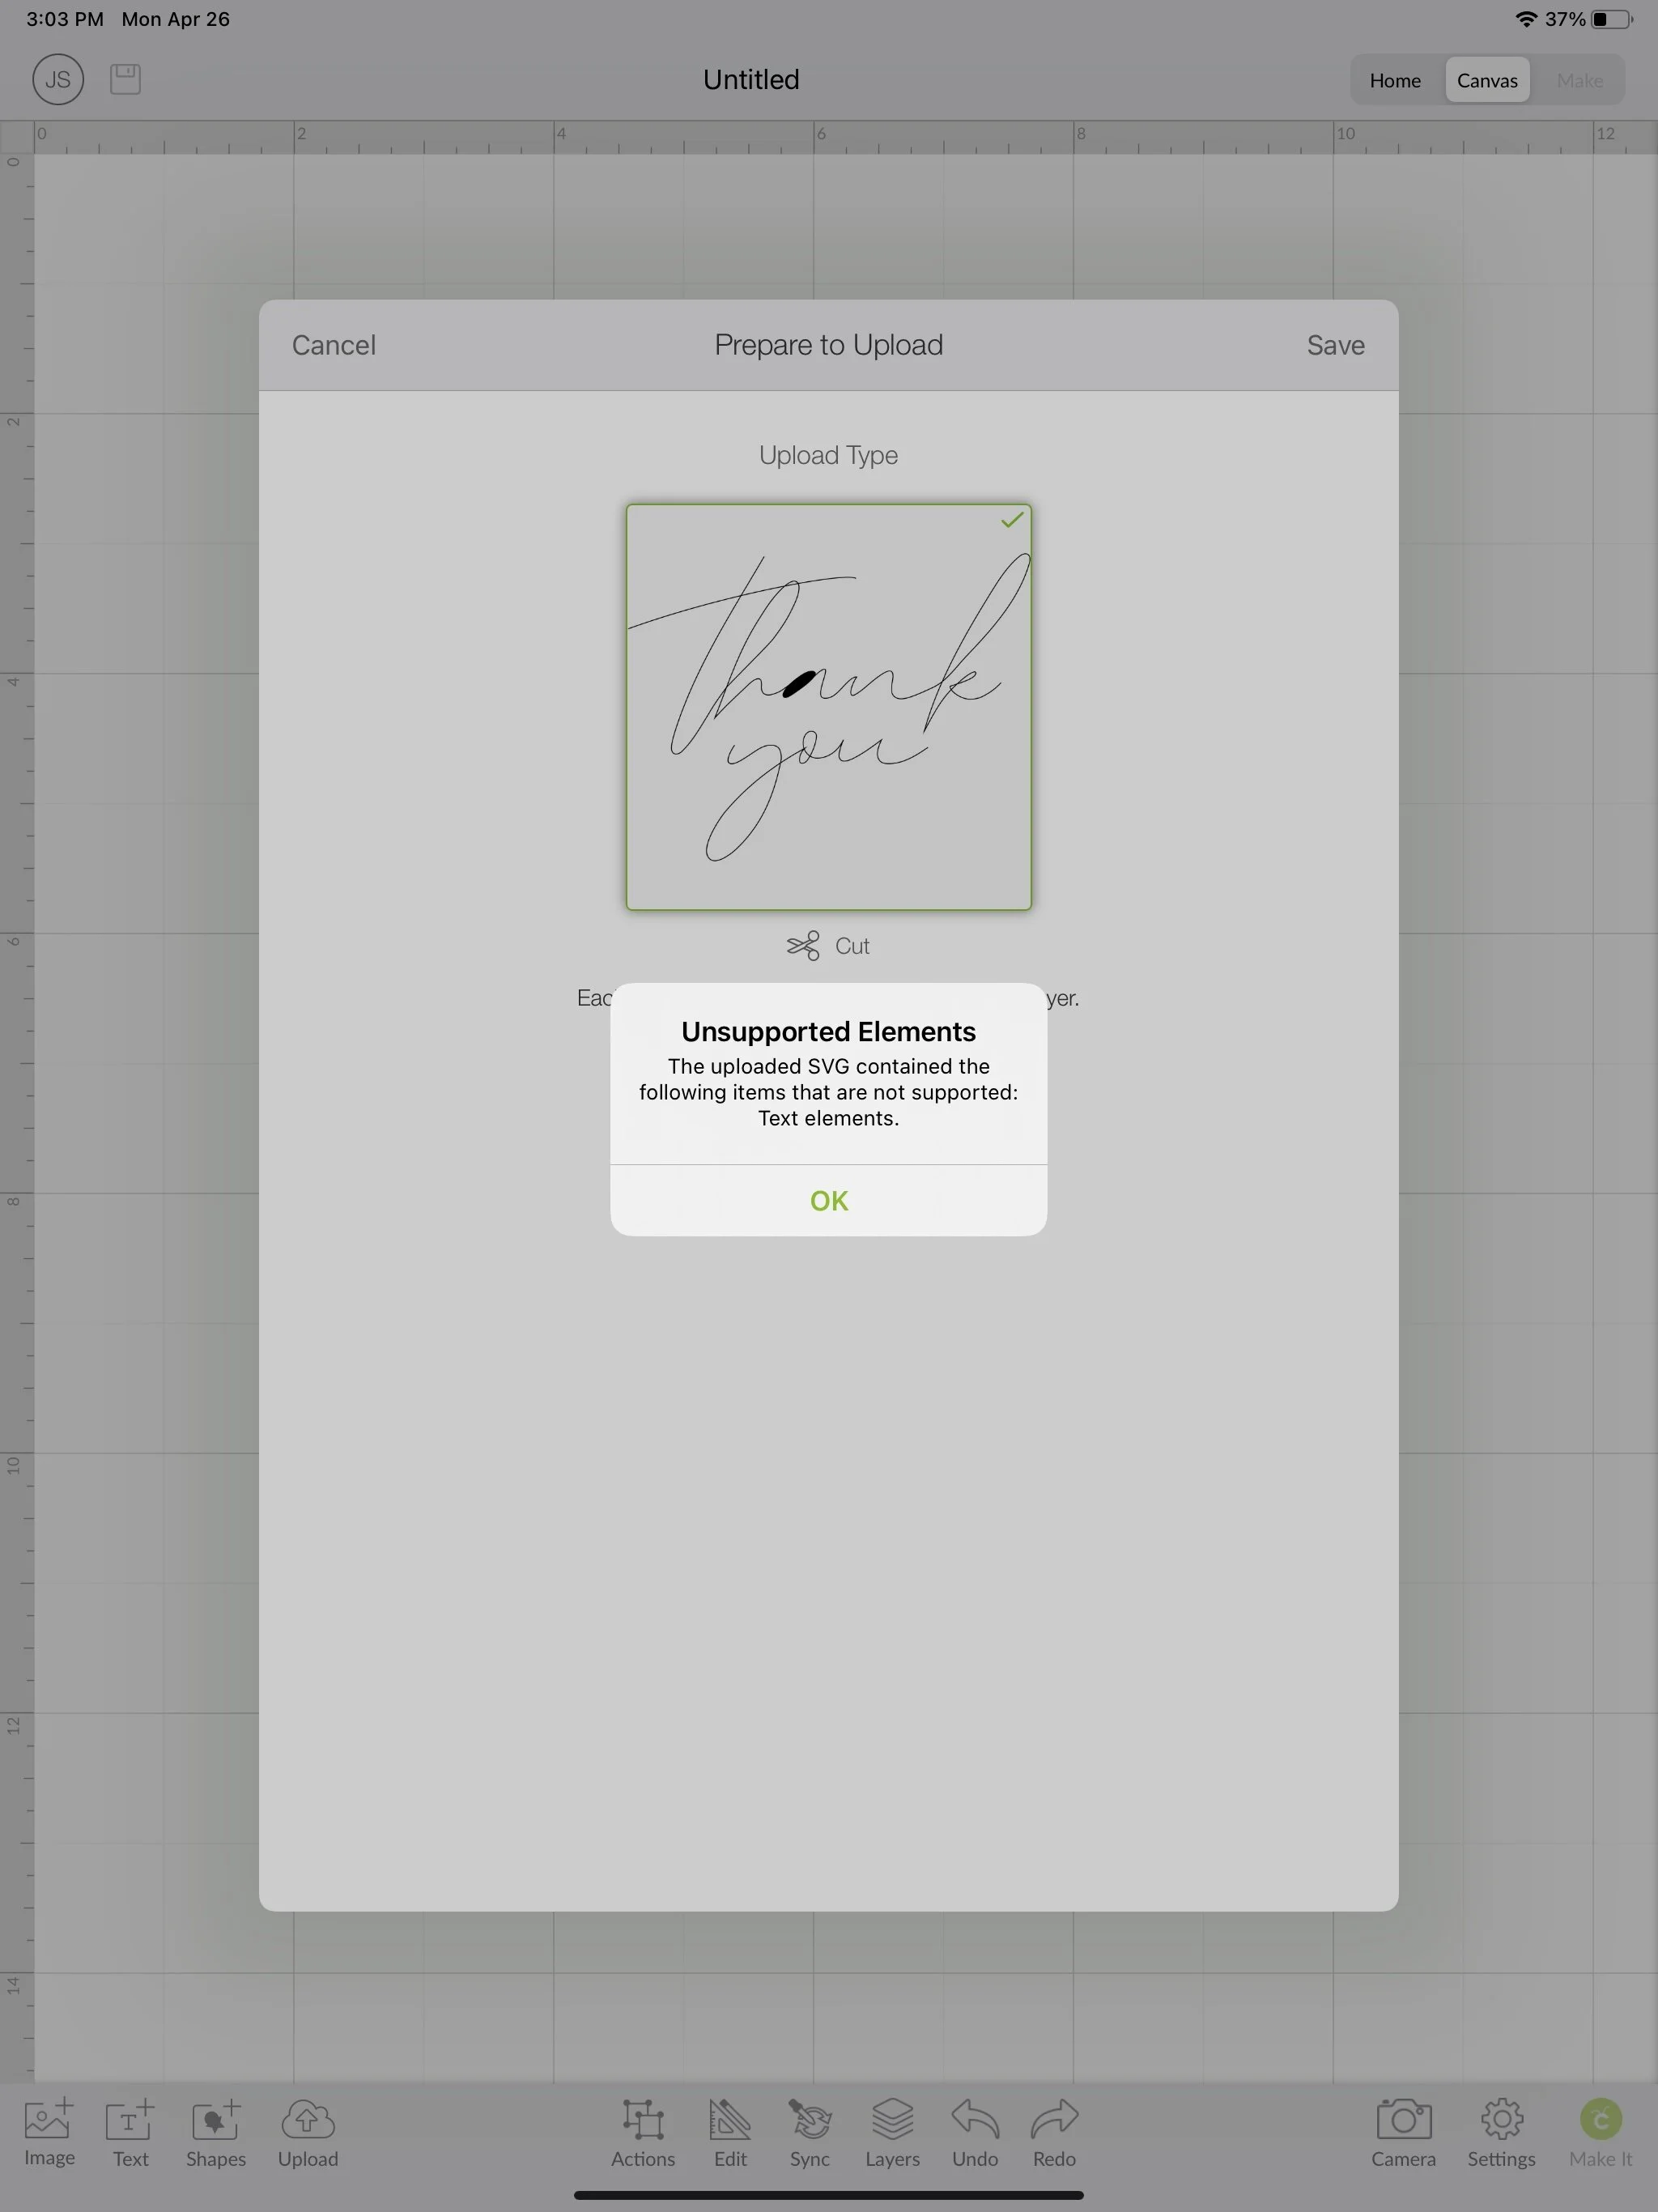
I get this error message because I forgot to delete the layer that I actually typed the text on, it’s fine. Just press OK.
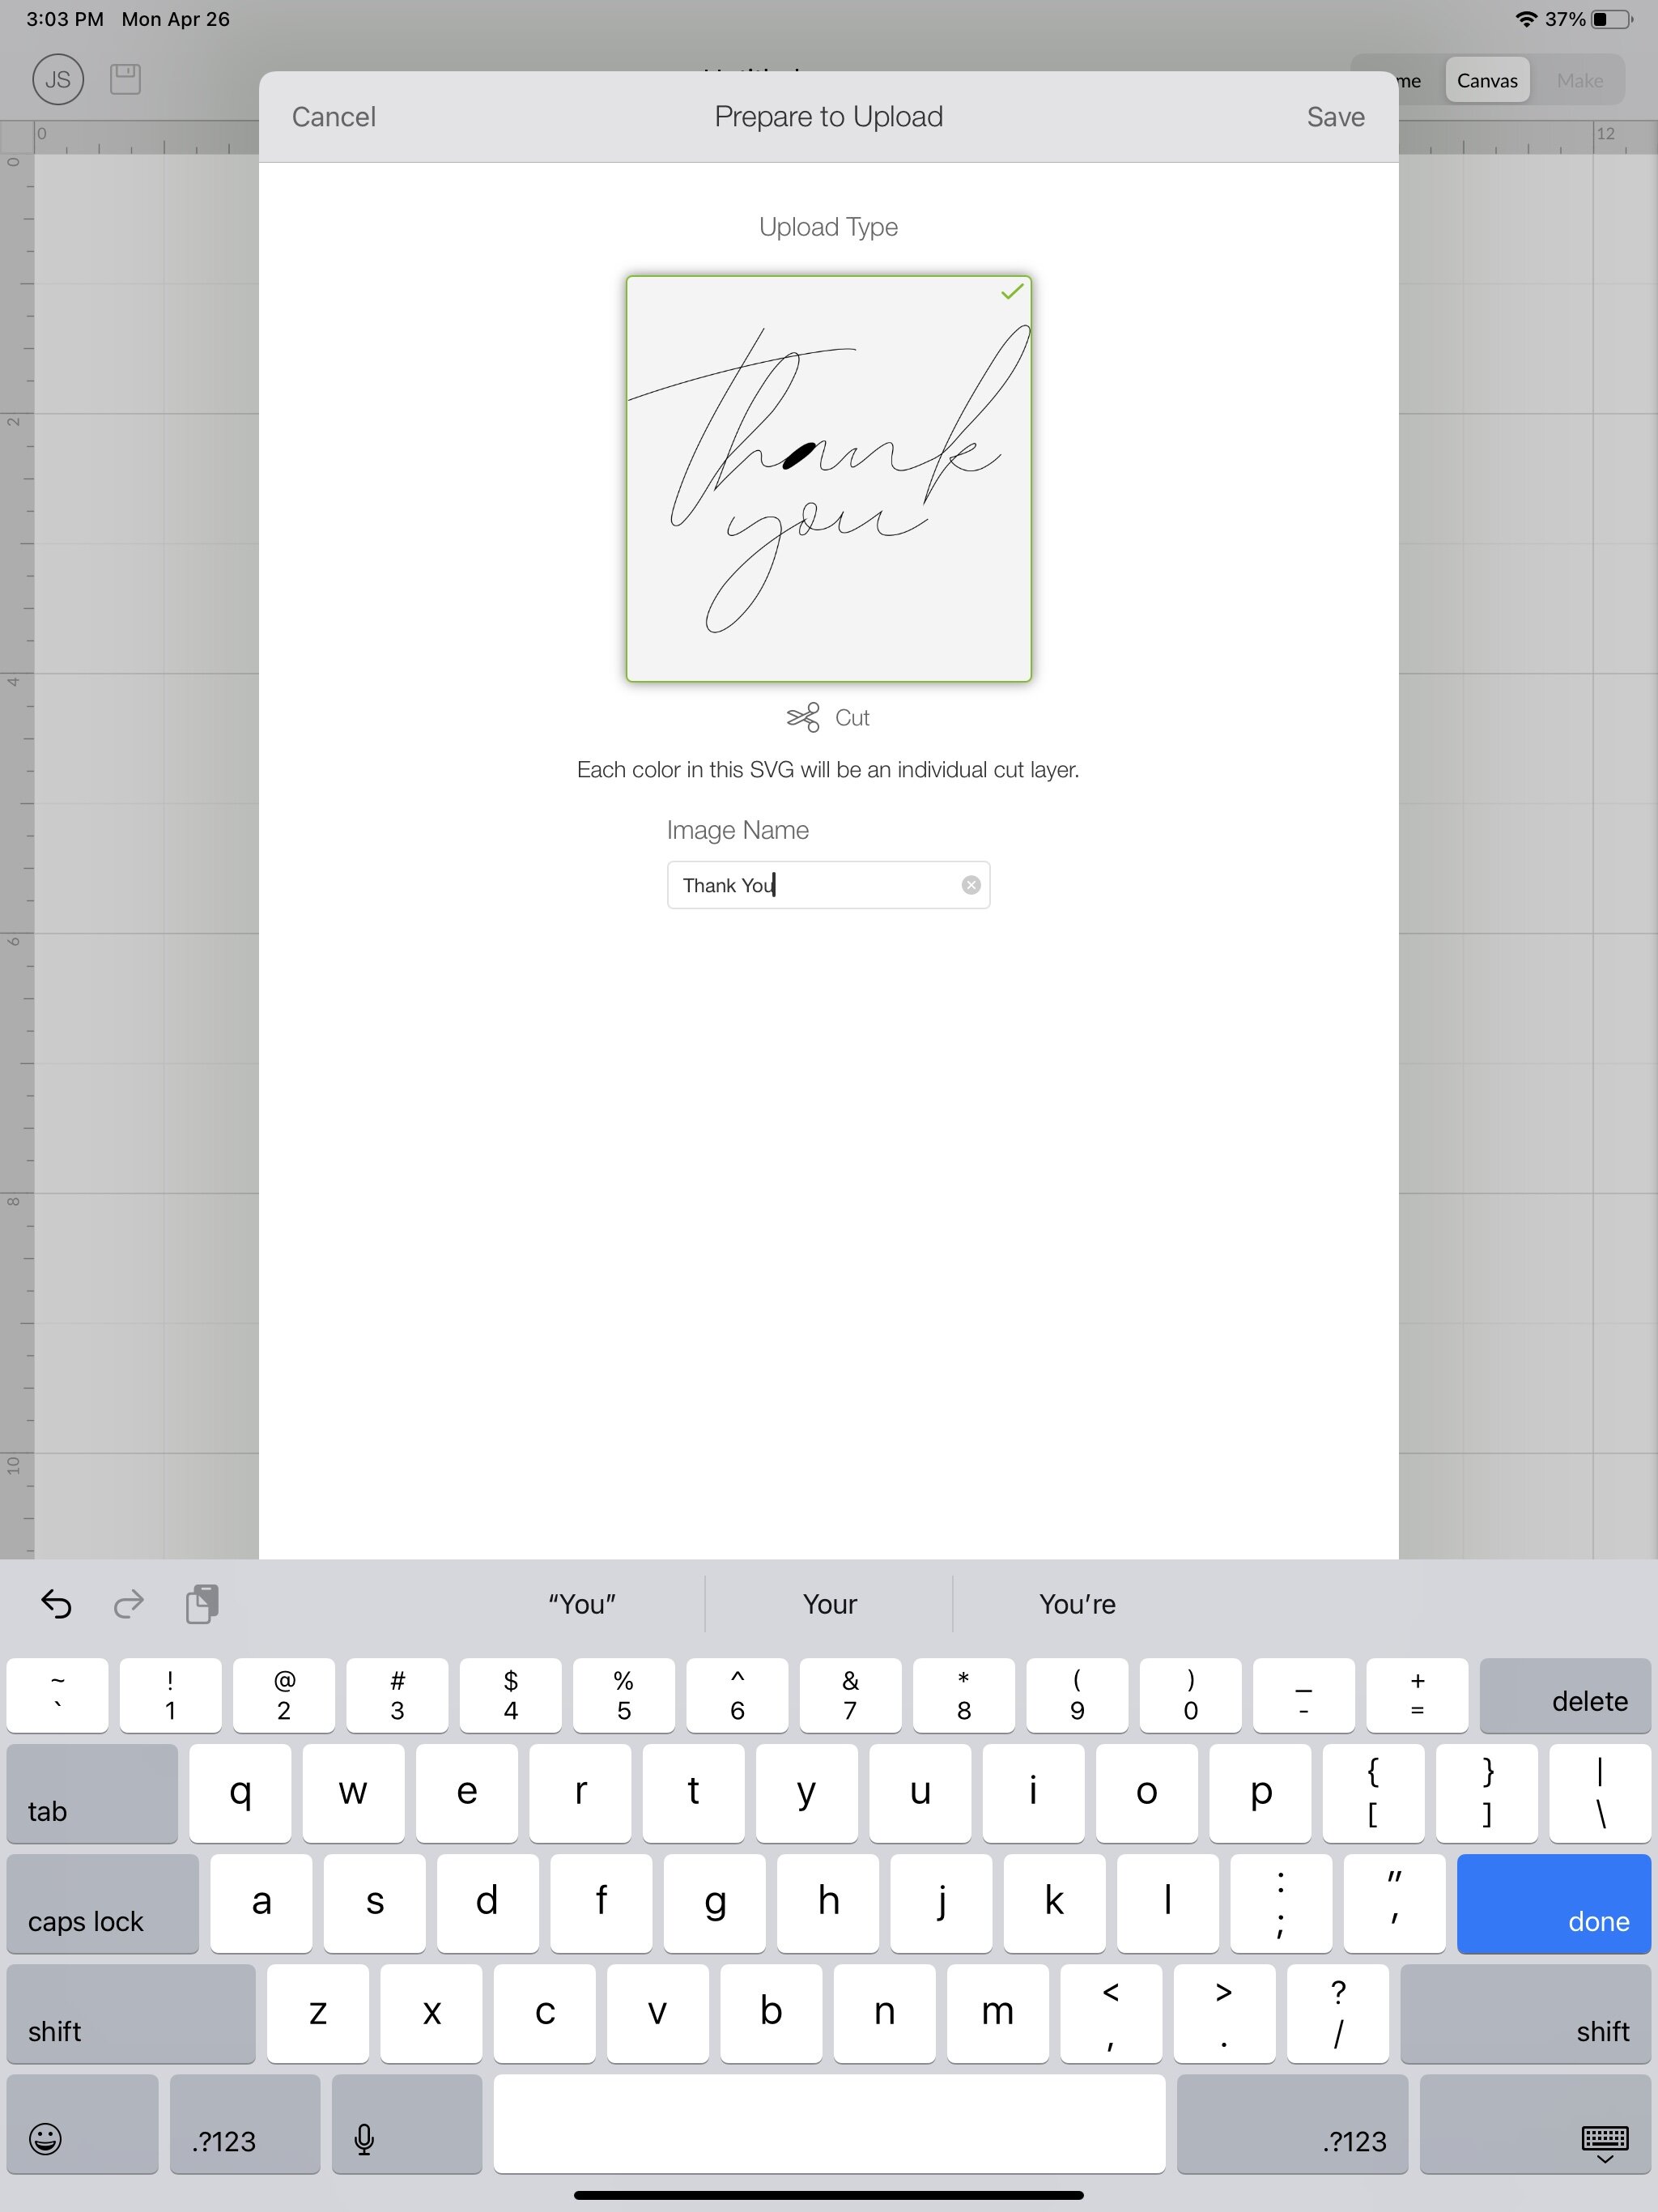
Name the image if you want and press save.
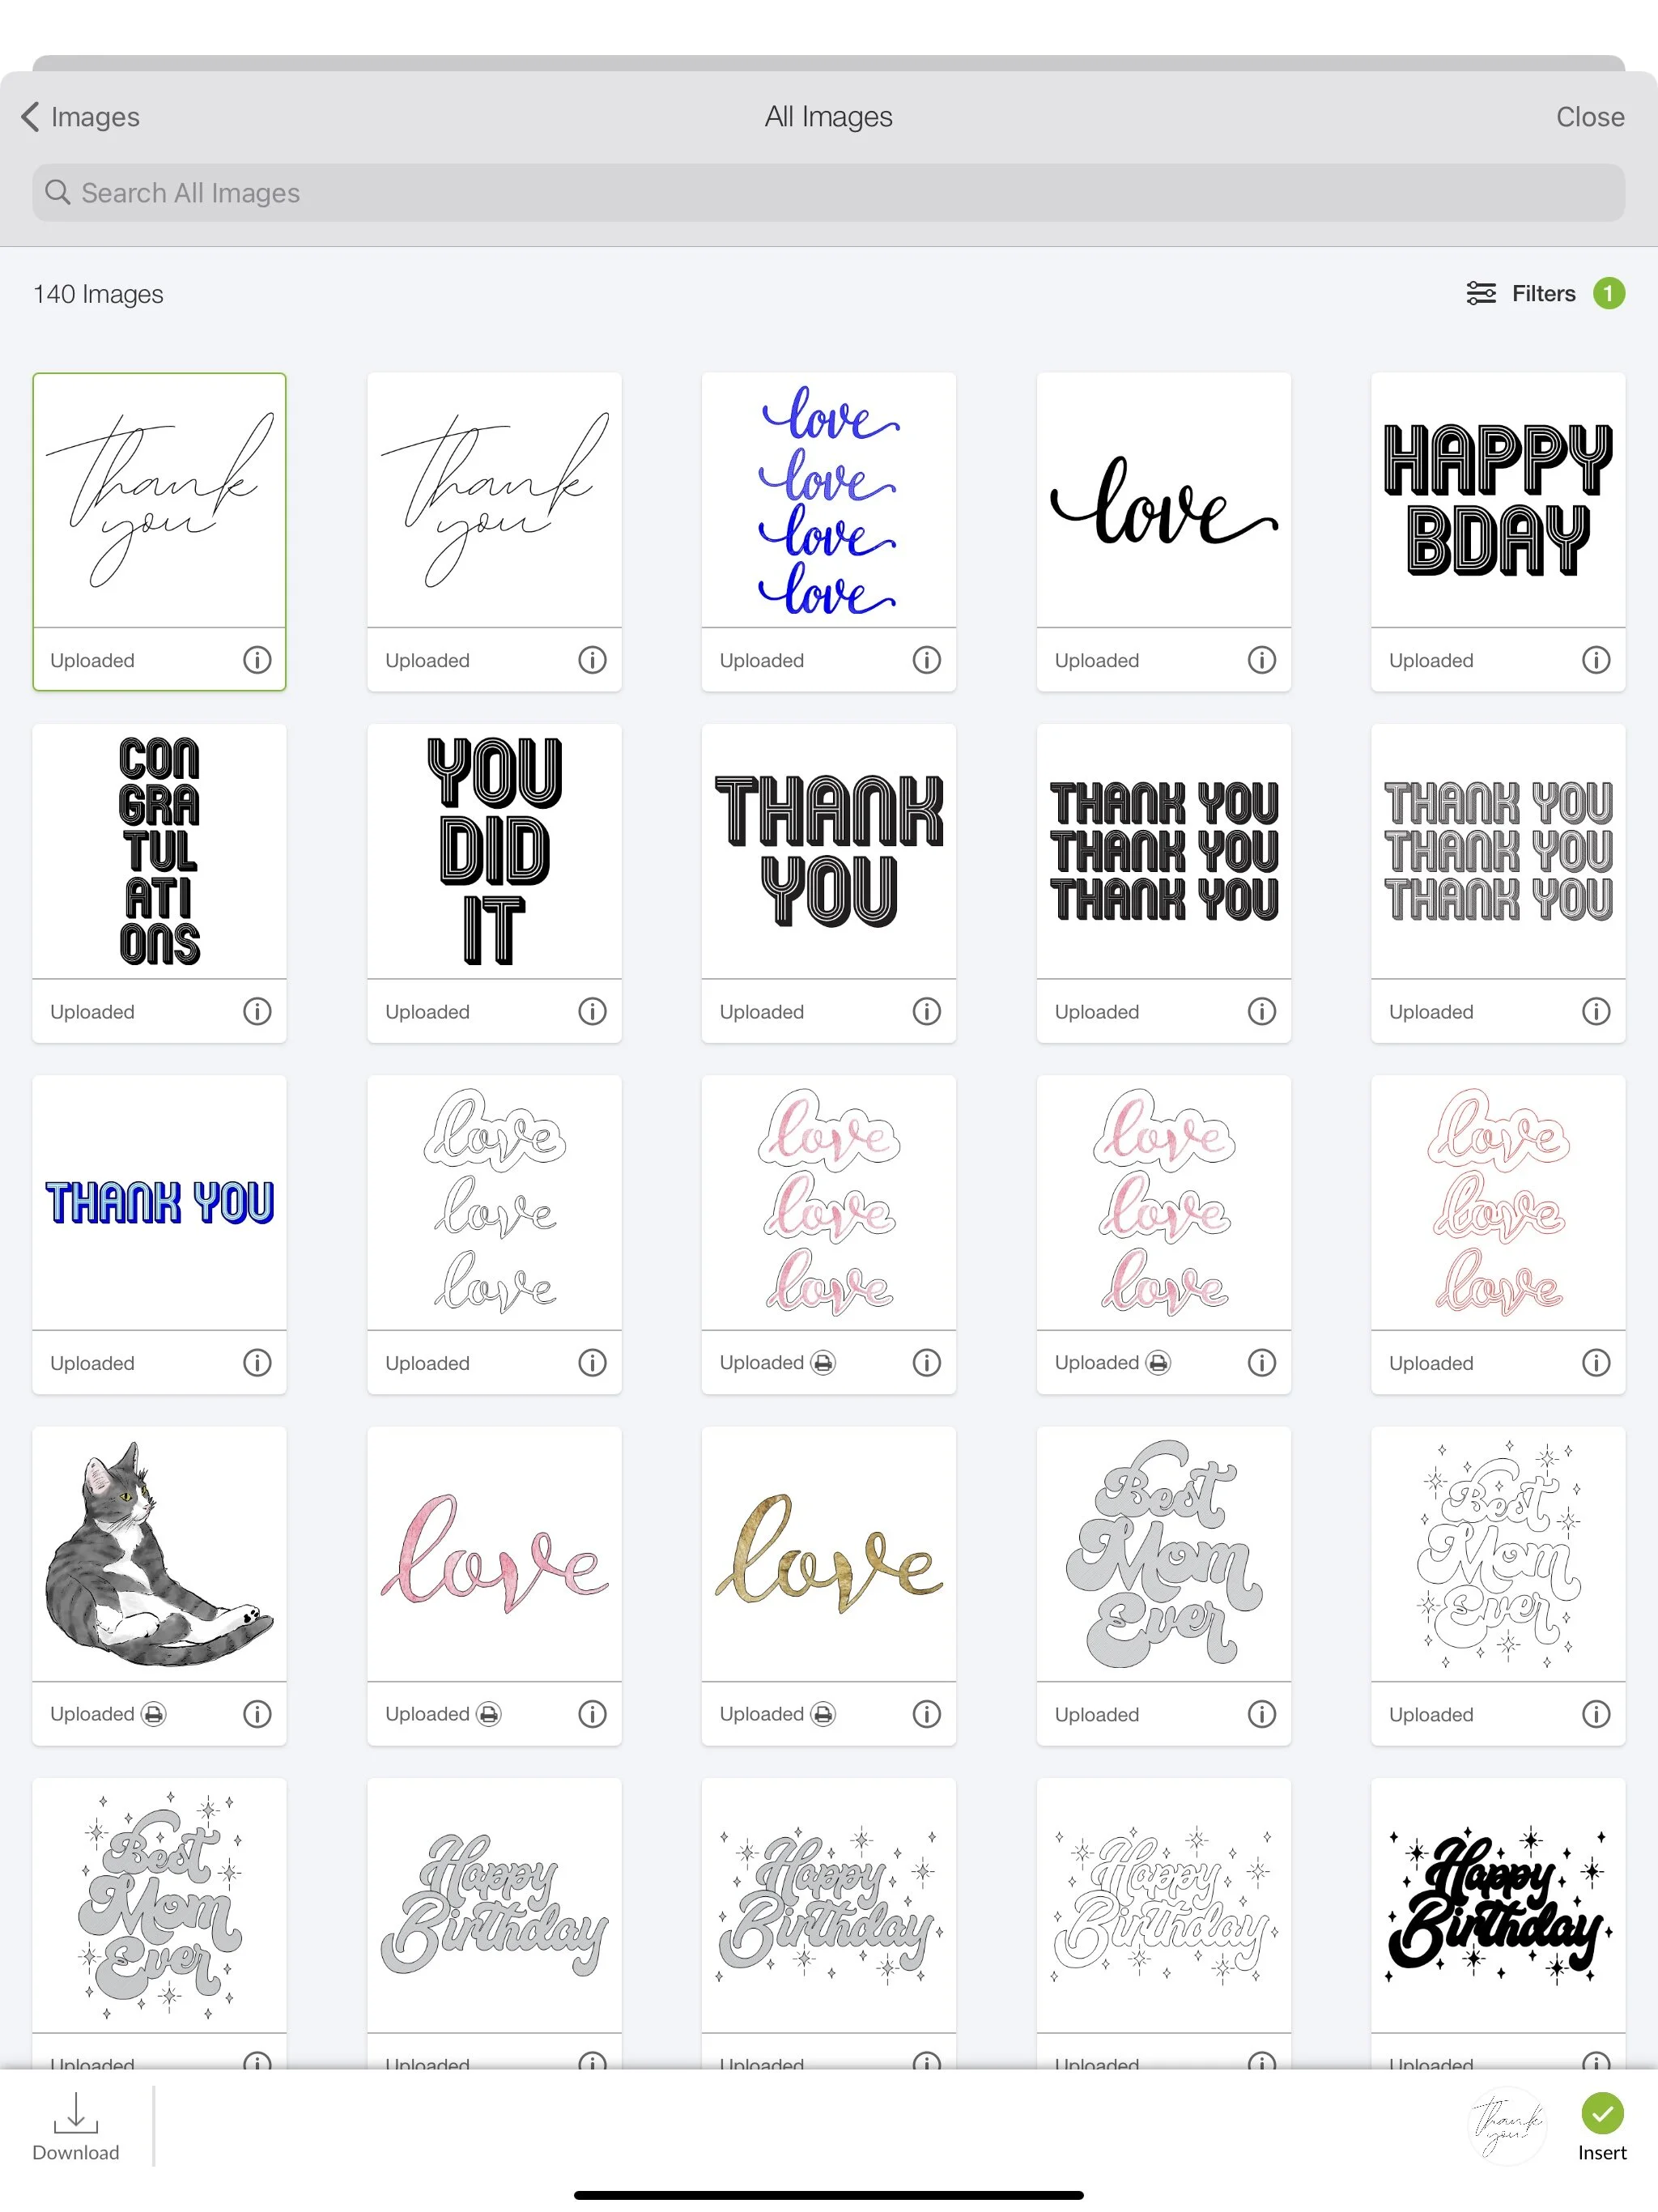
Now I select the image that I just uploaded and press Insert.
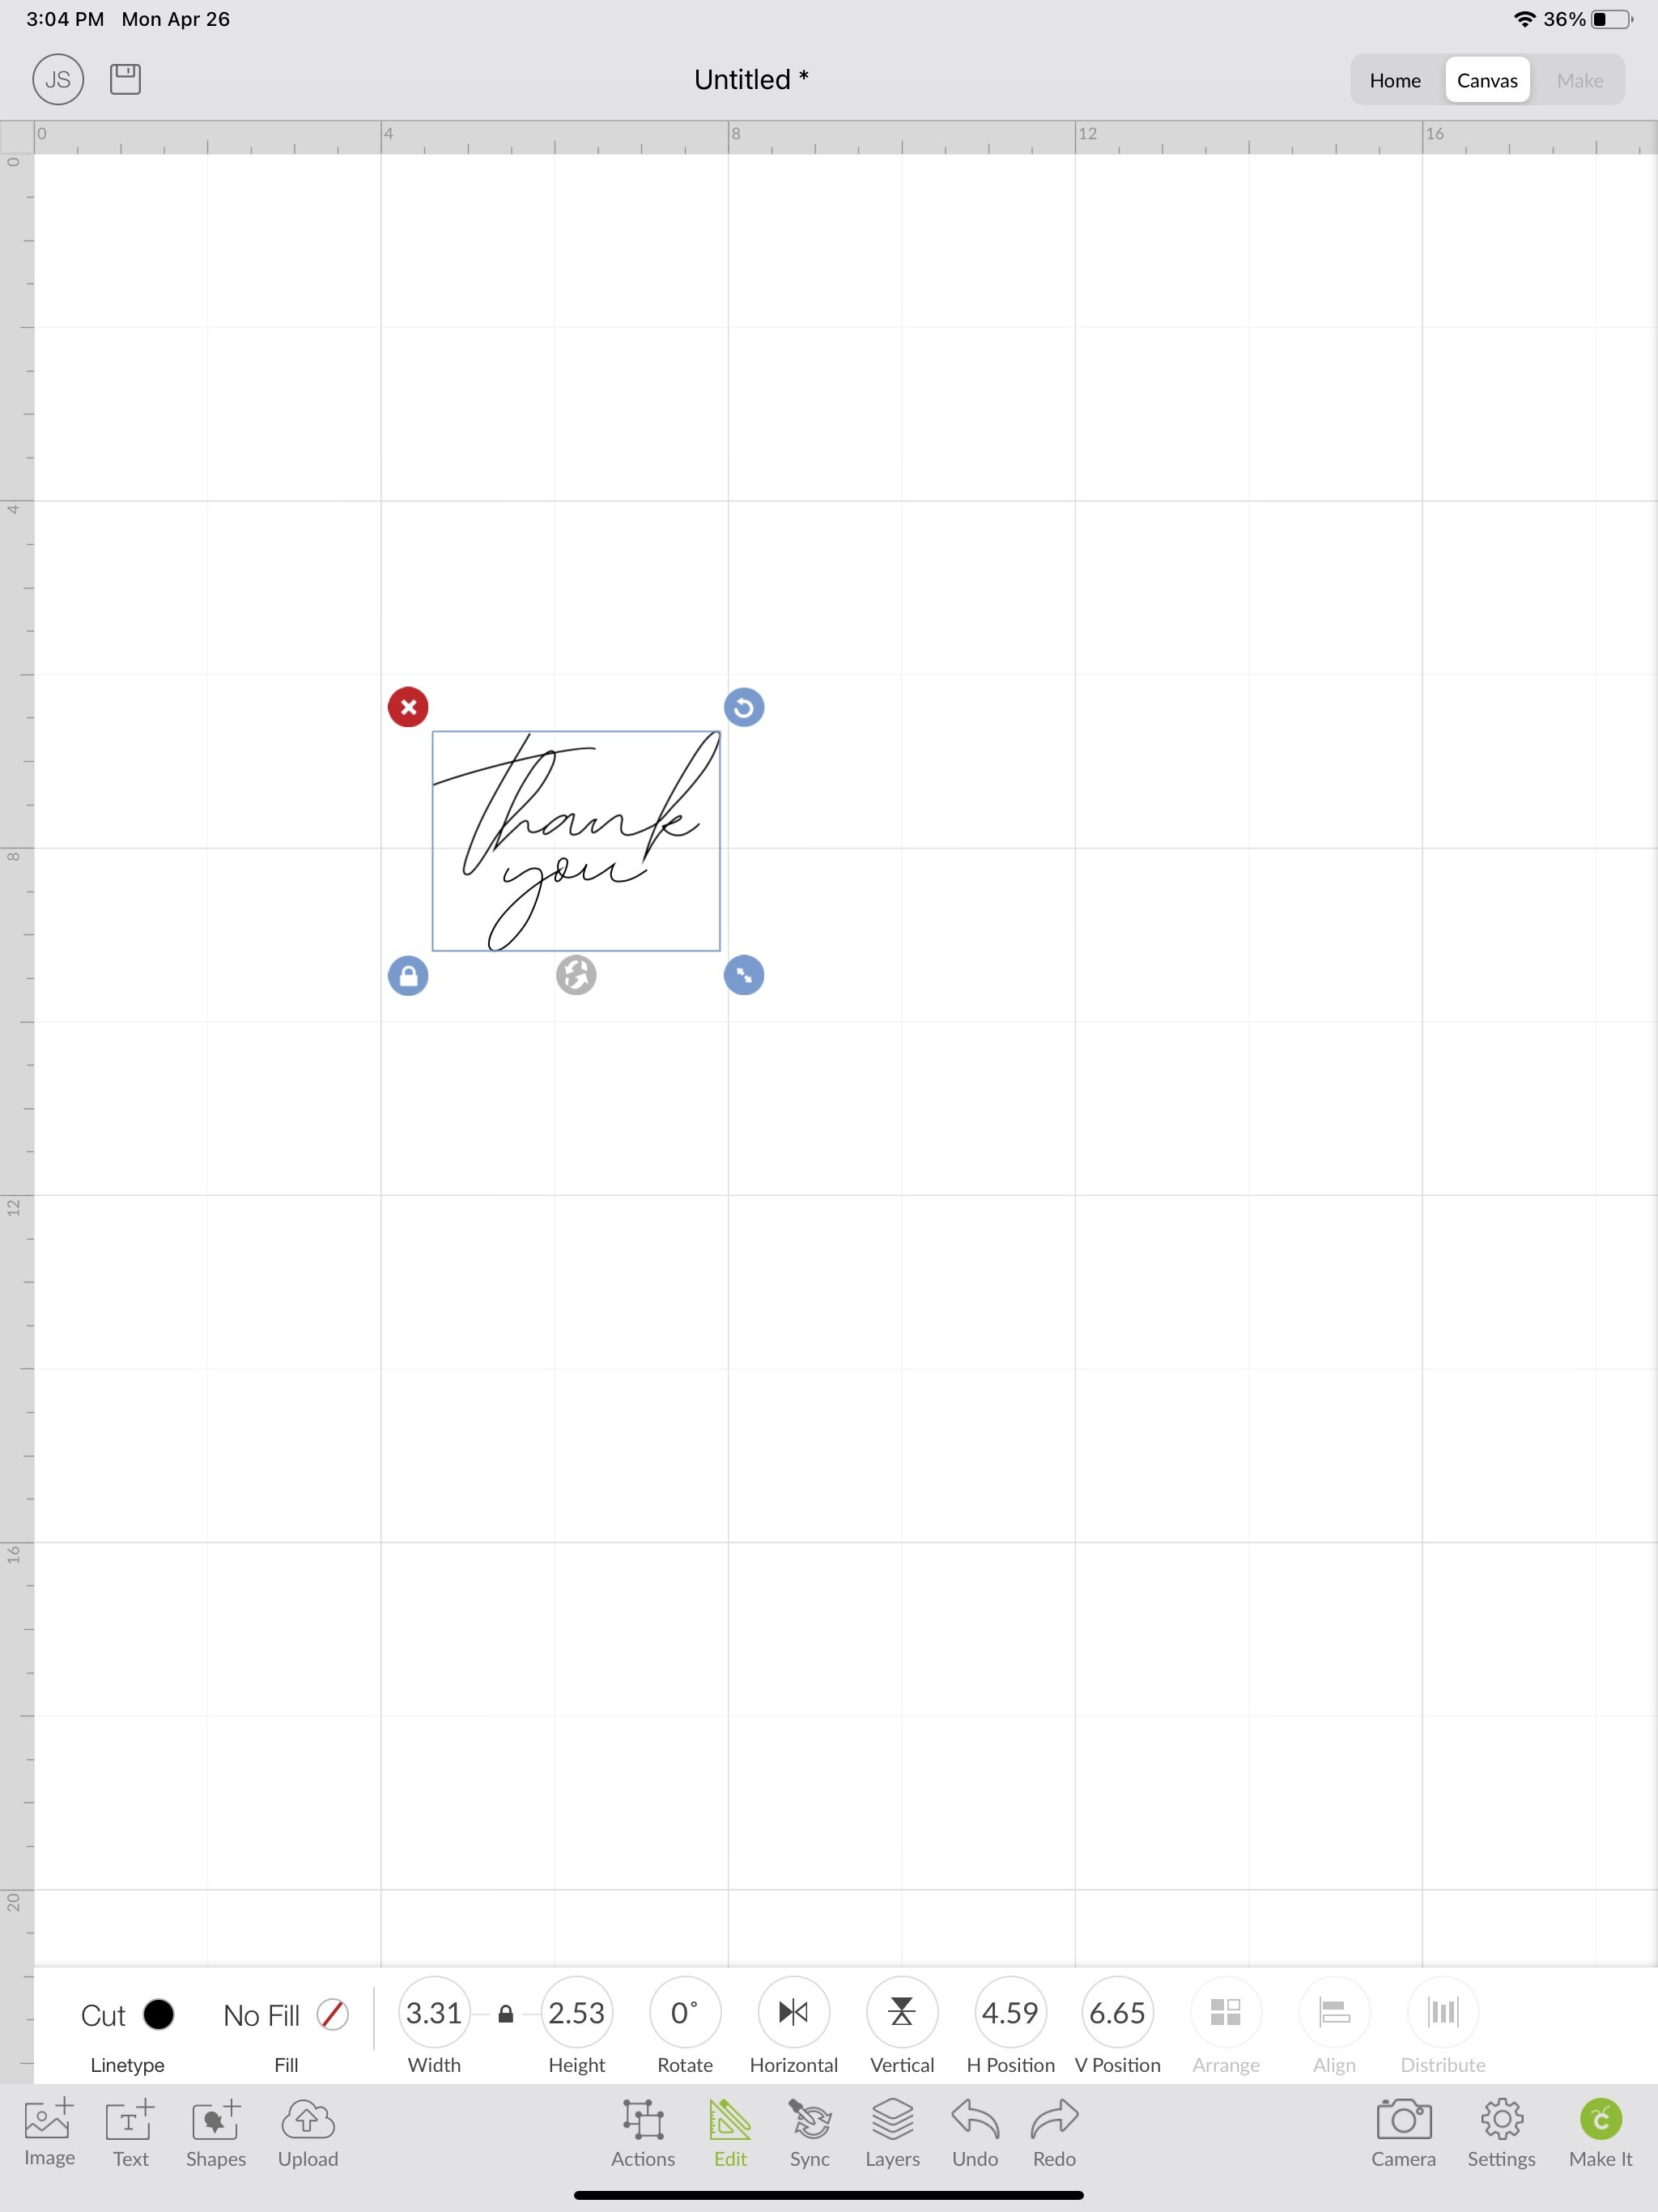
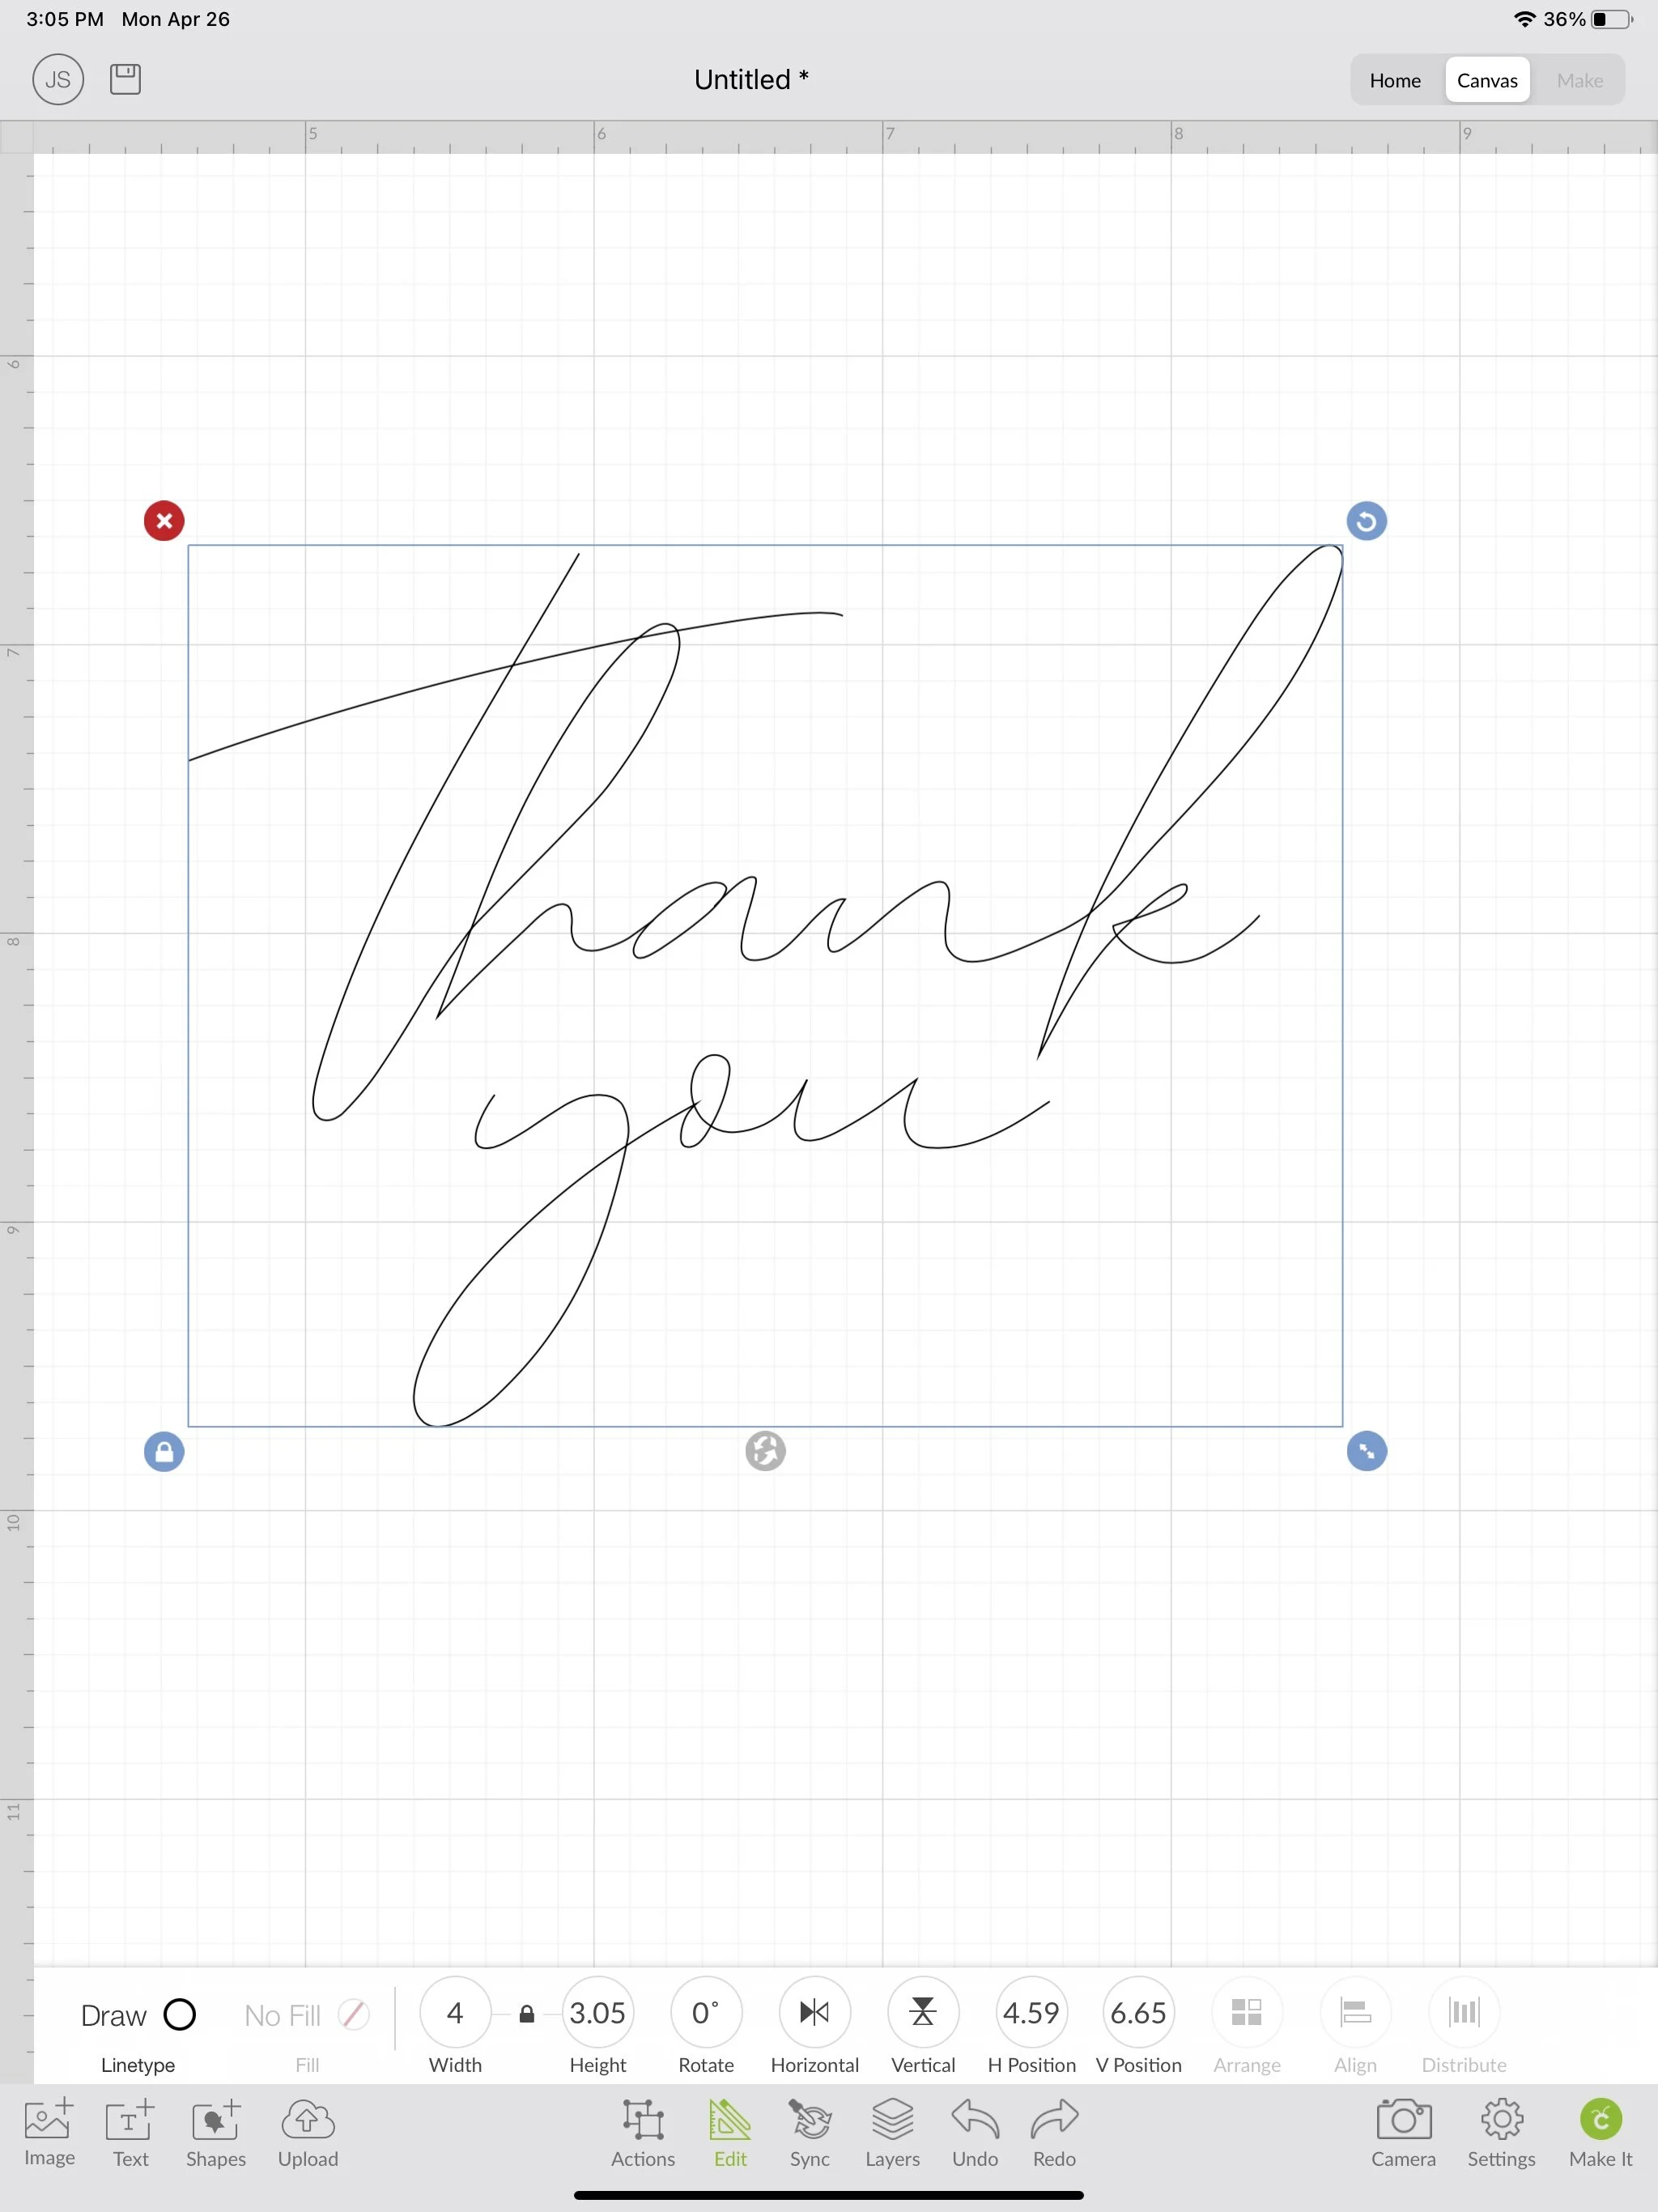
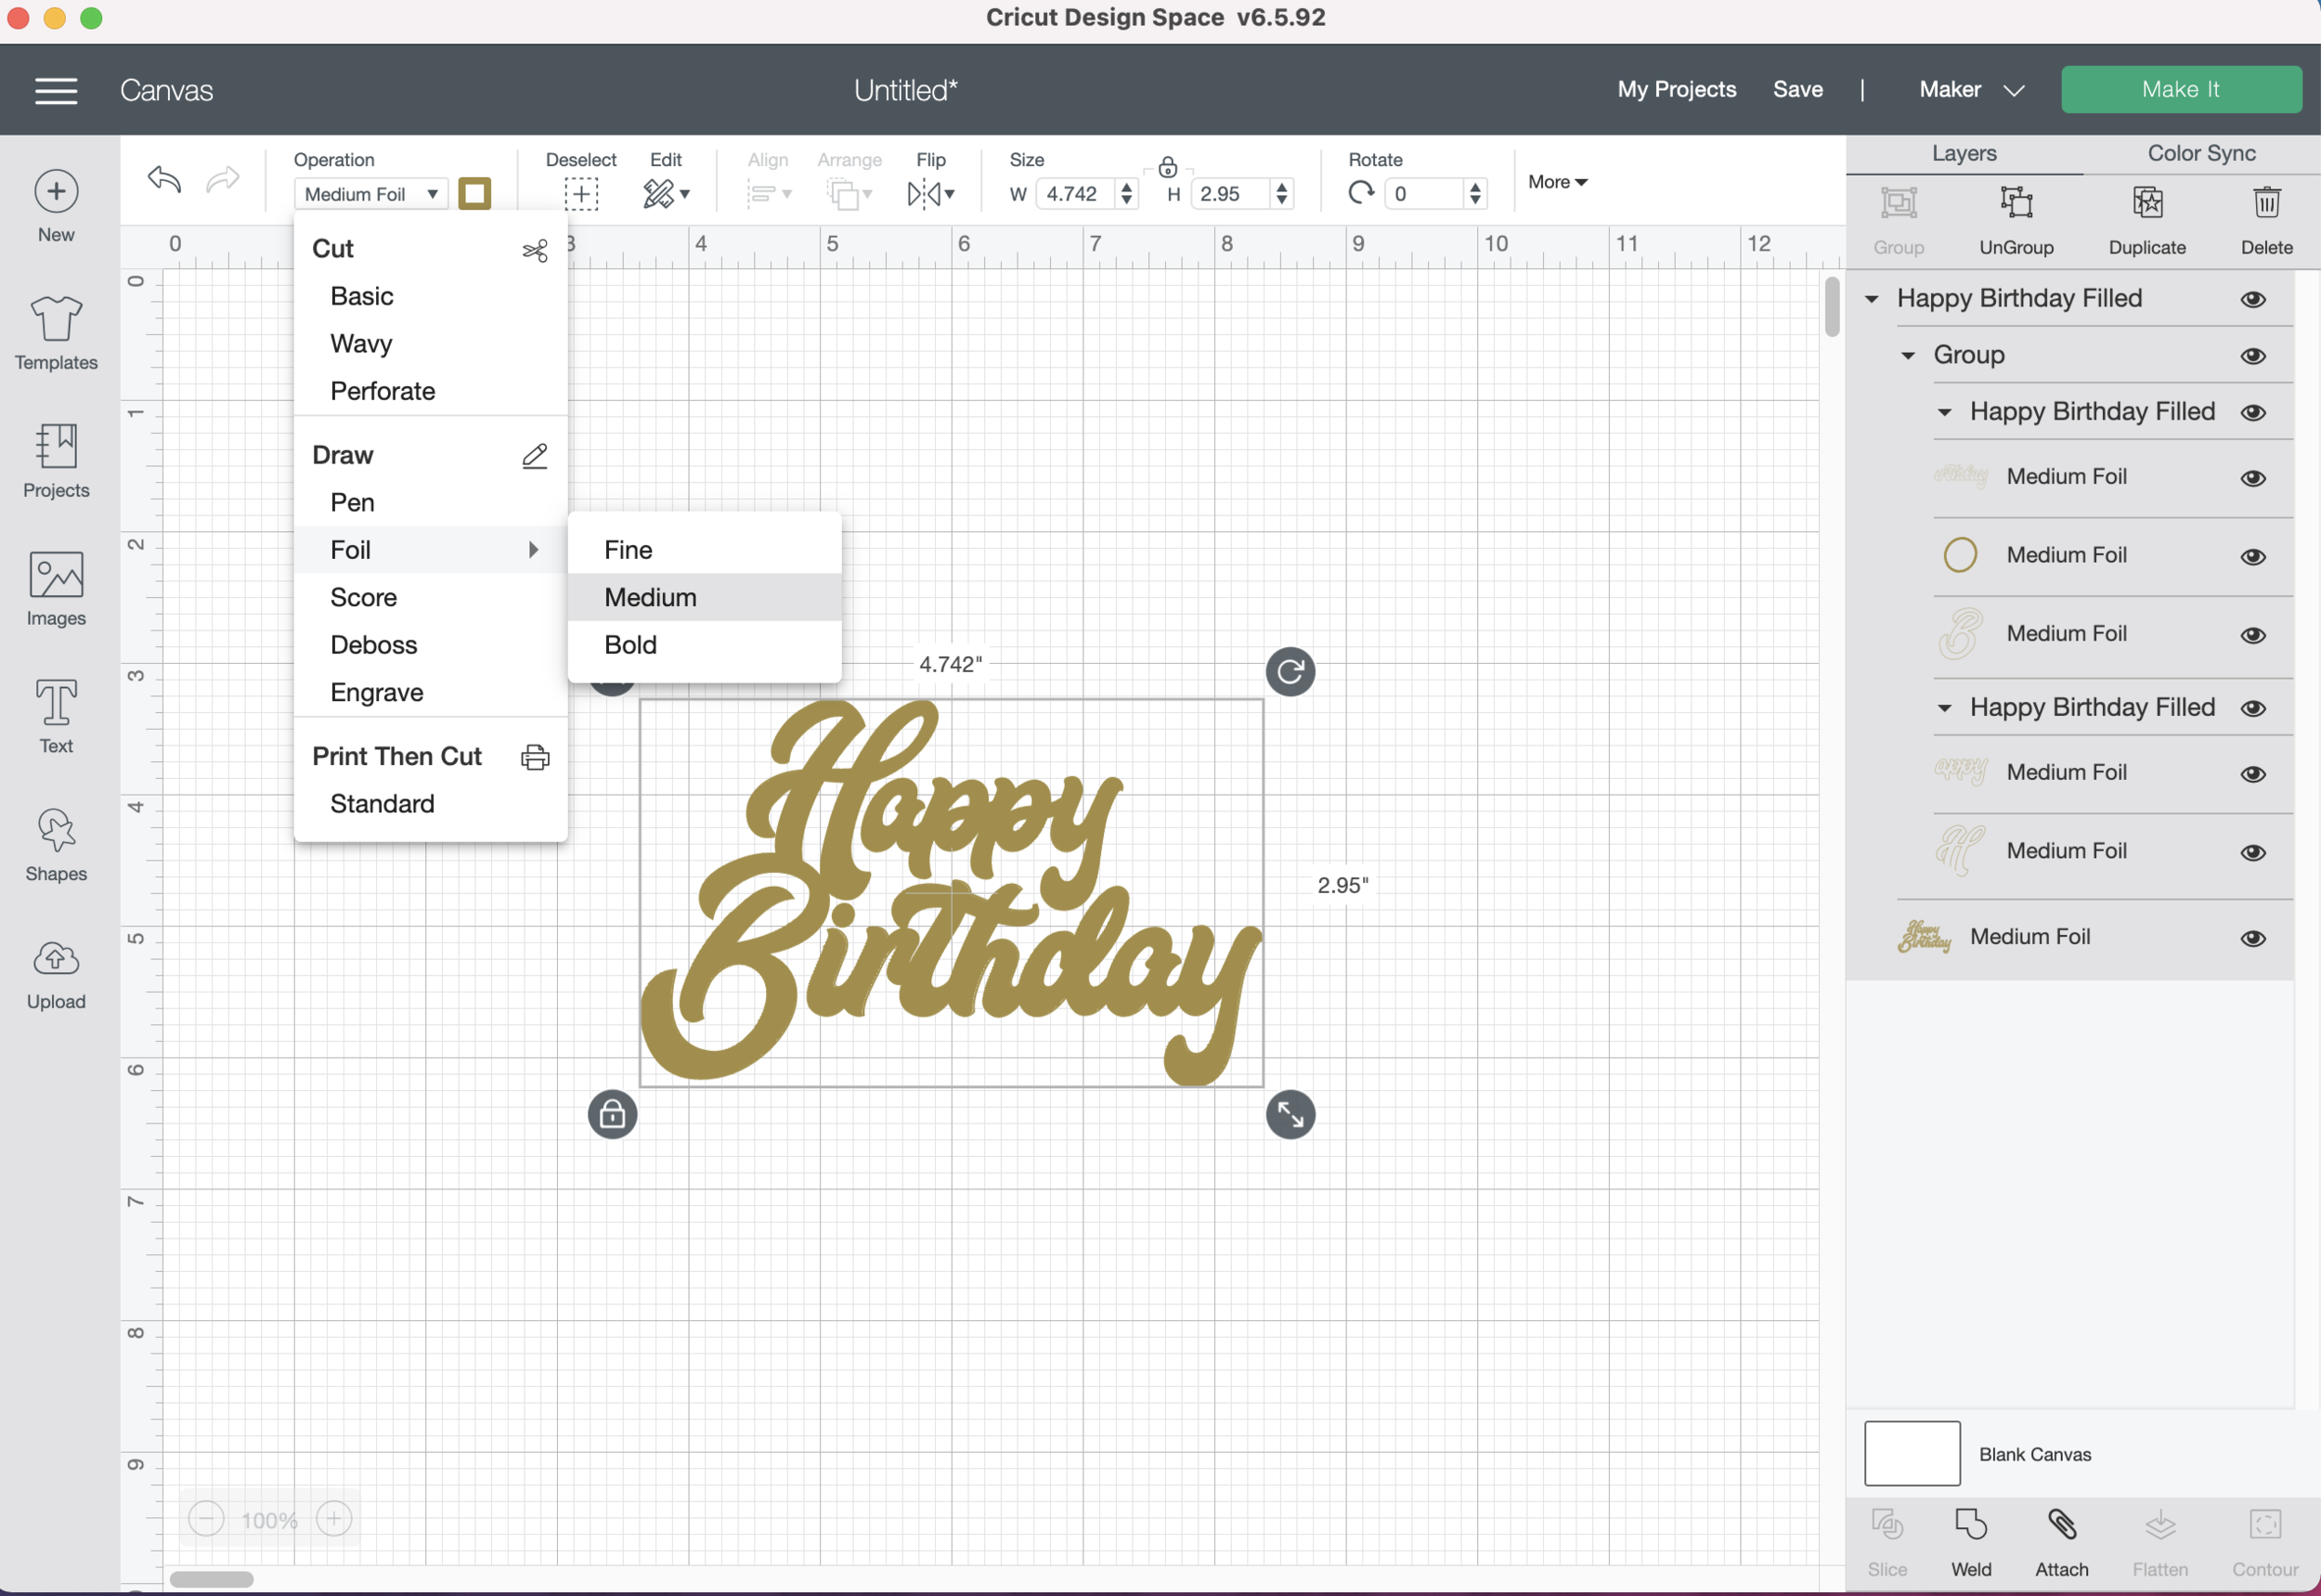
Now the image is on my canvas, I’m going to select “Edit” in the tool bar along the bottom to change my linetype to “Draw” instead of “Cut.”
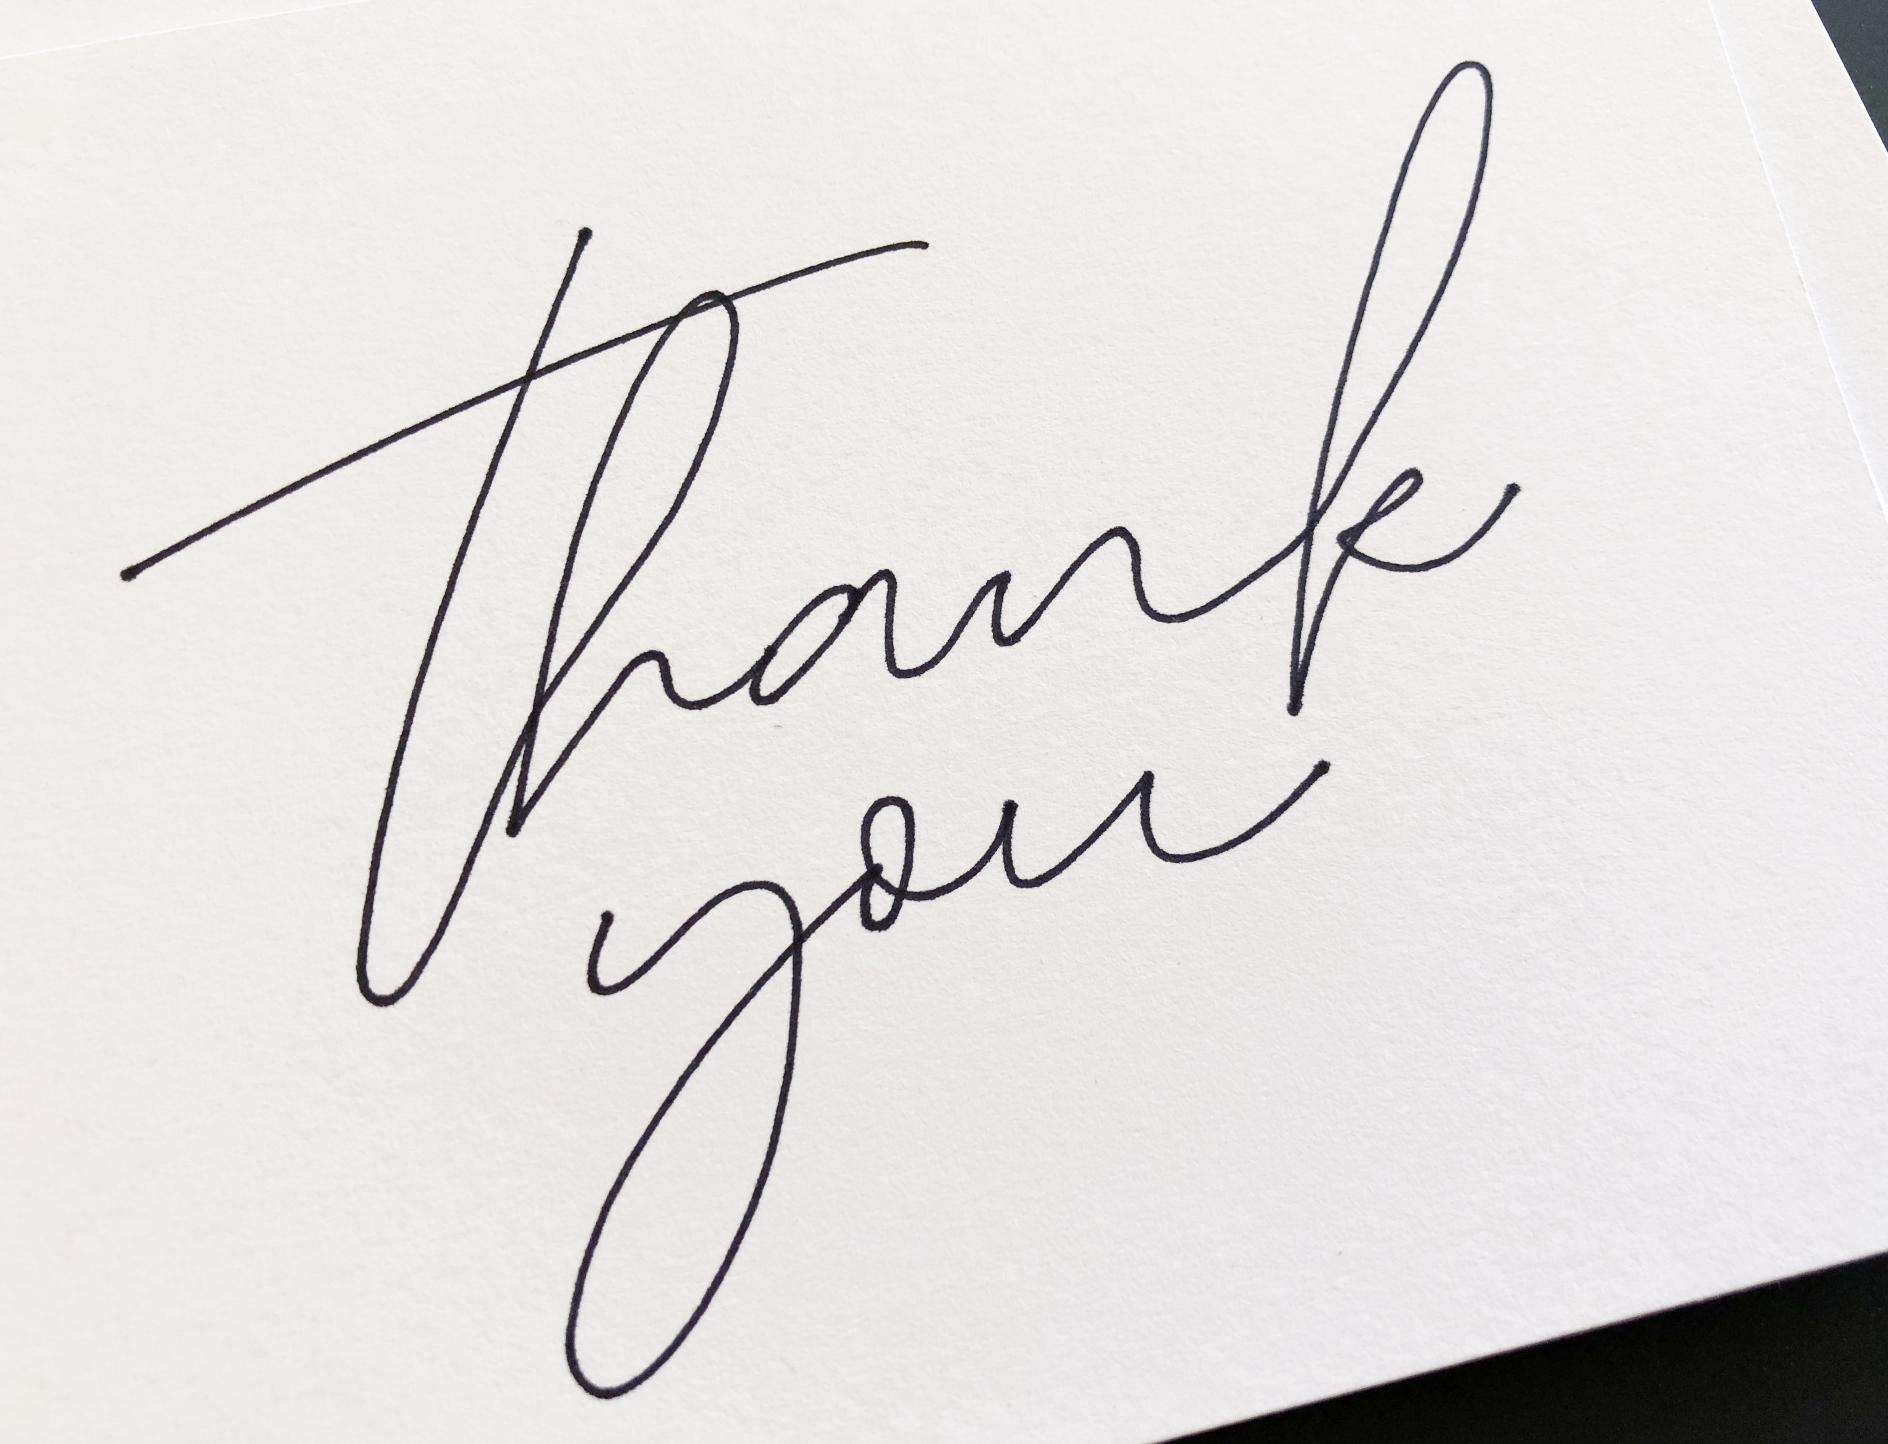
I’m going to test it first with a fine point black pen. So that is what I select from the draw menu.
I’m going to scale my letters up a bit and then test on my machine.
Here is my first test with the black fine point pen.
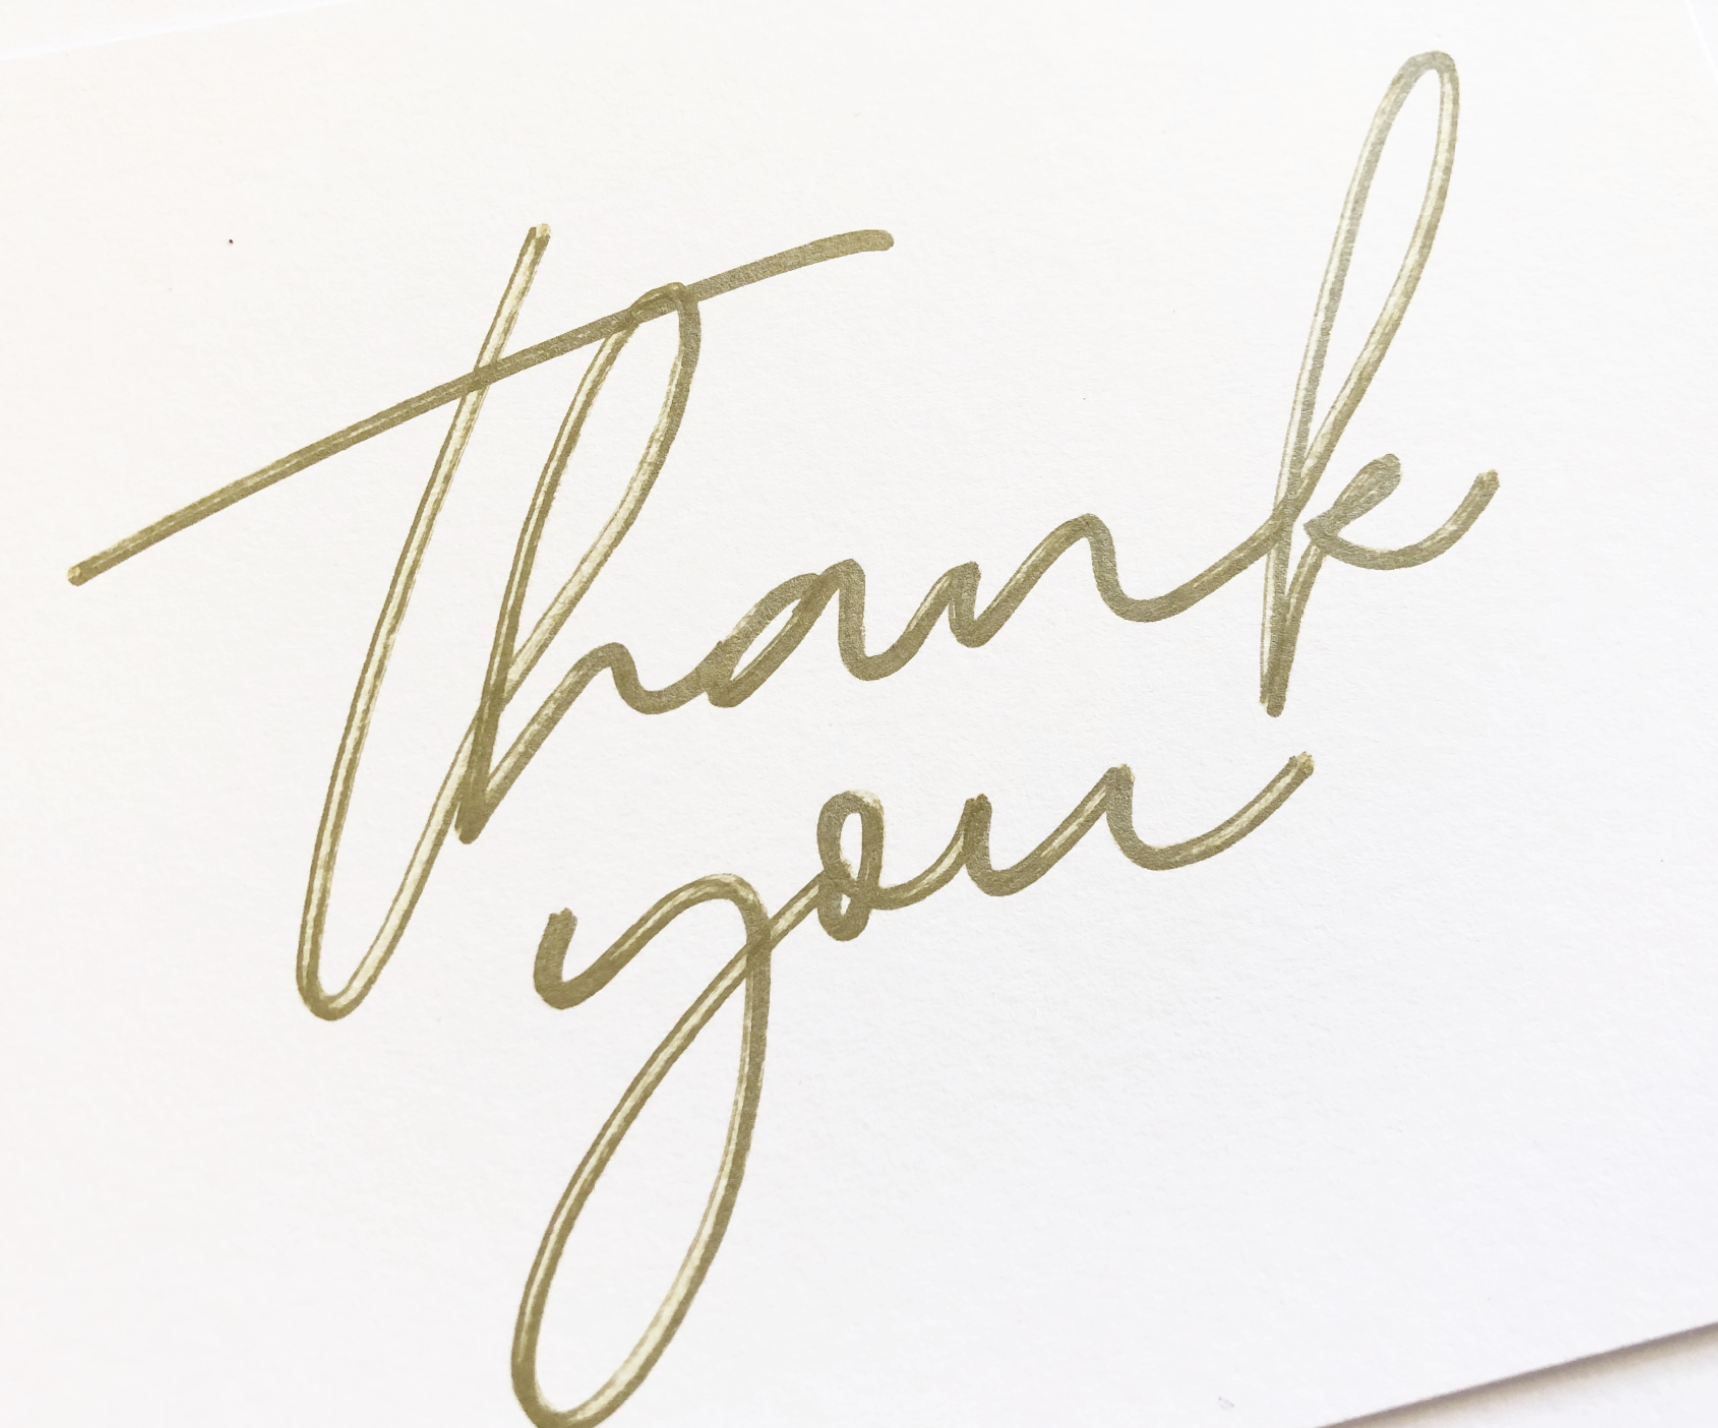
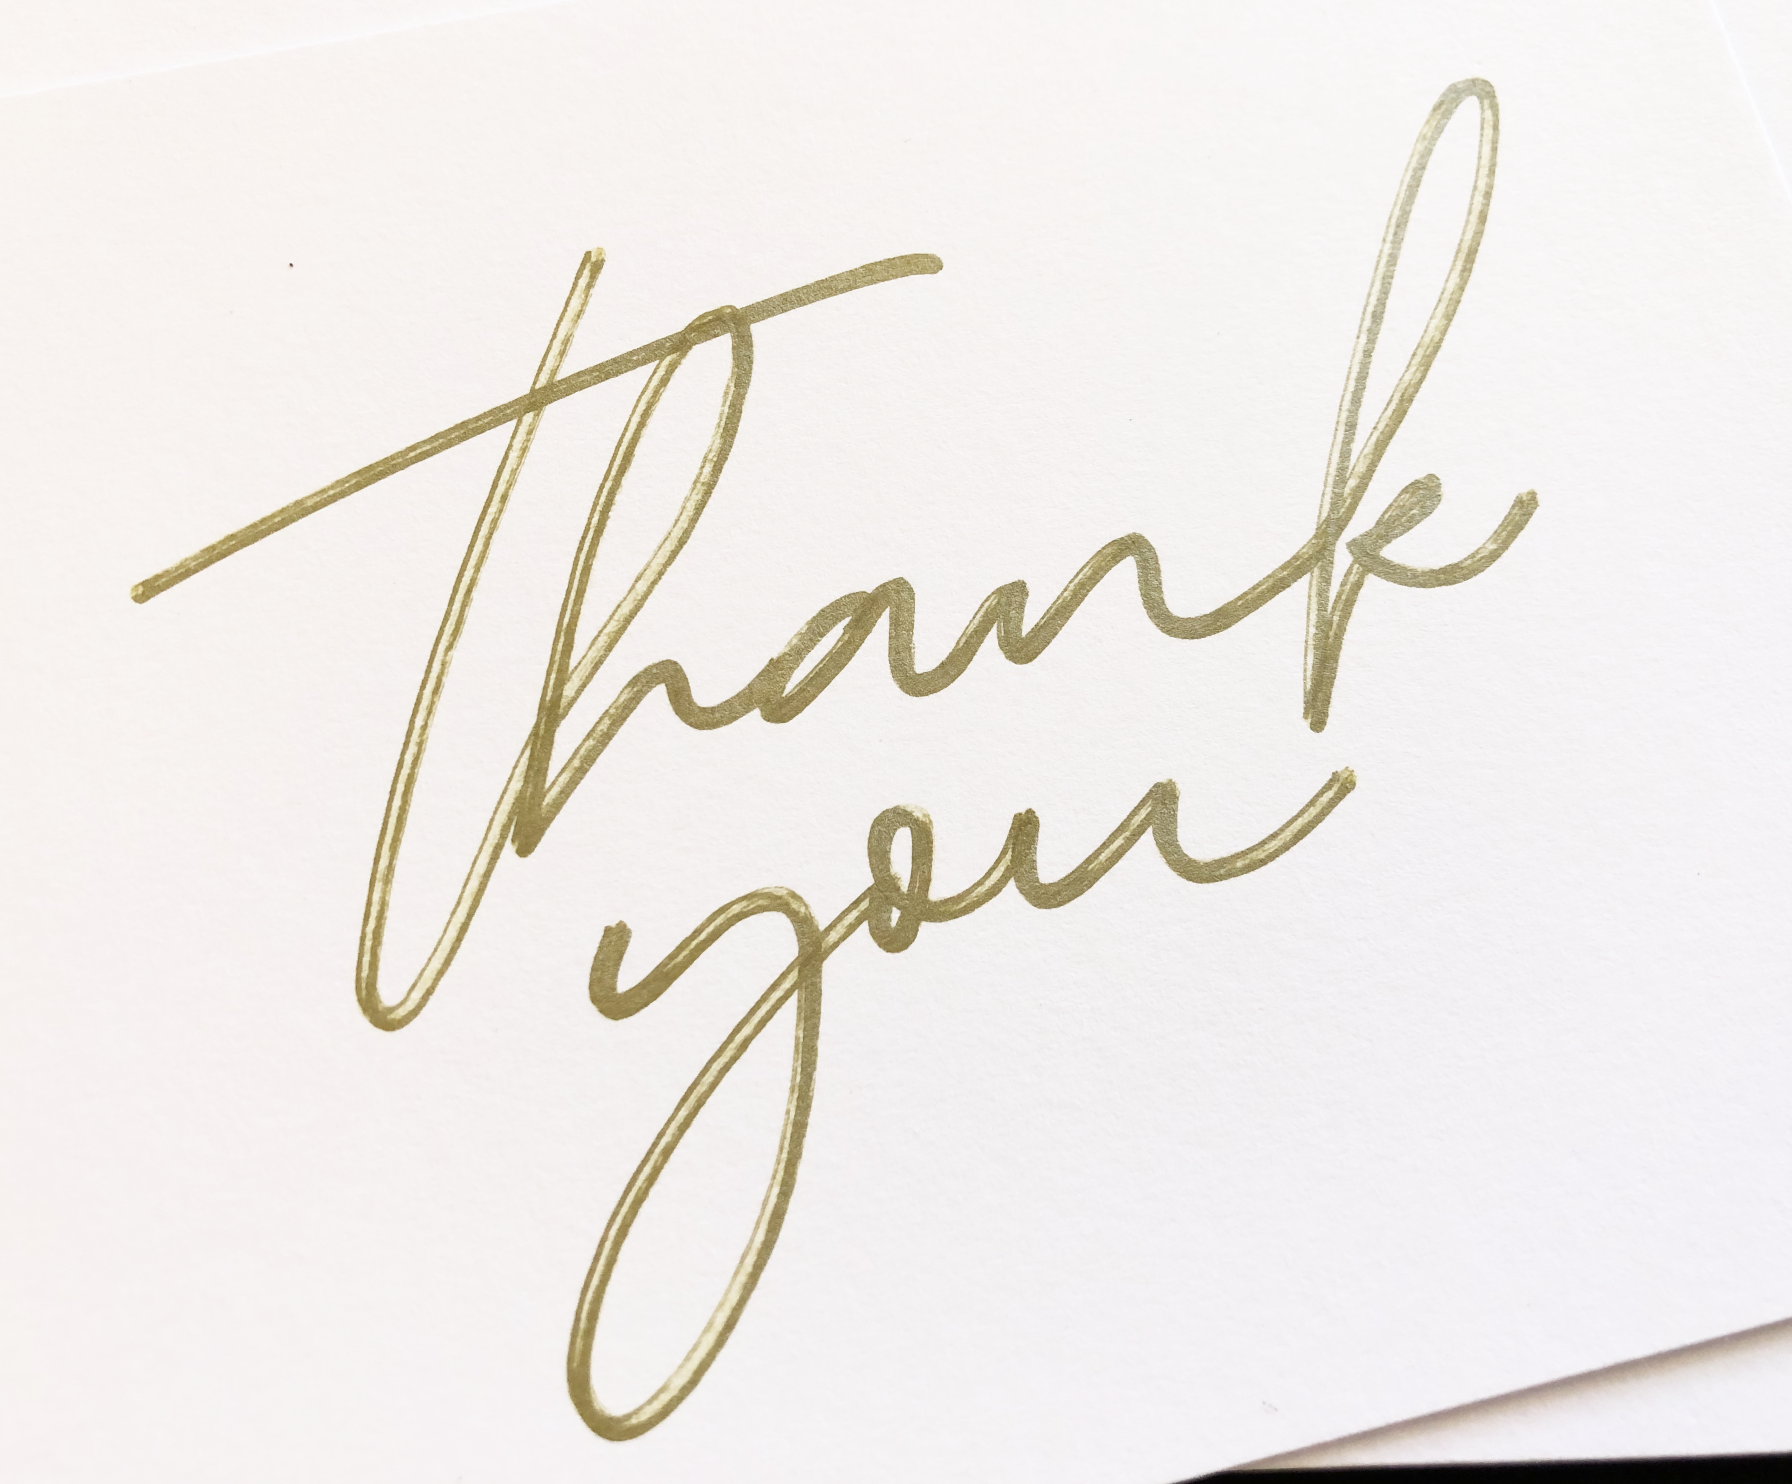
Here is my second test with my metallic gold marker. It looks like my marker is drying out a bit, but it gives kind of a cool brush stroke effect.
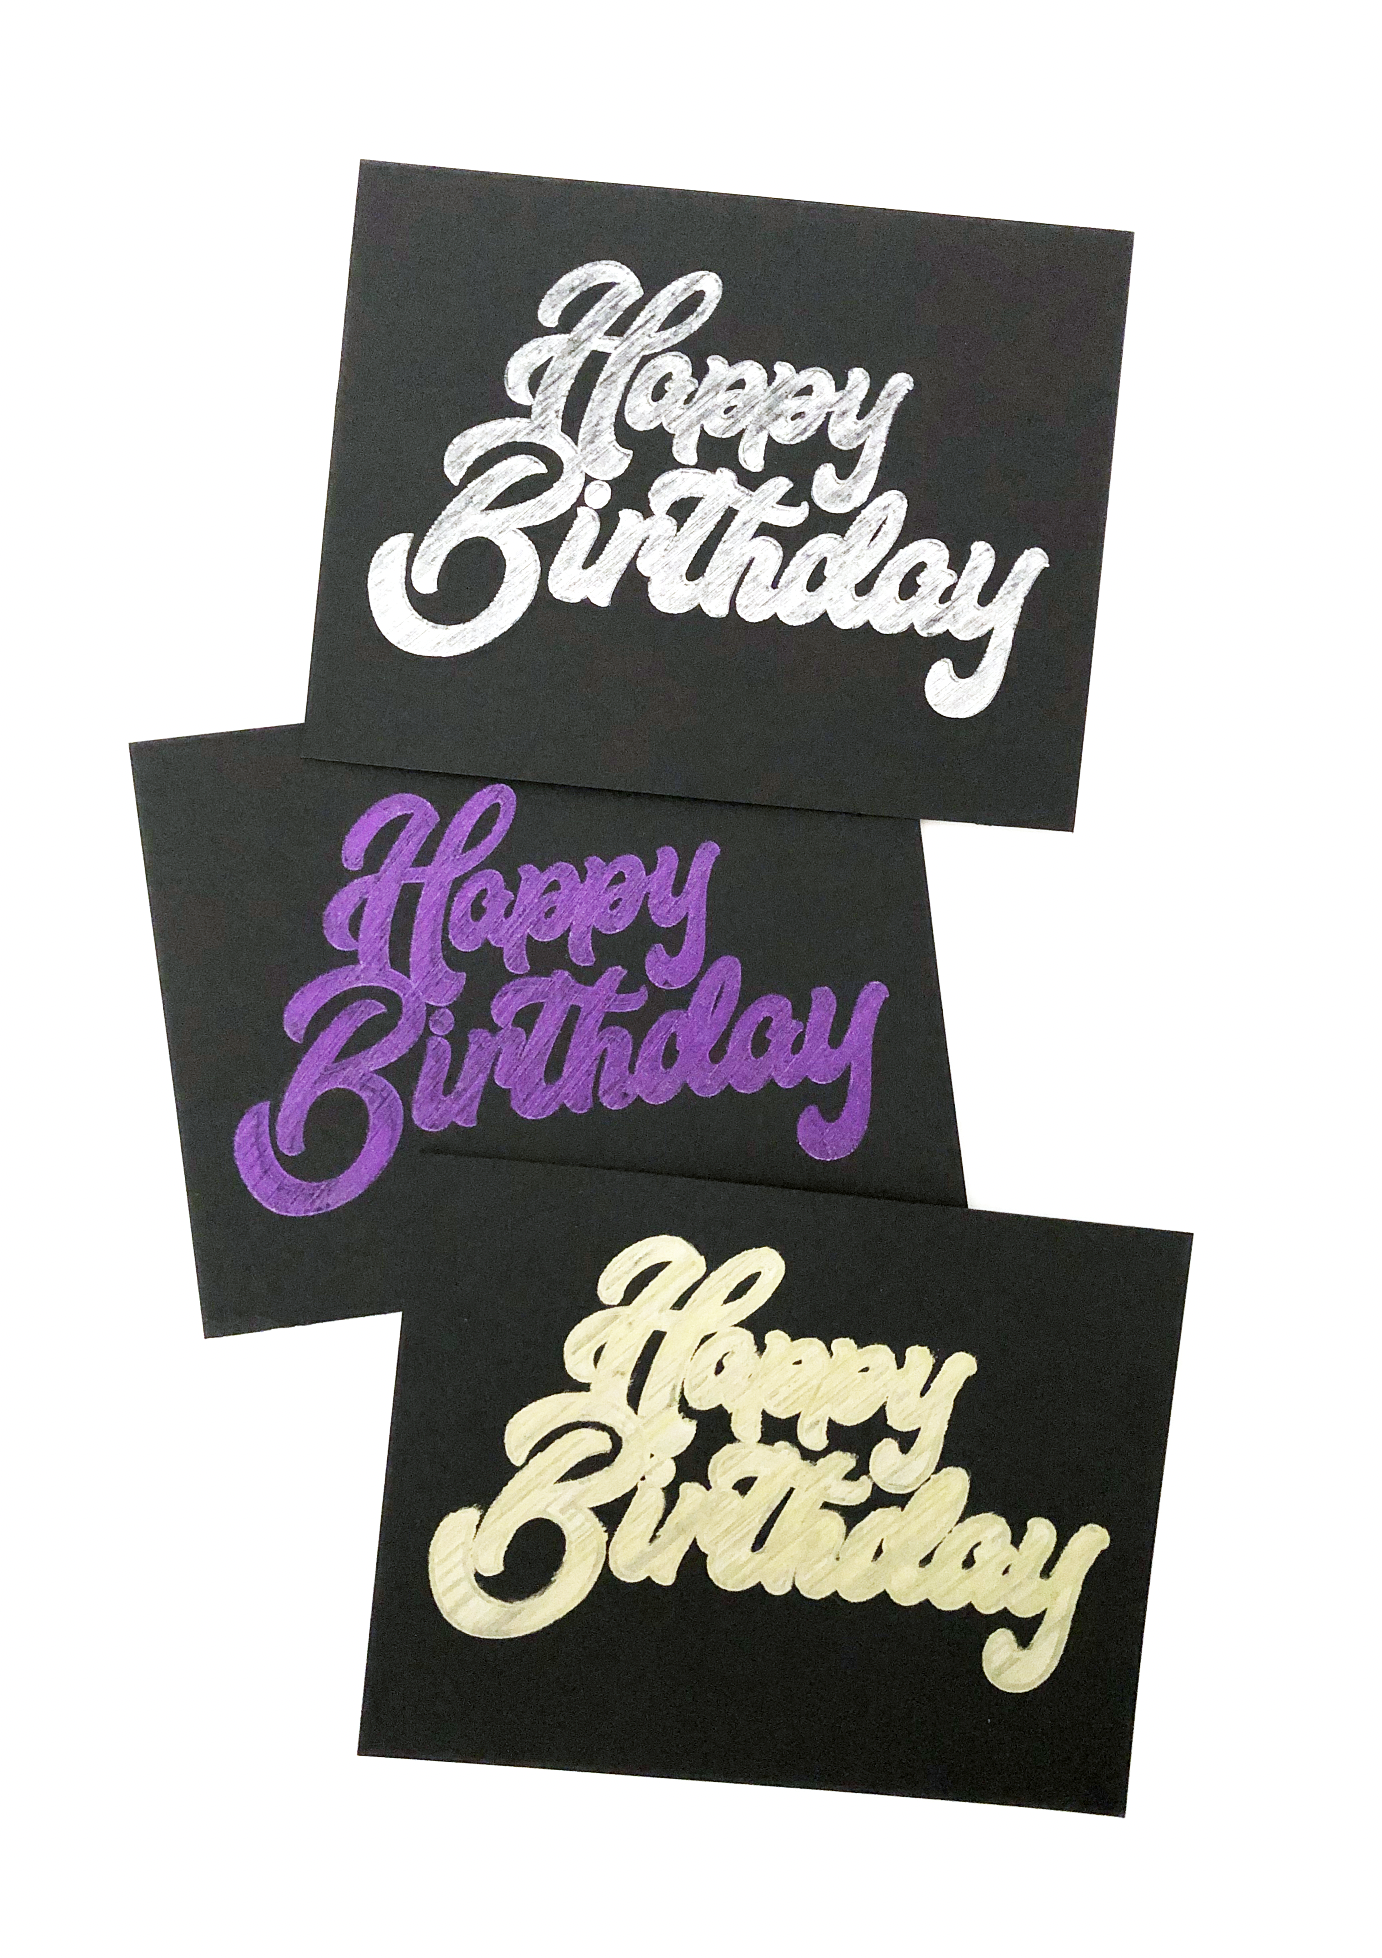
I tried out my debossing tip for the first time, I need to play around with the settings to see if I can make it deeper, but it could be a pretty cool effect for a thank you card.

