Hi Everyone!
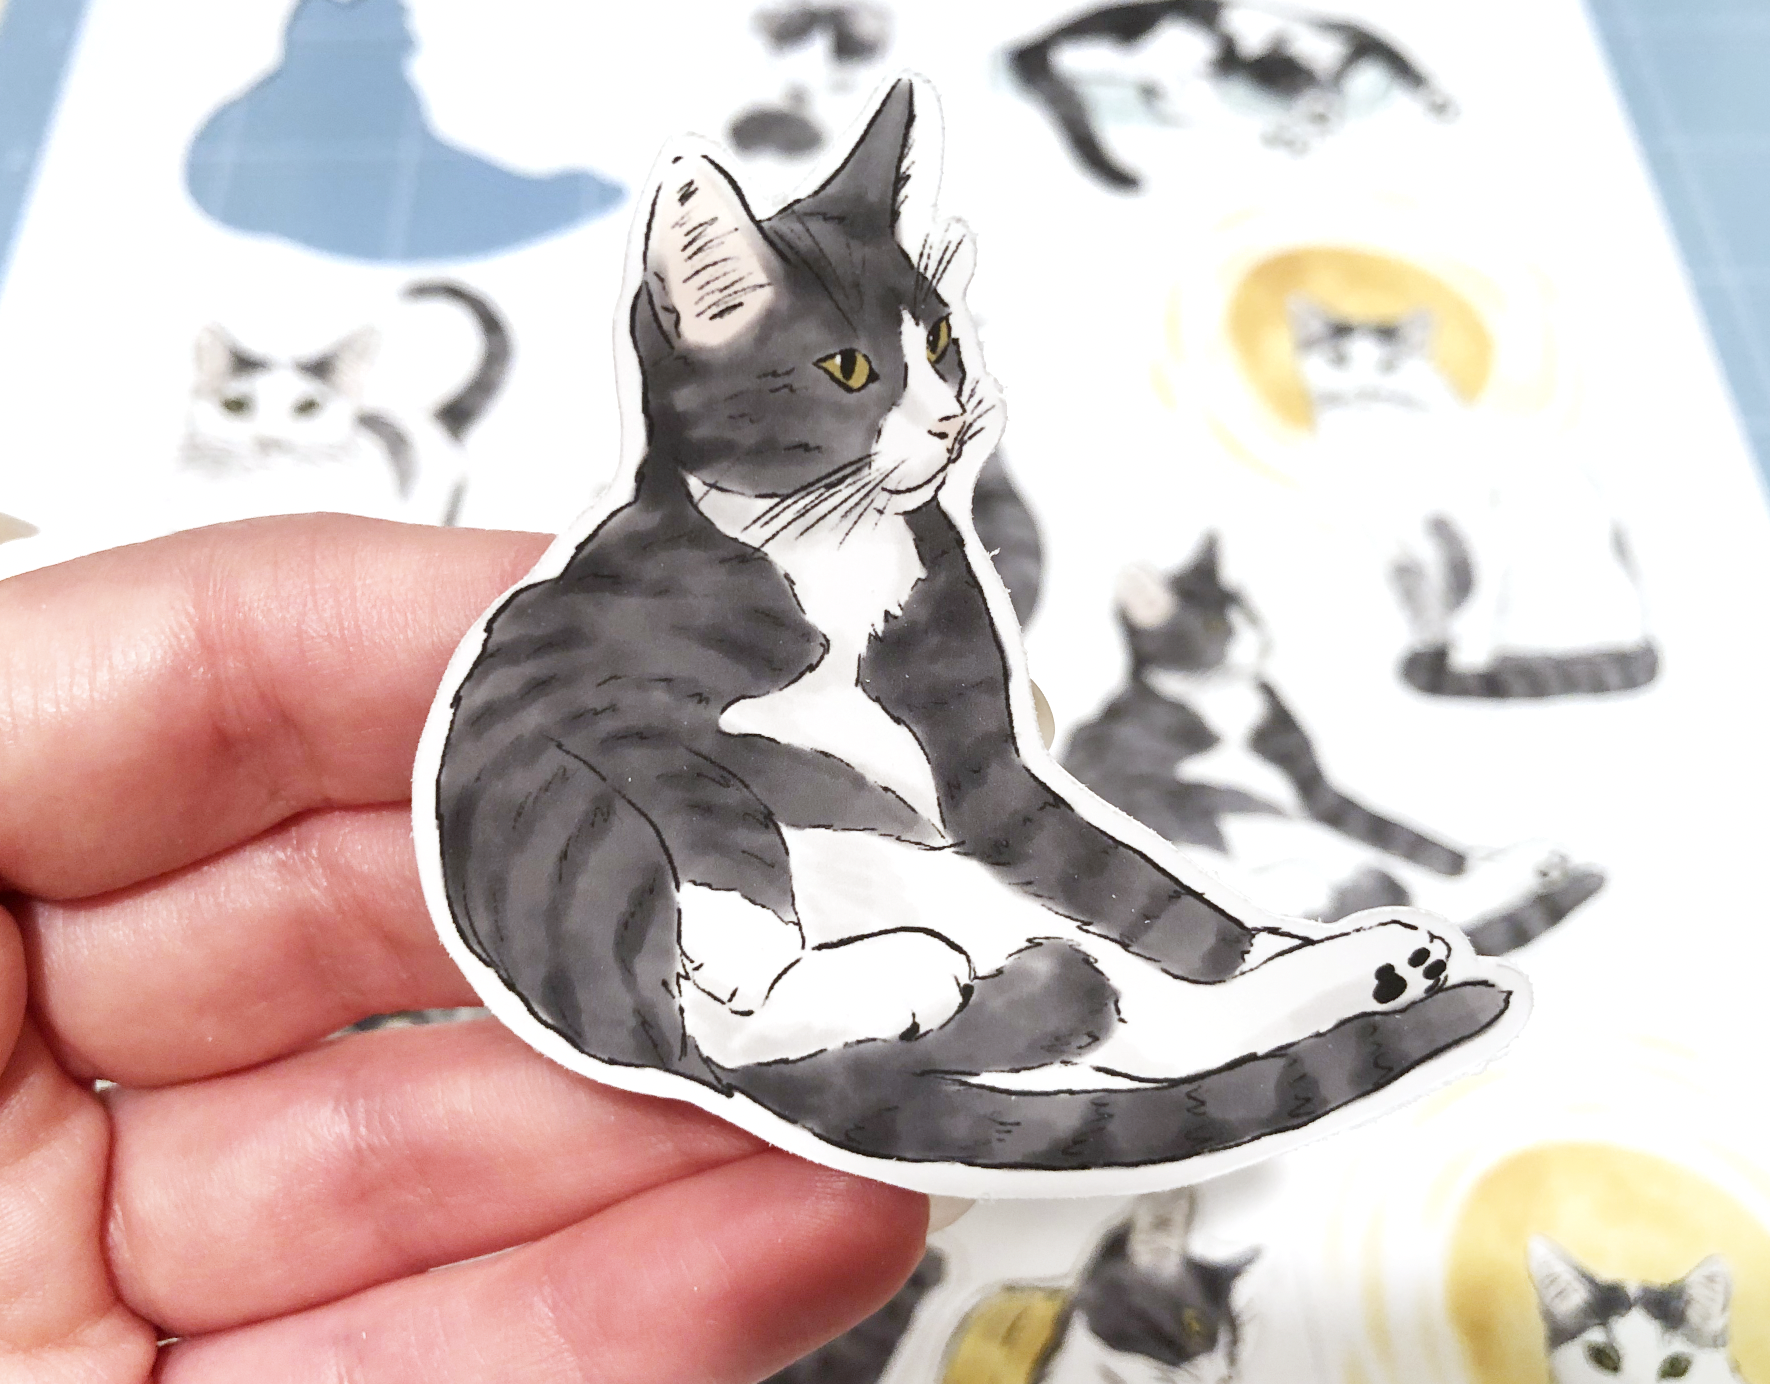
Last week I showed you how to use the Pix Scan mat with the Portrait 3. This week I’m going to go a little more in depth with how to use the trace feature in Silhouette studio to make a sticker offset. Here we go!
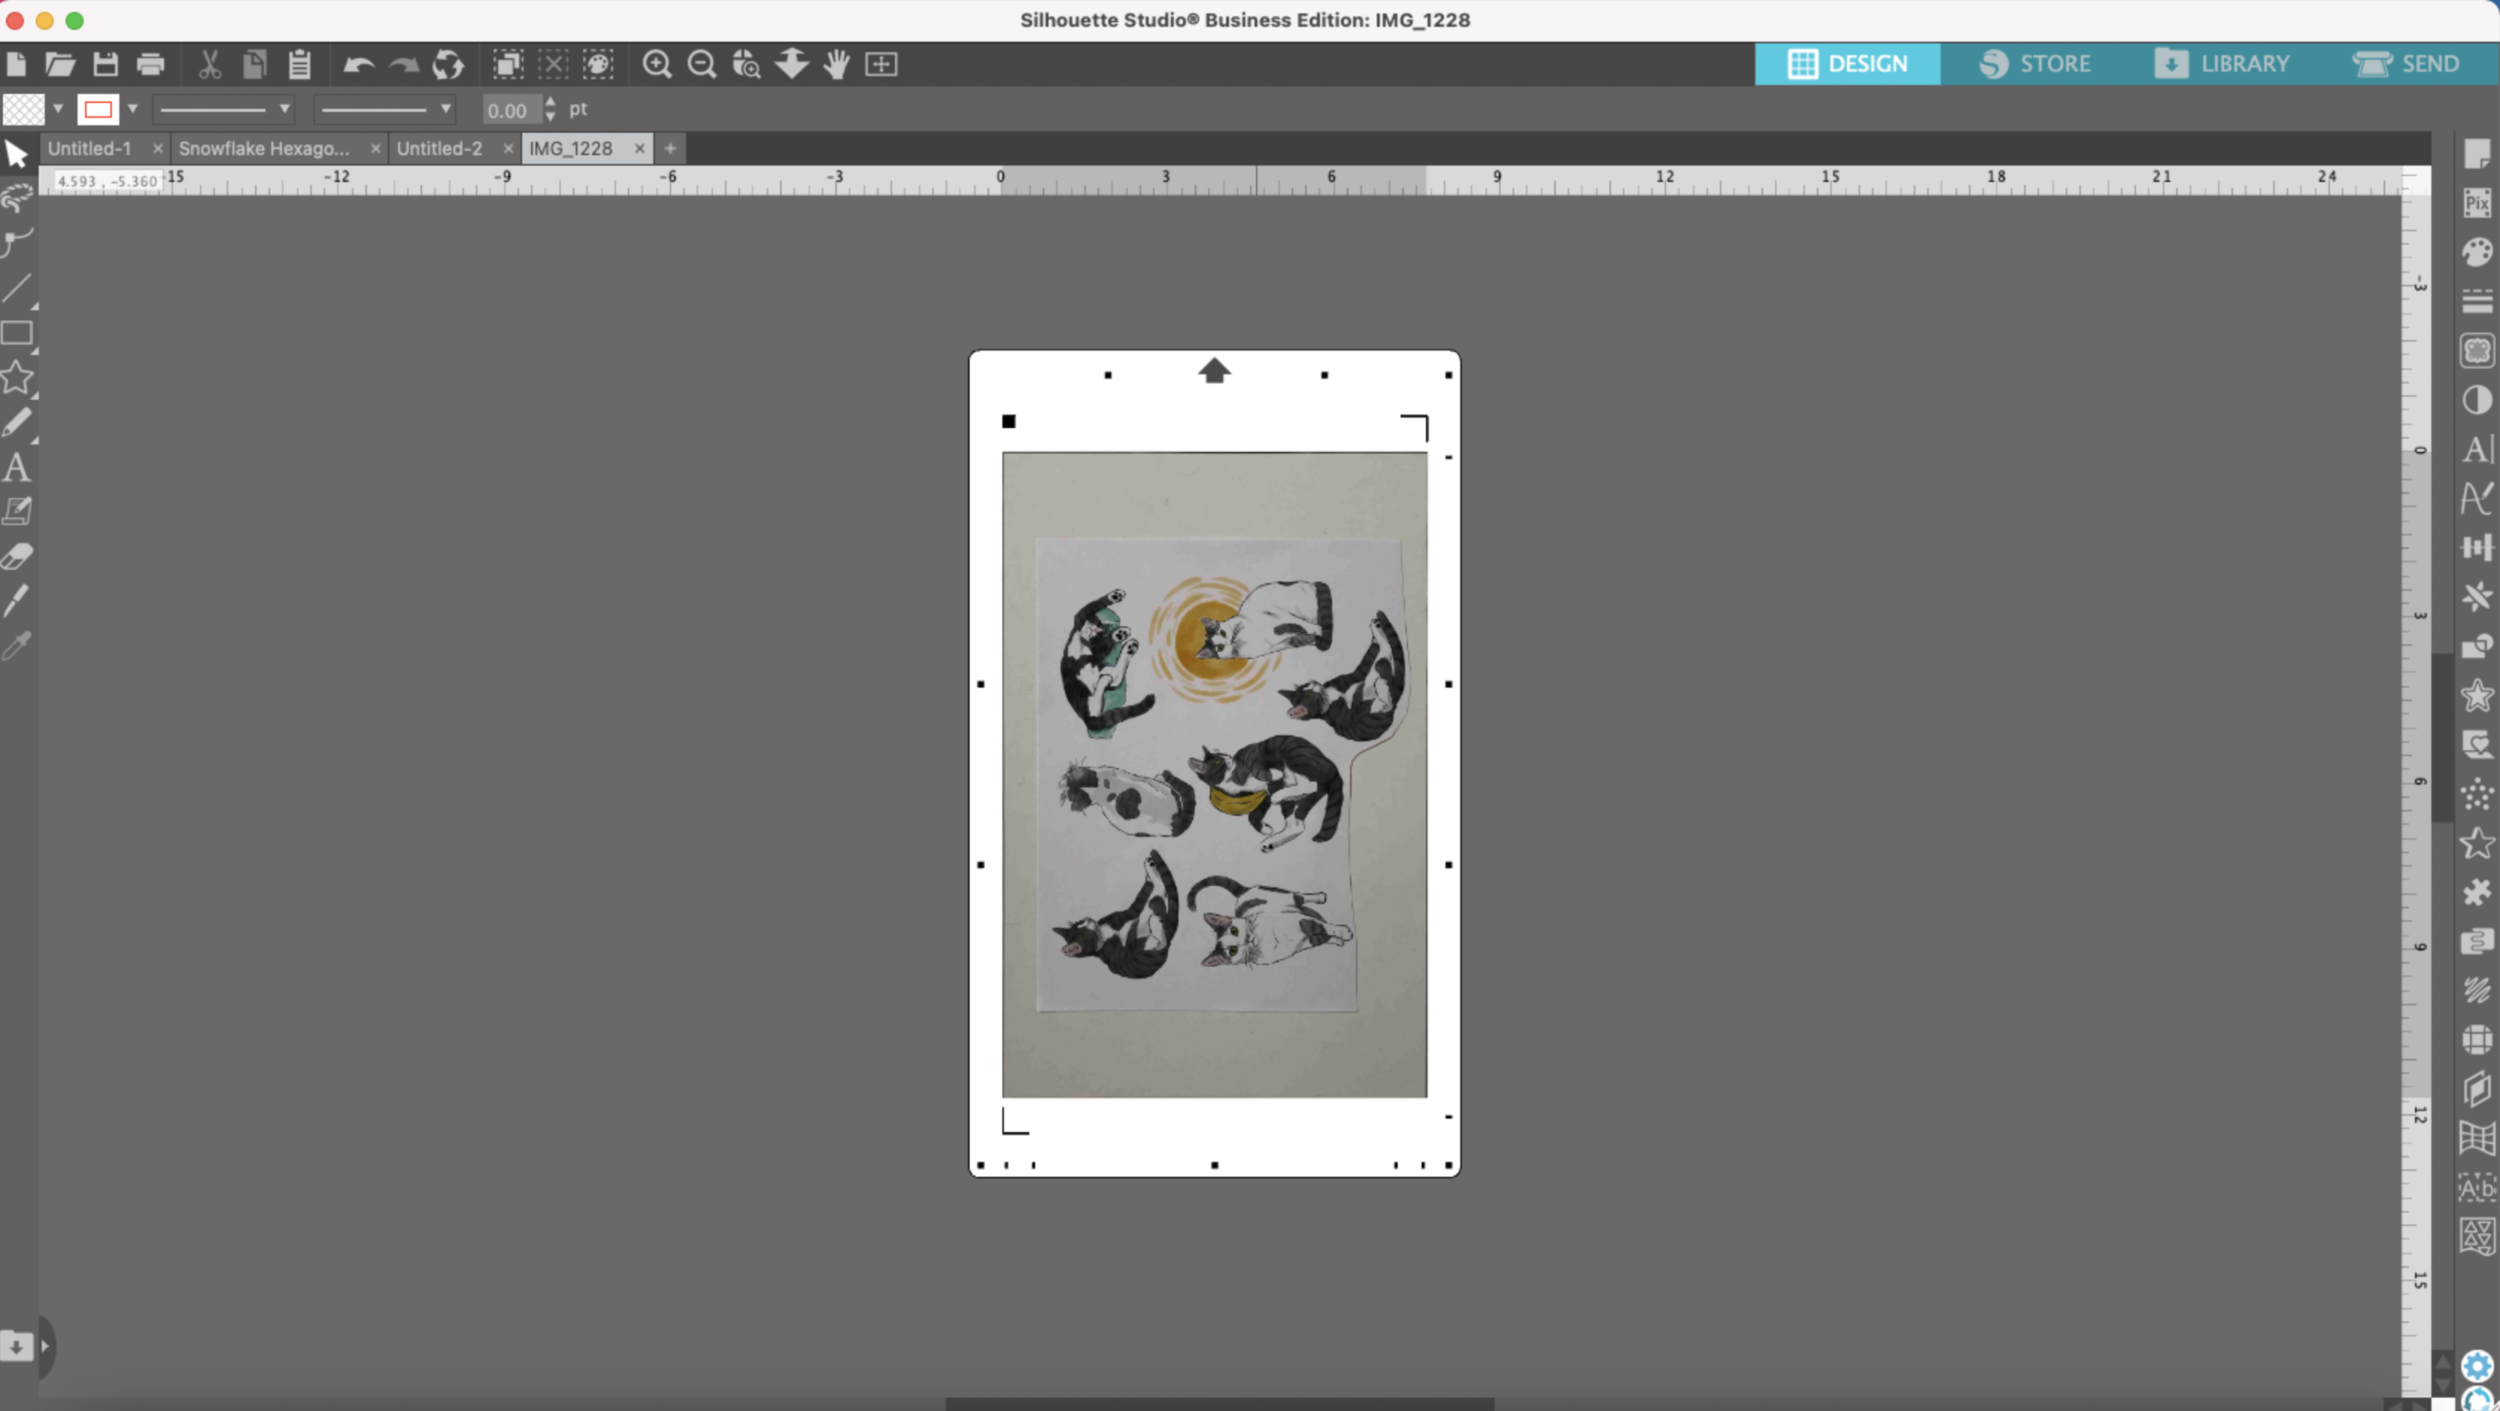
I’ve already taken a photo of the designs I’m going to use on my Pix Scan mat and imported it into Silhouette Studio.
Then I’m going to zoom in the the first little kitty that I’m going to trace and I select the Trace tool from the little toolbar on the right hand side of my screen. It kind of looks like a little butterfly.
Next, I click on “Select Trace Area” from the Trace tool dialog box. I draw a rectangle around the kitty I want to outline. I have “Solid Fill” selected in the Trace tool dialog box so the area I’m trying trace is easier to see.
I use the Threshold slider to try to get him little more filled in with the yellow, I’m really trying to get my outer edges completely yellow, there are some small gaps but we’ll fix those later.
Once I get the yellow area to my satisfaction, I select “Trace Outer Edge.” Then it shows me red cut lines around the area that I just traced.
Now I need to do a little clean up since my outer edges didn’t quite get the whole outline of the kitty and there are some areas from another sticker that got selected.
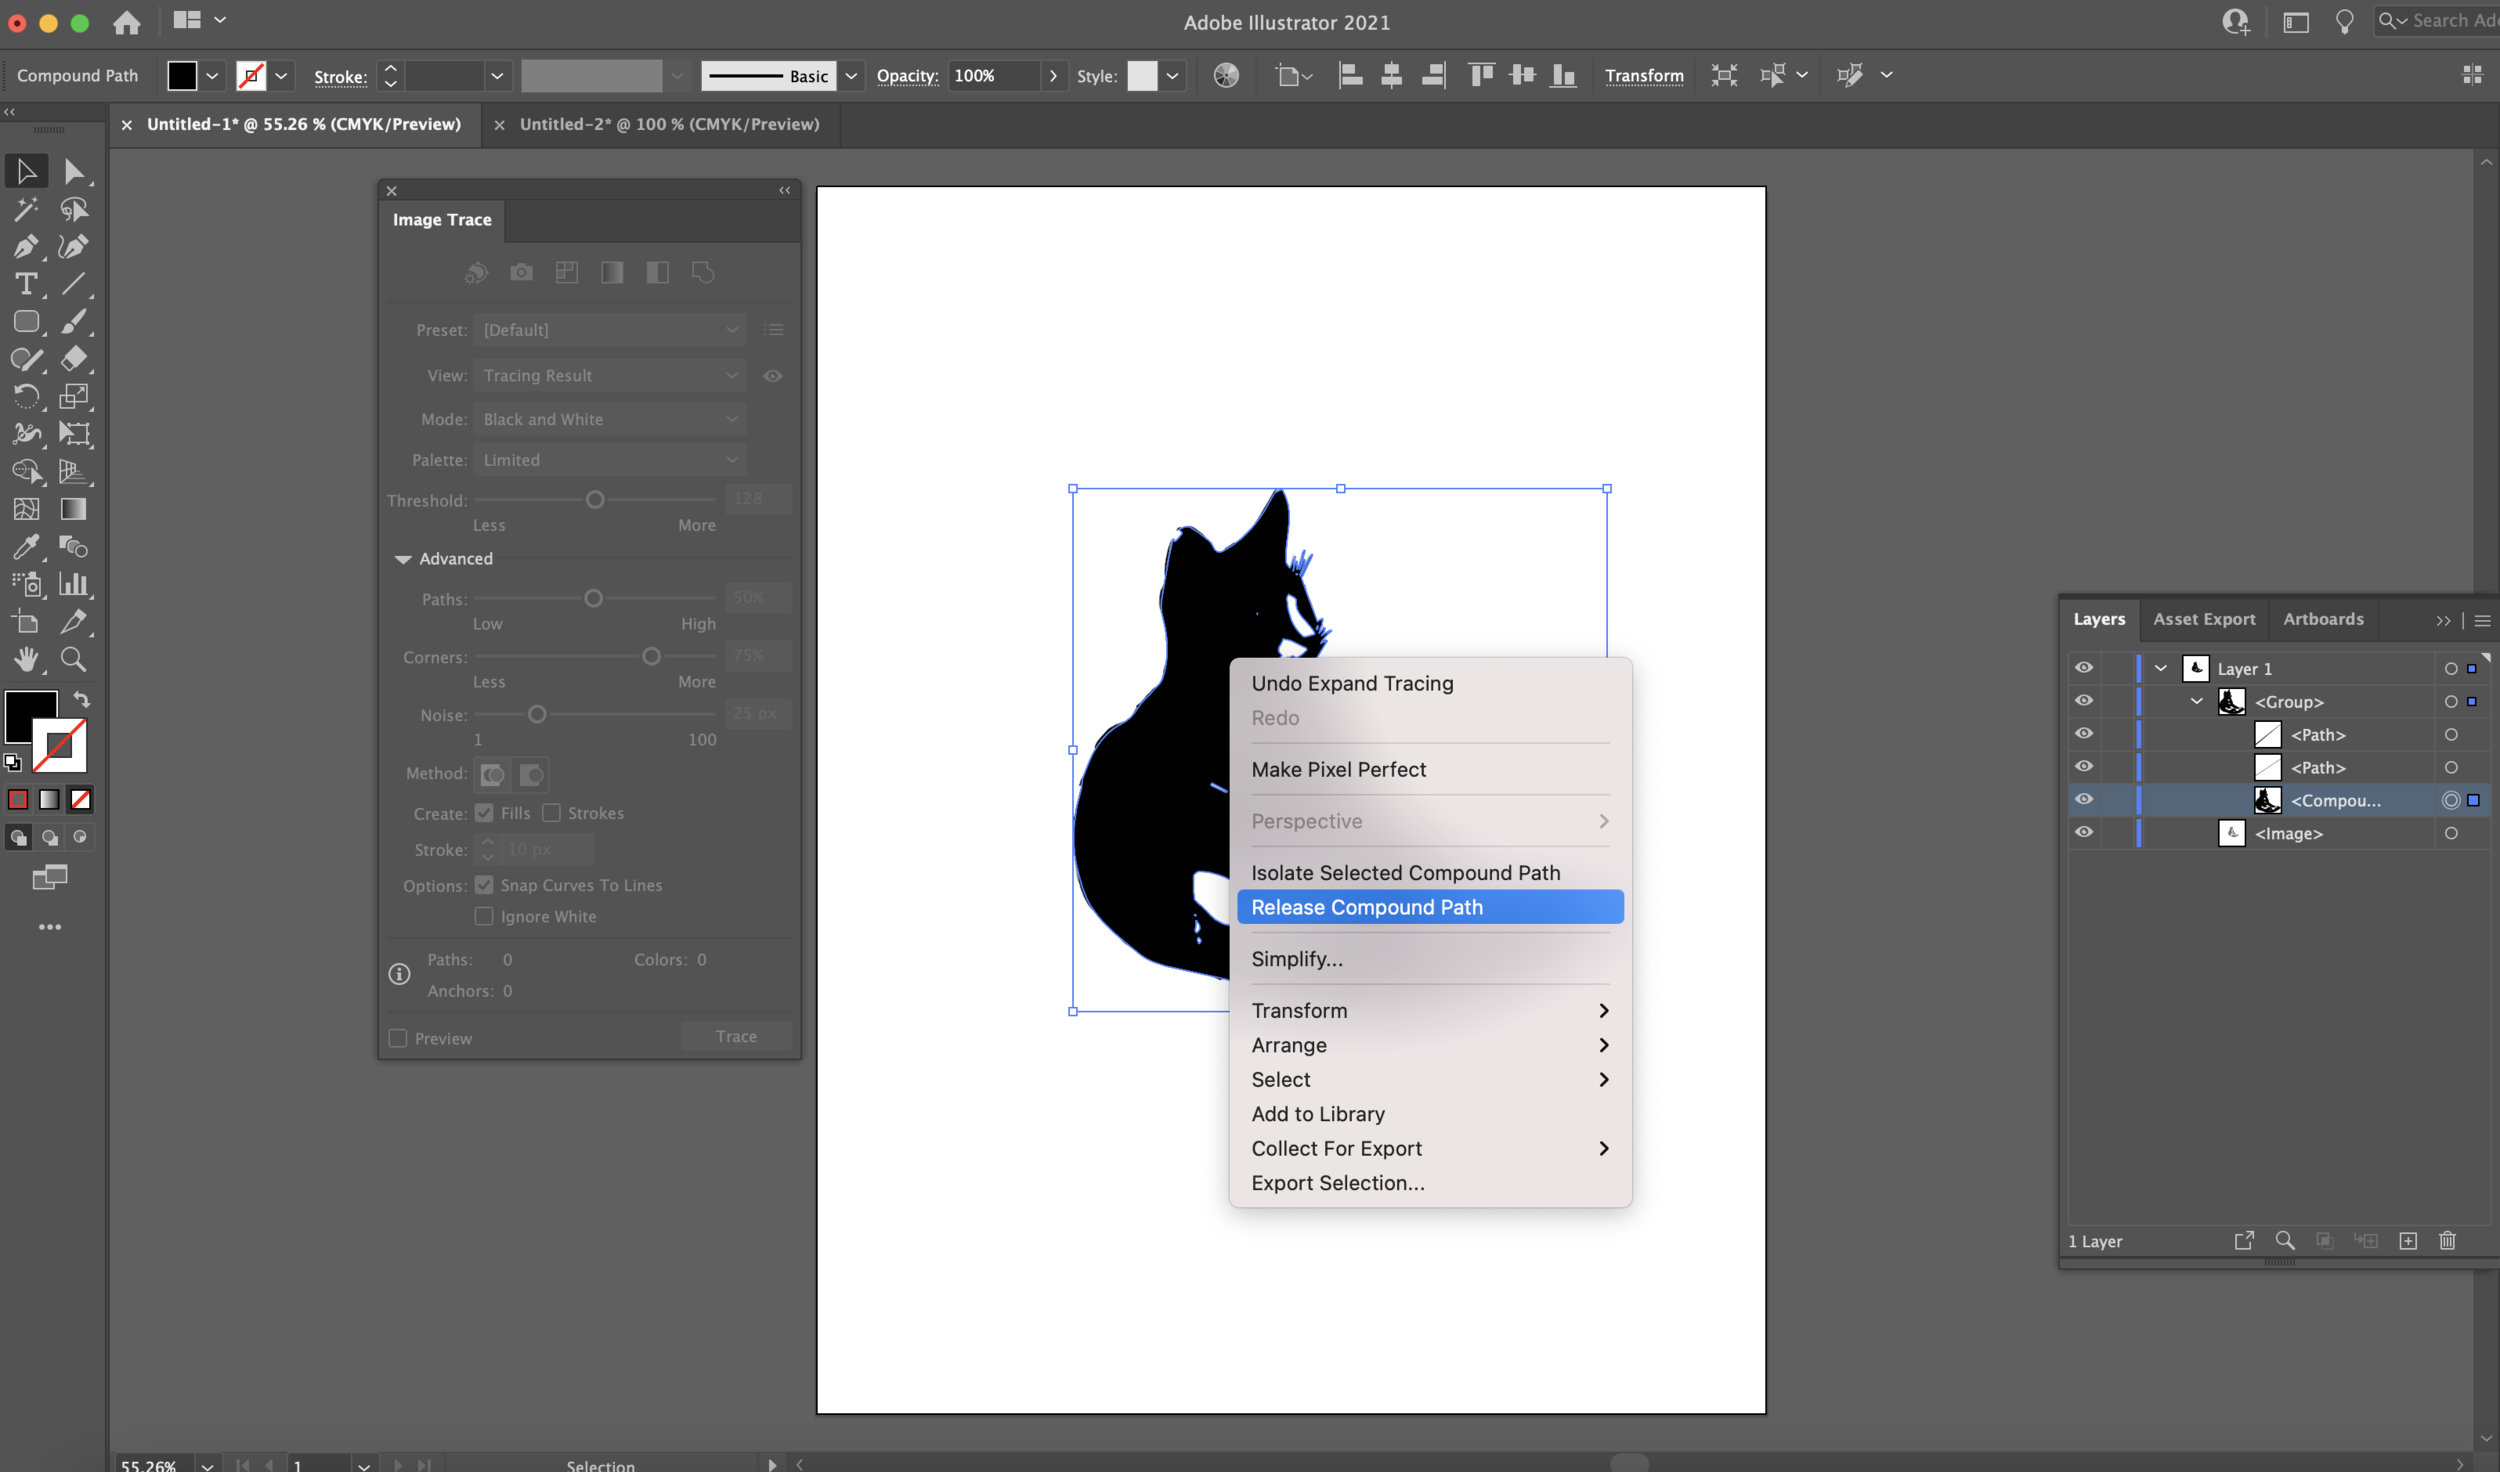
Using the Arrow from the left hand side tool bar, I select the red lines. I’m going to release the Compound Path.
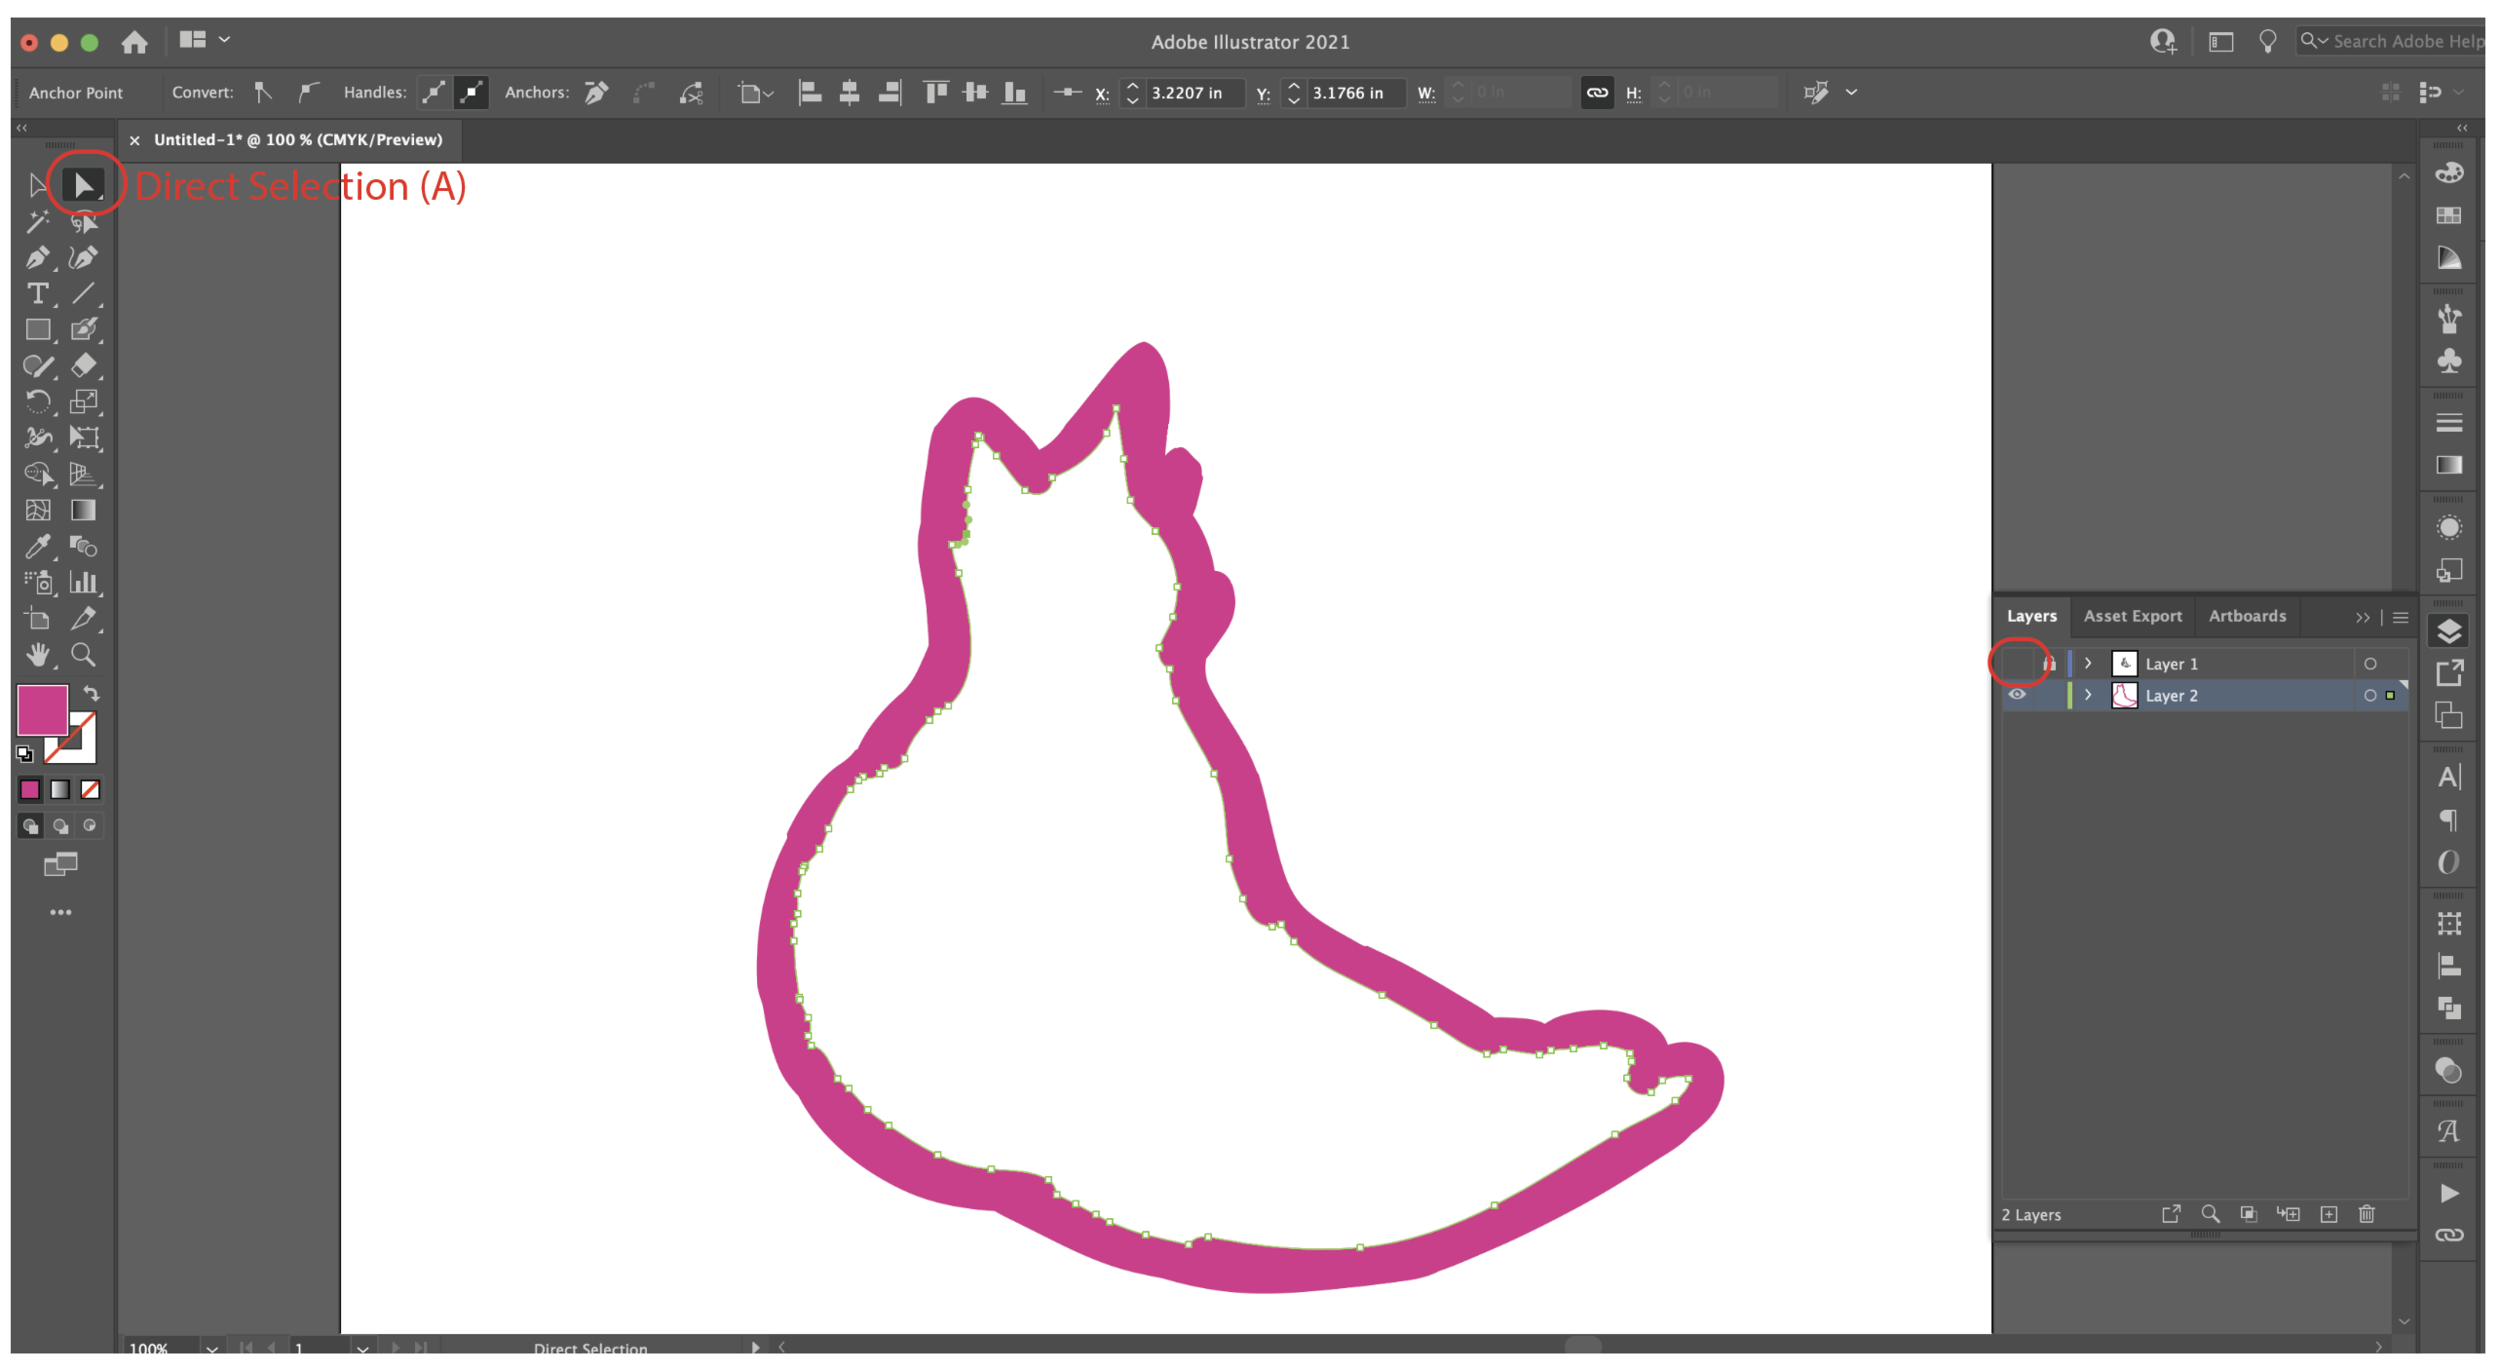
Then I’m going to select the red line that goes around the outer edge of the kitty and change the line color to blue (you can use any color, I’m just using blue because it’s easy to see).
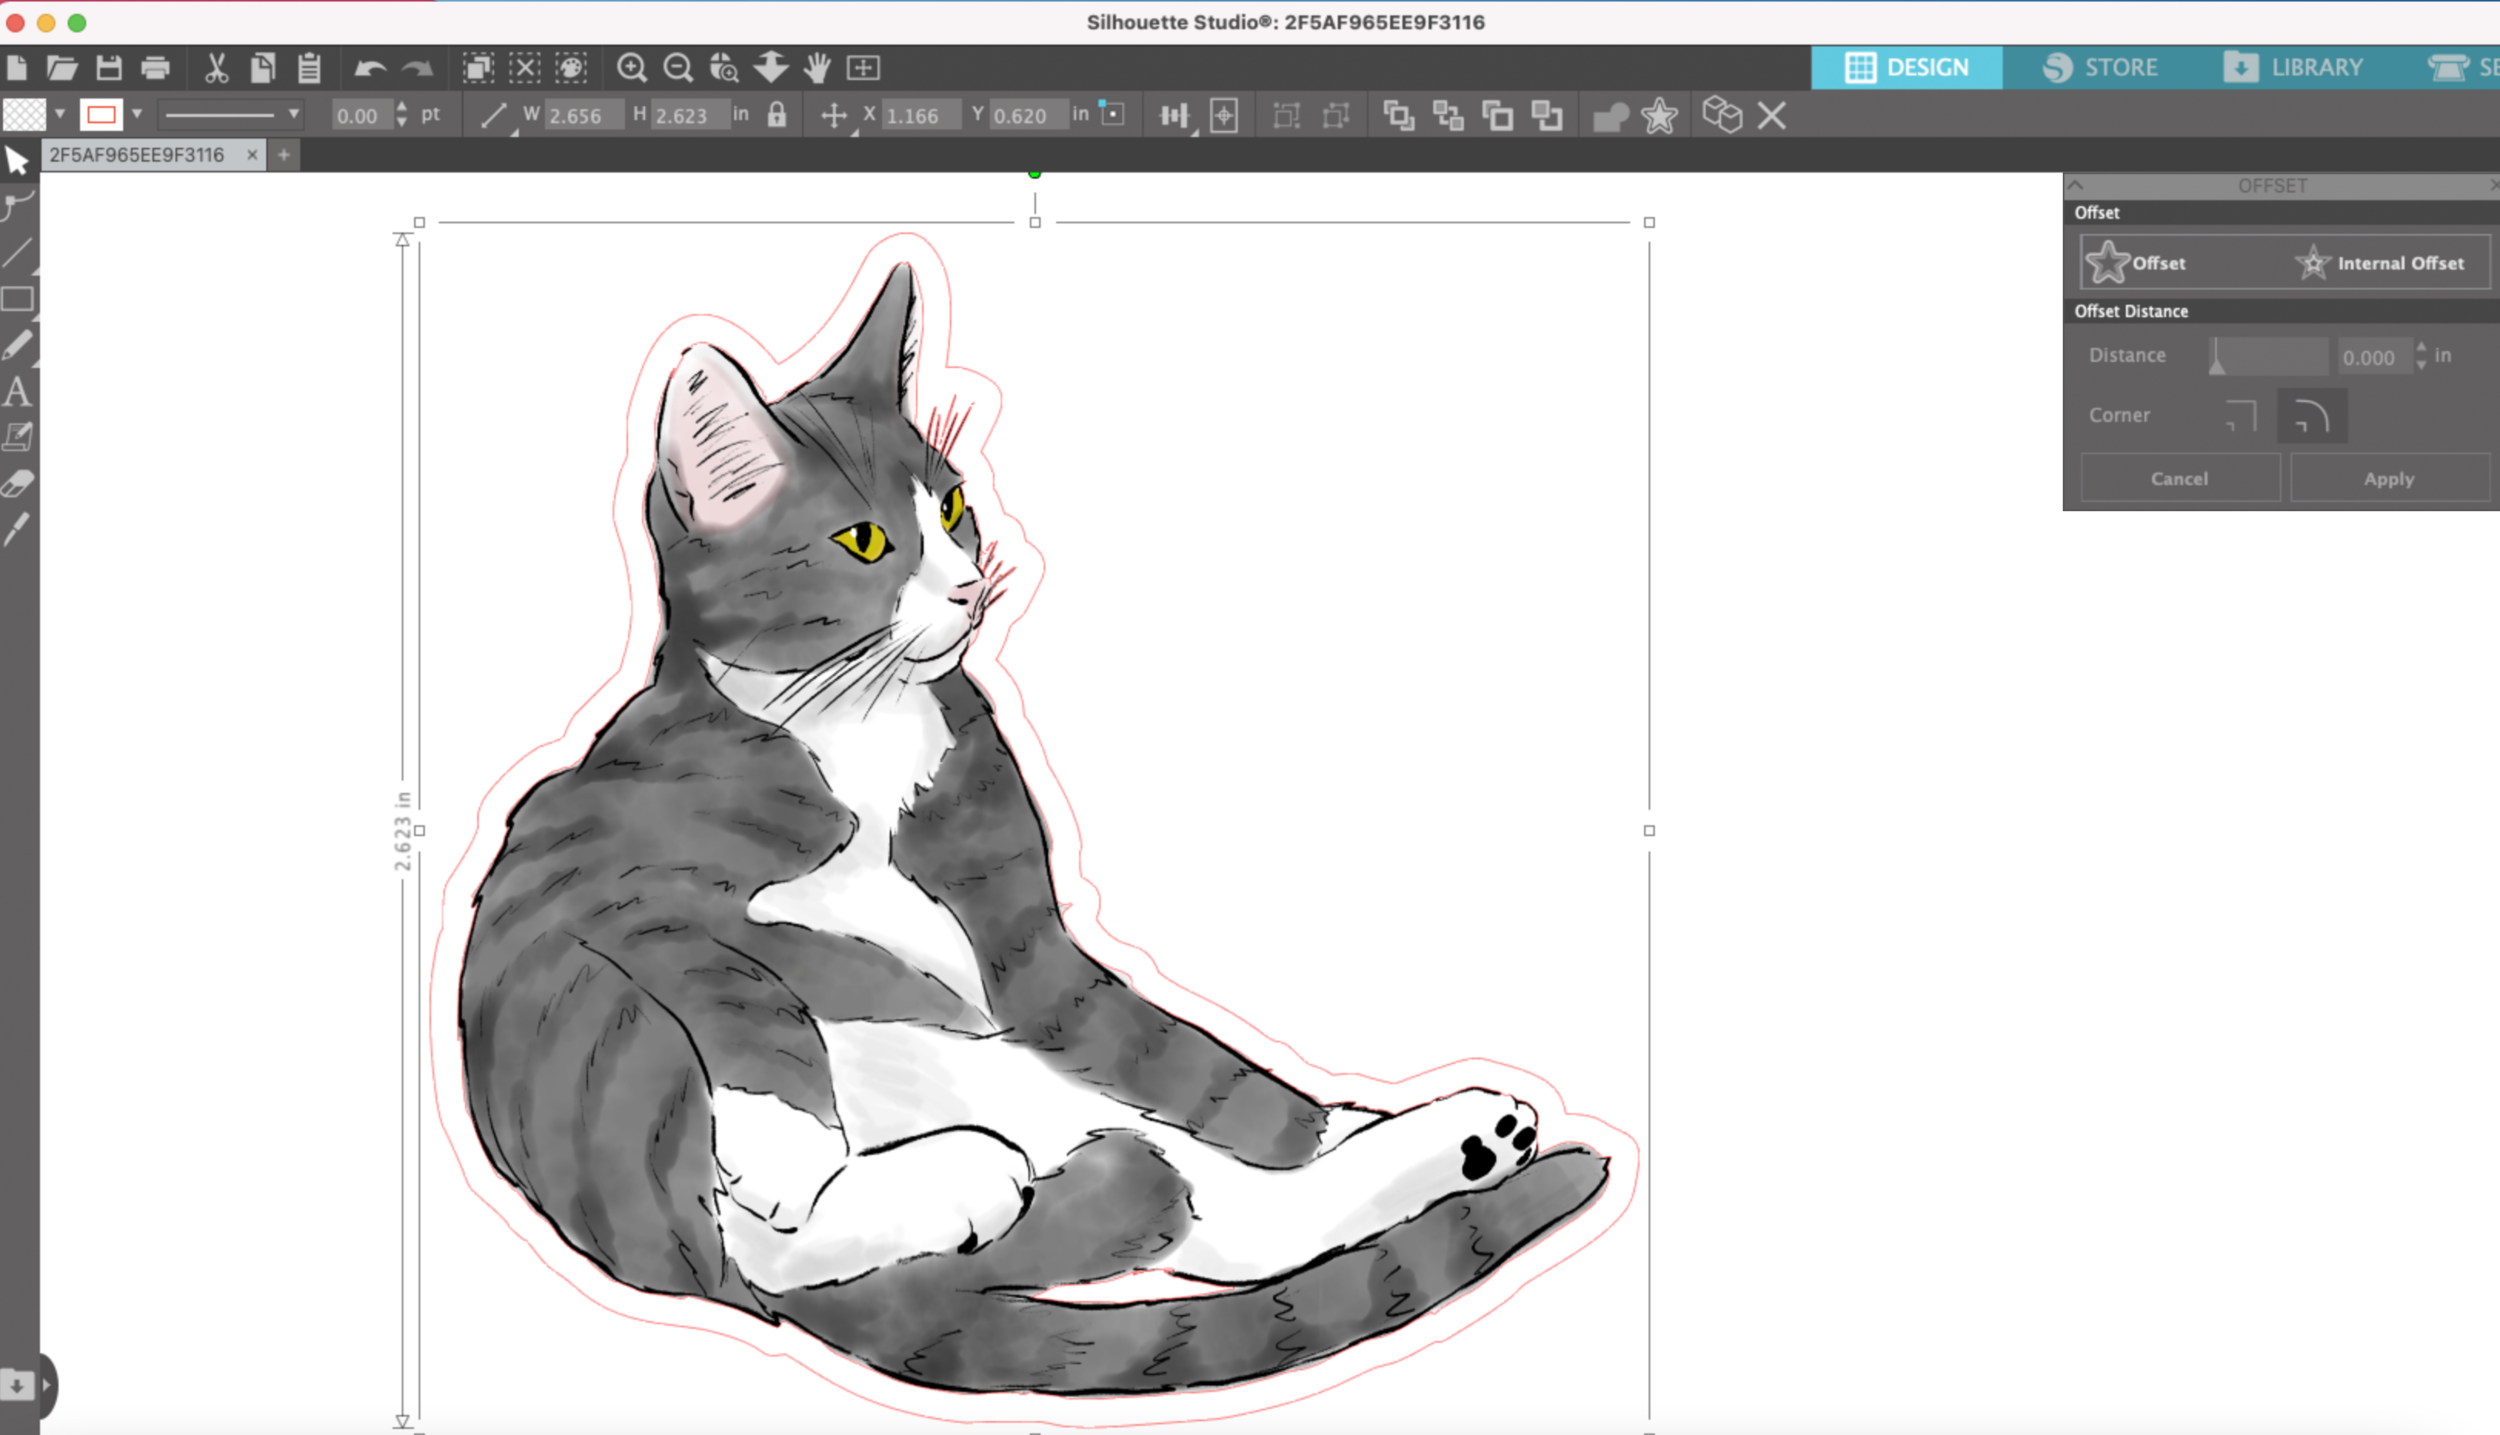
Now I’m going to make the offset. Select the little star from the tool bar on the right hand side. I’m going to make an outer offset at 0.125”. Then click Apply.
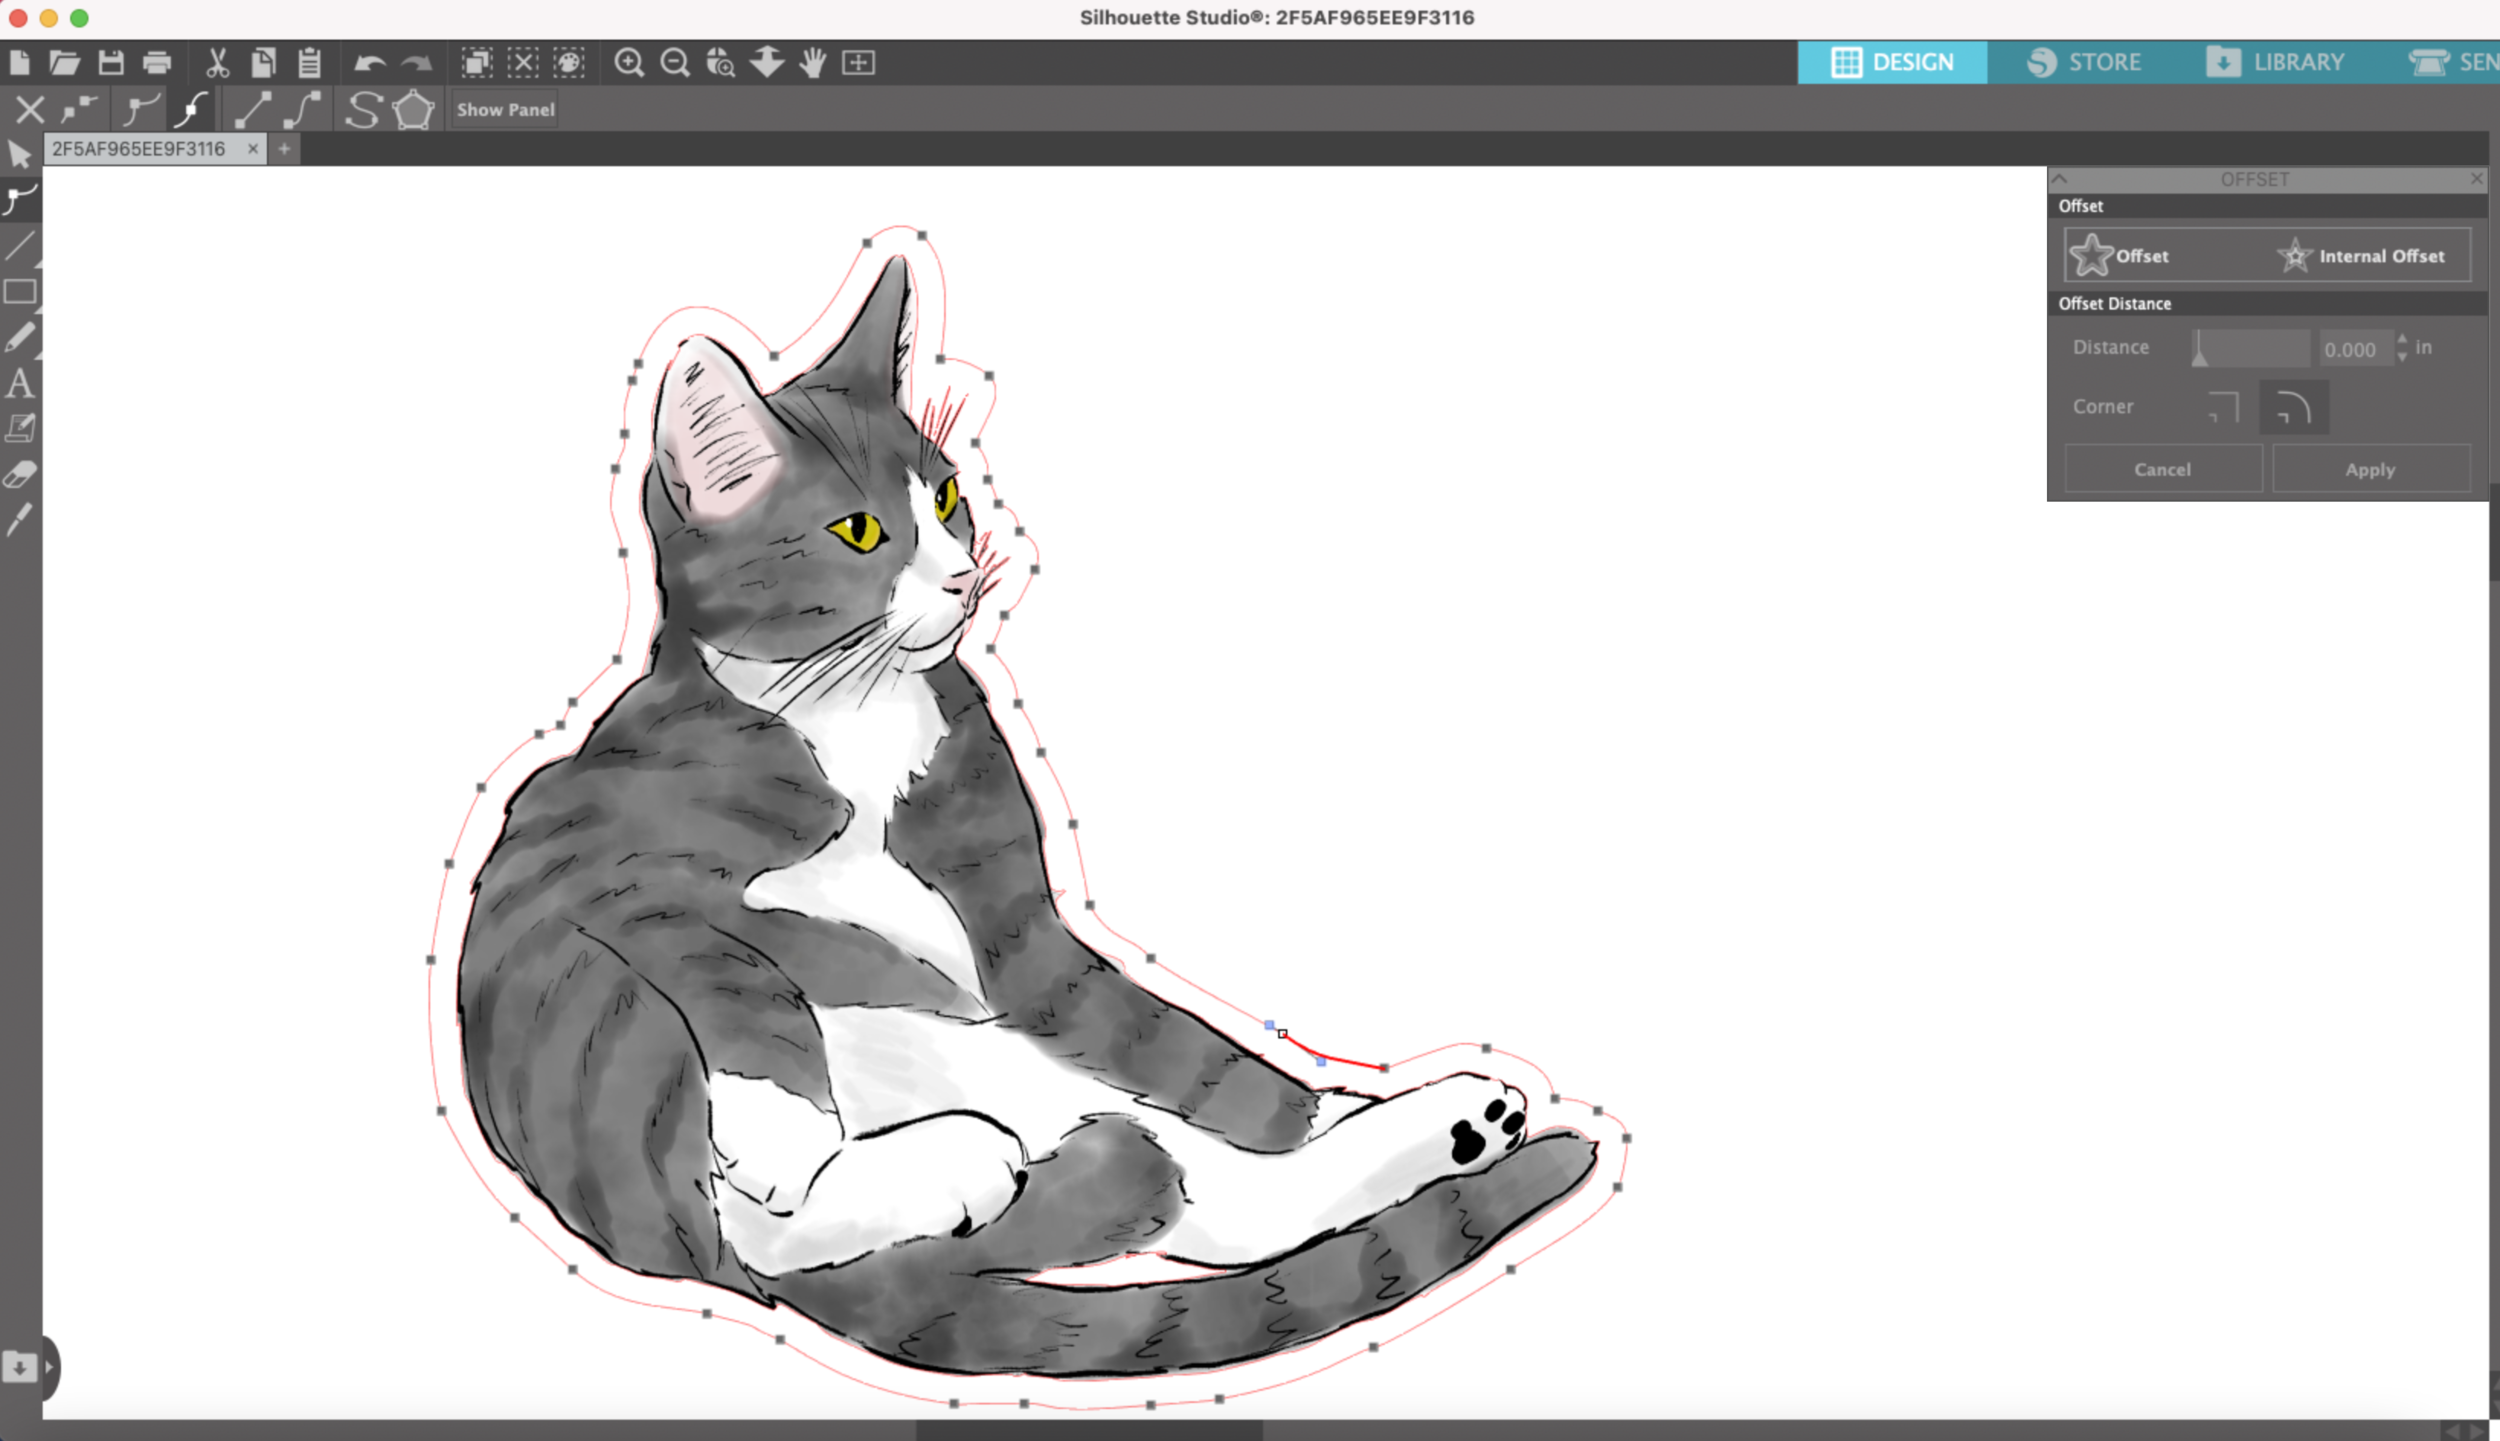
I’m going to delete the inner blue line. Then I’m going to smooth out the offset a little bit using the smooth tool.
Next, I’m going to get rid of the red outlines that are part of the other sticker. I could click each individual piece to get rid of it, but instead I’m going to use the “Select by Color” feature.
In the tools bar that goes across the top edge, I select the little paint palette with the dotted line around it. In the dialog box I have “By Line color” selected. Then I click on the red and it selects everything with a red outline.
I click delete and now all of the red lines are gone!
I repeat the same process for the other images on my mat. One thing I love about Silhouette Studio is I can can save my cut lines and use them for the next sheet of stickers too!

