silhouette portrait 3

Etching on Acrylic with the Silhouette Portrait 3

Hi Everyone!

This week I’m going to share another technique you can use to decorate some acrylic blanks for holiday ornaments. I’m going to use my WRMK Etch Quill to engrave my design into the acrylic. If you see settings for etching, embossing, debossing, etc in Silhouette Studio, those are meant for the Curio machine. The Portrait 3 really isn’t designed to etch, that’s why I’m using the 3rd party etching tool.

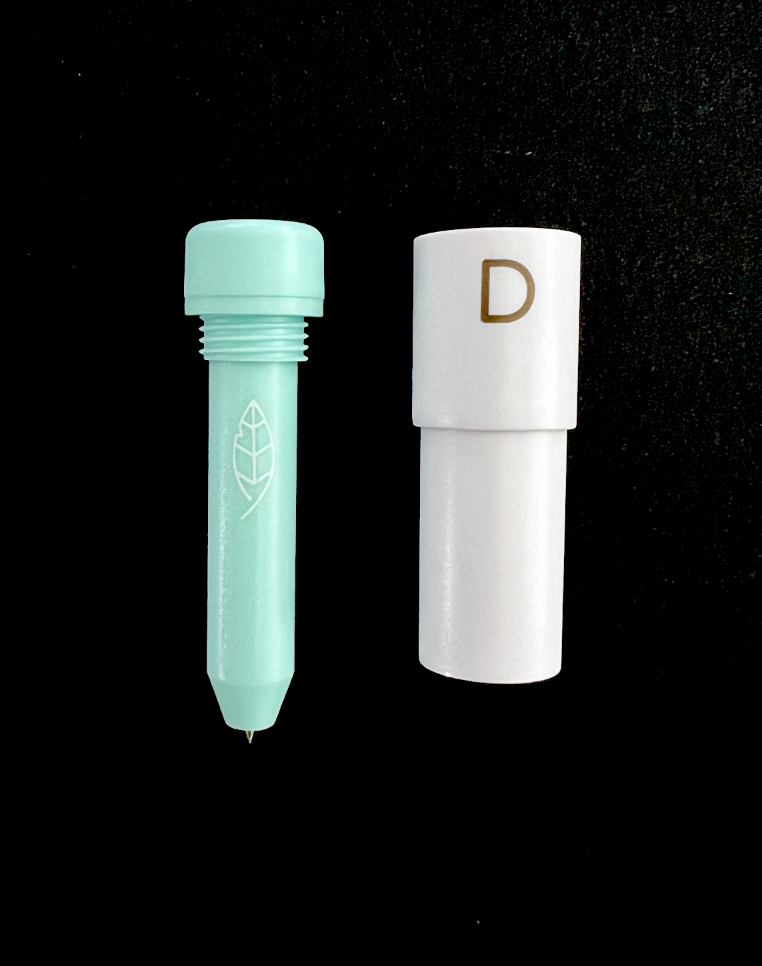
WRMK Etch Quill

Let’s get started!

Supplies:

(Links below may be affiliate links)

Silhouette Portrait 3

Standard Grip Mat

Chipboard with 3” circle cutout (optional)

3 inch round 2mm thick acrylic ornament blanks

WRMK Etch Quill (with D adapter from Foil Quill)

9-12 inch length of ribbon or twine

Project:

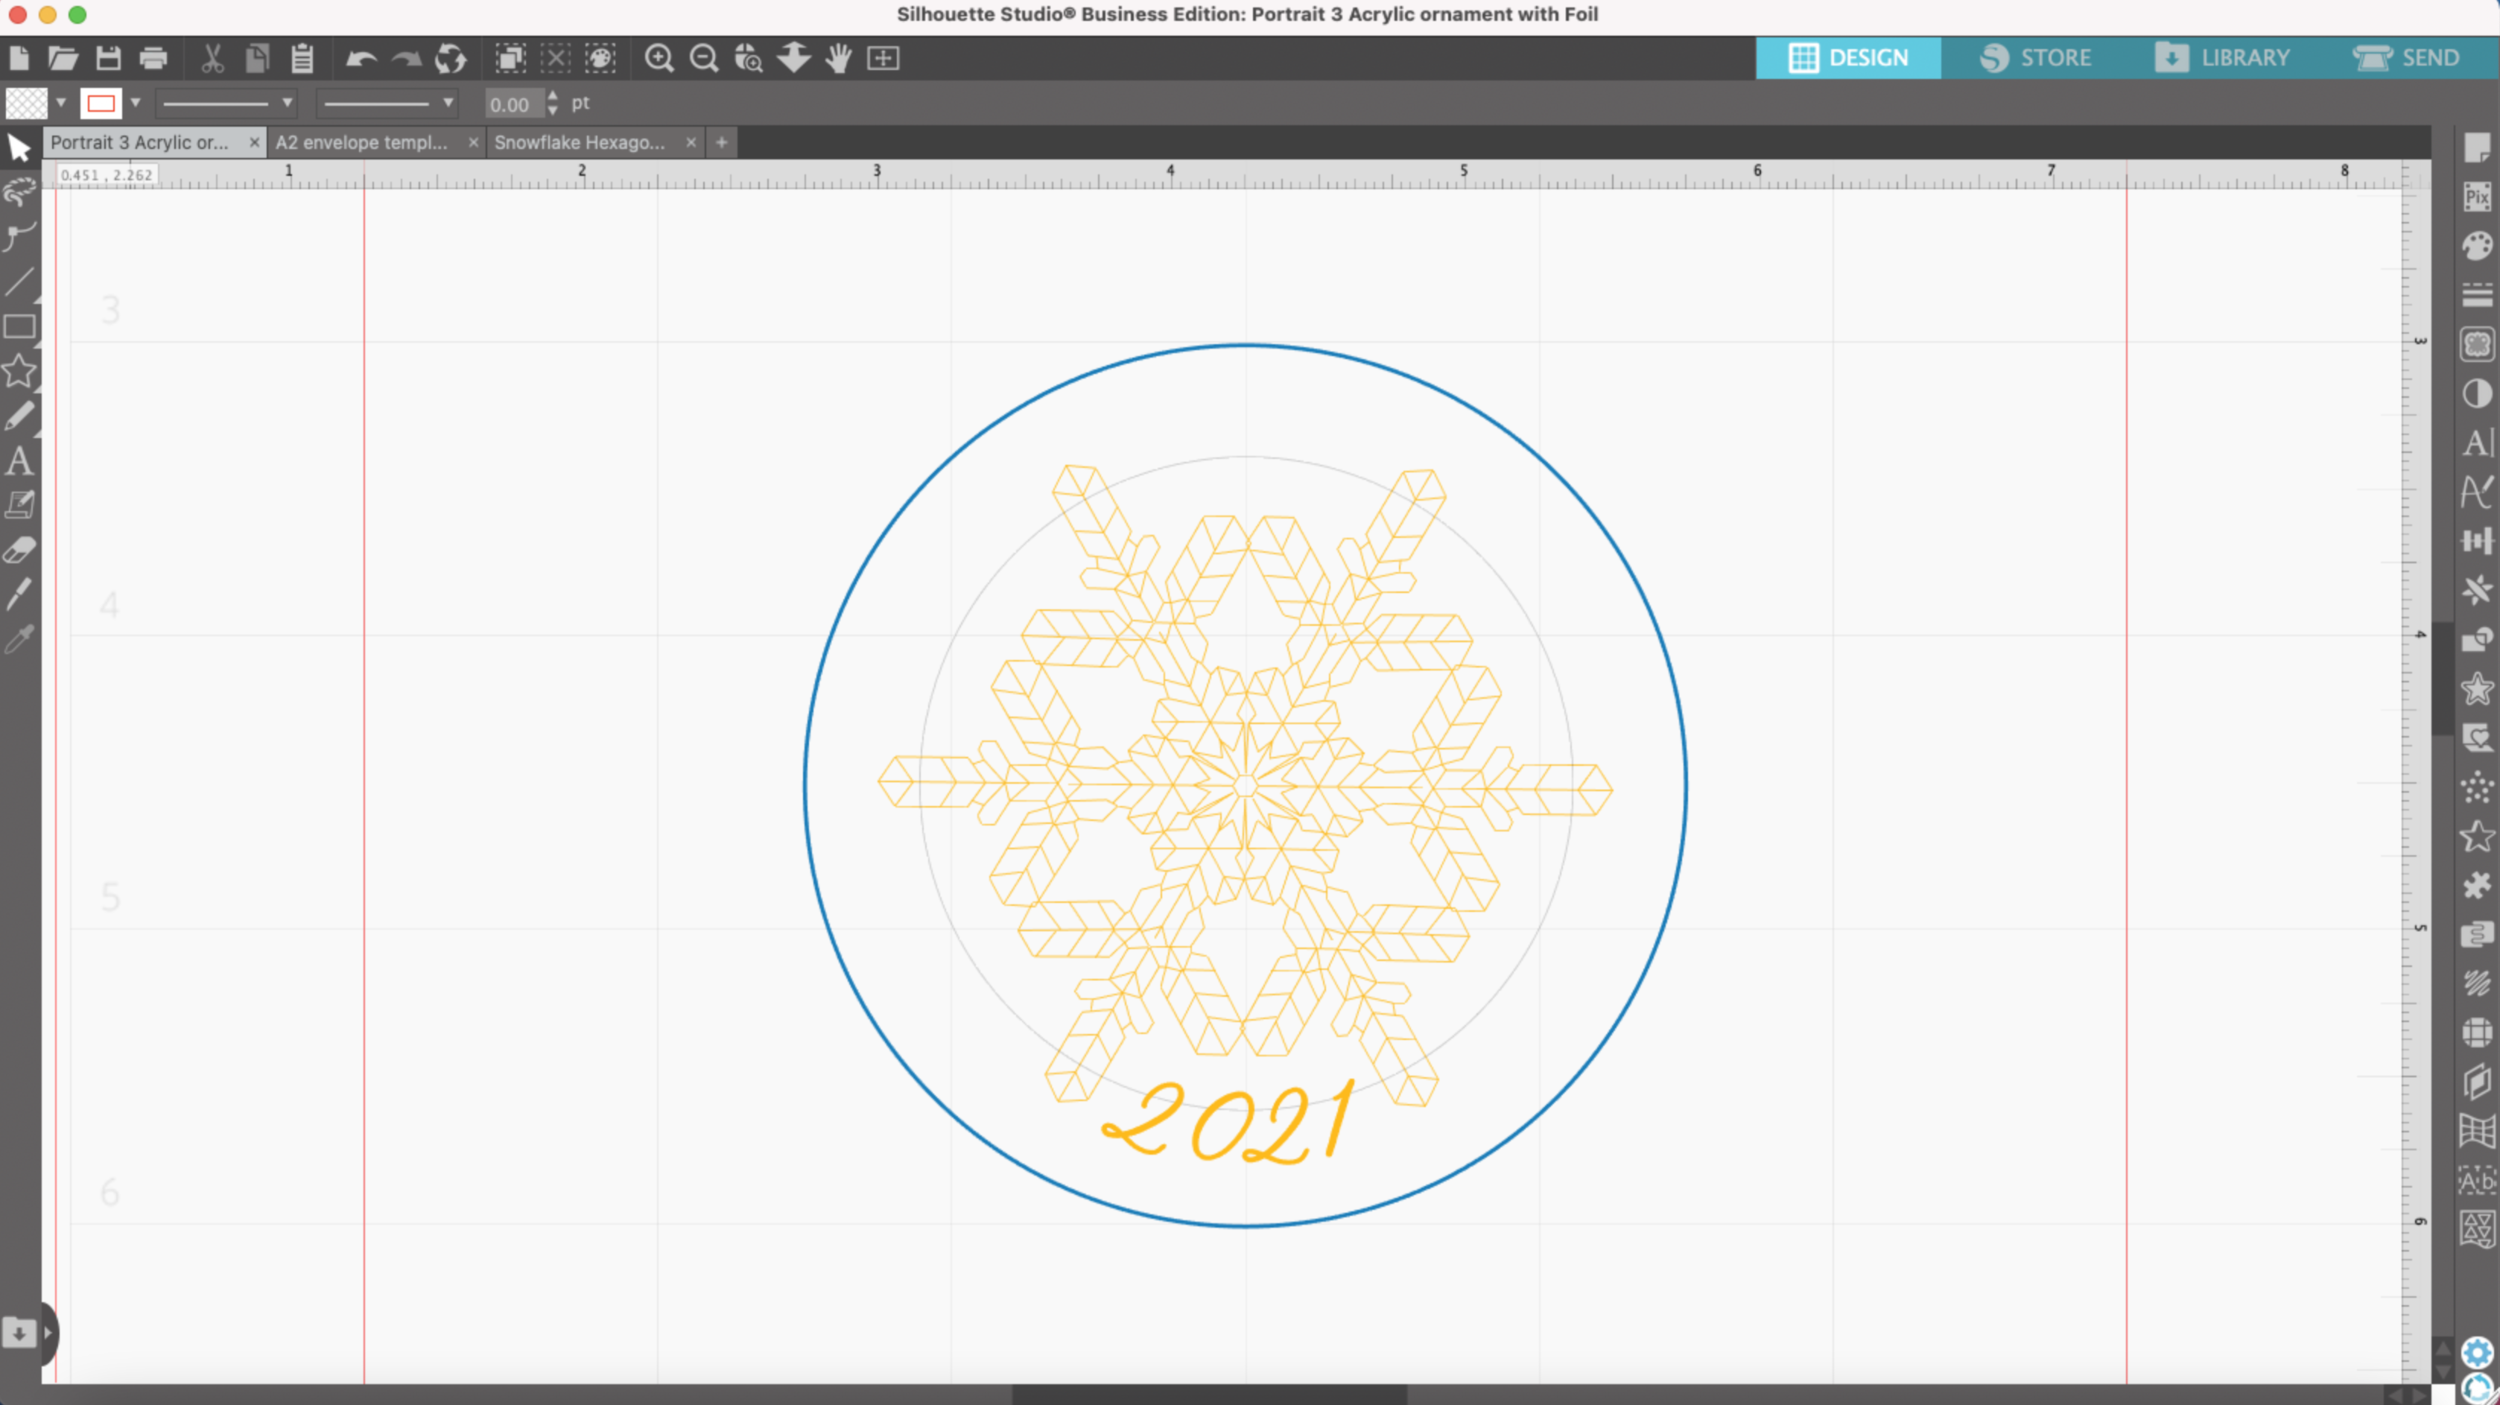
I’m using the same 3” round snowflake design that I used last week. However, I did need to make some minor tweaks to the layout of this design. I rotated the snowflake 45 degrees so it’s not so close to the hole in the top of the acrylic. During my first attempt, the tip of the etch quill got stuck in the hole and it couldn’t move around to make the design properly. So lesson learned!

I already have the updated design saved in Silhouette Studio.

Snowflake artwork to etch on Portrait 3

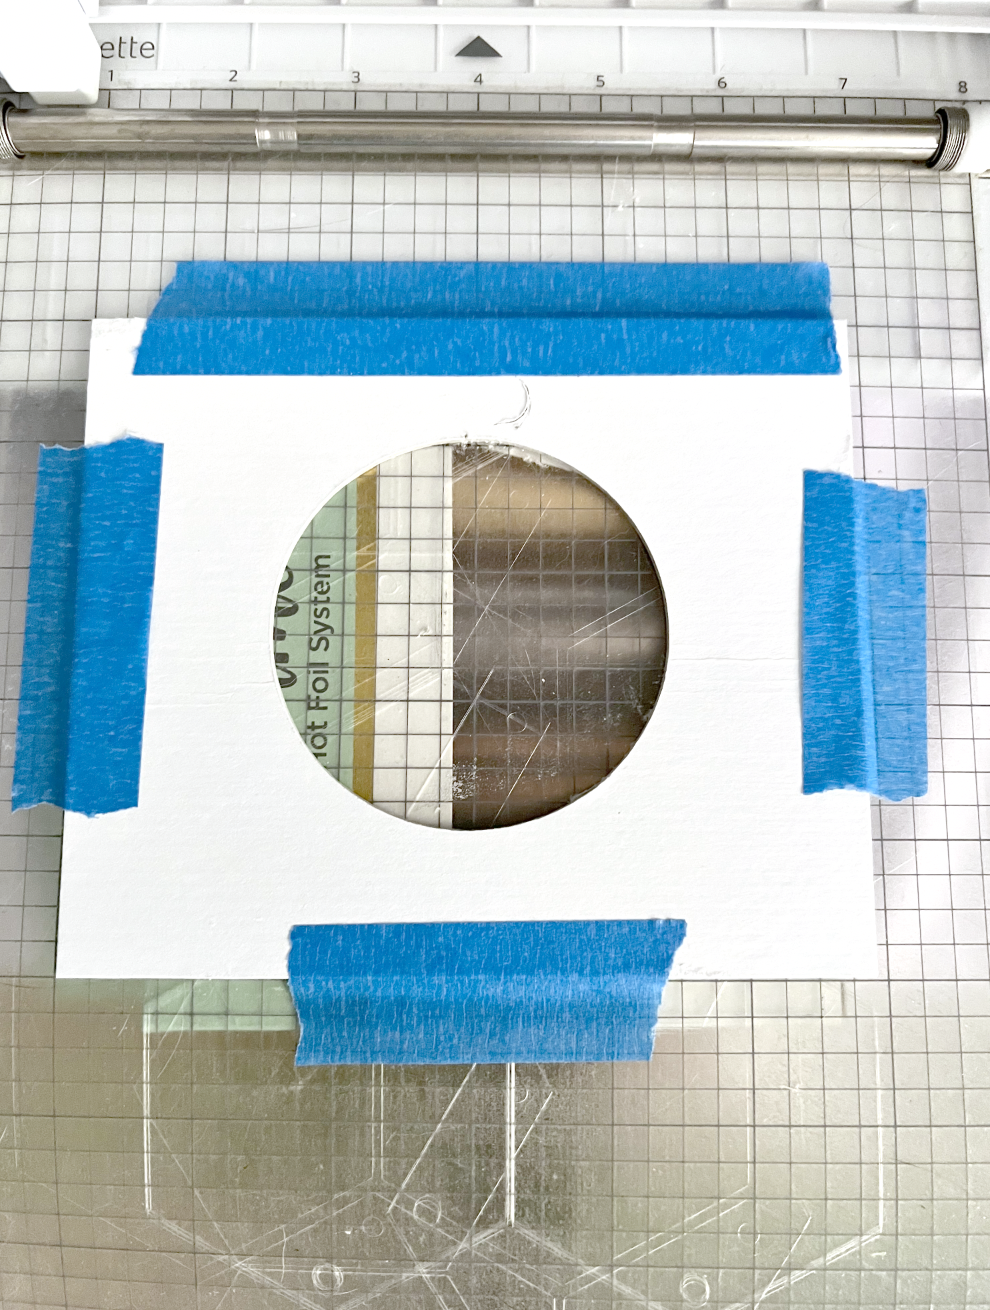
I’ve got my chipboard template already set up on my mat (I will create another post showing you how to line up your template on your mat so you can use it over and over again even after you have removed it from your mat).

Template for acrylic blank

Peel off the layer of plastic on the side of the acrylic that you will be etching on. Leave the plastic on the back side of the acrylic to protect the acrylic from the stickiness of the cutting mat. You will peel the plastic from the back once the design is completed.

Acrylic blank for etching

I place my acrylic disc in the hole cut out on my template with the small hole at the very top. I also put some small pieces of tape on the edges of the acrylic to make sure it doesn’t shift around while it’s being etched. Make sure the tape doesn’t overlap any part of your design.

Silhouette Portrait 3 etching on acrylic

I select the yellow lines in the send tab. I have my material set for Heavy Coverstock, Action is Sketch, Force 33, Speed 2.

Settings for etching on acrylic

I click send and my little machine does it’s magic! I ended up doing 3 passes for this design. Depending on your design, you may need to do more or less passes to get the etching deep enough that it’s visible.

Silhouette Portrait 3 etching on acrylic

I use some tape to lift off the little acrylic dust bits before I remove the disc from my mat.

If you are doing a lot of etching, make sure you remove the tip every now and then to clean off the acrylic bits that have built up.

Silhouette Portrait 3 etching on acrylic

If you leave your mat in the machine, you can do this design again on another blank disc. To remove my ornament I just lift up the template, keeping it still attached to my mat the the top edge. I lay the template back down on my mat and now I can place another disc inside the template.

Silhouette Portrait 3 etching on acrylic

I remove the plastic from the back of the ornament and then tie my ribbon through the little hole in the top.

It’s definitely more subtle that the foil on the acrylic, but it’s another nice way to create custom holiday ornaments or gift tags.

Finished etched acrylic ornament
Detail of finished etched acrylic ornament

Scoring with the Portrait 3 Using the Cricut Scoring Stylus

Hi Everyone!

This year I bought a Silhouette Portrait 3 machine because I wanted something smaller than my Cricut Maker that I could easily set up for quick little projects. I was also going to have to buy new mats, blades, etc anyway if I had purchased a Joy. So I decided on the Portrait 3 because it’s capable of doing so much more than the Cricut Joy.

So far, the only thing I haven’t really liked about my Portrait 3 is the scoring capability. As I mentioned in last week’s post, I don’t really like the dashed score lines or the shallow cut it uses for a solid score line.

This week I’m trying out my Cricut scoring stylus with my Portrait 3.

One of the things I really like about Silhouette is all of the adapters you can use with with their machines so you can use a variety of different brands of tools.

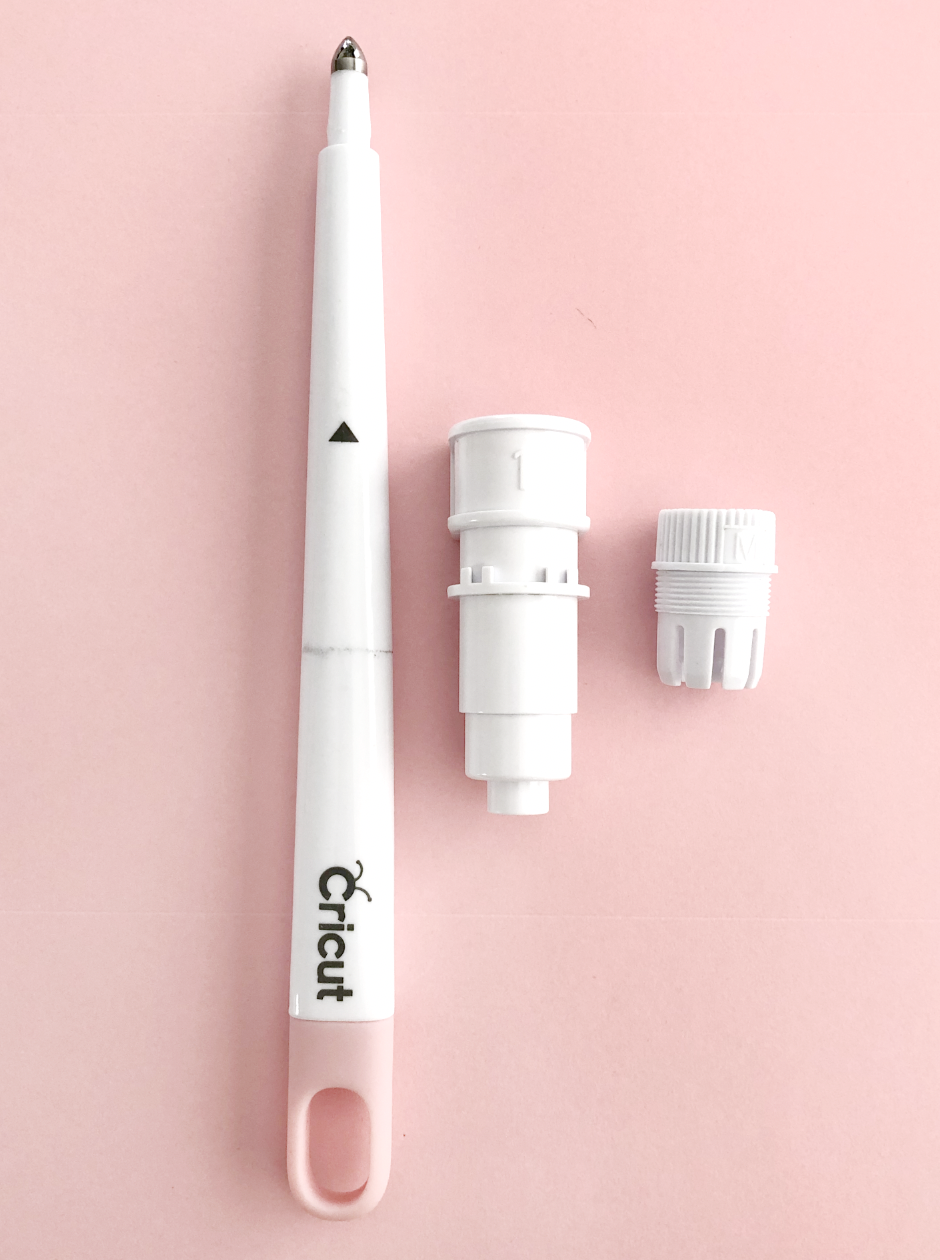
I’m using the Silhouette pen adapter that goes with my machine (it’s the same one that’s for the Cameo 4) and the M ring that screws into it.

Cricut Scoring Stylus and Portrait 3 pen adapter

I tried out my same A2 envelope pattern with some light 65lb cardstock, the Force set at 33, Speed 2.

project set up in Silhouette Studio

It definitely scores the cardstock! Not quite as deep of a score line as my bevel quill. But if you’re like me and have both a Cricut and Silhouette machine, this is another viable option for scoring with your Silhouette machine.

Cricut scoring stylus in Portrait 3 pen adapter
using Cricut scoring stylus with Portrait 3
score lines with portrait 3

Using the Trace Tool in Silhouette Studio

Hi Everyone!

Last week I showed you how to use the Pix Scan mat with the Portrait 3. This week I’m going to go a little more in depth with how to use the trace feature in Silhouette studio to make a sticker offset. Here we go!

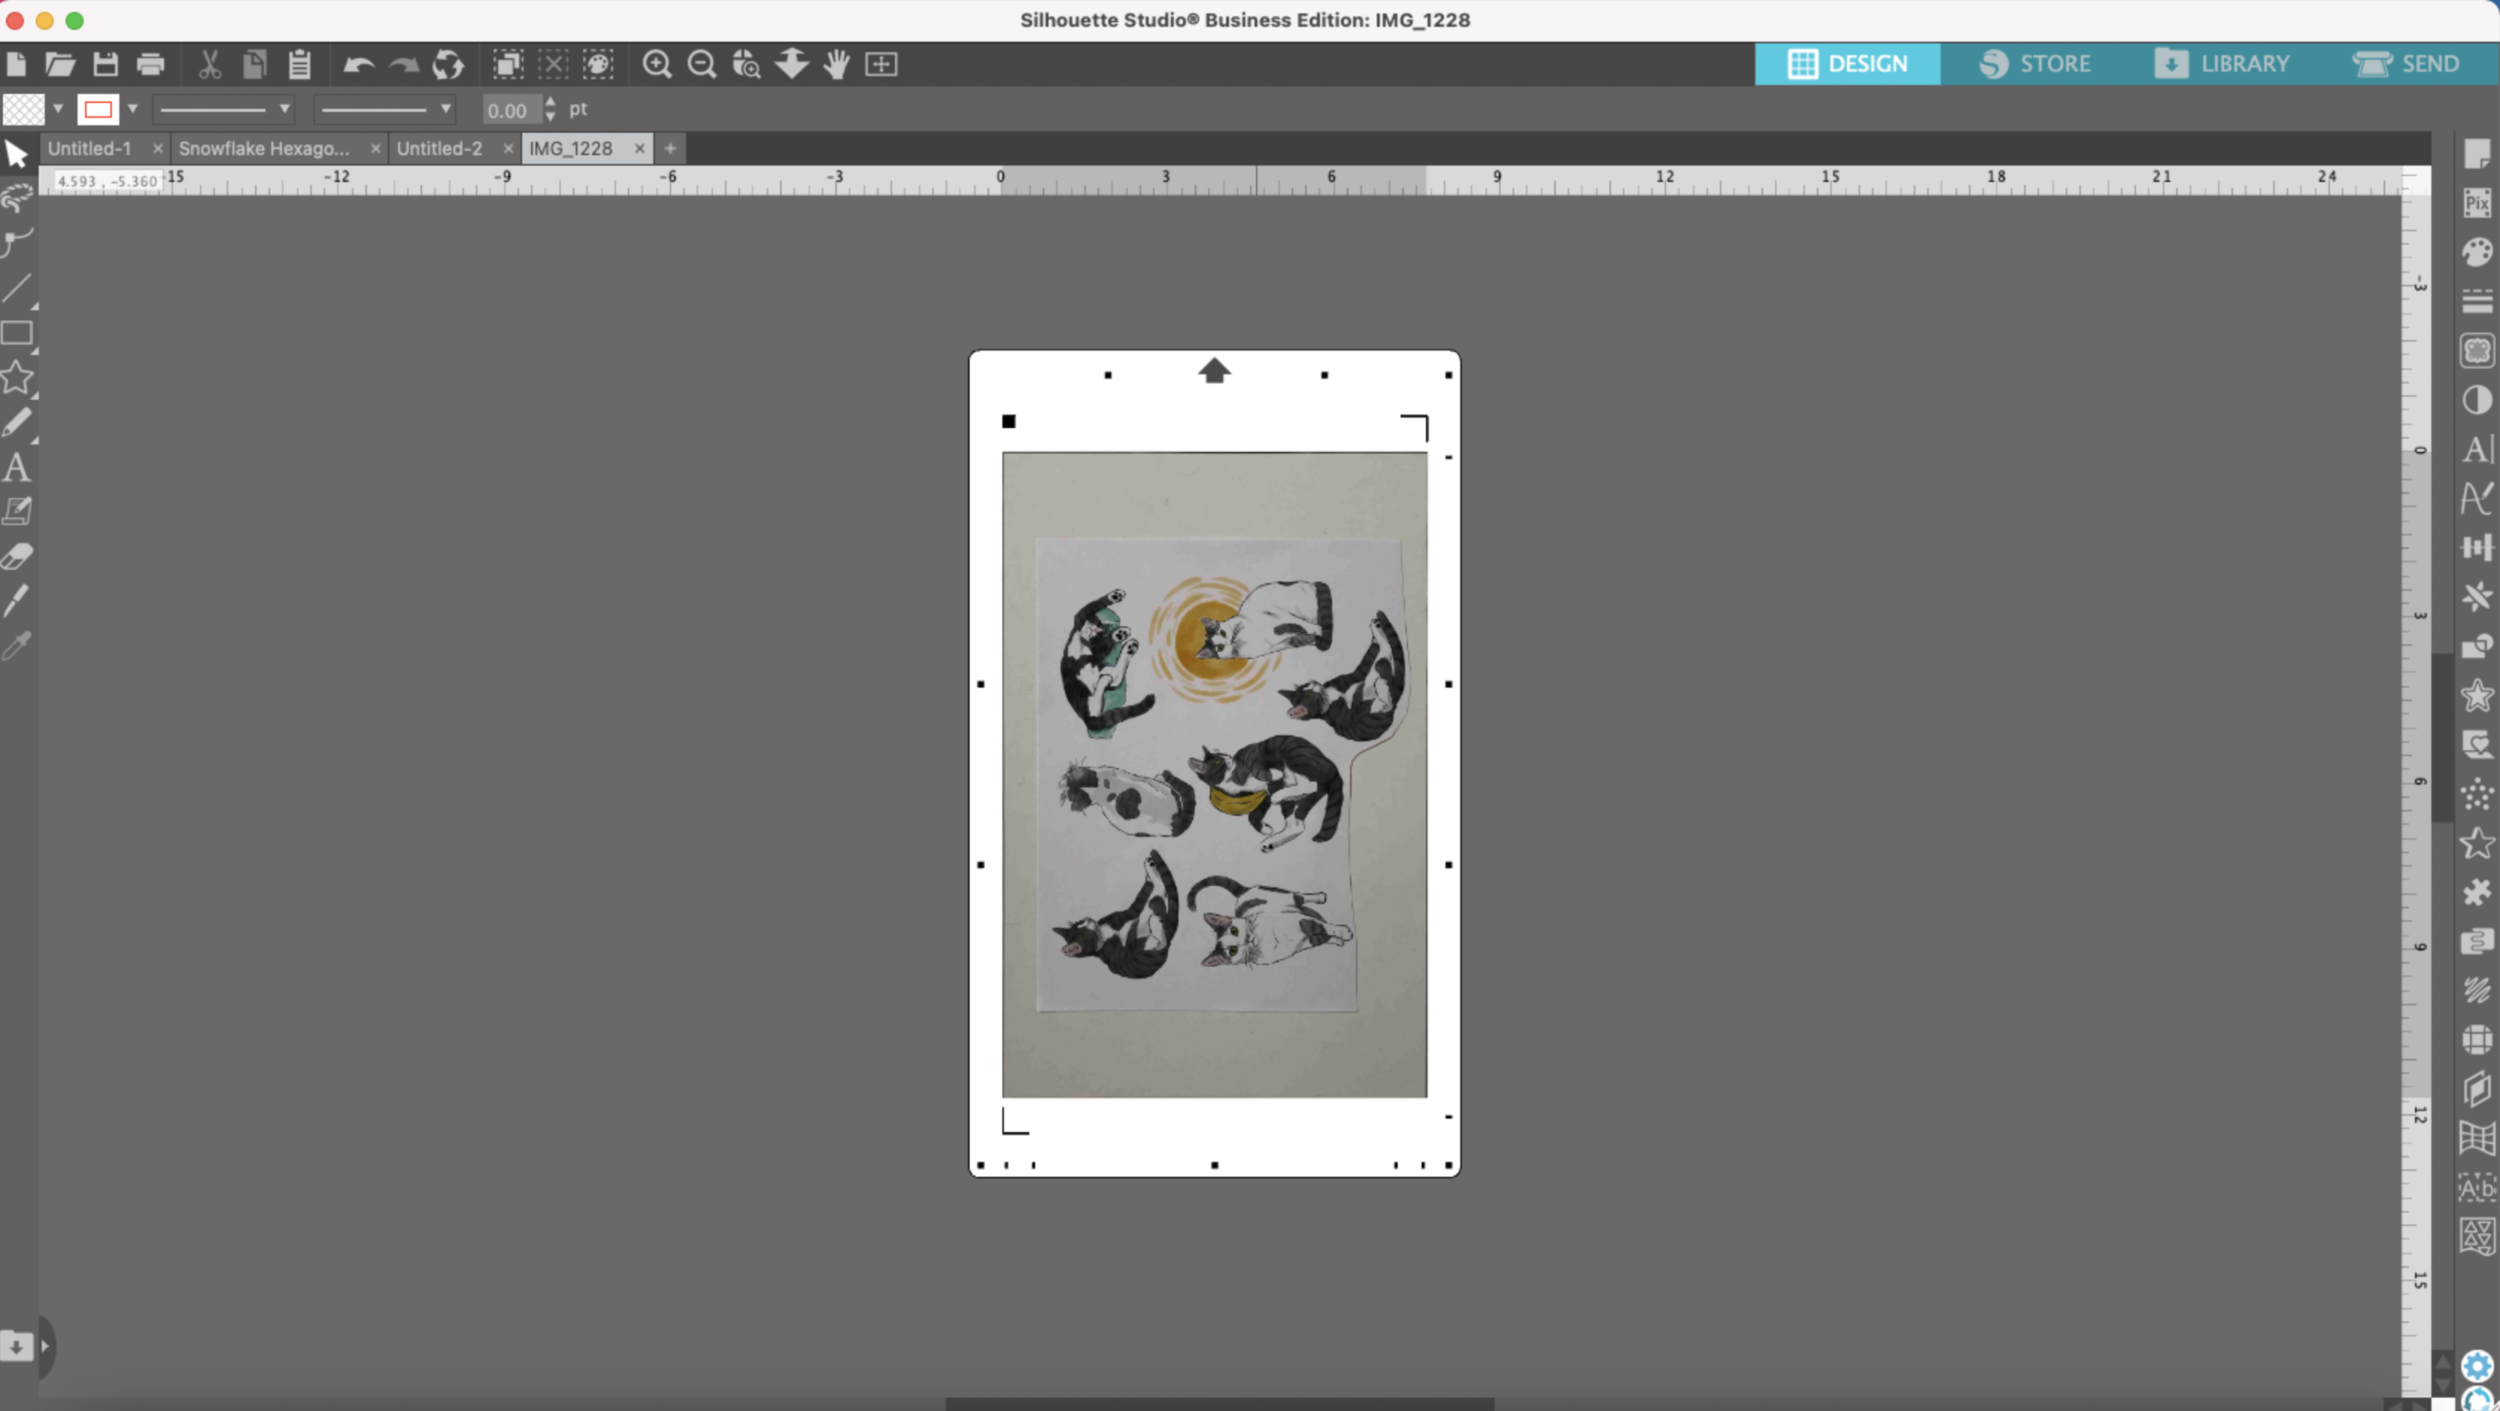
I’ve already taken a photo of the designs I’m going to use on my Pix Scan mat and imported it into Silhouette Studio.

Trace Tool Pix Scan Mat

Then I’m going to zoom in the the first little kitty that I’m going to trace and I select the Trace tool from the little toolbar on the right hand side of my screen. It kind of looks like a little butterfly.

Trace Tool Pix Scan Mat

Next, I click on “Select Trace Area” from the Trace tool dialog box. I draw a rectangle around the kitty I want to outline. I have “Solid Fill” selected in the Trace tool dialog box so the area I’m trying trace is easier to see.

Trace Tool Pix Scan Mat

I use the Threshold slider to try to get him little more filled in with the yellow, I’m really trying to get my outer edges completely yellow, there are some small gaps but we’ll fix those later.

Trace Tool Pix Scan Mat

Once I get the yellow area to my satisfaction, I select “Trace Outer Edge.” Then it shows me red cut lines around the area that I just traced.

Trace Tool Pix Scan Mat

Now I need to do a little clean up since my outer edges didn’t quite get the whole outline of the kitty and there are some areas from another sticker that got selected.

Using the Arrow from the left hand side tool bar, I select the red lines. I’m going to release the Compound Path.

Trace Tool Pix Scan Mat

Then I’m going to select the red line that goes around the outer edge of the kitty and change the line color to blue (you can use any color, I’m just using blue because it’s easy to see).

Trace Tool Pix Scan Mat

Now I’m going to make the offset. Select the little star from the tool bar on the right hand side. I’m going to make an outer offset at 0.125”. Then click Apply.

Trace Tool Pix Scan Mat

I’m going to delete the inner blue line. Then I’m going to smooth out the offset a little bit using the smooth tool.

Trace Tool Pix Scan Mat

Next, I’m going to get rid of the red outlines that are part of the other sticker. I could click each individual piece to get rid of it, but instead I’m going to use the “Select by Color” feature.

In the tools bar that goes across the top edge, I select the little paint palette with the dotted line around it. In the dialog box I have “By Line color” selected. Then I click on the red and it selects everything with a red outline.

Trace Tool Pix Scan Mat

I click delete and now all of the red lines are gone!

Trace Tool Pix Scan Mat

I repeat the same process for the other images on my mat. One thing I love about Silhouette Studio is I can can save my cut lines and use them for the next sheet of stickers too!

Embossing with Glue Pens and Silhouette Portrait 3

Hi Everyone!

This week I want to share another technique I like to use to embellish gift tags and cards. I will be using the WRMK glue quill with embossing powder. If you buy the glue quill set, it comes with 2 small jars of embossing powder. Or if you already have some embossing powder on hand, you can use that too.

I’m going to do this technique with a clear embossing powder that I already have and the gold powder that came with the glue quill set. I will also need my heat gun.

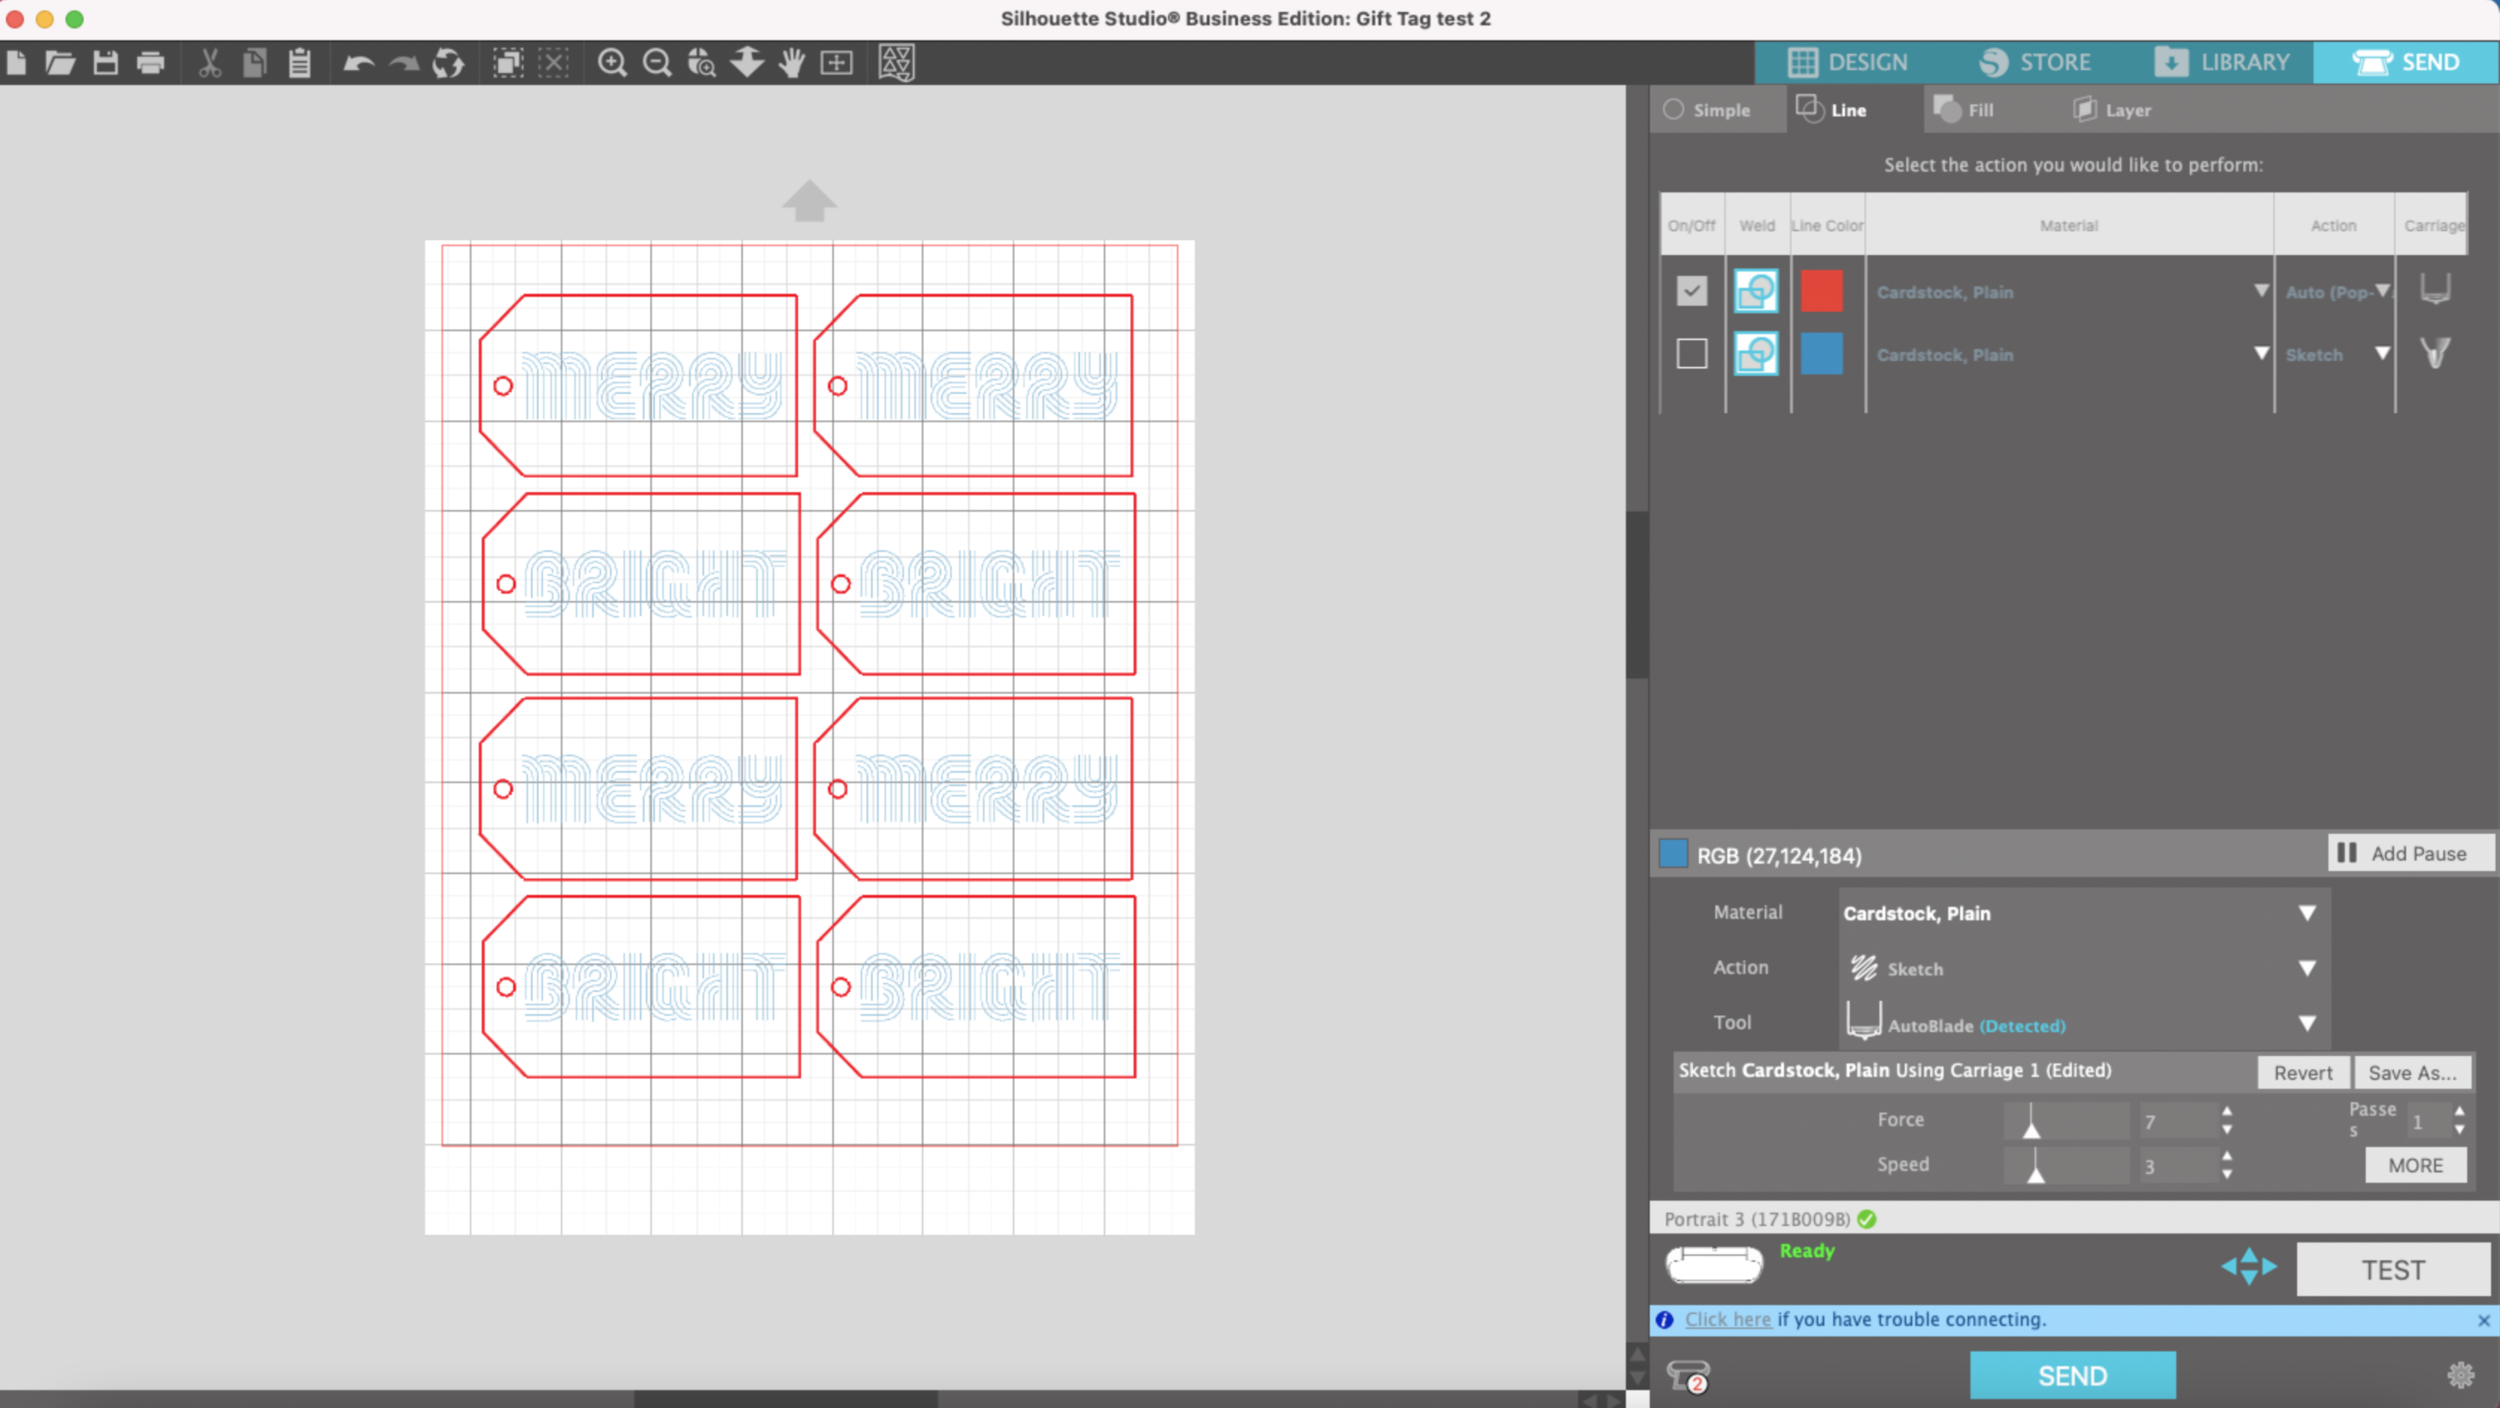
I already set up my file in Silhouette Studio, my blue lines will be drawn with the glue pen & the red lines will be cut. I’m using 65lb Recollections cardstock, and I will be drawing and cutting all of this matless, yay!!

Portrait 3 embossing with glue pen

First, I will draw all the lettering with the glue quill and the Silhouette pen adapter. When I open the send tab I select “Line" and check the box next to the blue square.

Portrait 3 embossing with glue pen

After it’s done drawing, I uncheck the blue box & select the red box to cut. I choose auto-pop out since I’m doing a matless cut.

Portrait 3 embossing with glue pen

I did need to send my cut through twice, it wasn’t quite deep enough to pop out the tags nicely after the first cut.

I remove my tags from the cardstock & now i’m going to apply the embossing powder. The glue from these pens stays tacky for a little while, so don’t worry if the glue looks dry, the powder will still stick.

I’m using an old jar of Recollections clear embossing powder, I’ve had it for a few years and it still works! I apply the powder pretty thick and move it around so all of the glue gets covered. I dump the excess powder back in the jar once I’m done applying it to all the tags.

(Top) Clear Powder applied, (Middle) Clear Powder being applied, (Bottom) No powder applied, only glue

(Top) Clear Powder applied, (Middle) Clear Powder being applied, (Bottom) No powder applied, only glue

I apply some heat to it with my heat gun. The powder melts and I’m left with almost like a clear gel-like finish. It’s raised and also very shiny.

Portrait 3 embossing with glue pen

Next I tried the gold powder that came with the Glue Quill set. I applied it the same way as the clear powder. This one is kind of disappointing. I was expecting a pretty metallic gold, but this one is very drab and not metallic at all. I will be on the look out for a better gold embossing powder.

Portrait 3 embossing with glue pen

But this is another way to add some texture and dimension to gift tags or cards using your Silhouette machine!

Portrait 3 embossing with glue pen

Silhouette Portrait 3 Drawing by Line Color

Hi Everyone! This week I’m going to share another favorite feature of my Silhouette Portrait 3, being able to draw by line color. Yes, I can do this with my Cricut Maker, but with my Portrait 3 I can essentially choose the order of the colors that I want my machine to draw. It’s not as simple to do with my Maker.

I’m going to test another skull SVG that I created in Illustrator. In Illustrator, I already applied different colors to the lines I’m going to draw and saved my file as an SVG. Note: I am using the Business Edition of Silhouette Studio so I can import and export SVG files.
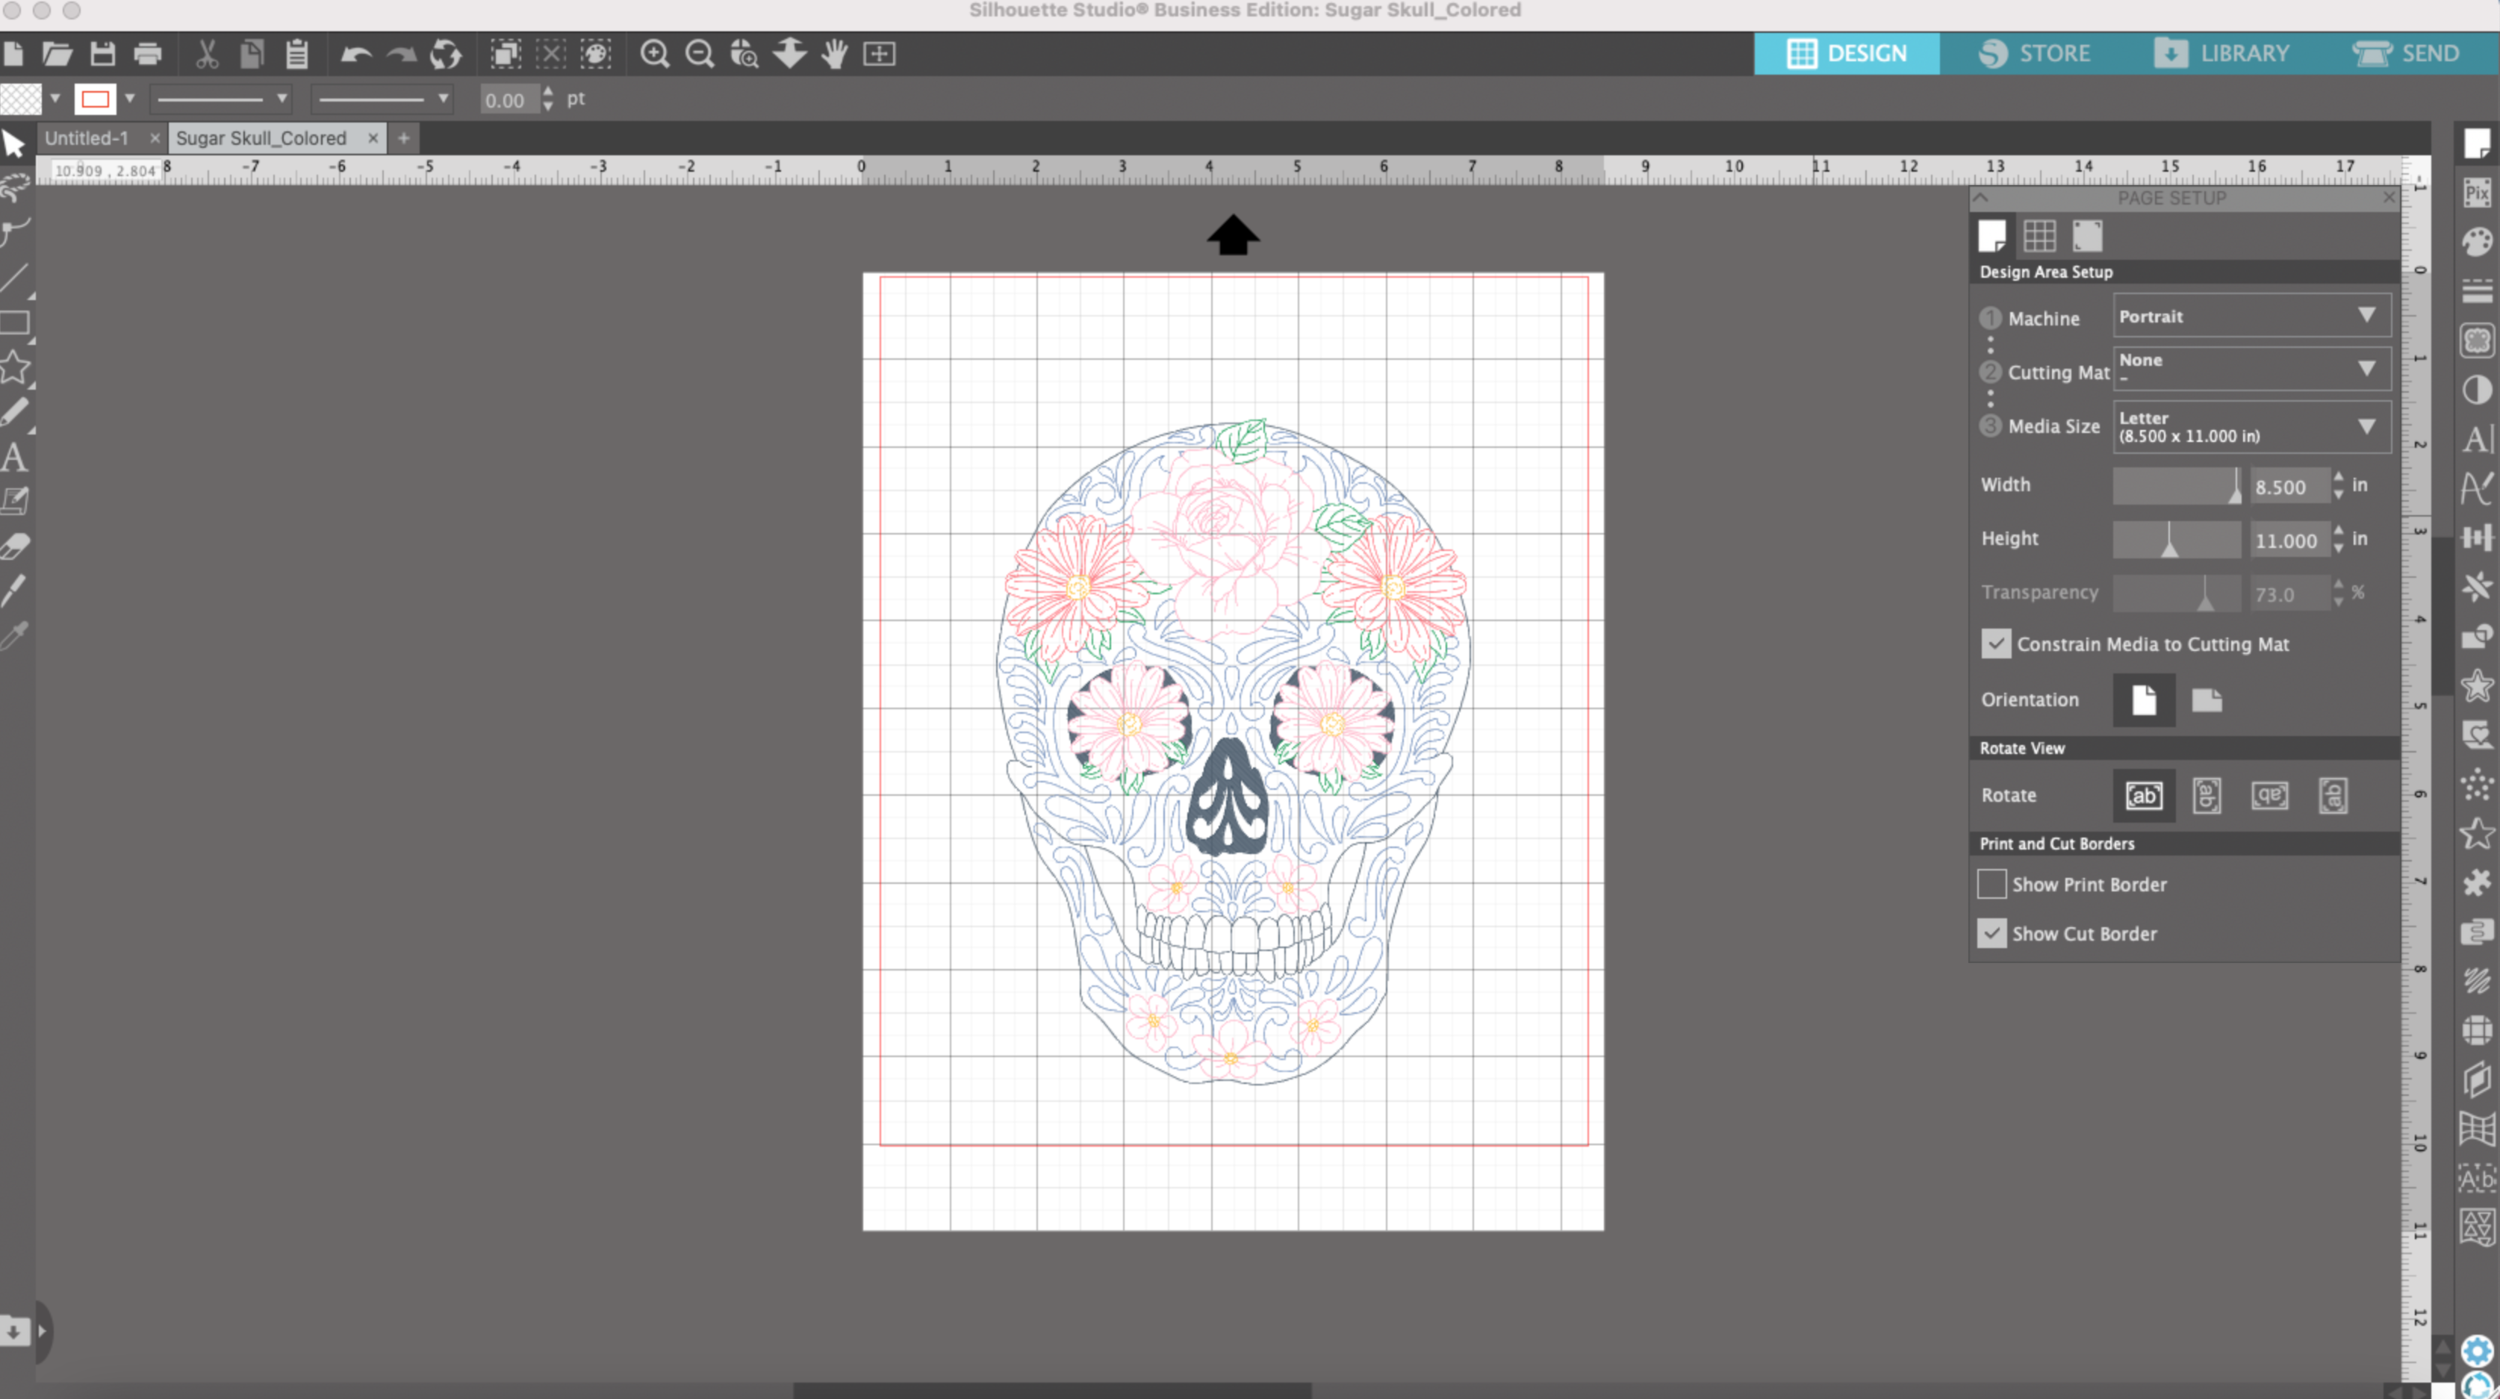
I’m going to use the matless feature again and draw this floral skull on some black cardstock using my metallic Sakura Gelly Roll pens.

Silhouette Portrait 3 Draw by Line Color

I select SEND in Silhouette Studio. Instead of simple, I’m going to choose LINE. As you an see all of the colors are selected. I’m going to pick Heavy Coverstock for my material and Sketch for my Action.

Silhouette Portrait 3 Draw by Line Color

Then, I’m going to uncheck all of the colors except for the color I will be drawing with first.

Silhouette Portrait 3 Draw by Line Color

Next I will load my pen adapter with the first color I will be drawing with and load my cardstock into my machine.

Silhouette Portrait 3 Draw by Line Color

My first layer is done, next I want to draw the blue scroll work. All I have to do is uncheck the line color I just drew, and check the box for the blue lines for the scroll work. I load my blue pen and press SEND.

Silhouette Portrait 3 Draw by Line Color

Hint: Don’t forget to uncheck the colors you have completed, otherwise it will draw over that same area with the next color you have loaded!

After the blue lines are done I want to draw the little green leaves. So I uncheck the blue lines & select the green for leaves. Load my green pen and press SEND.

Silhouette Portrait 3 Draw by Line Color

I go through the same process until I have completed all the colors. I love that I don’t have to go in the order of colors dictated by the machine!

Silhouette Portrait 3 Draw by Line Color

The most tedious part of the process is swapping out the pen every time I switch a color, but I really enjoy the end result and being able to select the order of the colors that my machine will use to draw.