portait 3 sketch

Silhouette Portrait 3 Drawing by Line Color

Hi Everyone! This week I’m going to share another favorite feature of my Silhouette Portrait 3, being able to draw by line color. Yes, I can do this with my Cricut Maker, but with my Portrait 3 I can essentially choose the order of the colors that I want my machine to draw. It’s not as simple to do with my Maker.

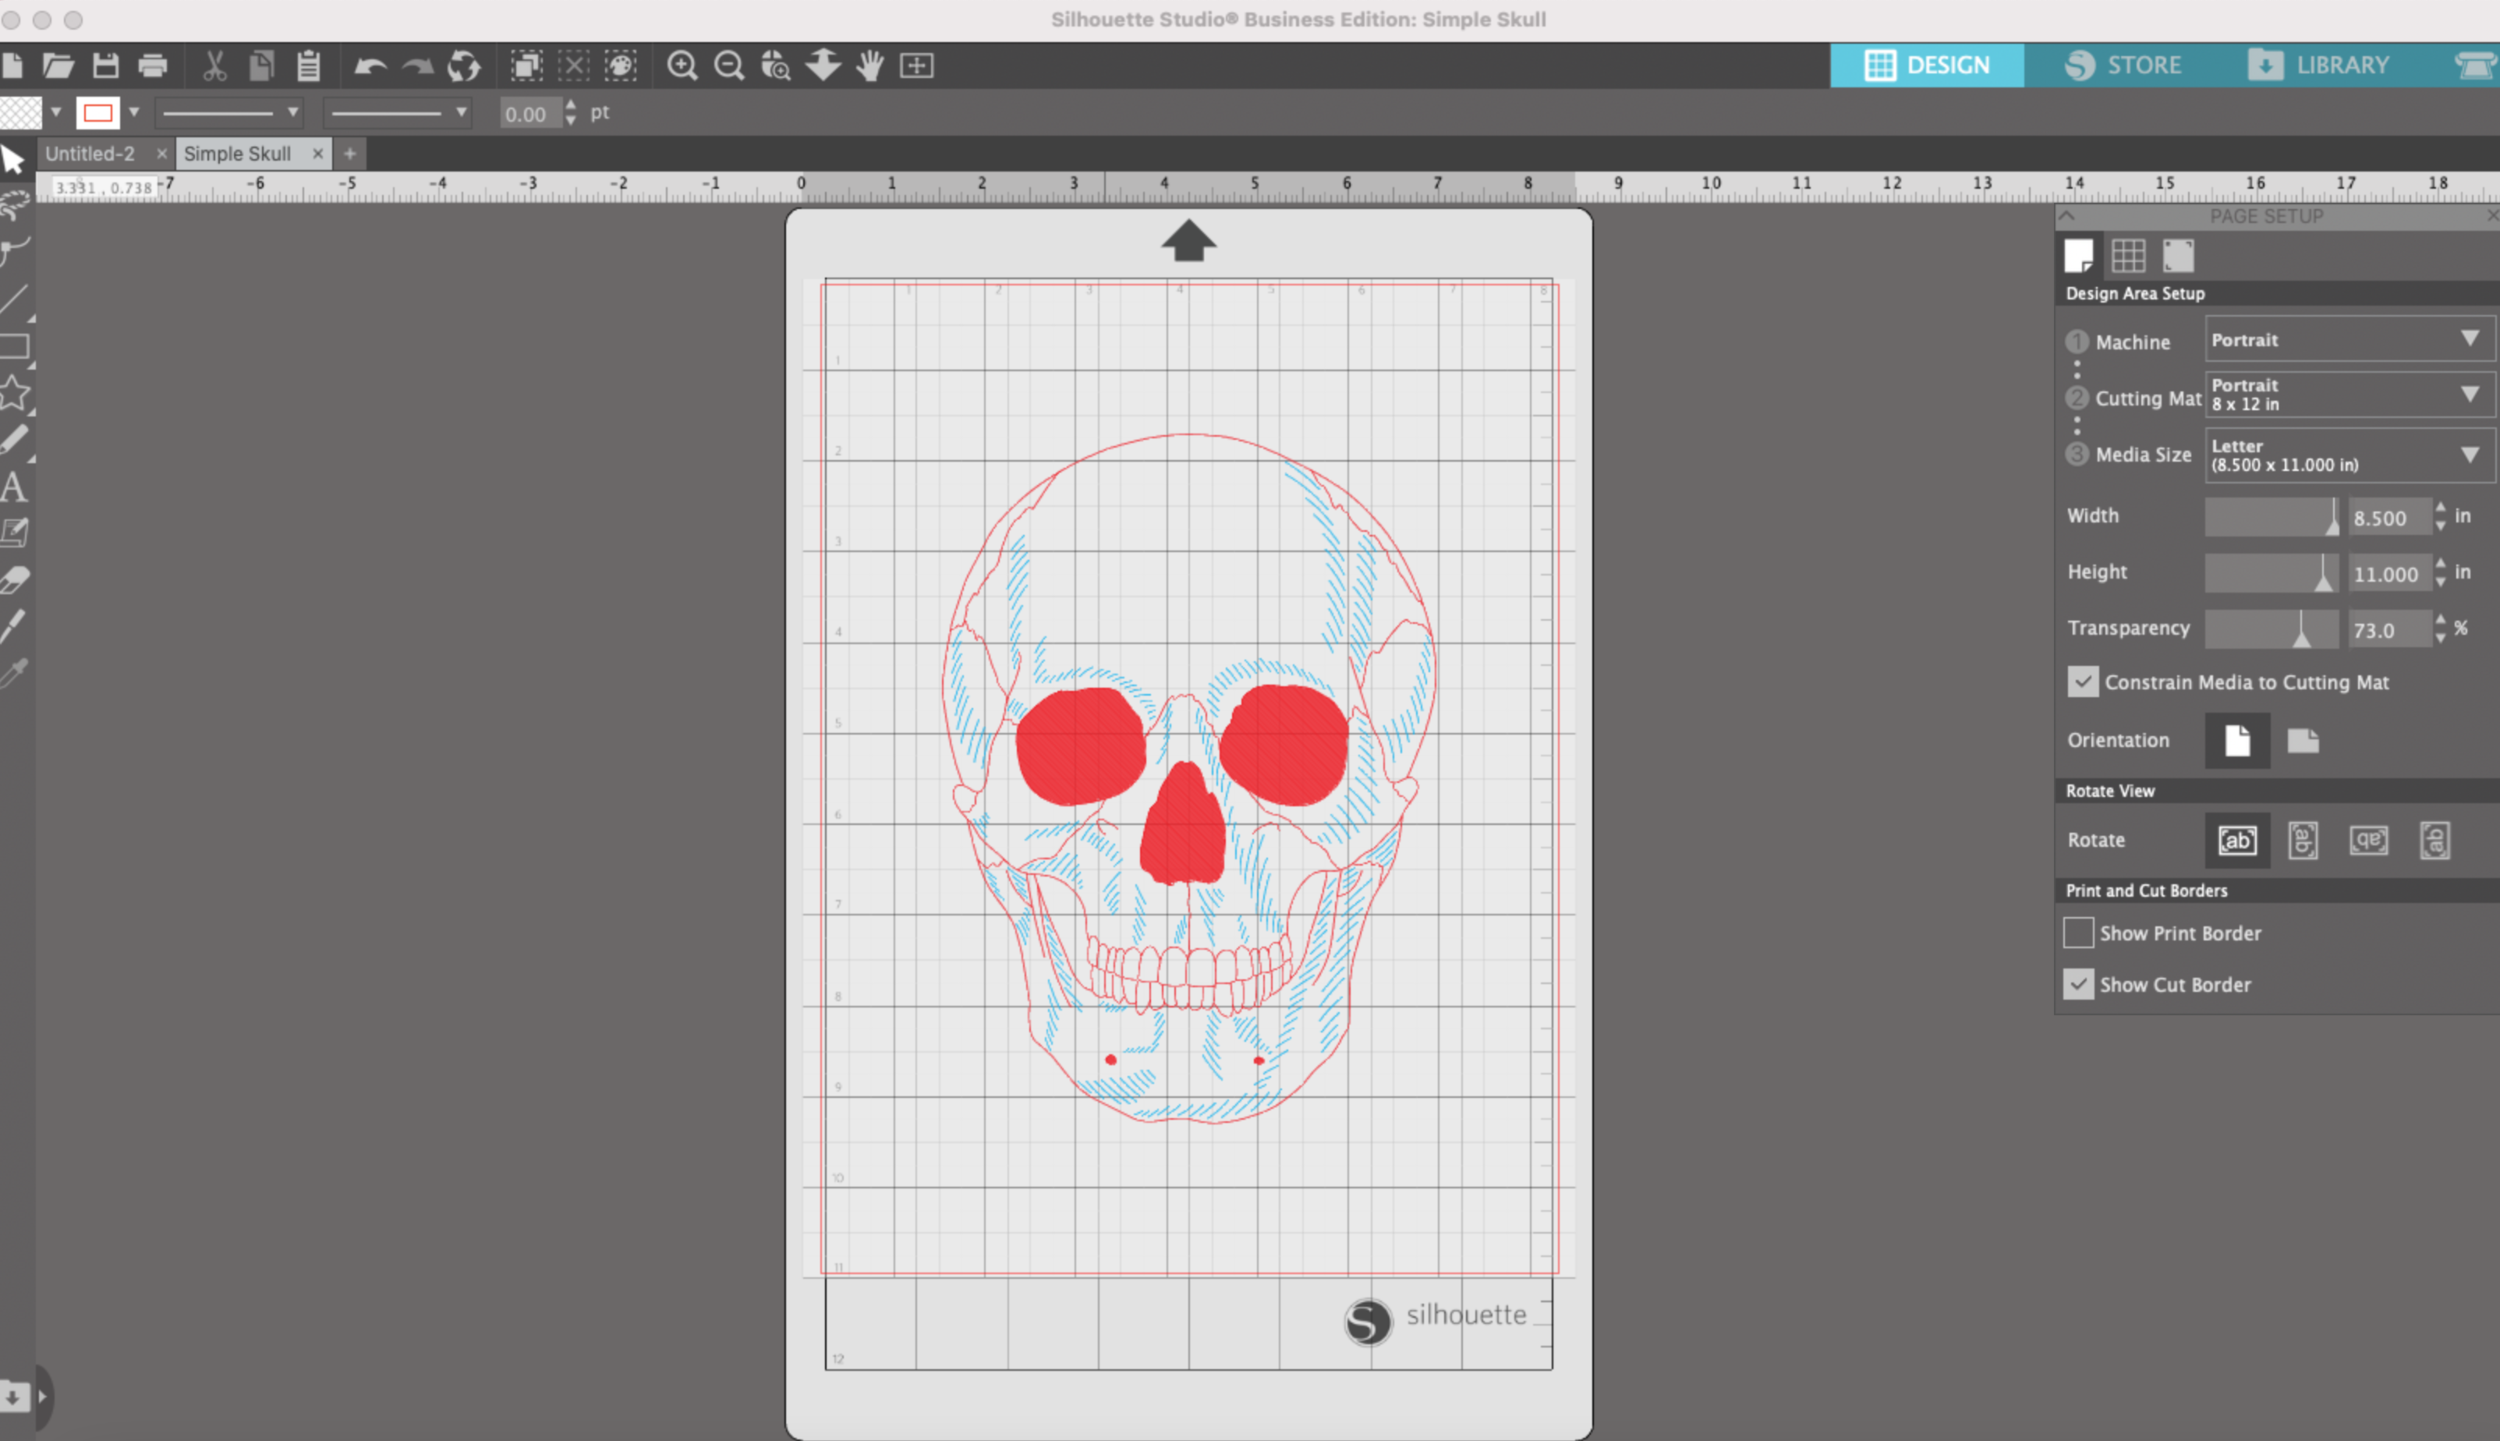
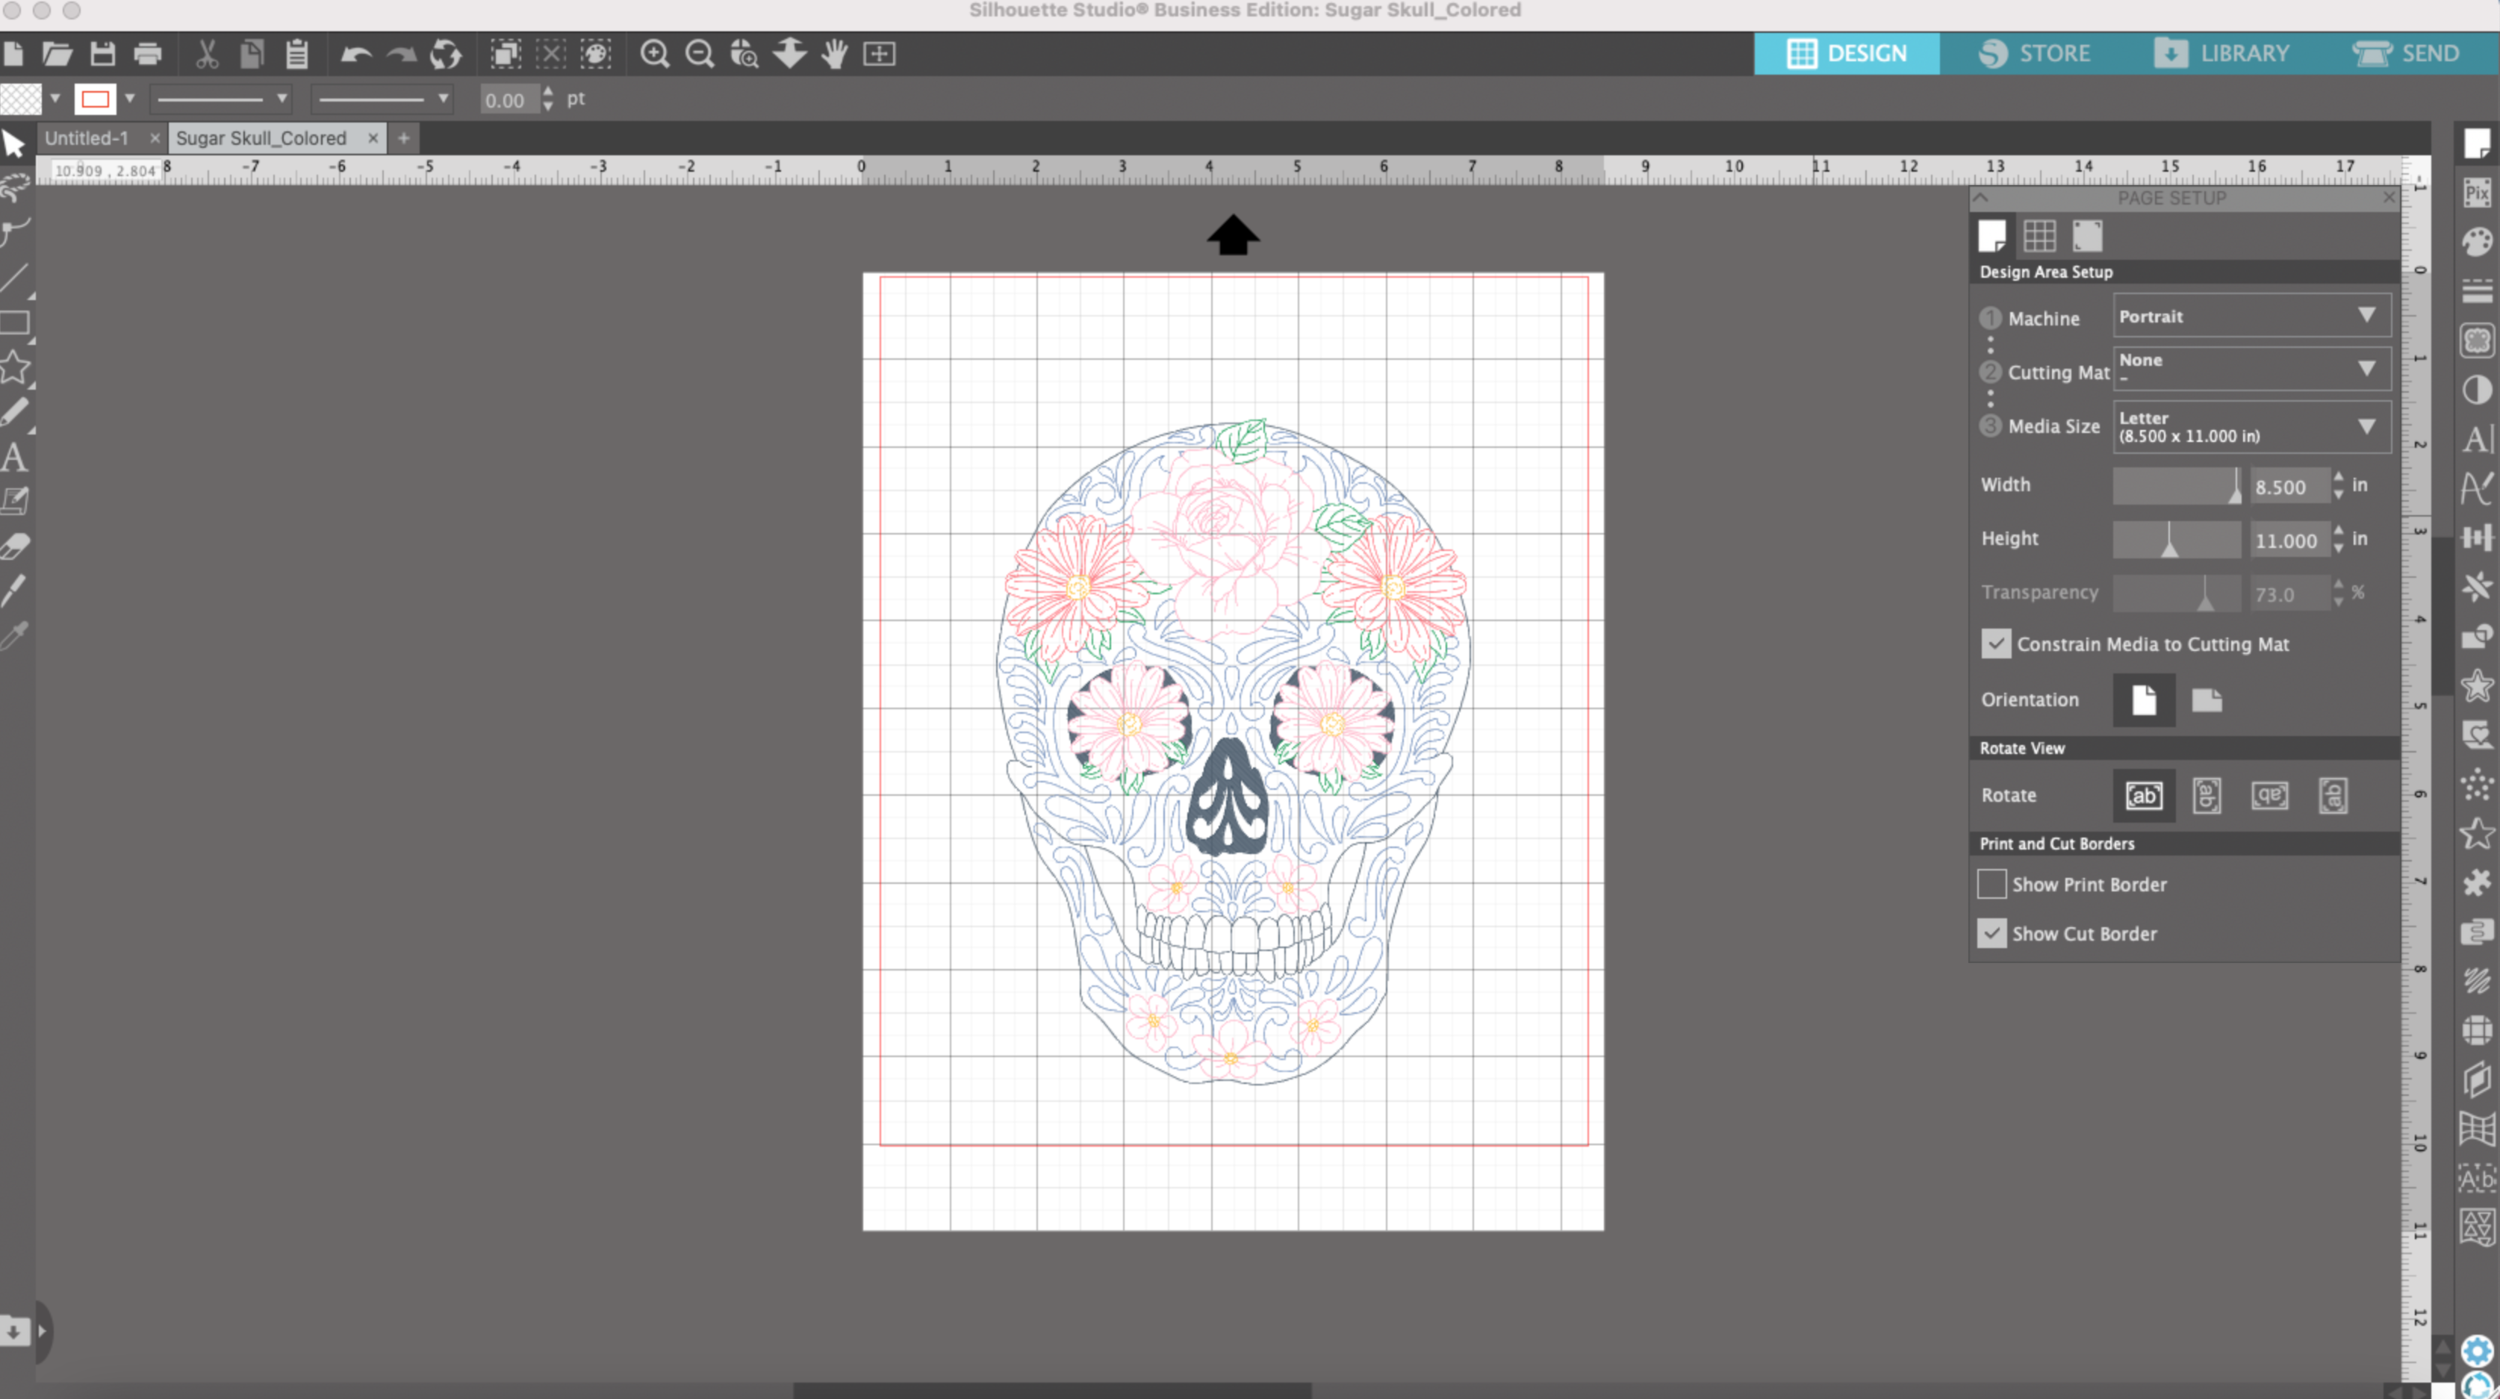
I’m going to test another skull SVG that I created in Illustrator. In Illustrator, I already applied different colors to the lines I’m going to draw and saved my file as an SVG. Note: I am using the Business Edition of Silhouette Studio so I can import and export SVG files.

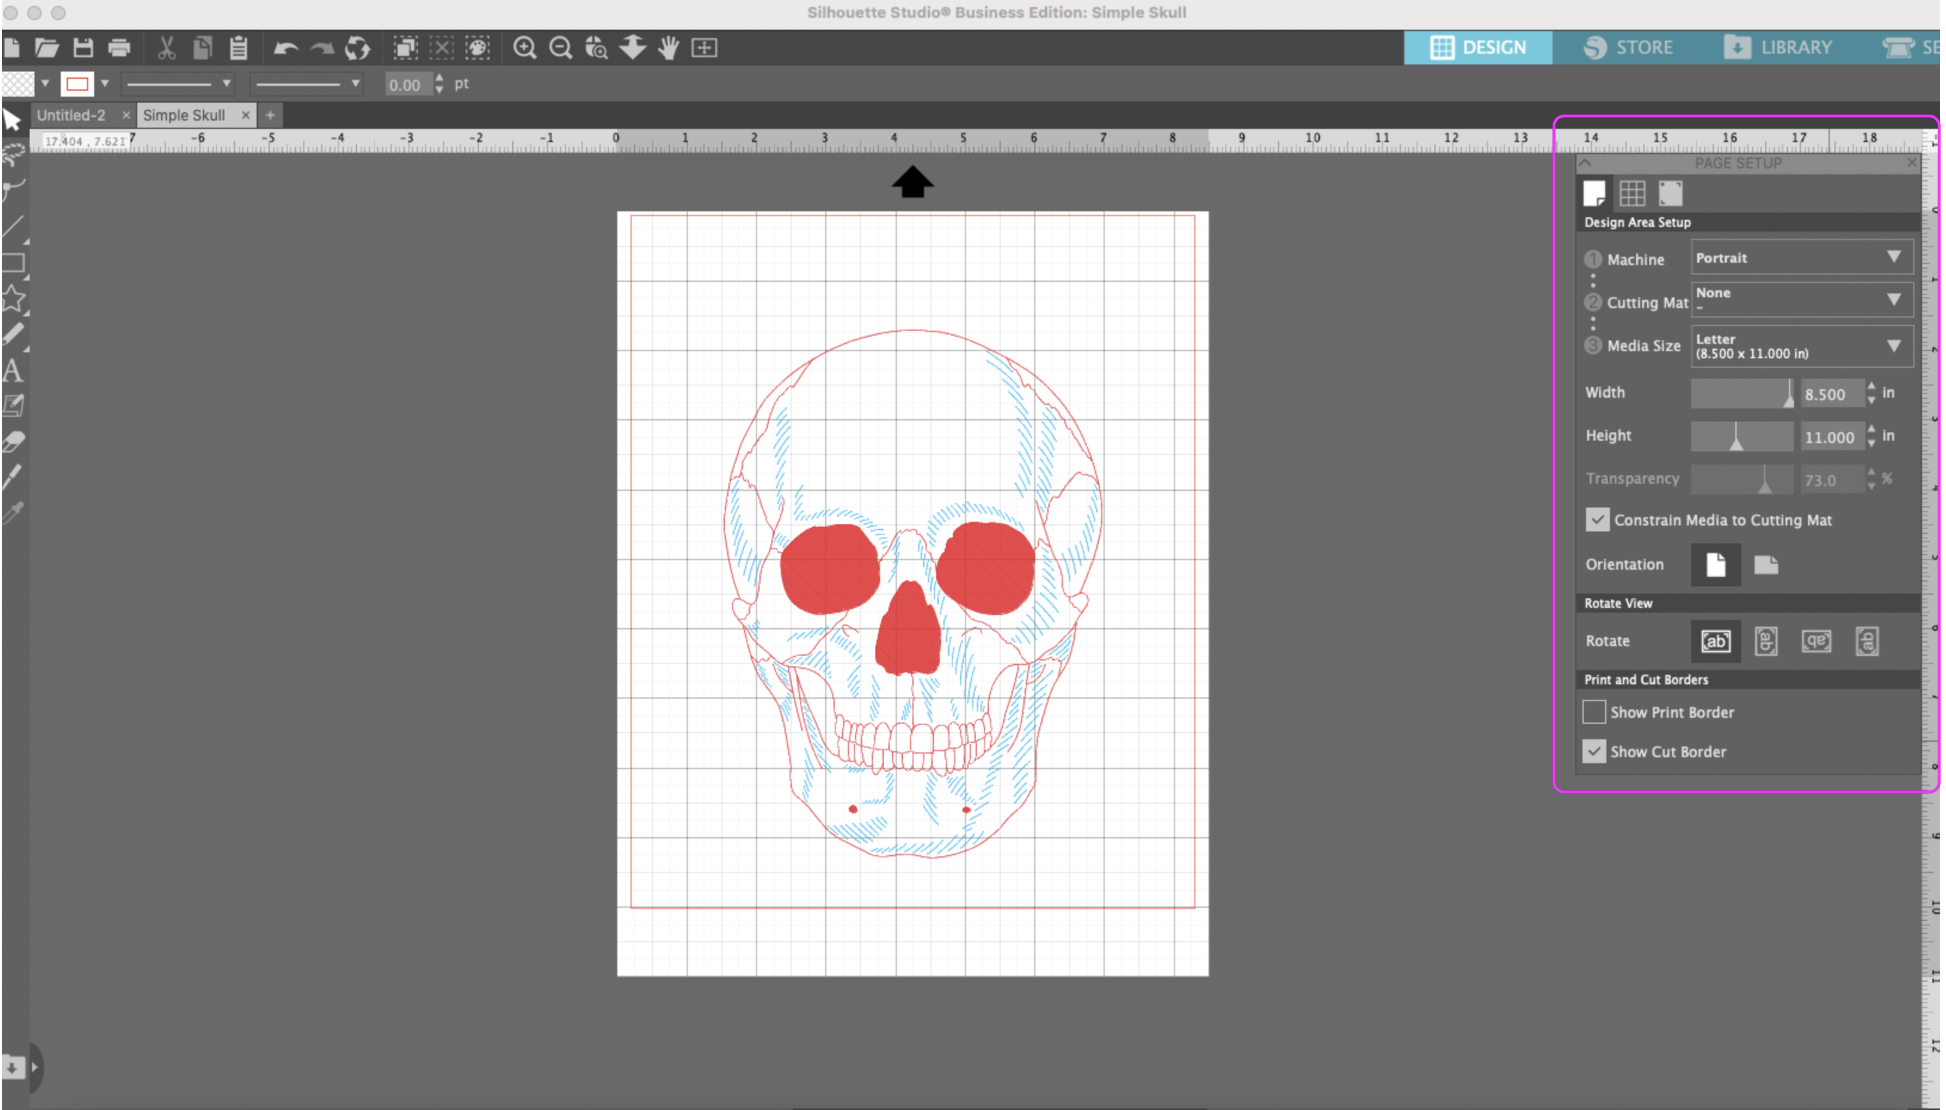
I’m going to use the matless feature again and draw this floral skull on some black cardstock using my metallic Sakura Gelly Roll pens.

Silhouette Portrait 3 Draw by Line Color

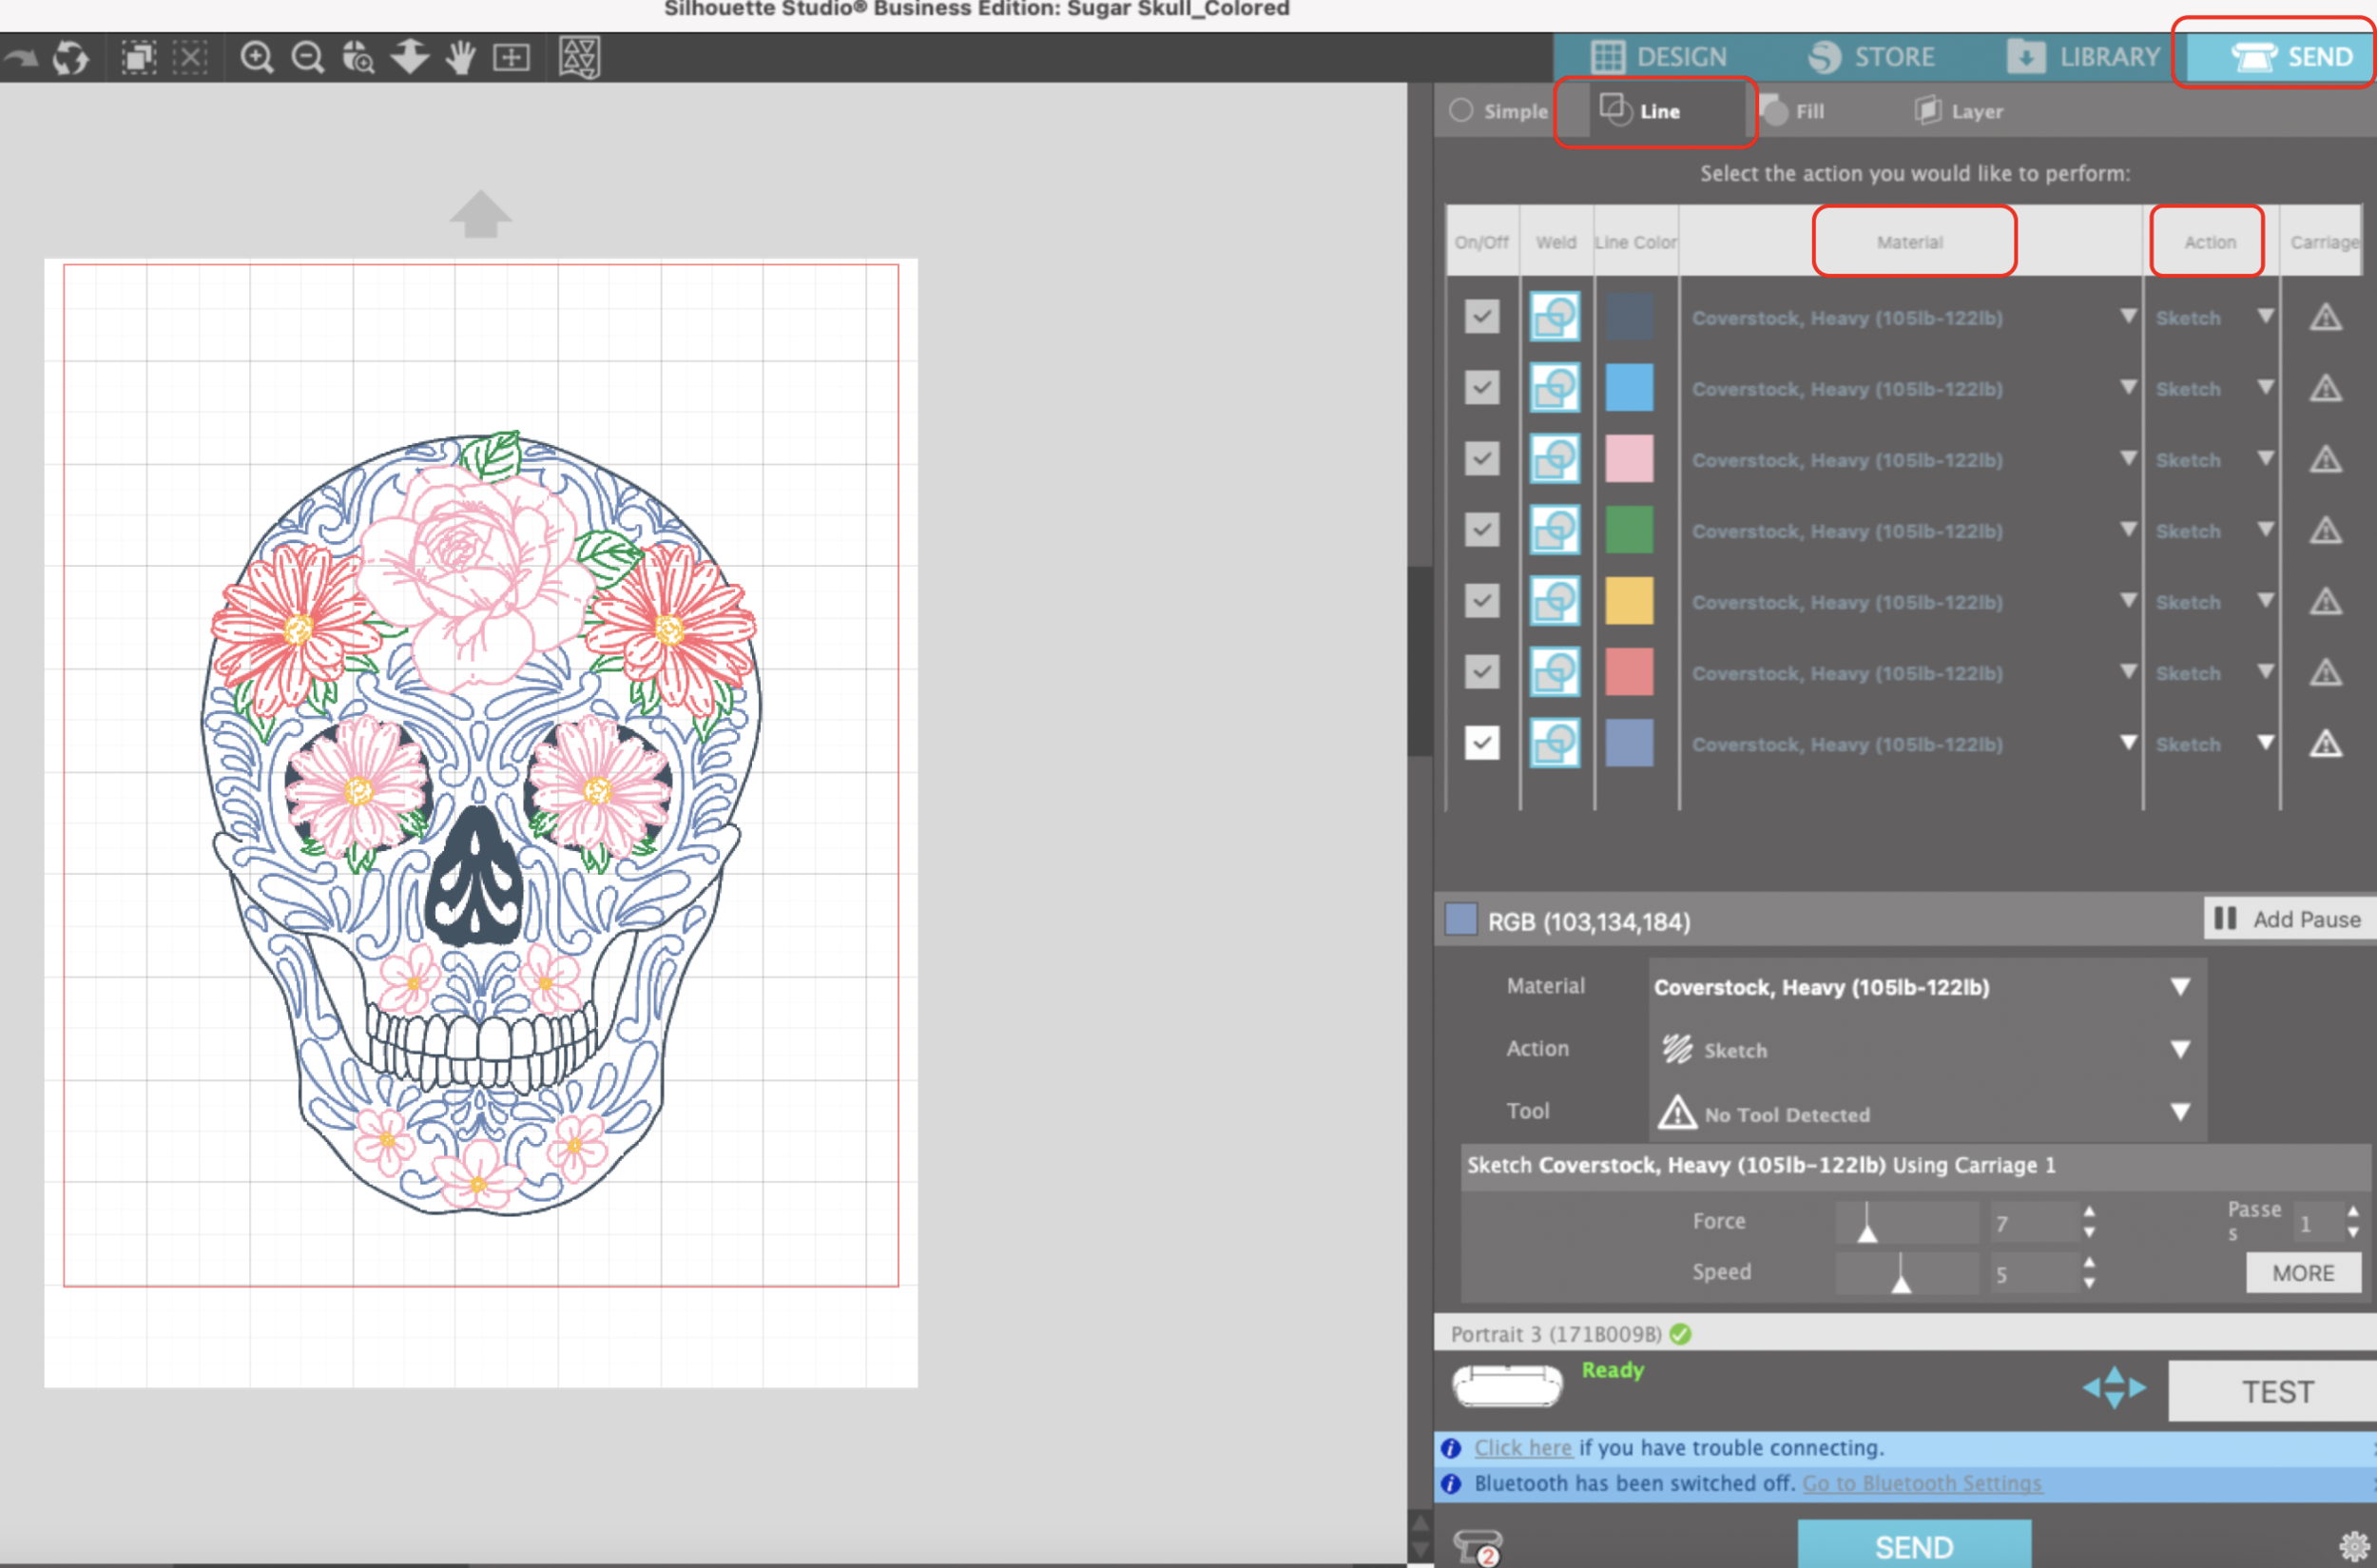
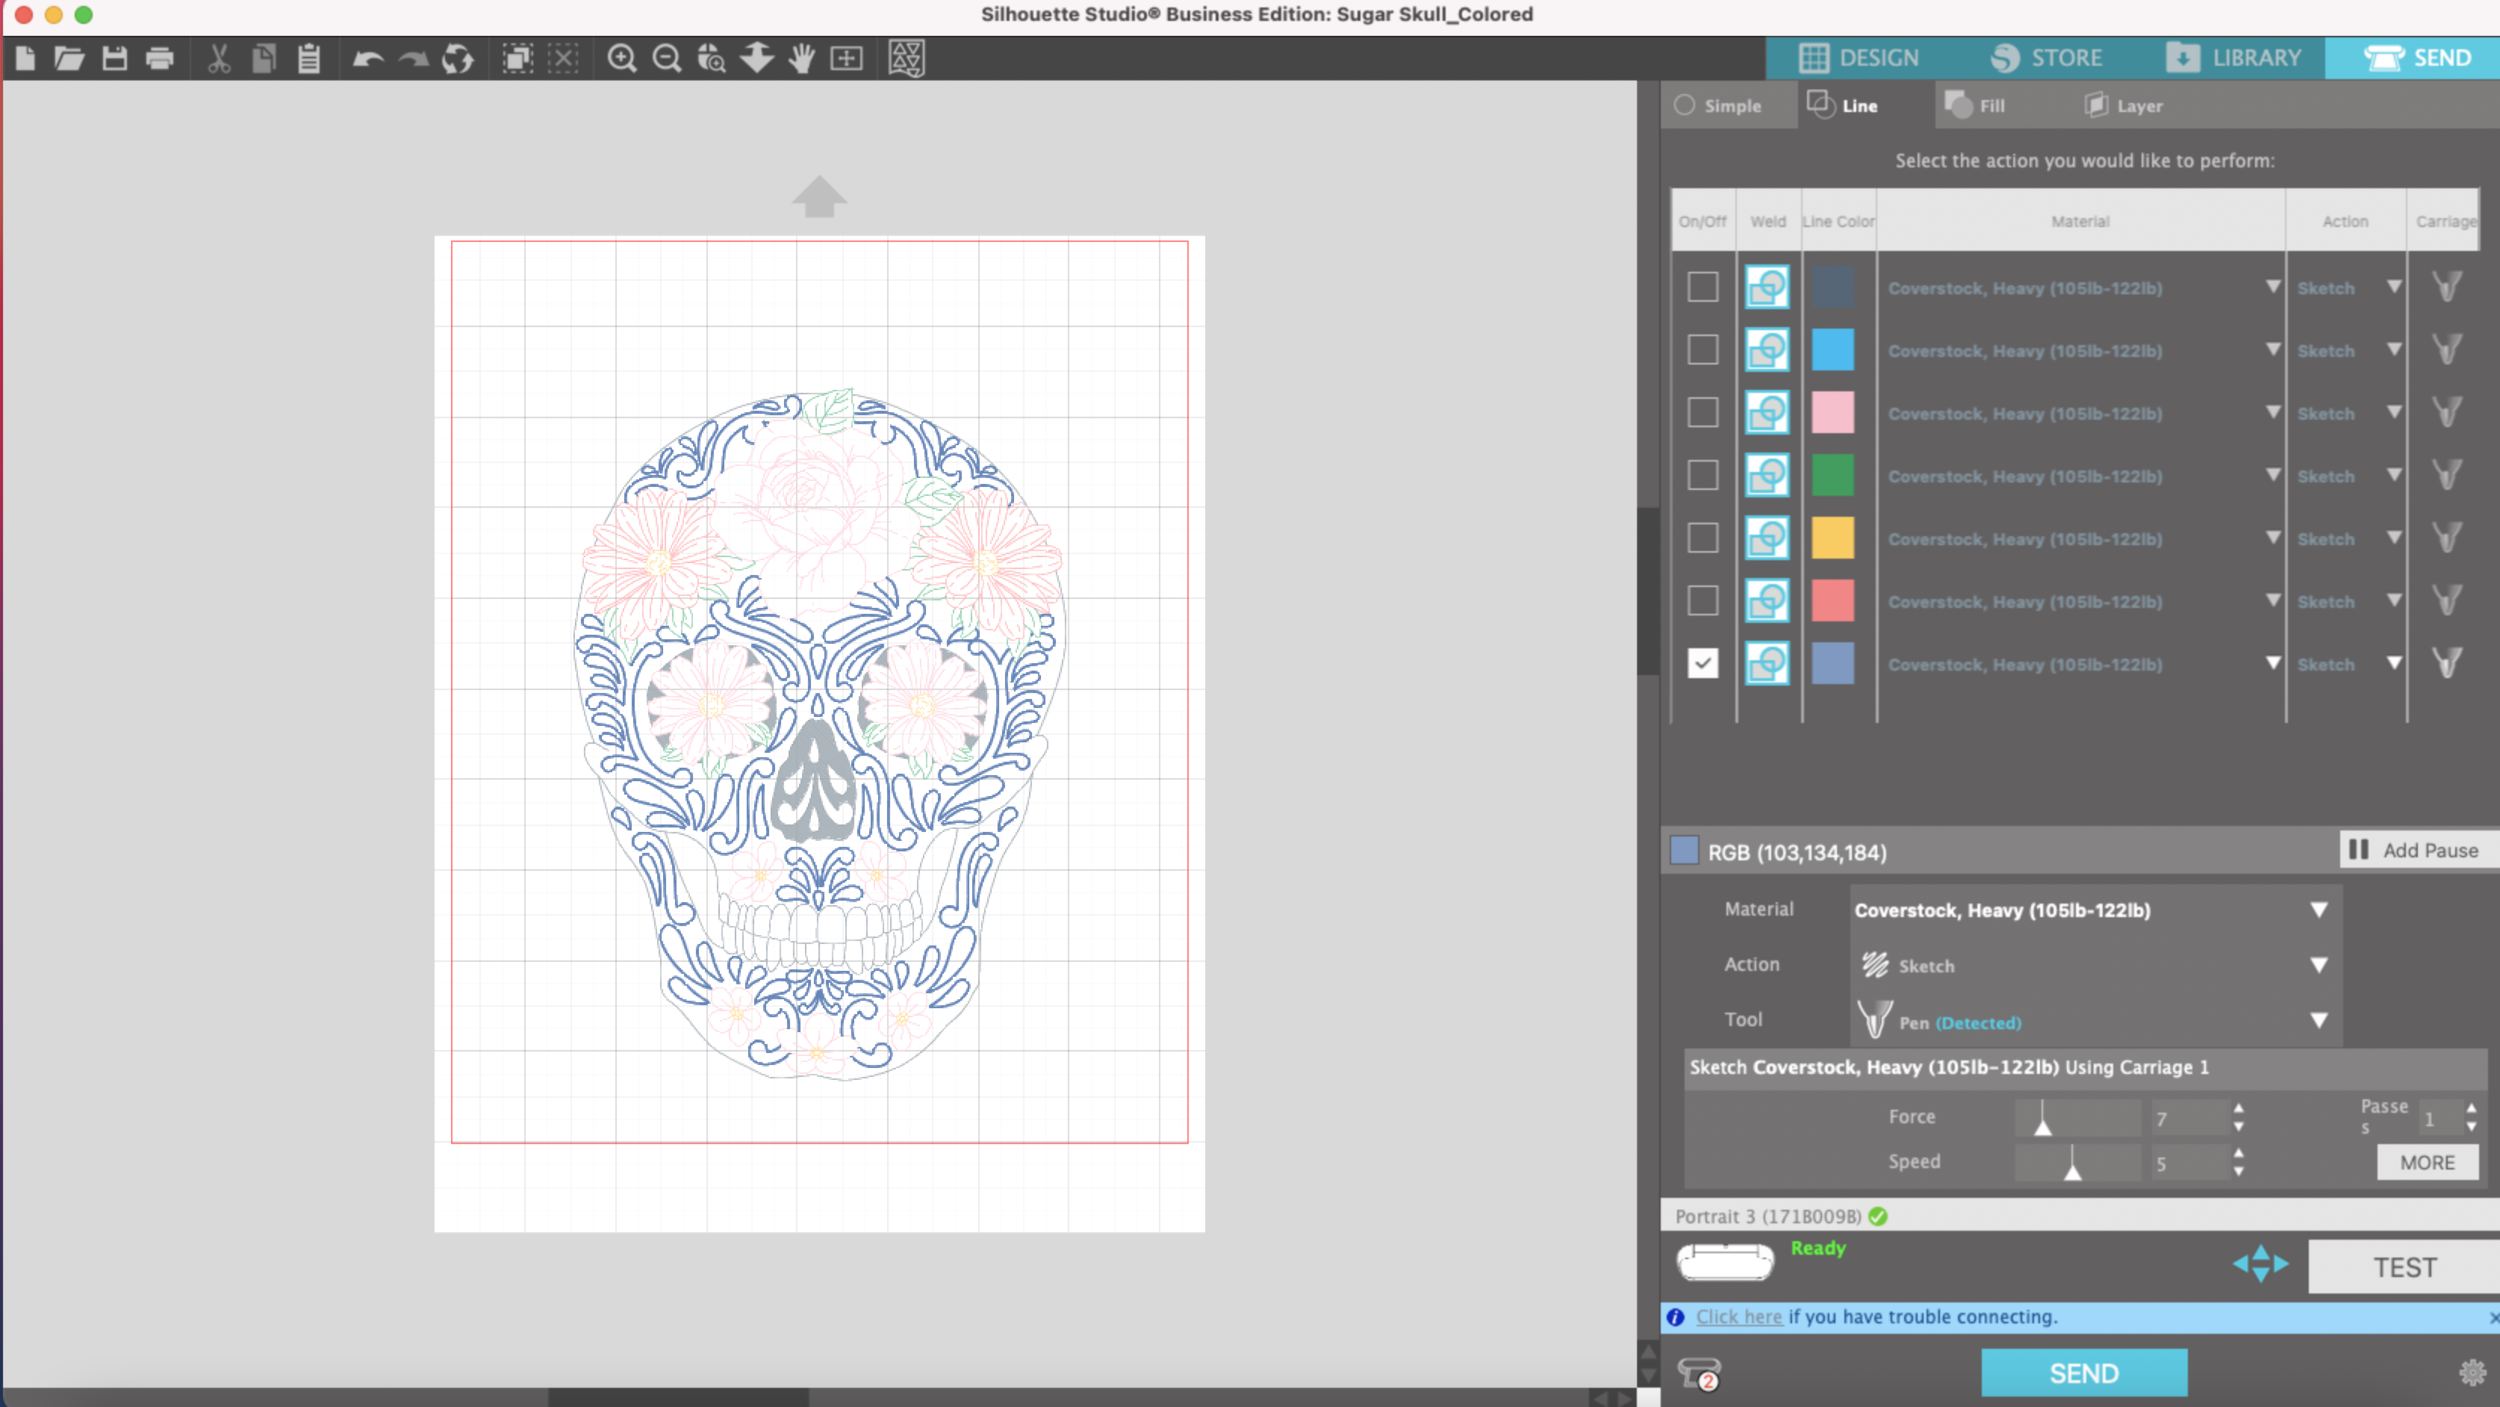
I select SEND in Silhouette Studio. Instead of simple, I’m going to choose LINE. As you an see all of the colors are selected. I’m going to pick Heavy Coverstock for my material and Sketch for my Action.

Silhouette Portrait 3 Draw by Line Color

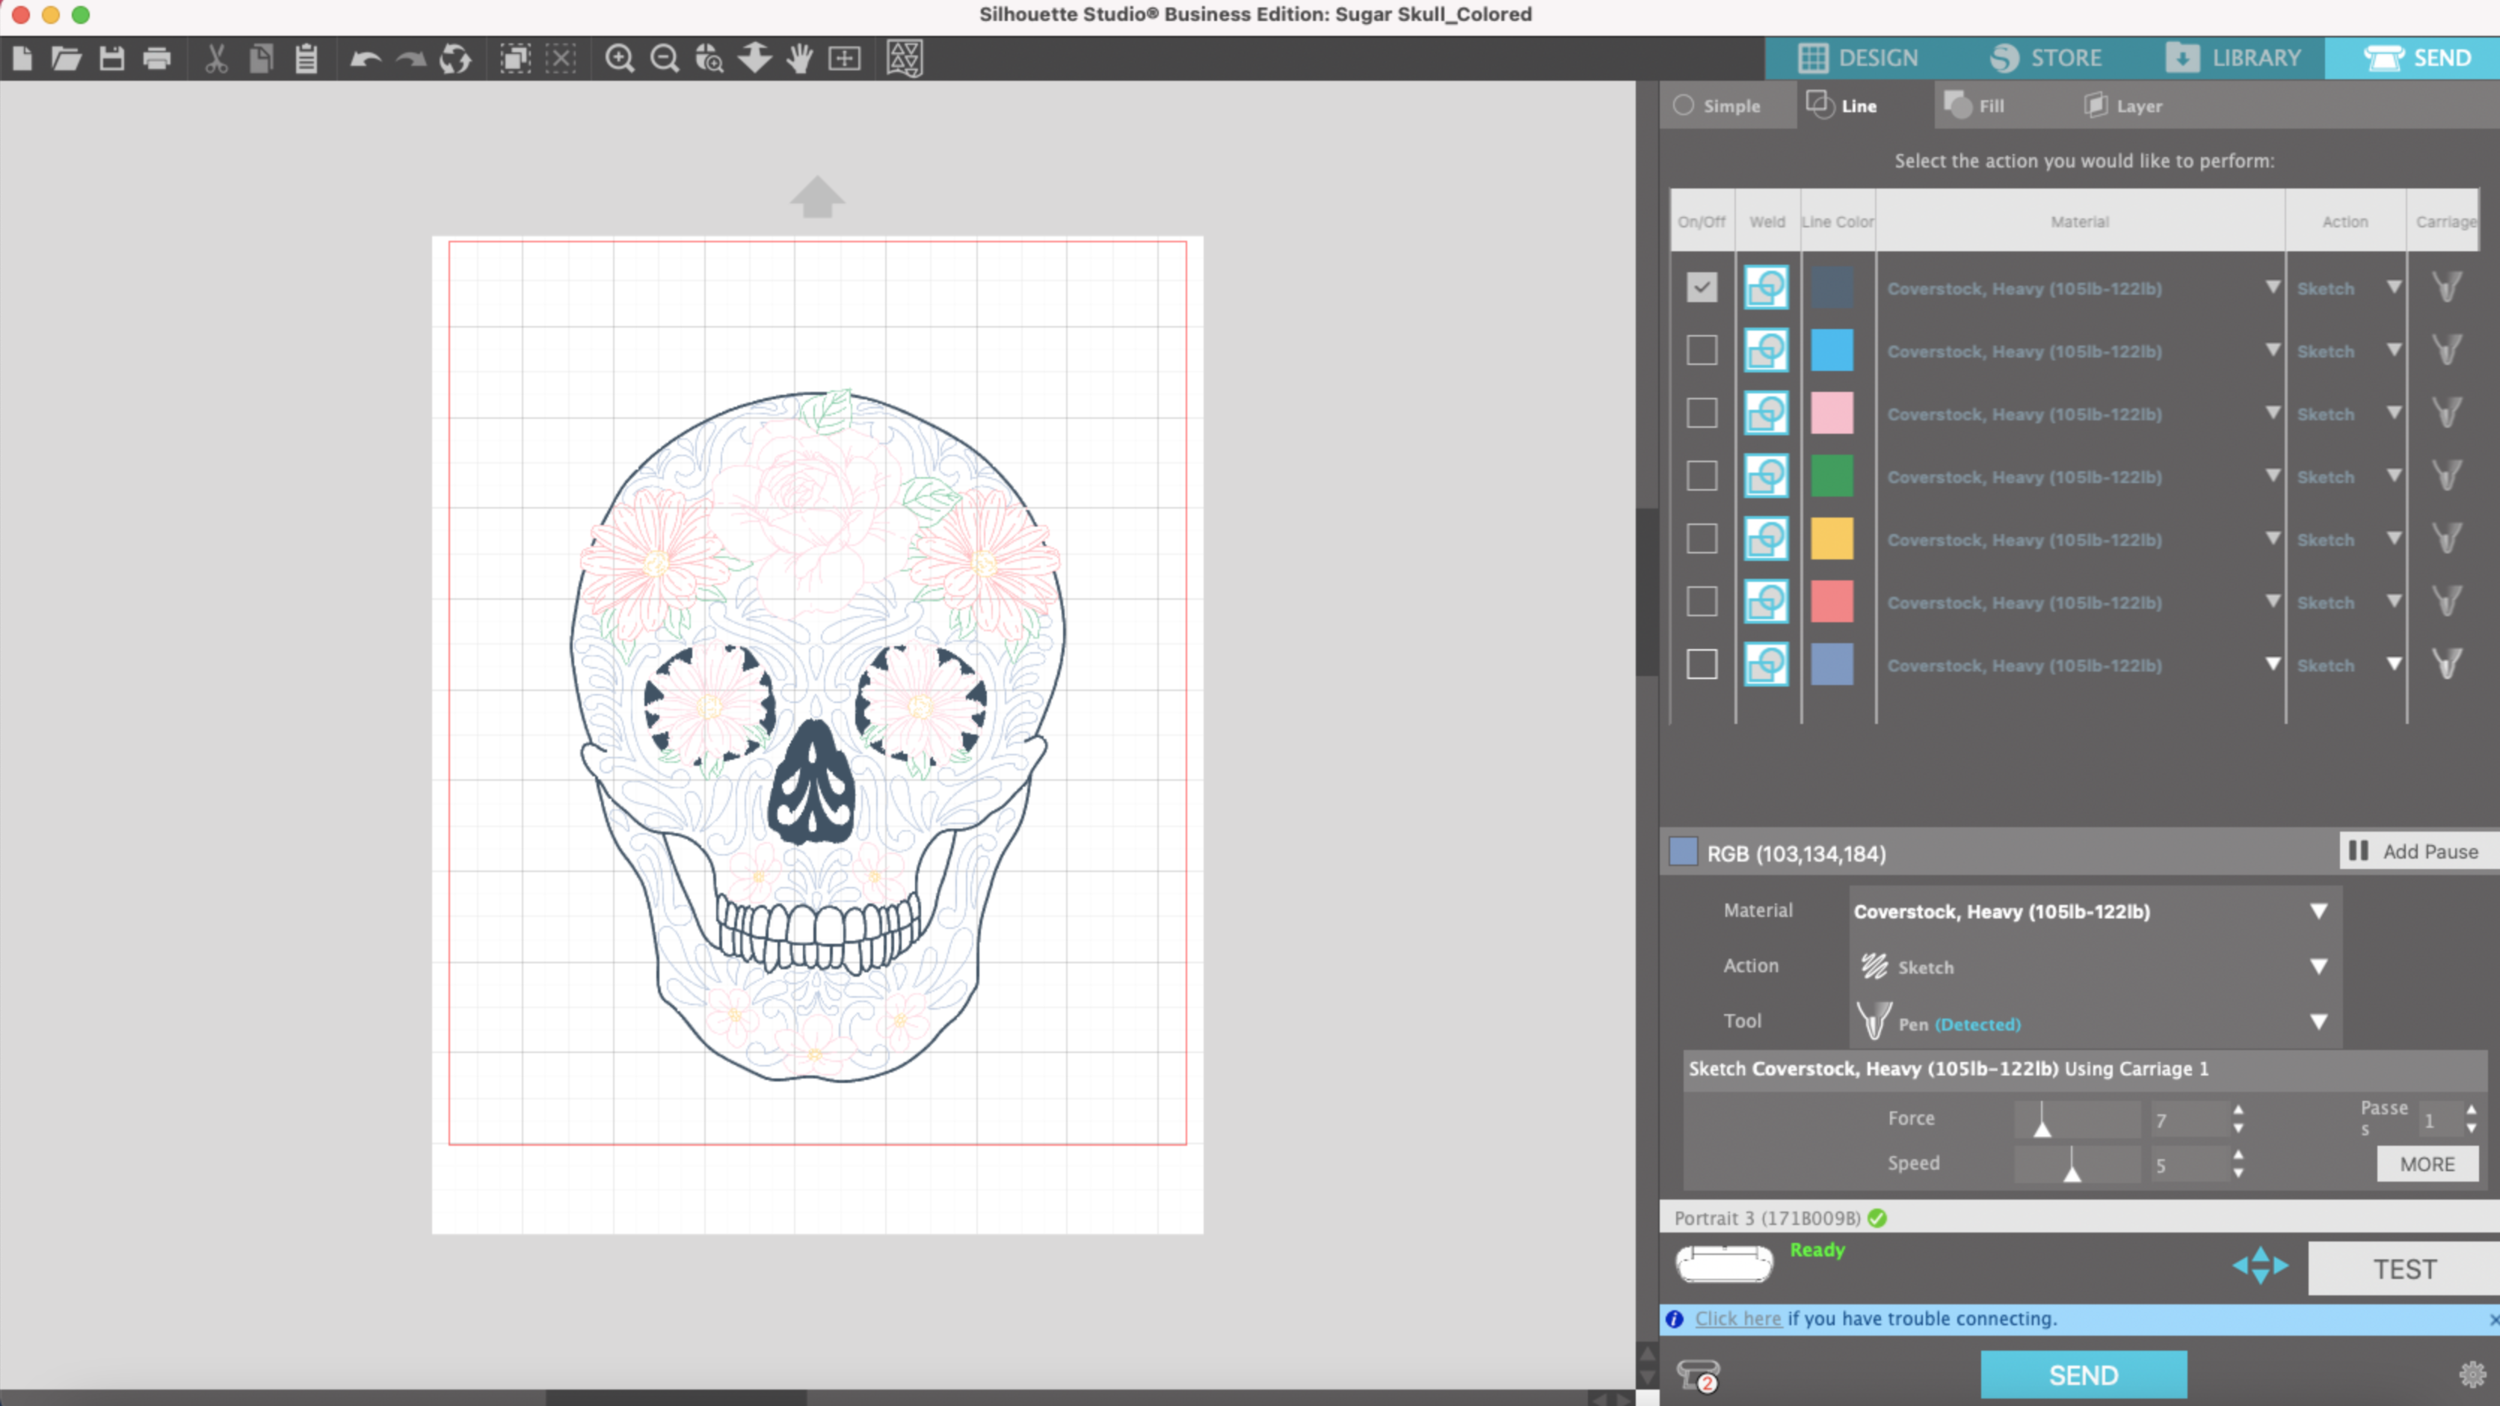
Then, I’m going to uncheck all of the colors except for the color I will be drawing with first.

Silhouette Portrait 3 Draw by Line Color

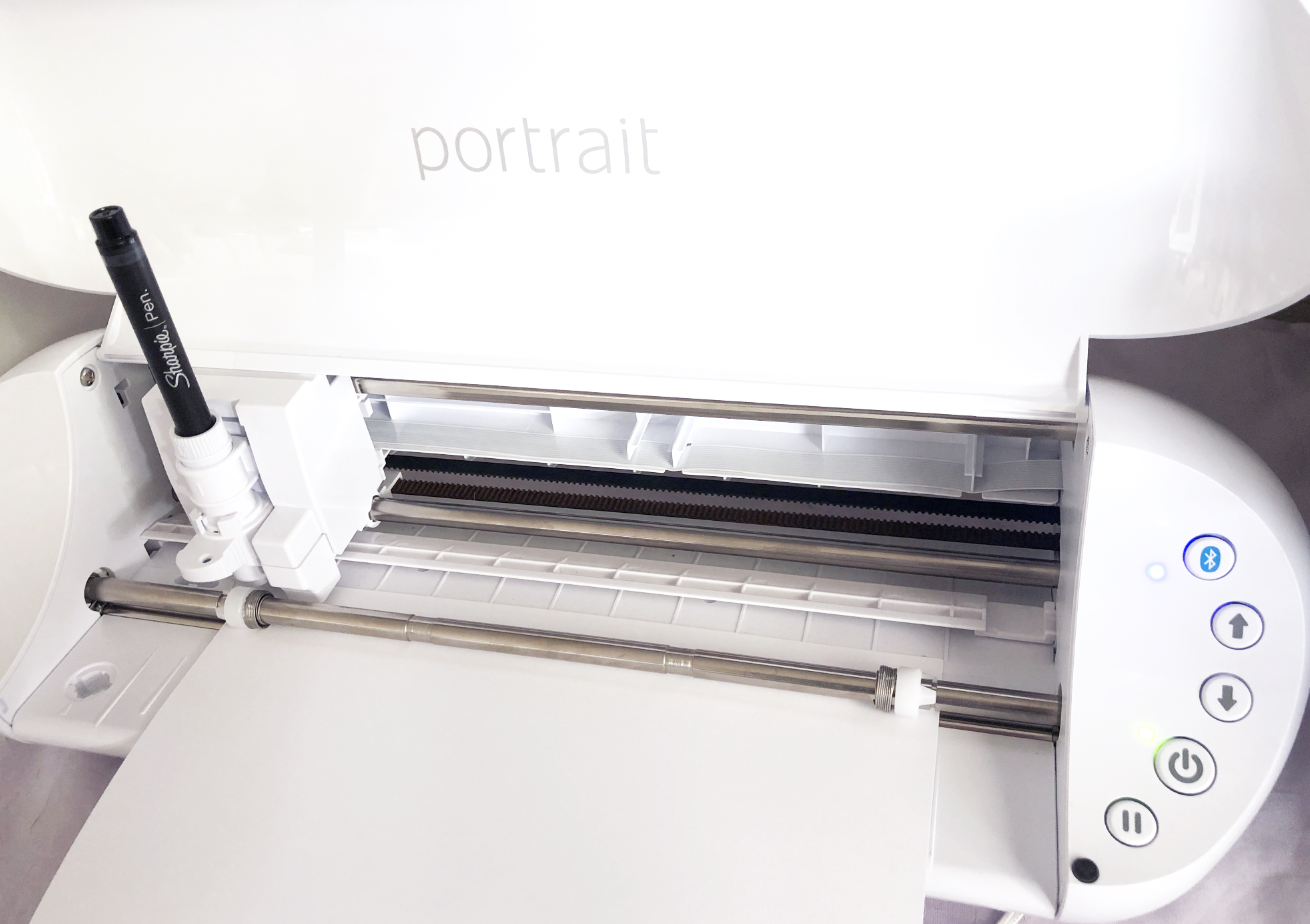
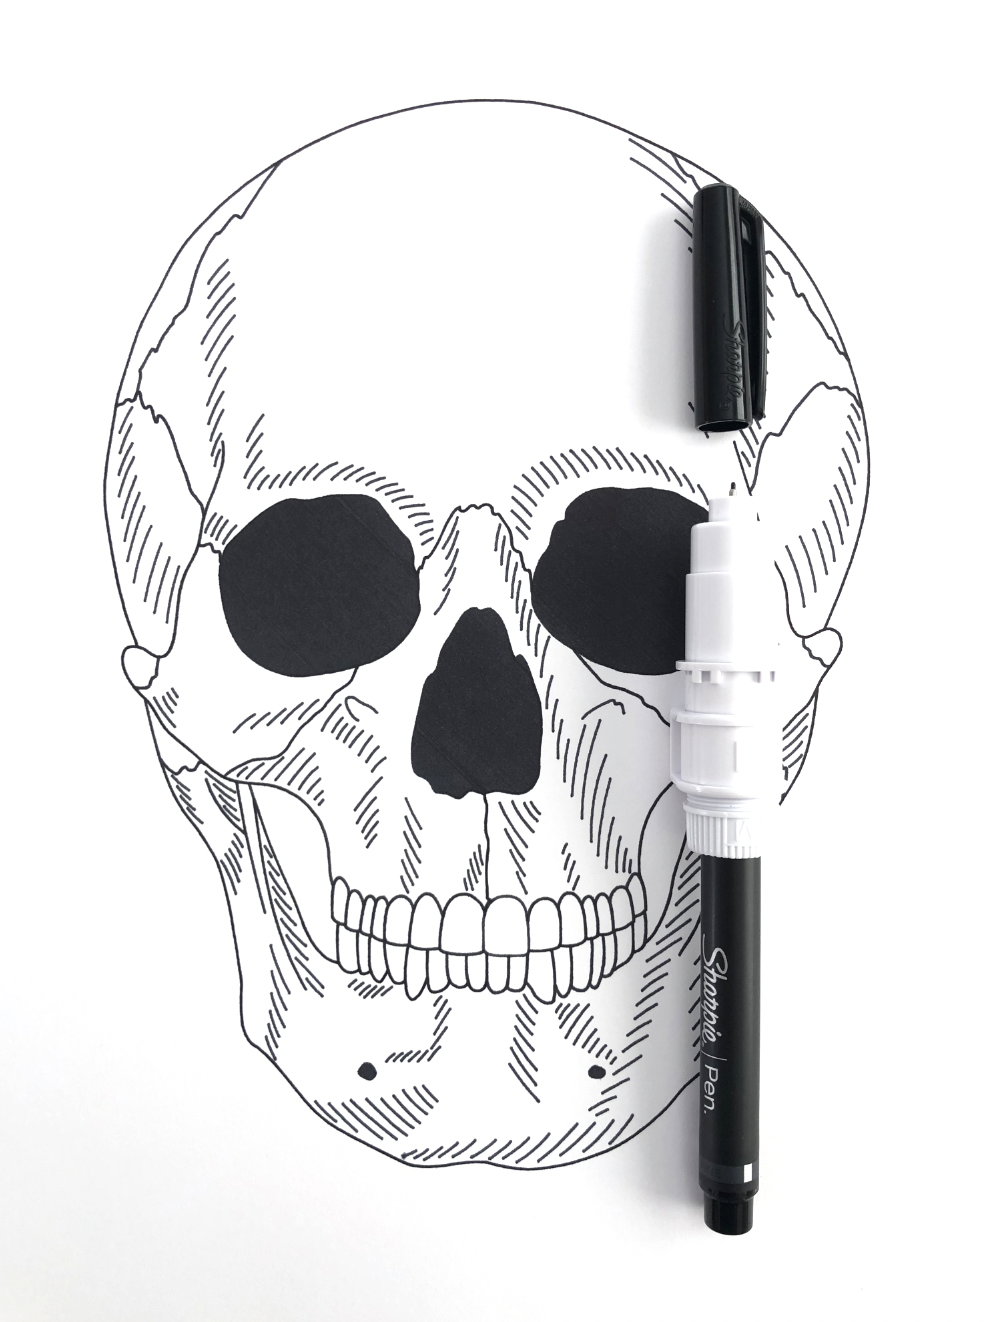
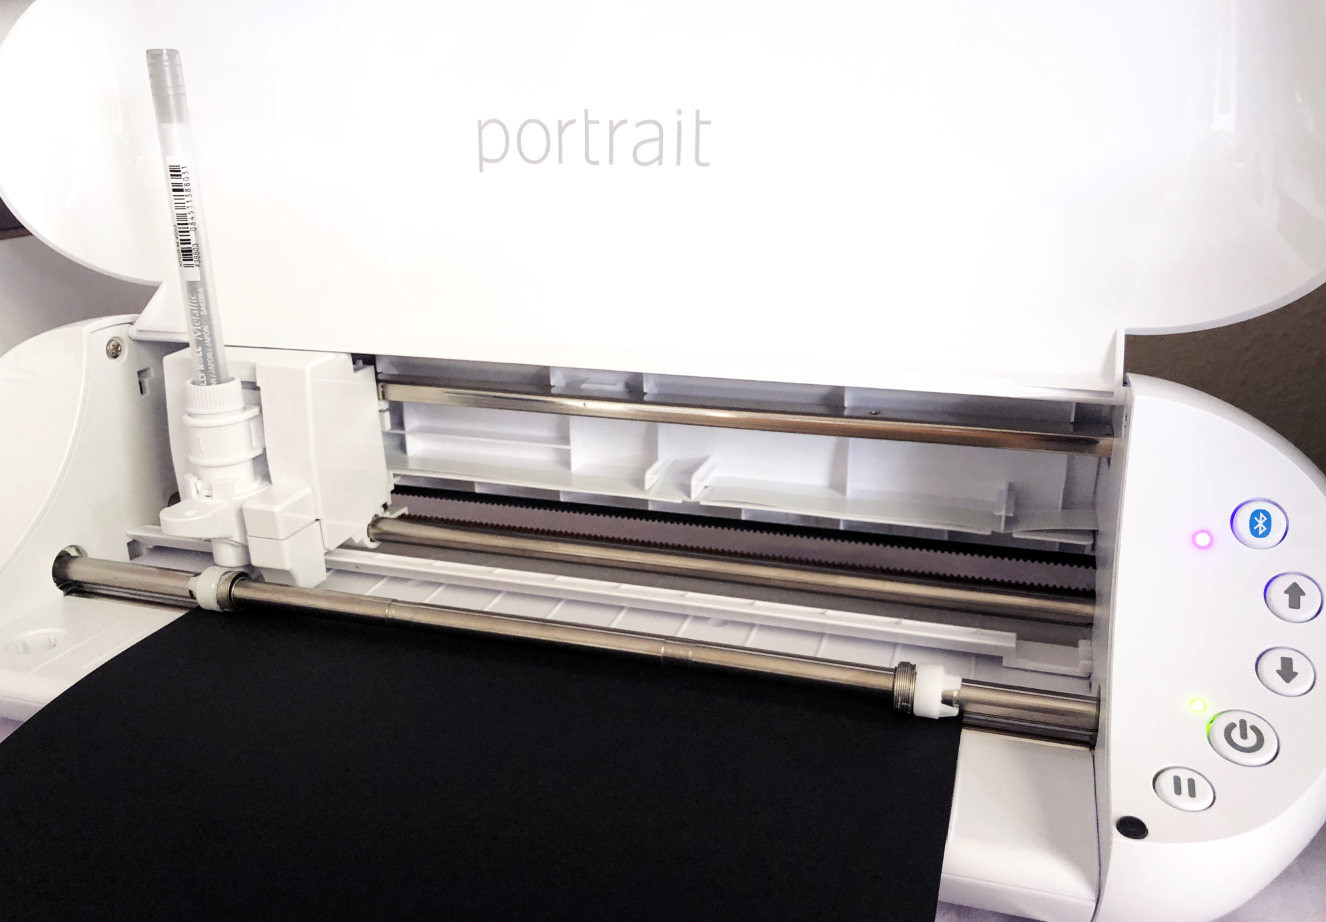
Next I will load my pen adapter with the first color I will be drawing with and load my cardstock into my machine.

Silhouette Portrait 3 Draw by Line Color

My first layer is done, next I want to draw the blue scroll work. All I have to do is uncheck the line color I just drew, and check the box for the blue lines for the scroll work. I load my blue pen and press SEND.

Silhouette Portrait 3 Draw by Line Color

Hint: Don’t forget to uncheck the colors you have completed, otherwise it will draw over that same area with the next color you have loaded!

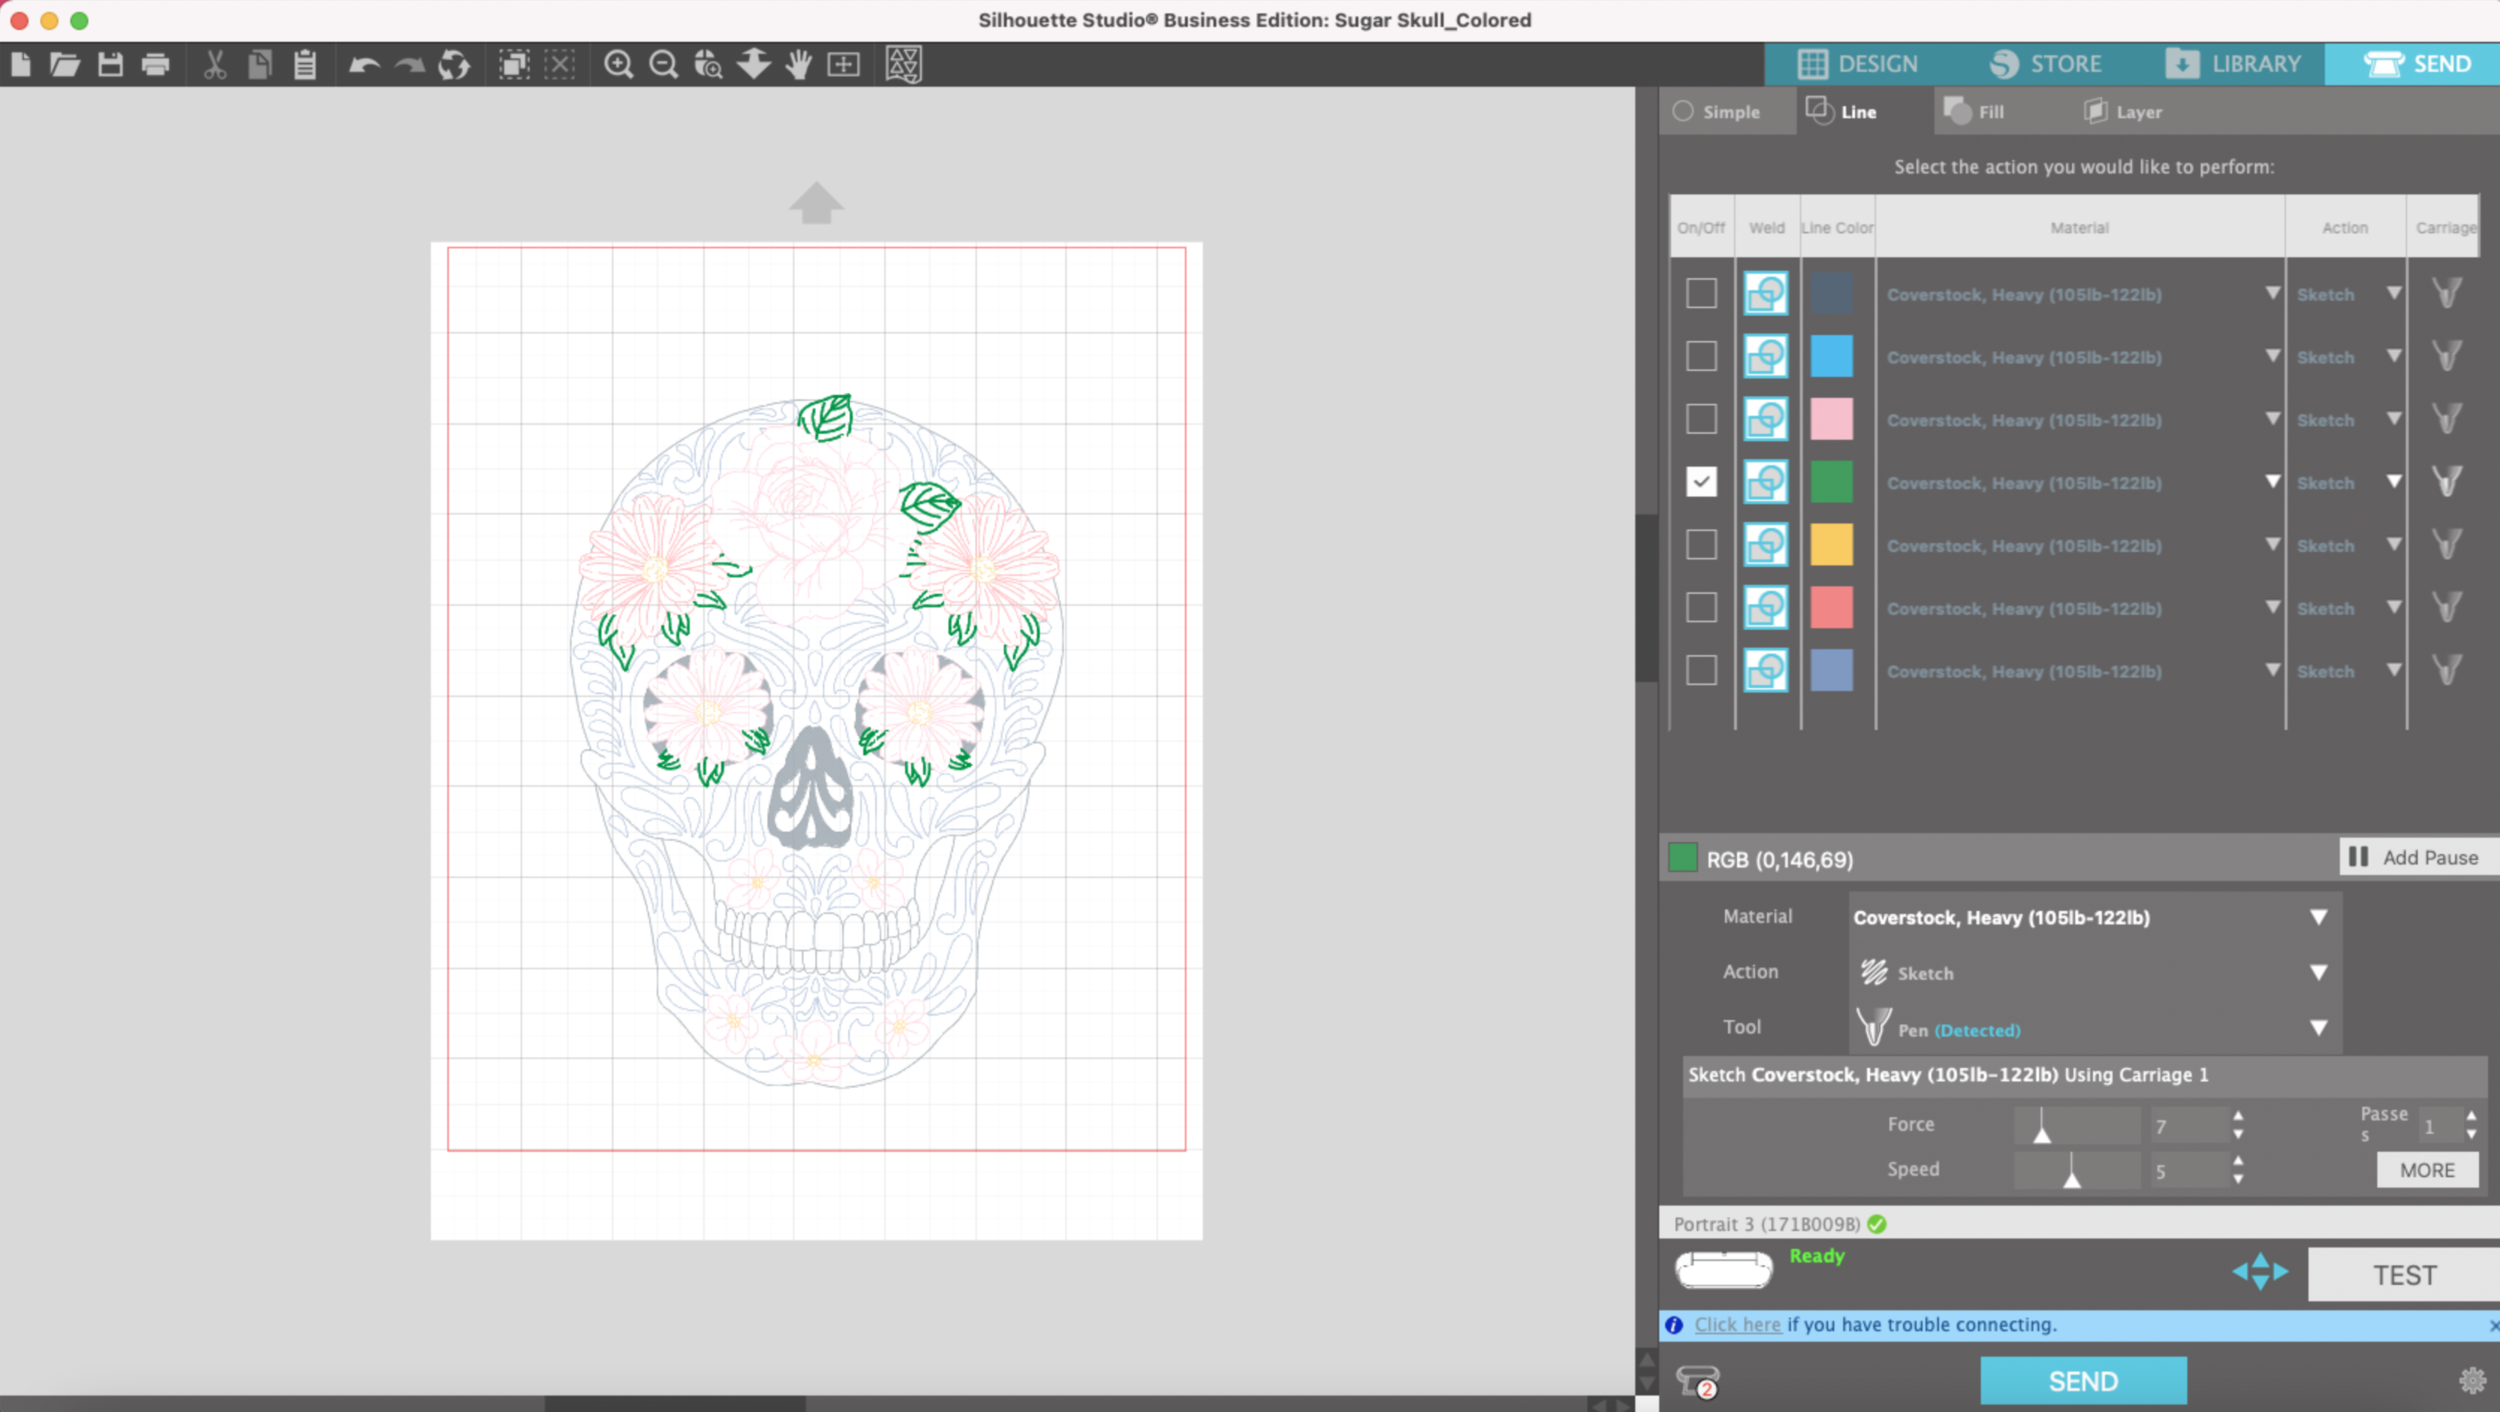
After the blue lines are done I want to draw the little green leaves. So I uncheck the blue lines & select the green for leaves. Load my green pen and press SEND.

Silhouette Portrait 3 Draw by Line Color

I go through the same process until I have completed all the colors. I love that I don’t have to go in the order of colors dictated by the machine!

Silhouette Portrait 3 Draw by Line Color

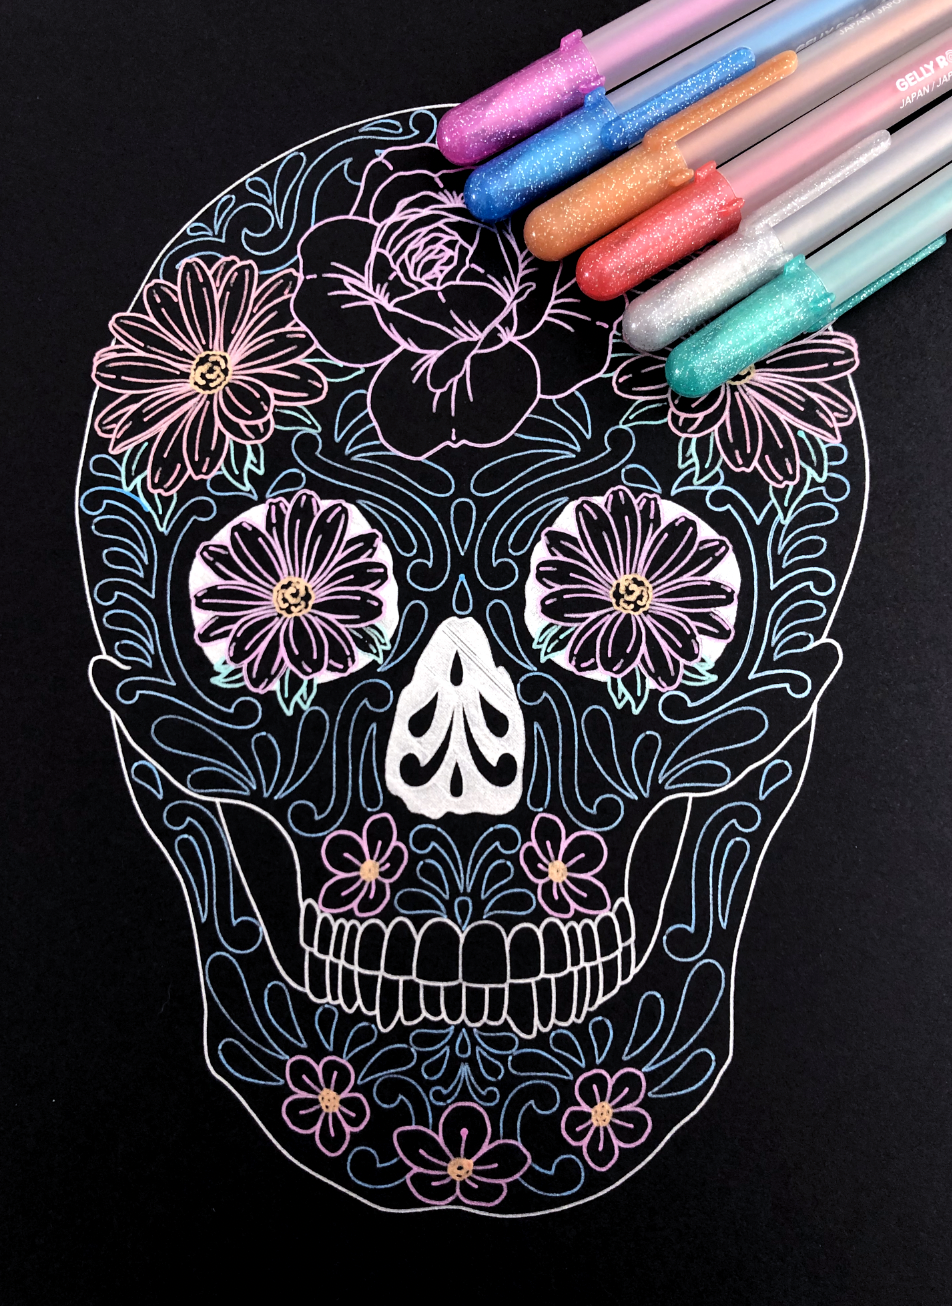
The most tedious part of the process is swapping out the pen every time I switch a color, but I really enjoy the end result and being able to select the order of the colors that my machine will use to draw.

Silhouette Portrait 3 Matless Drawing

Hi Everyone! For little side income I sell my SVG files in my Etsy shop. But before I list my files for sale, I test them on on my Silhouette Portrait 3 machine and my Cricut Maker. I typically start my testing with my Portrait 3 because I can actually edit and save my file as an SVG from Silhouette Studio (I have the Business Edition).

This week I’m working on some single line skull designs that can be used to draw, foil, engrave, or anything else that needs a single line file. I originally drew my artwork in Adobe Illustrator, then I uploaded it as an SVG into Silhouette Studio.

To test my file, I’m going to use what is quickly becoming one of my favorite features, matless drawing. Yes, not only can you cut matless with the silhouette machines, you can also draw matless. This wasn't even a selling feature for me and my Portrait 3 machine, but I’m loving it!

When I first open my illustration in Silhouette Studio, it shows up placed on the cutting mat.

Silhouette Portrait 3 Matless Drawing

To change to matless, click on the white sheet of paper at the top to the tool bar on the right. Under cutting mat, select “None”. My cardstock size is 8.5 x11 inches, so I will leave that as is. Keep in mind that the usable area of the cardstock becomes a little smaller with the matless feature. I need to keep all of my artwork within the red bounding box.

Silhouette Portrait 3 Matless Drawing

Disregard the two different colors in my drawing. For now, I’m going to test it with only a black pen.

In the upper right corner, I click “Send”. There’s no need to attach all of my elements and my drawing stays centered on the canvas (no shifting to the upper left corner like my Cricut machine).

In the send screen I’m going to stay with “Simple” since I’m only doing a single color drawing. Notice, now all of my lines are red. The cardstock I’m using is 100lb, so for my material I select “Coverstock, Heavy.” For my action I select “Sketch.” For my tool I select “Pen.”

Silhouette Portrait 3 Matless Drawing

I load my piece cardstock into my machine without a mat, yay!! Then I load the Silhouette pen adapter with a Sharpie Pen.

Silhouette Portrait 3 Matless Drawing

I press send and my machine starts drawing away!

Screen Shot 2021-07-23 at 10.42.37 AM.png

After a few minutes it’s done, and there’s no stickiness left on the back of my cardstock from the mat!

Silhouette Portrait 3 Matless Drawing