Hi Everyone!
This week I want to share another technique I like to use to embellish gift tags and cards. I will be using the WRMK glue quill with embossing powder. If you buy the glue quill set, it comes with 2 small jars of embossing powder. Or if you already have some embossing powder on hand, you can use that too.
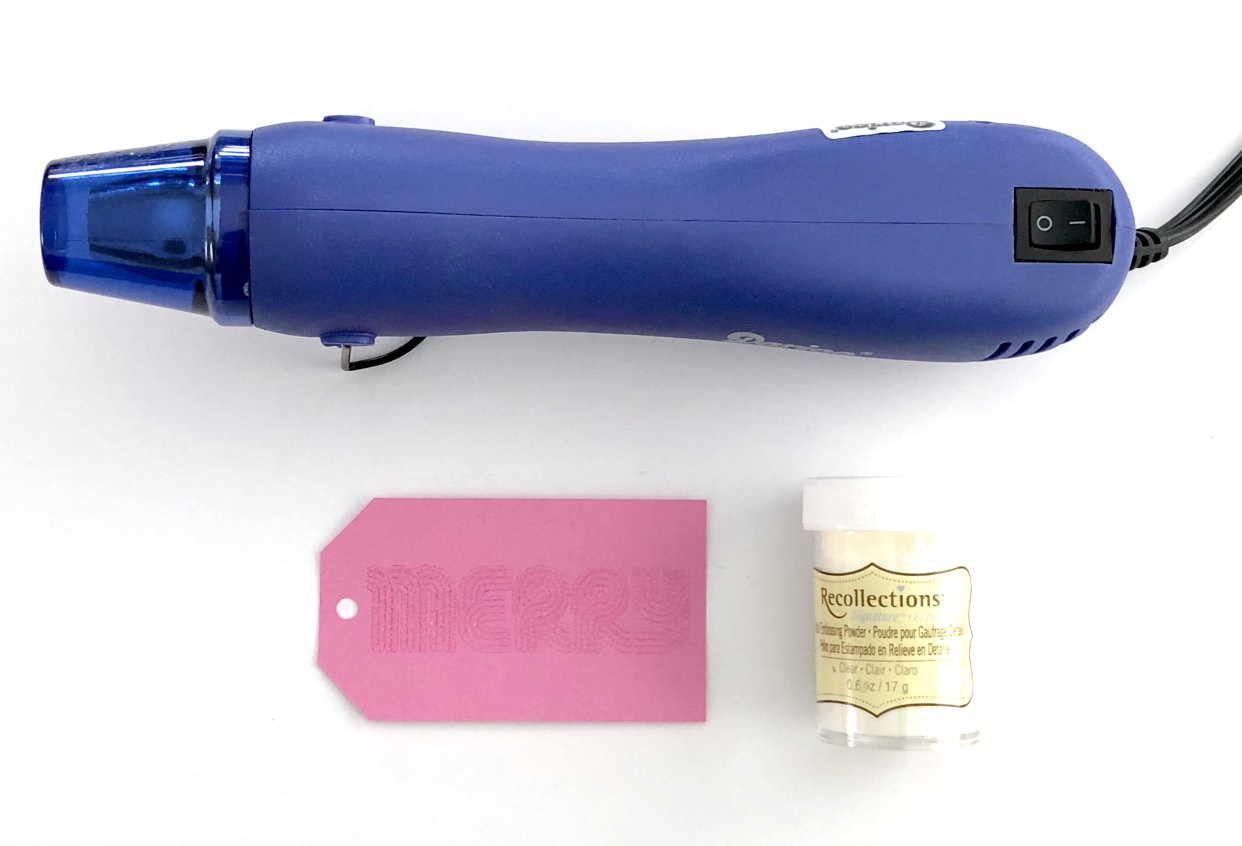
I’m going to do this technique with a clear embossing powder that I already have and the gold powder that came with the glue quill set. I will also need my heat gun.
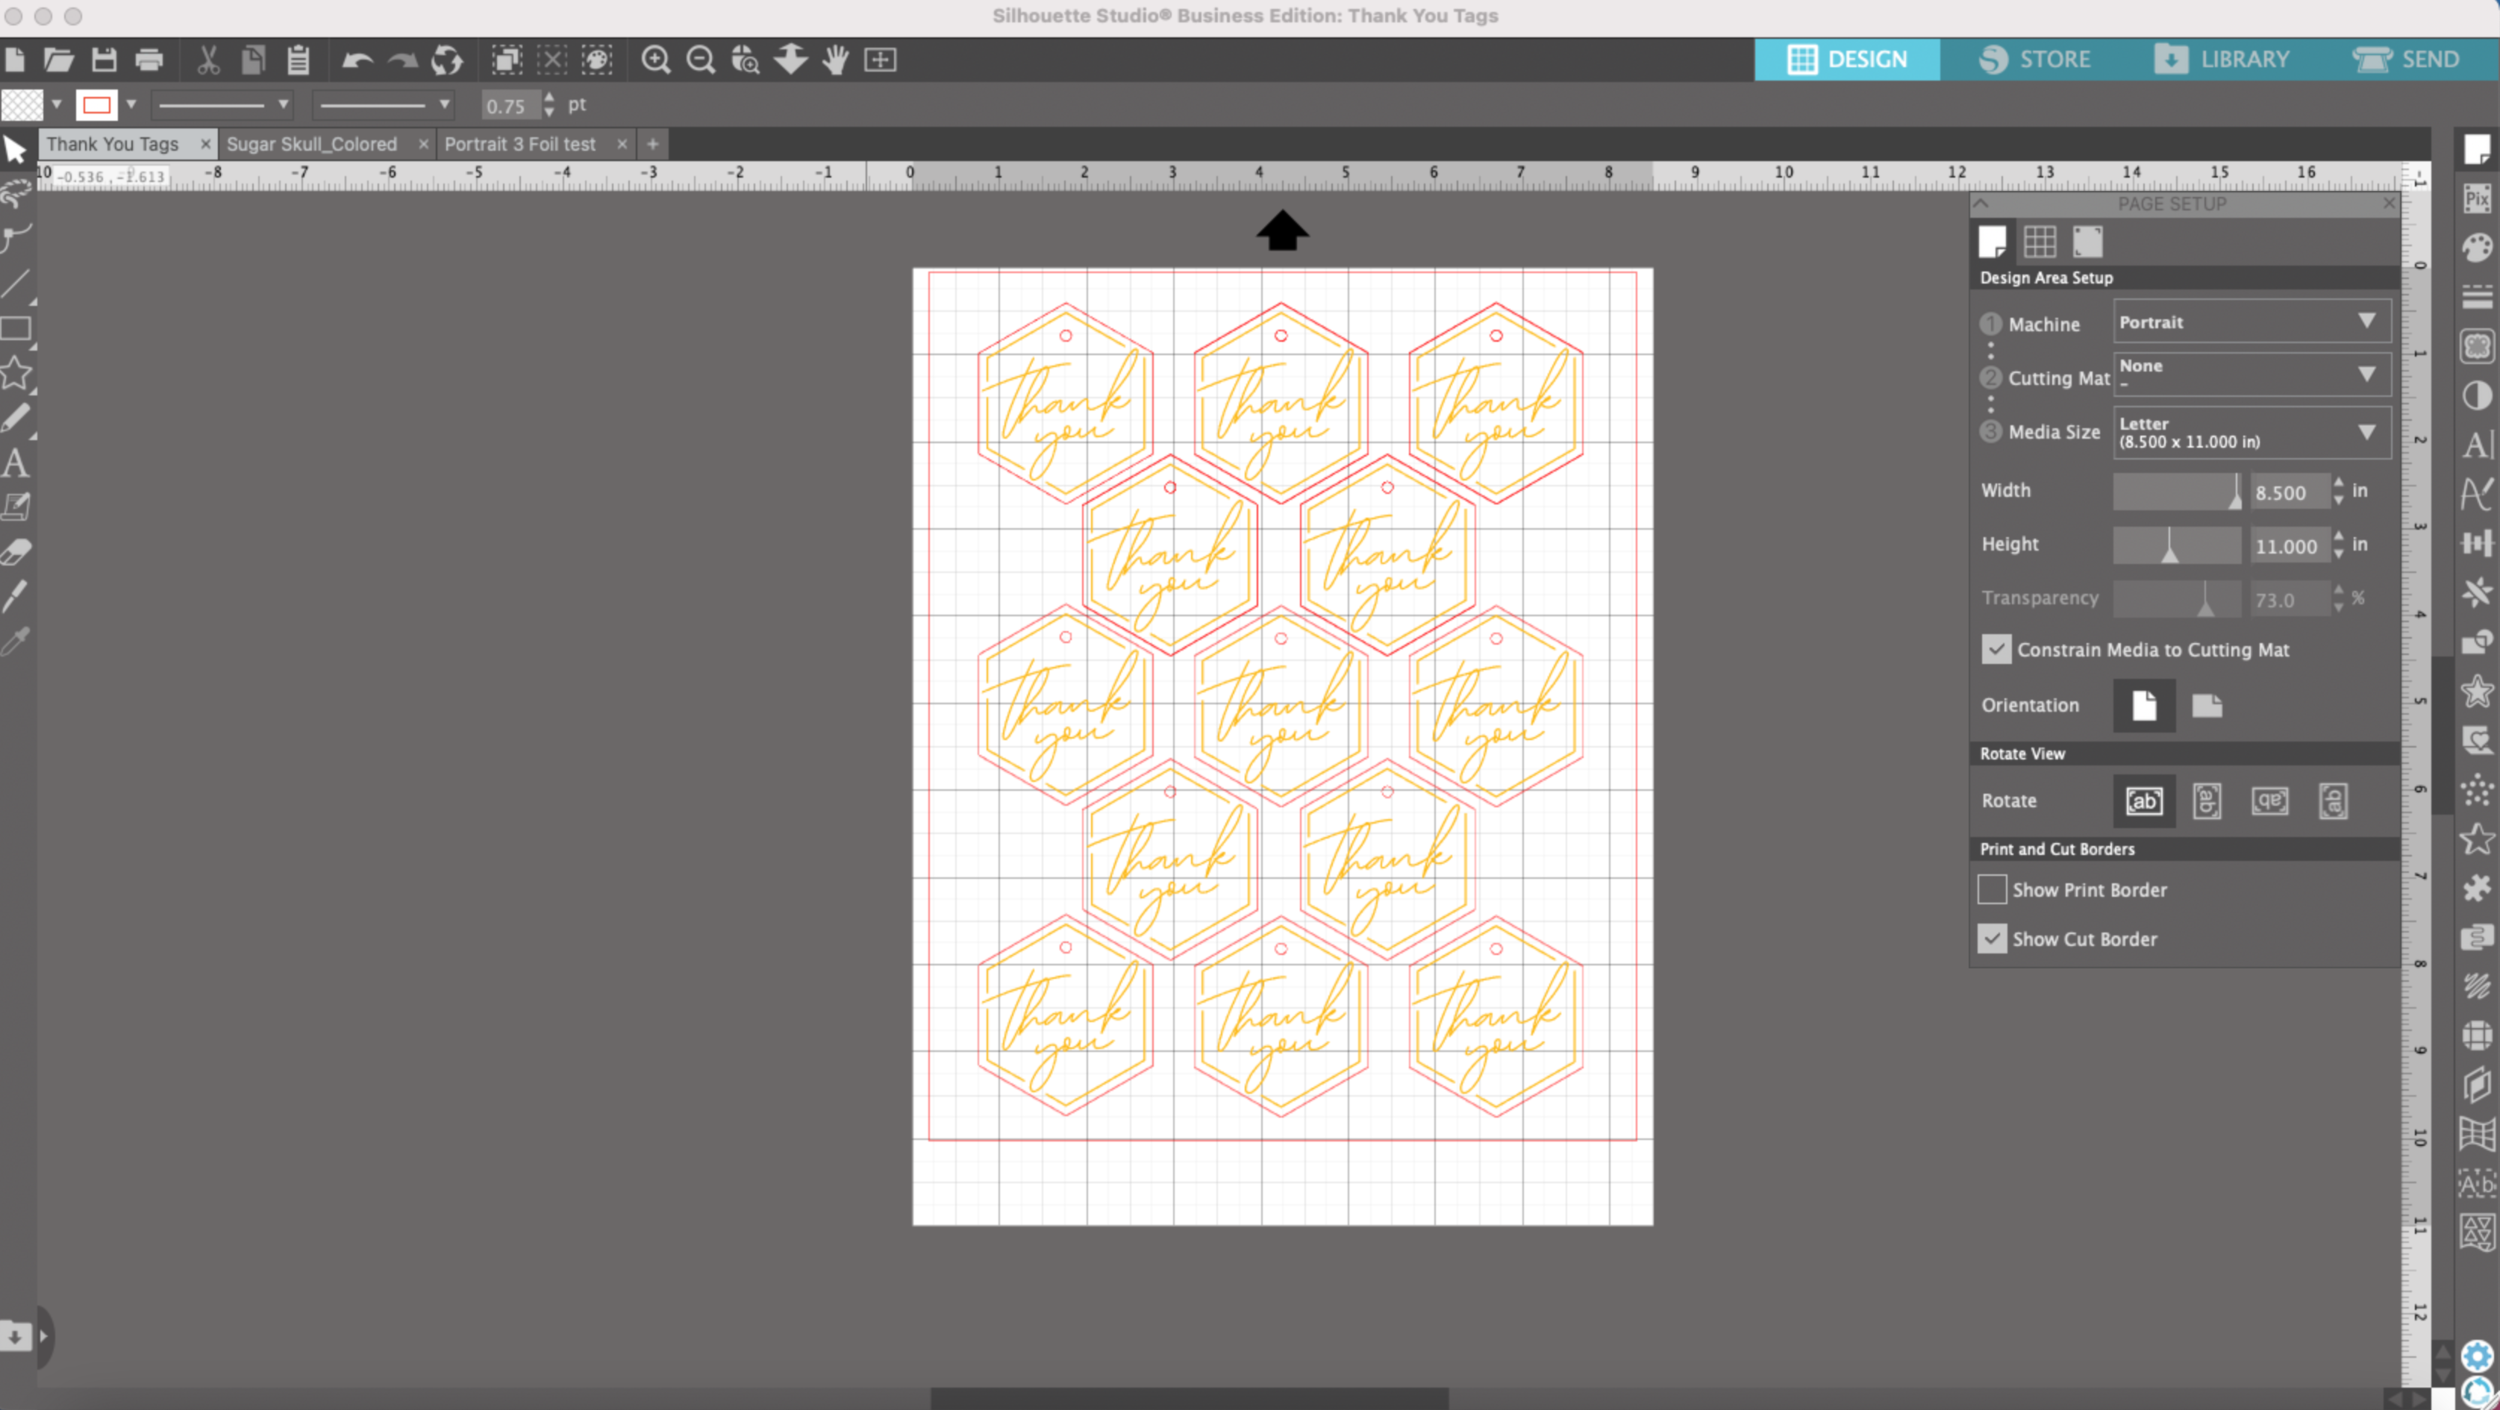
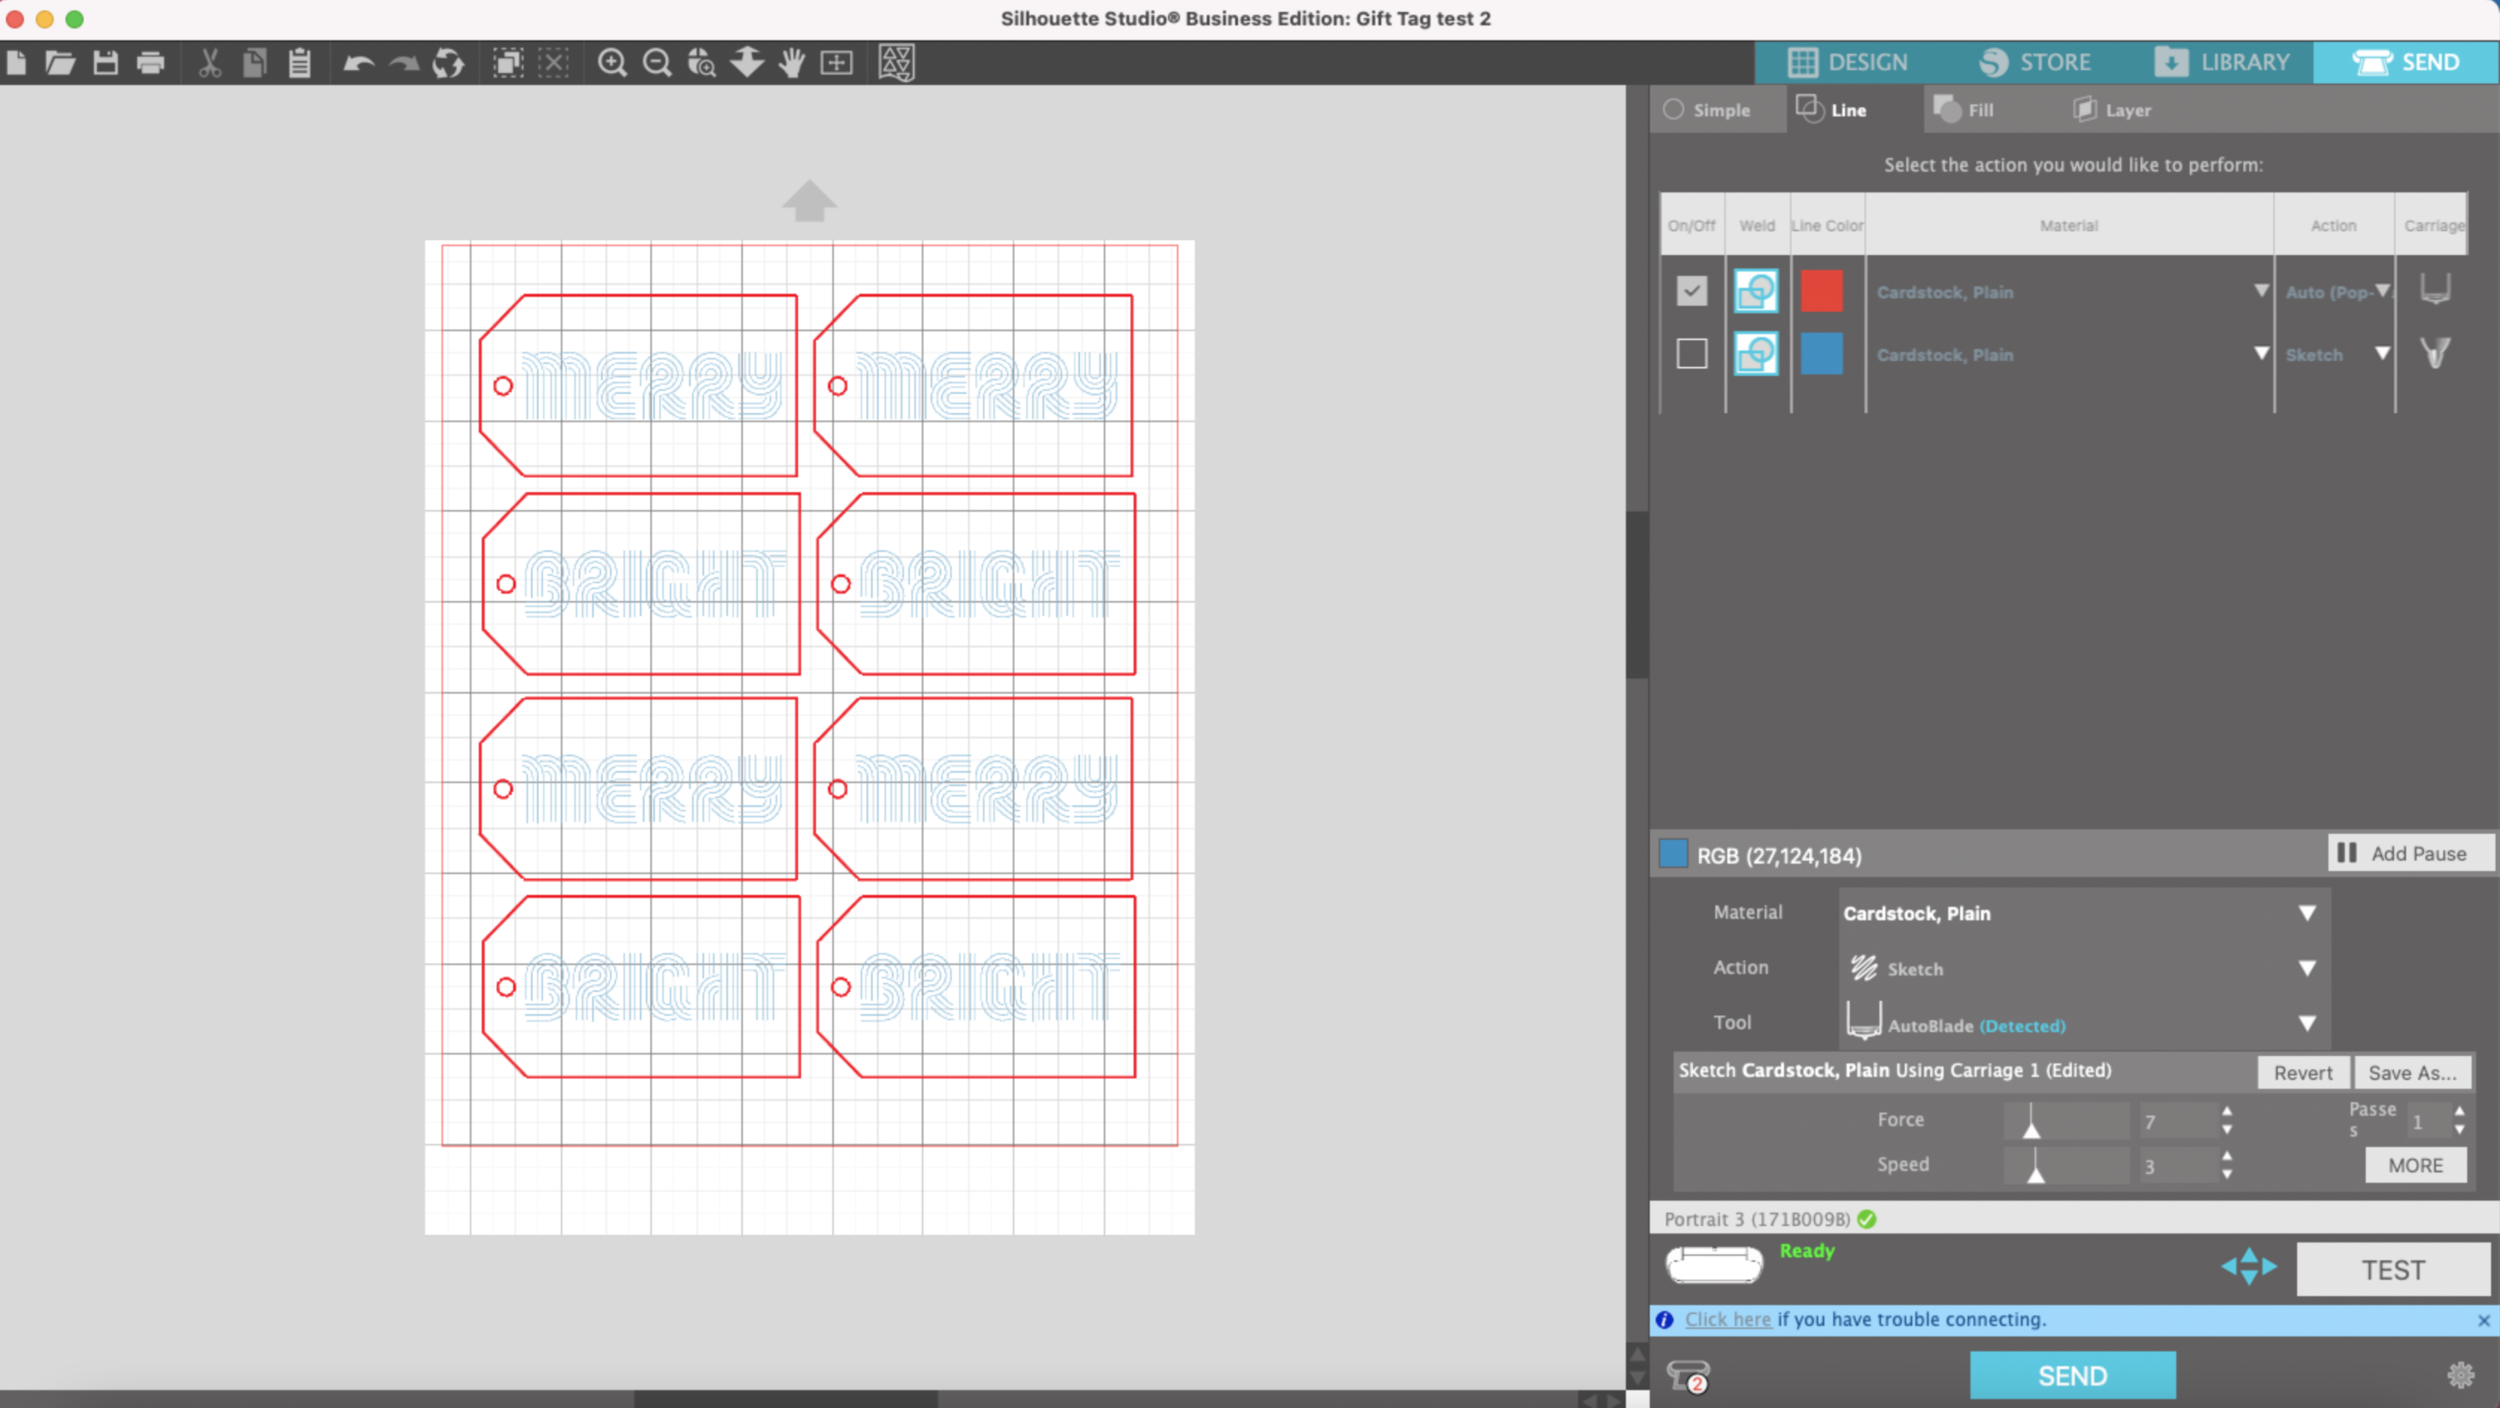
I already set up my file in Silhouette Studio, my blue lines will be drawn with the glue pen & the red lines will be cut. I’m using 65lb Recollections cardstock, and I will be drawing and cutting all of this matless, yay!!

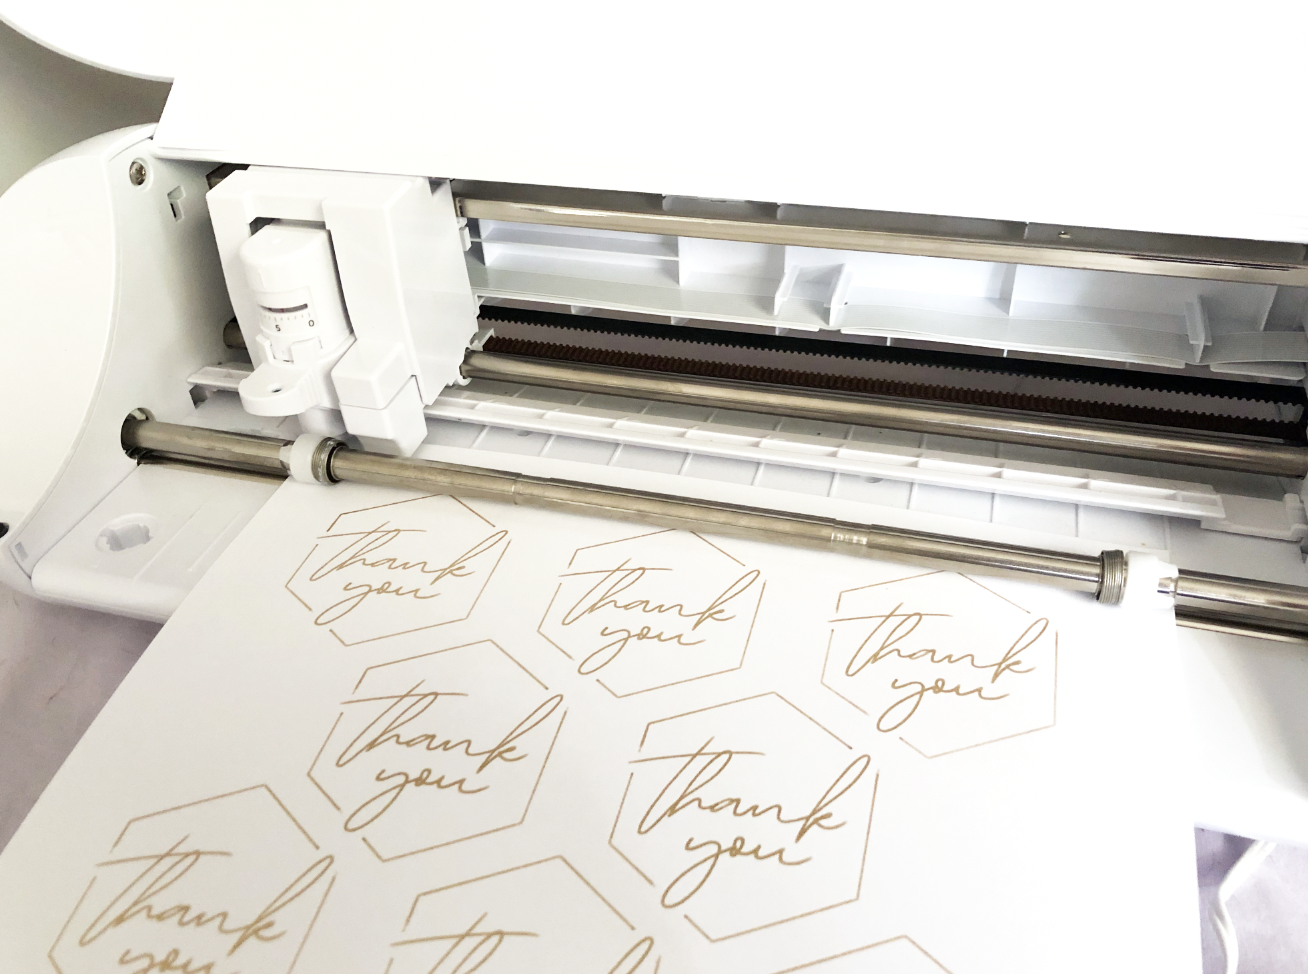
First, I will draw all the lettering with the glue quill and the Silhouette pen adapter. When I open the send tab I select “Line" and check the box next to the blue square.

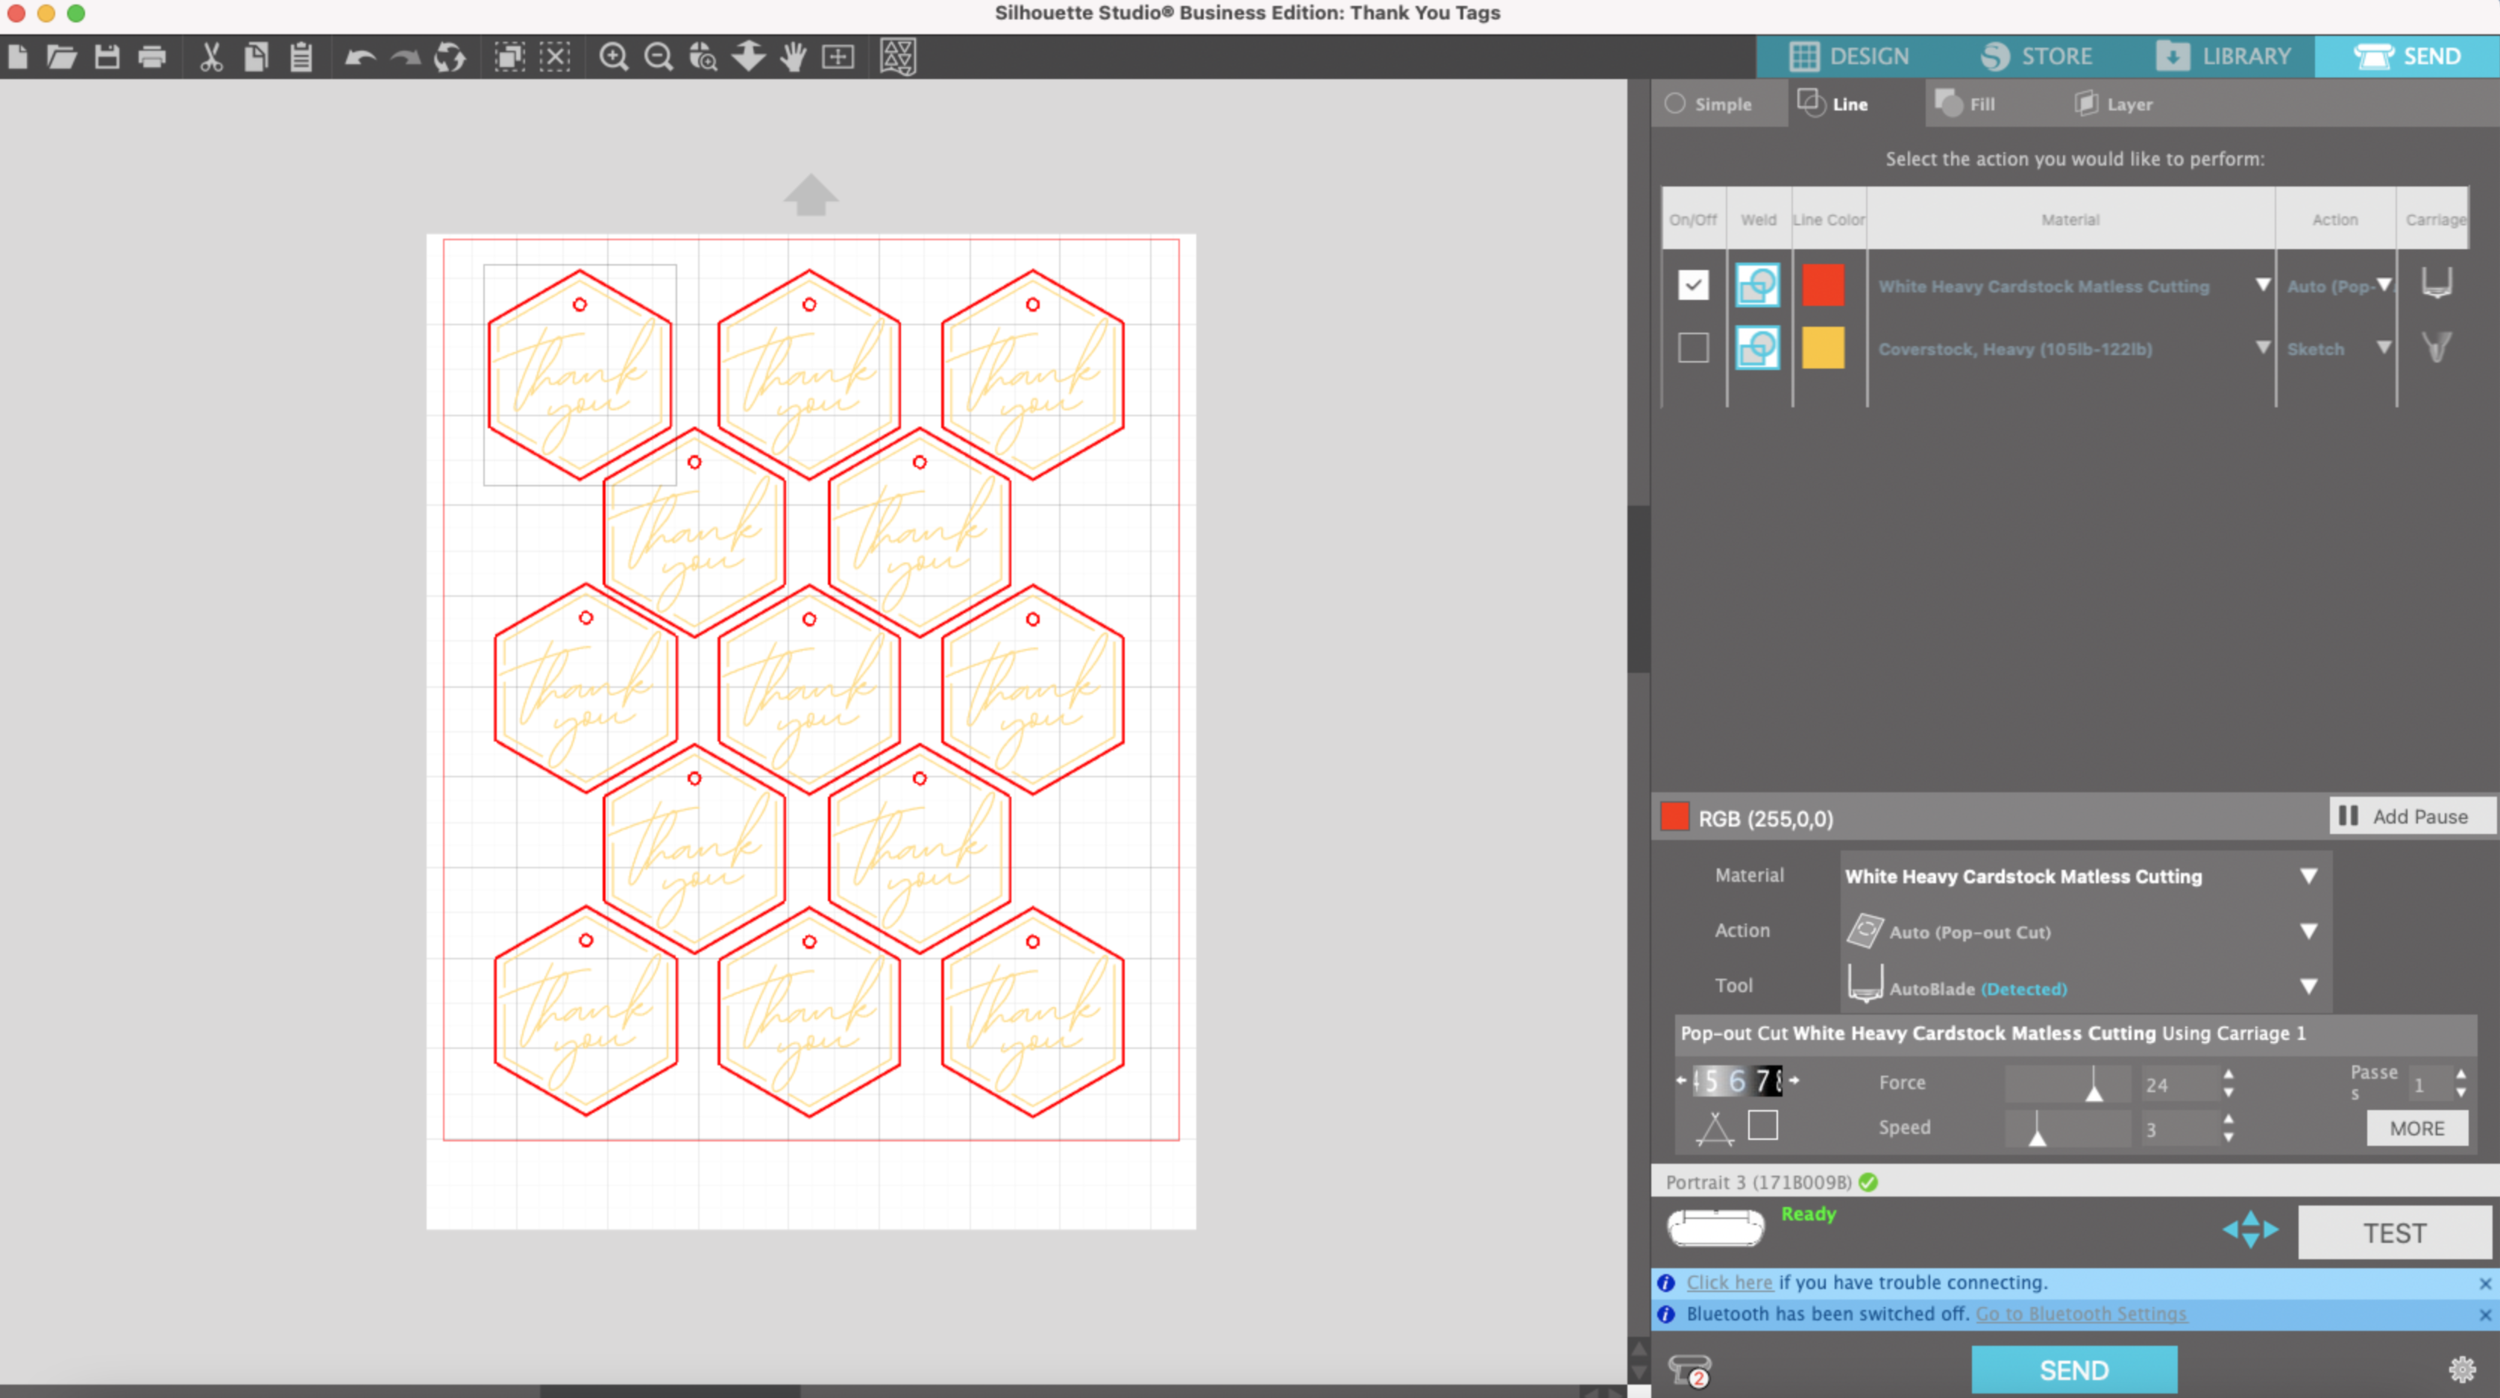
After it’s done drawing, I uncheck the blue box & select the red box to cut. I choose auto-pop out since I’m doing a matless cut.
I did need to send my cut through twice, it wasn’t quite deep enough to pop out the tags nicely after the first cut.
I remove my tags from the cardstock & now i’m going to apply the embossing powder. The glue from these pens stays tacky for a little while, so don’t worry if the glue looks dry, the powder will still stick.
I’m using an old jar of Recollections clear embossing powder, I’ve had it for a few years and it still works! I apply the powder pretty thick and move it around so all of the glue gets covered. I dump the excess powder back in the jar once I’m done applying it to all the tags.
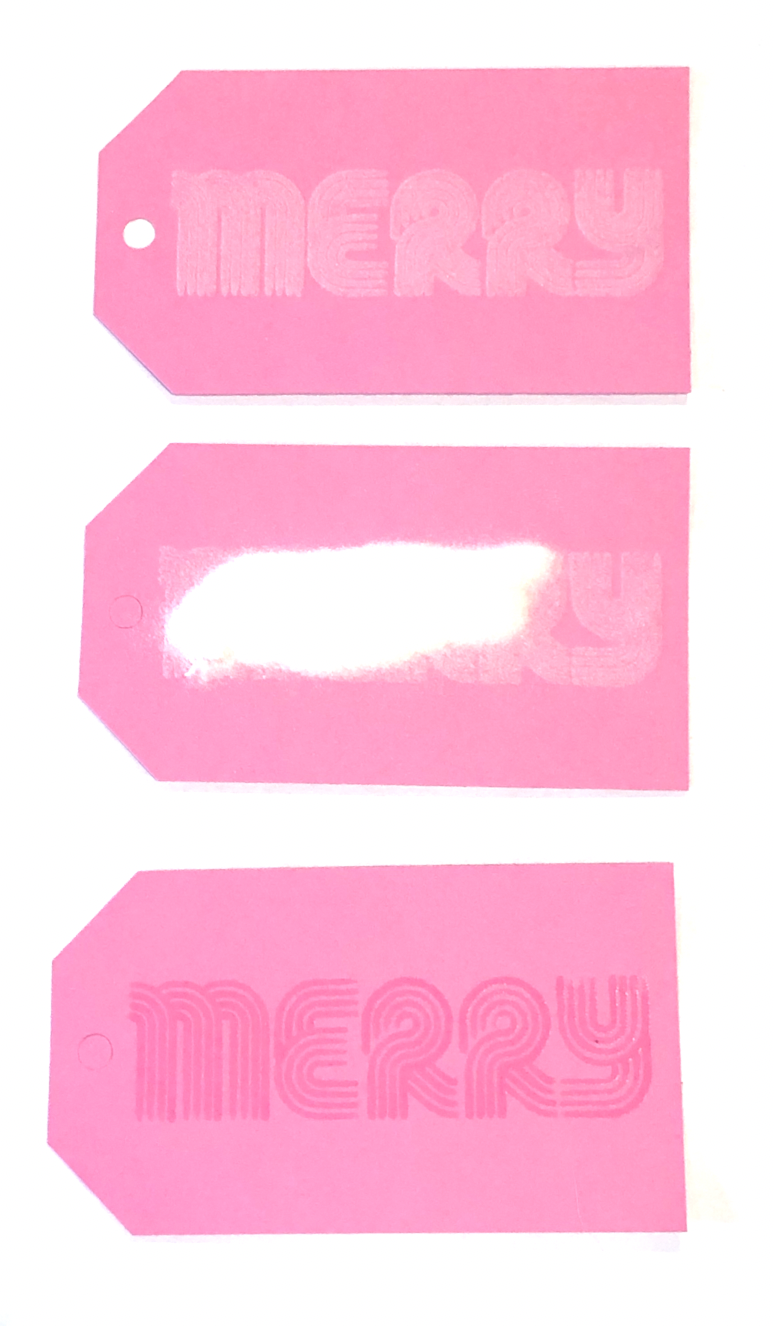
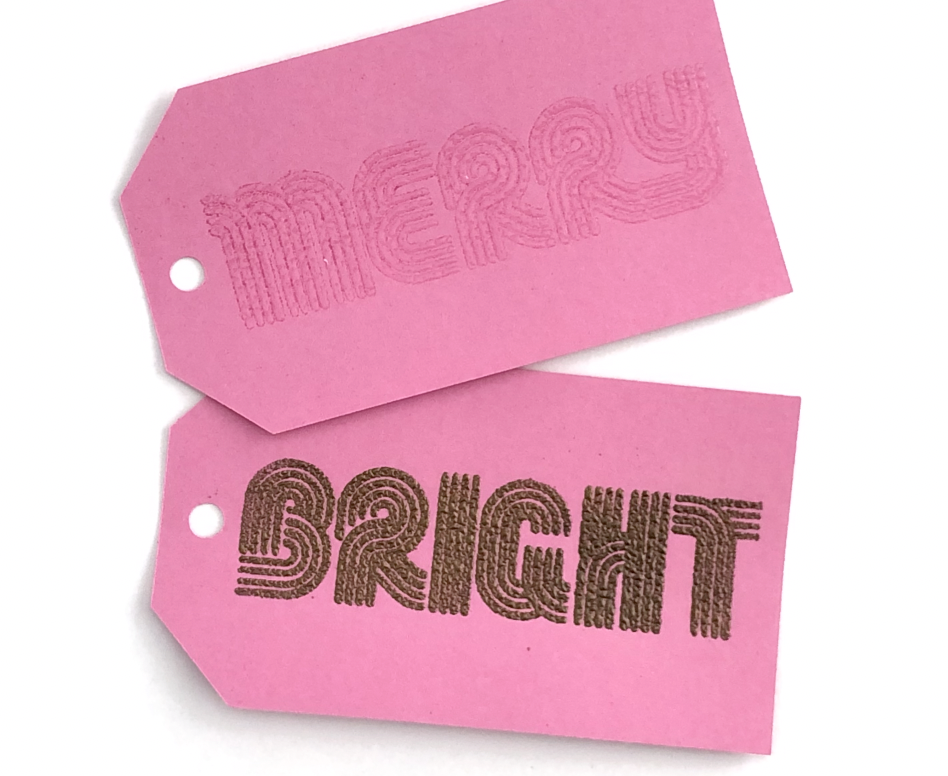
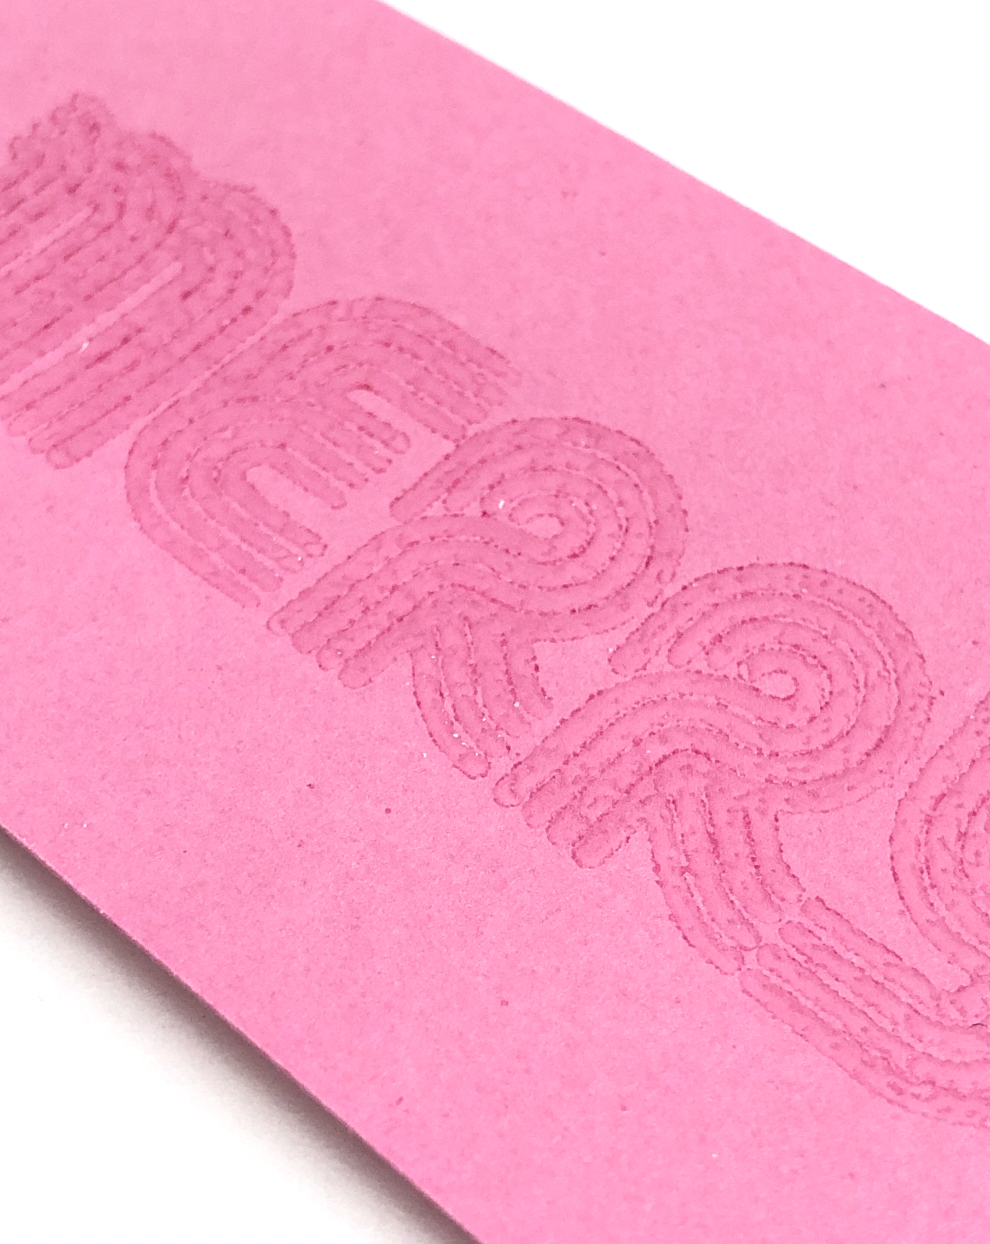
(Top) Clear Powder applied, (Middle) Clear Powder being applied, (Bottom) No powder applied, only glue
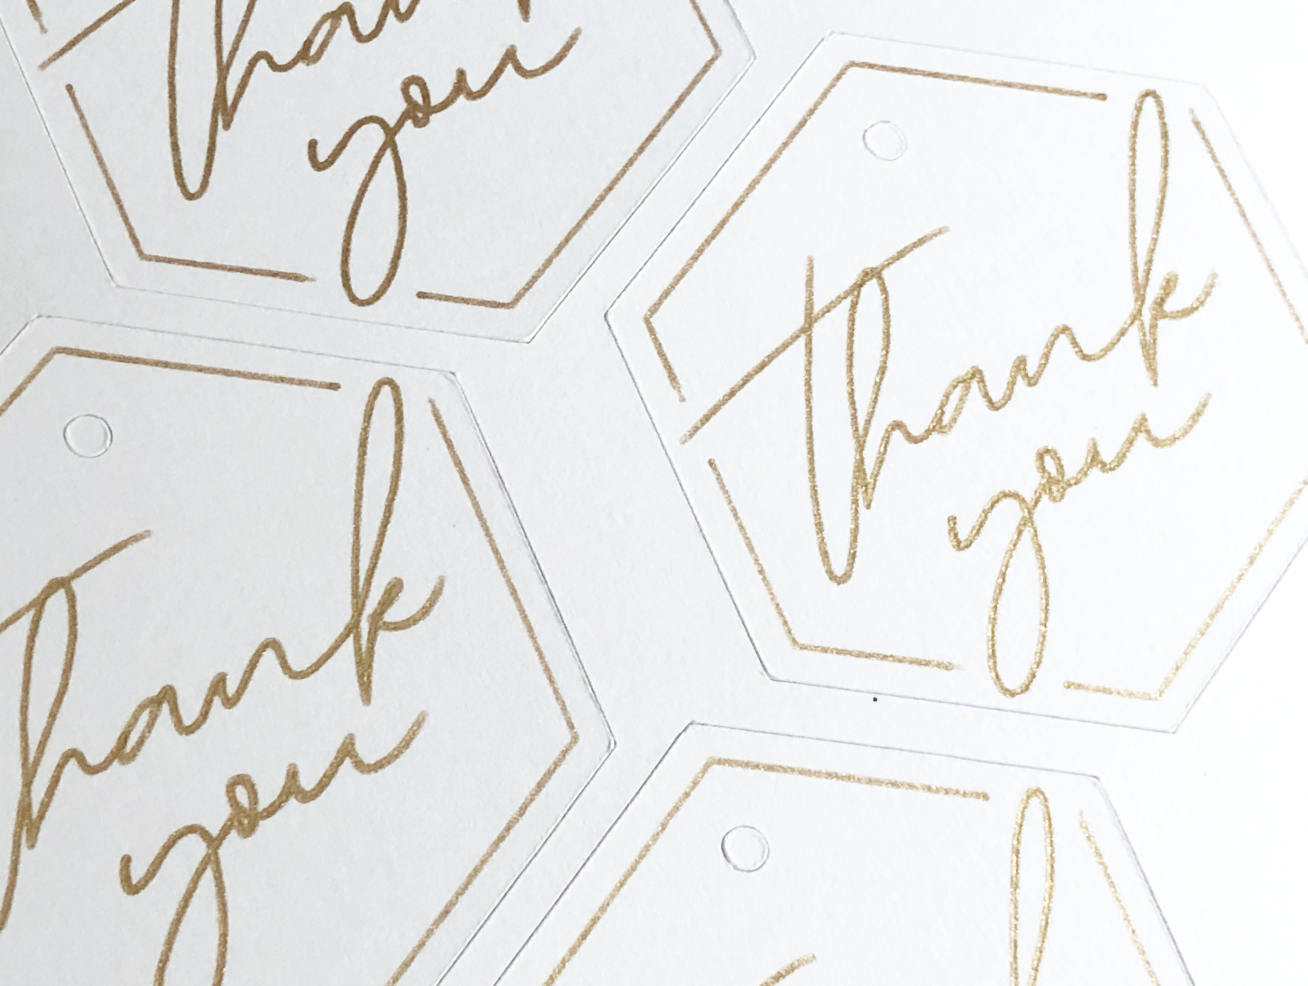
I apply some heat to it with my heat gun. The powder melts and I’m left with almost like a clear gel-like finish. It’s raised and also very shiny.
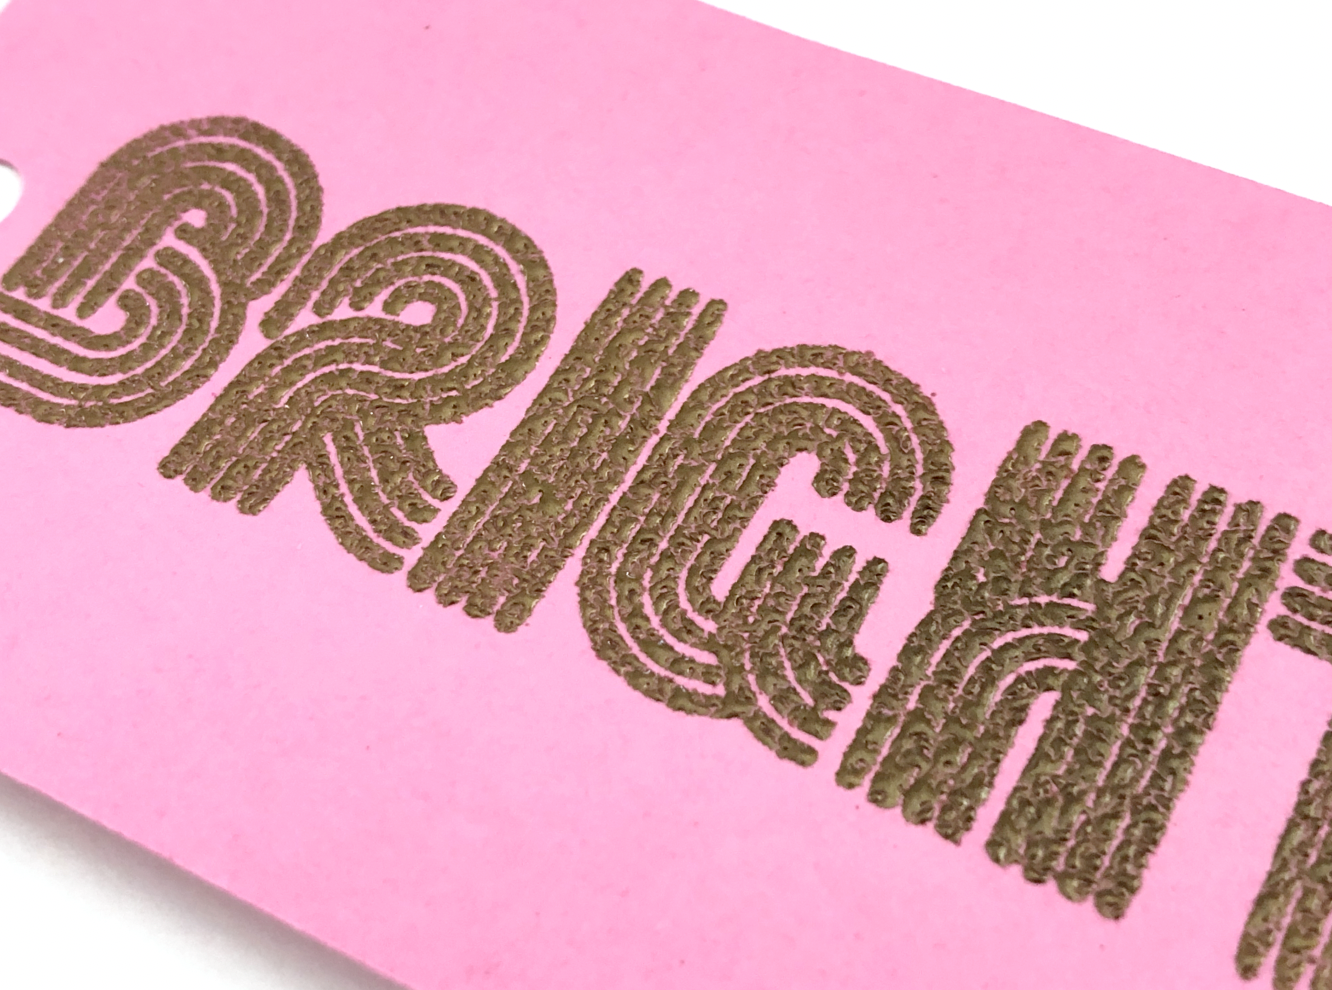
Next I tried the gold powder that came with the Glue Quill set. I applied it the same way as the clear powder. This one is kind of disappointing. I was expecting a pretty metallic gold, but this one is very drab and not metallic at all. I will be on the look out for a better gold embossing powder.
But this is another way to add some texture and dimension to gift tags or cards using your Silhouette machine!