Cricut users have been asking for an offset feature for years and Cricut finally announced offset is available in Design Space.
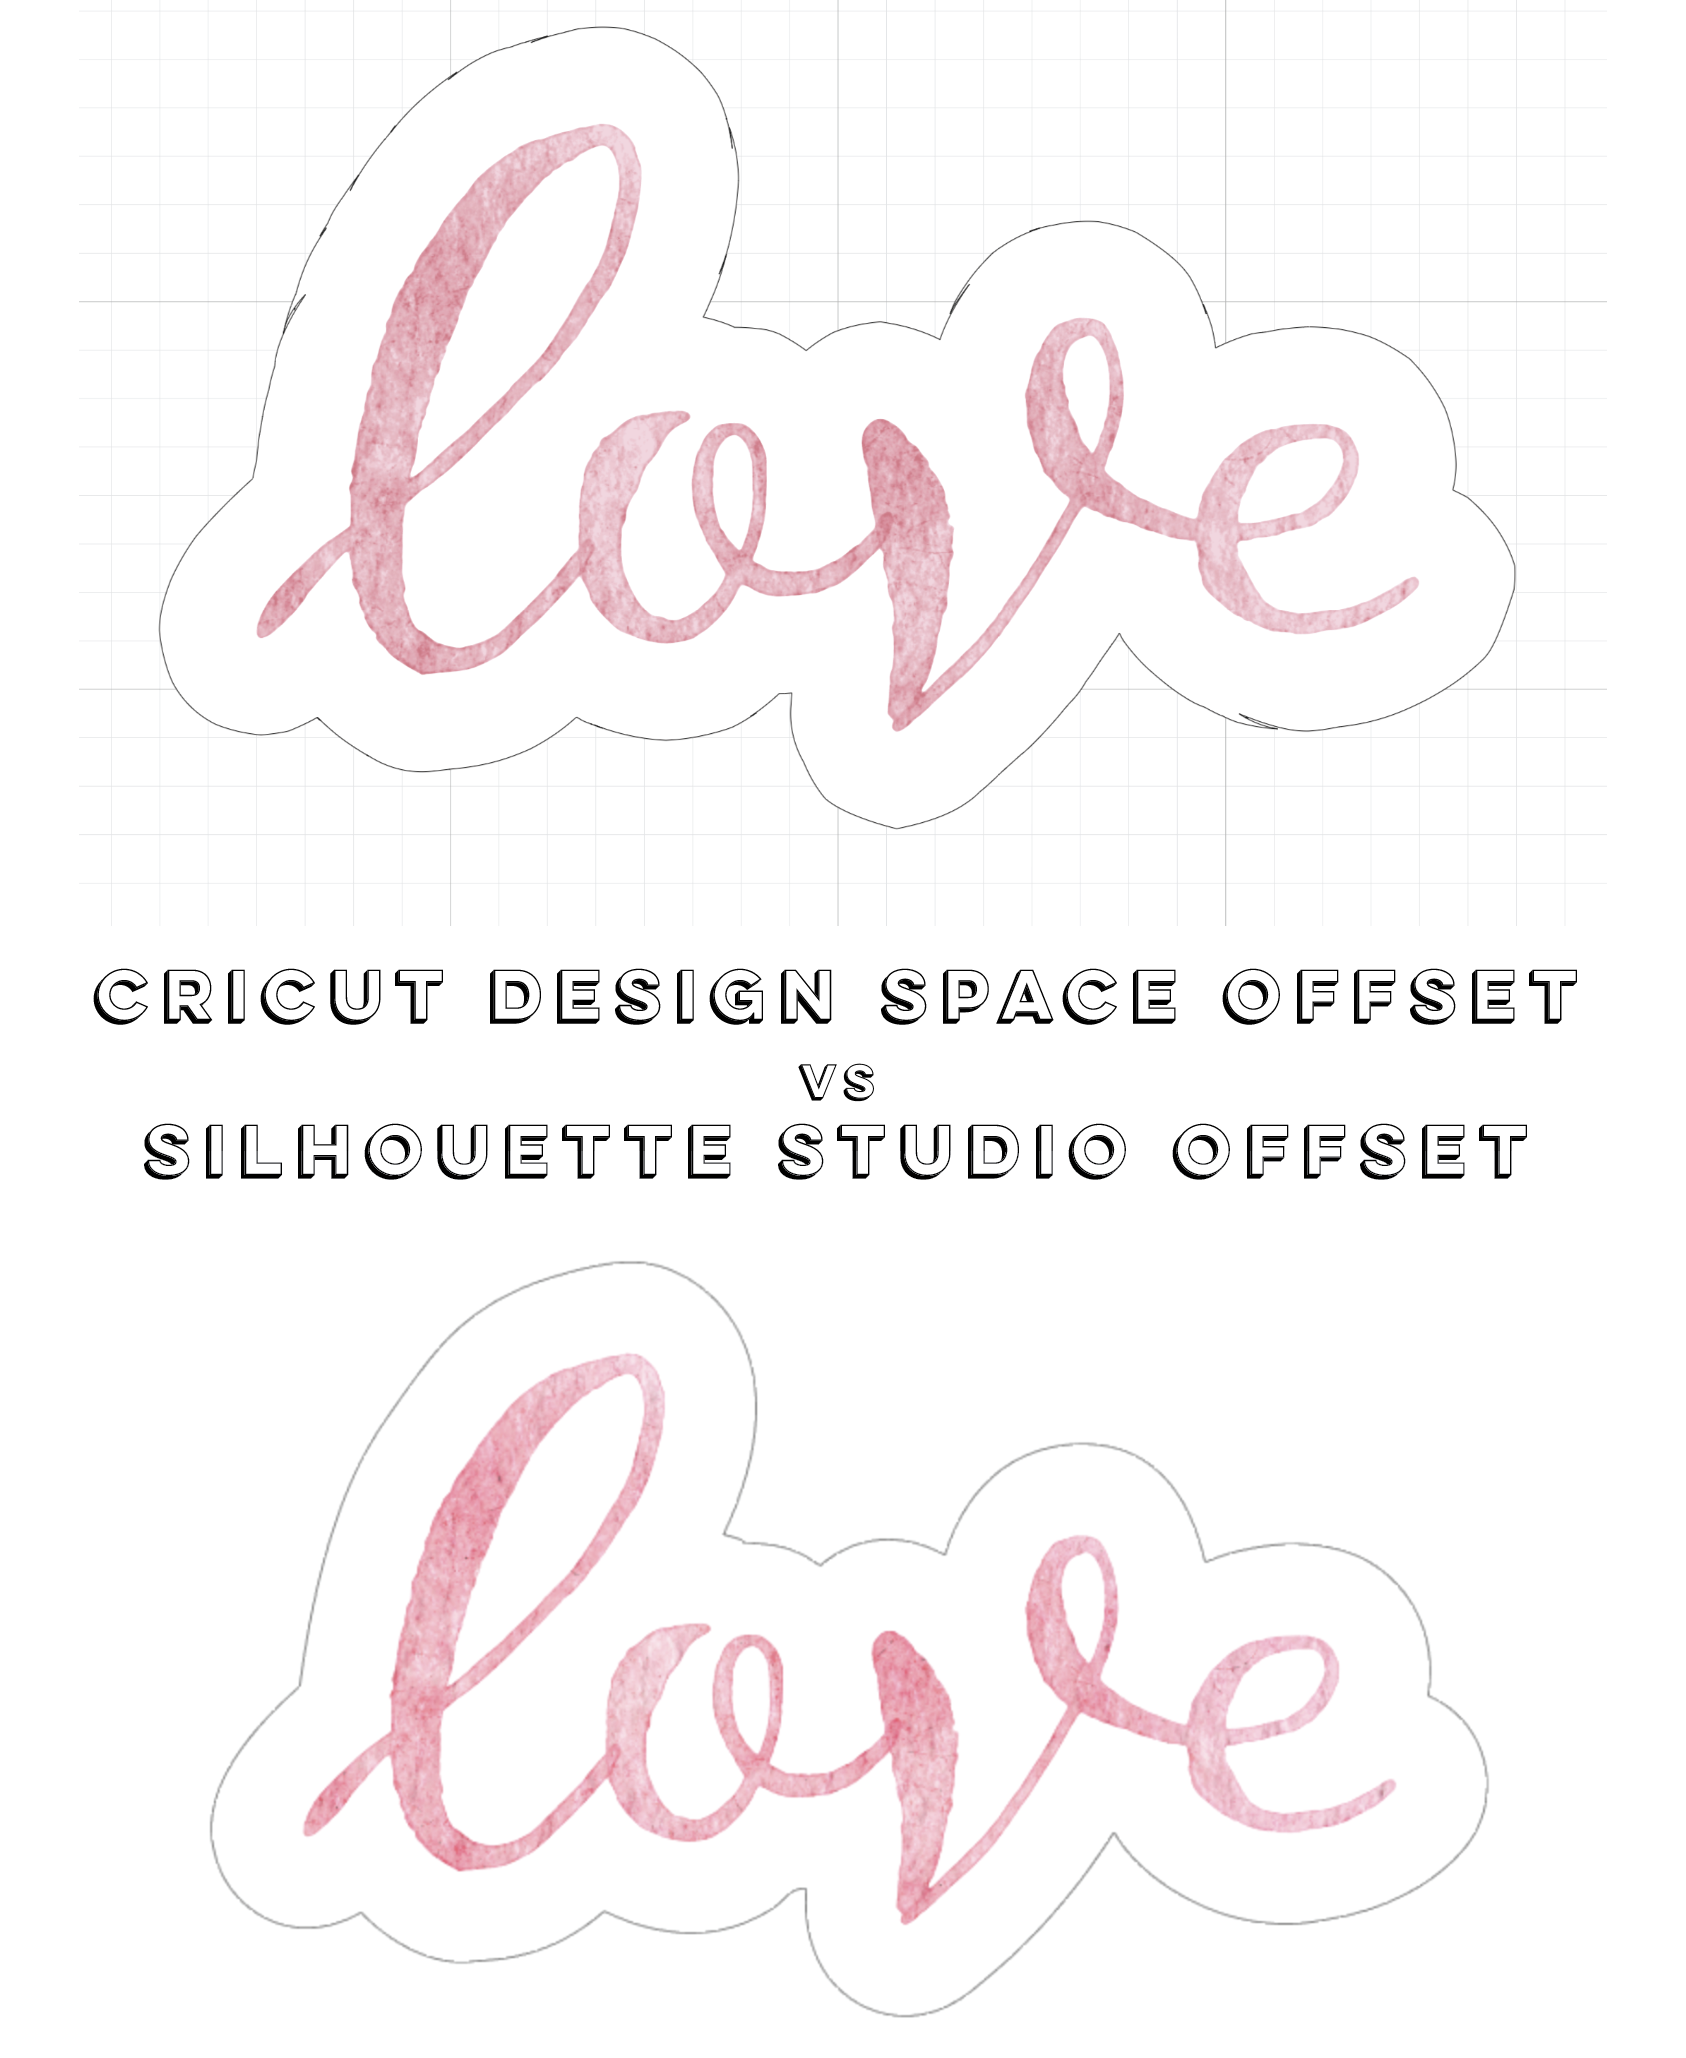
Here’s a quick little comparison of the offset feature in Cricut Design Space vs in Silhouette Design Studio.
Offset in Cricut Design Space
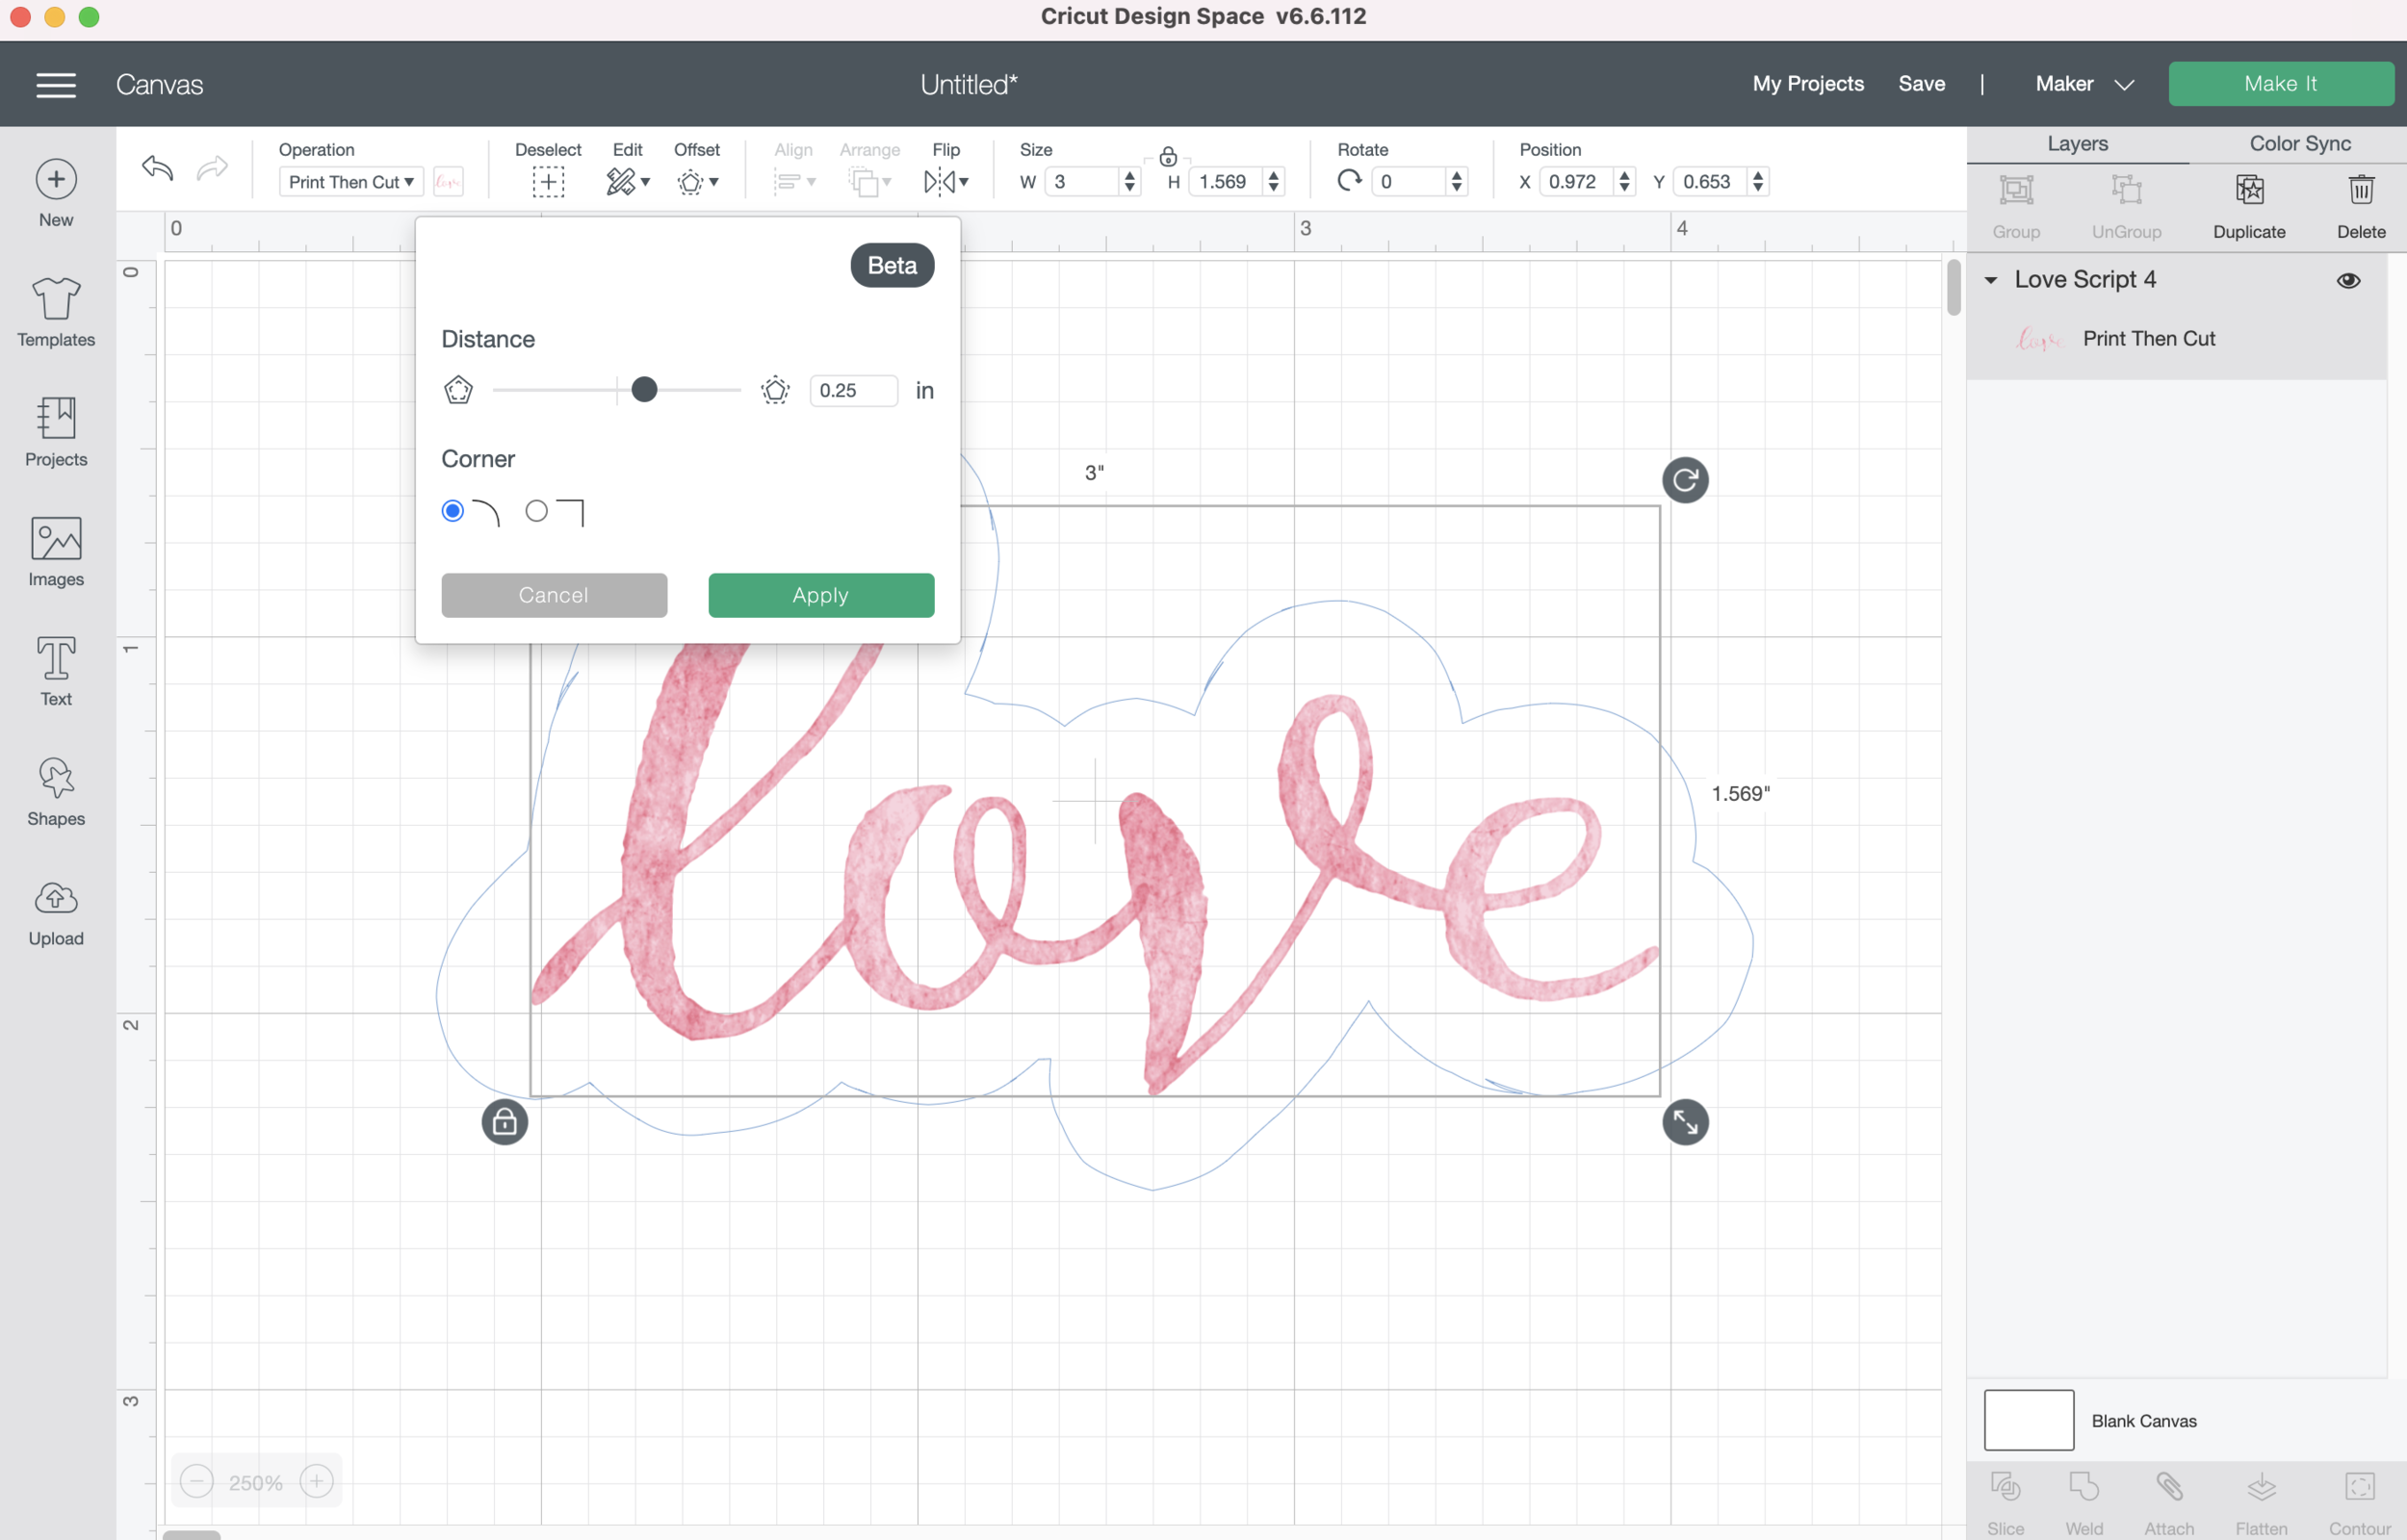
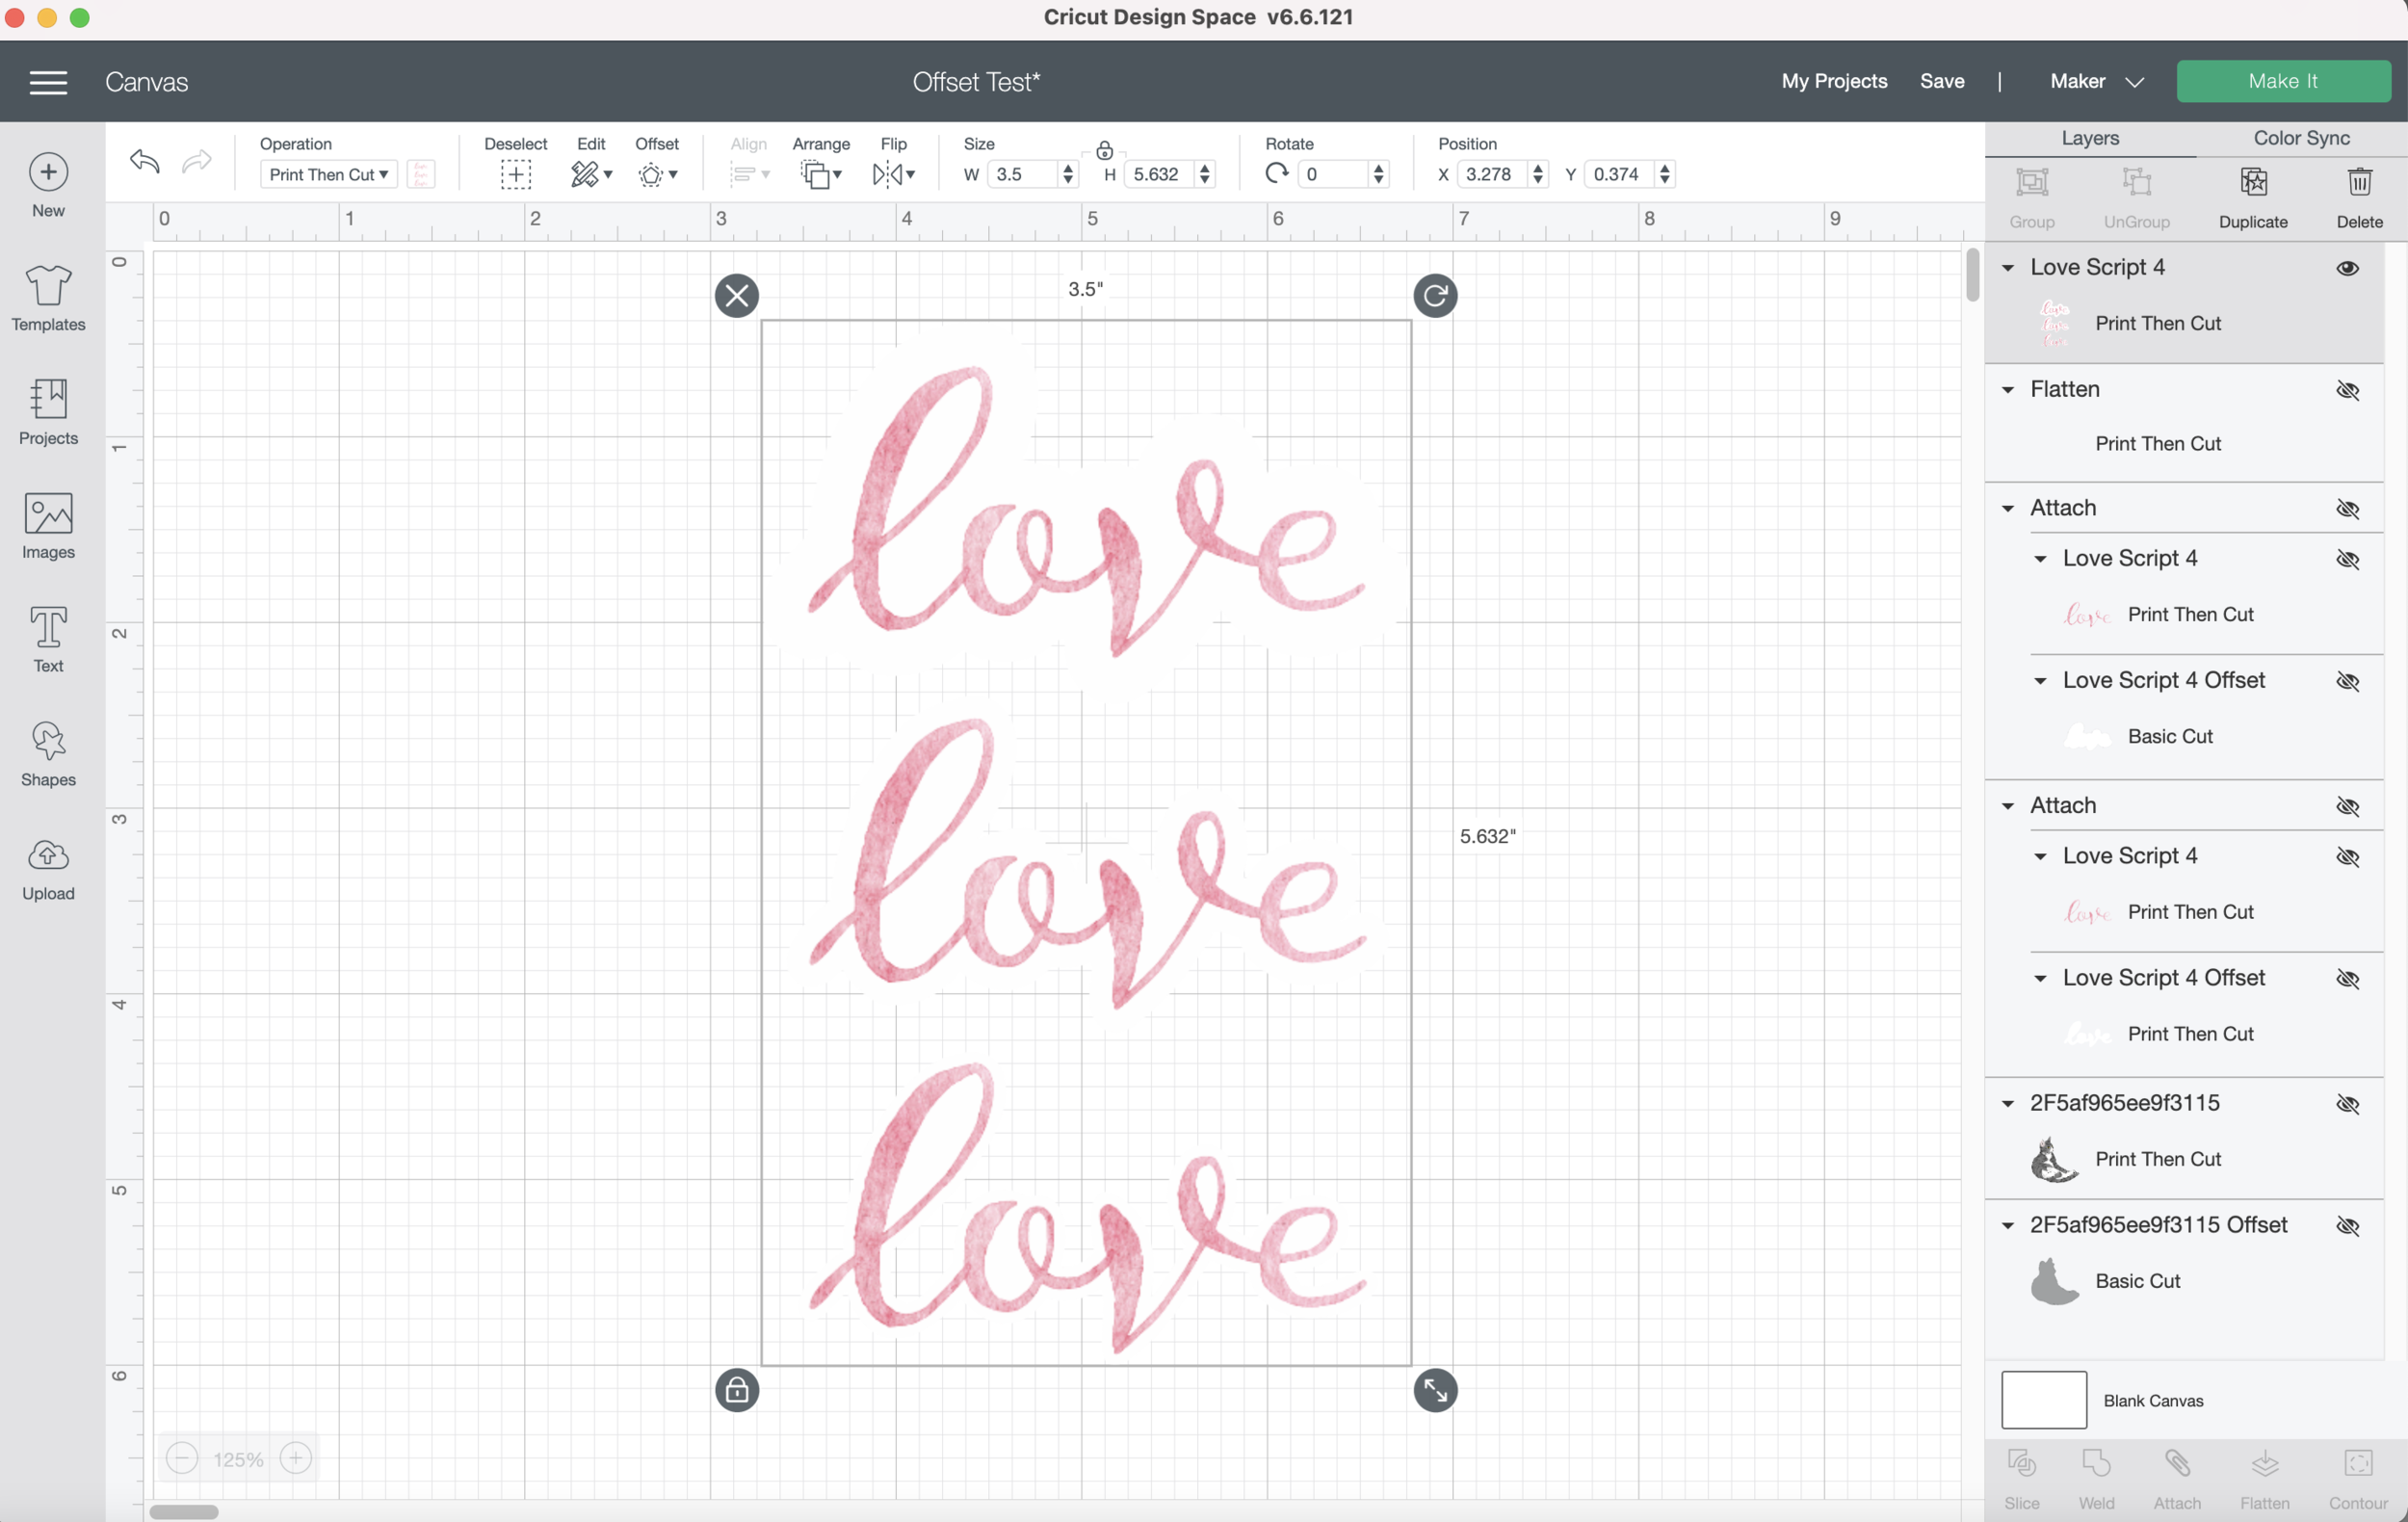
For the offset feature in Cricut Design Space I’m using the most current version to date 6.6.112. According to the Offset pop up window this feature is still in Beta.
Some things to take note of for using offset in Design Space:
You MUST be in the NEW Canvas Style, it is not available in the Classic Canvas setting. So that’s a bummer when you have to switch your project to Classic Canvas when the New Canvas is being glitchy (which seems to happen pretty frequently in past versions of Design Space, we’ll see how the newest update has improved).
It is currently only available in the Desktop version of Design Space. That’s a real bummer for the sticker makers who want to do everything on their iPad or Android Tablet.
To start, I uploaded a PNG file of a watercolor design I made using Procreate. One of the things I love about watercolor are the rough little edges. But I don’t necessarily want the rough edges on my cut line. Let’s see how the Cricut offset feature does with those rough edges.
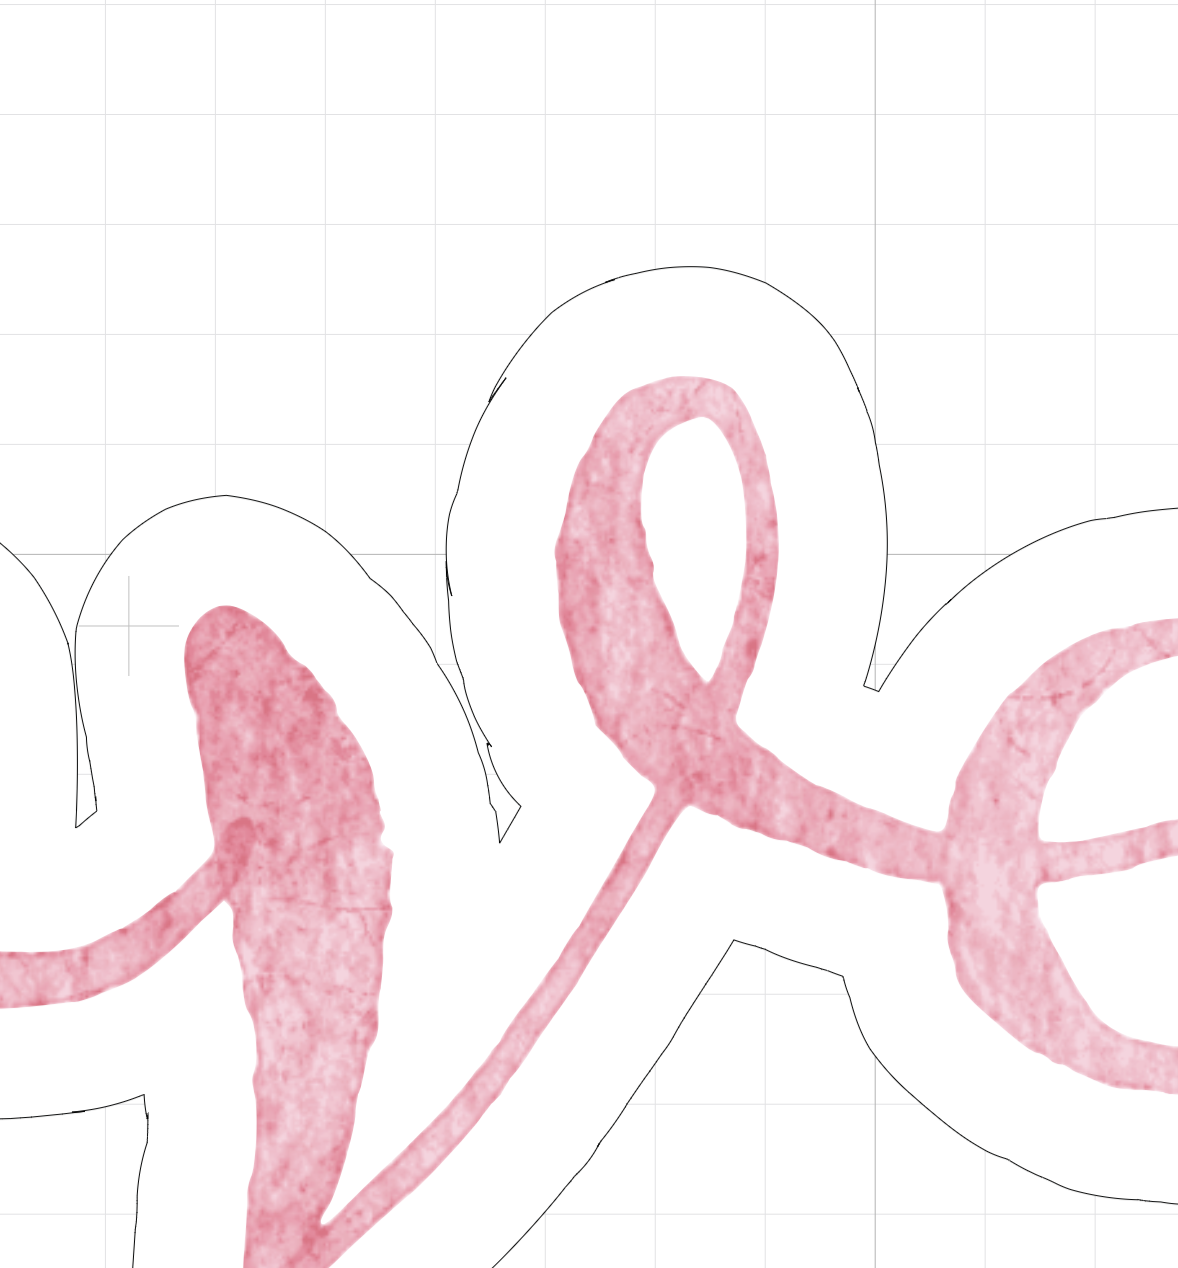
The default offset appears to be 0.25 inches. There are some obvious little bumps and some weird little jagged spots. I don’t see any kind of smoothing option, maybe something they could consider adding in the future.
Next I’m going to try to make the offset a little narrower, I’m going to use 0.125 inches (That’s 1/8 of an inch). I’m going to use the slider to adjust the measurement. There’s still quite a bit of bumpiness and some more jagged areas on the offset line.
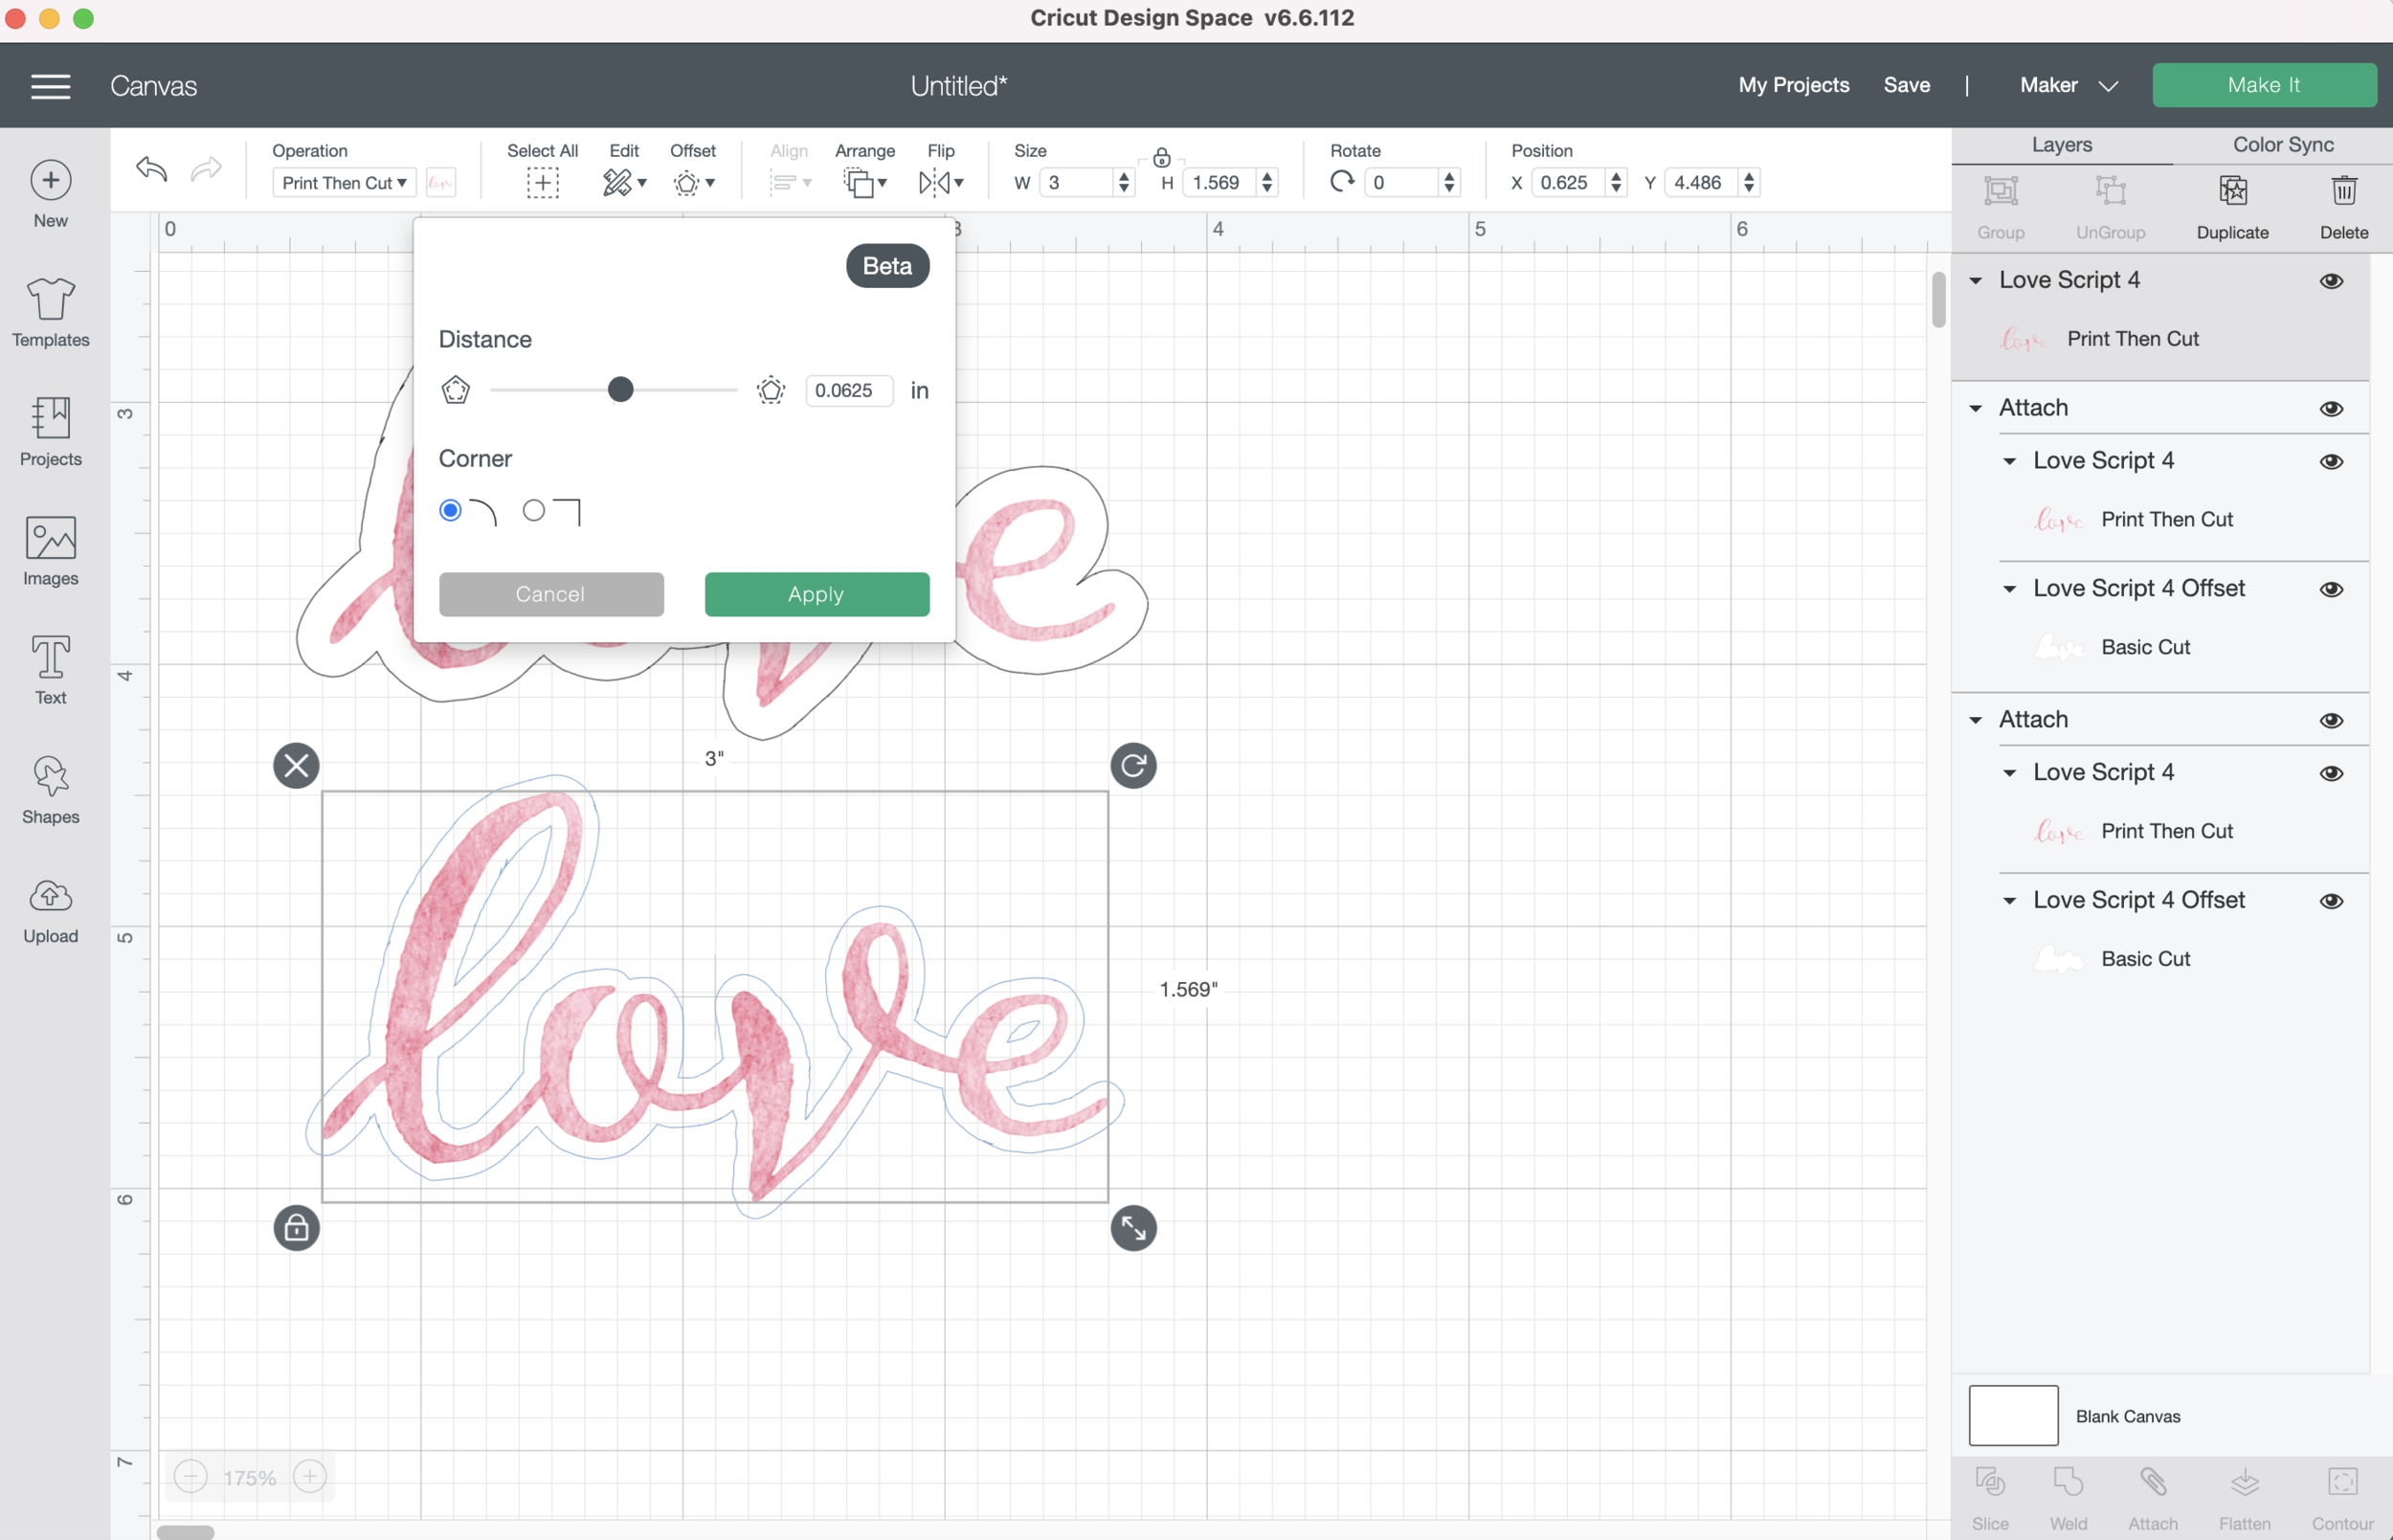
I can use the Contour function to get rid of the cut inside the “L” loop. In order to be able to use the Contour function I have to change my offset from “Print & Cut” to “Basic Cut.”
I’m also going to try an even smaller offset, 1/16 inch. I can use the slider, but it becomes more difficult to get the exact value for 1/16. It ends of being easier to just type it in the box 0.0625.
Again, I change the “Print then Cut” offset to a “Basic cut” so I can use Contour to remove the cut from inside the L loop and E loop.
Save your file and let’s get ready to test our offset cuts!
Don’t forget to flatten your artwork and the offset together!
I’m going to do a test Print then Cut. I’m using plain copy paper for my test so I don’t waste my sticker paper.
The little jagged pieces are definitely there, they don’t look as terrible once I pull the piece off the mat. But I would never sell a sticker with this kind of rough cut edge. Yes, I even used a brand new blade for this cut!
I tried this little guy too. He’s a PNG I imported from procreate. The offset is 1/16 inch. There’s a weird little cut area by his ear. I changed the line to a Basic cut line and there’s no option to use the contour feature, so I can’t even get rid of the line! I didn’t even bother printing and cutting him. I’m better off adding an offset to him via Illustrator like in my previous posts.
The offset probably works great for images with smooth edges and vectors, but that’s not always the kind of artwork I’m using. Nice try Cricut, maybe try adding a smoothing option to the offset dialog box.
Offset in Silhouette Studio
Right out of the gate Silhouette Design Studio blows away Cricut Design Space. Am I being biased? Probably. But in the short time I’ve been using Silhouette Design Studio, it has been soooo much easier for me to achieve the offsets and cut lines that I want. Another Bonus that a lot of the Illustrator keyboard shortcuts also work in Silhouette Studio. Cmd + /- to zoom in and out, Alt + Drag to copy and paste, Spacebar to pan around my canvas. I’m loving Silhouette Studio so far!
I opened the same Love PNG file in Silhouette Studio. It does make my PNG gigantic initially, but it’s not a problem to shrink it down to size.
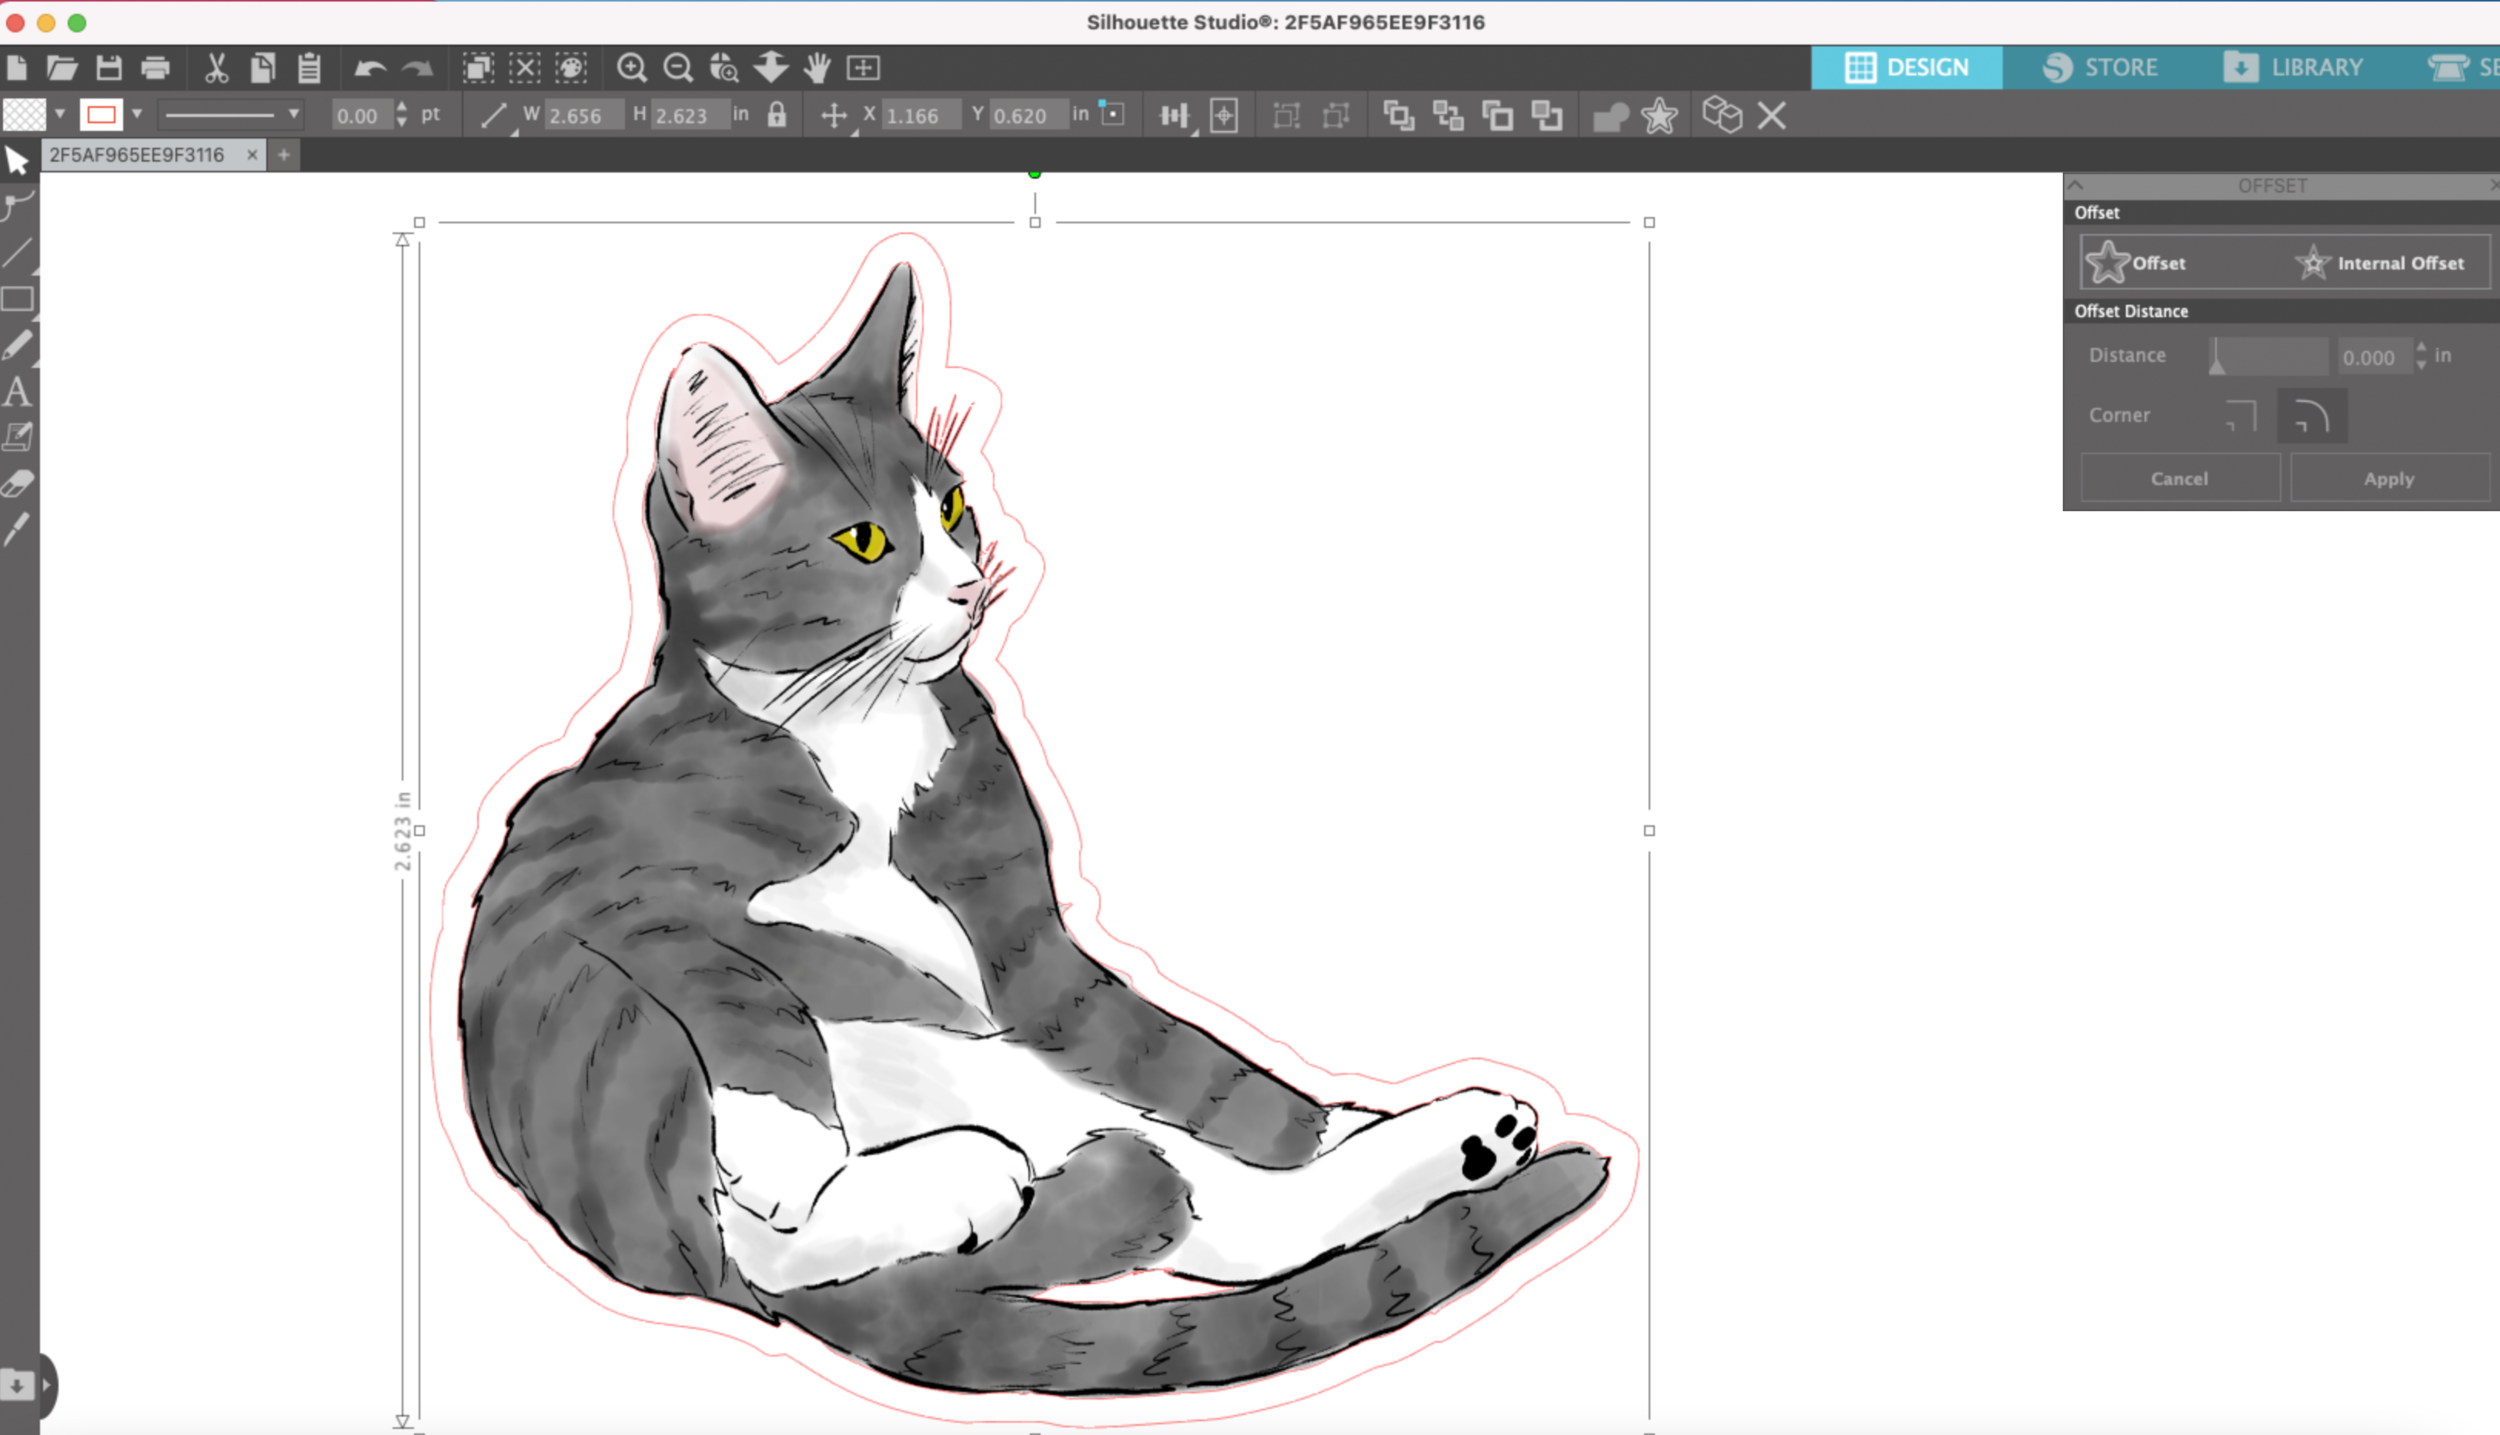
I tried the same offset measurements that I used in Cricut Design Space. I started out with a 0.25 inch Offset. You will need to select if you want an internal or external offset instead of Cricut’s slider bar. The offset is already so much smoother than the Cricut version, no little jagged bits!
Next I tried the offset at 1/8 inch (0.125). Again, waaaaaay smoother than the Cricut version.
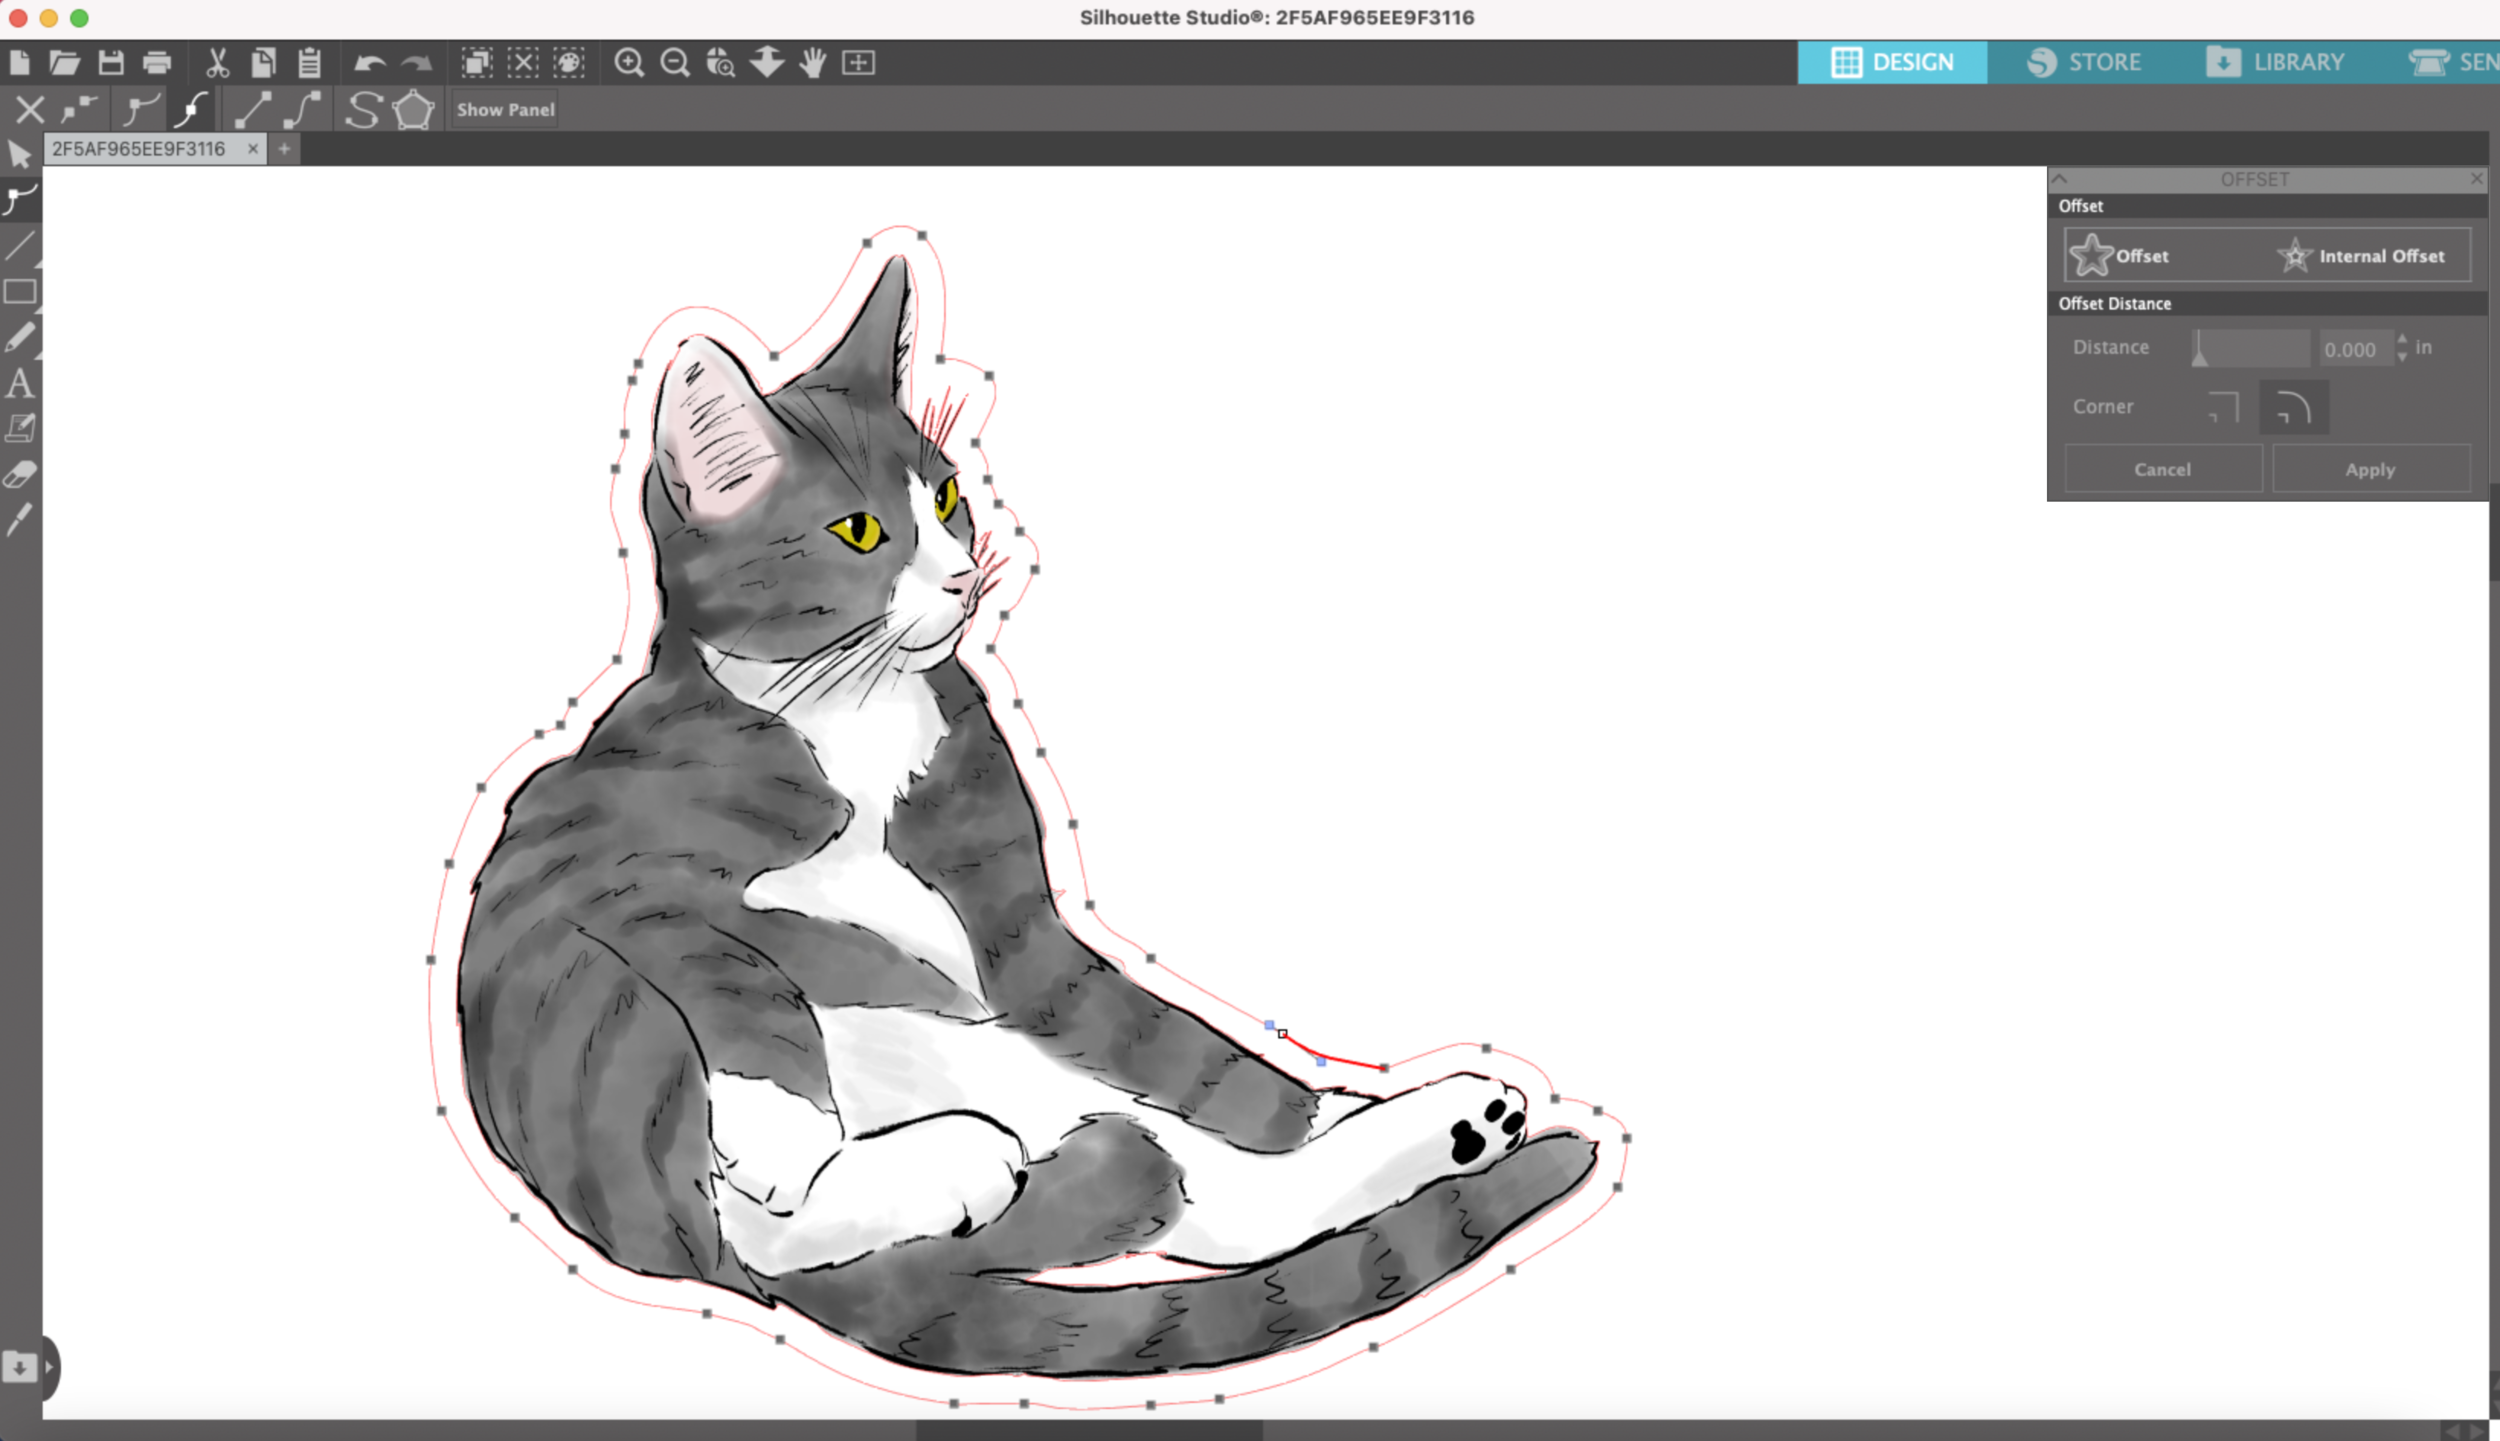
Finally I tried a 1/16th (0.0625) offset. Still much, much better than the Cricut version. I can even refine the edge more by smoothing, adjusting or deleting anchor points on my offset path in the Silhouette software.
If I don’t want to cut the loops inside some of the letters I can easily select them and press “Delete”
I even tested this little guy again, 1000x better than Cricut’s offset.
I can also refine the edges of his offset even more by using the Smooth tool, or deleting anchor points, or adjusting the anchor points.
I don’t have a Silhouette machine yet to test the cut on one of their machines. But I do have the Business Edition upgrade so I can save my file as a PNG and upload it to Cricut Design Space to test the cut.
I have to save this file with the offset as a PNG because an SVG with this type of watercolor artwork does not import correctly into Design Space.
Make sure the Offset stroke lines are set to white or no stroke so they don’t appear in the PNG file.
I select save as PNG to my hard d rive, check the transparent background box and make my DPI 300.
Then I upload my file into Cricut Design Space as a Print then Cut image. I do have to resize again, for some reason PNGs are huge in both Design Space and Studio
Look how much smoother and more refined the offset cuts are! I can’t wait to get my Silhouette machine to test how it cuts!
No little jagged edges!
Sorry for the curling, these a just plain paper that I peeled off my blue mat.
It’s Silhouette Studio for the win! The offset lines in Silhouette Studio already start out much smoother than in Cricut Design Space and I can always smooth them out even more or make adjustments to the offset lines in Silhouette Studio.

