Hi Everyone! This week I’m going to show you another way to make an offset for a sticker using Adobe Illustrator. This method uses the Image Trace function.
All you need is your sticker artwork and Adobe Illustrator. Let’s get started!
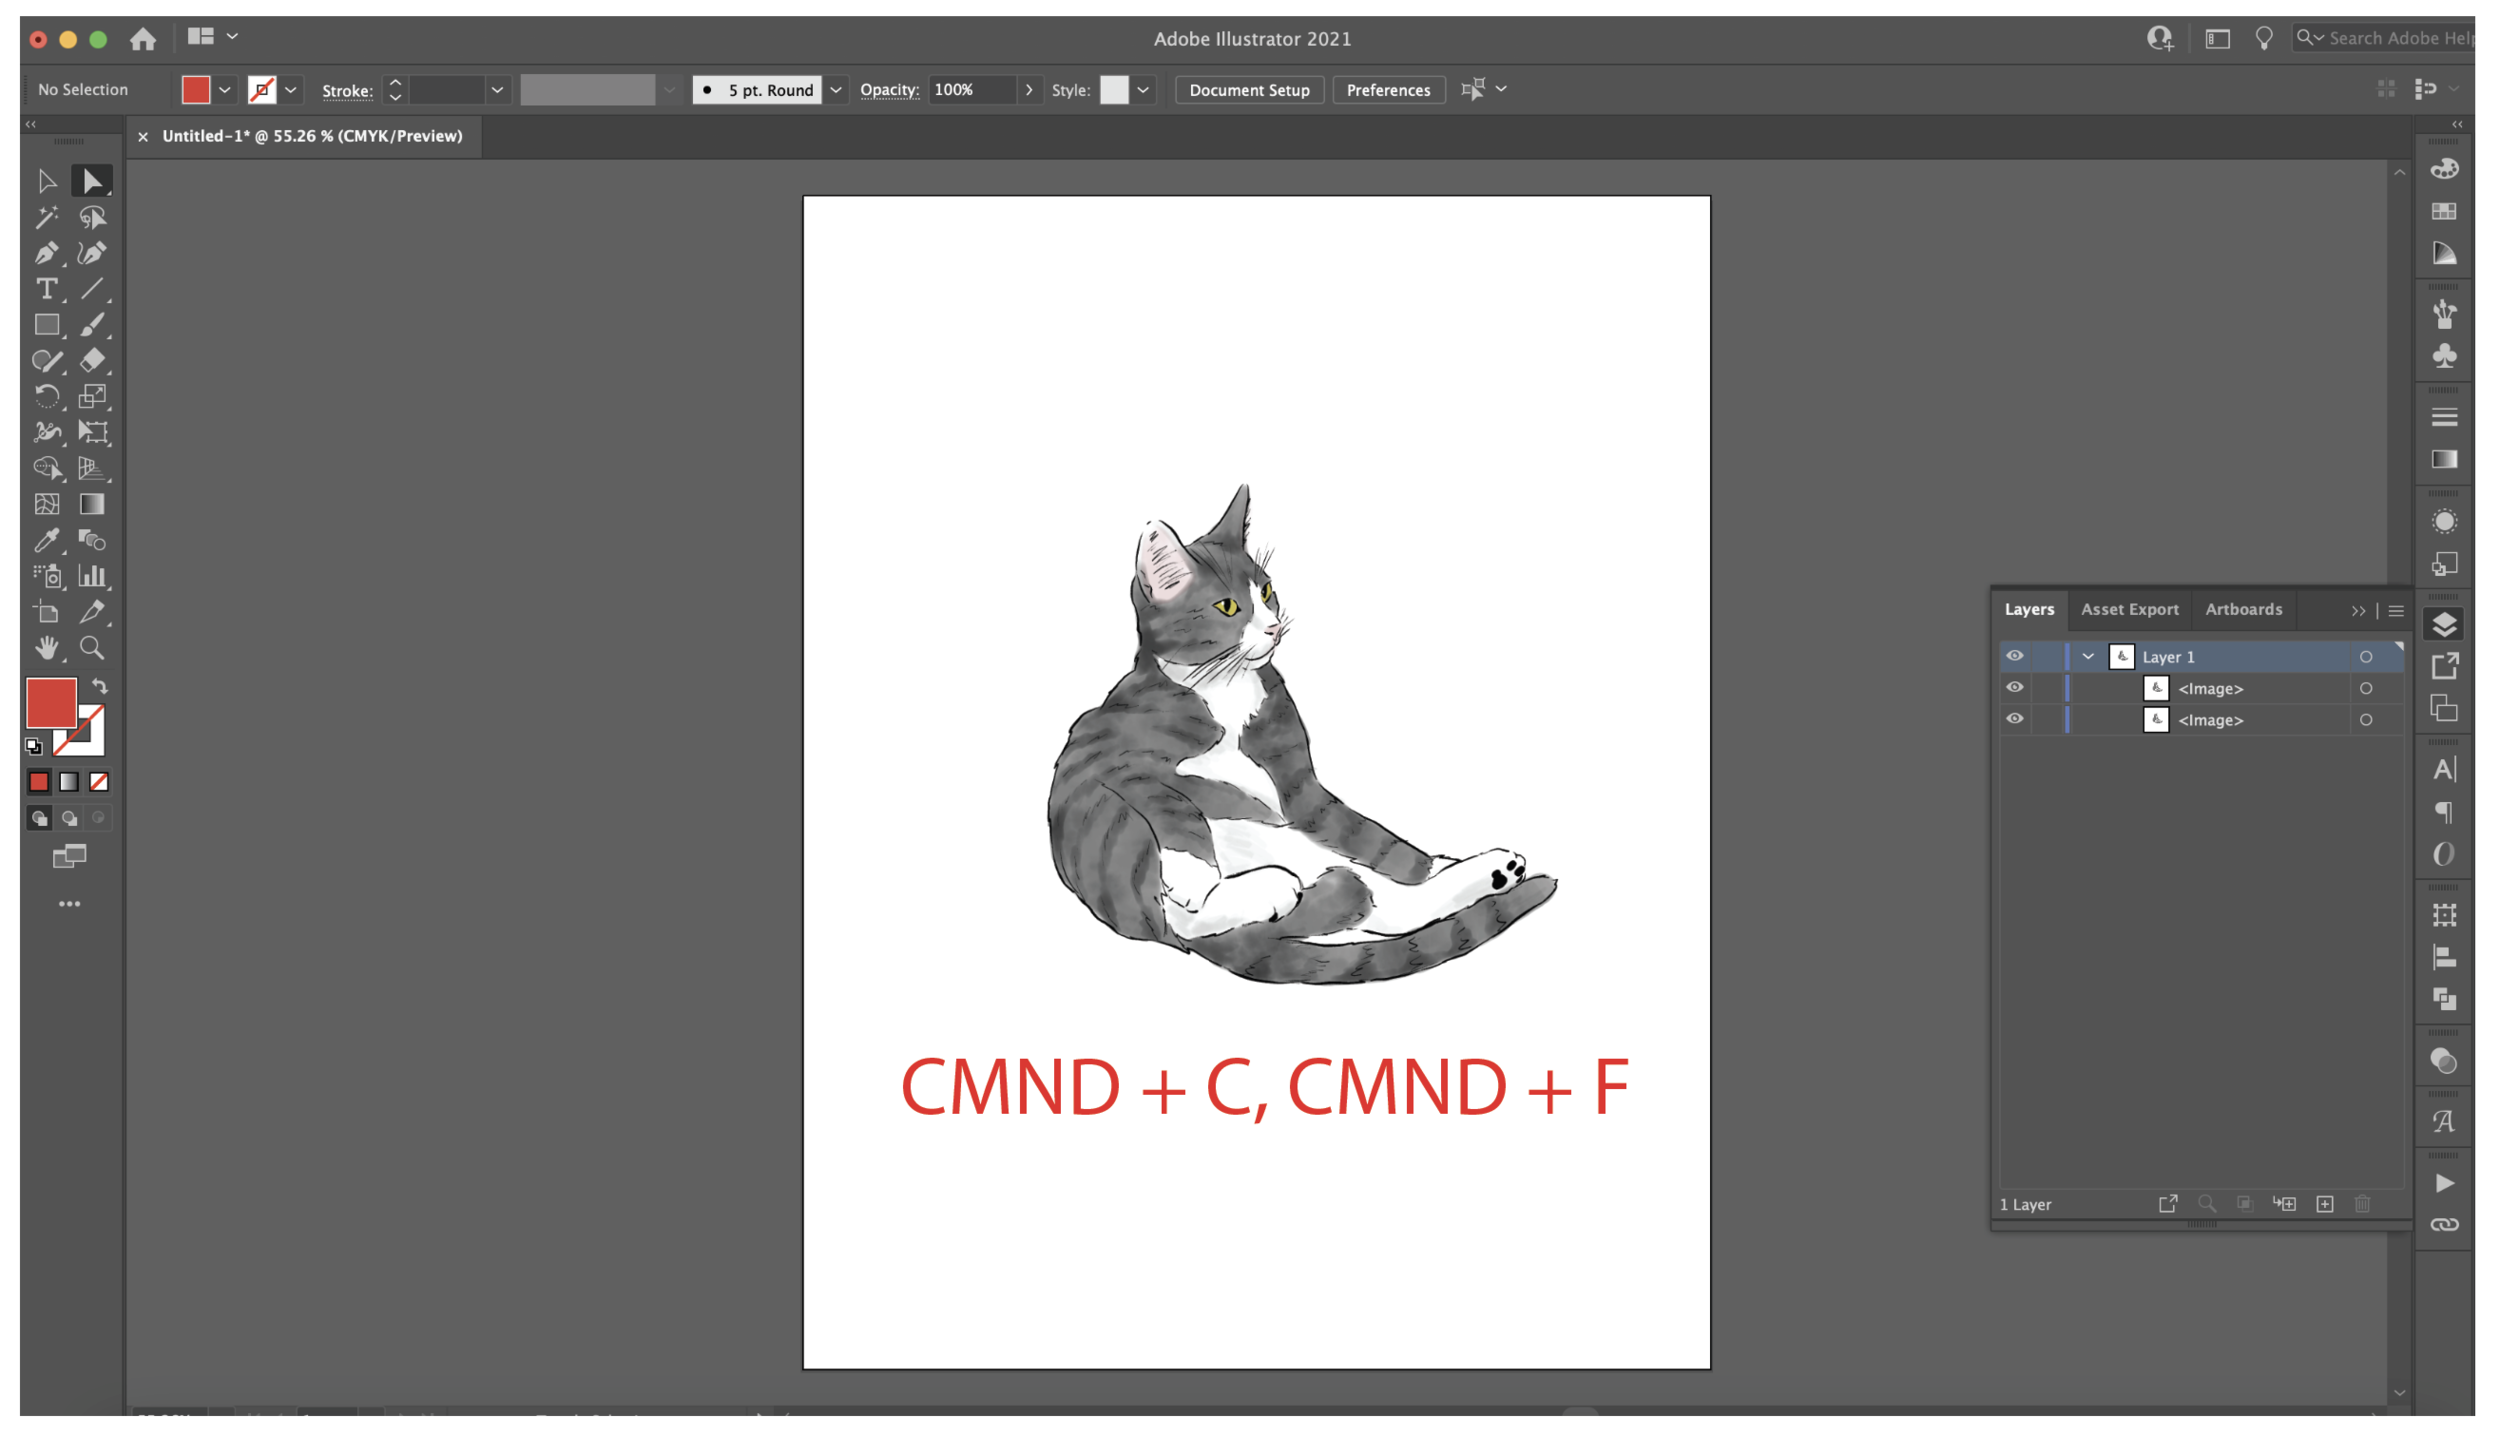
First I place my artwork onto my canvas. My artwork is a PNG file, so there’s no background.
I’m going to make a copy of my artwork directly on top of the original (Command + C ,Command + F)
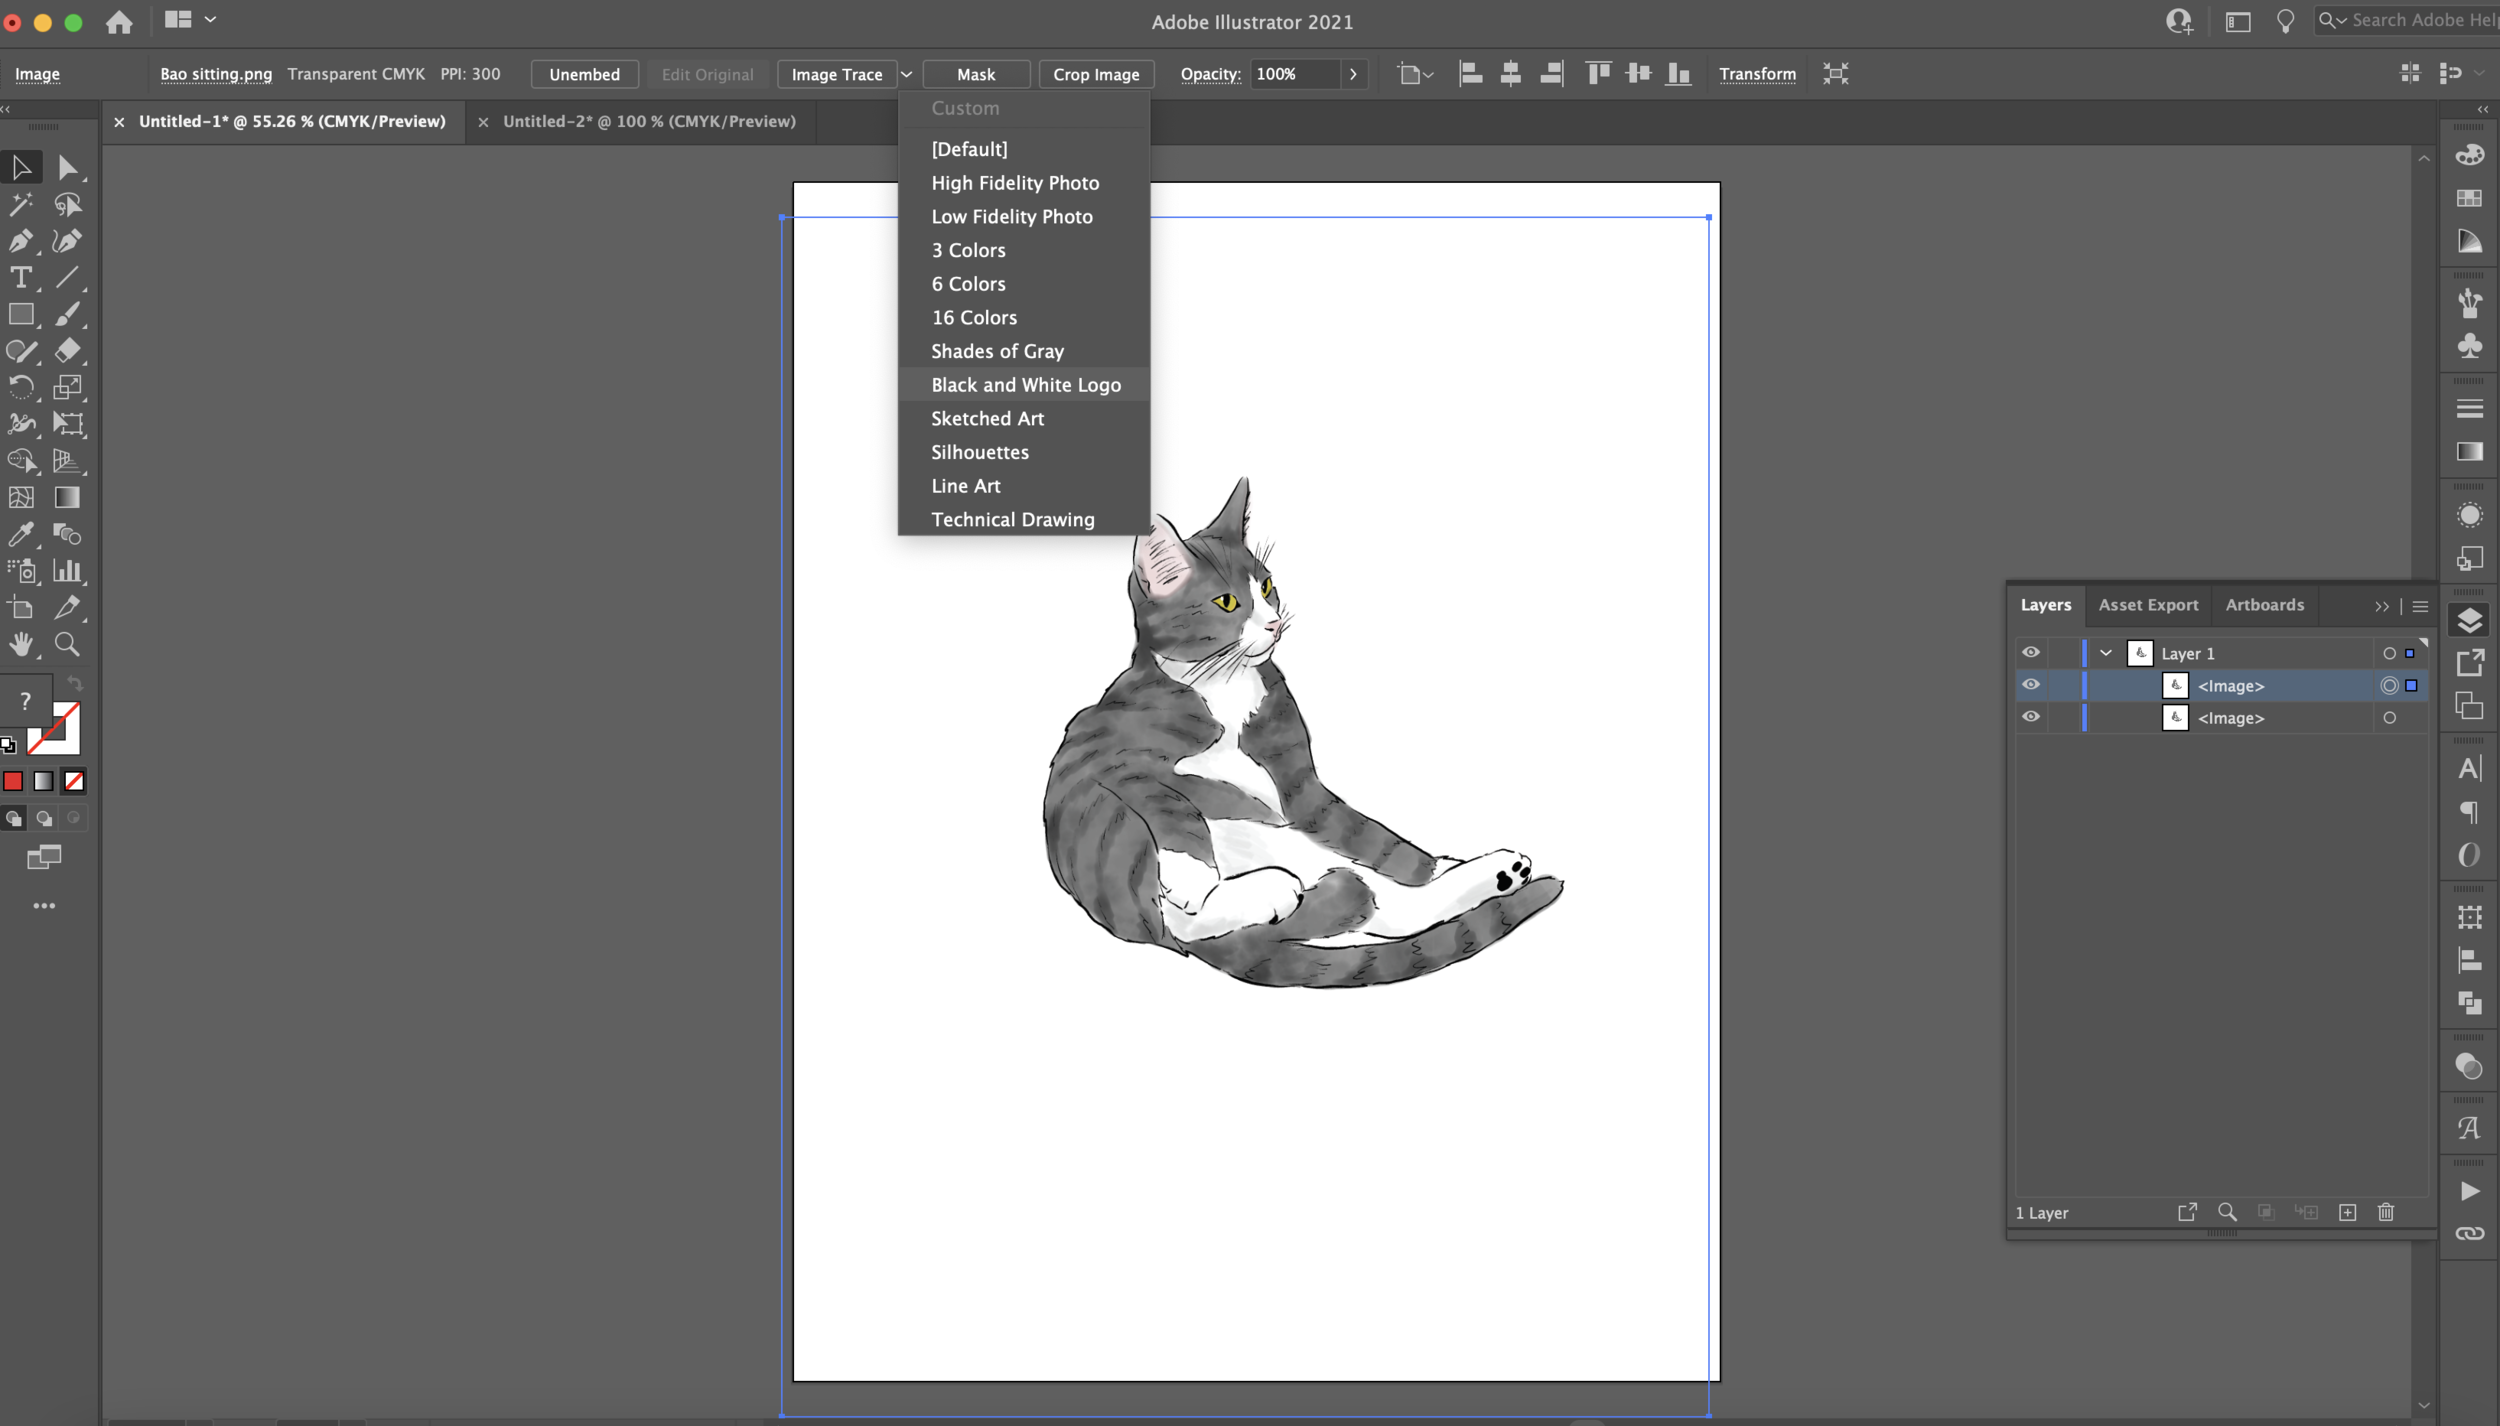
Select the top image with the black arrow (V). The Image Trace button should appear in the toolbar across the top of the window. Click the down arrow in the Image Trace box and select Black and White Logo.
After it gives you your preview, select the dialog box to make adjustments.
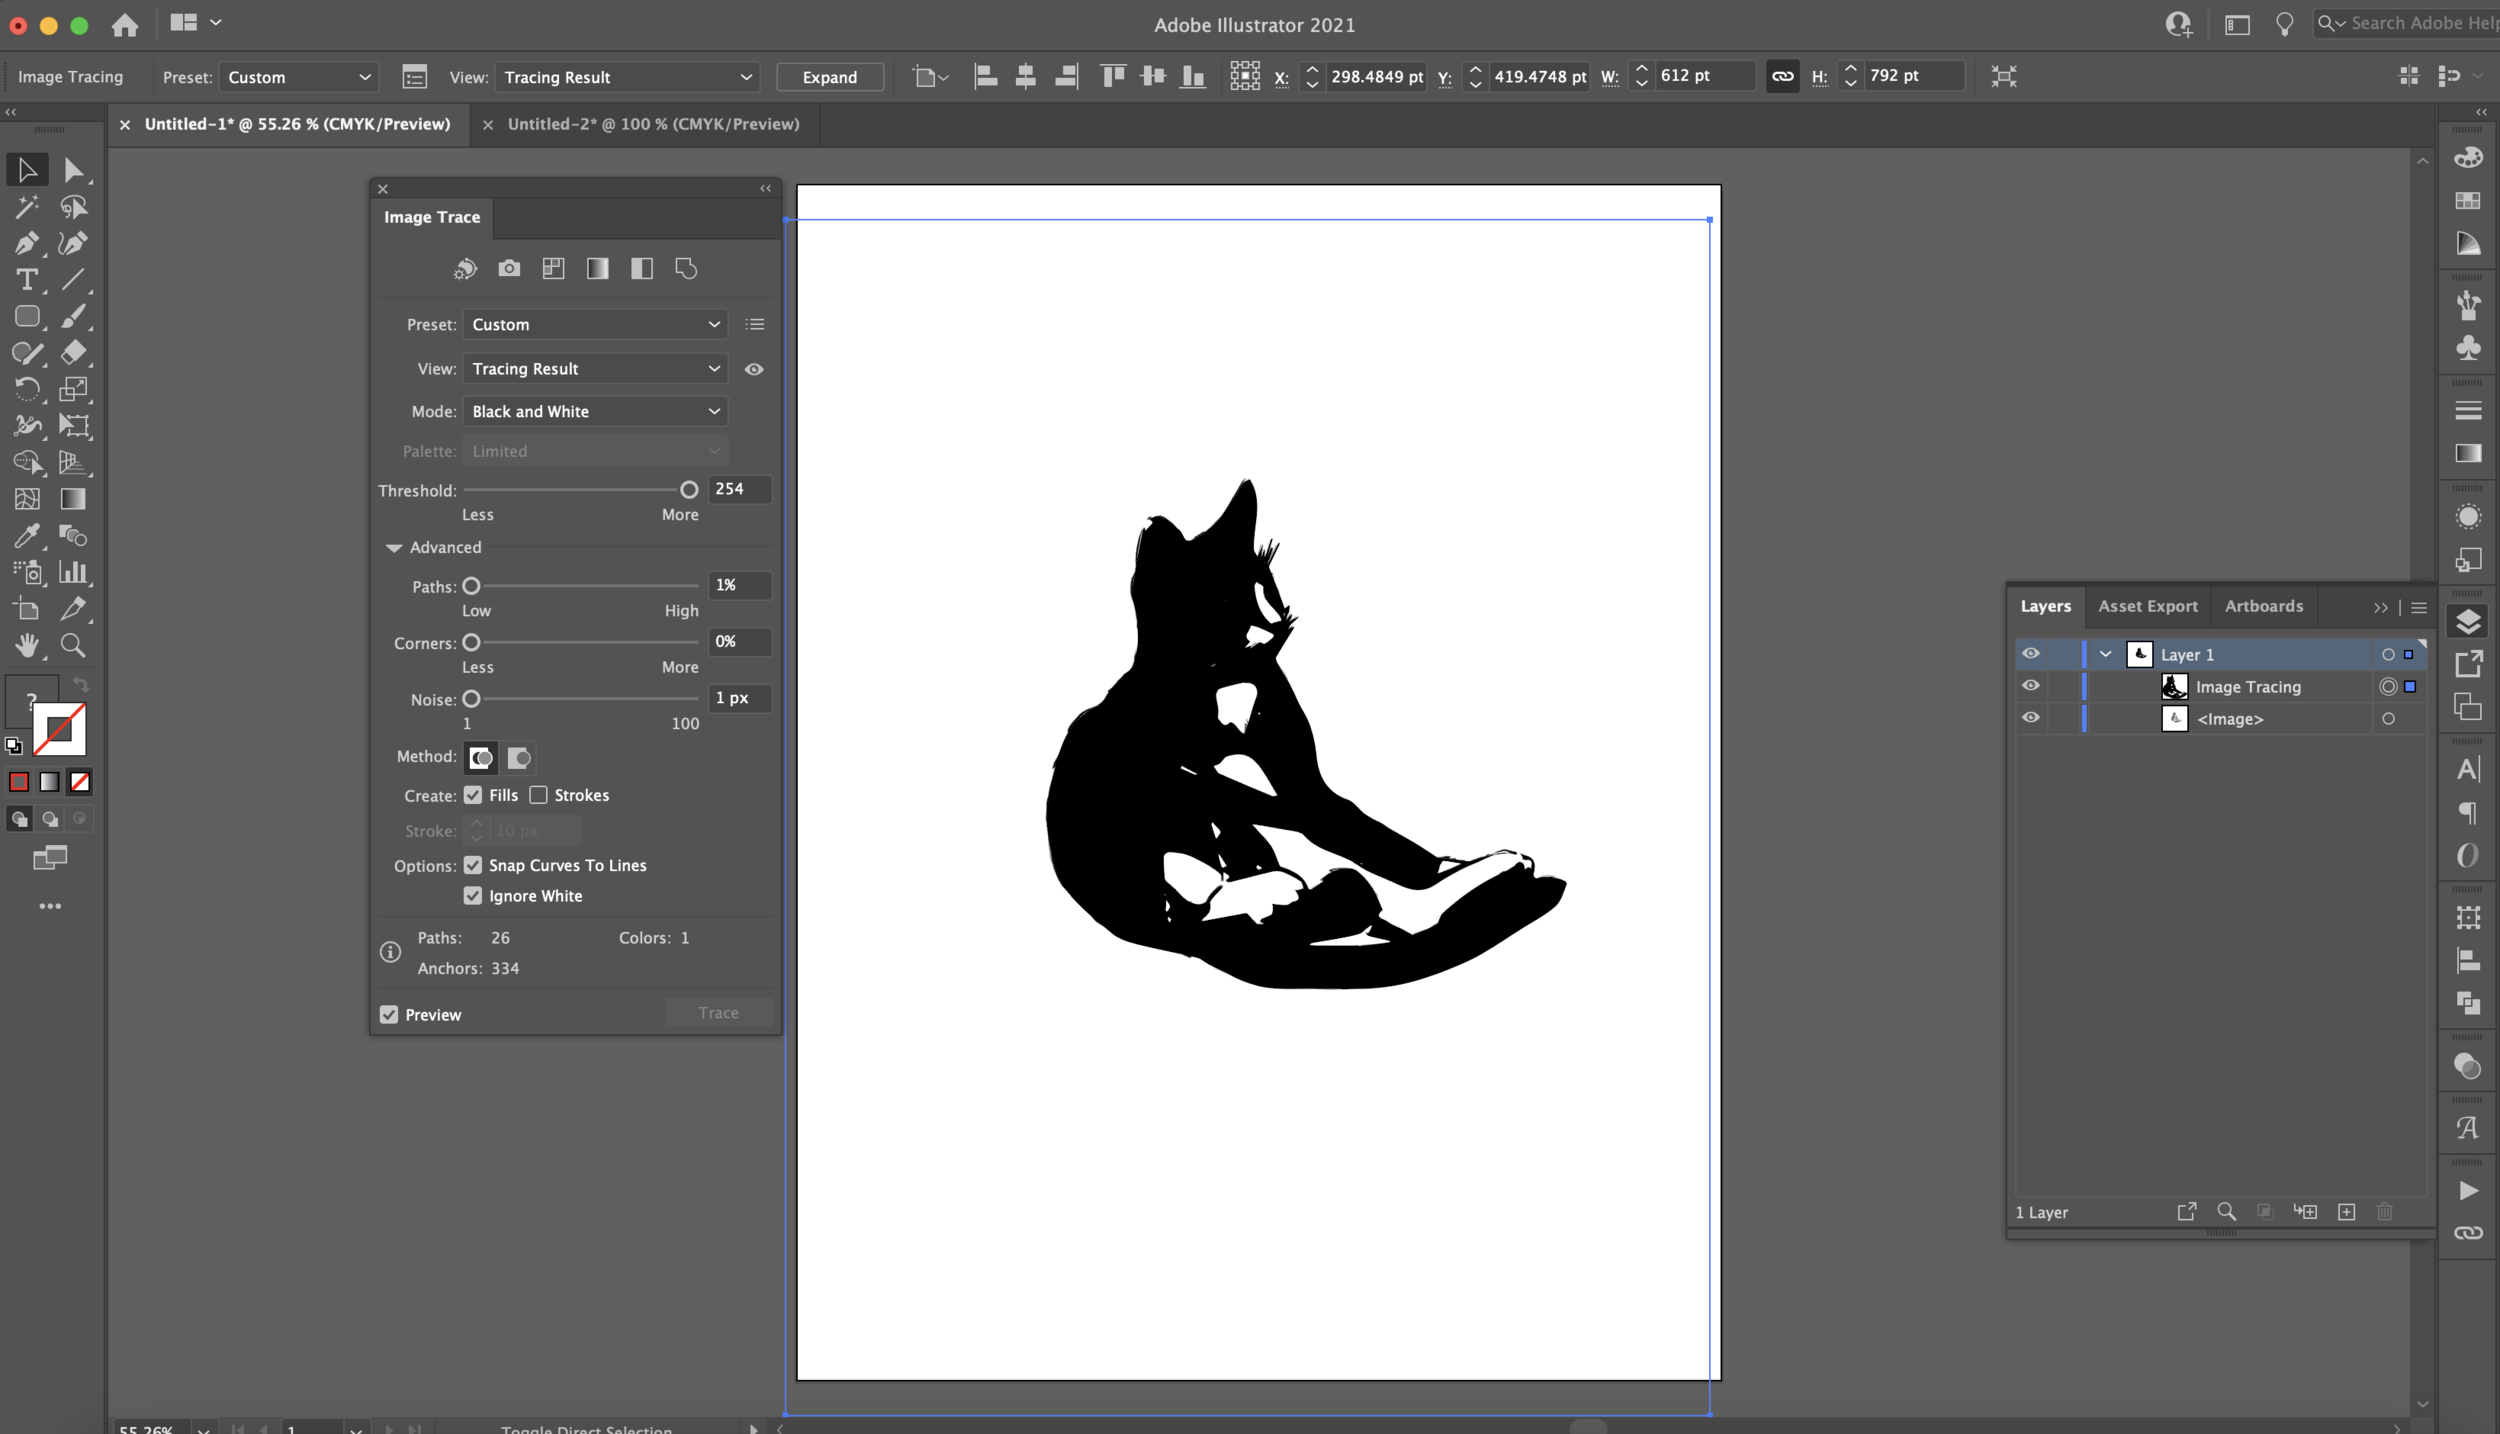
In the Image Trace dialog box, adjust the Threshold to 254 (you can either move the slider or type in the the box). Click the arrow next to Advanced and make the following adjustments:
Paths - set to Low
Corners - set to Less
Noise - set to 1
Method - Abutting
Create - check the Fills box
Check the Ignore White Box
Then click the EXPAND Button in the tool bar across the top of the window.
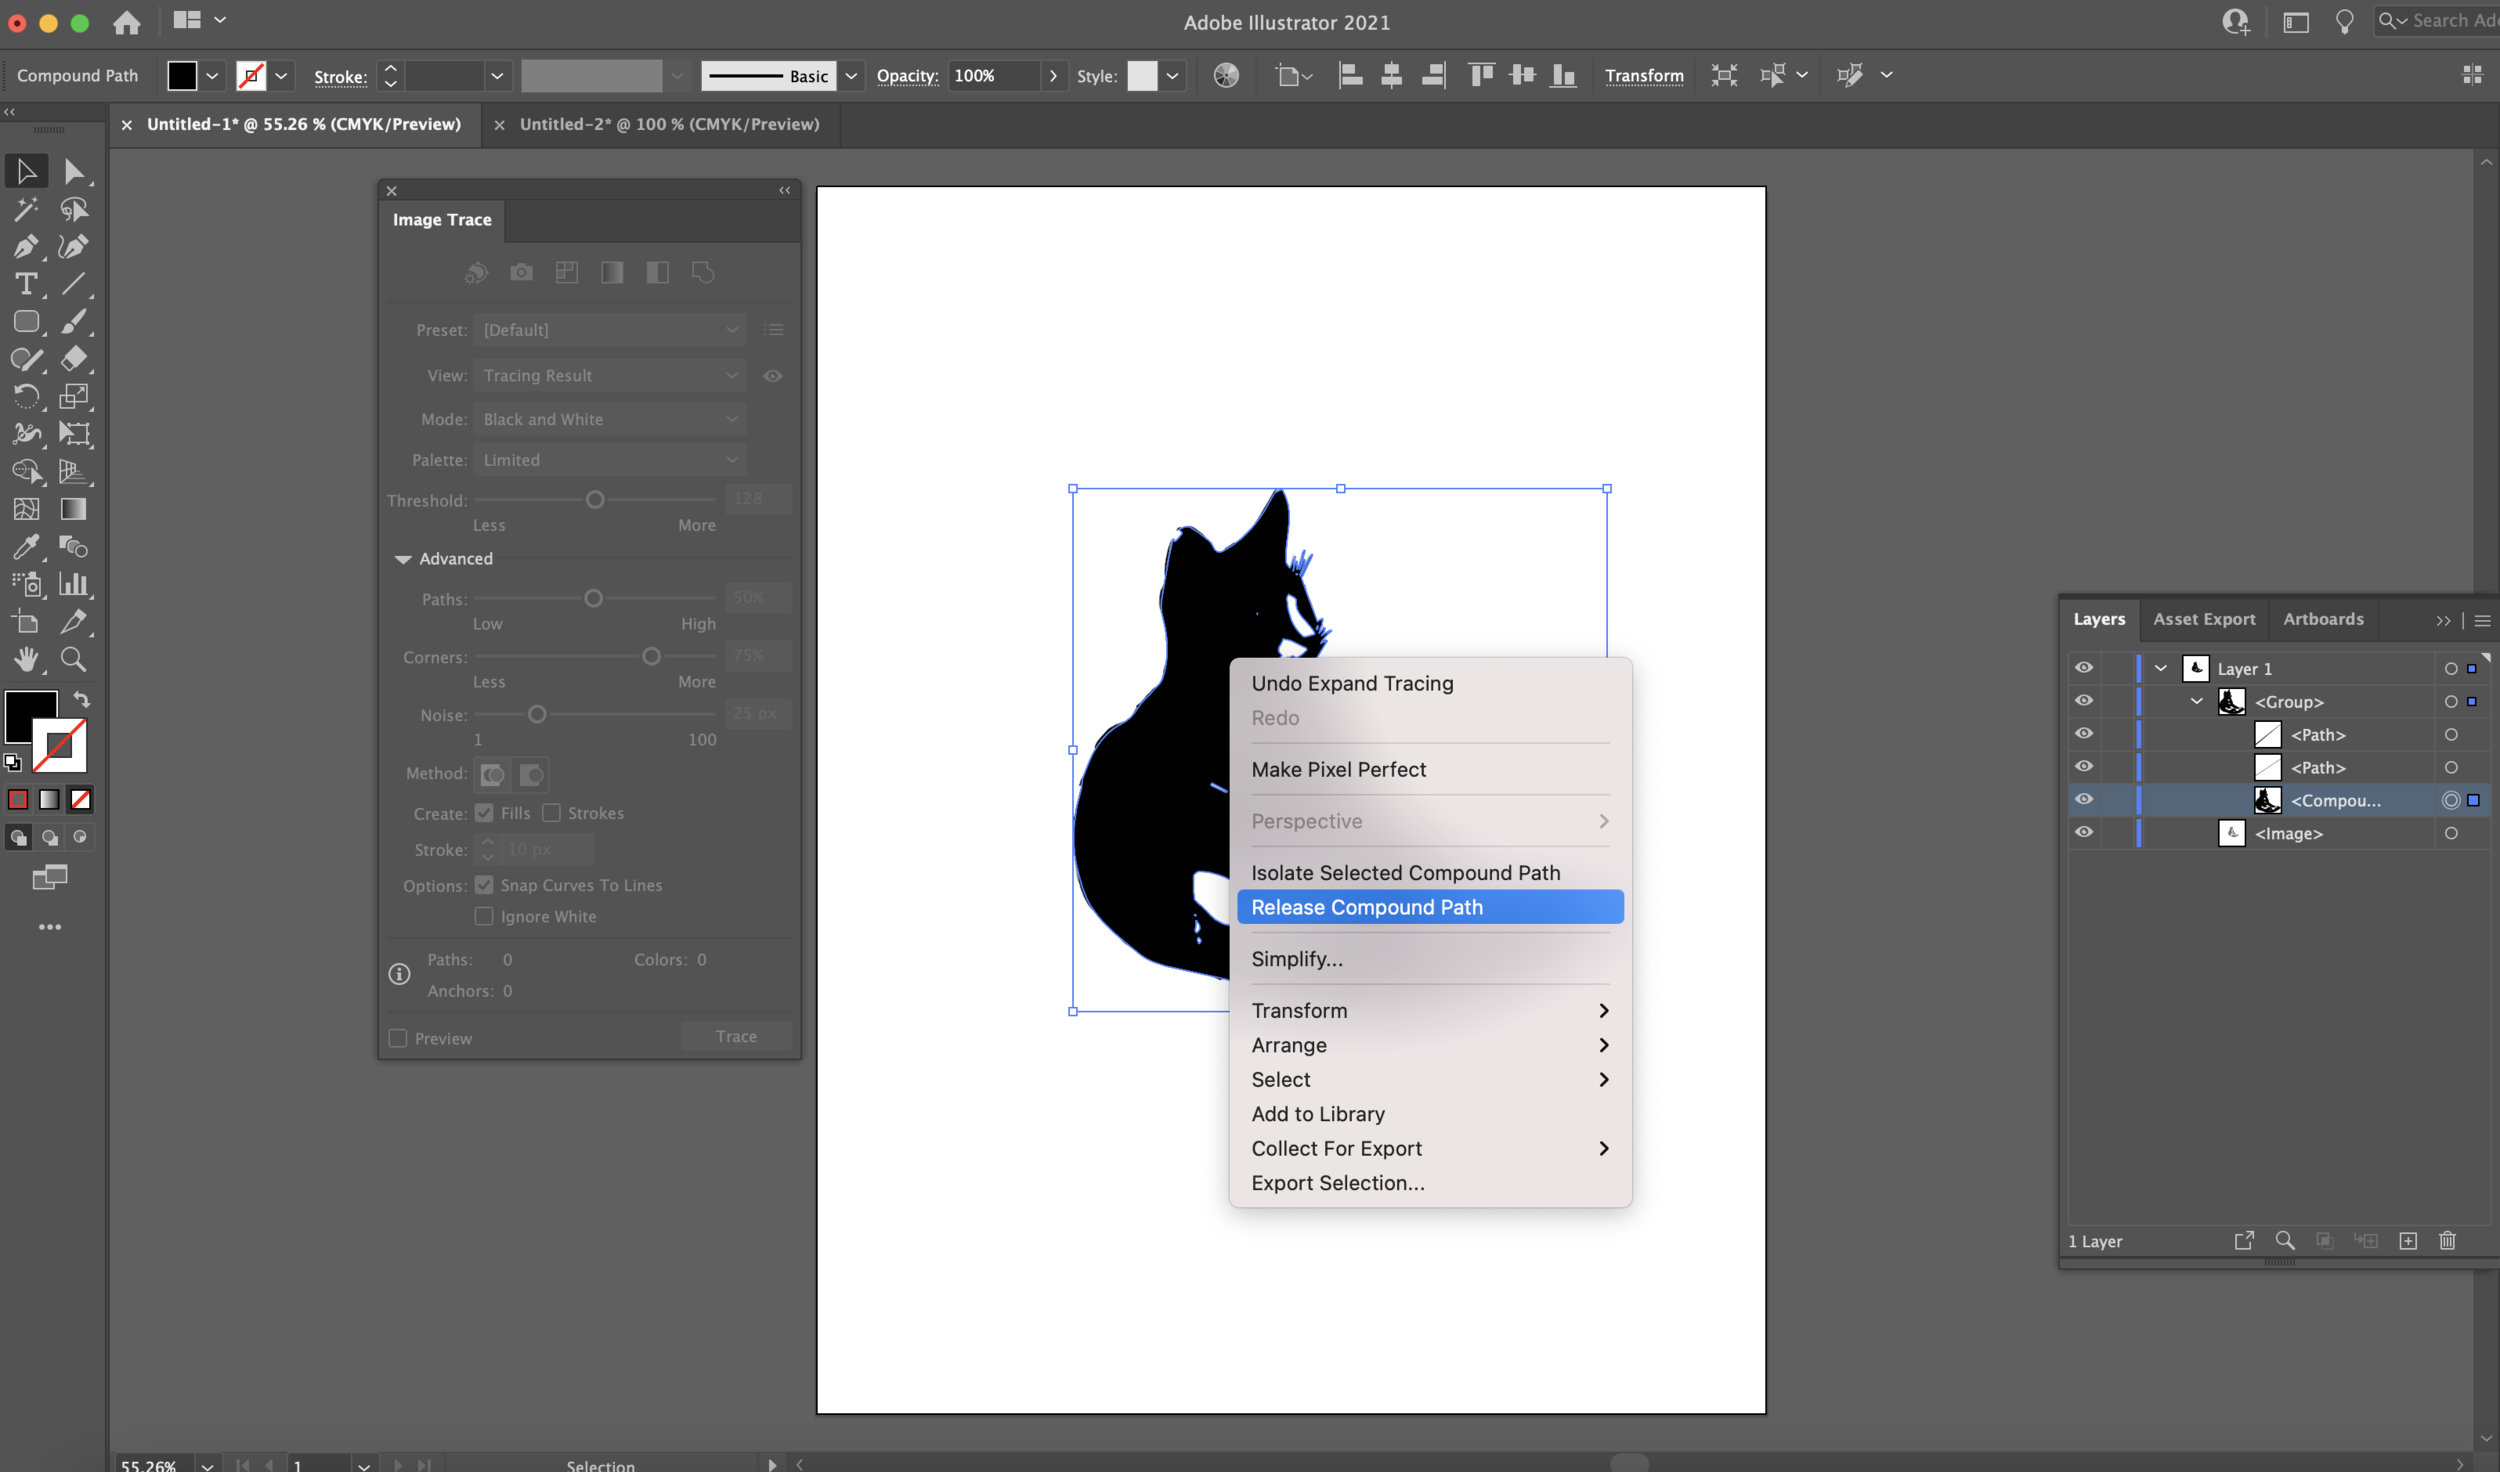
In the layers panel I can see I have a Compound Path and some individual paths.
Select all of the Compound Paths and release them.
Then I’m going to select the entire group that was made from Image Trace and in the Pathfinder tool dialog box I’m going to select Unite.
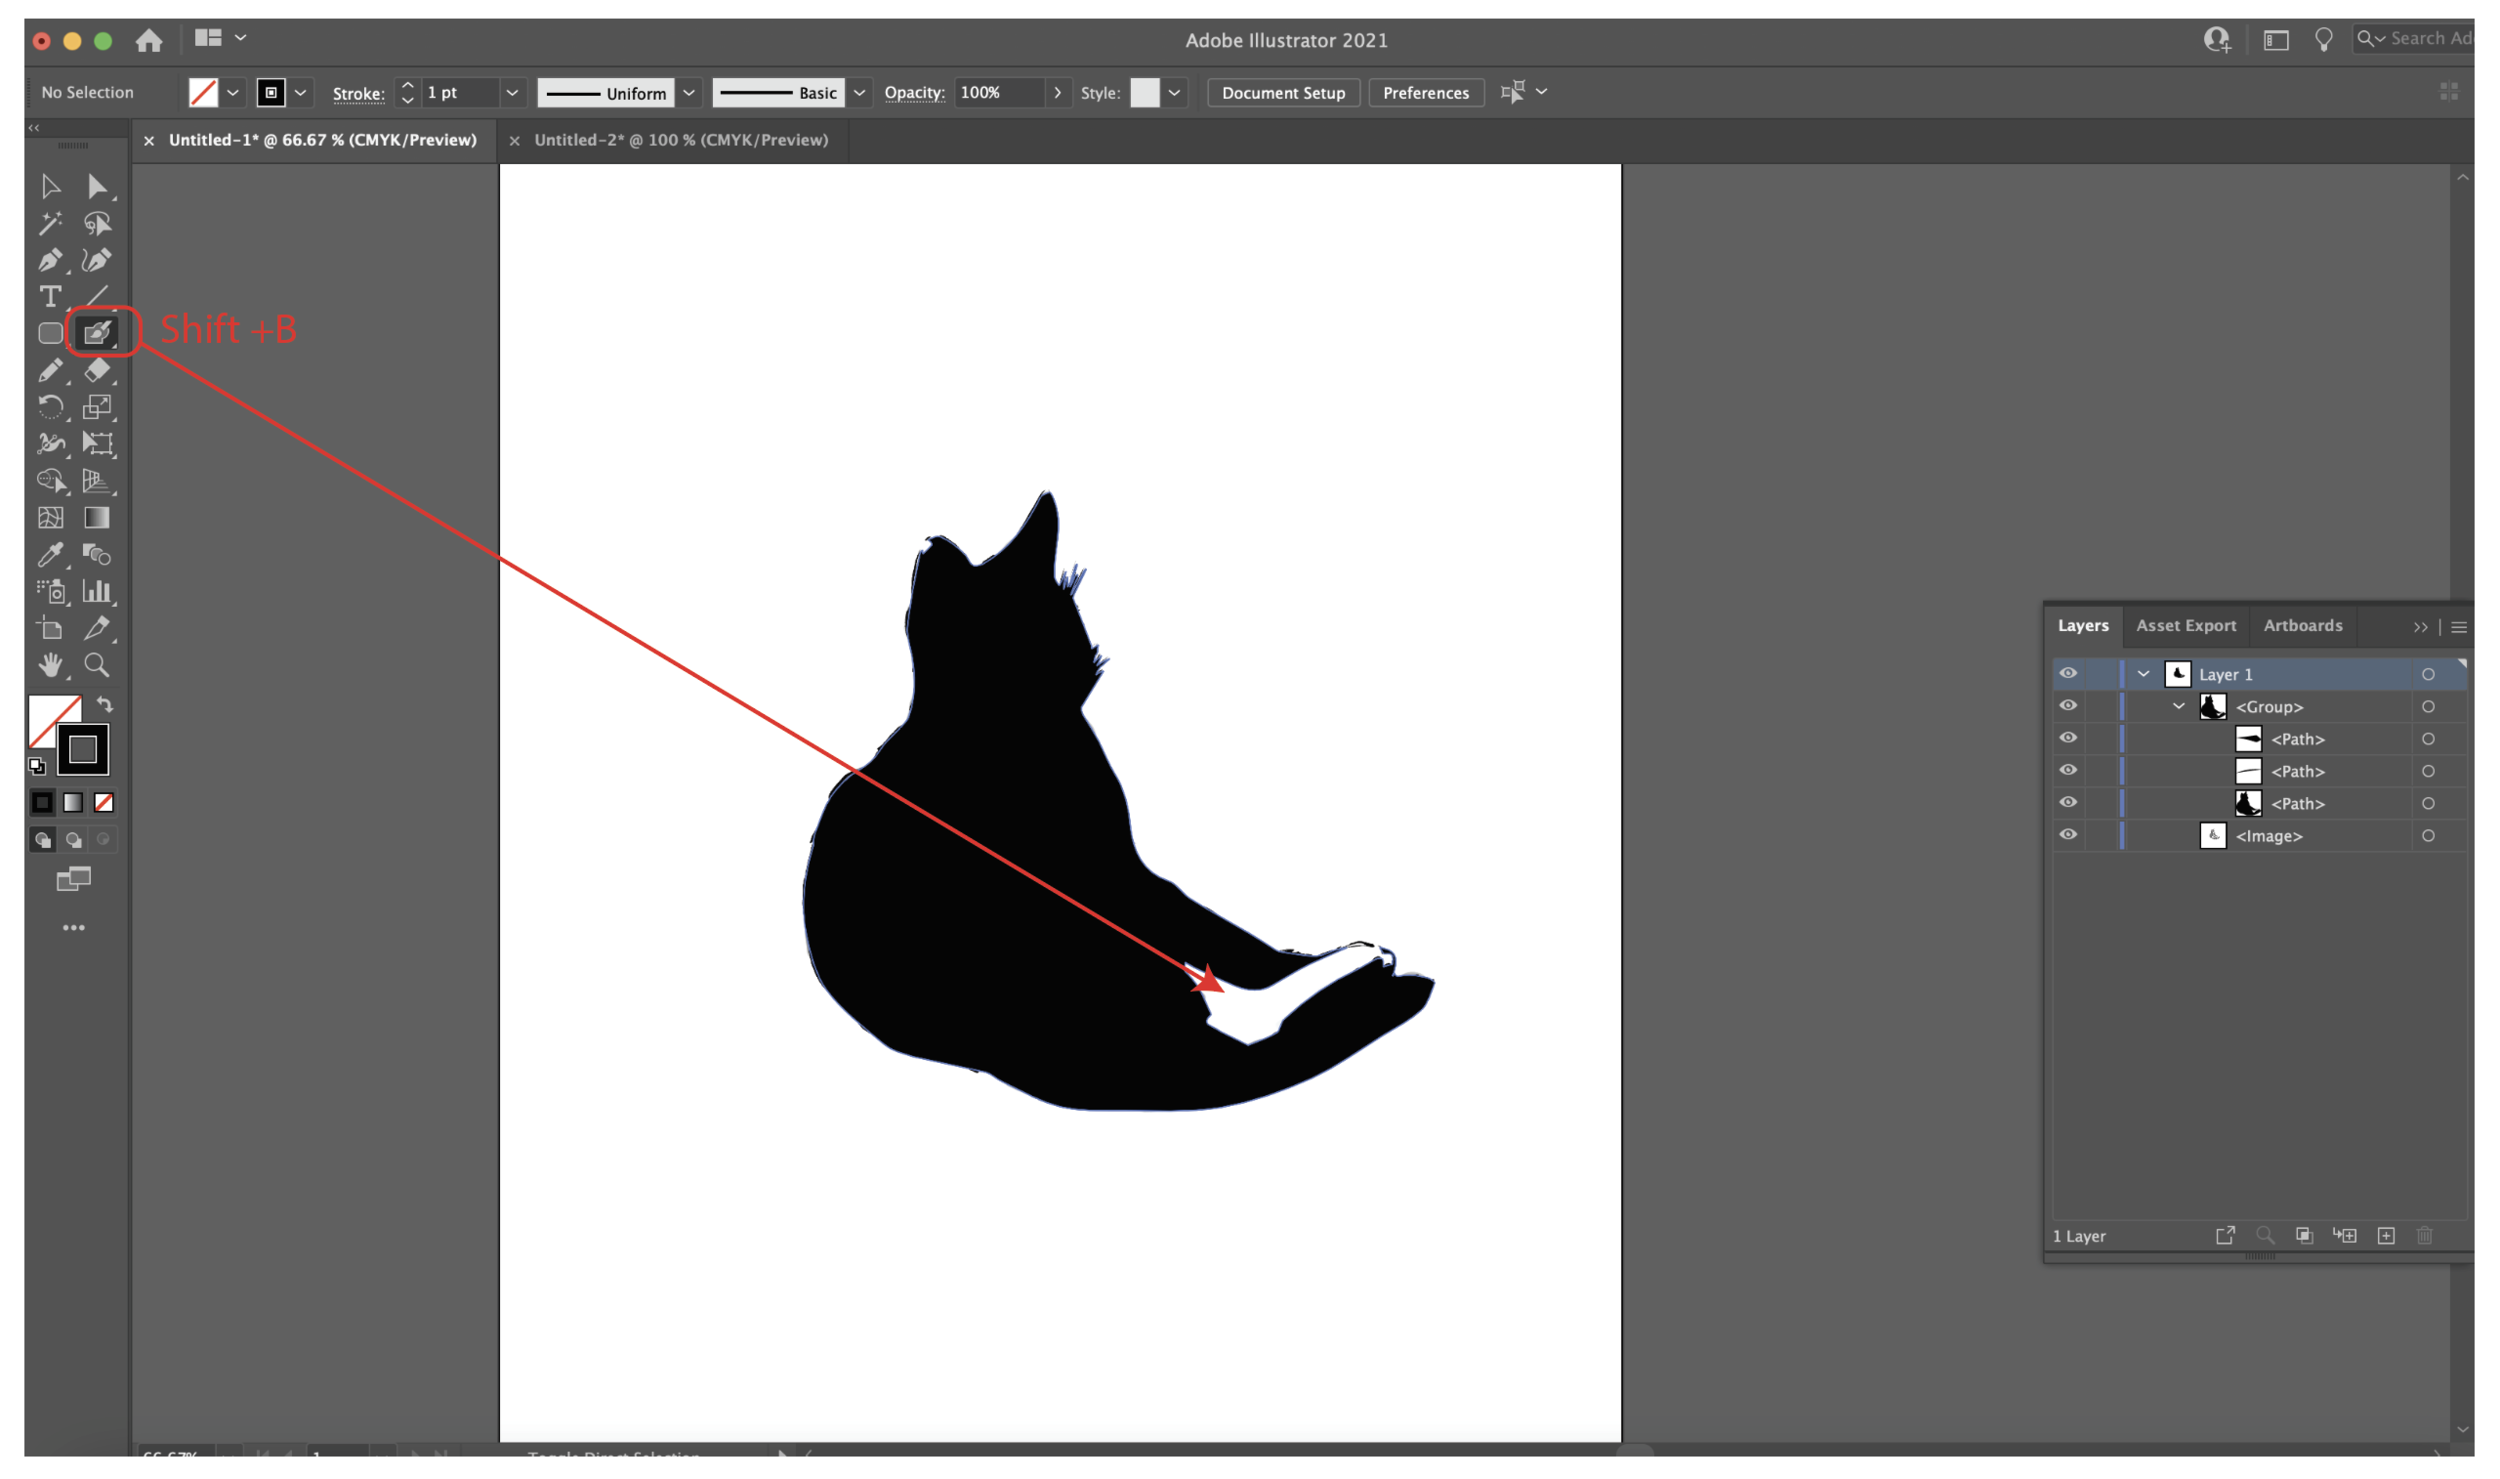
I still have a big area of white that I need to fill in. I’m going to use the Blob Brush (Shift + B) to fill in any stray white areas.
After all the stray white areas are filled in, I’m going to go to OBJECT > Path > Simplify. Then you can adjust the slider to help smooth your path.
After you simplify your path, go to OBJECT > Path > Offset Path. I selected 8pt for my offset, you can adjust yours depending on how wide you want your offset.
Then you can select the original inside path and DELETE it.
In your layers panel, drag the new offset below your artwork. Your artwork should now be showing on top of the offset.
At this point my whisker area looks too pointy for me, I’m going to use the Pencil tool and the Smooth tool to help reshape that area.
Once I get the shape to my liking, I can change the color of my offset to white with a black stroke so I can get an idea of how this is going to look as a sticker.
Now this cute little guy is ready to be a sticker! Check my blog post from last week to see how I save my offsets as SVGs and cut them with my Cricut Maker.
Link to last week’s blog post:


