Hi Everyone! This week I’m going to show you how I make filled letters in Adobe Illustrator to use with any of the drawing tools in Design Space (pens, foil transfer tool, foil quill, etc.)
Truth be told, I do about 95 percent of my design work outside of Design Space. I work faster and more precisely in Illustrator, probably because I’ve been using for over 15 years!
You will need:
Adobe Illustrator (you can sign up for a 30 day free trial if you just want to test it out)
A font of your choice (you can use any of the free ones that are available with Illustrator or any fonts you have purchased).
Cricut Design Space
Cricut Machine (I have a Maker)
Whatever materials you want to use to test your design
Let’s get started! (Links in the article below may be affiliate links.)
My birthday was a couple of days ago, so I’m going to do a retro script Happy Birthday.
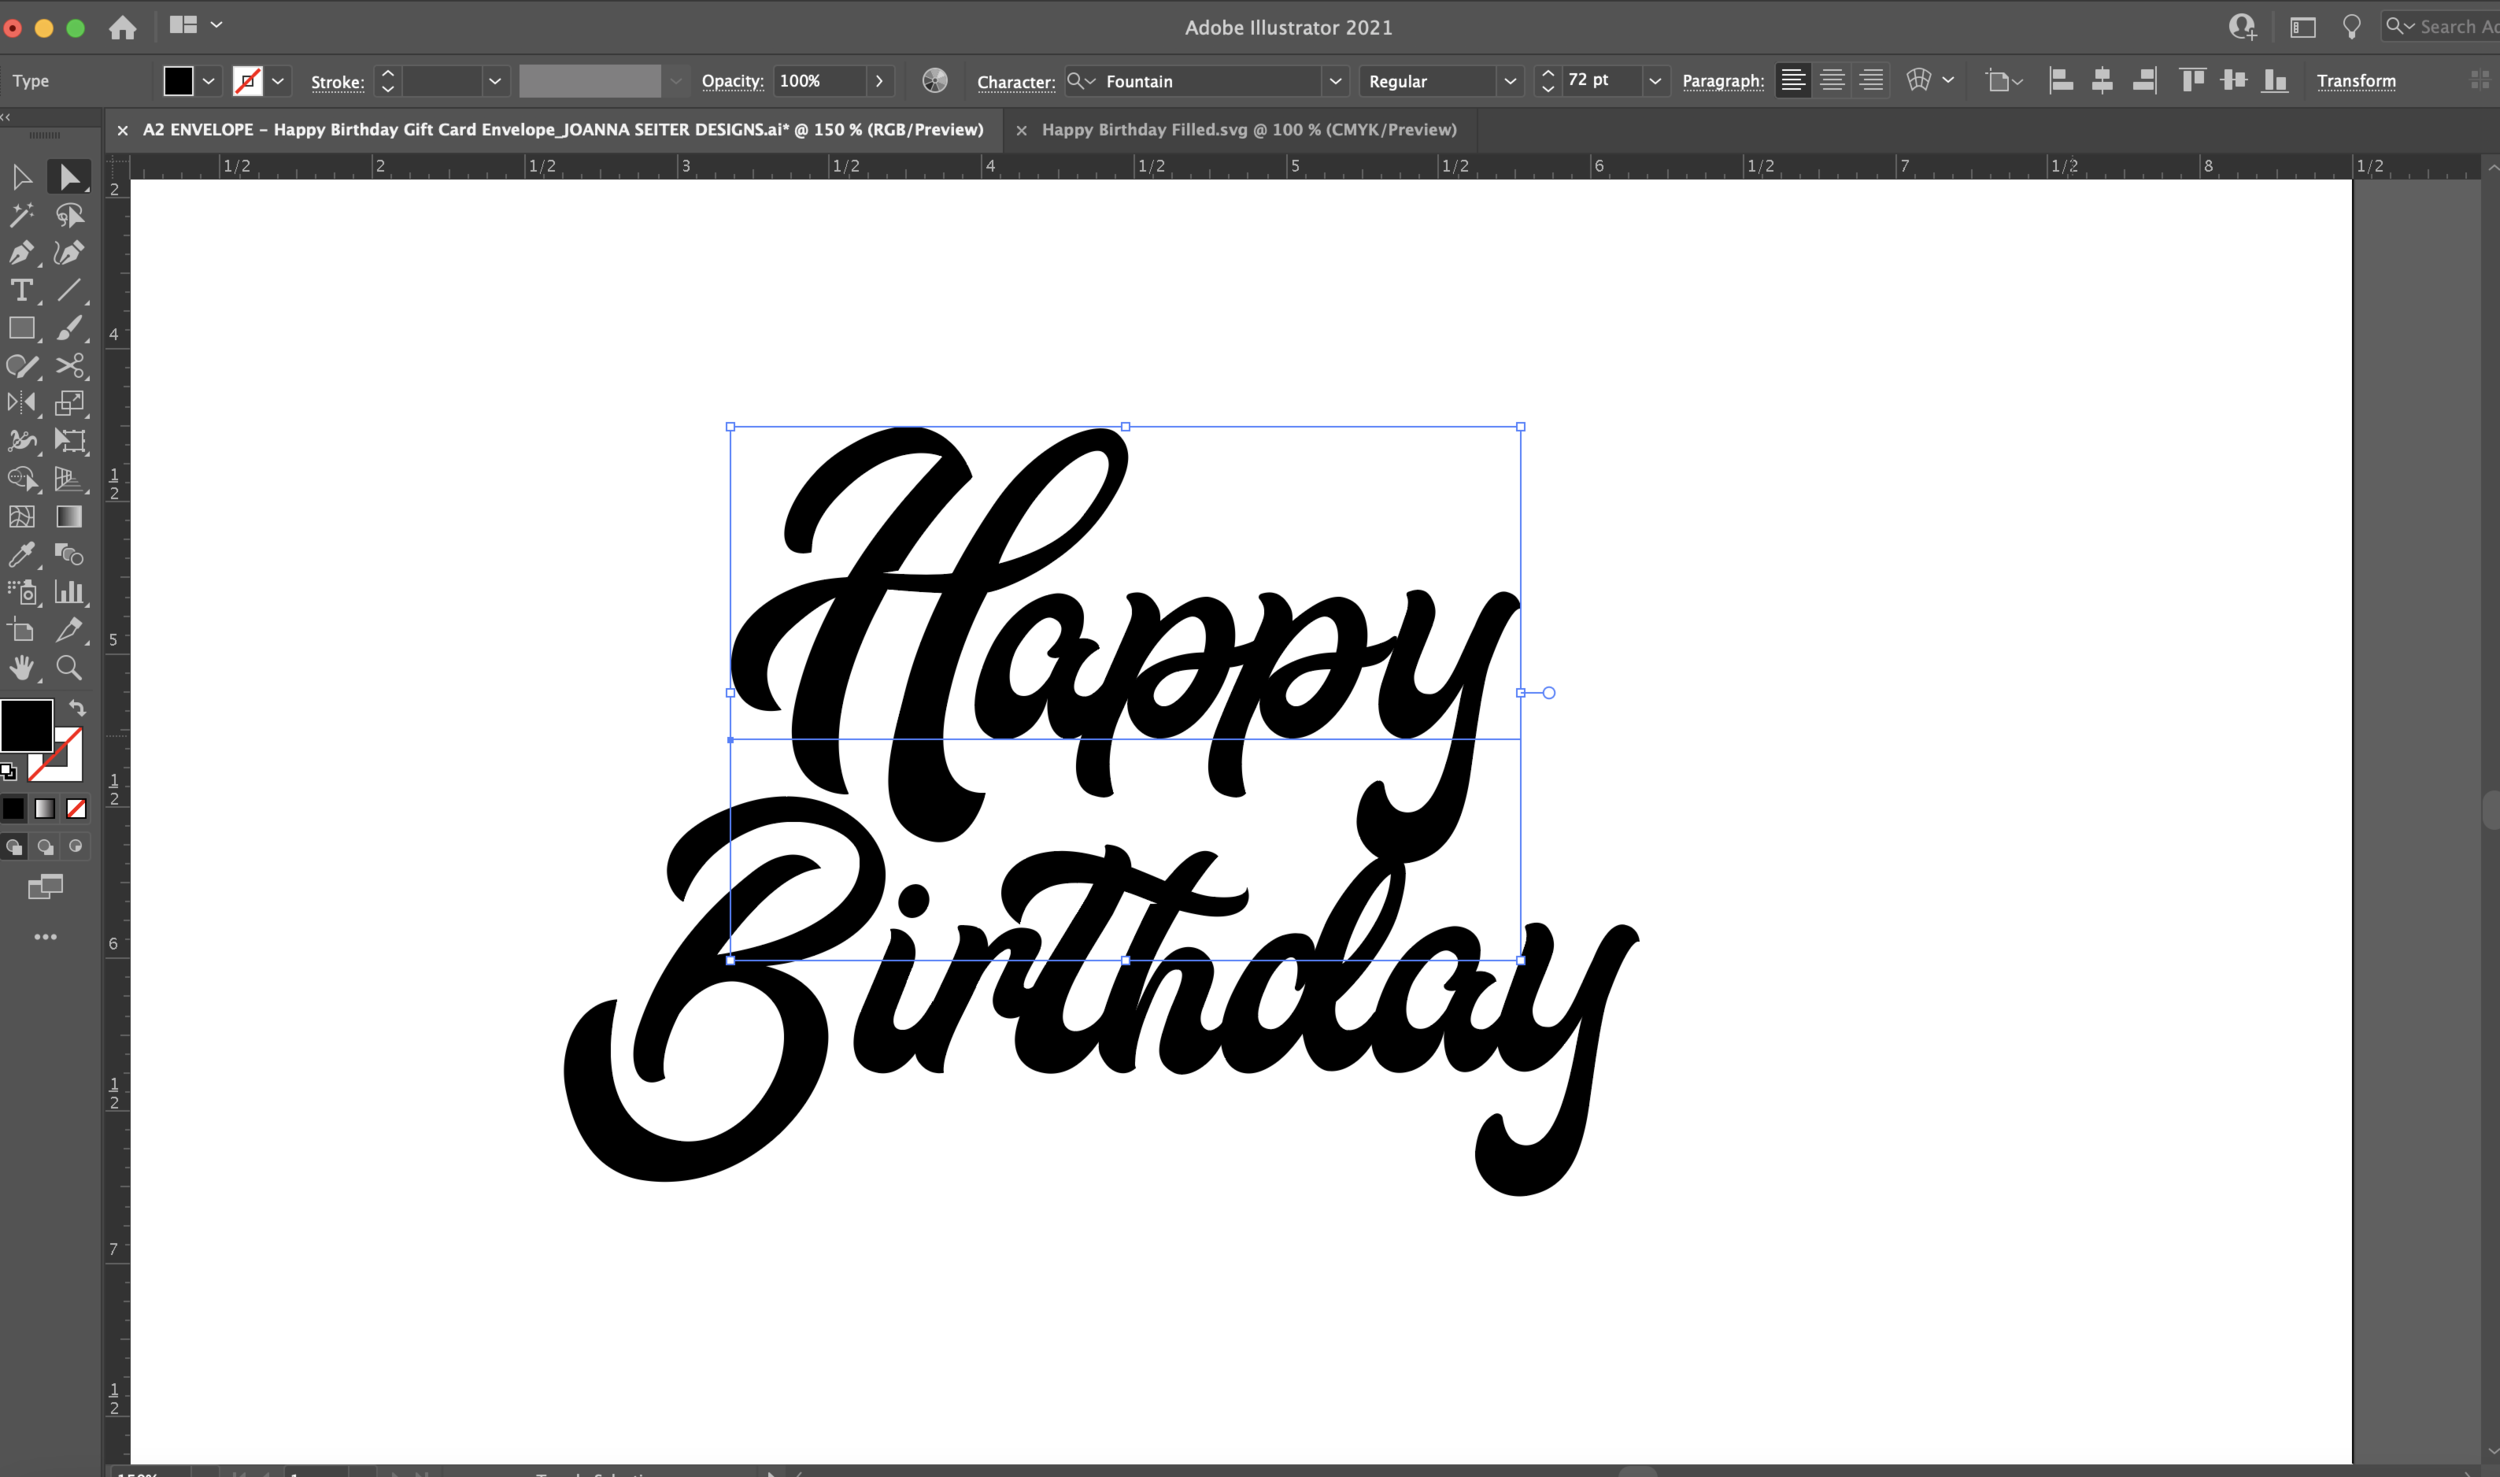
The font i’m using is called Fountain, I purchased it from Design Cuts. One of my favorite sources for fonts!
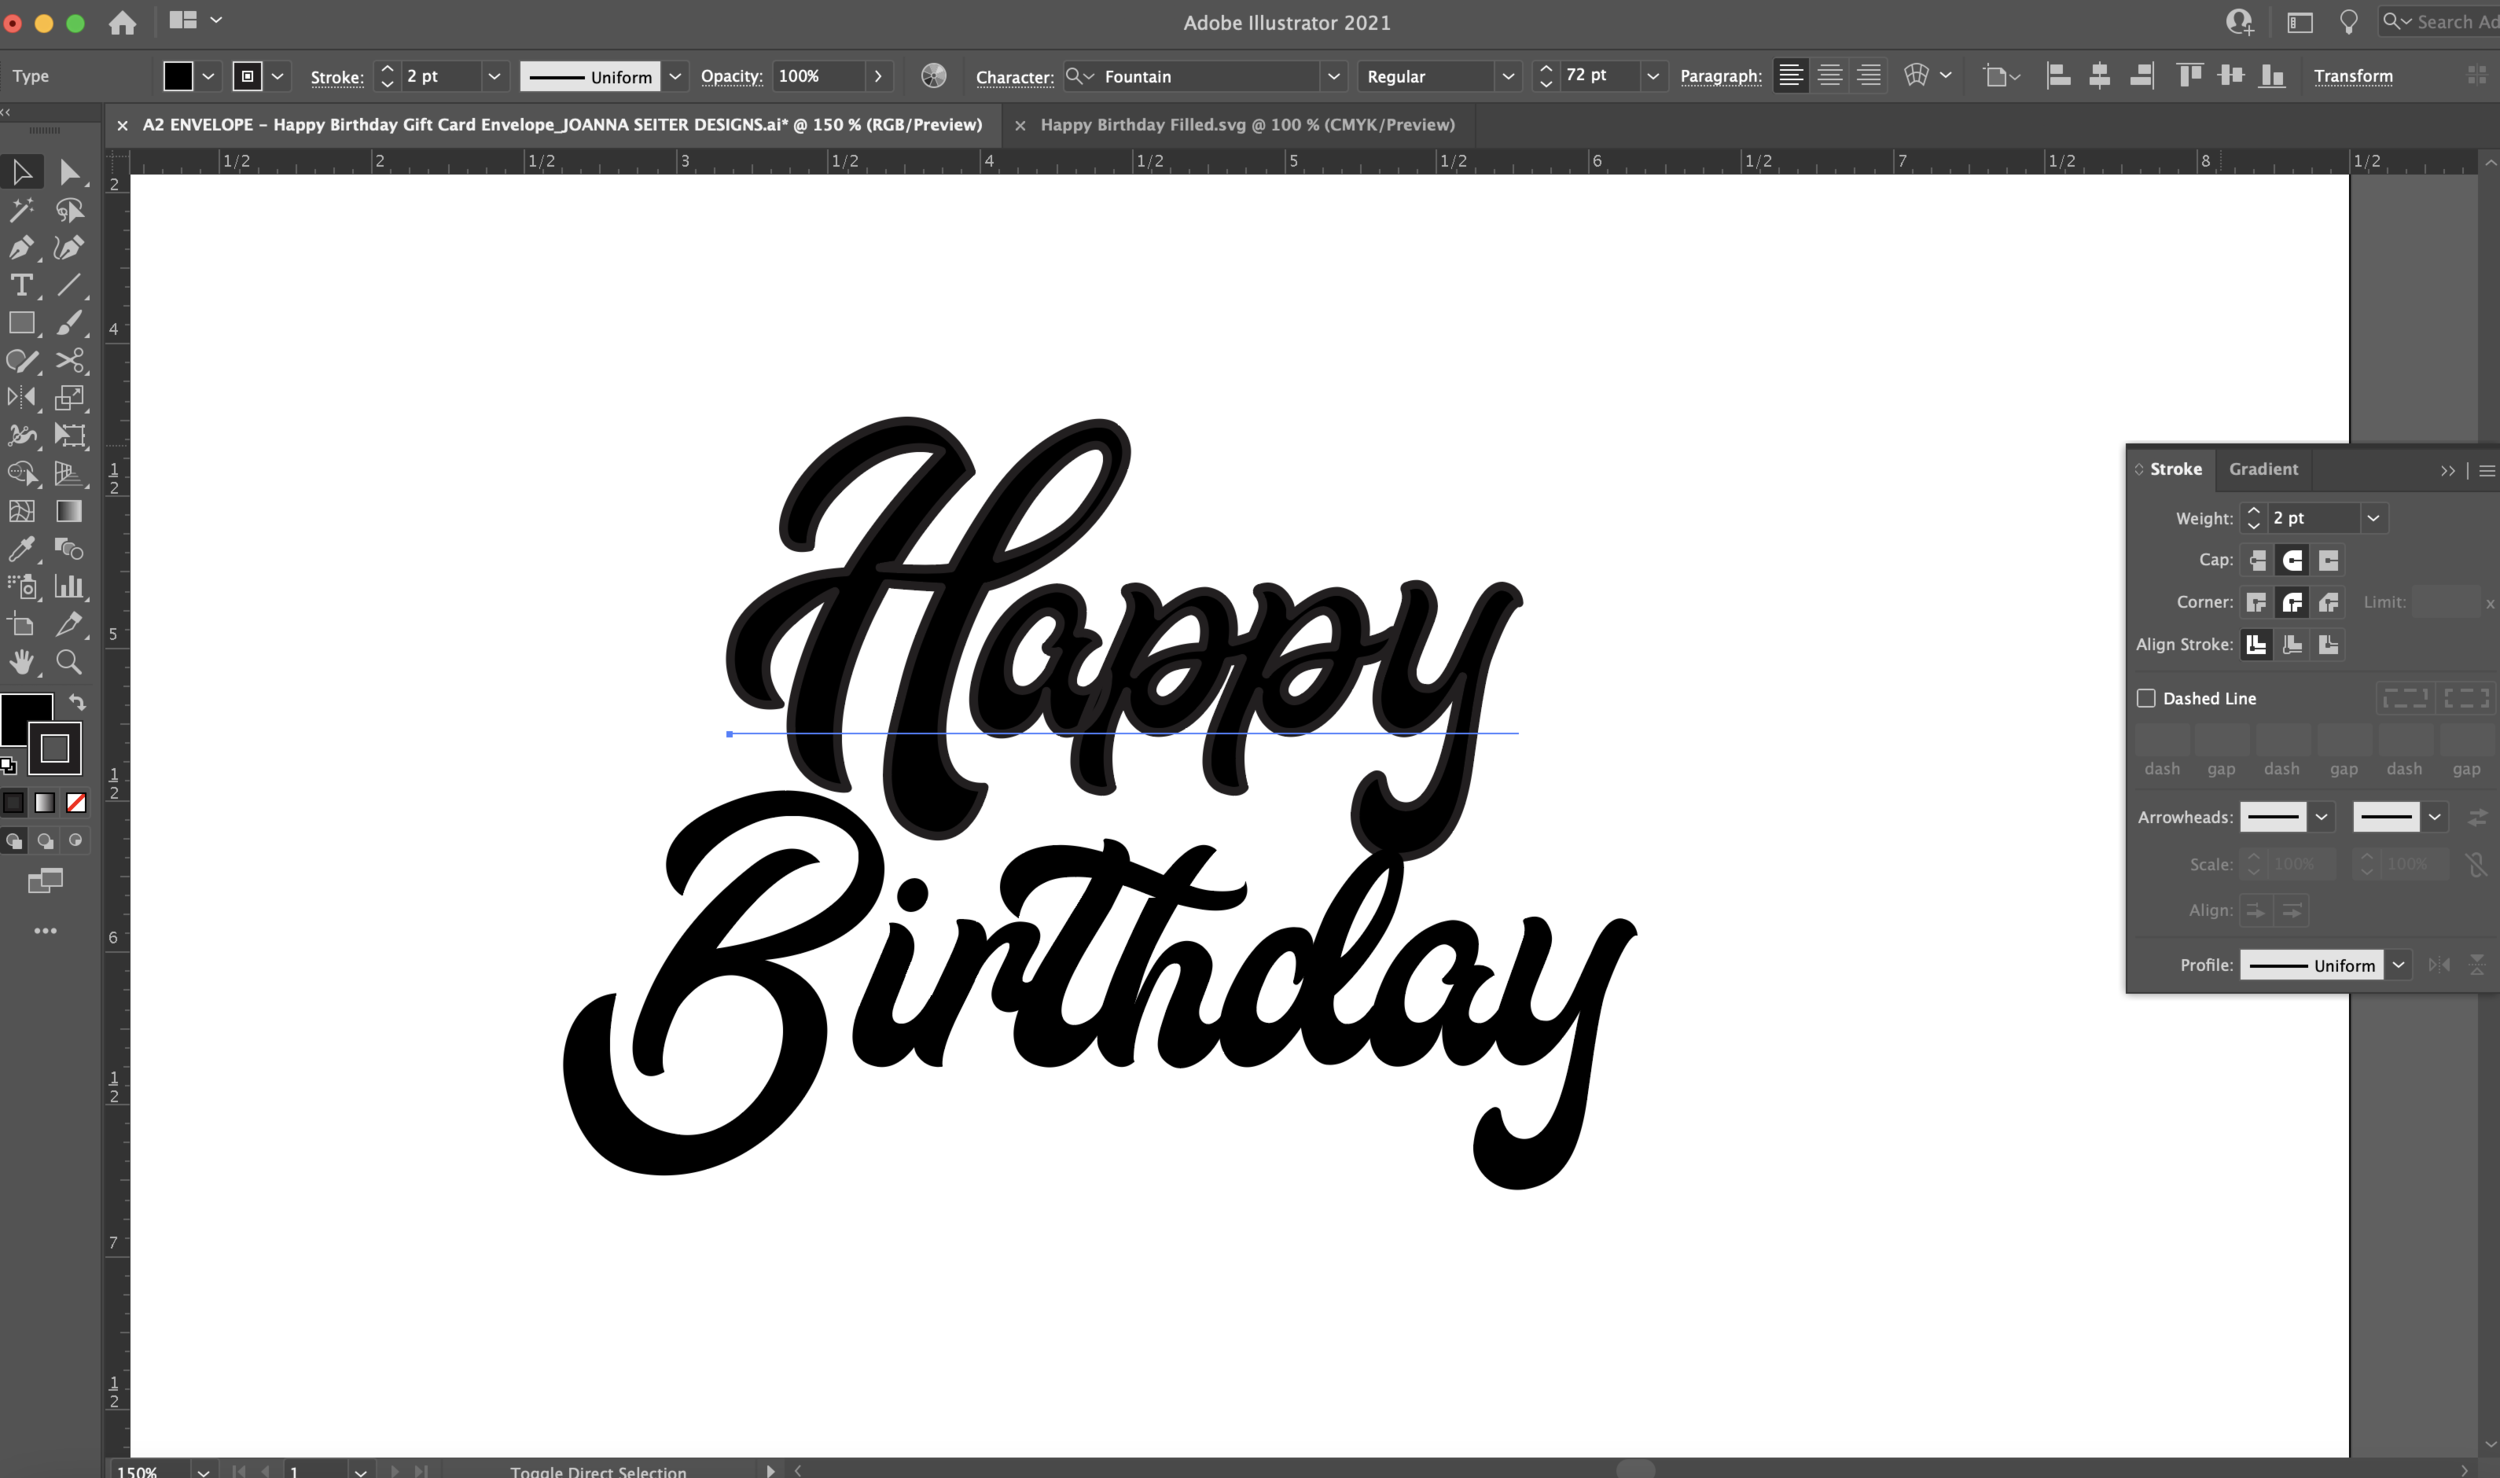
I type “Happy” as one word and “Birthday” as a separate word. I want my letters to be a little beefier so I added a 2pt stroke around them.
I make sure the ends of my strokes are rounded and my corners are also rounded so I don’t get any weird sharp angles.
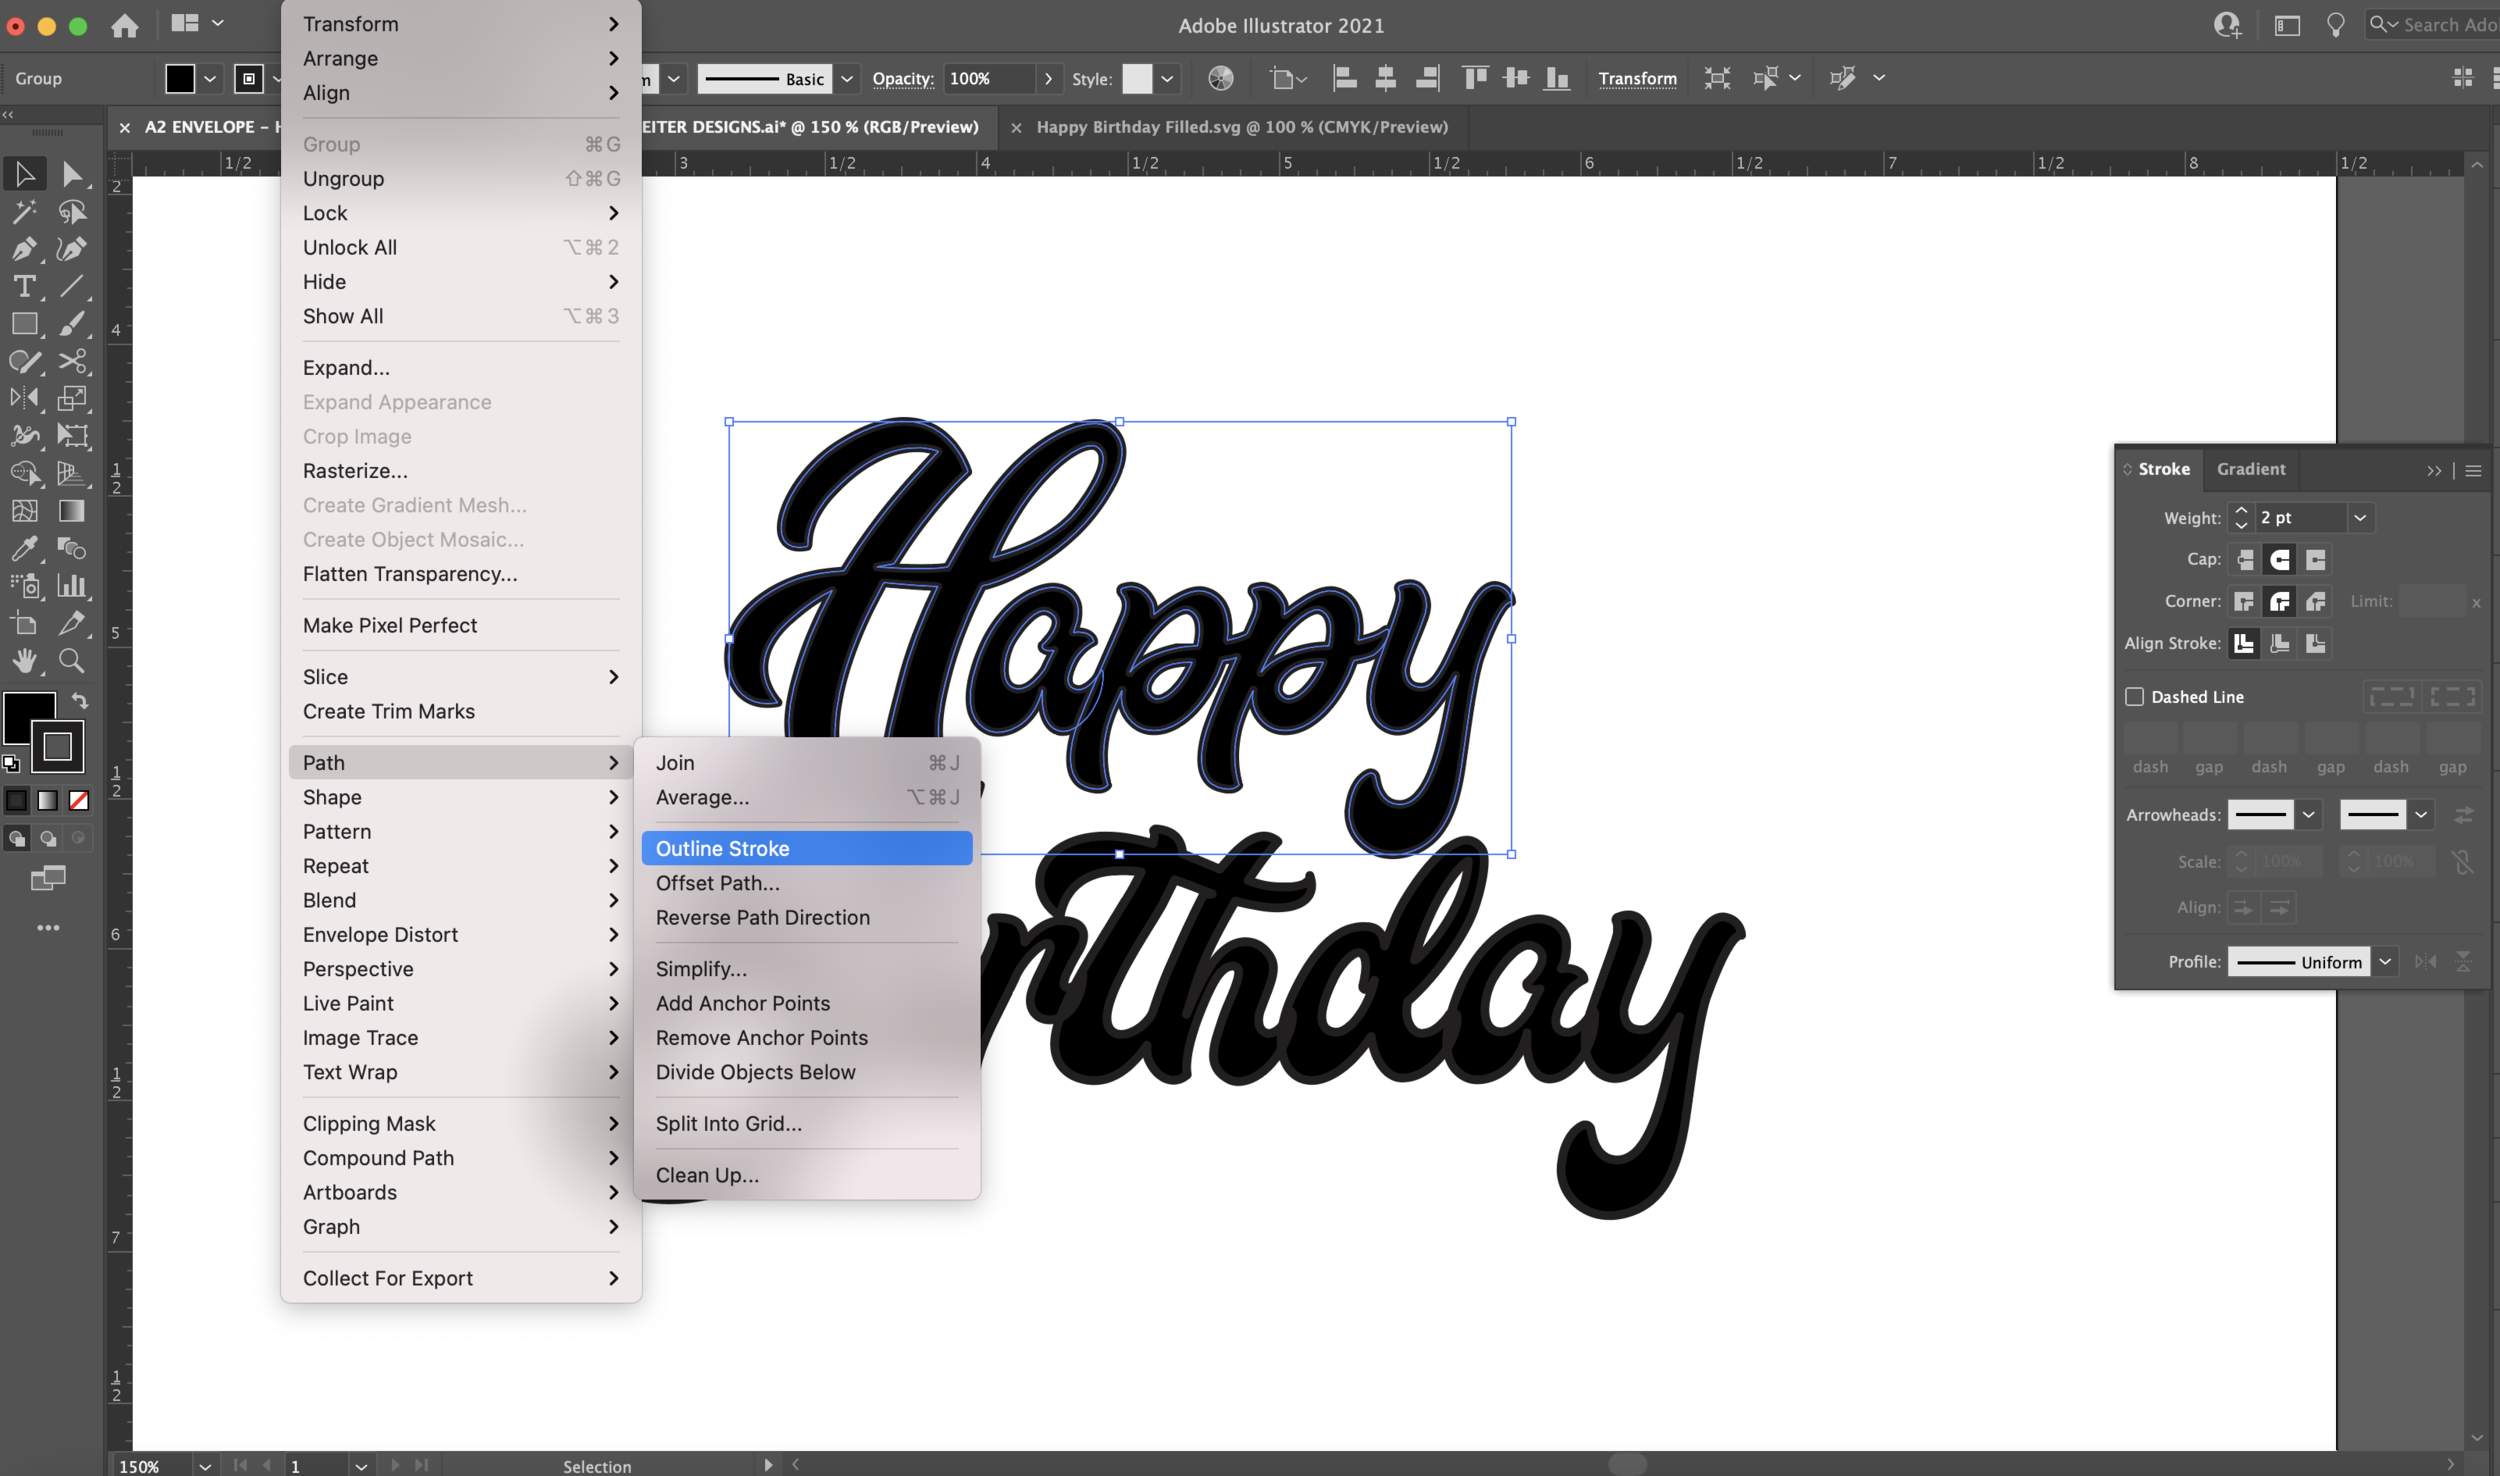
Then I expand my letters, so they’re paths and no longer active type. I outline the strokes around the letters.
Then using the path finder tool box I unite Happy into one path, and Birthday into one path.
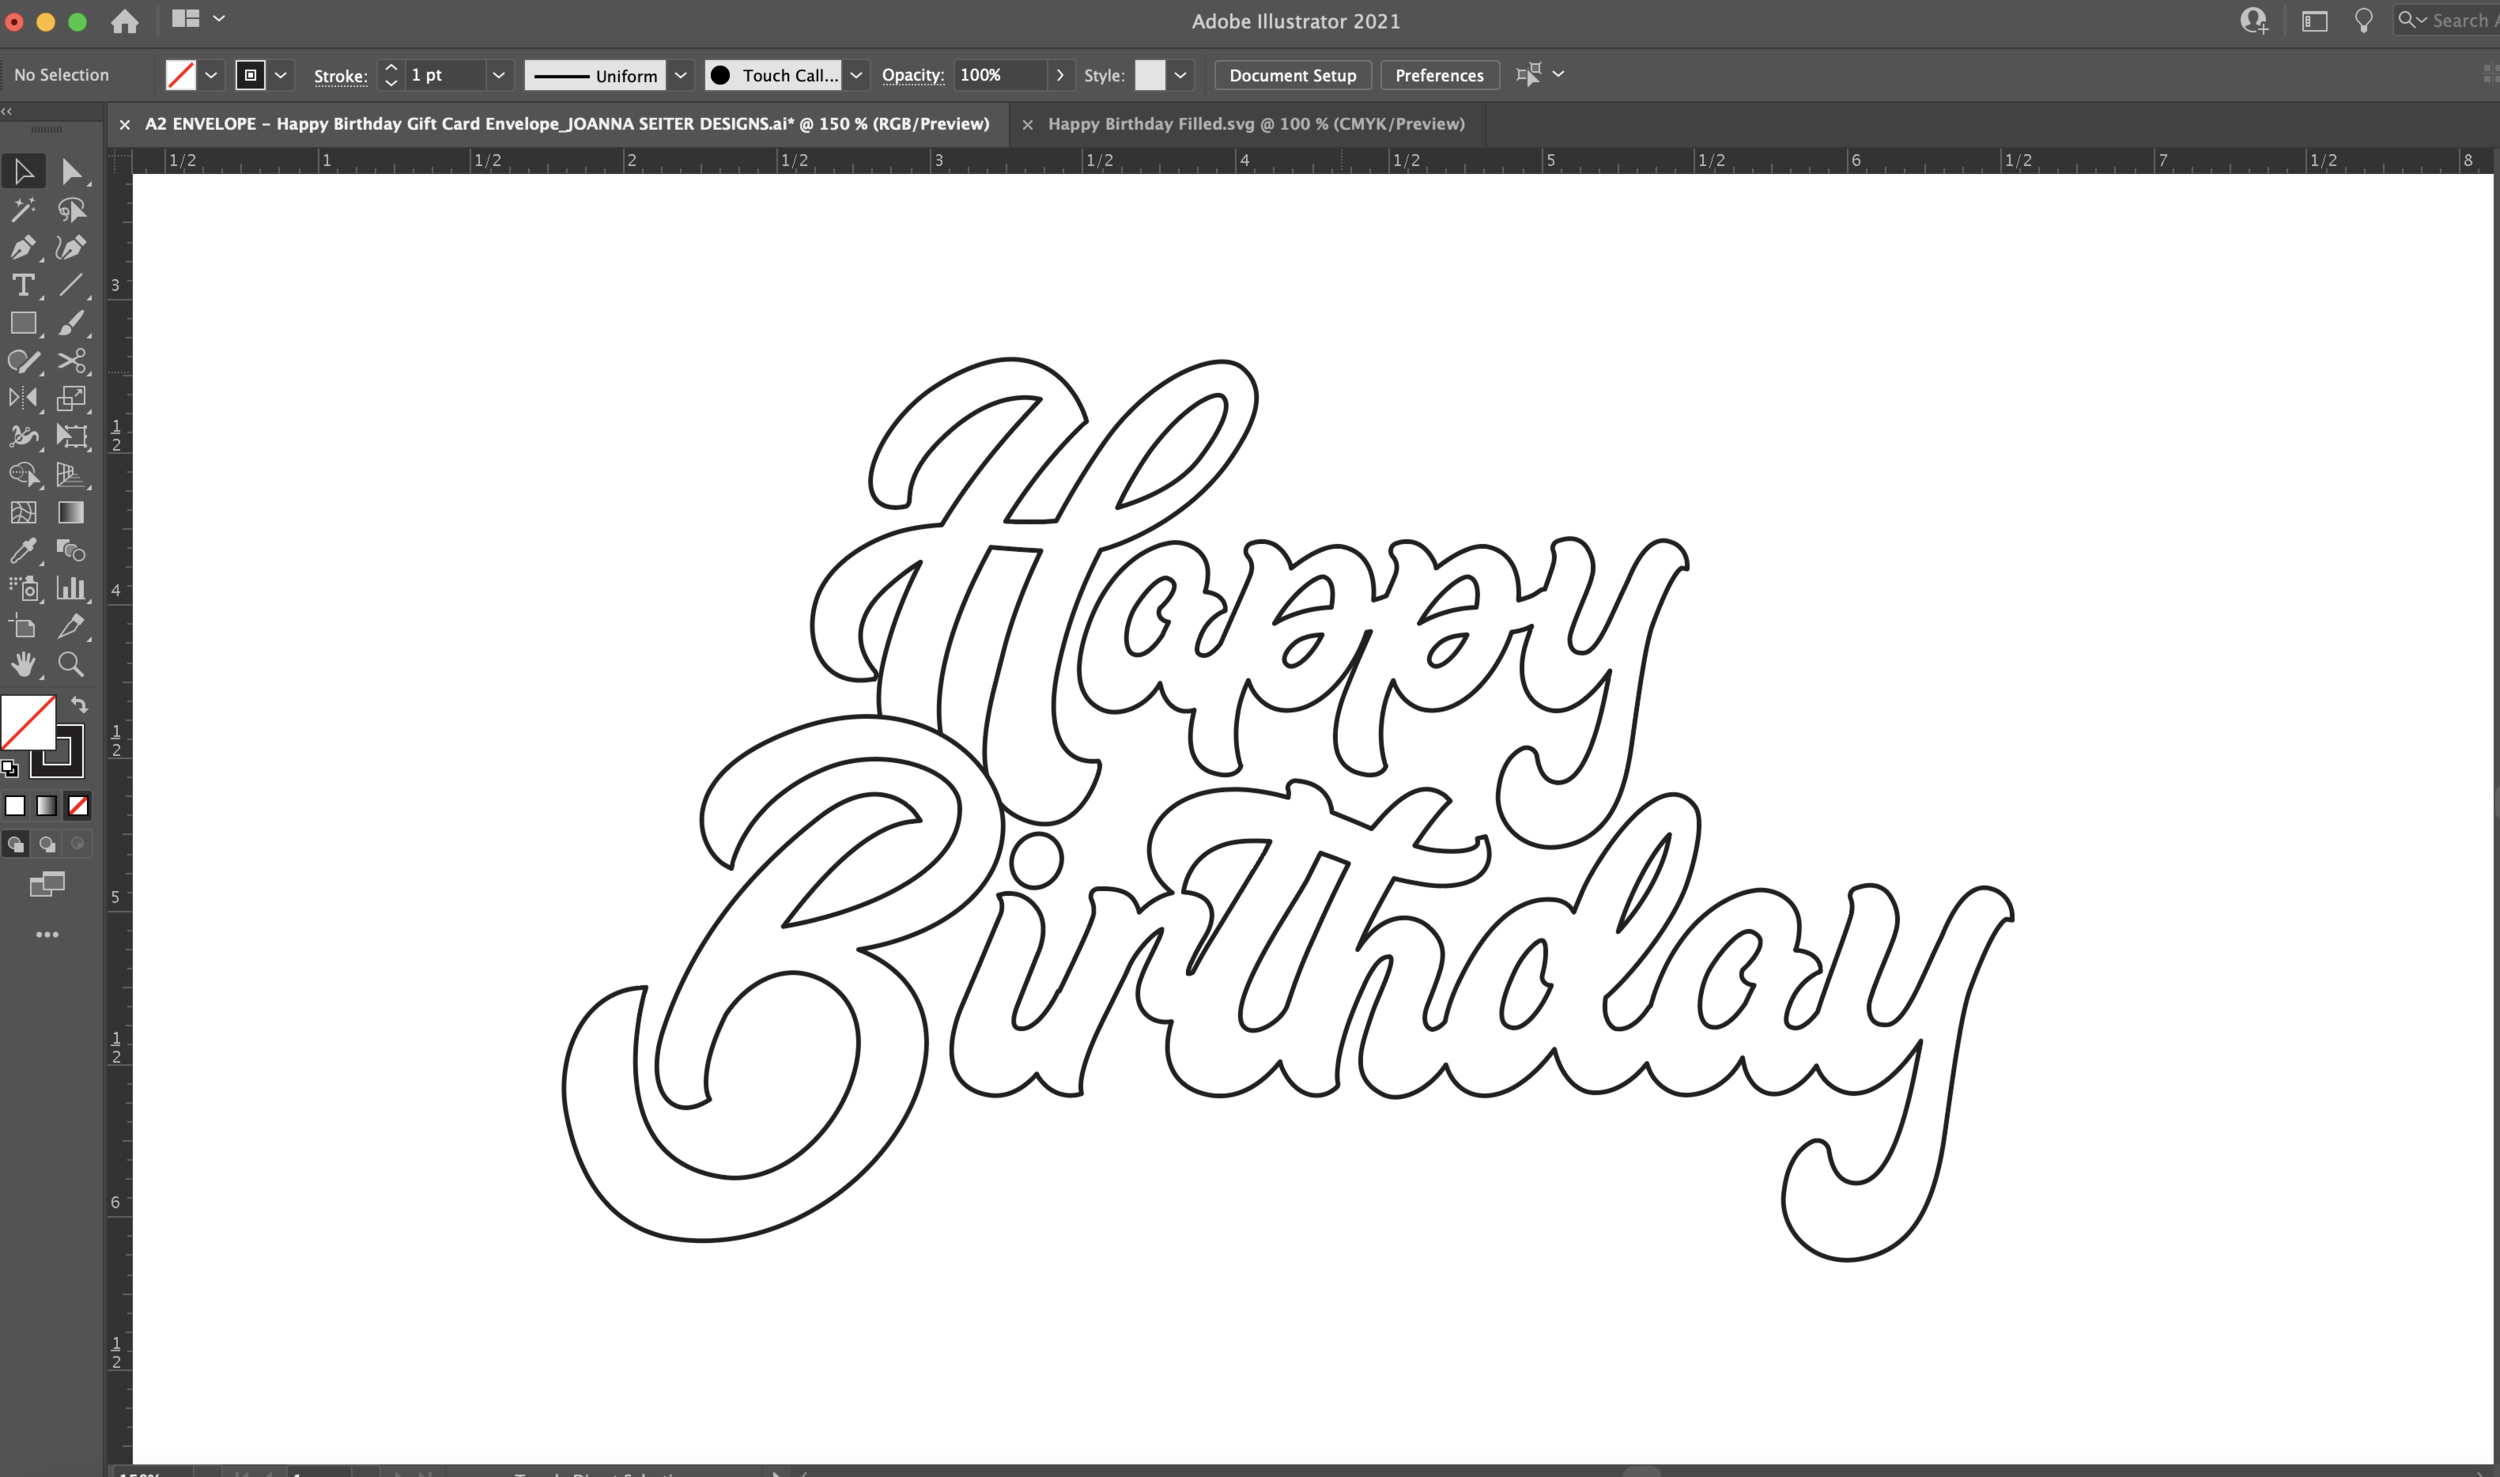
I add a 1pt stroke around each so they look like they are outlined and I change the fill to No Fill. Then group all the letters (Shift + G).
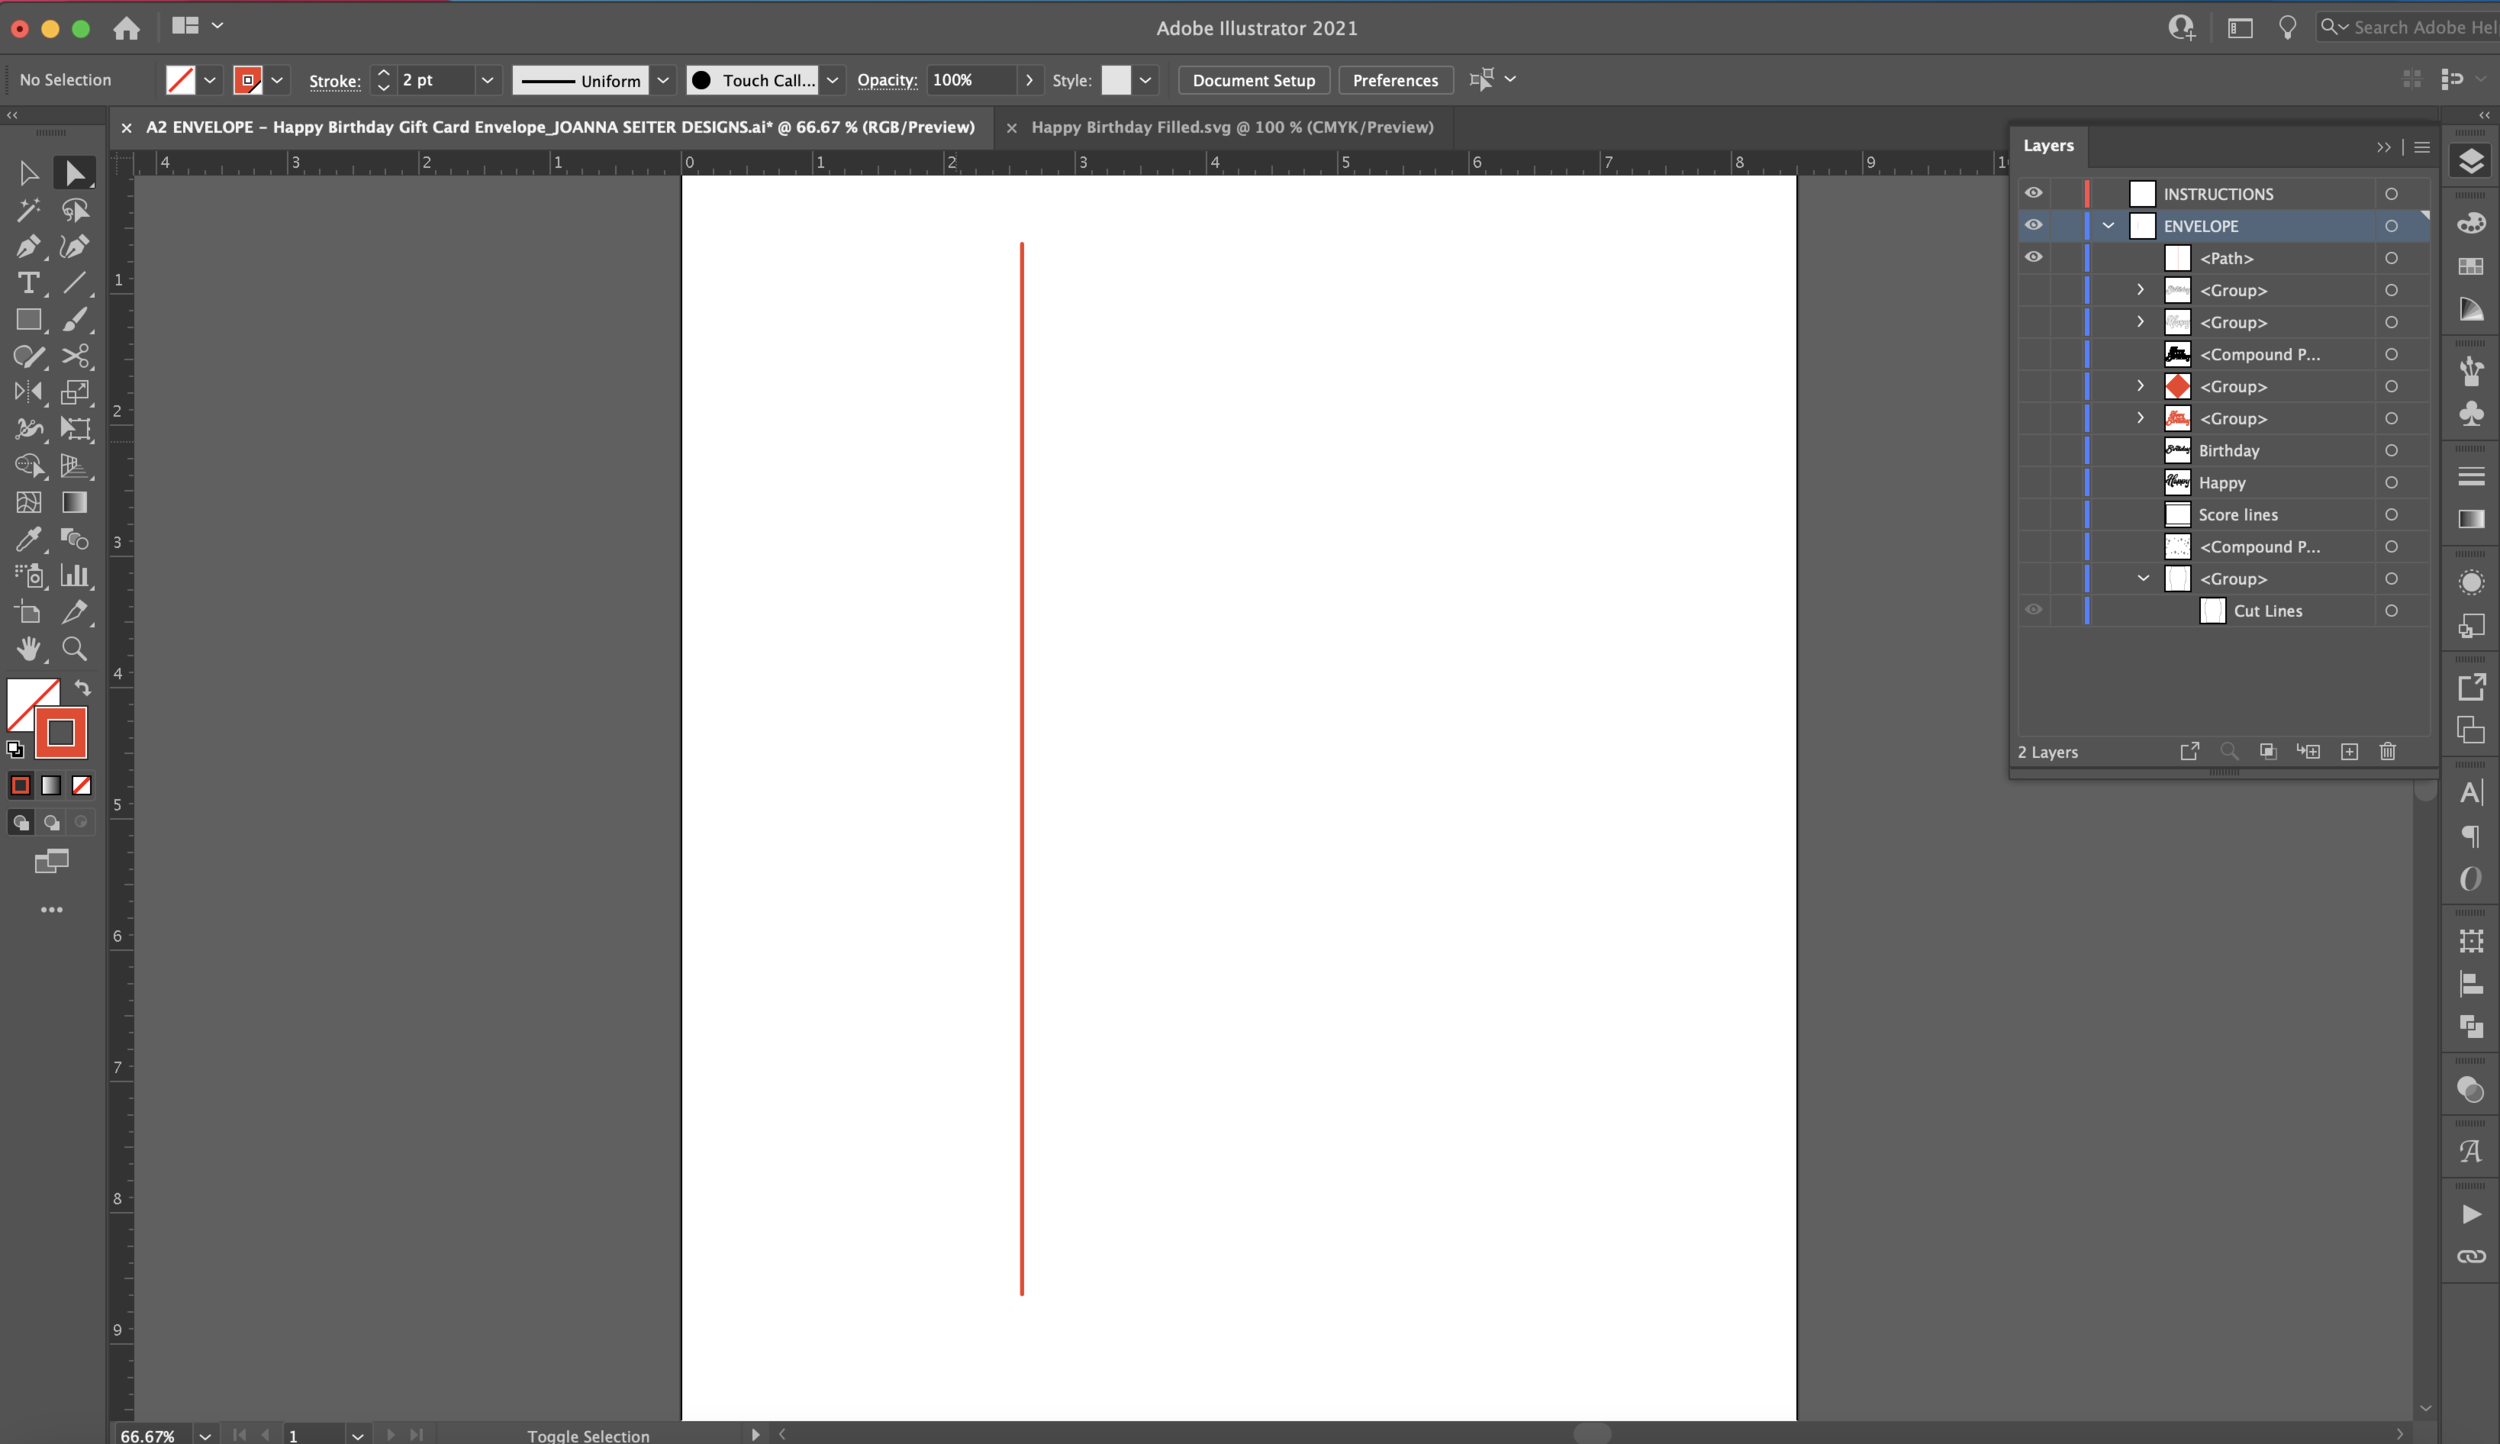
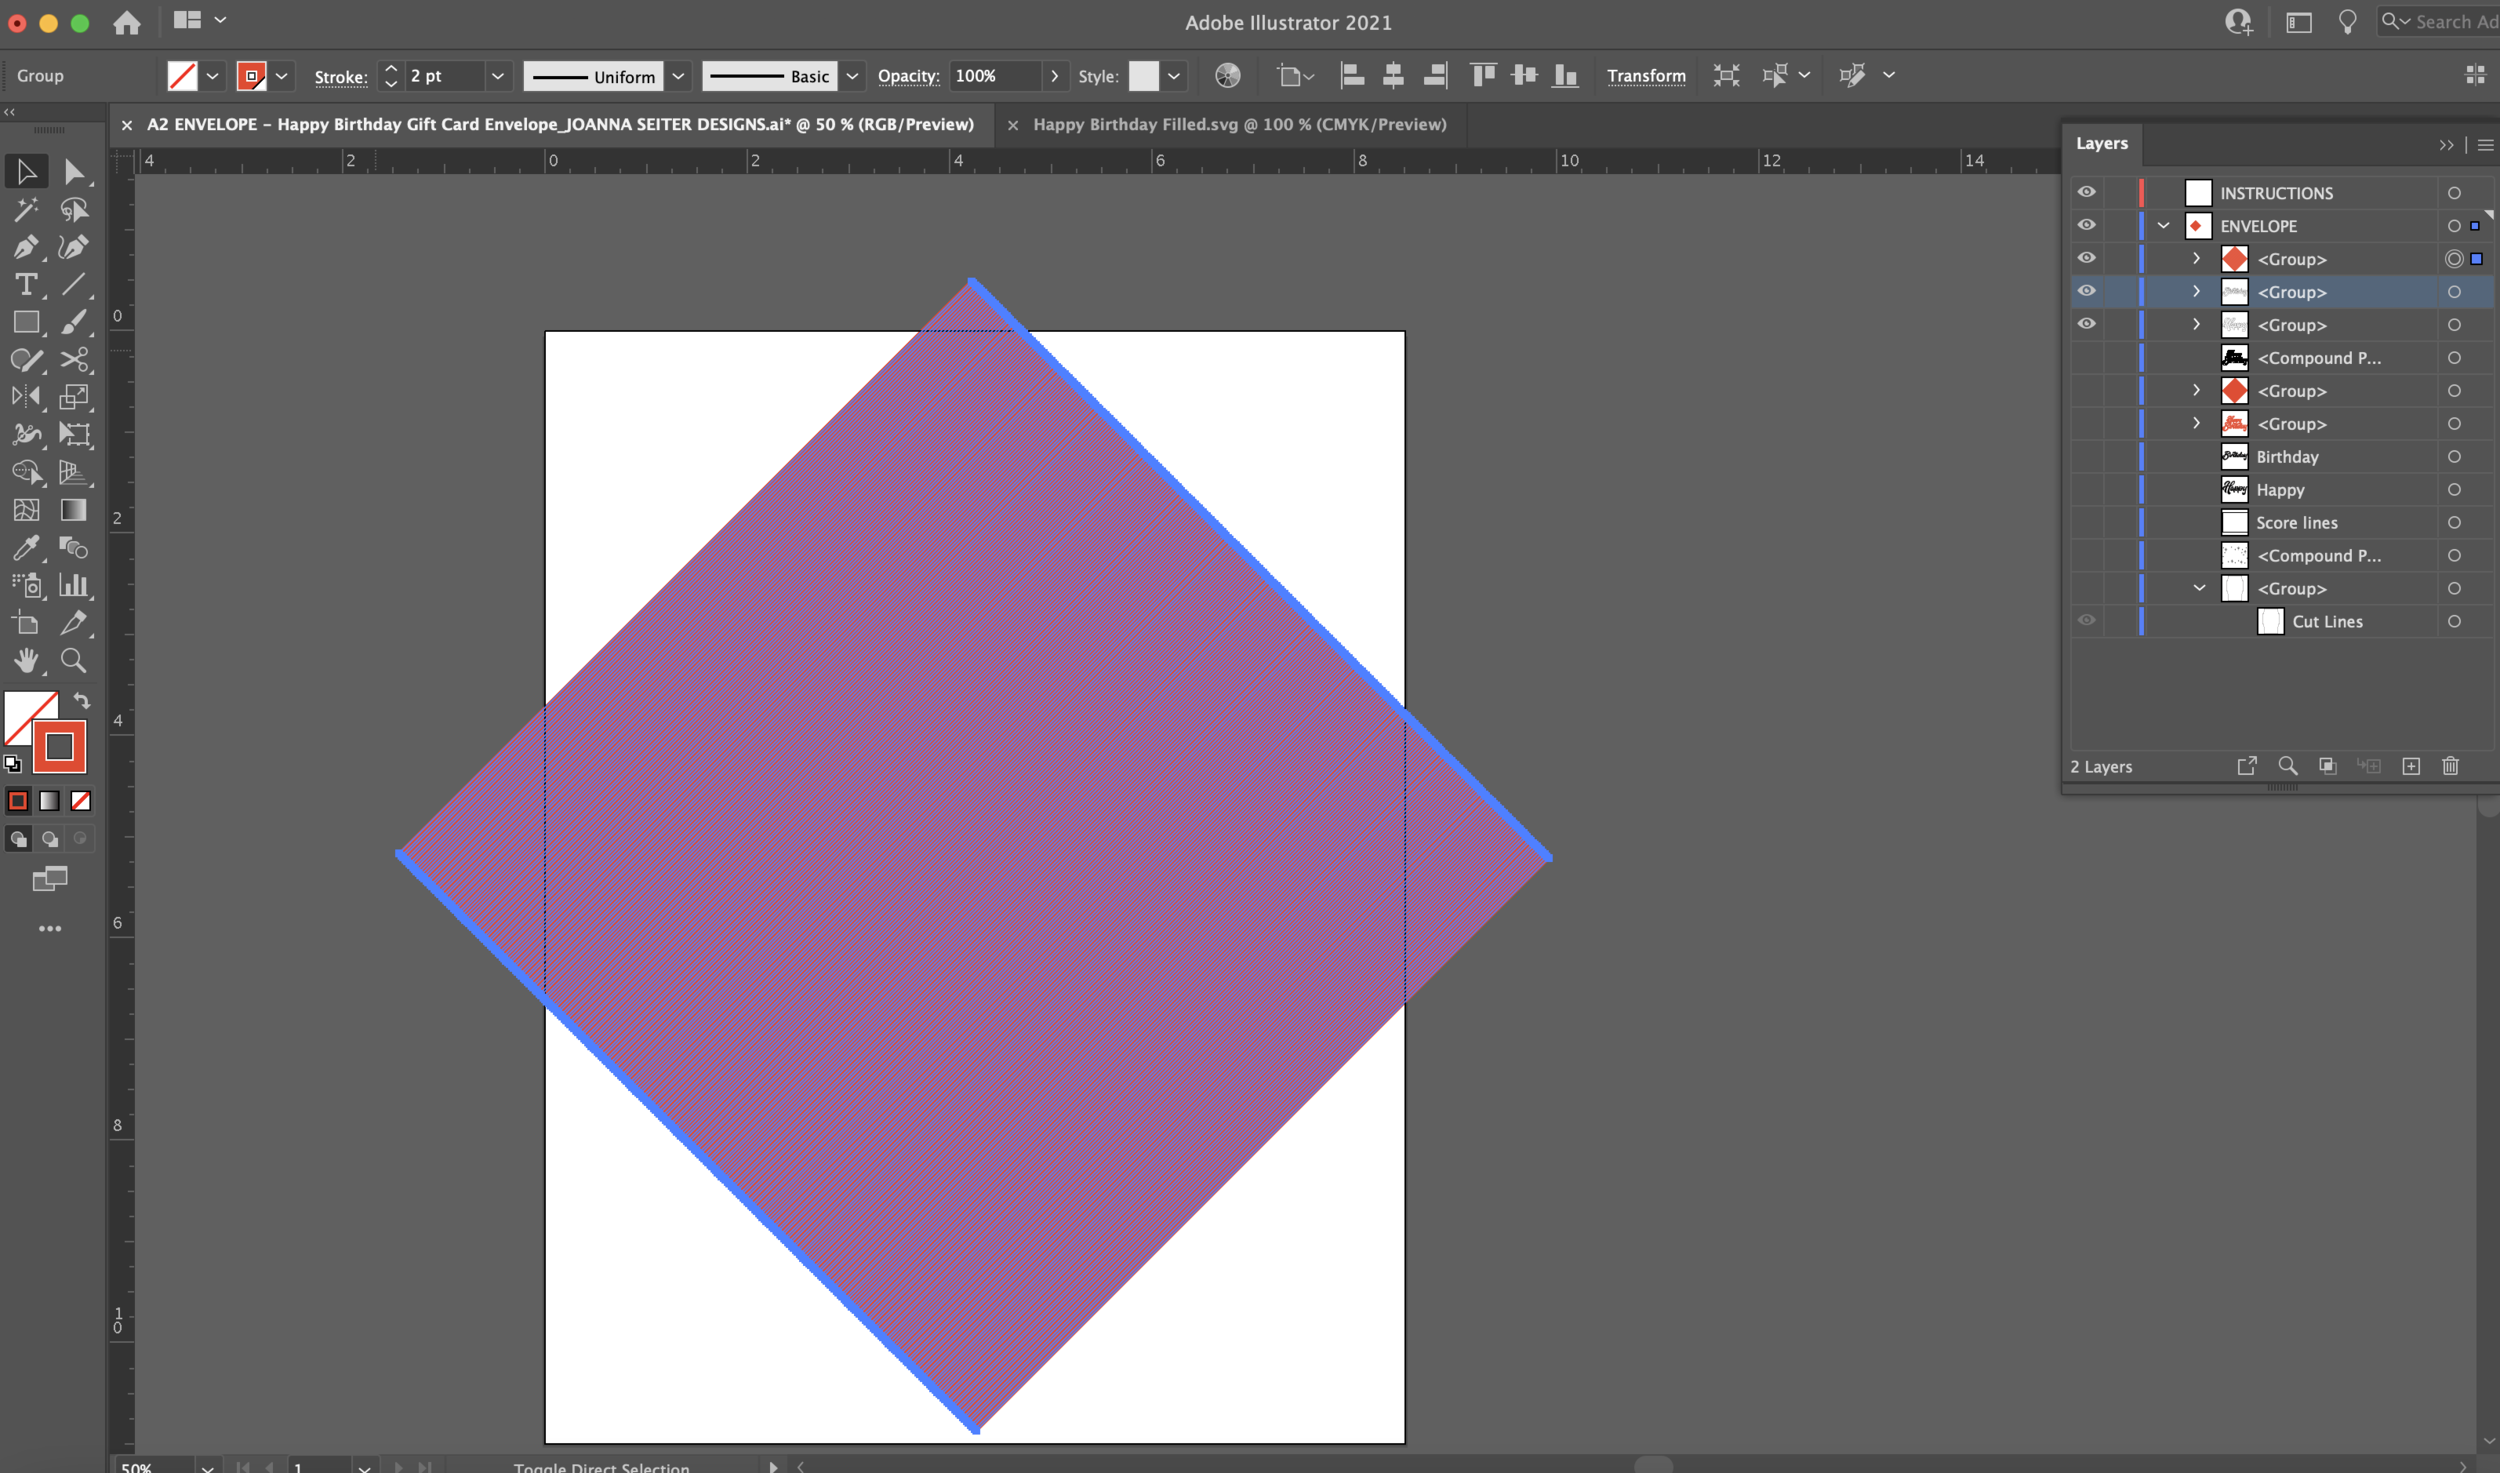
To make the the fill for the letters I make a 1pt stroke that is 8 inches long (or what ever size you will need to cover all your letters)
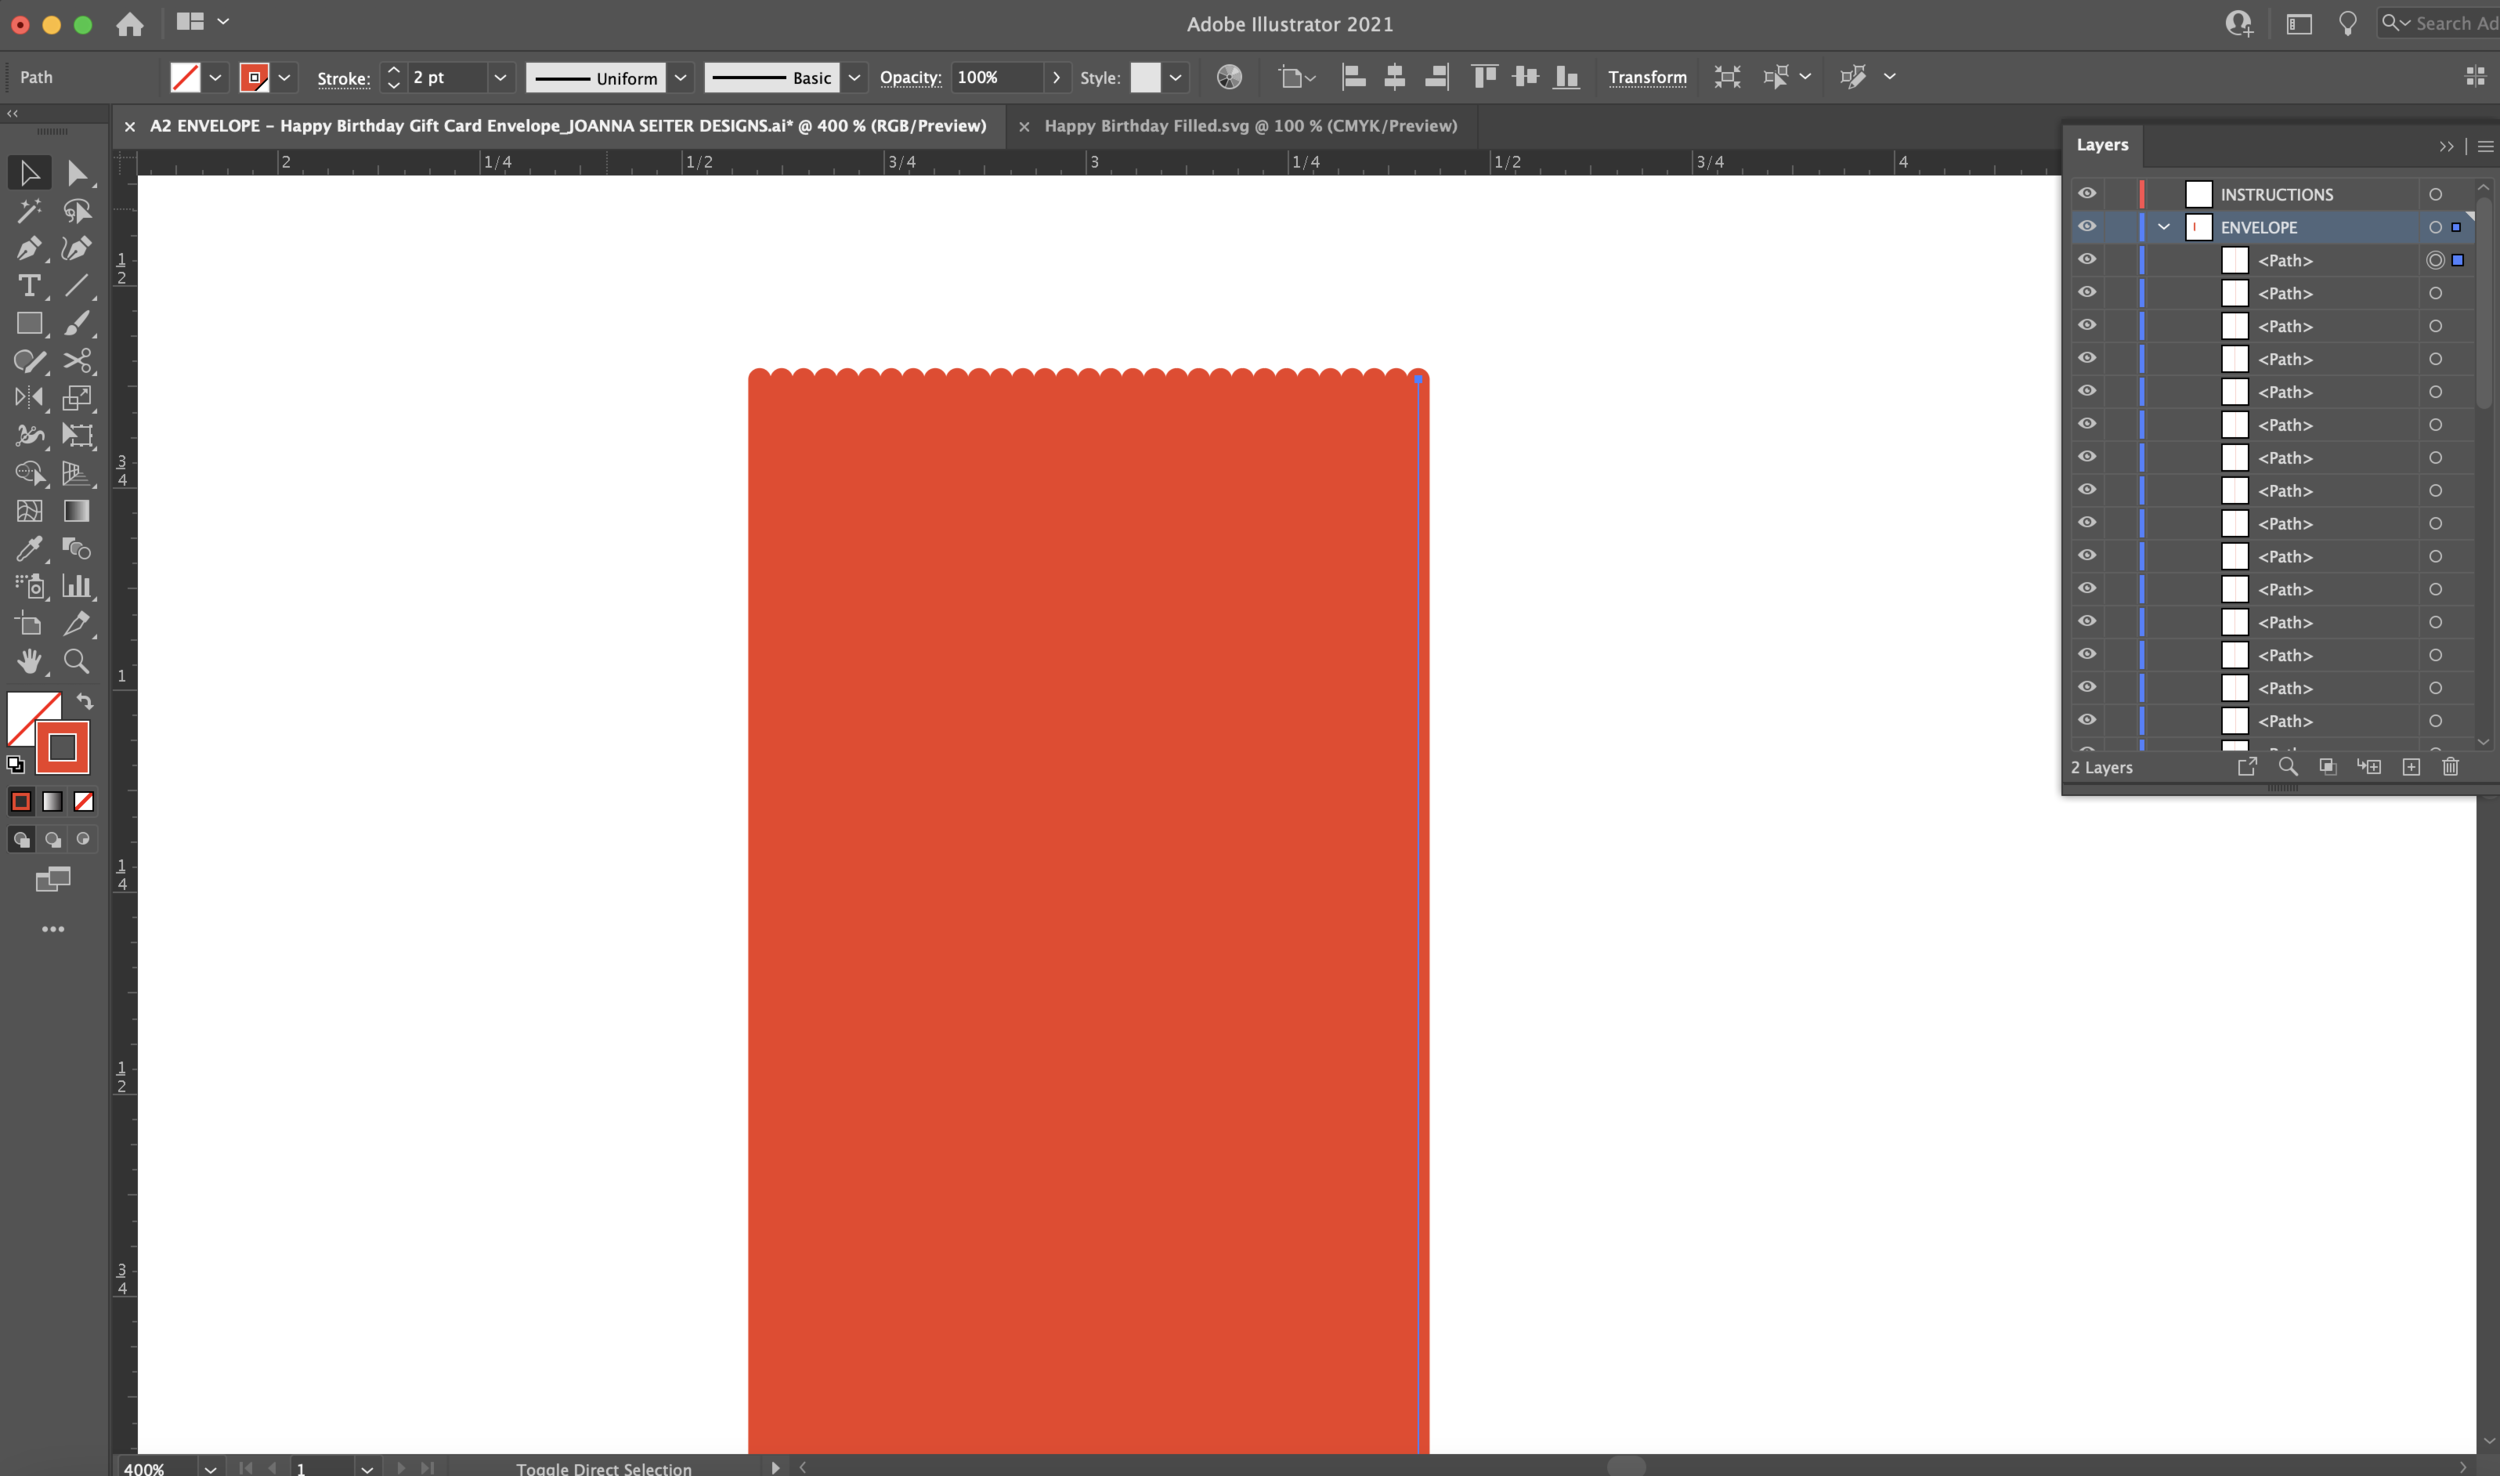
Then, holding the Option + Shift button I make a copy of that line and place it right next to the first line. (i’m using red for my fill lines just so they’re easier to see)
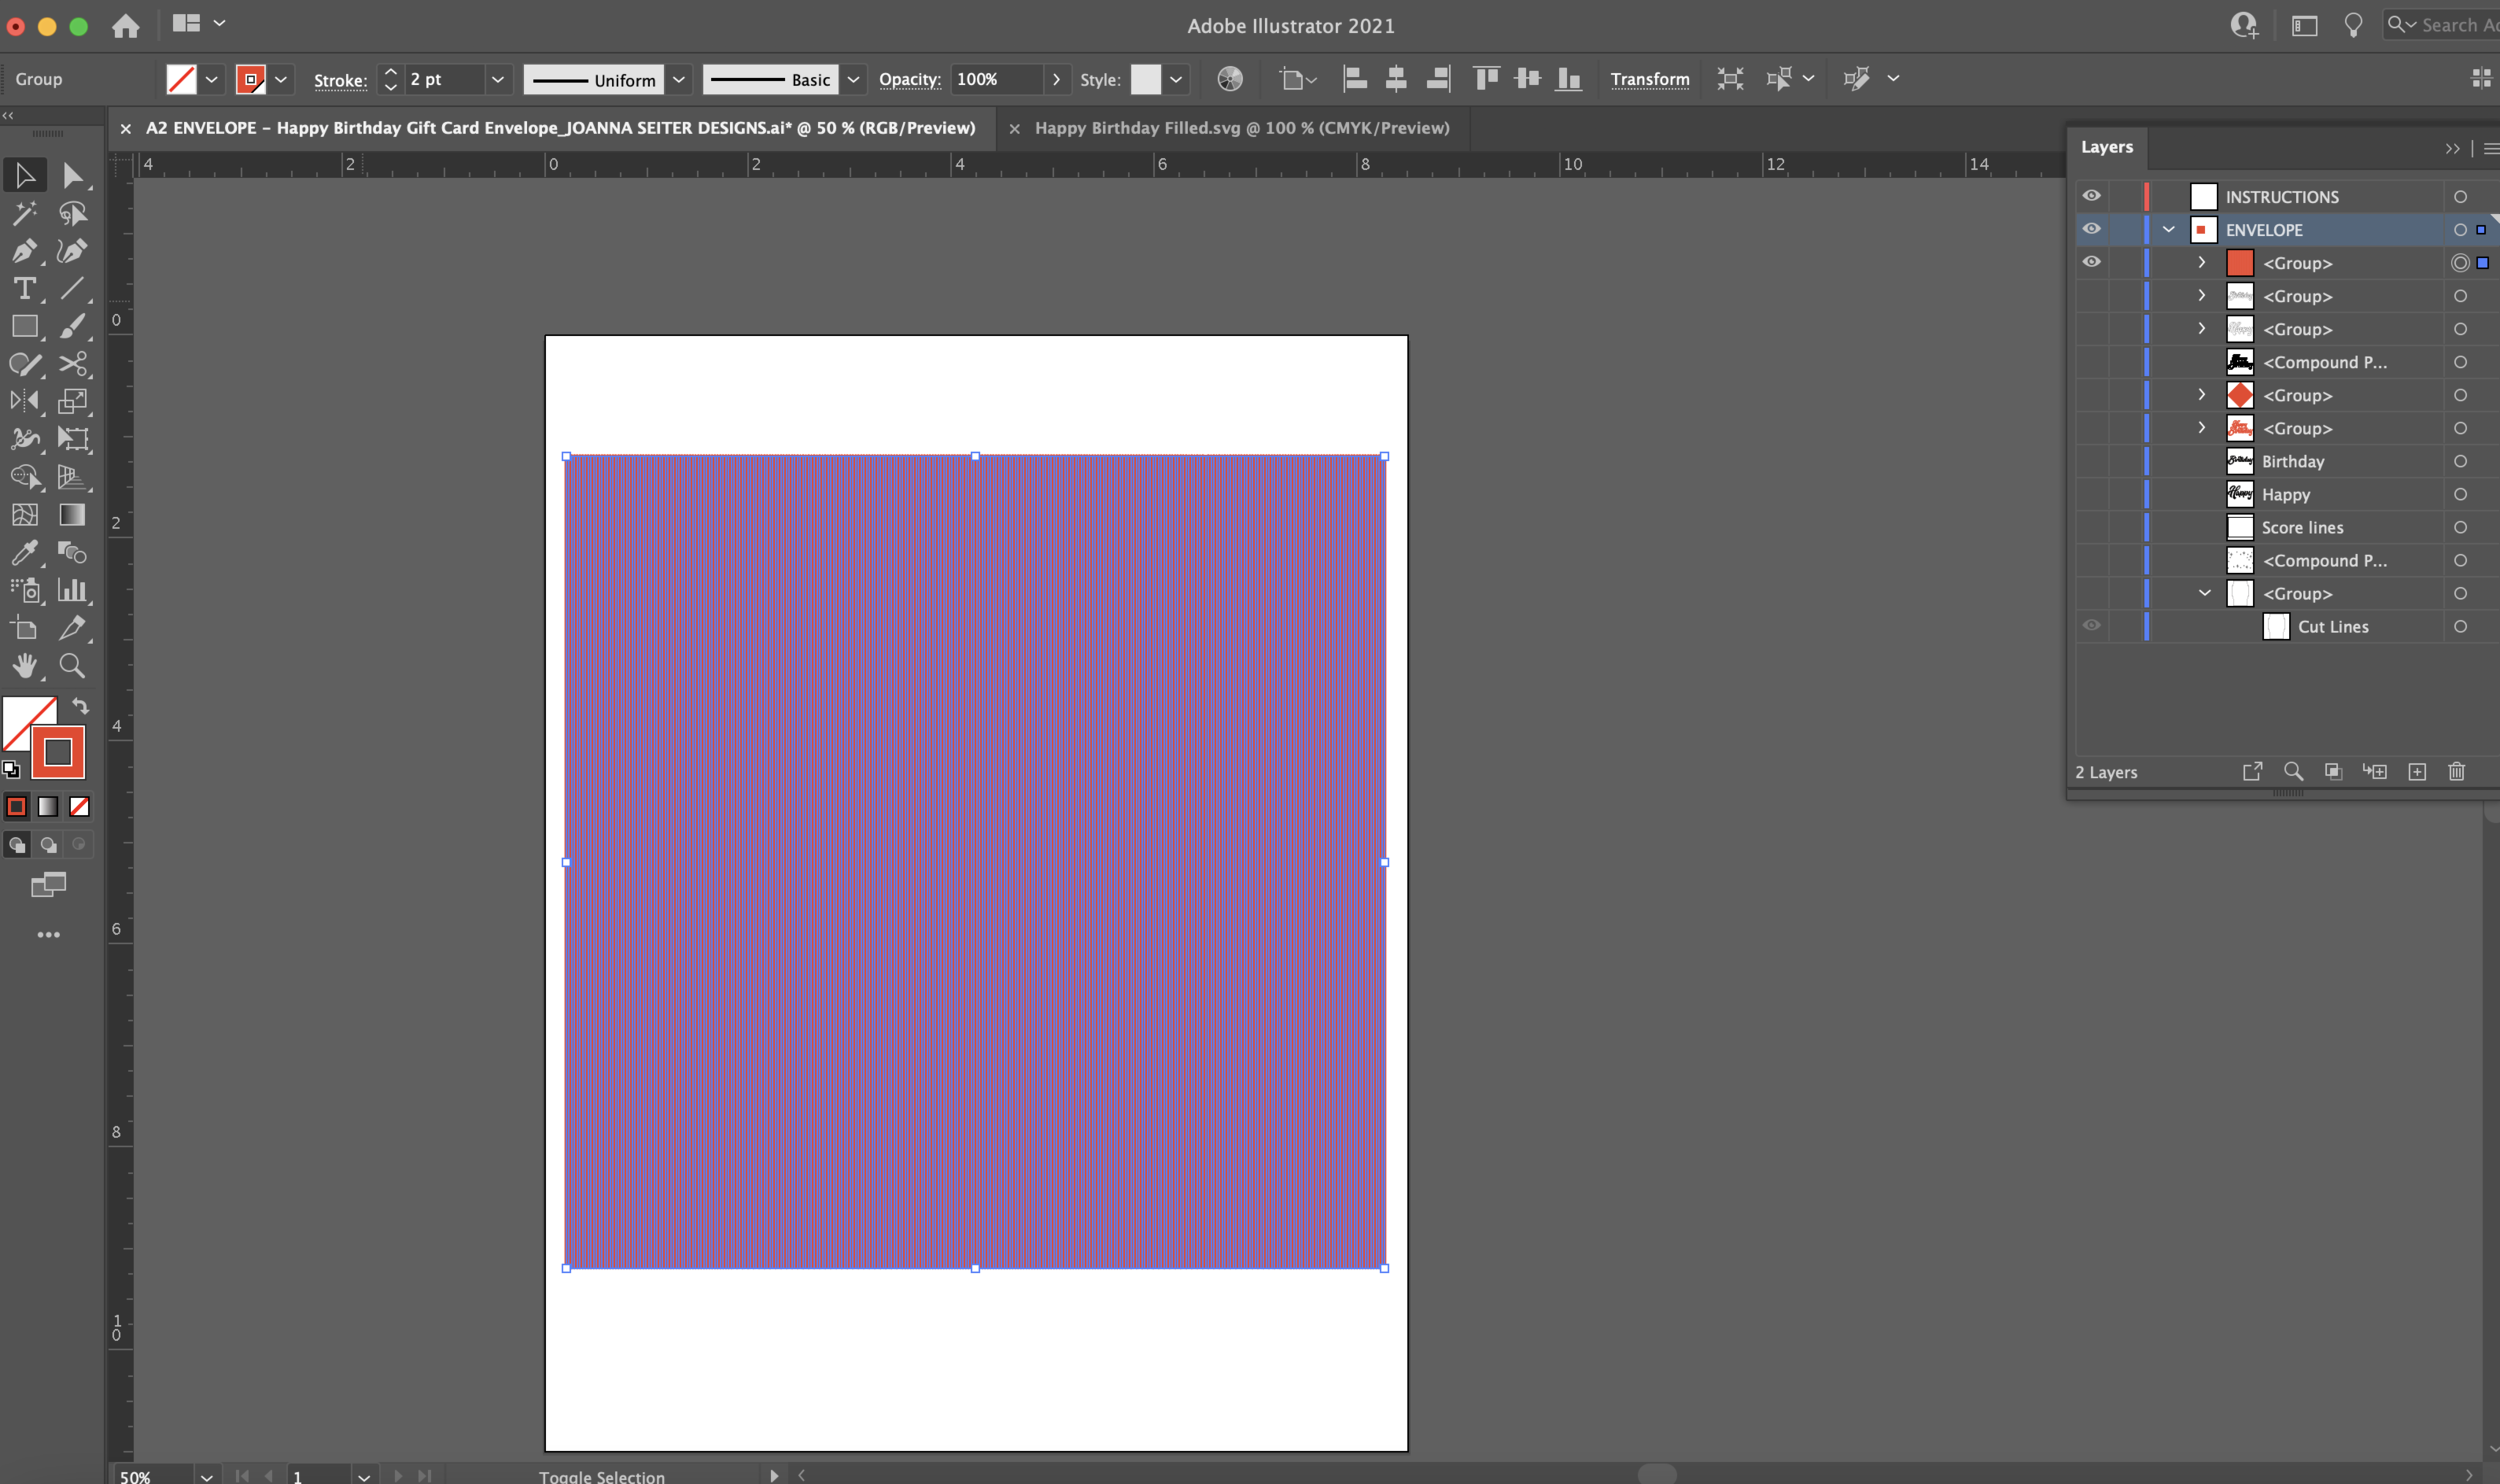
The I hold down Command +D to do that same same action over and over again until I have pretty much a square shape made out of a bunch on lines.
I select all of the lines and group them together (Command + G). Then I rotate the group 45 degrees. (You don’t have to rotate the lines, I just like the slanted look with my font)
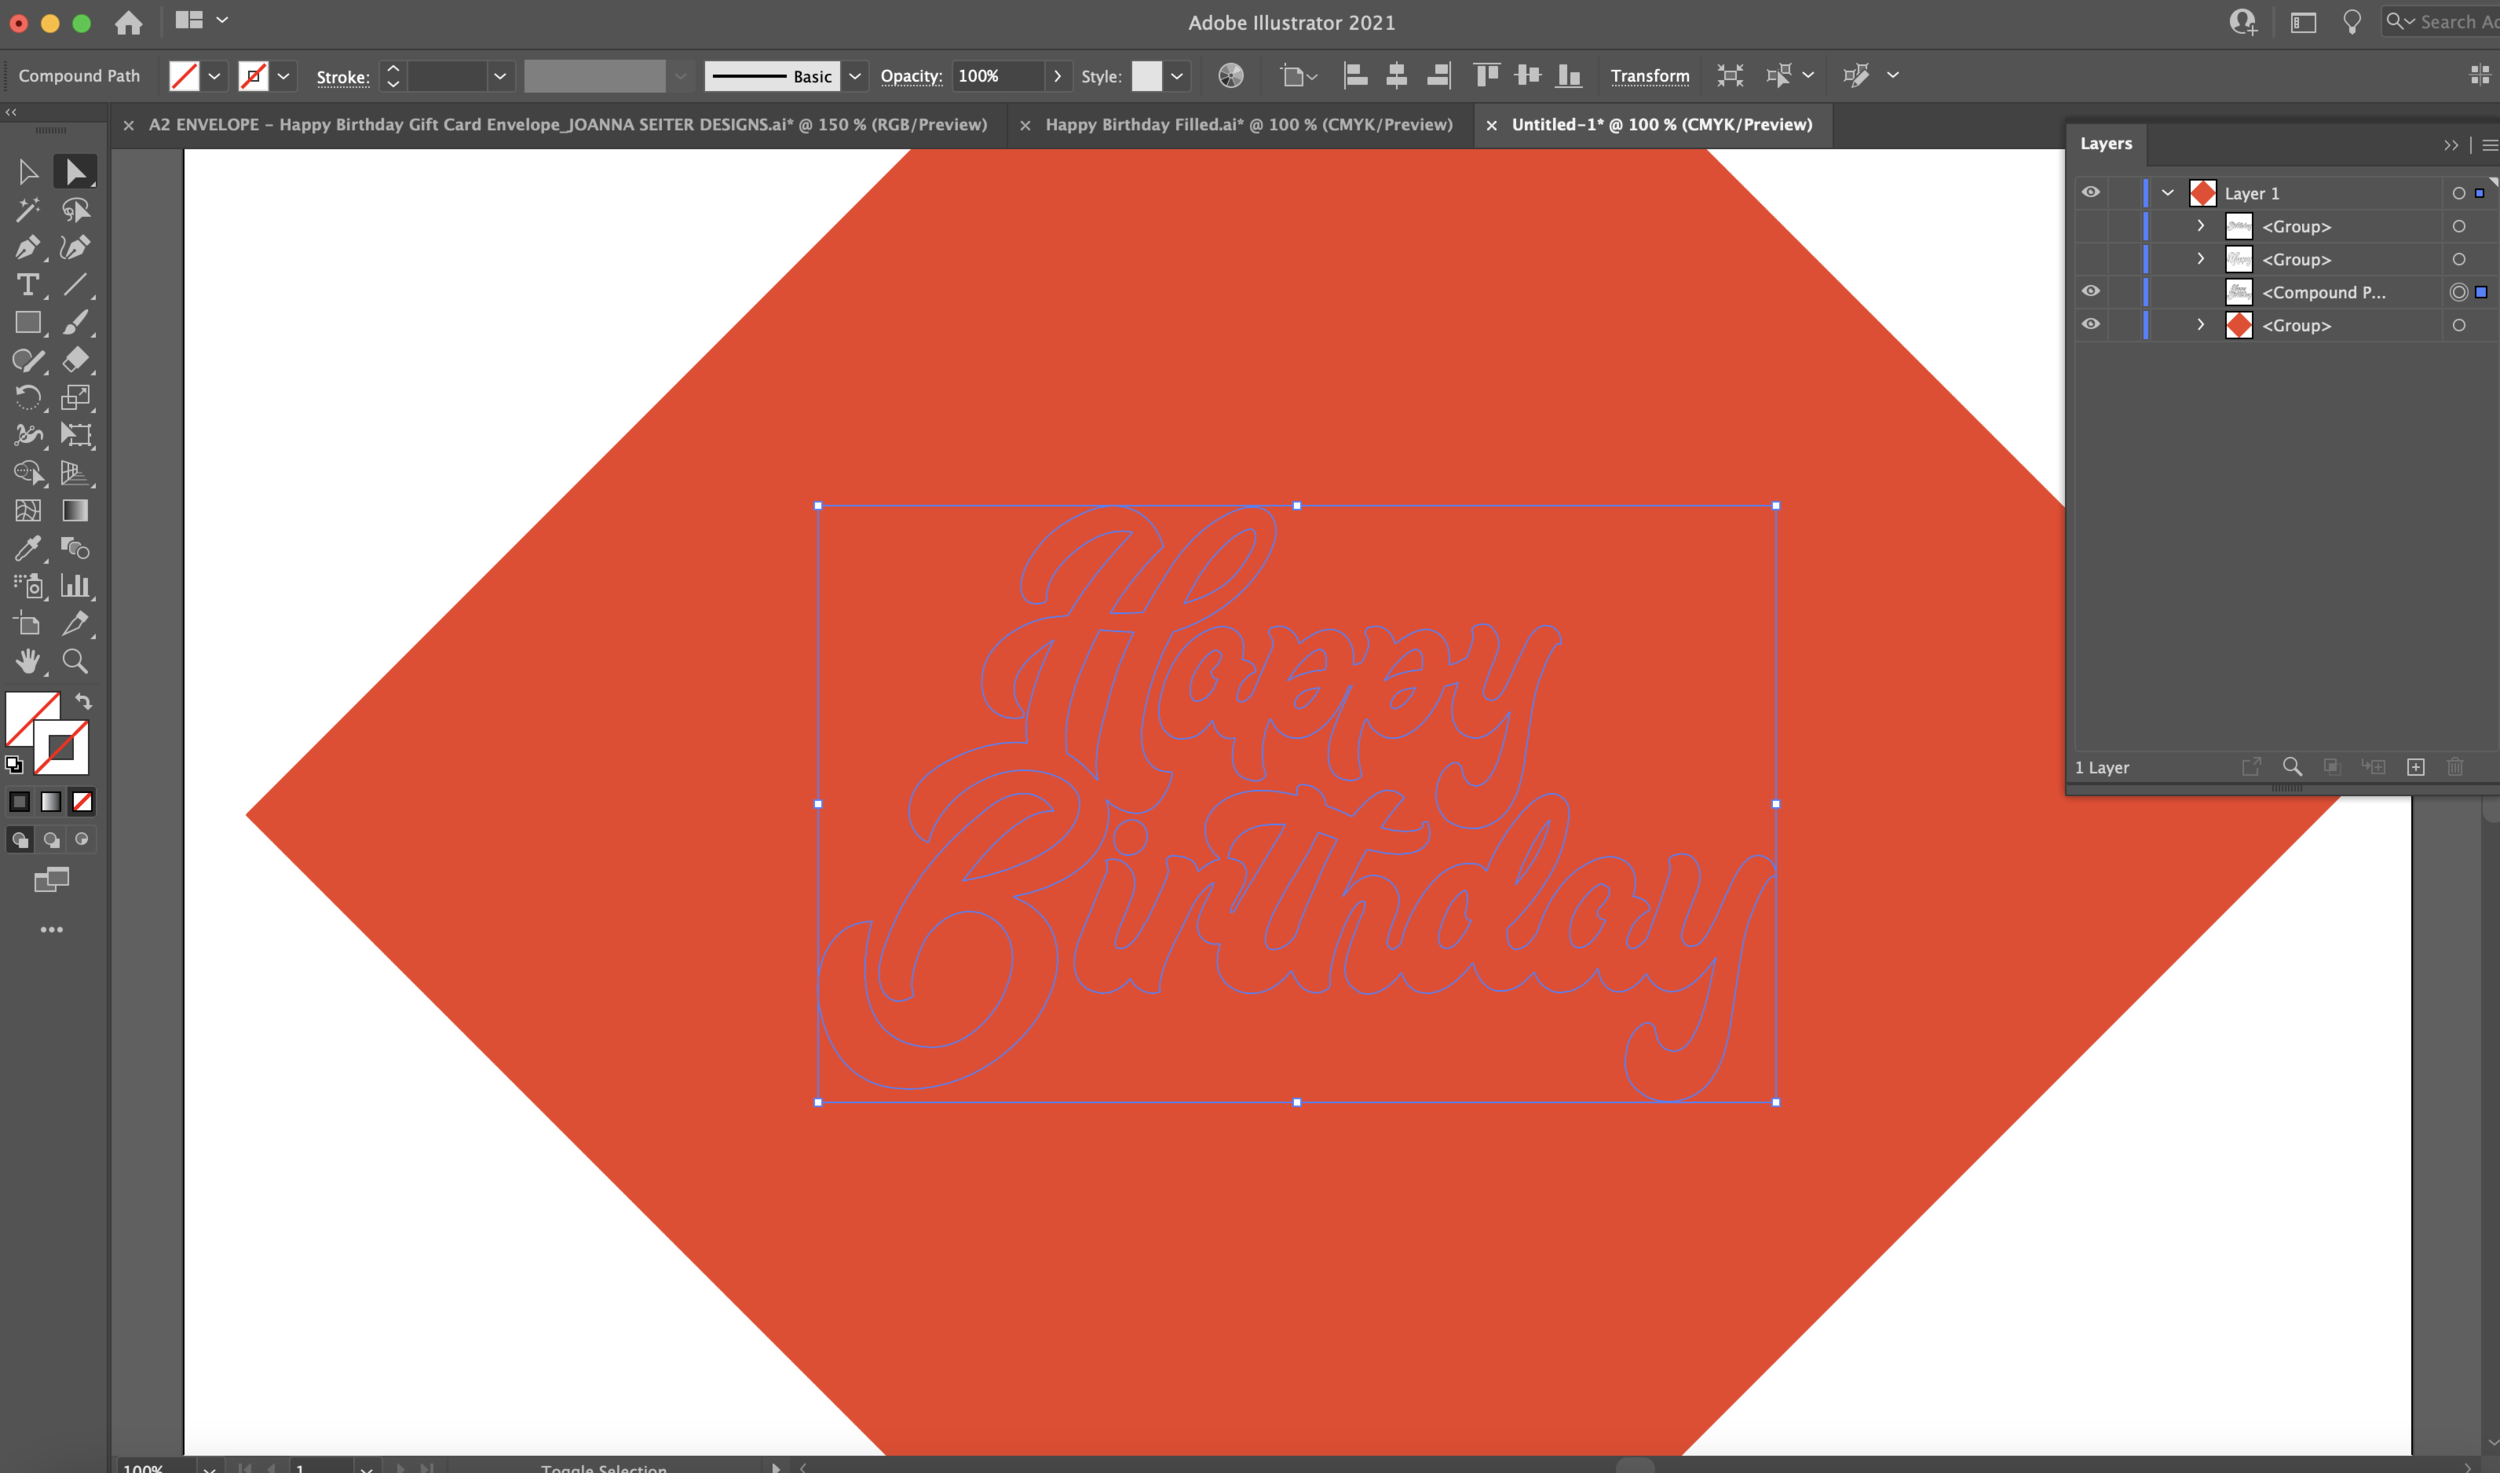
I’m going to copy and paste my letters and place them on top of the group of lines. I’m going to turn off one of the sets of letters (click the eyeball on the layers panel). I’m going to turn the other set of letters into a compound path and remove the stroke around it.
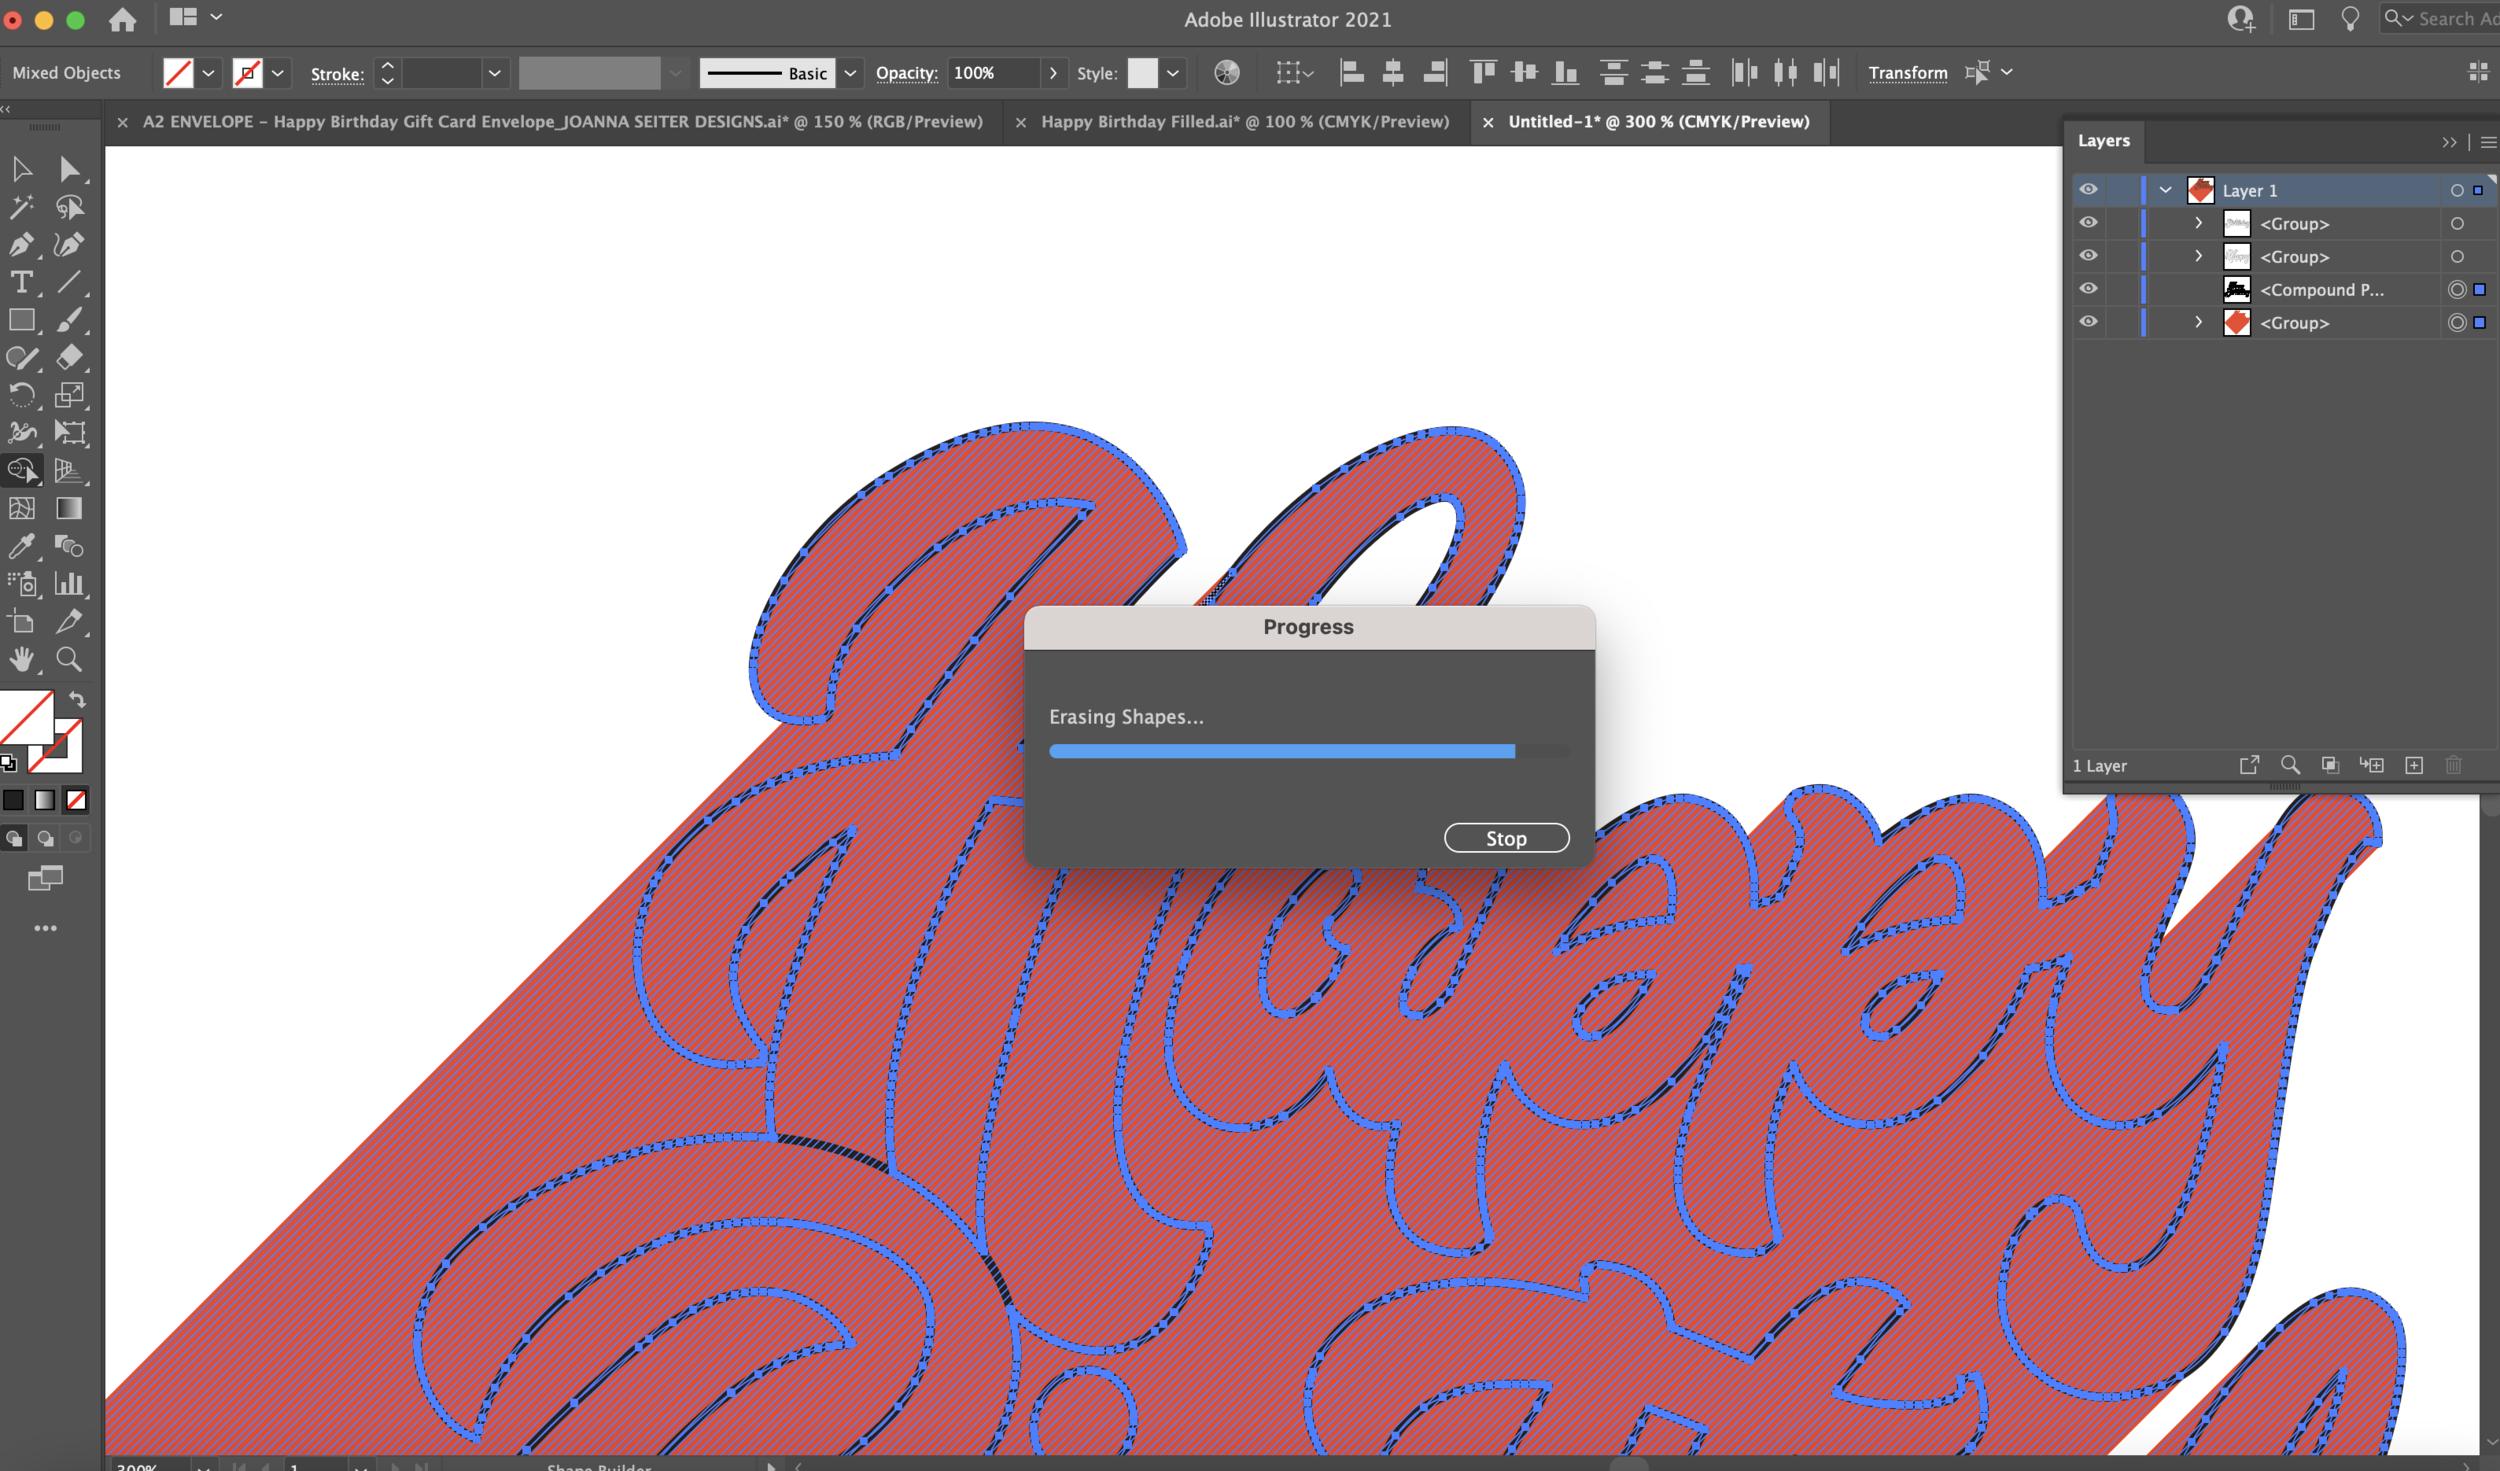
Select the group of letters and the group of lines and type Shift + M to get the Shape Builder tool. That’s how we’re going to trim our lines so they only fill the letters.
“But why aren’t you just making a clip mask?” Design Space doesn’t recognize clip masks and will expand the clip mask once you import the SVG into Design Space.
Holding the Option or Alt key, I’m going to click and drag my mouse along the lined areas I want to remove. My design is going to start looking like the below.
You can turn on the layers with the letters that still have the stroke outline so it’s easier for you to see the areas you need to remove.
Just keep pressing Option or Alt and clicking and dragging along the areas you want to remove. Some sections might take a minute to update.
Eventually your design will look like this:
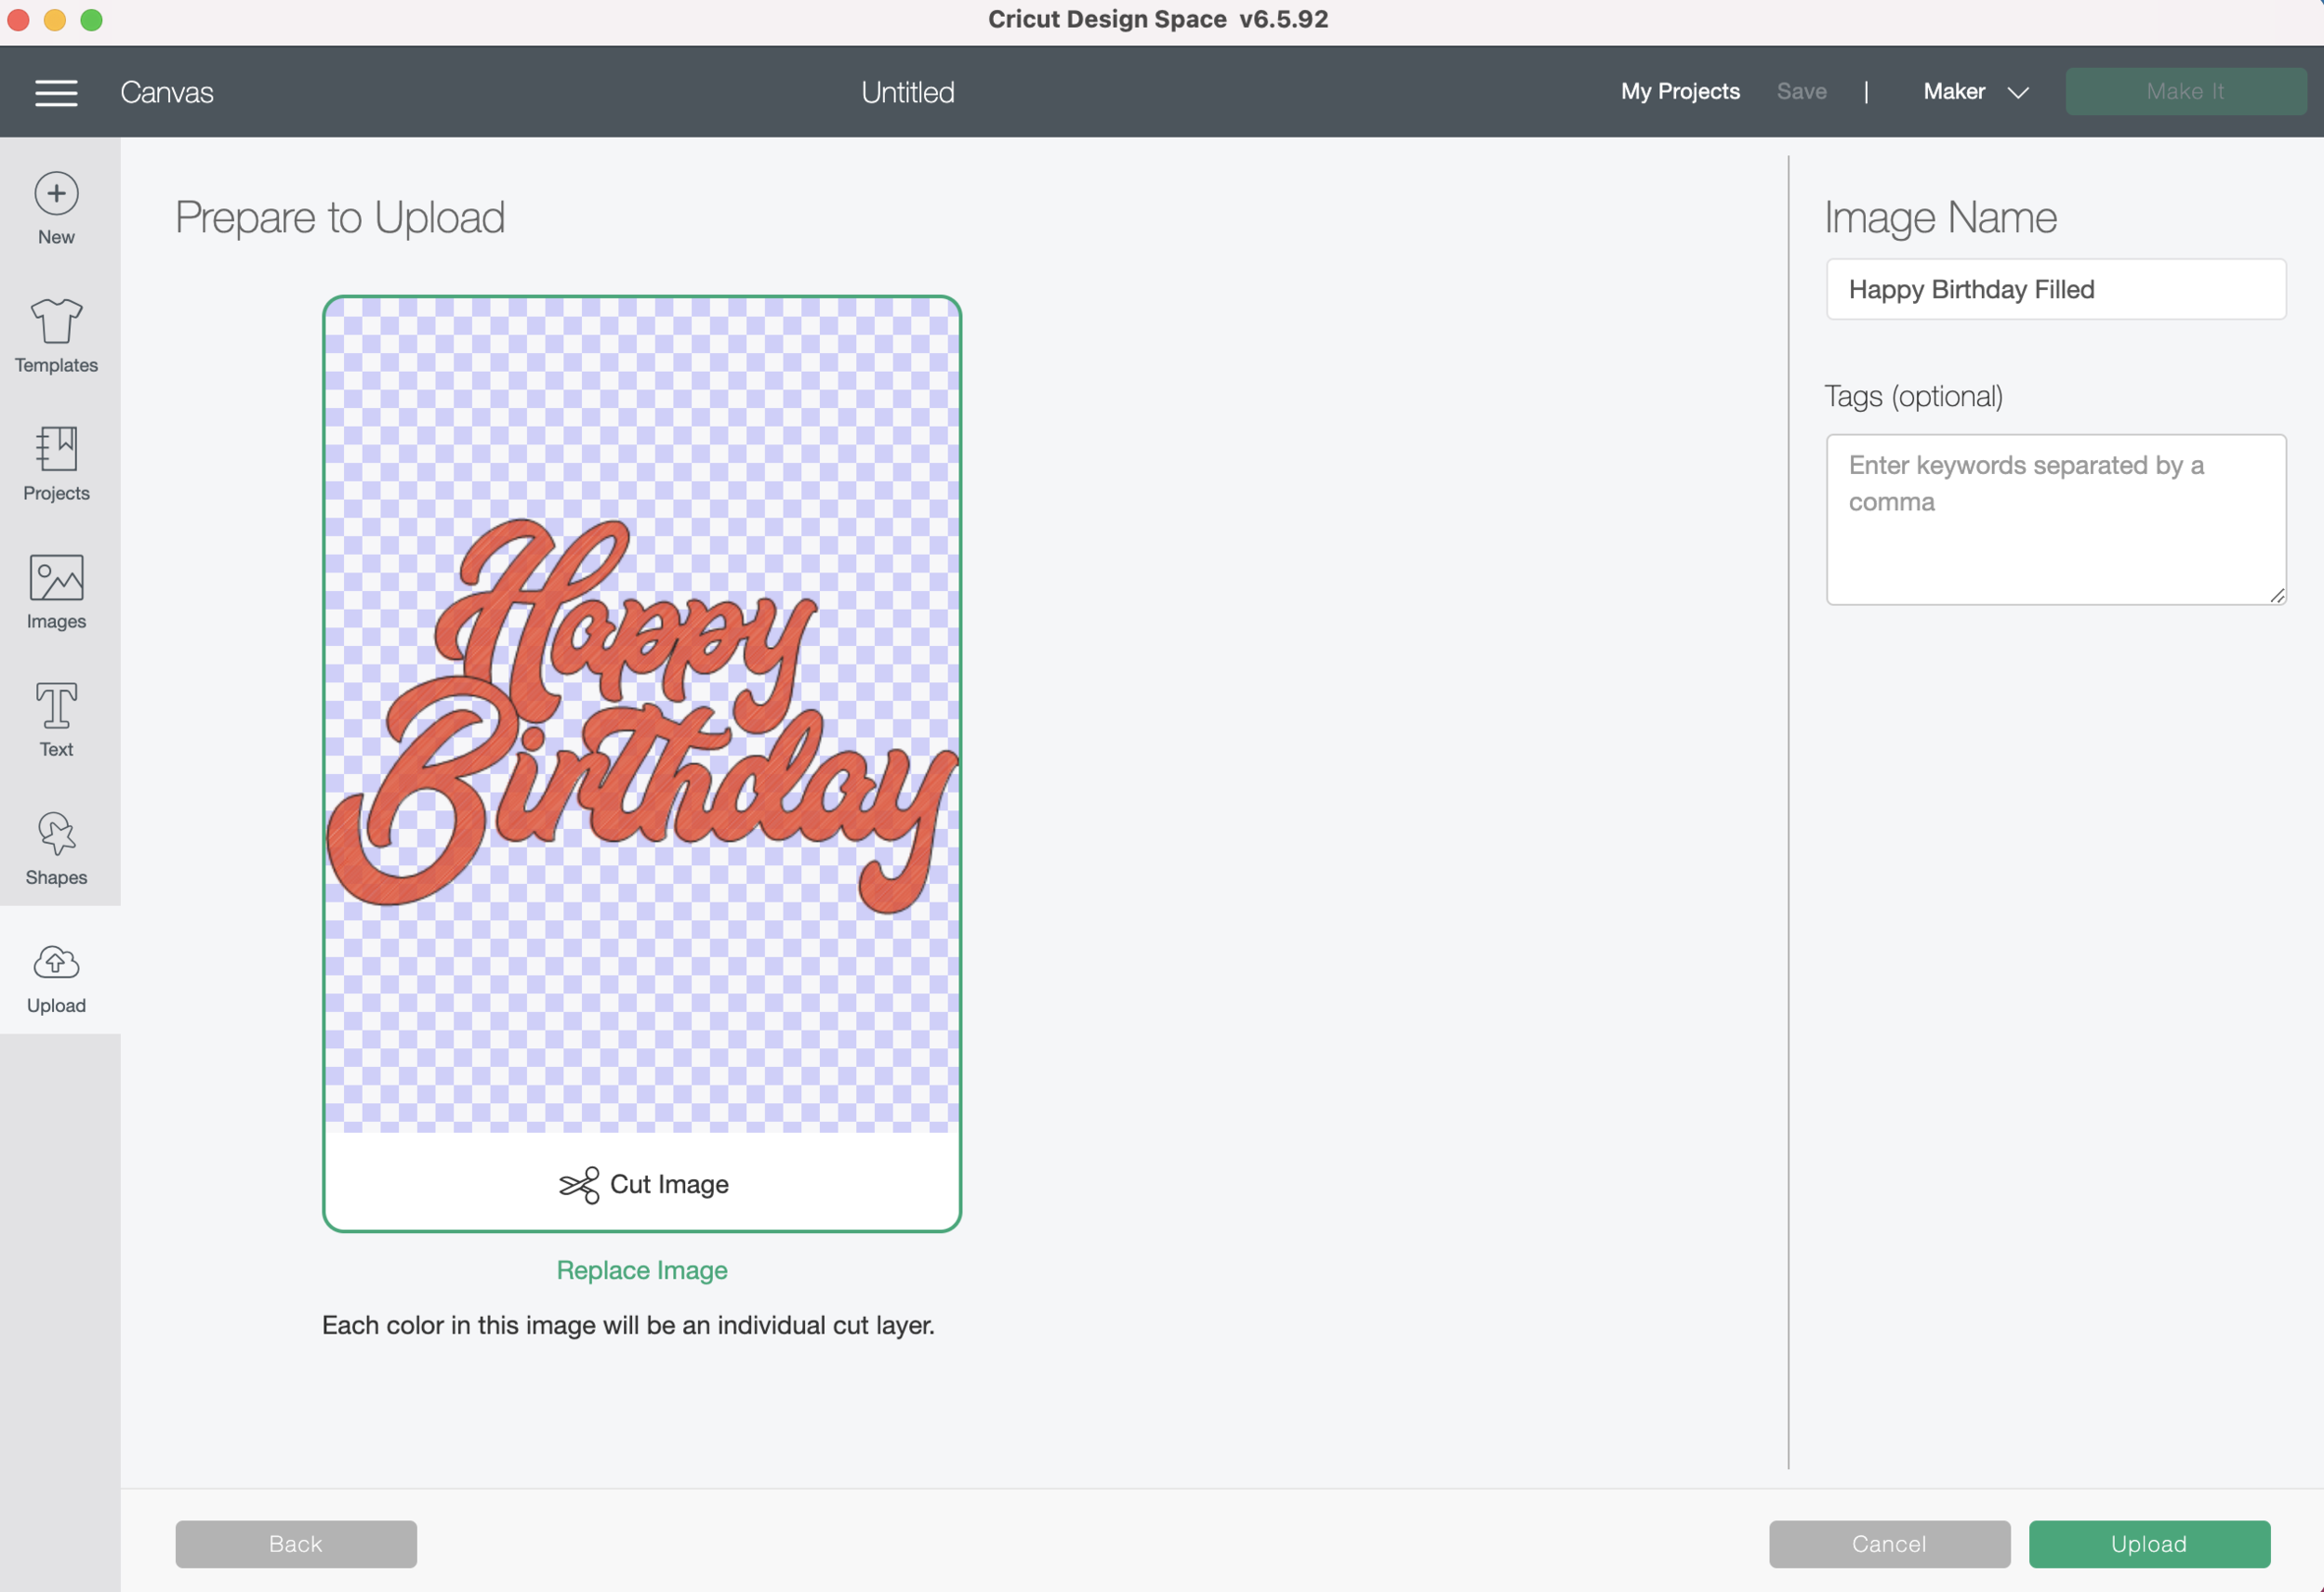
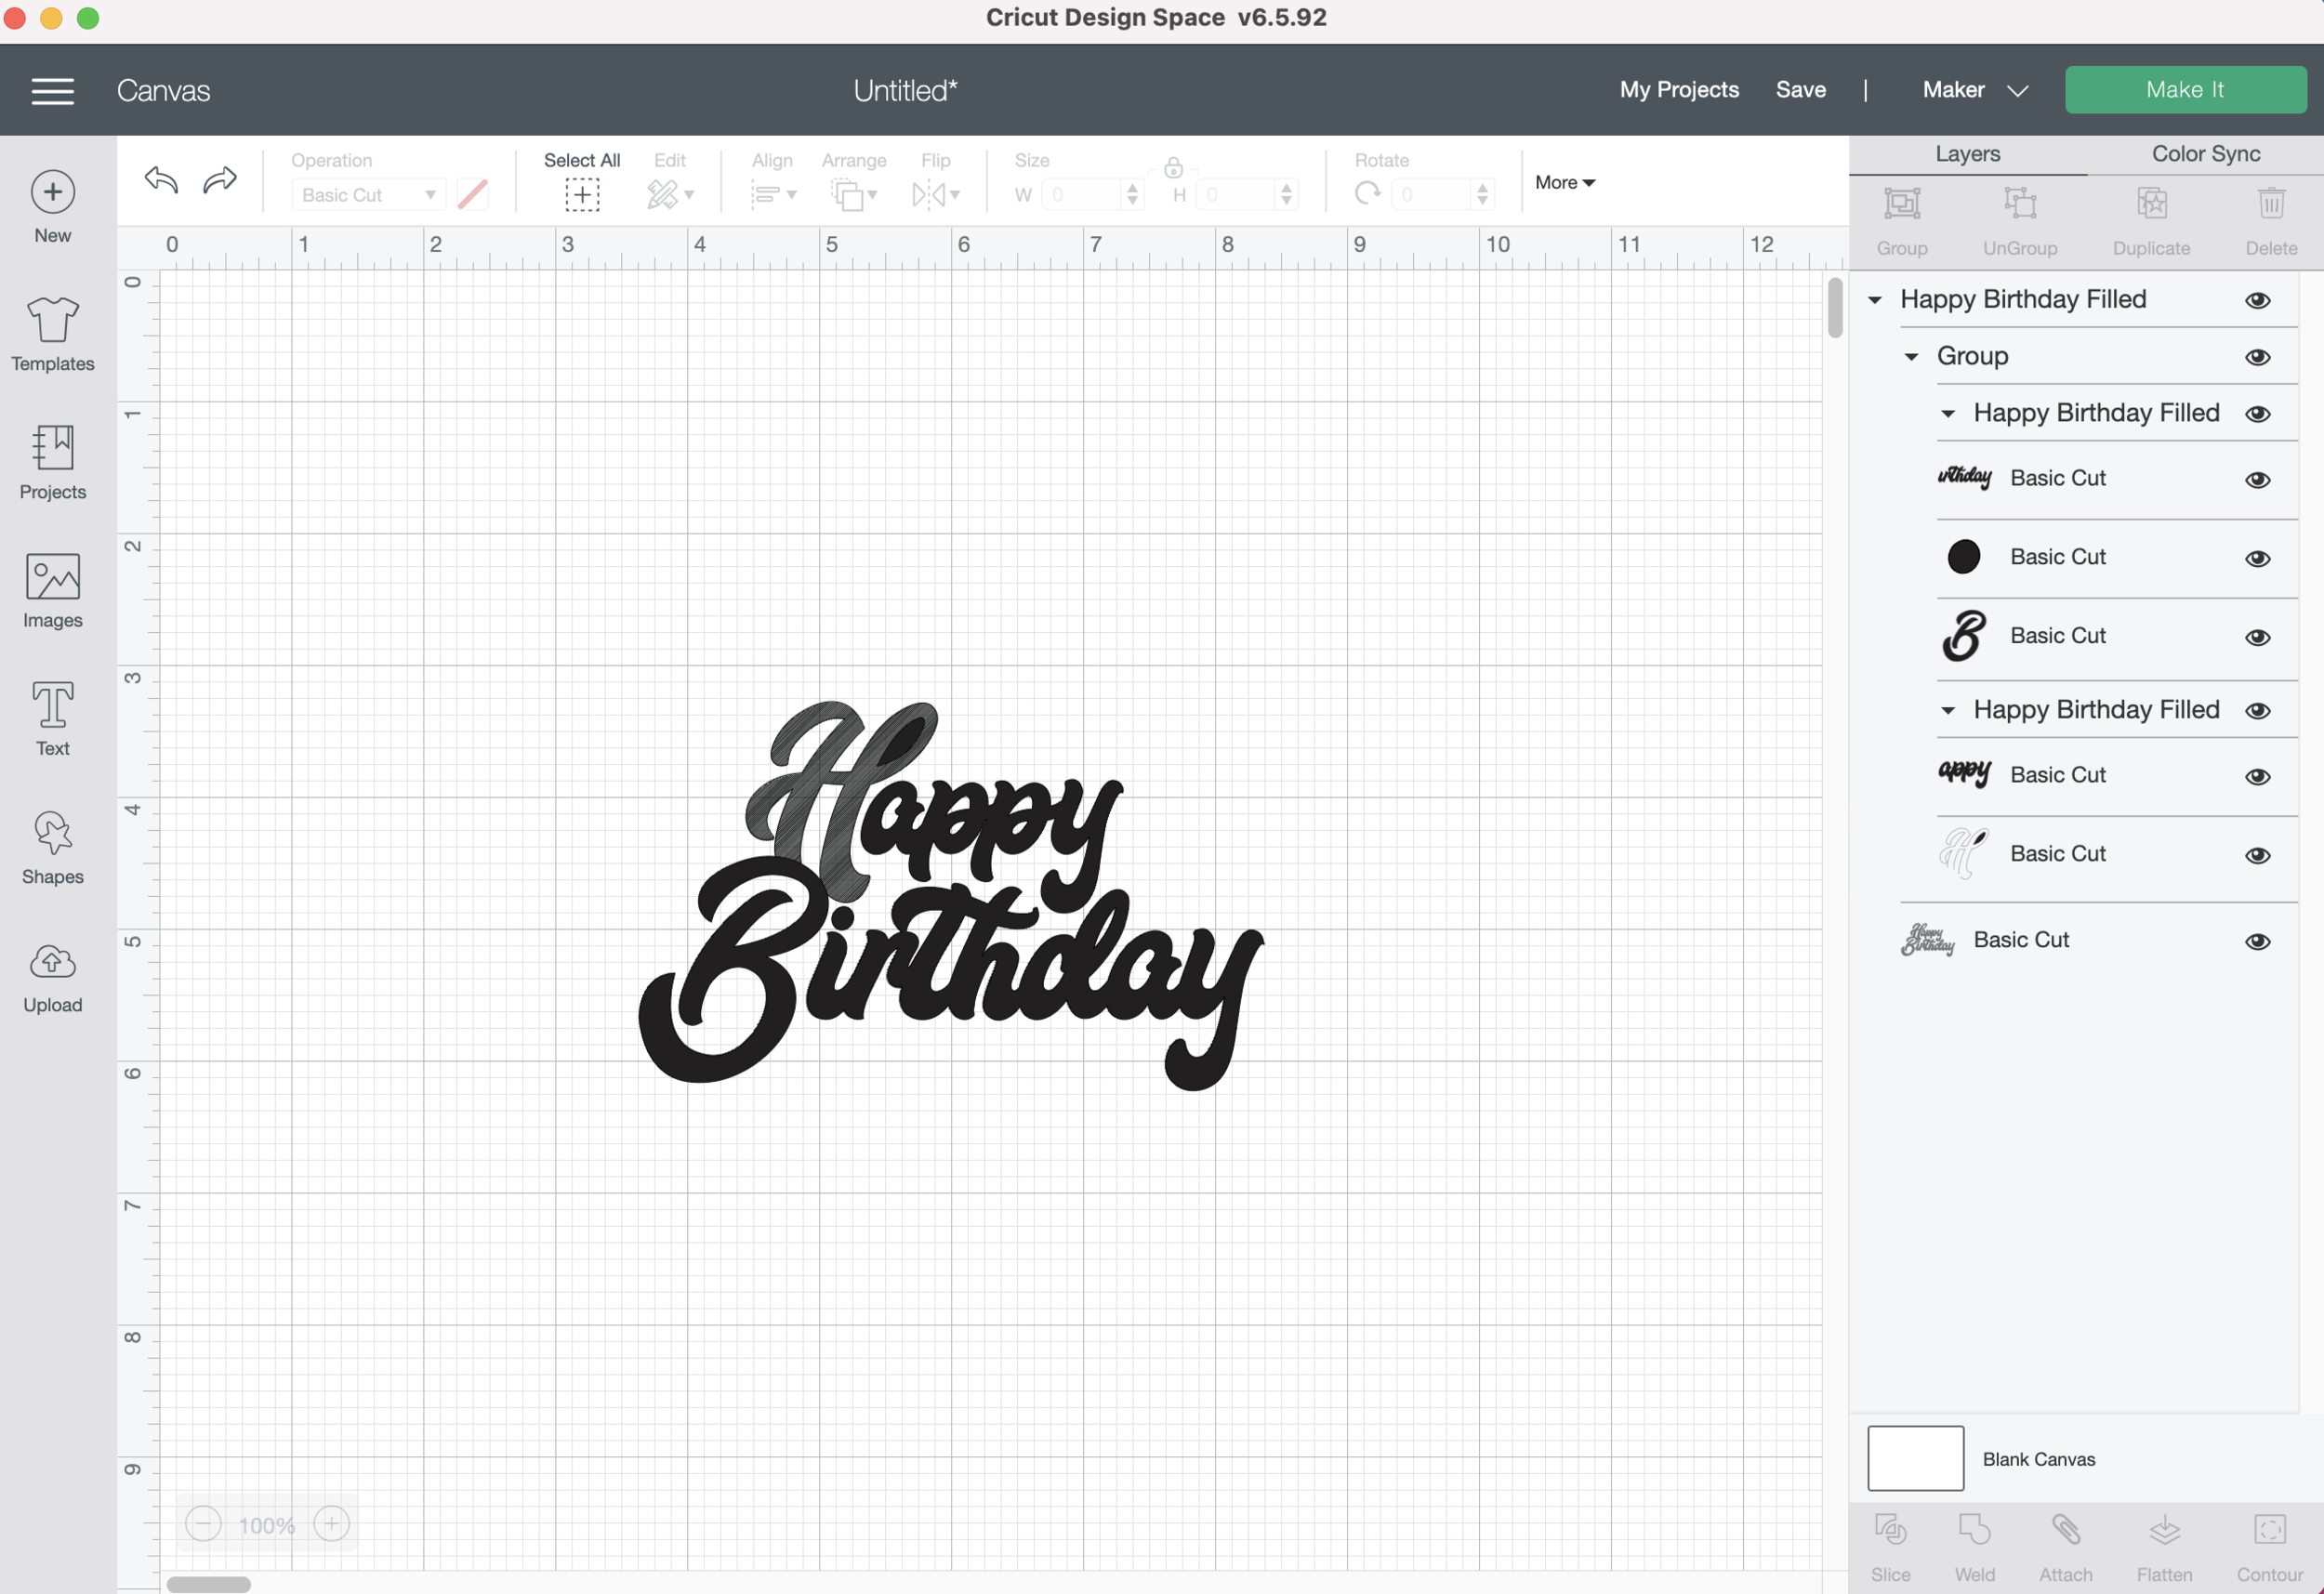
Save your file as and SVG. Then we’re going to test it in Design Space. When you upload your file it’s going to bring it in as a “Cut Image.” That’s fine, just click “Upload.”
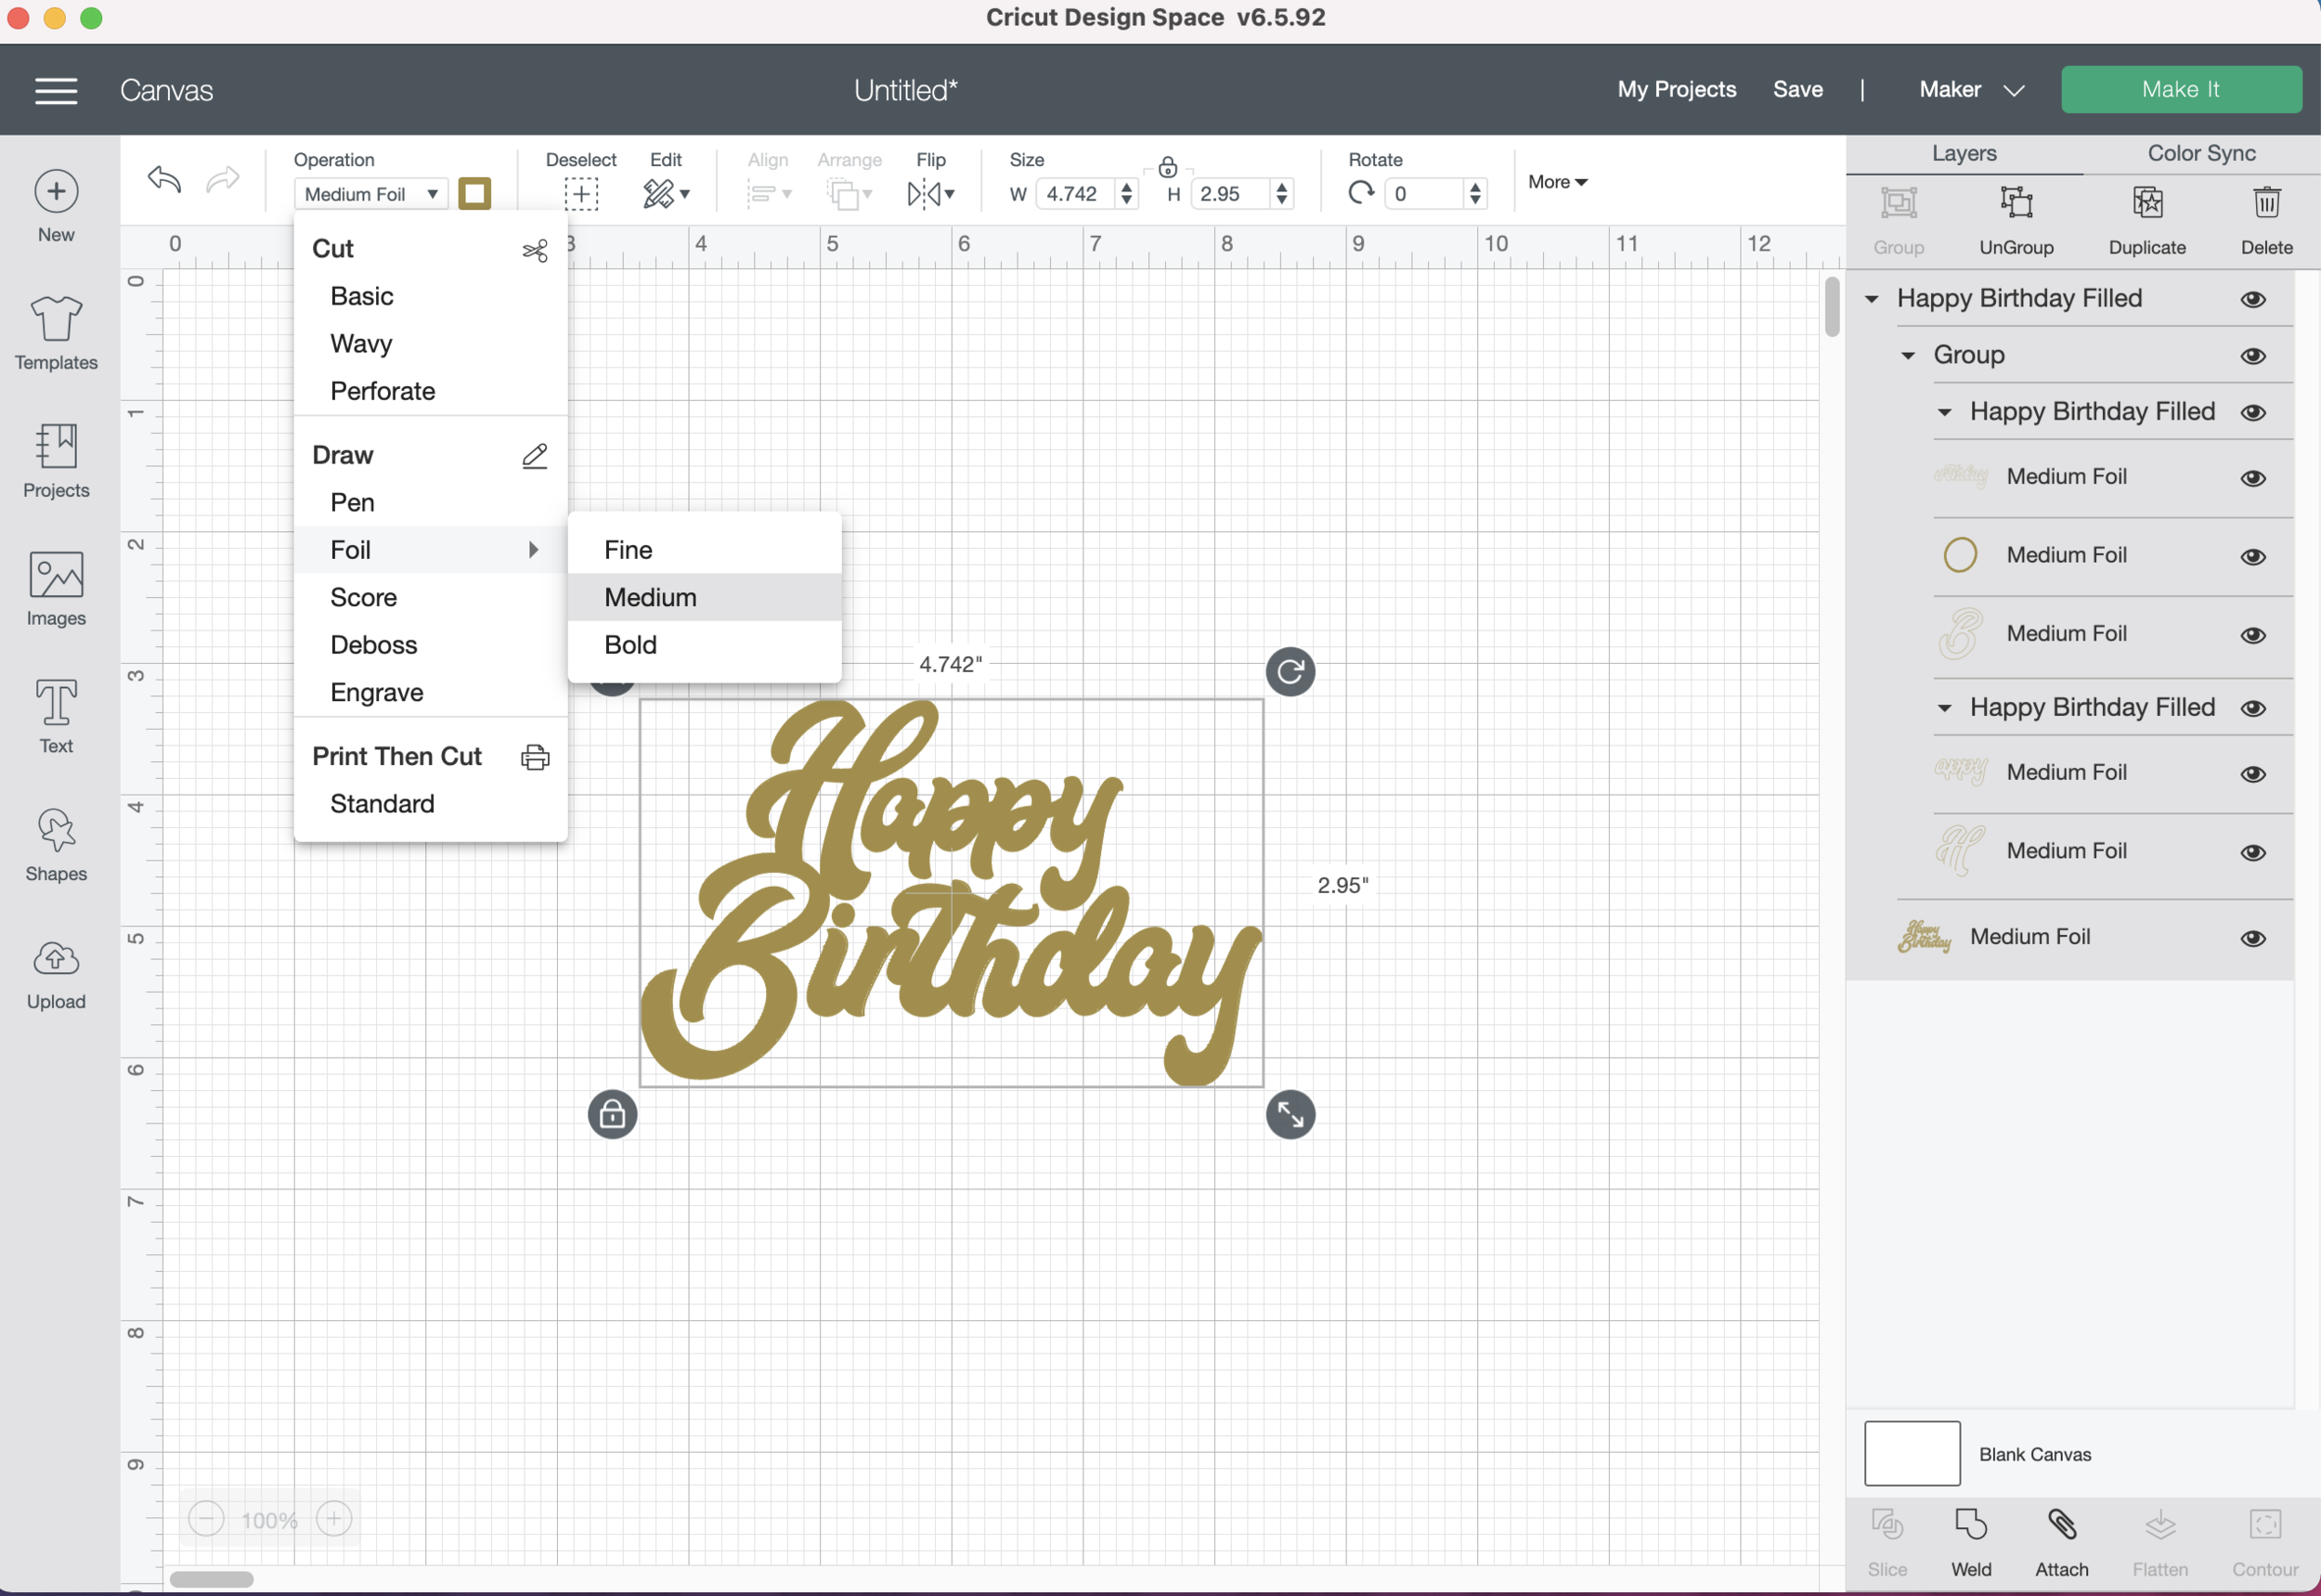
After you’ve inserted your image onto the canvas, we will change the Linetype to a draw style. With the new Design Space update this is called “Operation” instead of Linetype.
I’m going to select Foil > Medium.
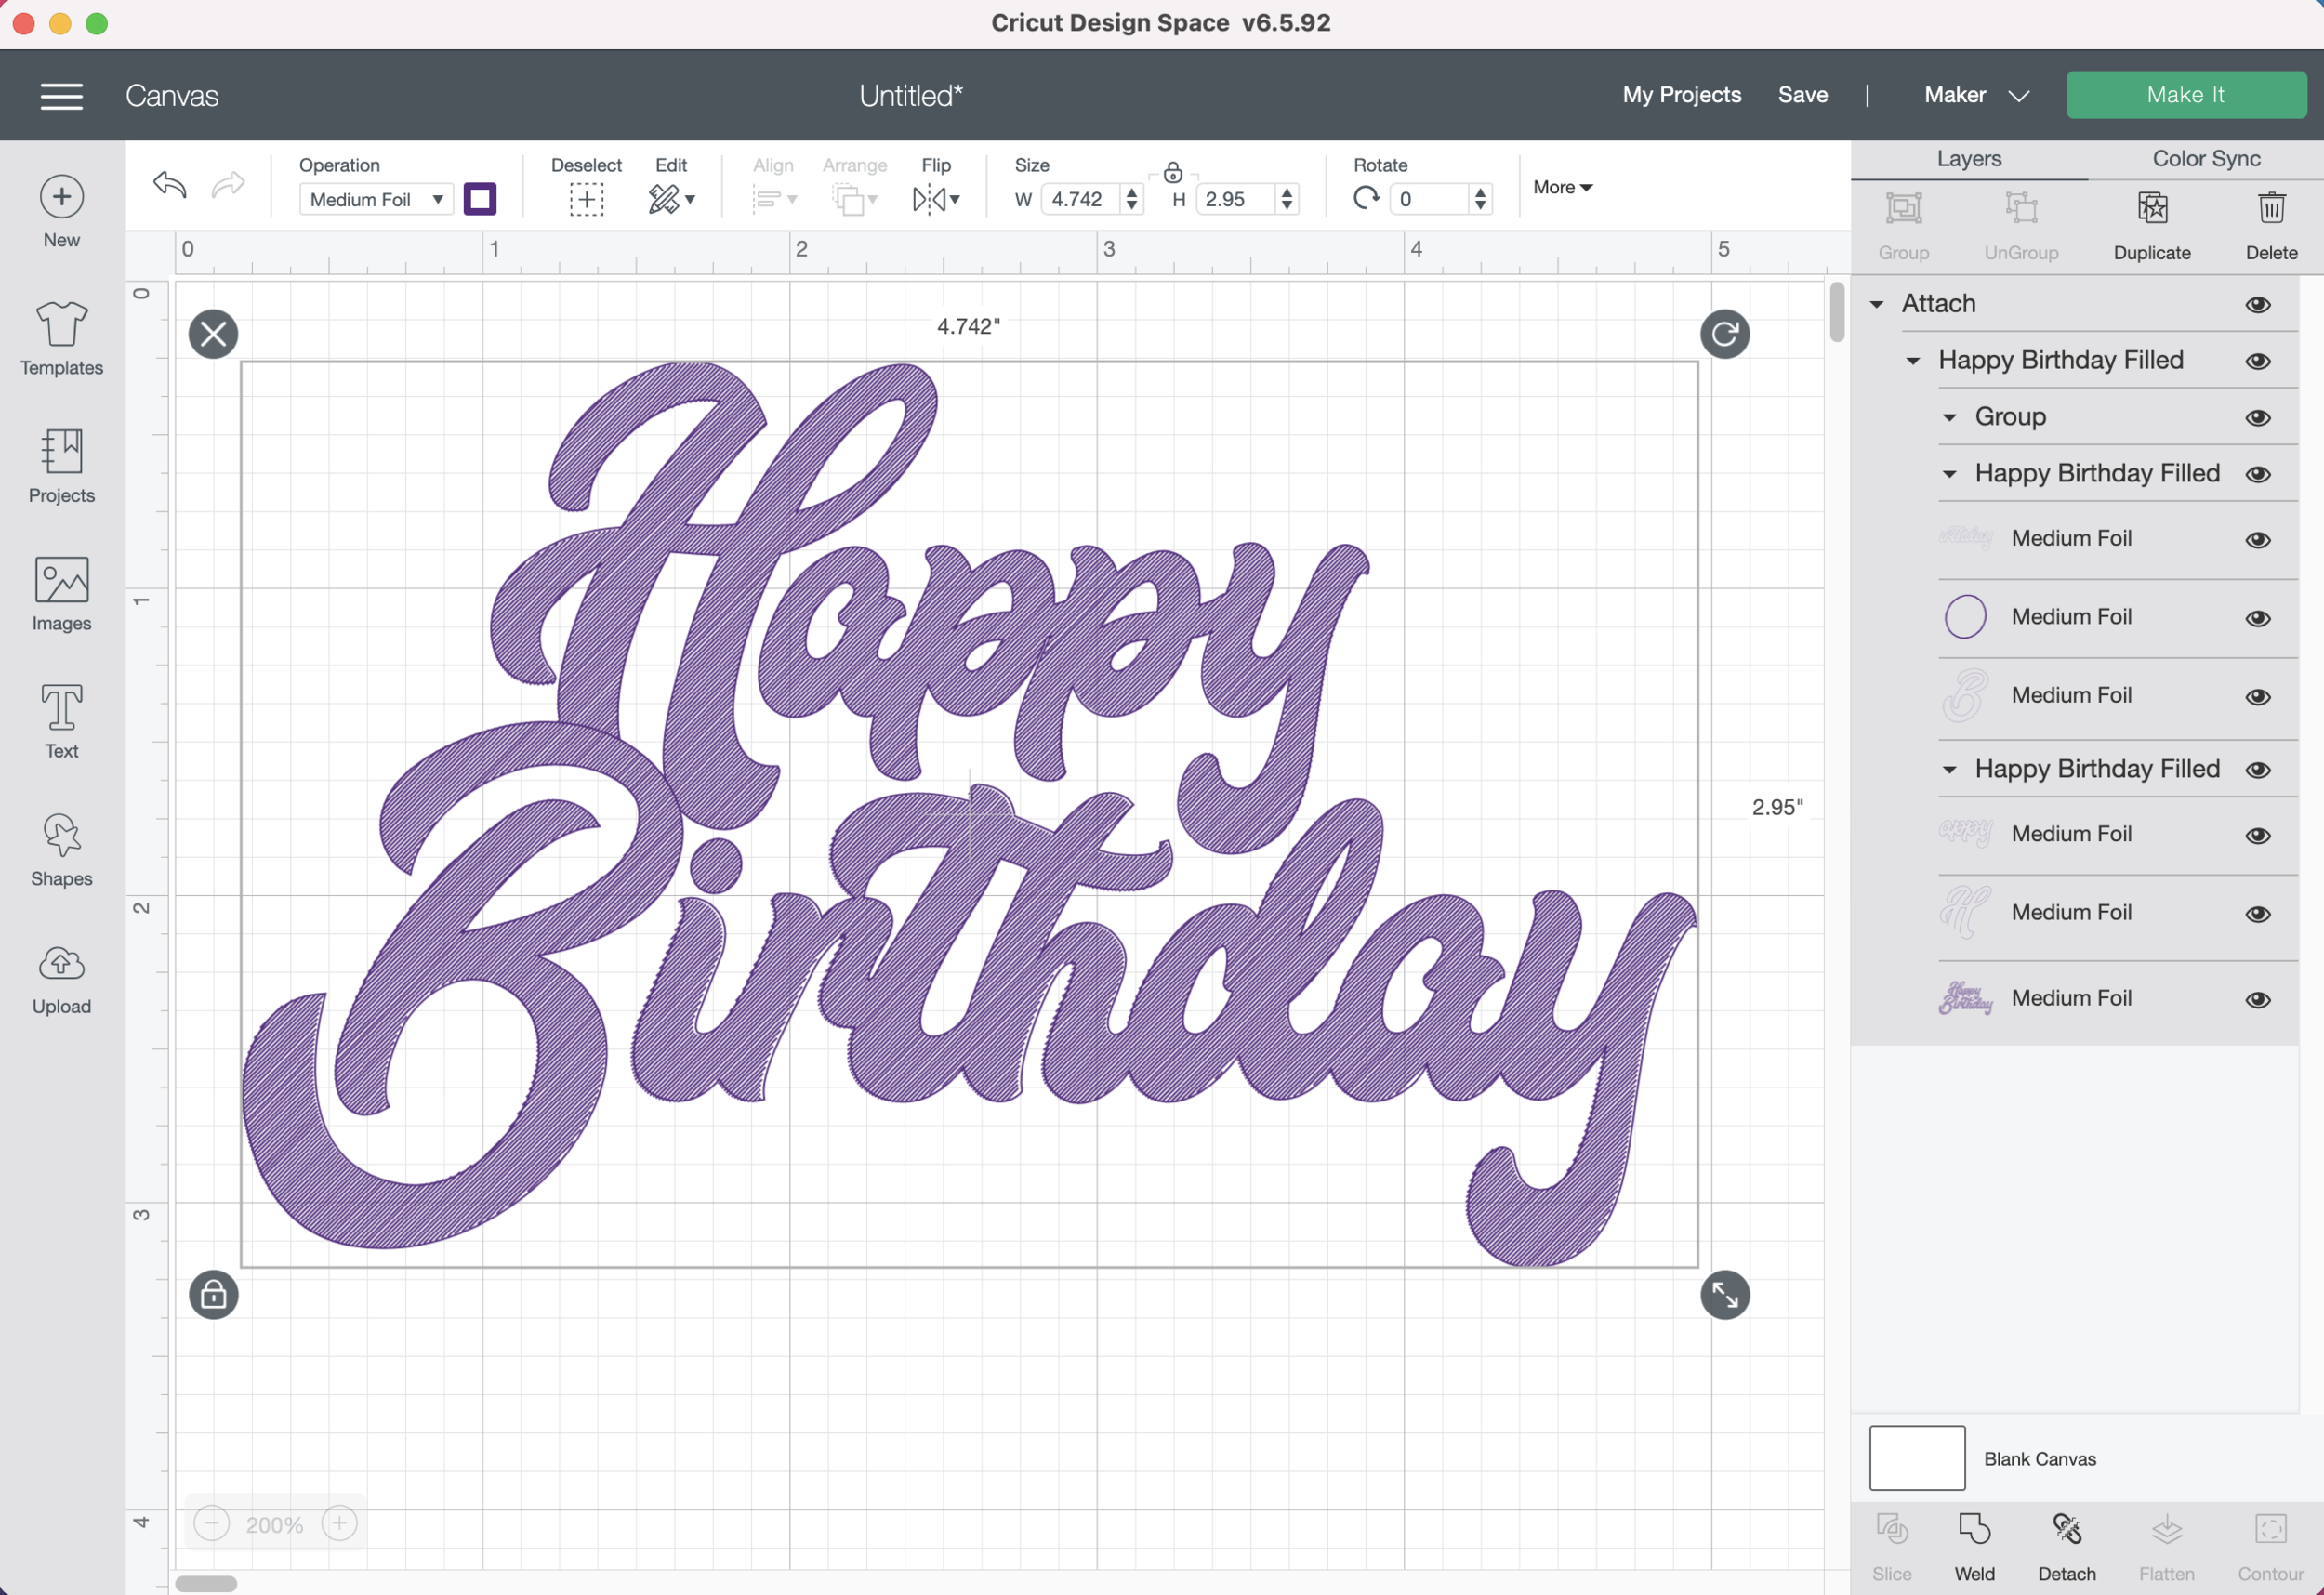
I’m going to change my foil color to purple since I will be testing that color. (it’s not necessary to change the foil color)
I’m zoomed in to 200% so you can see all the little lines.
Don’t forget to “Attach” everything, and then press “Make it”
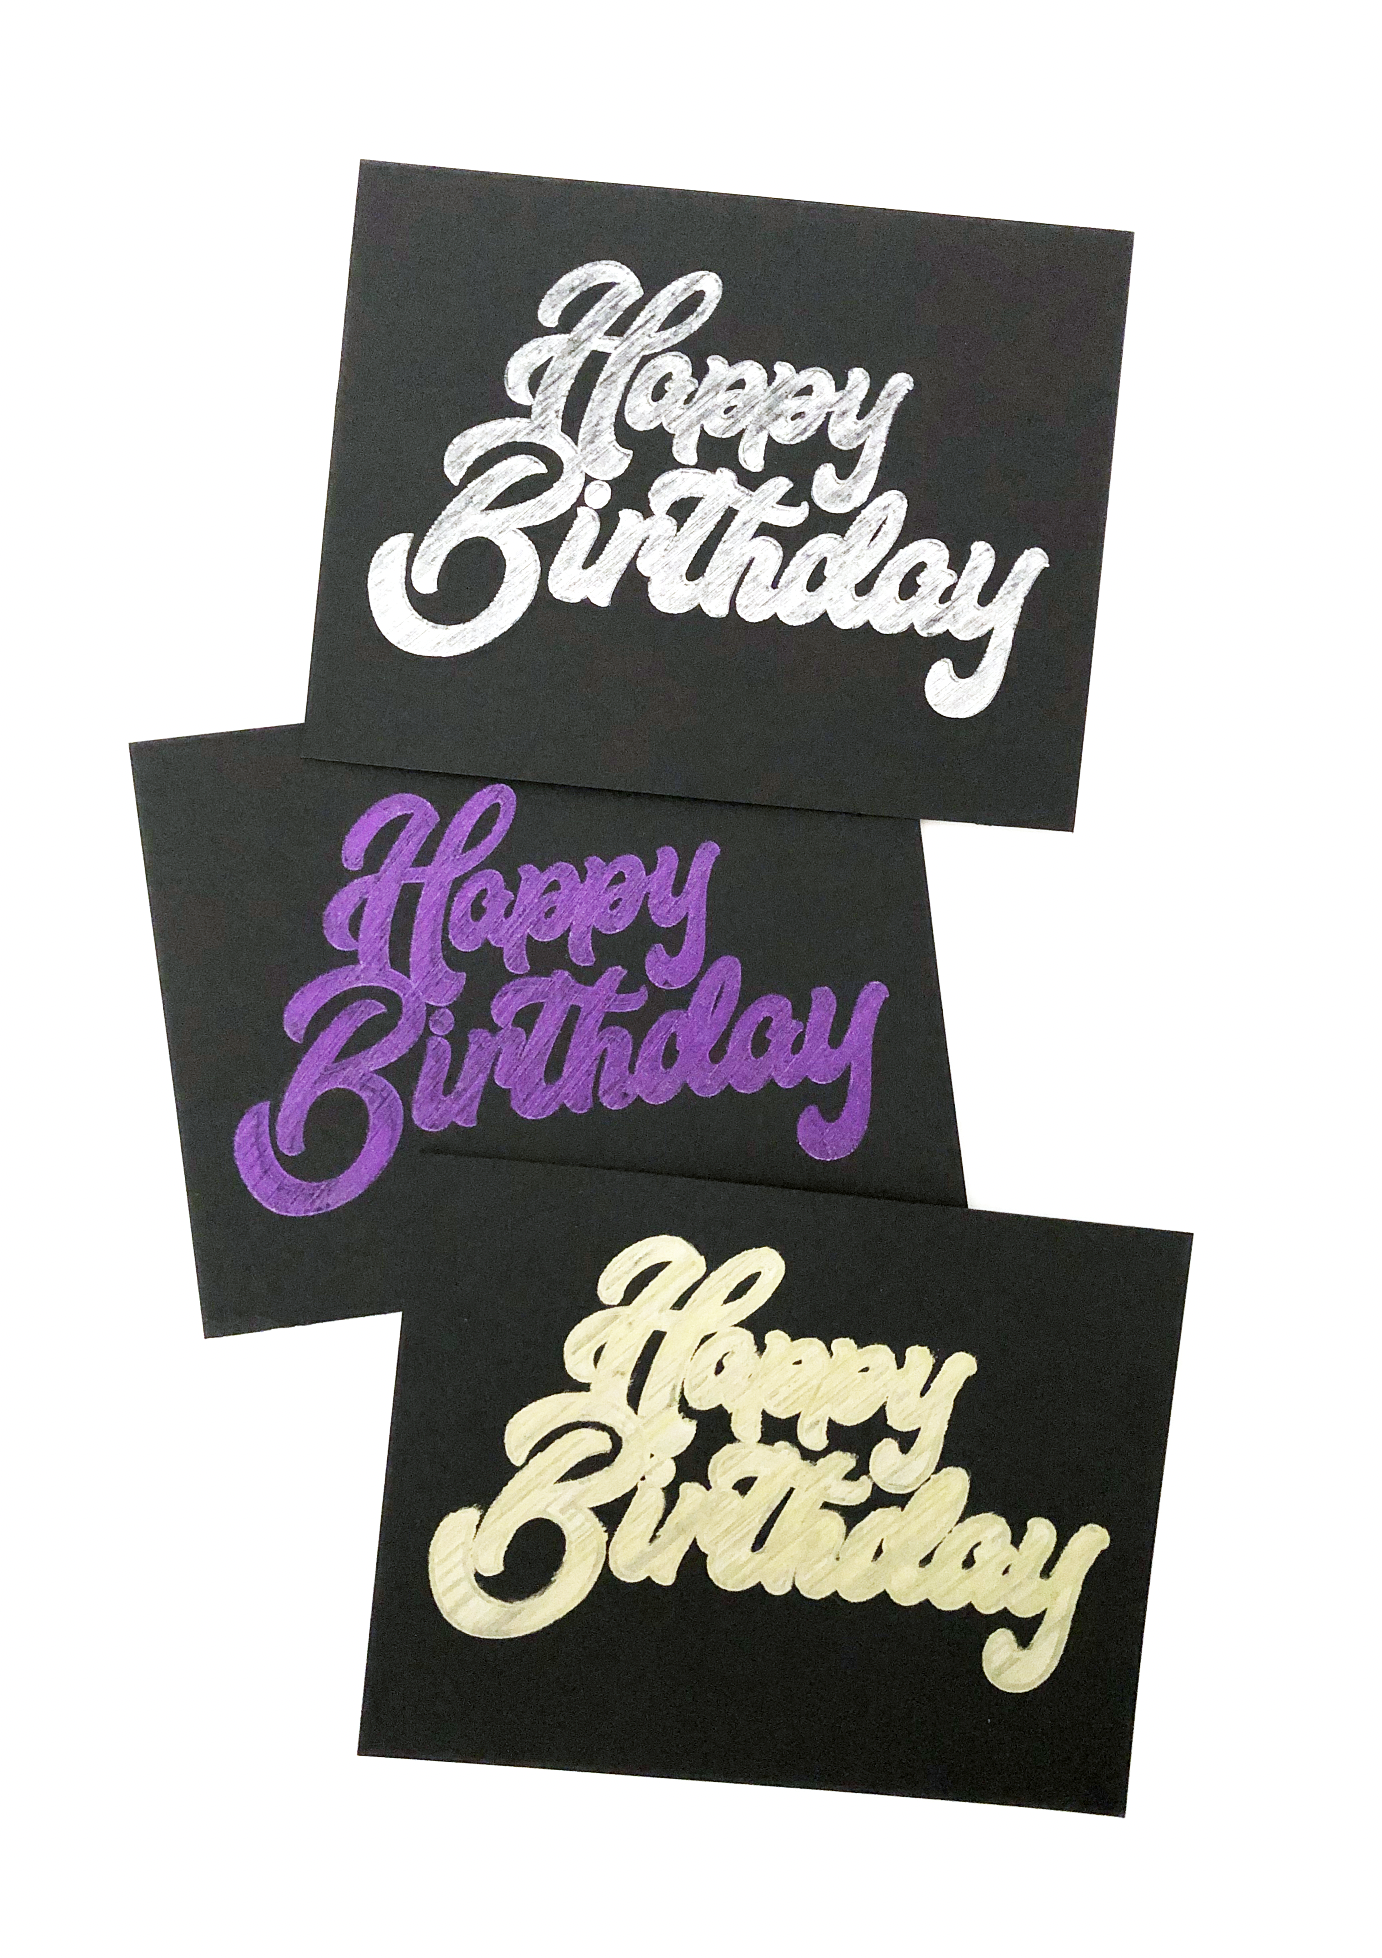
I tested my design on black 100lb cardstock, using “Less Pressure” with the Cricut foil transfer tool.
Here’s what it looked like after I removed the foil.
I’m pretty happy with the foil transfer results. Next I tried my Cricut Silver Glitter Gel pen. It came out pretty nice too.
My least favorite was the Cricut Gold Marker, the tip is too thick for this style and the moisture from the marker makes the cardstock get clumpy.
Overall I’m really happy with the results from the Foil Transfer tool and the Silver Glitter Gel pen. I’ll have to try a few more tests with the Foil Quill and the regular fine point pens.

