foil gift tags

Tips for Using the WRMK Fine Tip Foil Quill with the Silhouette Portrait 3

(Links in article below may be affiliate link)

Hi Everyone!

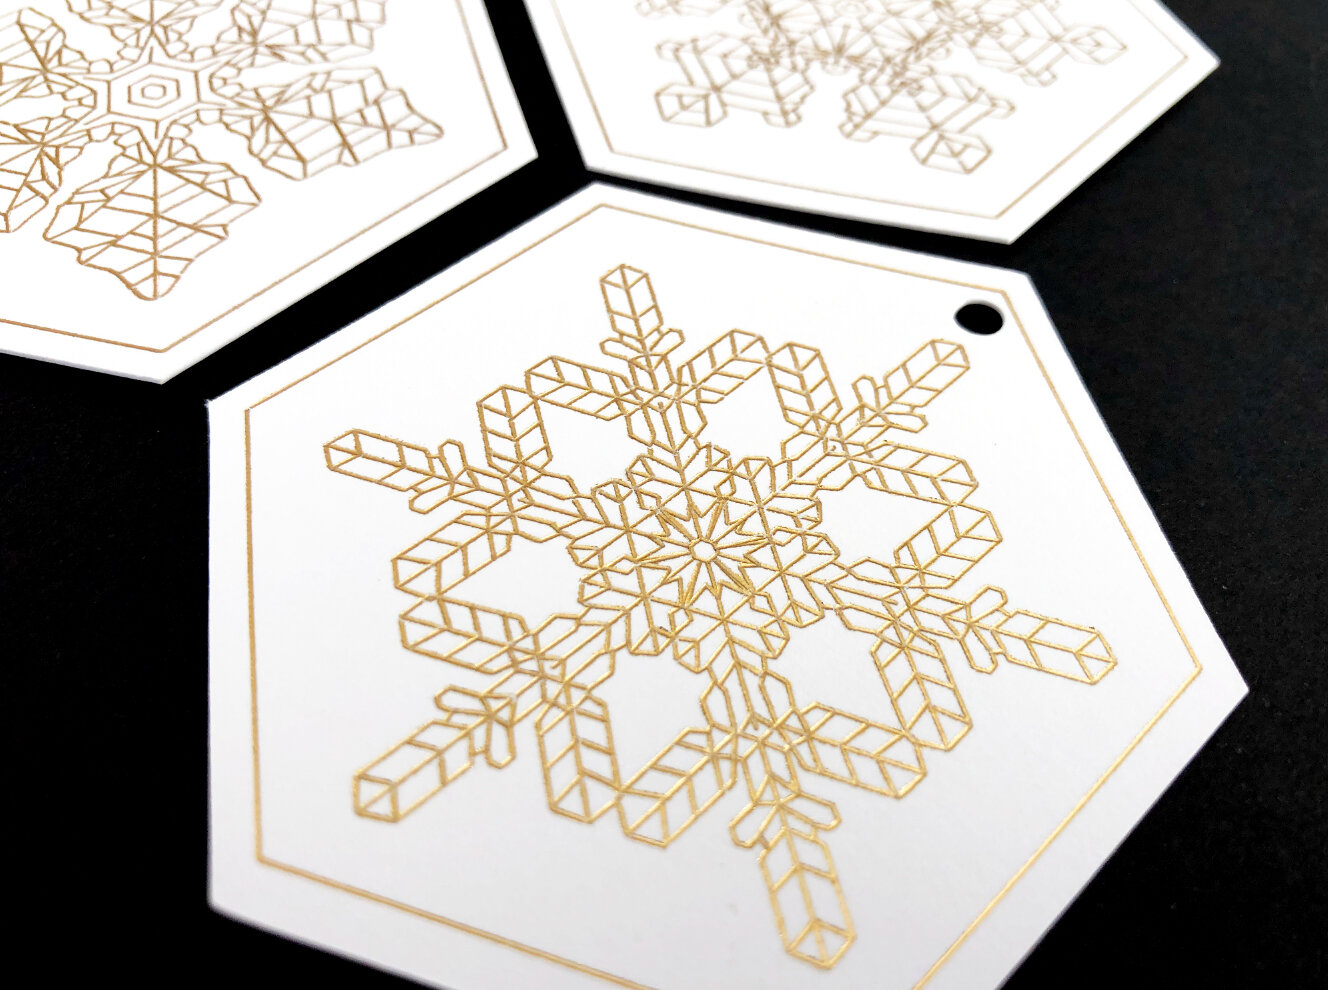
This week I was fulfilling an Etsy order for my snowflake gift tags, I typically make these on my Cricut Maker, but I wanted to try making them on my Silhouette Portrait 3 to see how they turn out.

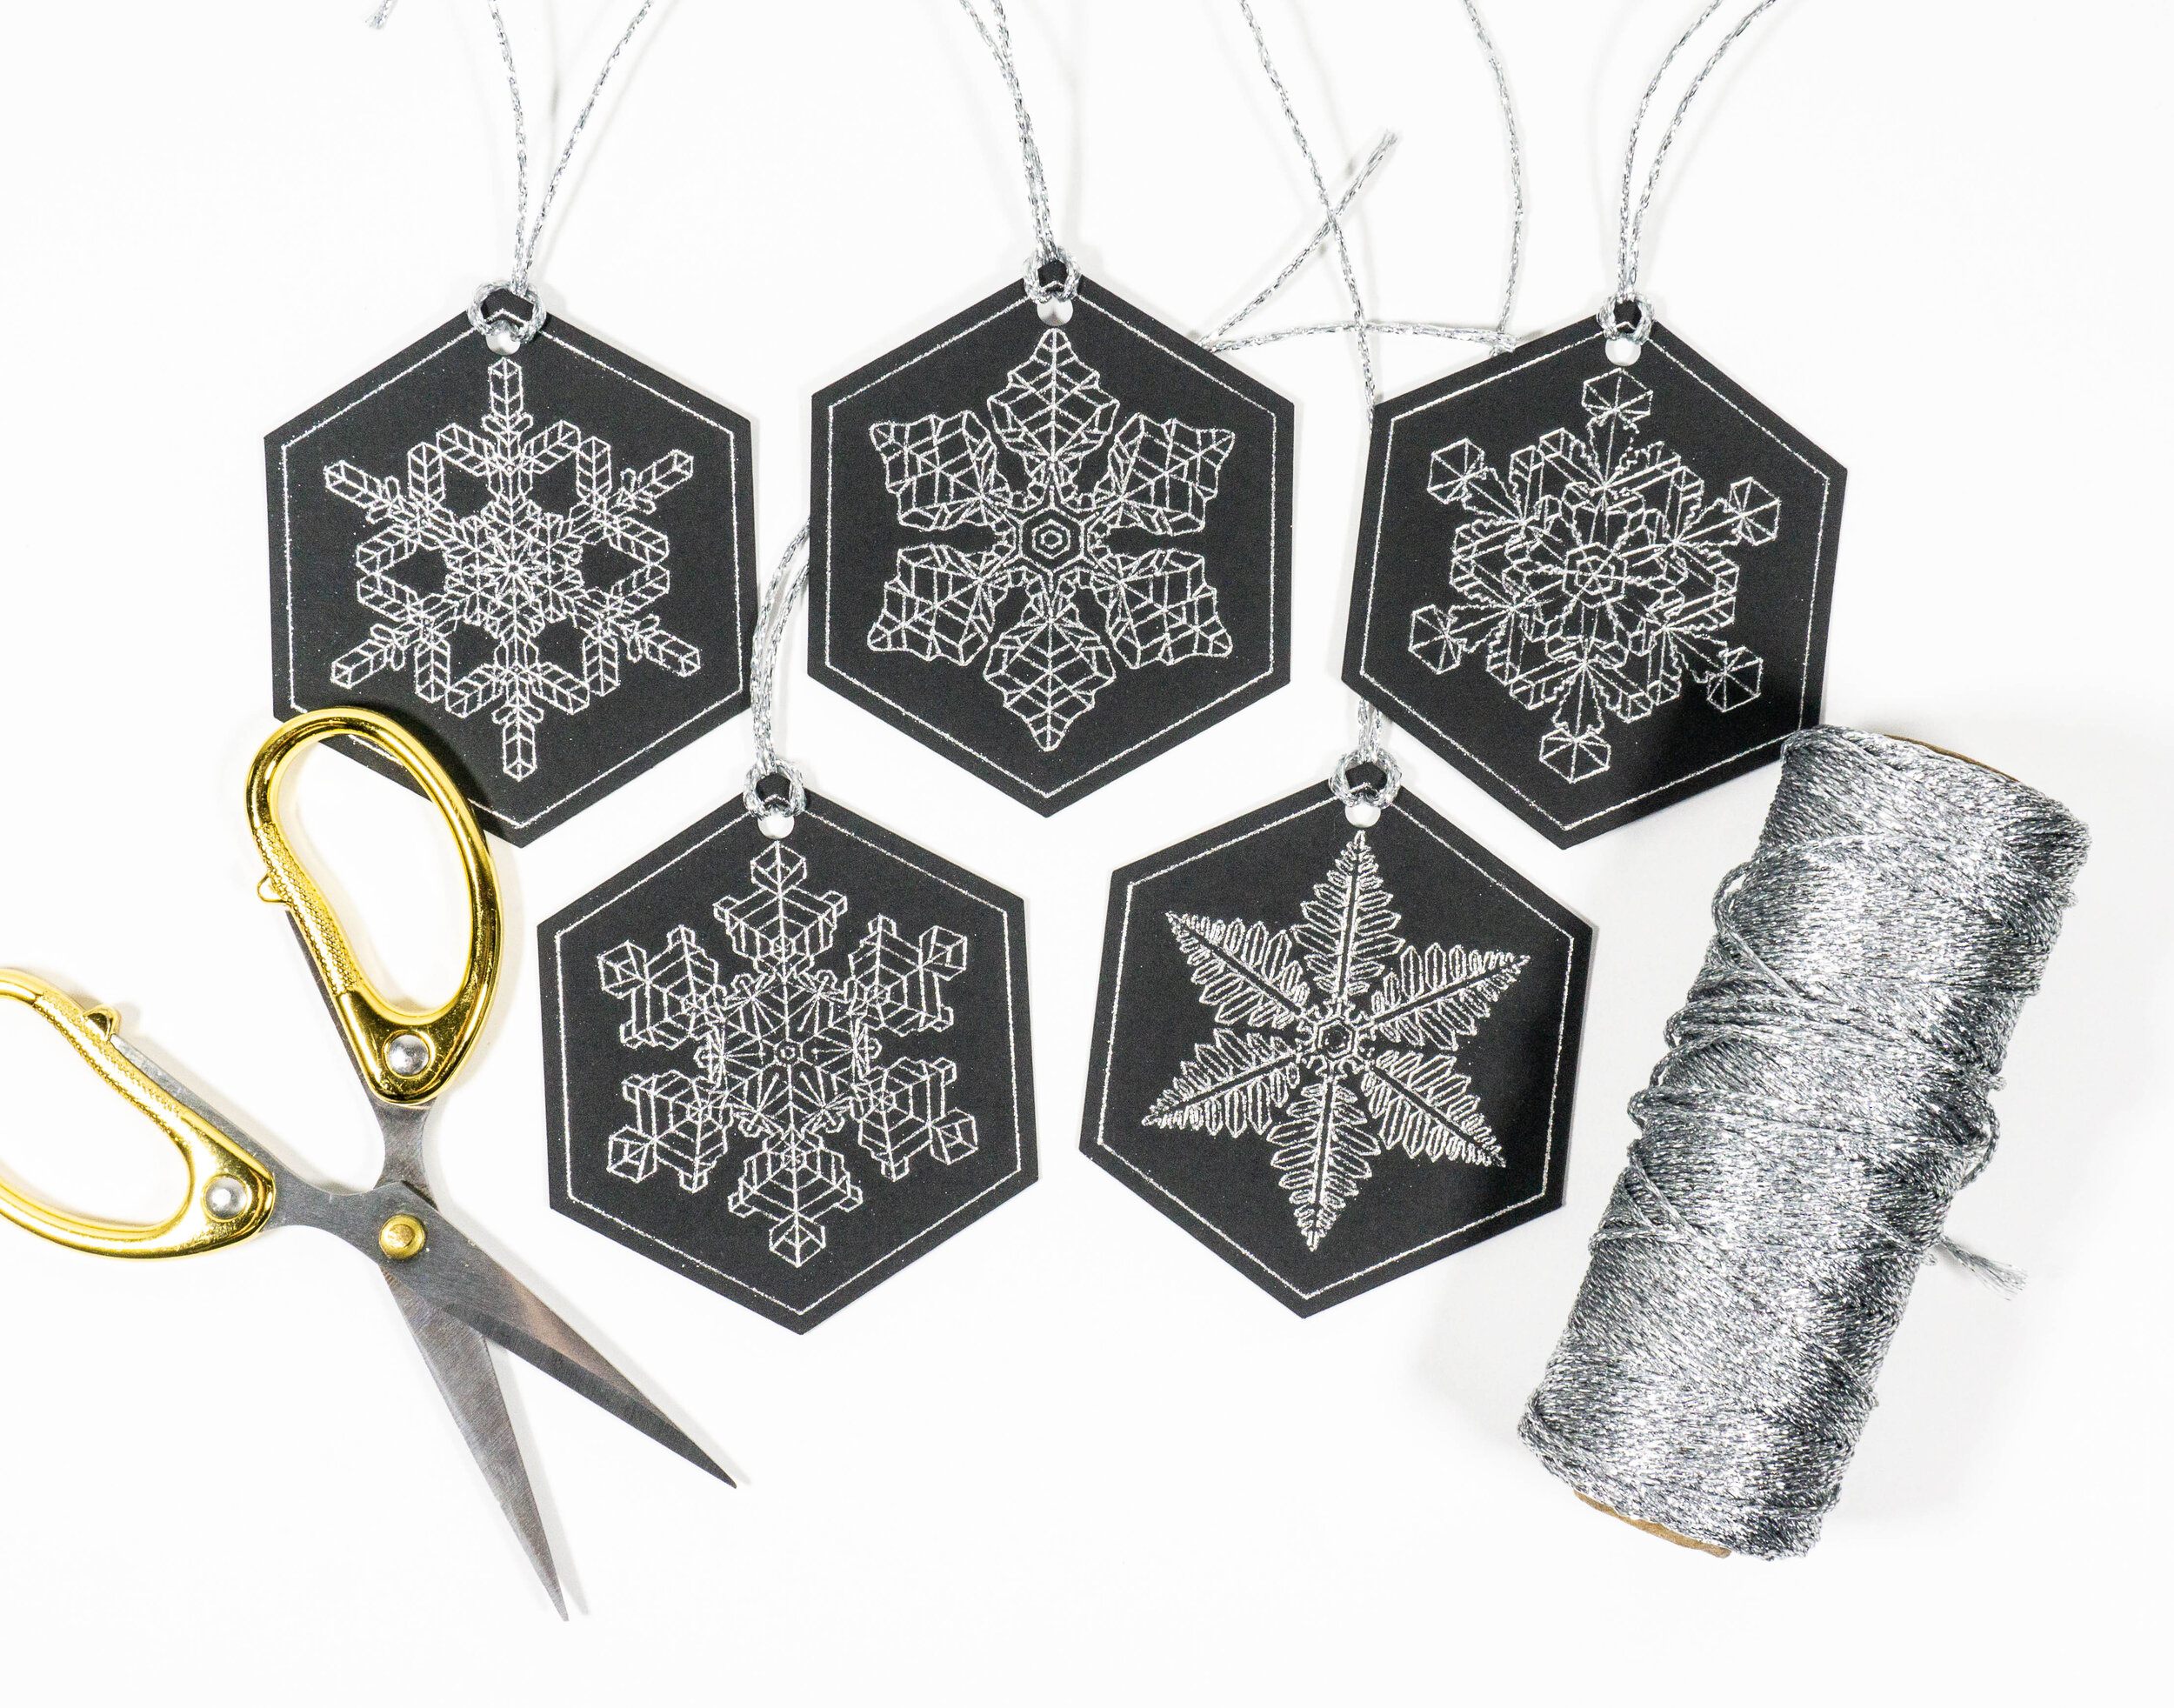
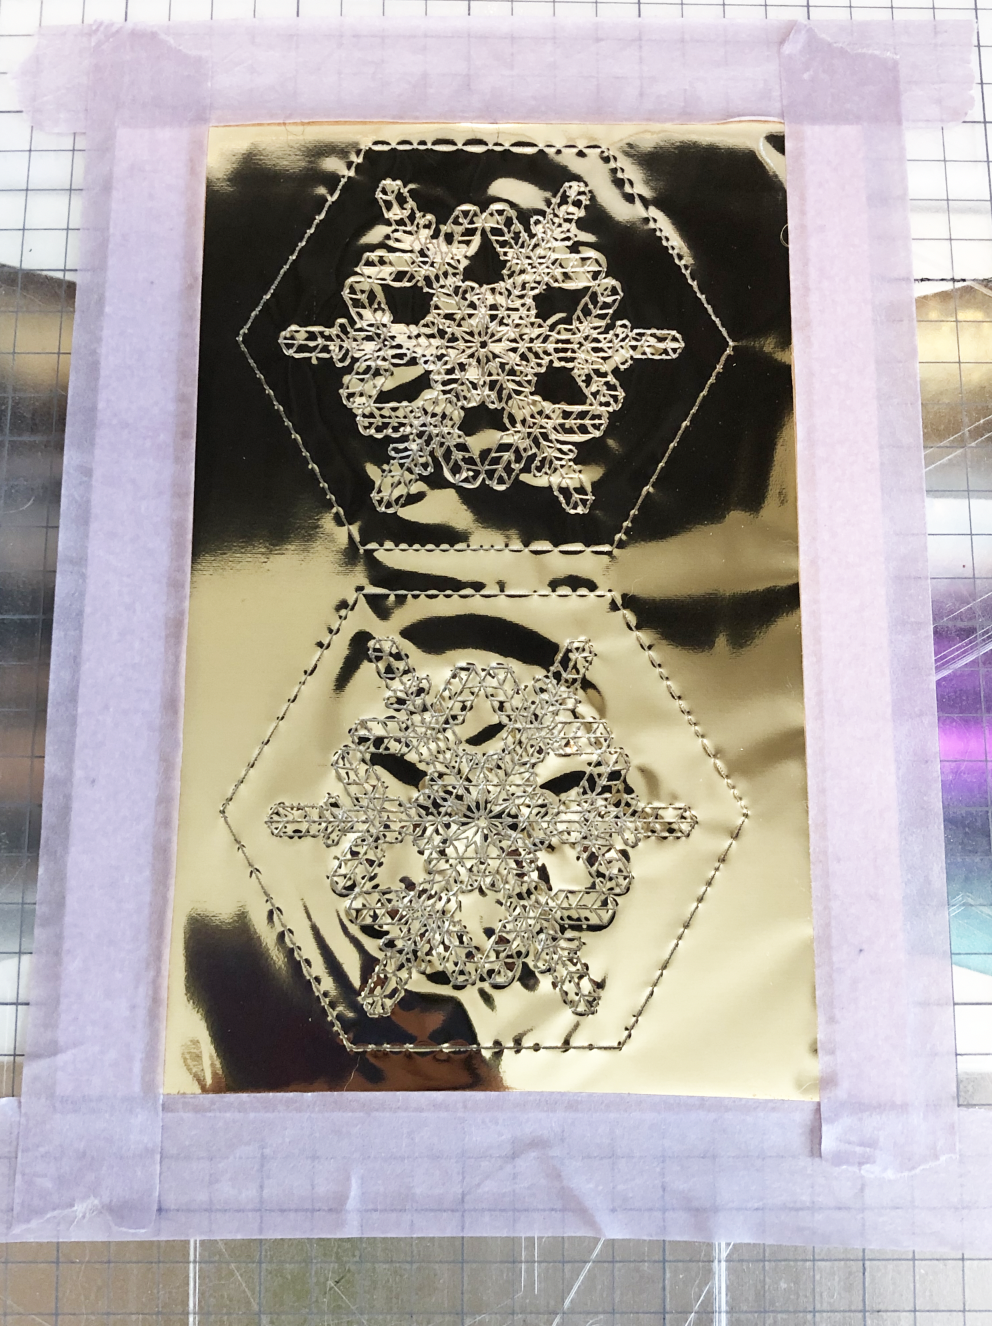
I make these gift tags using my snowflake single line SVGs, heavy 100lb cardstock, the fine tip WRMK Foil Quill, and WRMK foil in gold for the white cardstock and silver for the black cardstock.

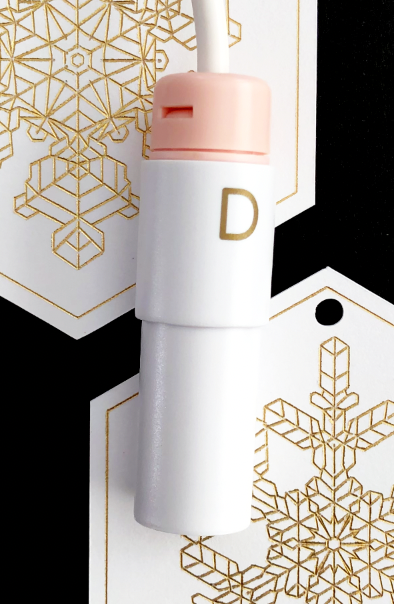
For the Portrait 3 and Cameo 4, the adapter A for the Silhouette machines doesn’t work. So I use the adapter D that came with my foil quill set.

Fine Tip Foil Quill Silhouette Portrait 3

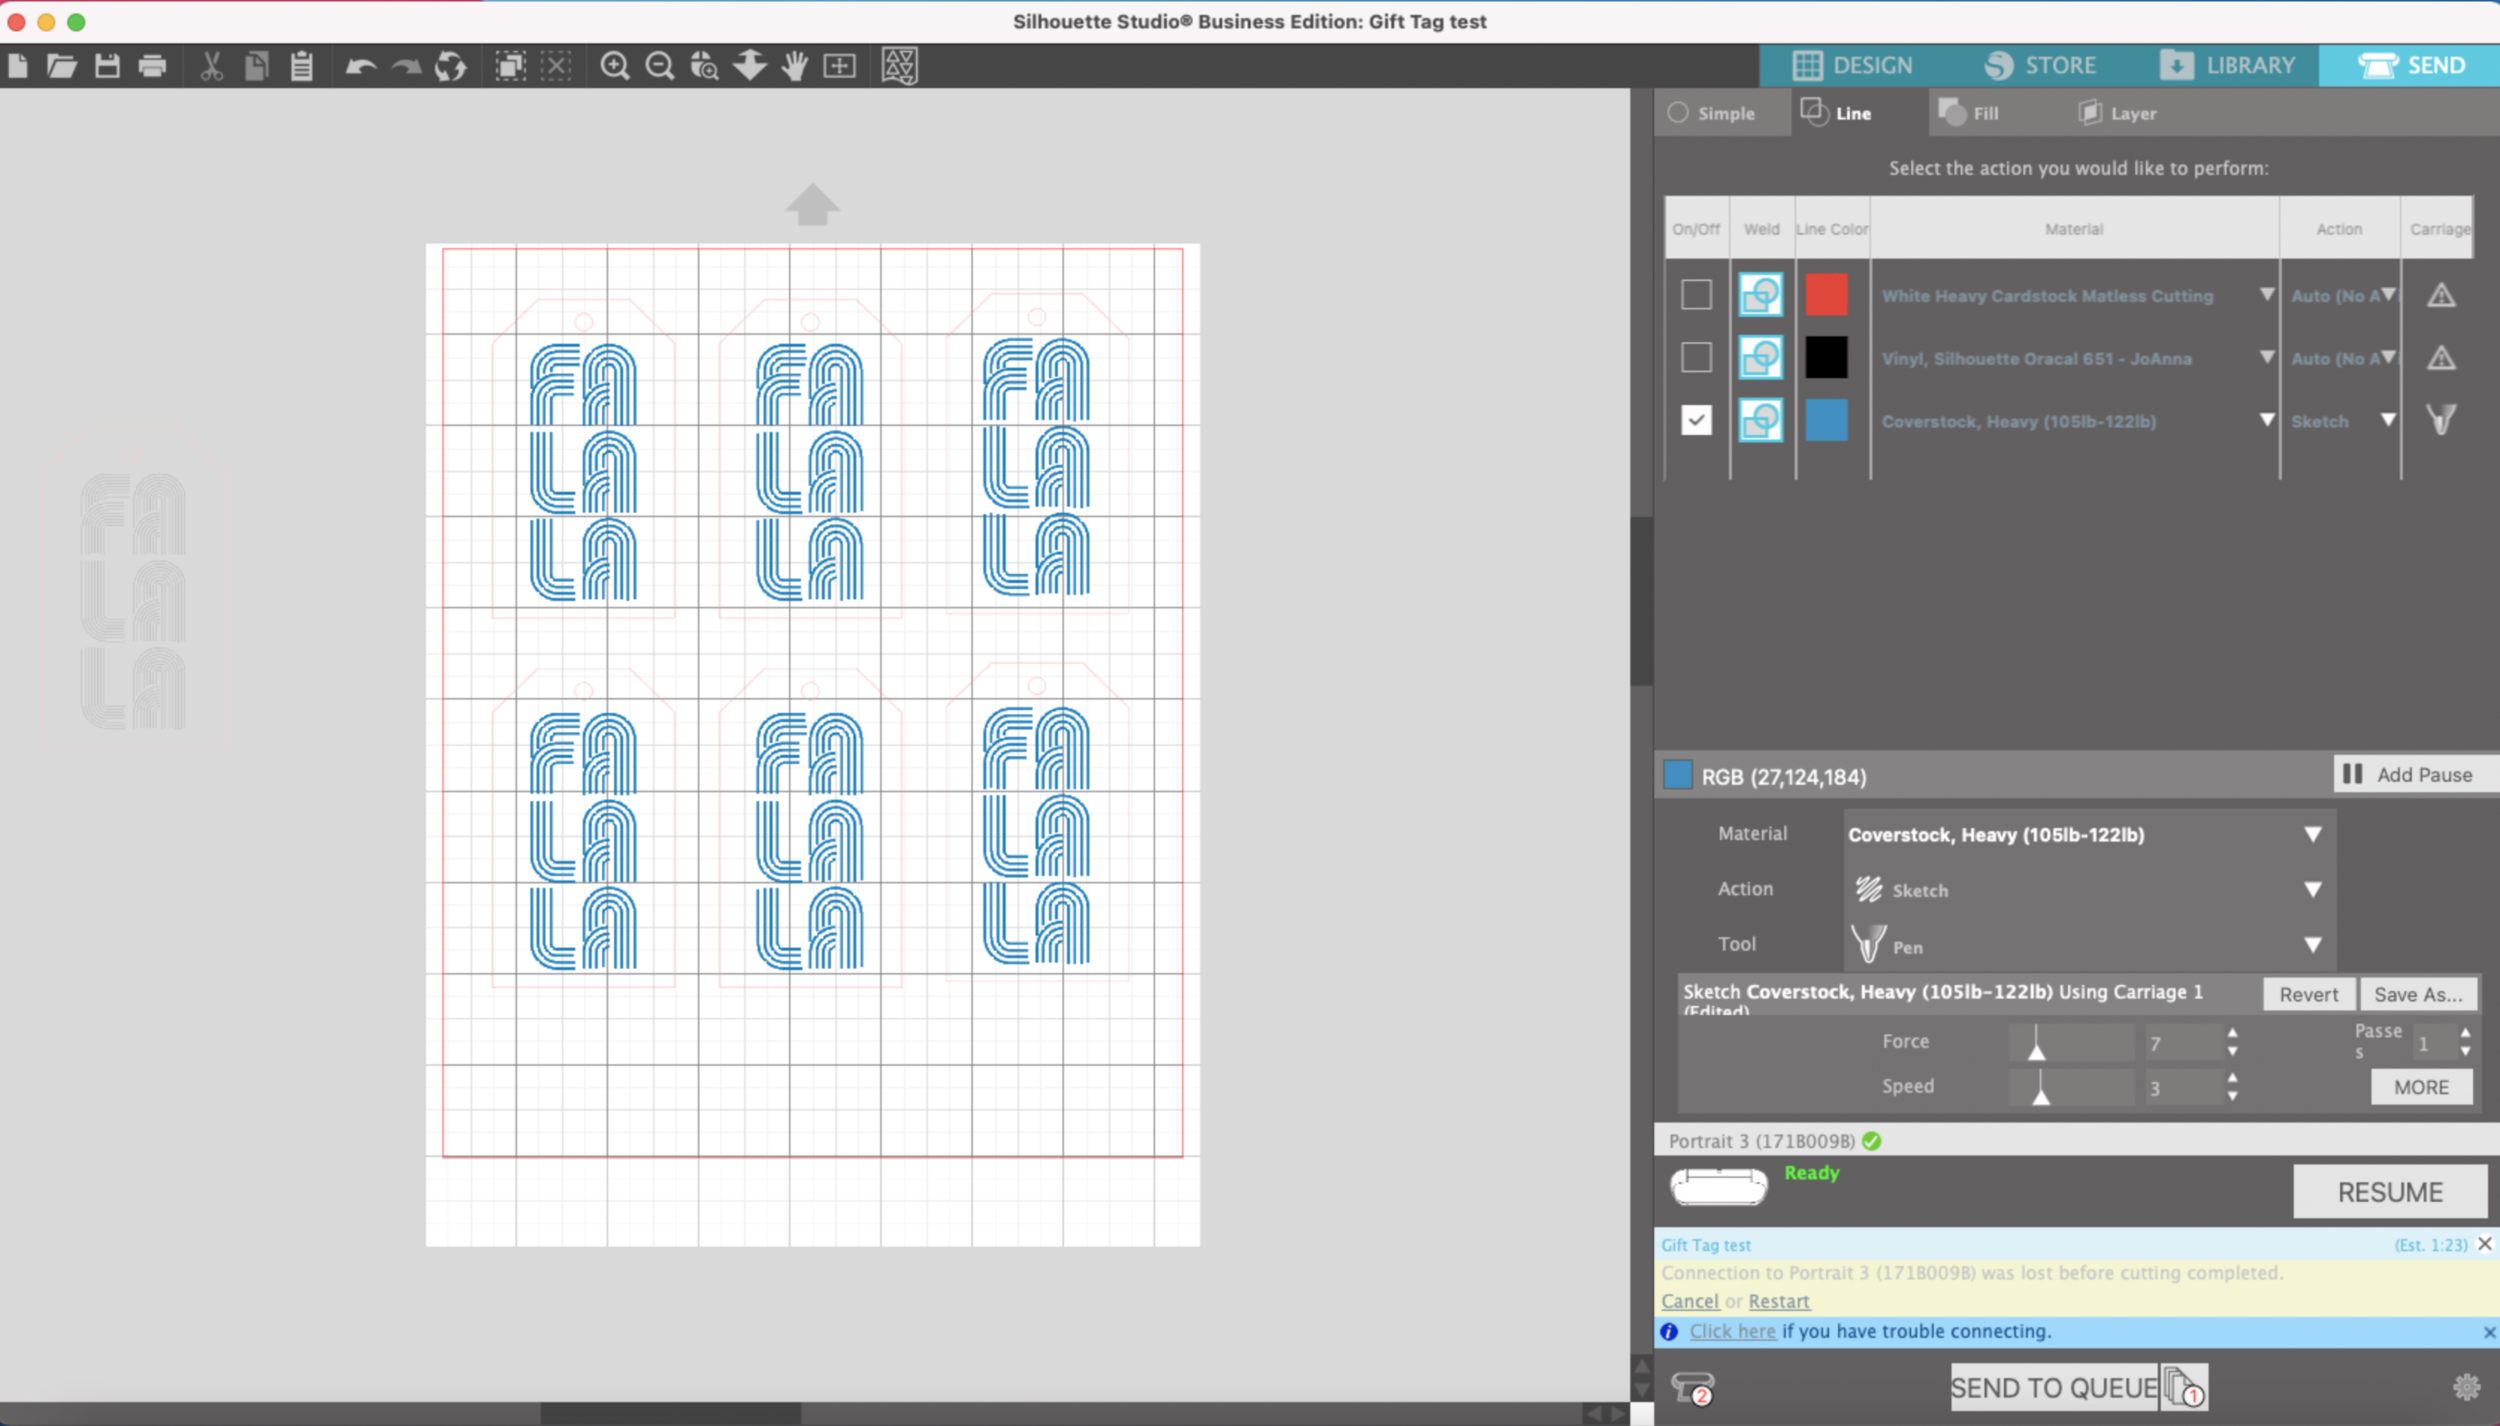
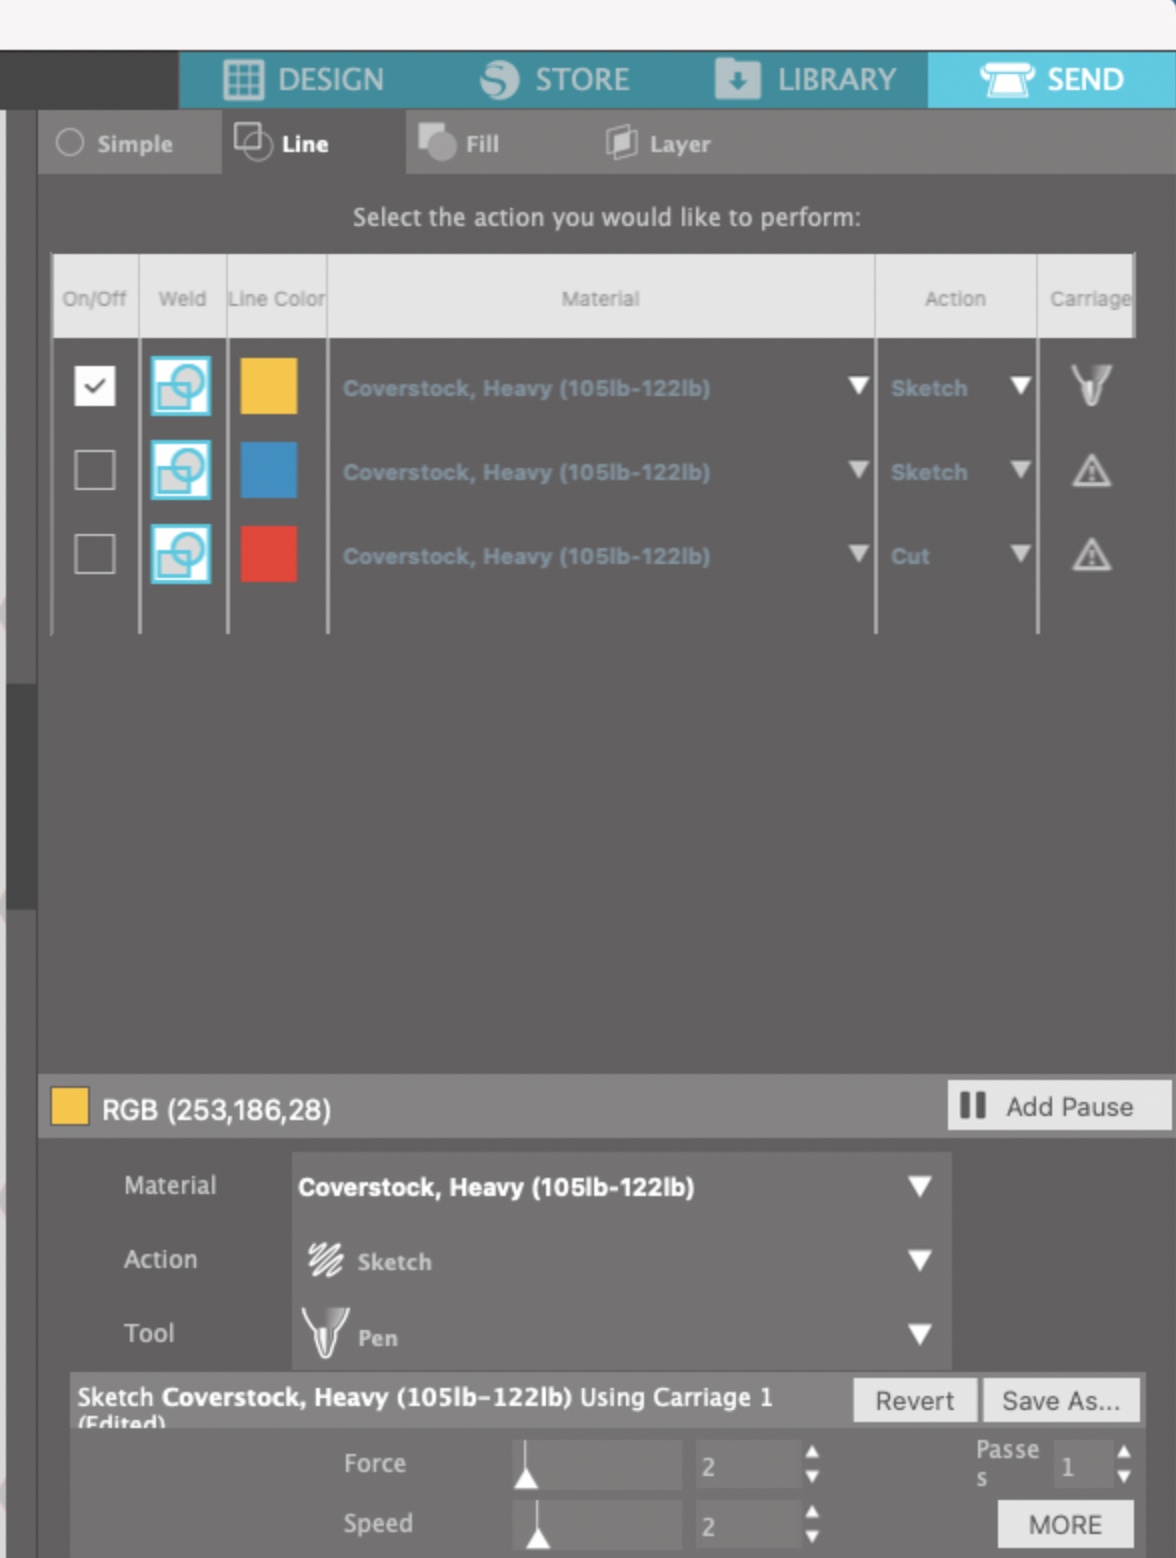
In the Send screen set my Portrait 3 to sketch, Coverstock, Heavy (105-122lb), Force 2, Speed 2.

Fine Tip Foil Quill Silhouette Portrait 3

Initially I started out using an off brand mat with my Portrait 3, they’re a little thicker and stiffer than the Standard Portrait 3 mat.

I load my mat and press Send from the Silhouette software.

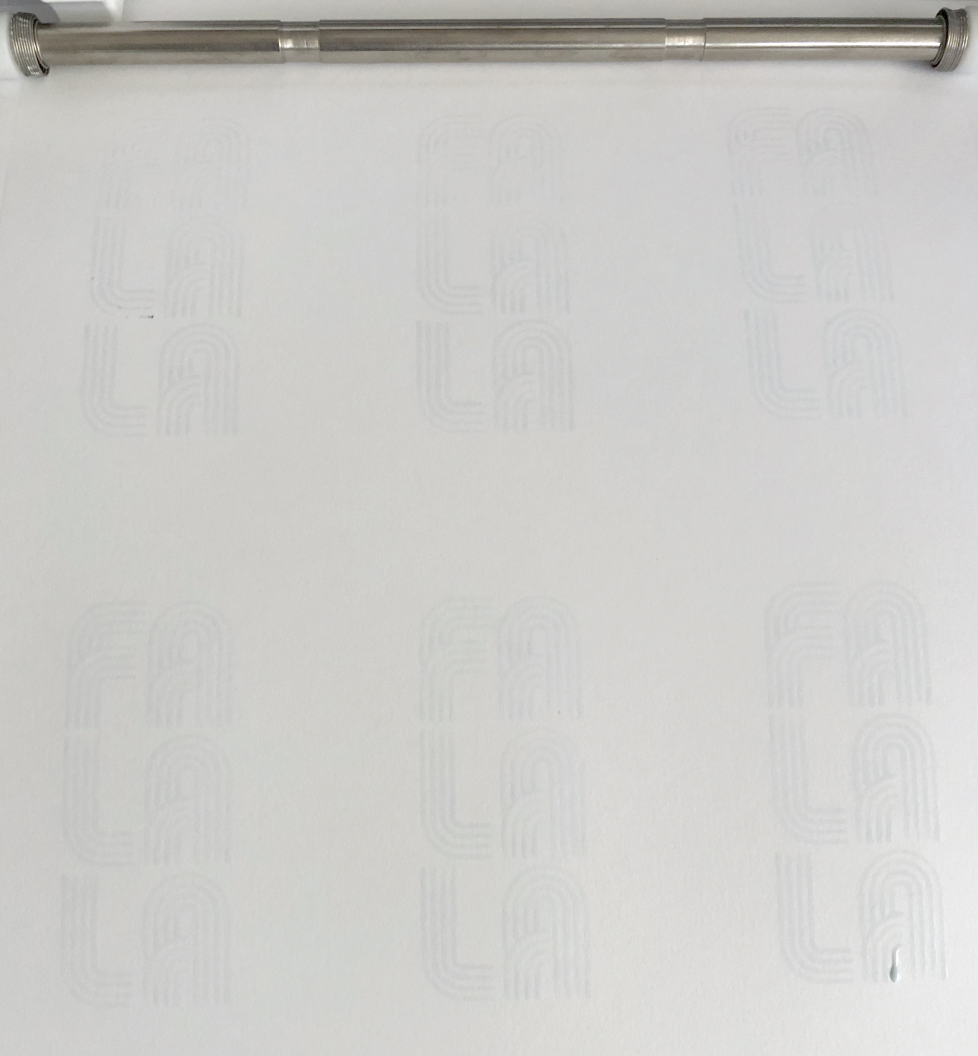
Almost immediately my foil starts ripping!!!!

Fine Tip Foil Quill Silhouette Portrait 3

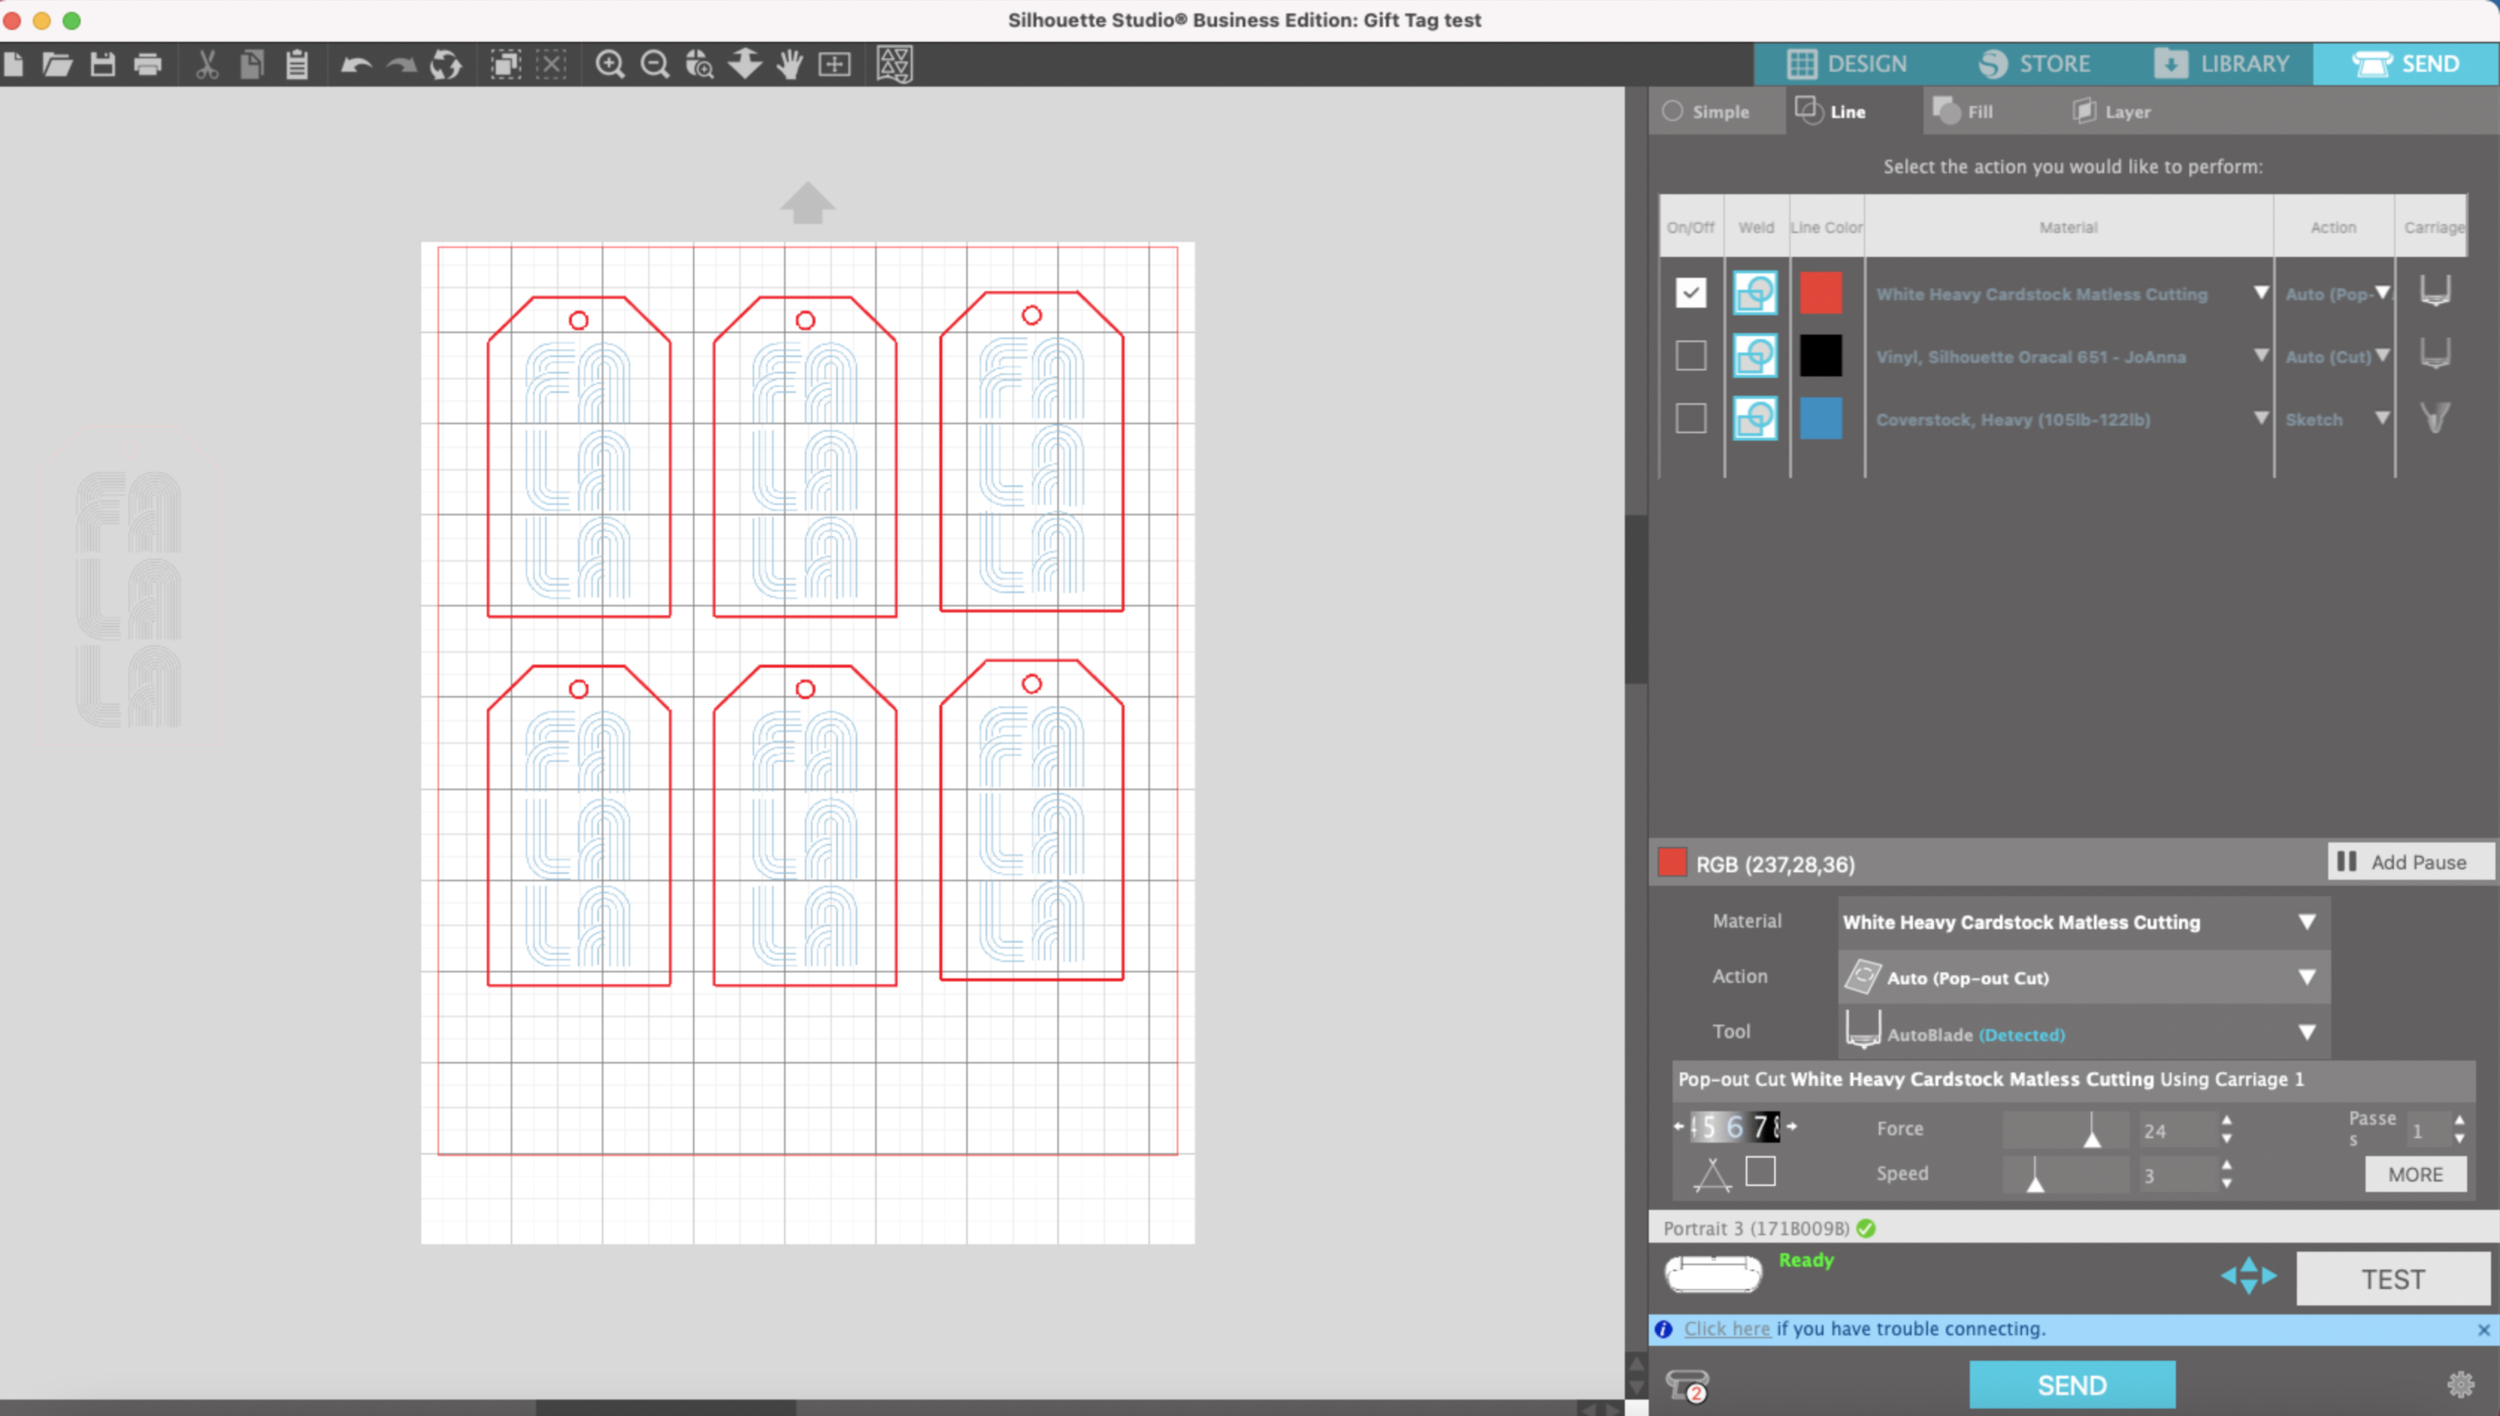
I switch to my Silhouette brand Standard grip mat, it’s thinner and floppier that my off brand mat. I also switch my material to Chipboard, Force 2, Speed 2.

Fine Tip Foil Quill Silhouette Portrait 3

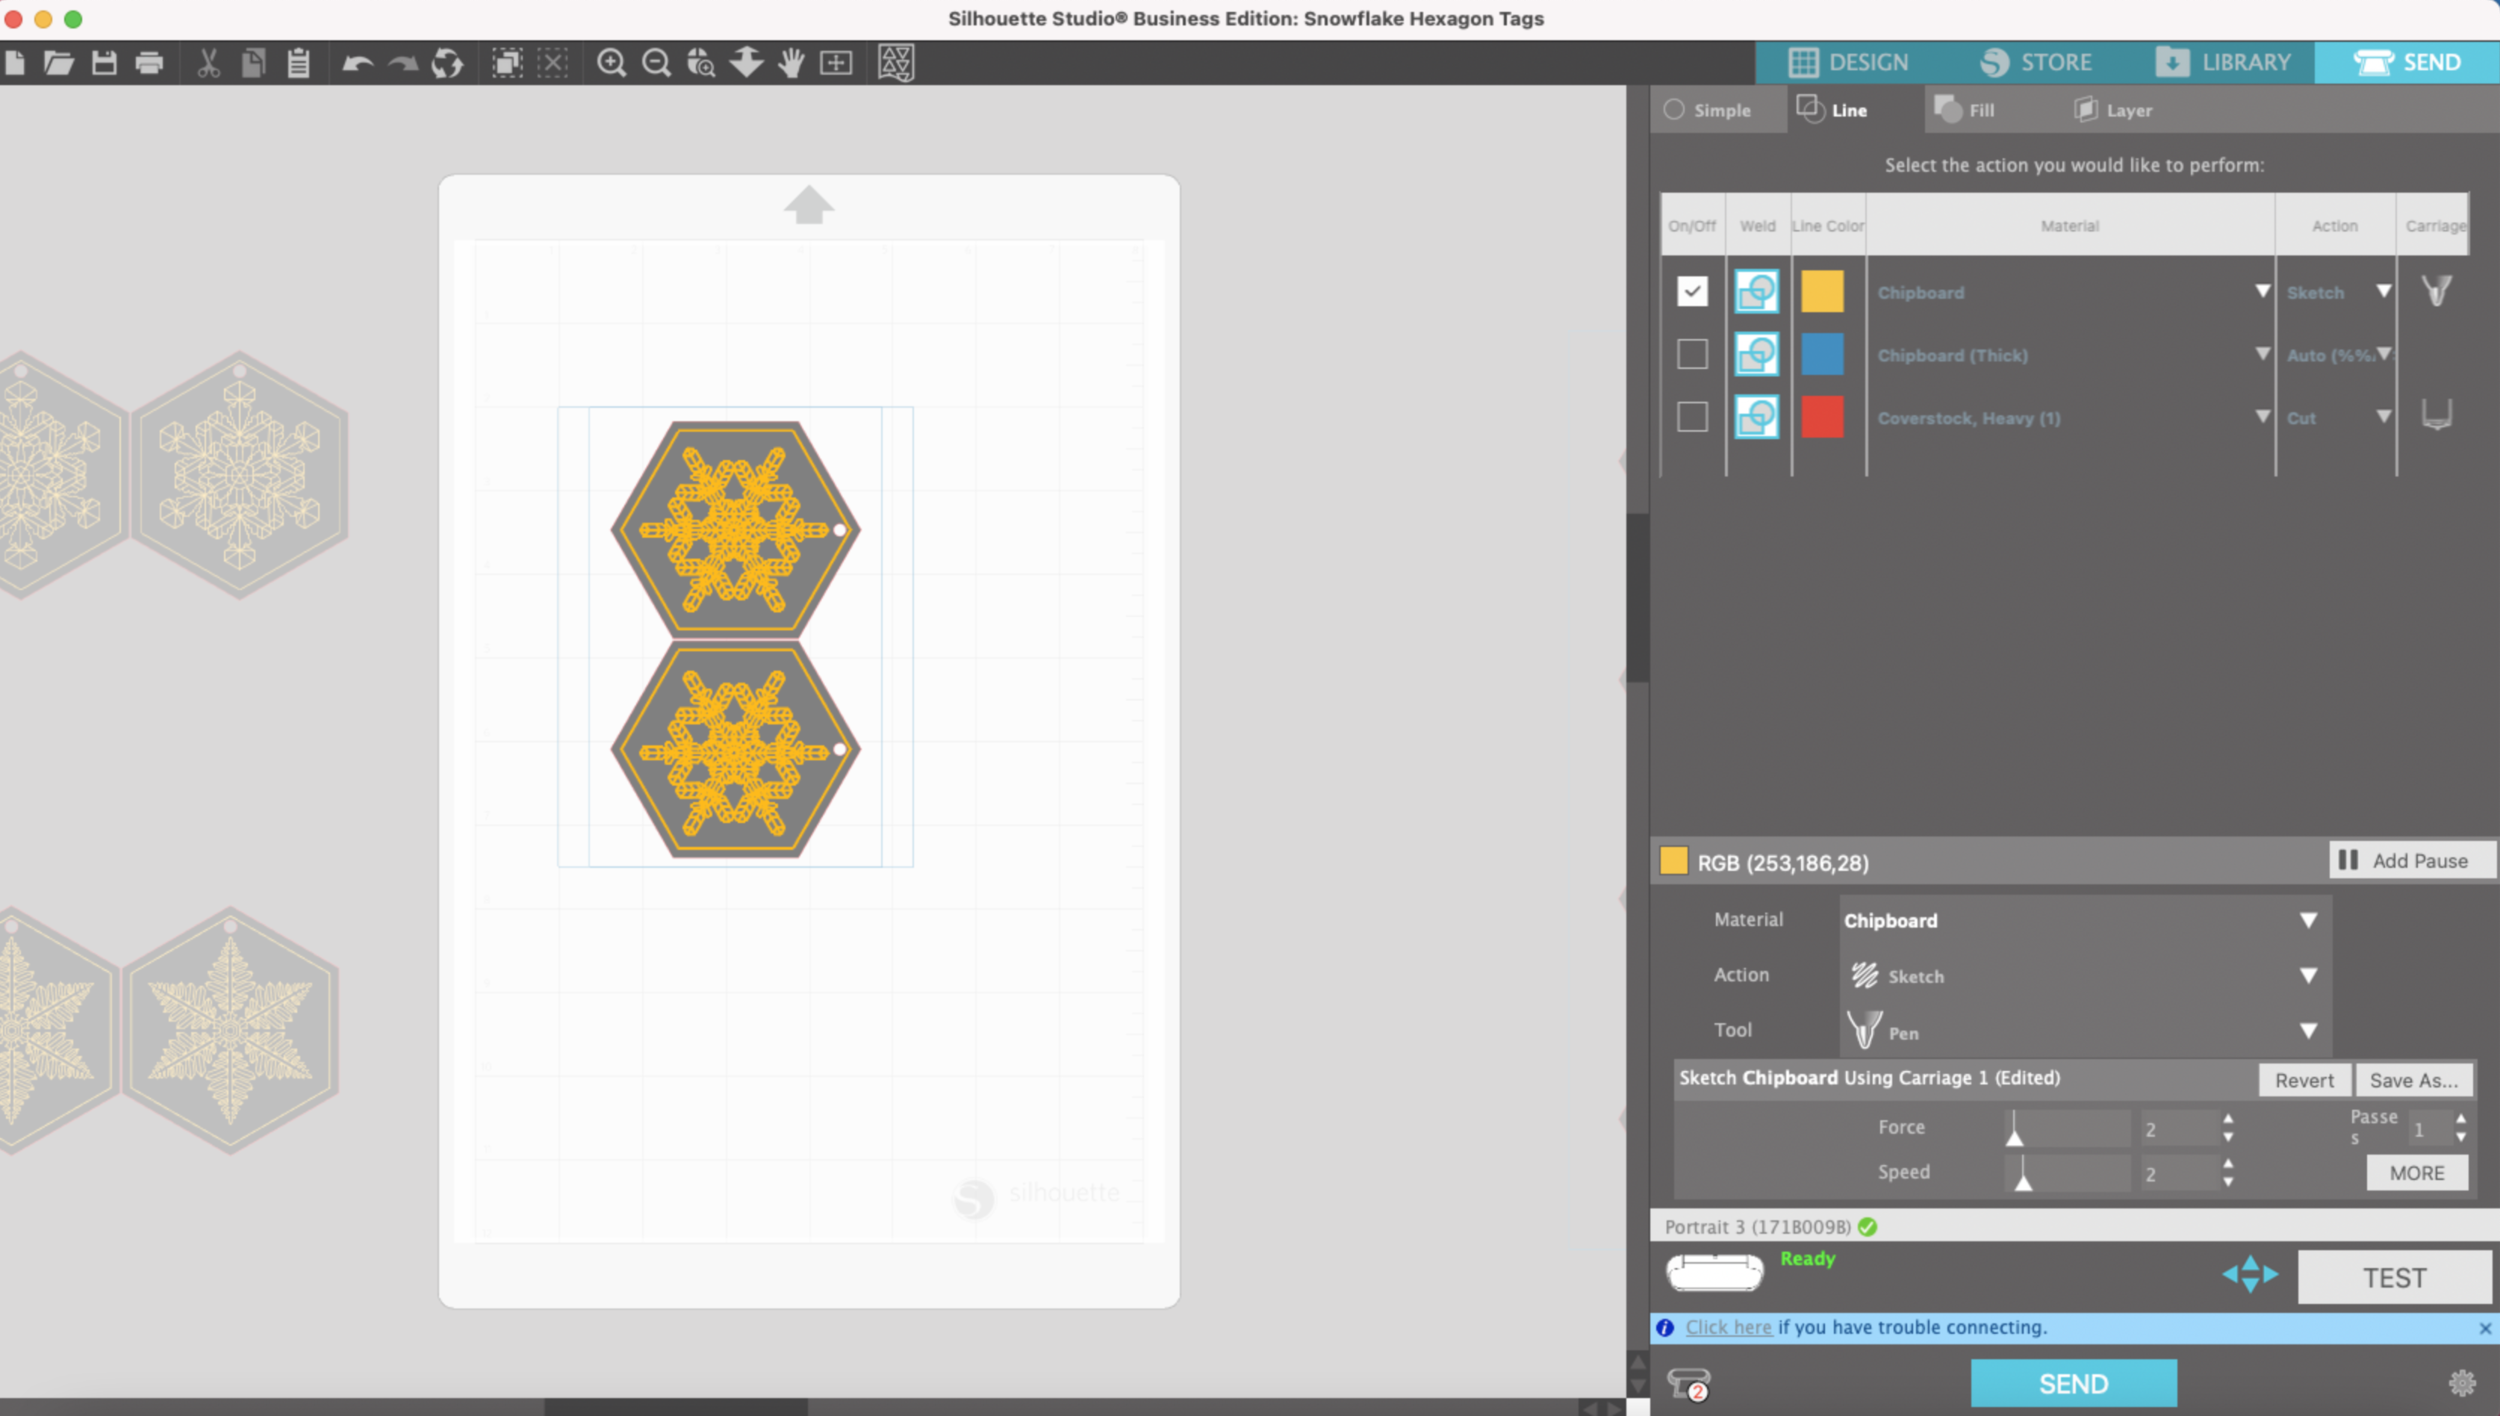
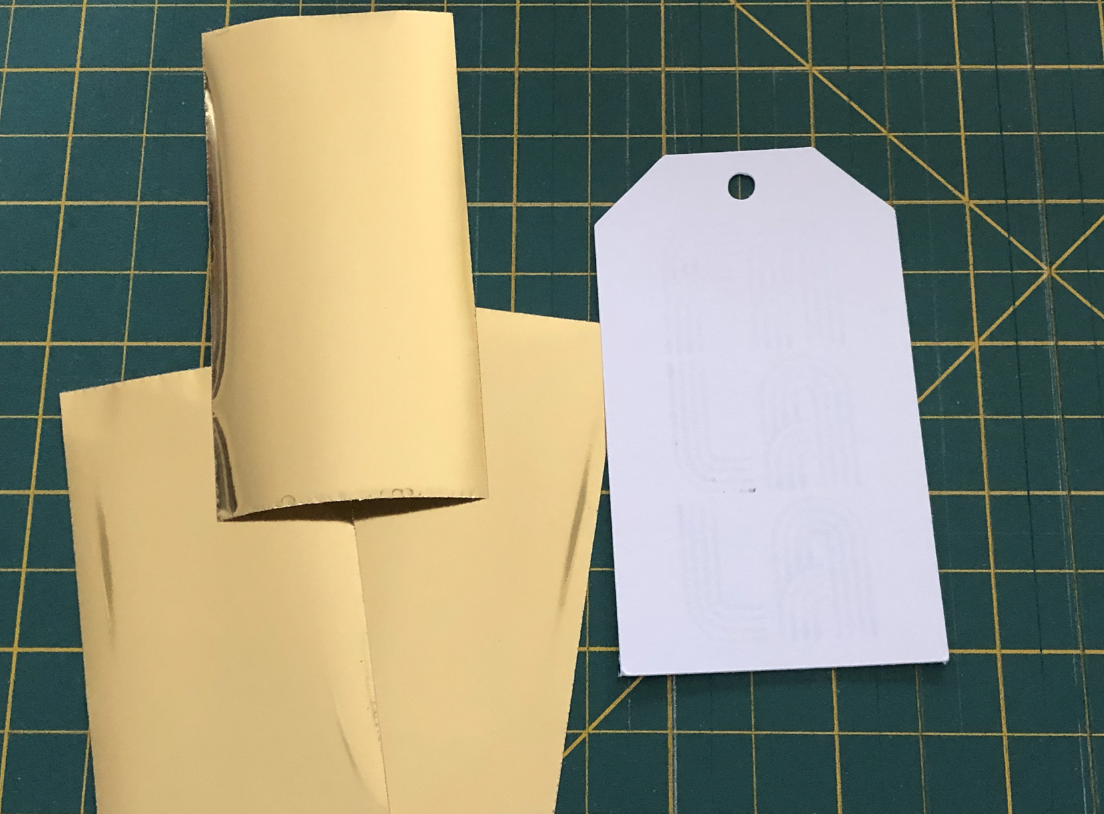
Reload my mat and press Send. This time the foil didn’t rip and the results are beautiful!

Fine Tip Foil Quill Silhouette Portrait 3

So here are my top 6 tips for using the WRMK Fine Tip Foil Quill:

  1. Use the D adapter that comes with the Foil Quill set

  2. Use the Silhouette brand Standard grip mat

  3. Place something like a book or a small box in front of your machine to help keep the mat level while it’s foiling. You want something that is roughly the same thickness as the front of the machine.

  4. Select a material that is thicker than the material you are foiling. For example, I was using heavy cardstock (overstock) so I selected chipboard.

  5. Select a lower force and speed. The default settings for Chipboard were Force 7, Speed 5. I got the best results with Force 2, Speed 2. Your settings will differ depending on the materials you’re using.

  6. Don’t try to foil everything at once. I can typically get 8 gift tags out of one piece of cardstock, but I cut the cardstock down into smaller pieces and foil the smaller pieces instead of one giant piece at once. That way, if something happens while foiling, I’m not wasting an entire piece of cardstock and a big piece of foil.

Foiling with Glue Pens

Hi Everyone!

This week I want to share a little foiling technique that doesn’t require any heat or a cutting mat! I will be using my Silhouette Portrait 3, a glue pen, and some reactive foil (I’ll be using a Minc brand roll of foil that I already have).

I’ve been working on some holiday single line SVG files for gift tags and cards, so I want to test them out using this technique.

I already set up my design to be drawn and cut matless. Each operation will be done according to line color - the blue lines will be drawn with the glue pen, the red lines will be cut. Make sure your design is set up so it is between the rollers on your machine, you don’t want to get glue all over the rollers!

First, I’m going to start with the WRMK Glue Quill. (there are other brands of glue pens you can try, but this is the one I have on hand.) Before loading you pen into the machine, be sure to scribble your pen on a little piece of scrap paper to make sure the glue is flowing. I am using the pen adapter that is made for the Silhouette machines.

I’m going to do the drawing with the glue pen first (the blue lines). I select the heavy coverstock as my material. I’m going to slow down the speed from 5 to a 3, so the glue flows from the pen evenly.

Screen Shot 2021-08-15 at 12.19.28 PM.png

After the machine is done drawing, DO NOT remove the cardstock. I’m going to let the glue dry for a few minutes. It dries pretty quickly and still remains a little tacky, which is exactly what we need to apply the foil.

Screen Shot 2021-08-15 at 12.17.44 PM.png

After the glue is dry, I’m going to cut out my gift tags. I check the box for the red lines & use the Pop out cut.

Screen Shot 2021-08-15 at 10.45.28 AM.png

I cut some small pieces of foil to fit the gift tags. I lay the foil over the gift tag, making sure all of the glue areas are covered by the foil.

Screen Shot 2021-08-15 at 12.23.05 PM.png

I use an old credit card as a scraper, but you can also use a small squeegee. I smooth the foil down in all directions, vertical, horizontal, etc.

Once I see the letters starting to appear, I lift the foil to check my progress. If there are a few spots missing the foil, you can continue to go over it with the squeegee, you can even reposition to foil if needed and continue to squeegee.

Screen Shot 2021-08-15 at 12.24.16 PM.png

Once it’s done, I carefully brush off any foil dust and you have a foiled gift tag! This technique gives the lines kind of a vintage, distressed look.

Screen Shot 2021-08-15 at 12.28.34 PM.png