
Links in the article below may be affiliate links.
Hi Everyone! Last week I tried out the Spellbinders Glimmer foils with the Cricut Foil Transfer tool and my Cricut Maker, and I got some pretty decent results. This week I want to try the foils with my WRMK Foil Quills since they are actually intended to be hot foils. So here we go!
I am most excited to try the holographic foils. They transferred okay with the Cricut Foil Transfer tool, but the holographic effects were kind of lost.
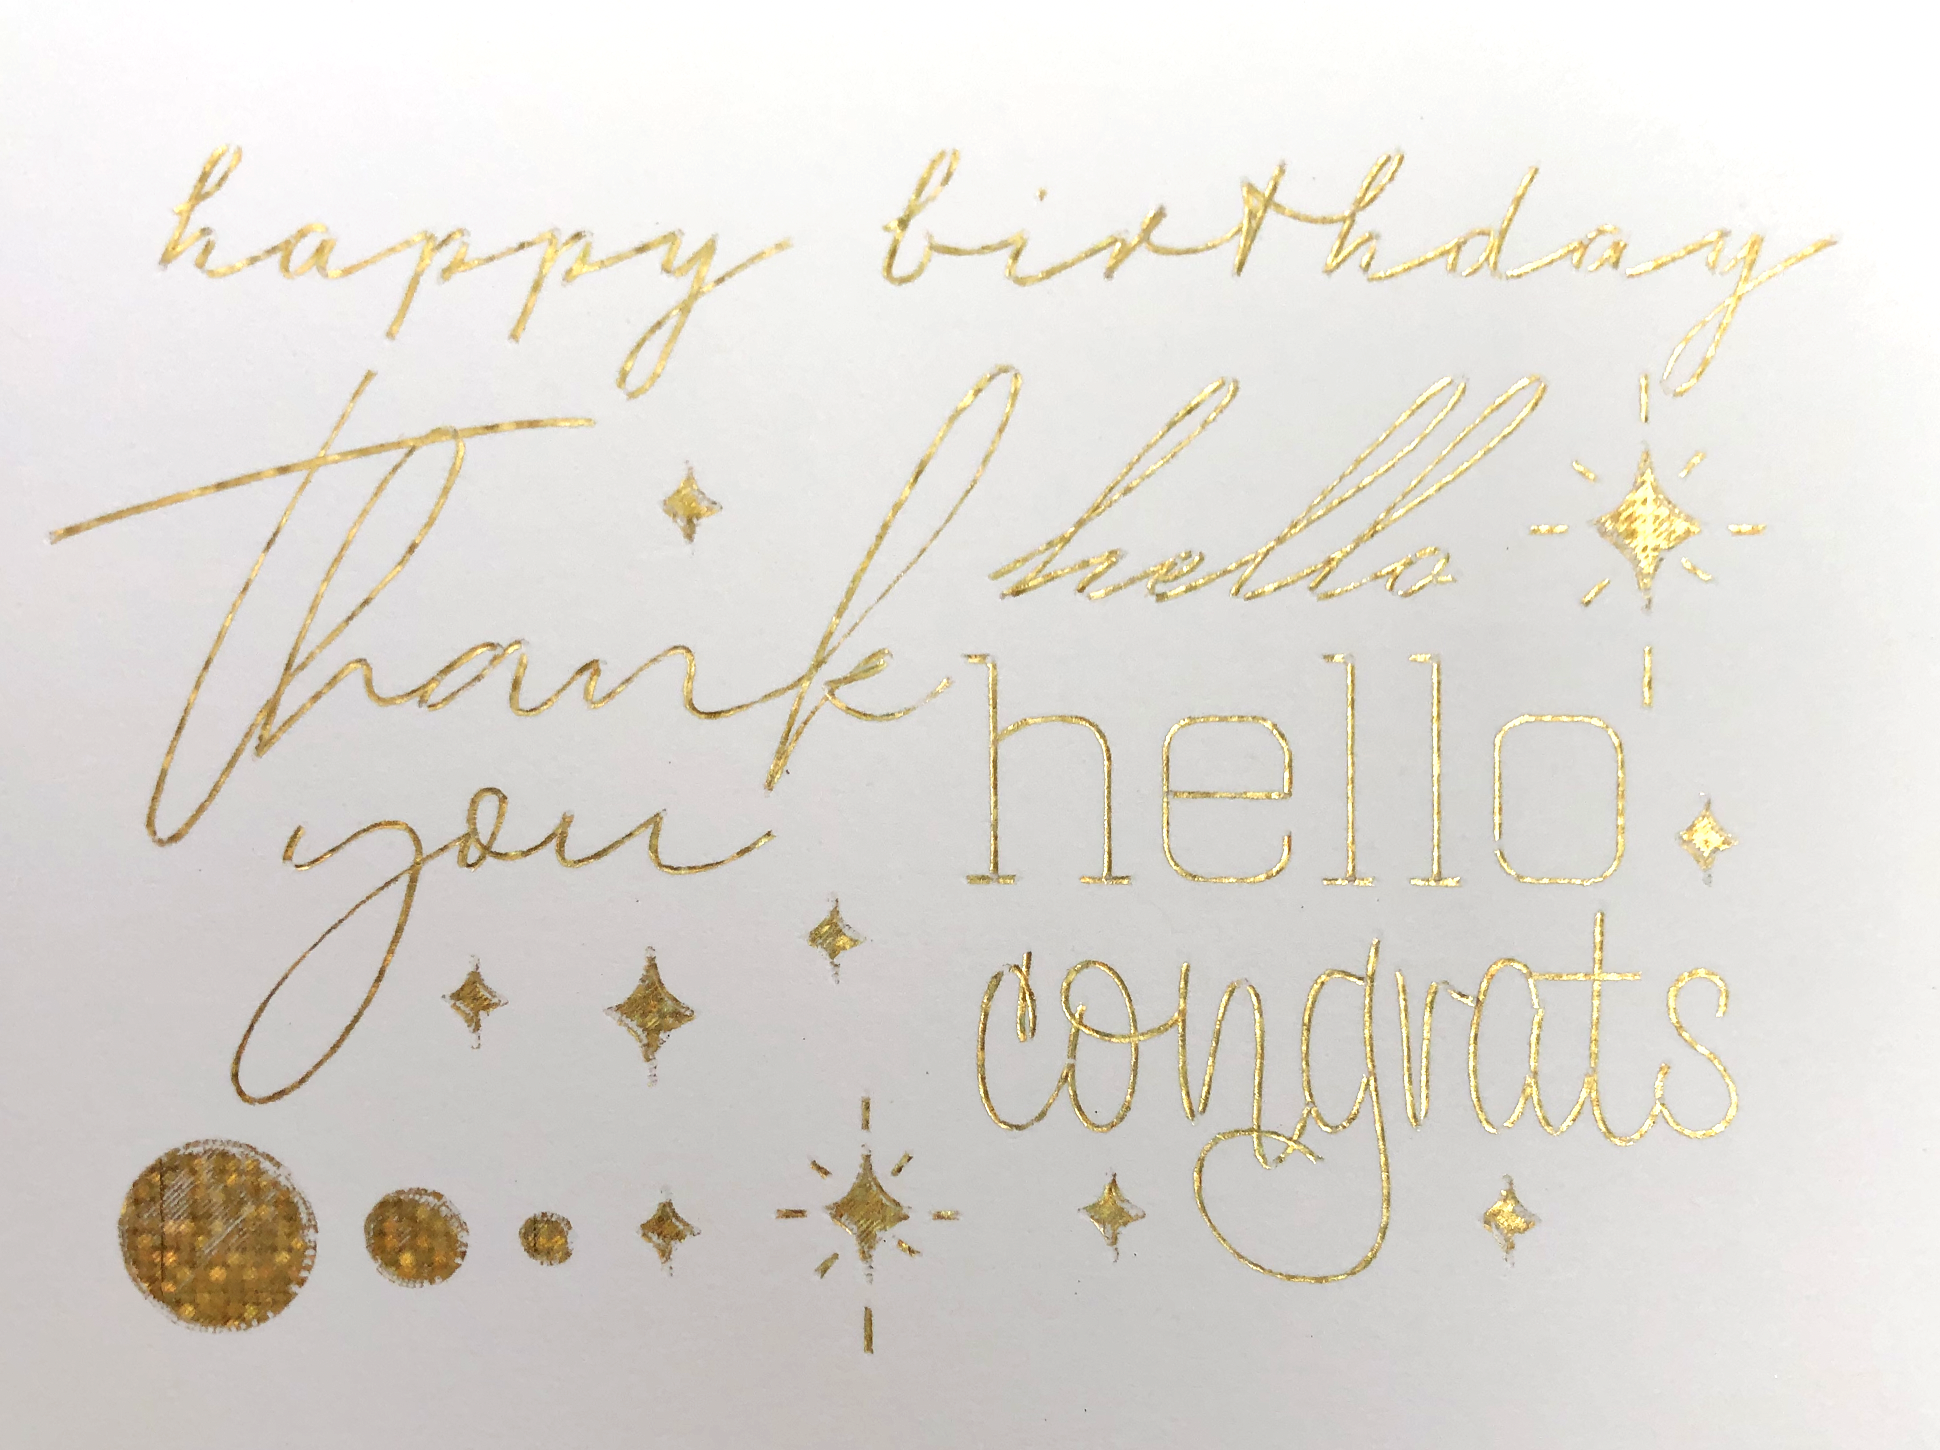
I started out with the gold glittery foil on my heavy white cardstock with the medium foil quill. There are some little spots where the foil didn't transfer completely, especially in my filled shapes. But you can see the glittery effect much more that you could with the foil transfer tool.
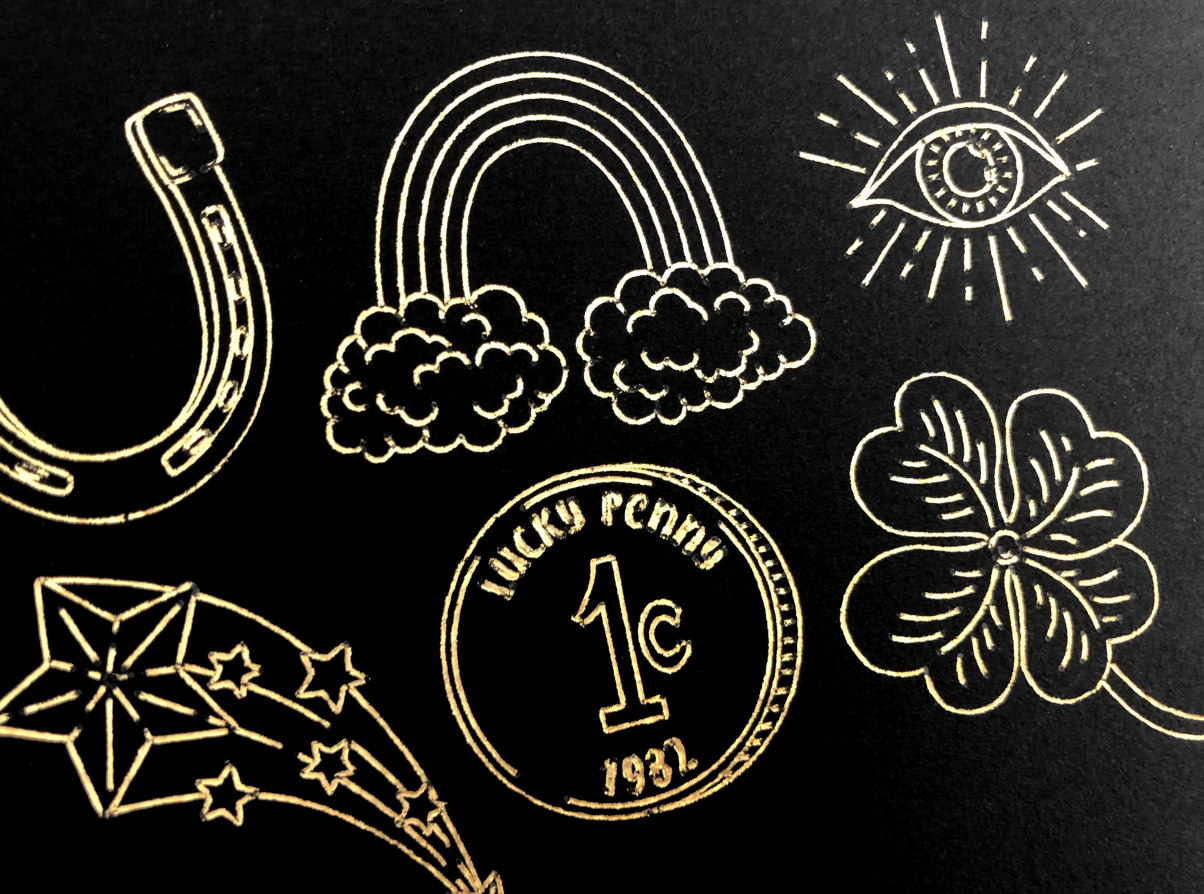
I tried it out again on black cardstock with some different single line drawings. Again, some spots where it didn’t completely. The holographic effect was also not as noticeable on the black cardstock. So overall, the gold holographic glitter didn’t do great on cardstock.
Next I tried the silver holographic foil on black cardstock. Also, some spots where it didn’t transfer completely, especially in the filled shapes. But you can see the iridescent effect, especially when you hold the card at an angle. It’s really difficult to capture in a photo, but the iridescence is there!

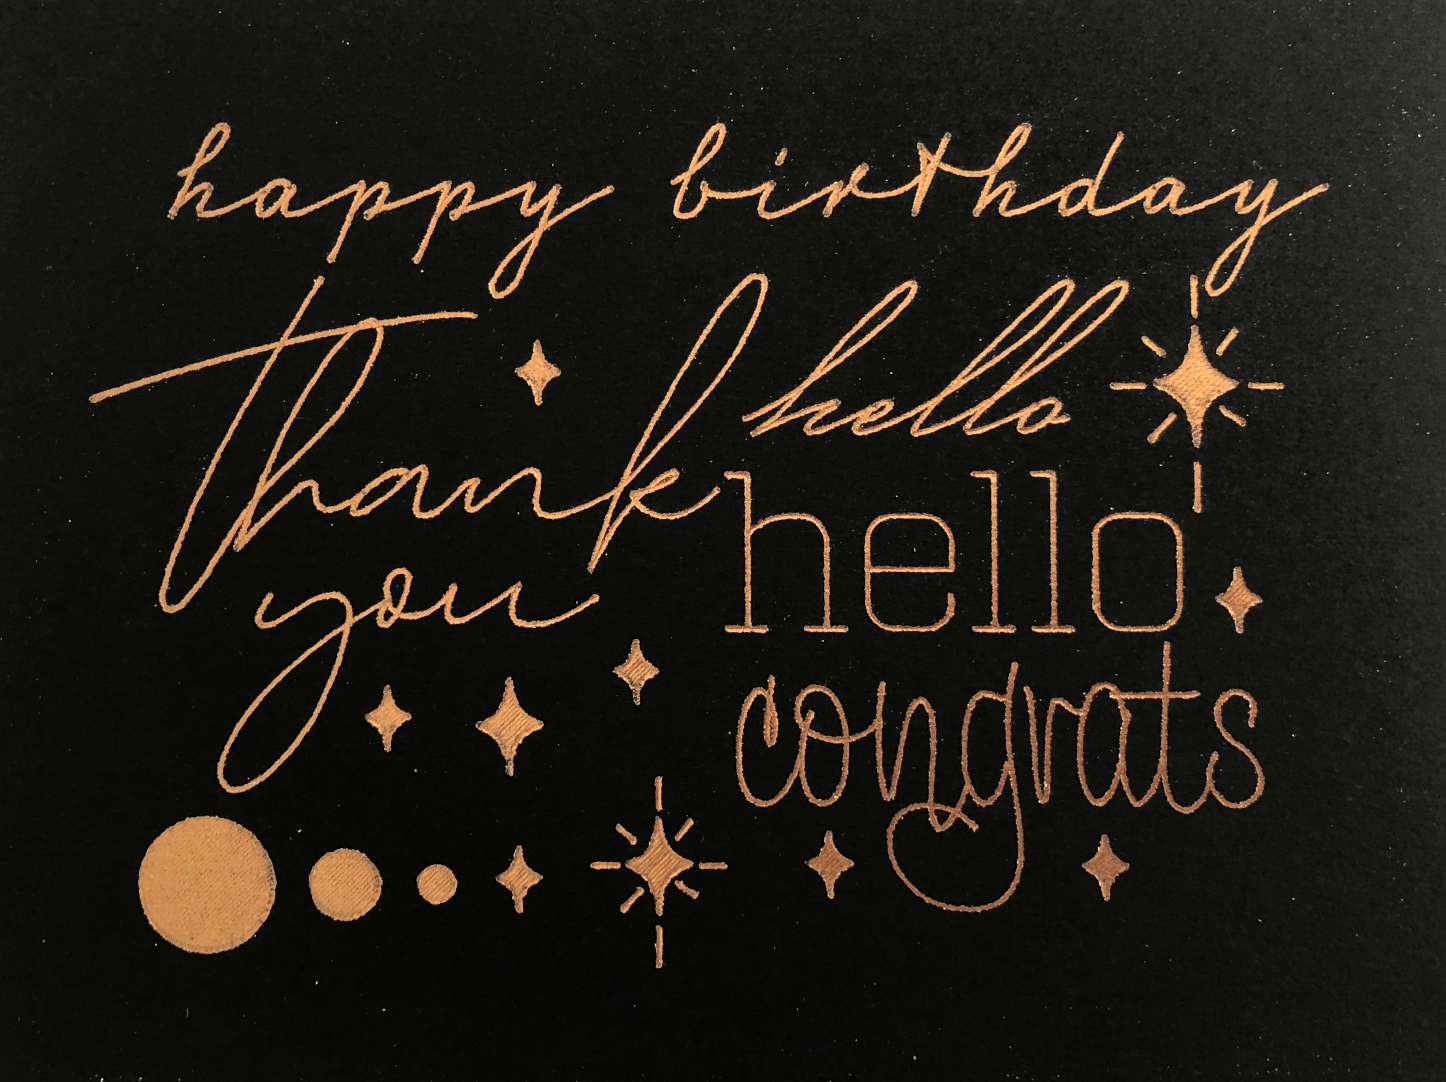
Then I tried the regular metallics. First, the copper on black cardstock, still with the medium tip. It transferred BEAUTIFULLY!!
After that I tried the gold on my heavy white cardstock. It also worked beautifully!

I decided to give the holographic foils one last shot on some glossy clear sticker paper. First, I tried the gold holographic glitter with the medium tip. It transferred REALLY well to the sticker paper, and you can see sparkly holgraphic effect. (again, super difficult to photograph, but it looks really good in person).
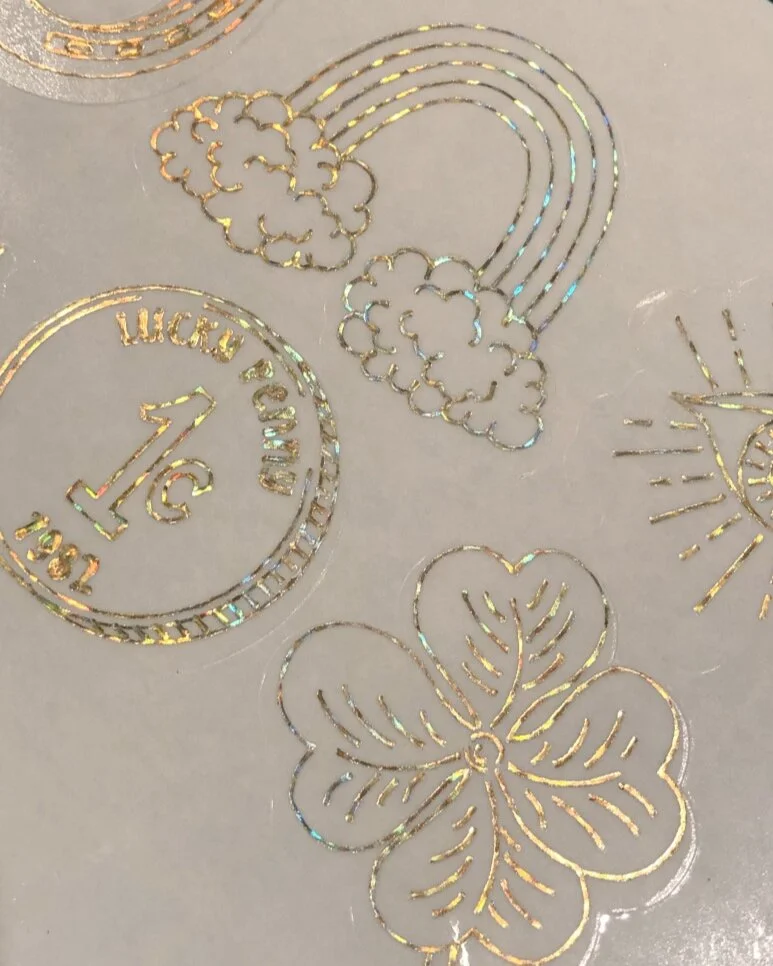
Finally, my personal favorite, the silver holographic foil on the clear sticker paper. It is so pretty and transferred perfectly.

Overall, the holographic foils didn’t work great on cardstock, but they are gorgeous on my clear sticker paper. The regular metallics worked really well on cardstock, I didn’t test them on the sticker paper, but I imagine they would work great on that as well.
I’m really excited to try these foils with my Silhouette Portrait 3 machine where I can actually adjust the speed and pressure for the foil quill. I will post about that next week!