Links in the article below may be affiliate links.

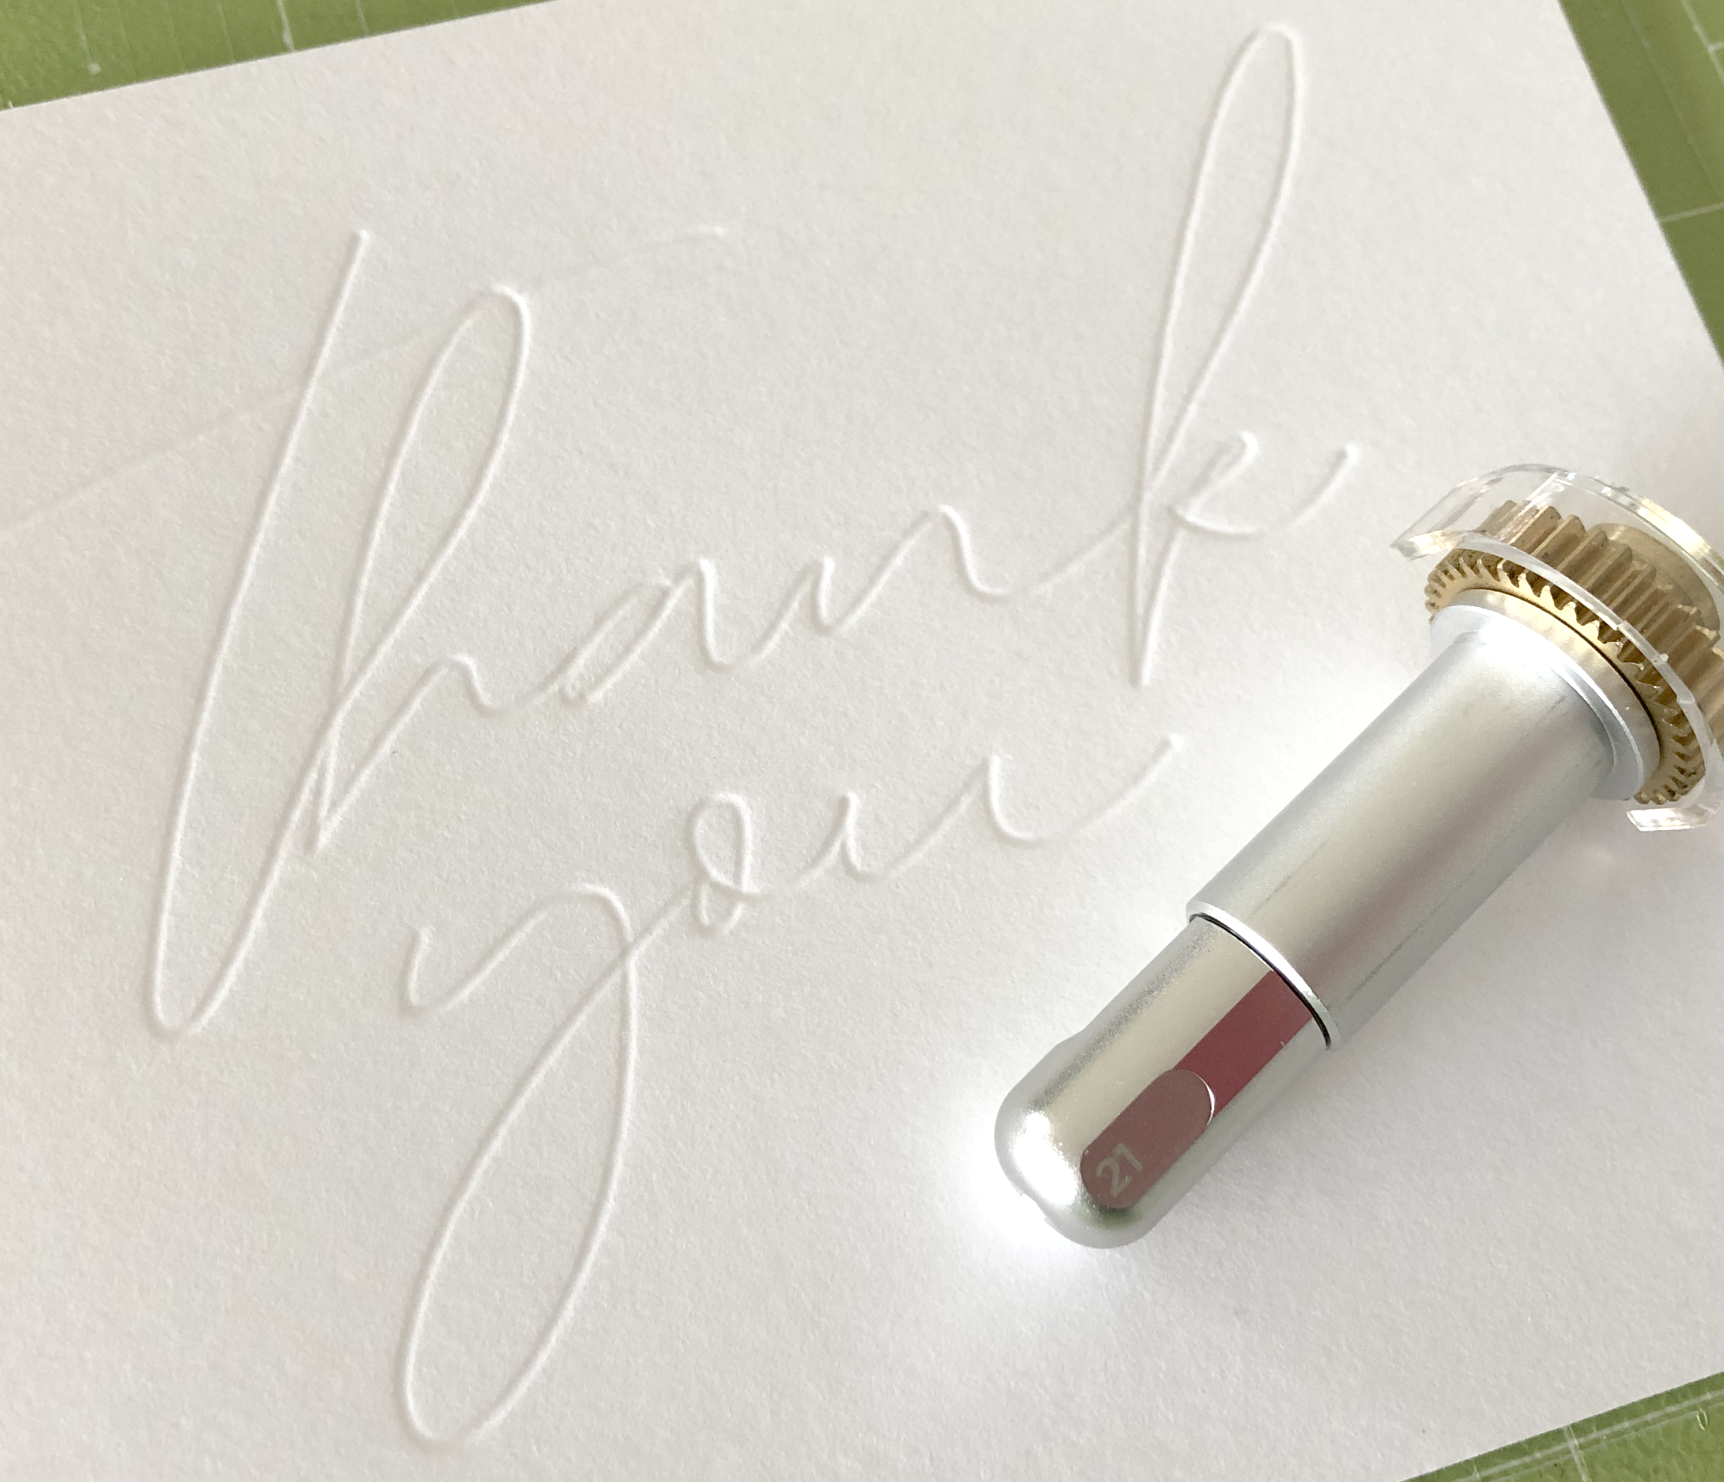
Hi Everyone! I’ve been doing some more experimenting with my Fine Deboss Tip for my Cricut Maker. You can even use this tip for foiling!
Please note: The Deboss Tip only works with the Maker machine, it is used with the quick swap housing.
I’m showing this method because I can use the Deboss tip with the Cricut App on my iPad. For some reason the actual Foil Transfer tool is not compatible with the Cricut App.
You need to use a pressure sensitive foil. So I tried out the foil that is used with the Cricut Foil Transfer tool and the Silhouette brand pressure sensitive foil.
Here are my results:
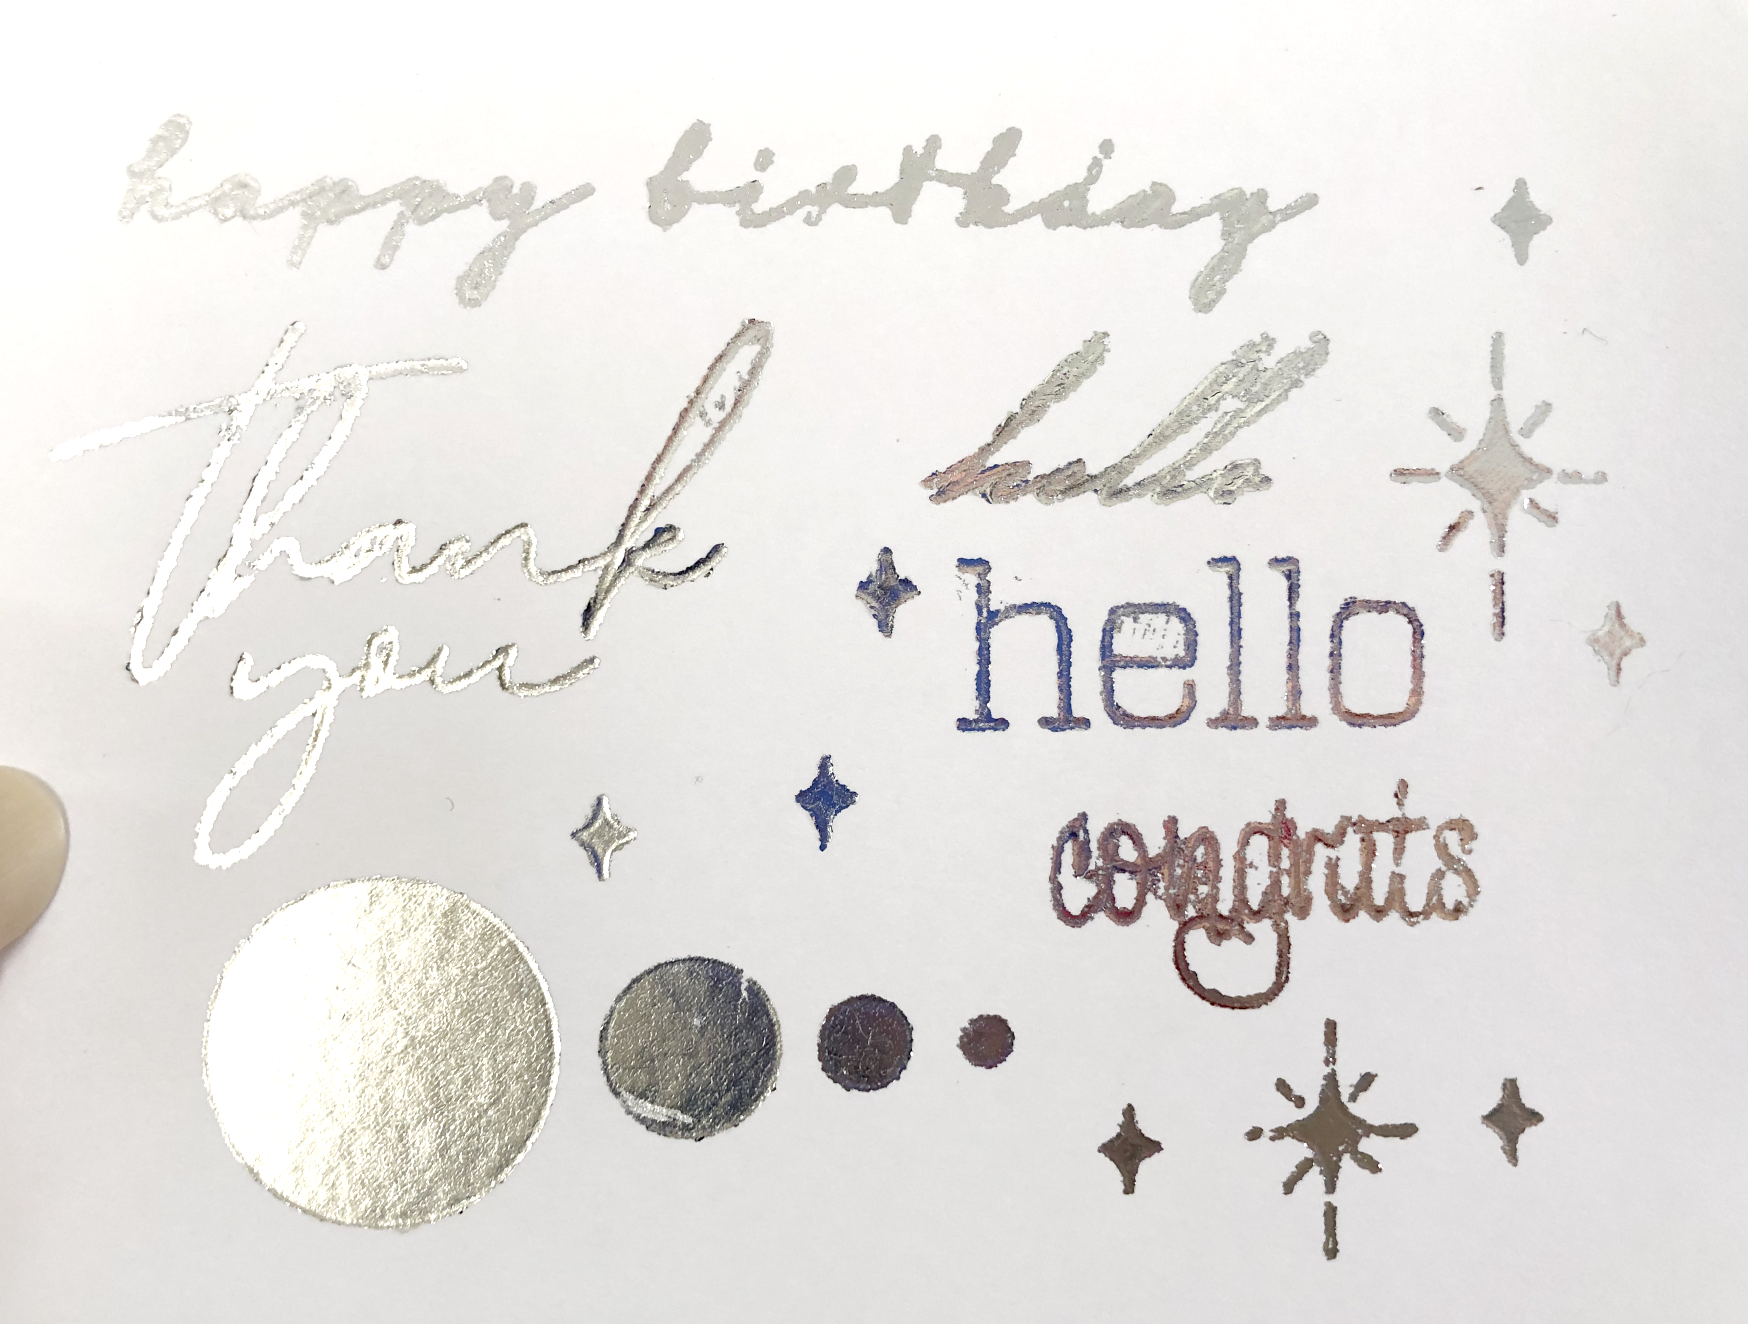
Cricut Brand Foil Transfer
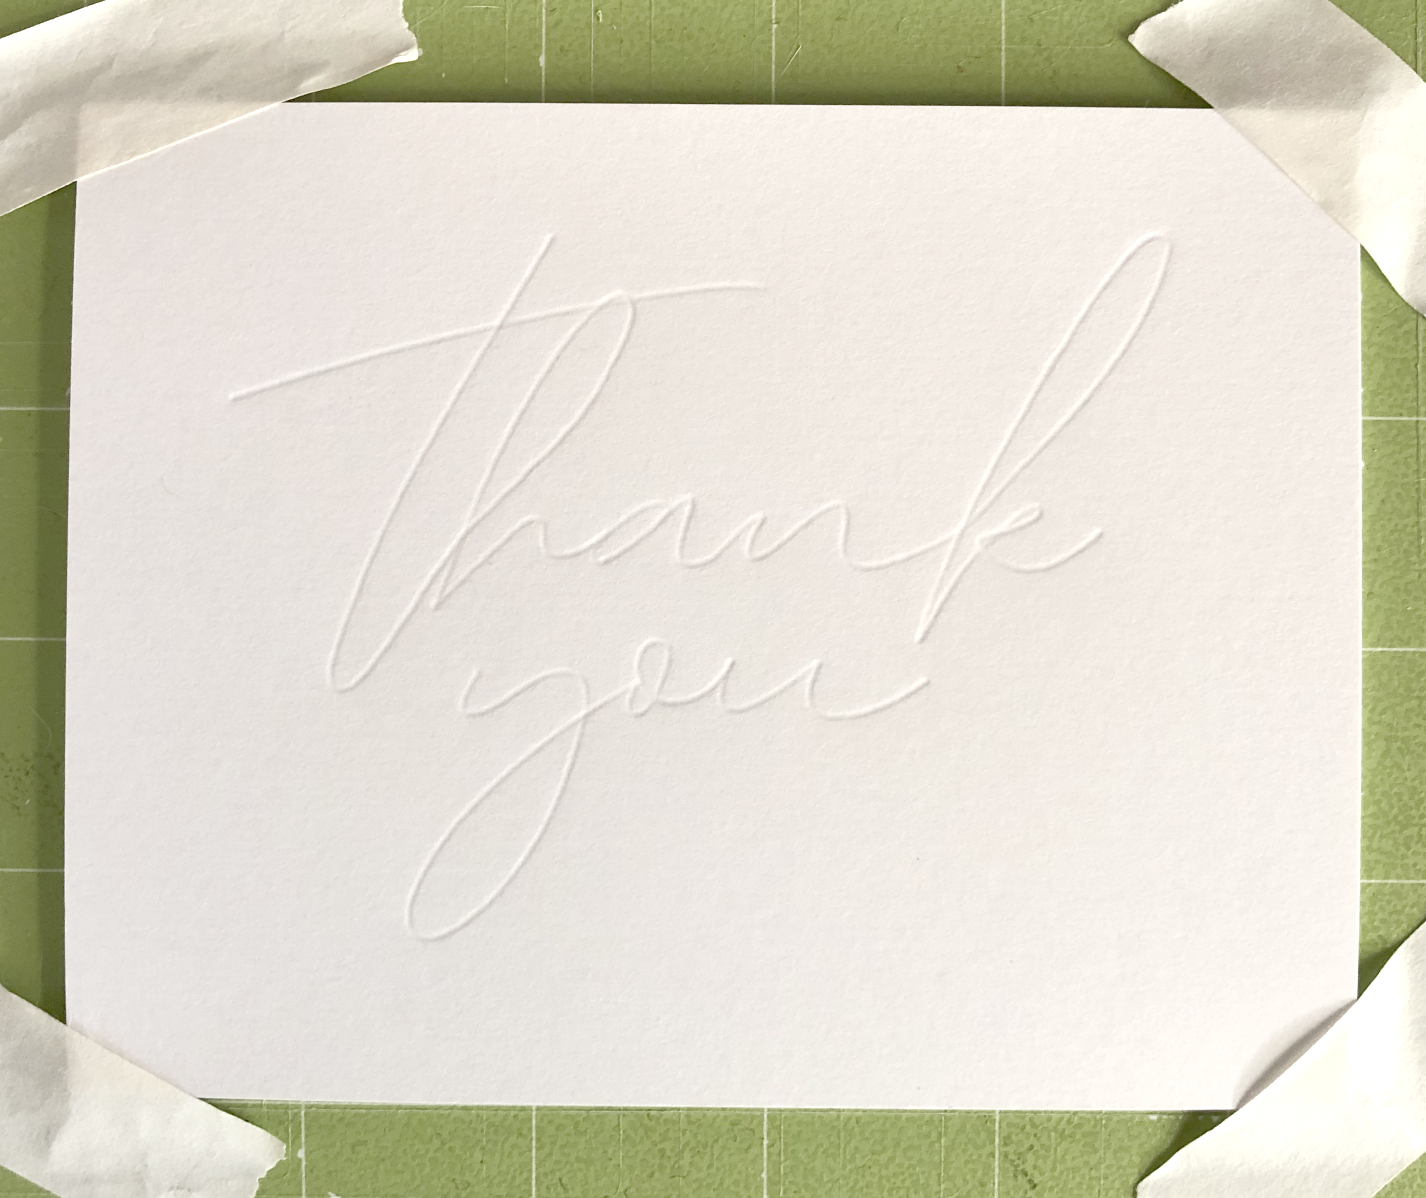
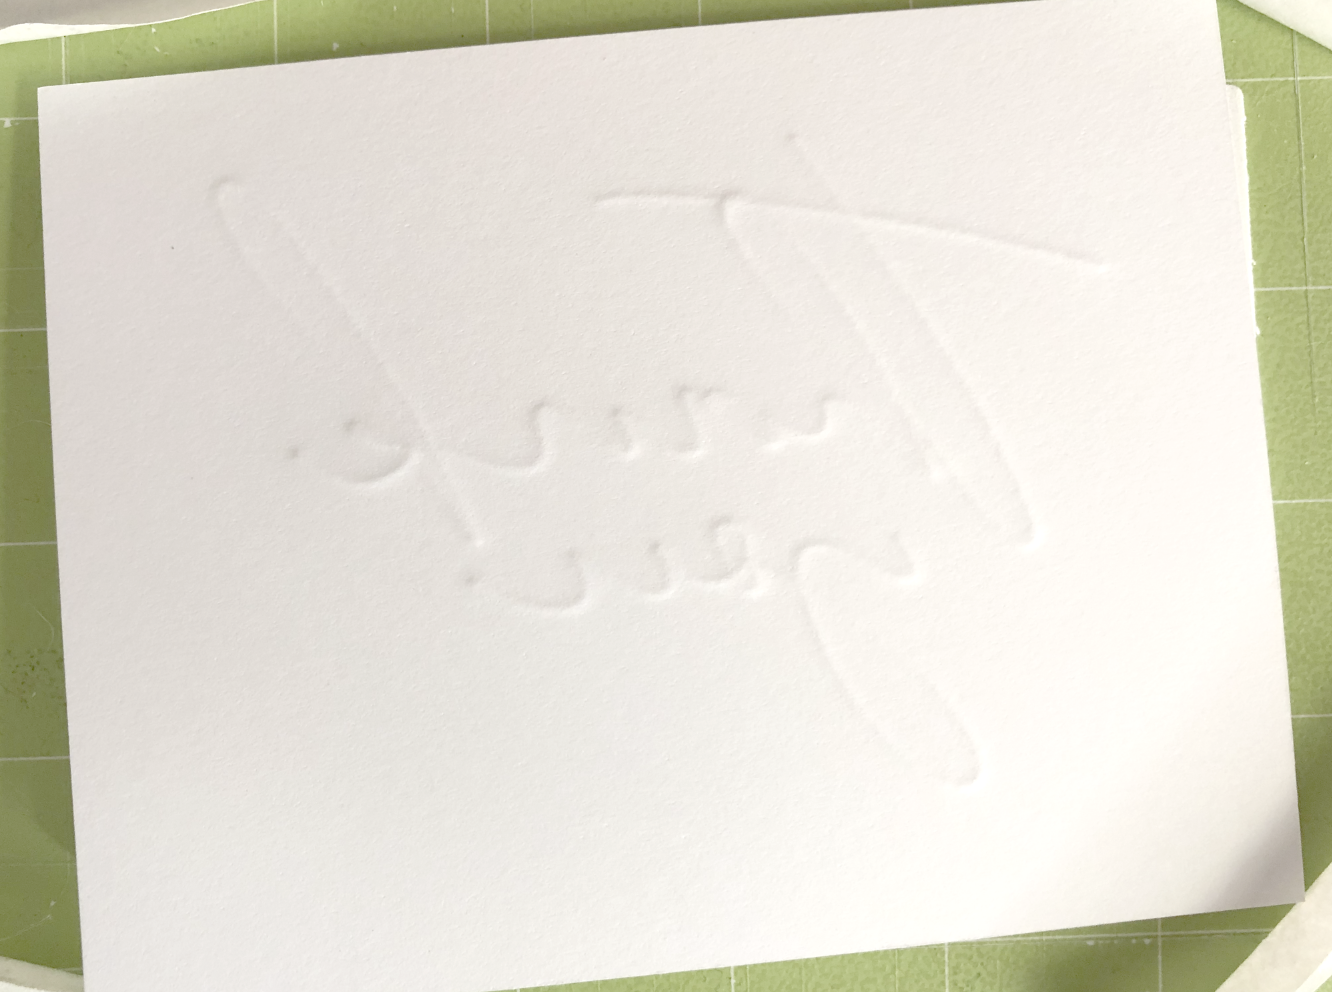
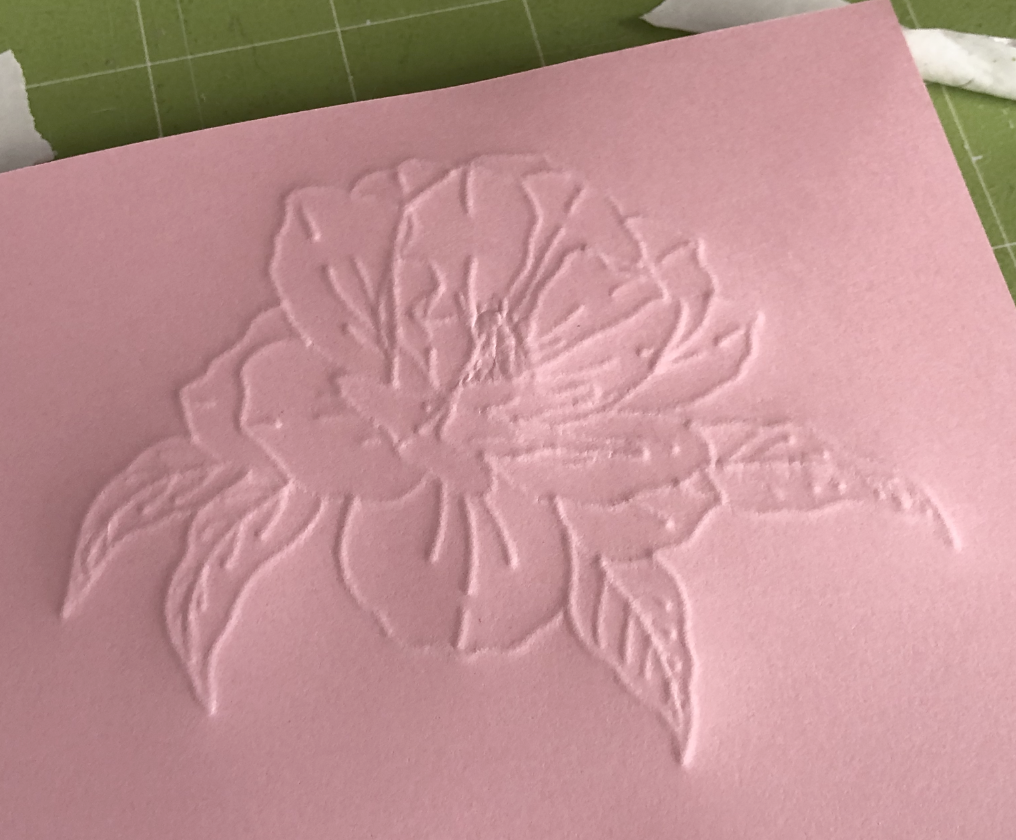
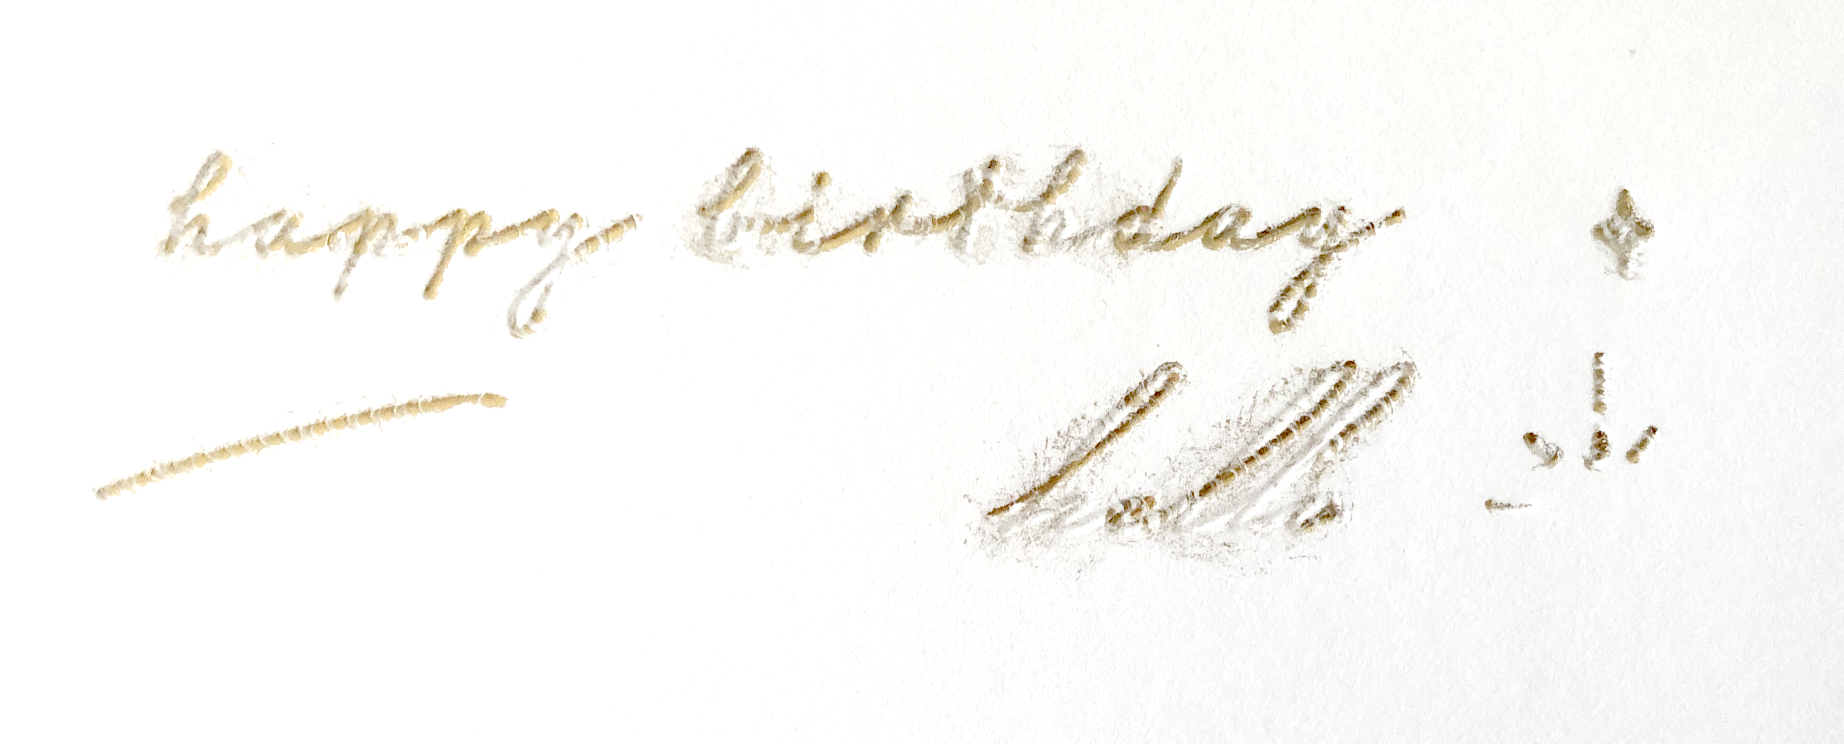
I am testing some single line words and a few filled shapes with the Cricut brand foil and the fine deboss tip on 100lb cardstock. I select the 100lb cardstock from my materials, with default pressure.
Fine Deboss tip with Cricut Gold Foil, default pressure.
The foil transferred in a few places, but far from a success.
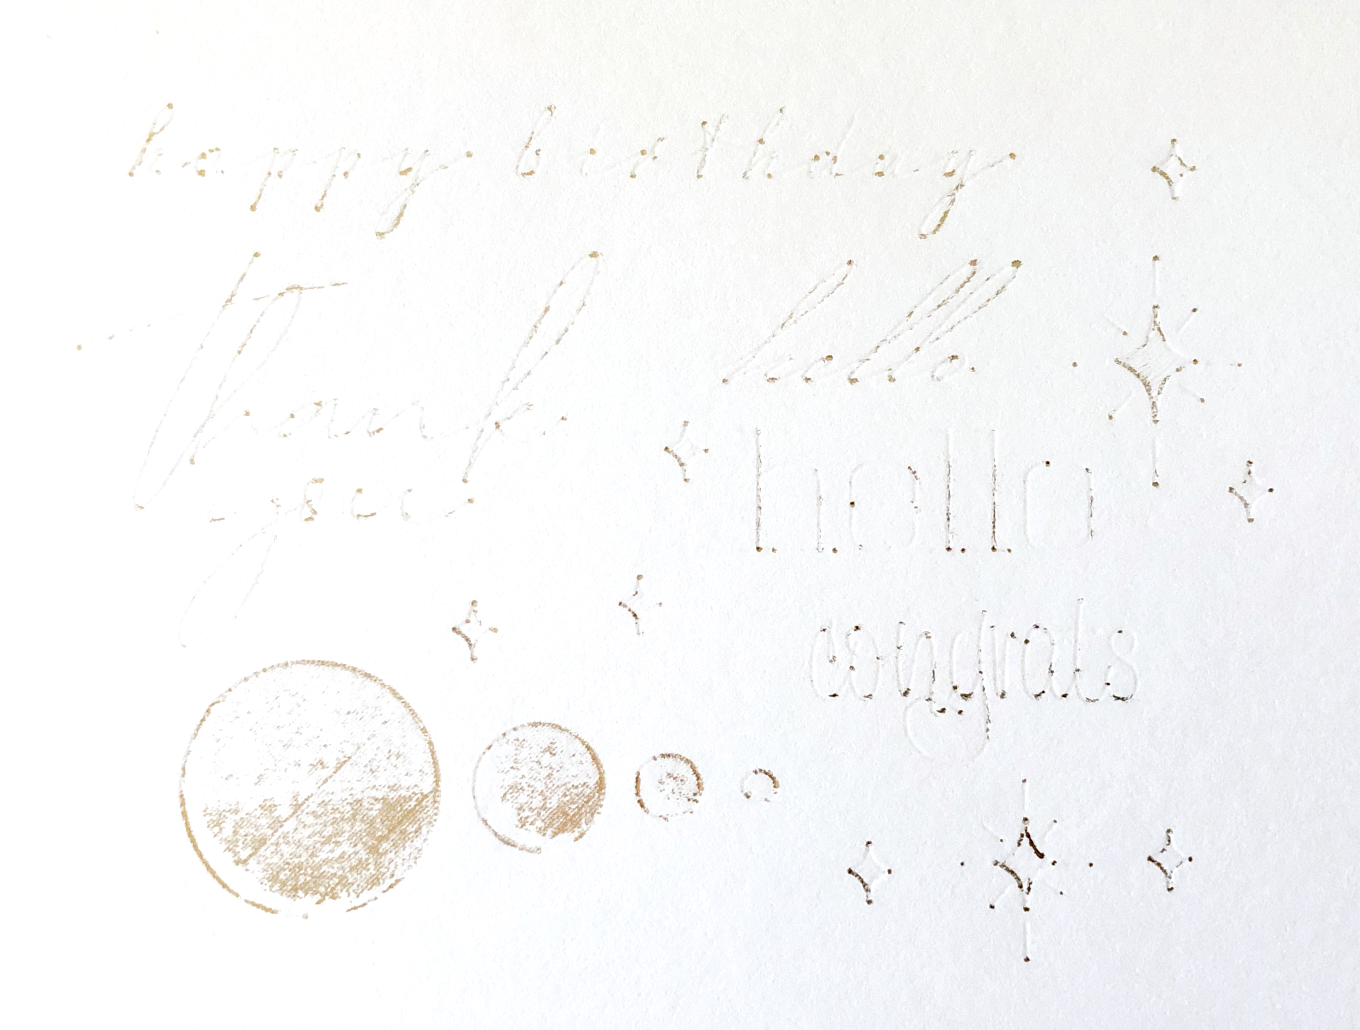
Fine Deboss Tip, Cricut Gold Foil
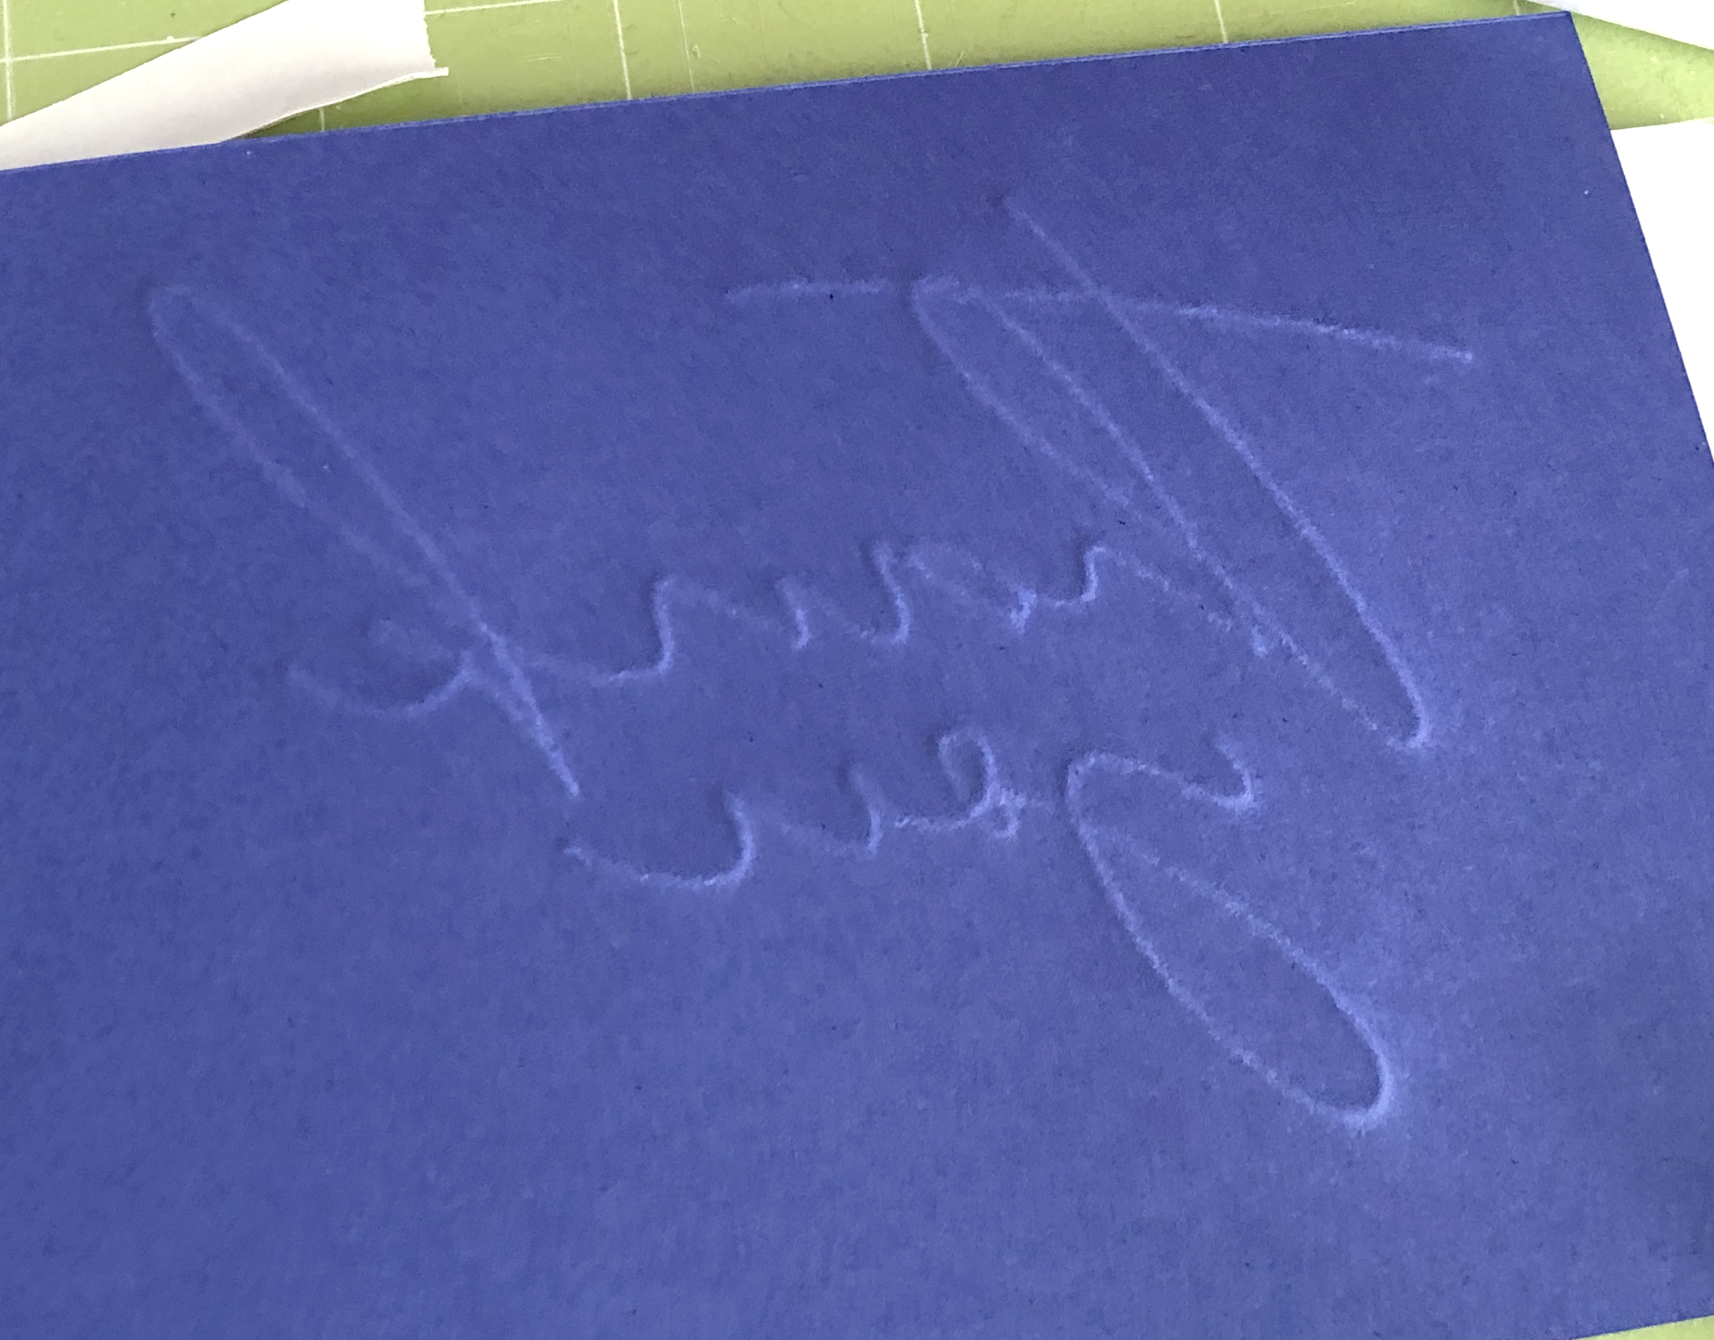
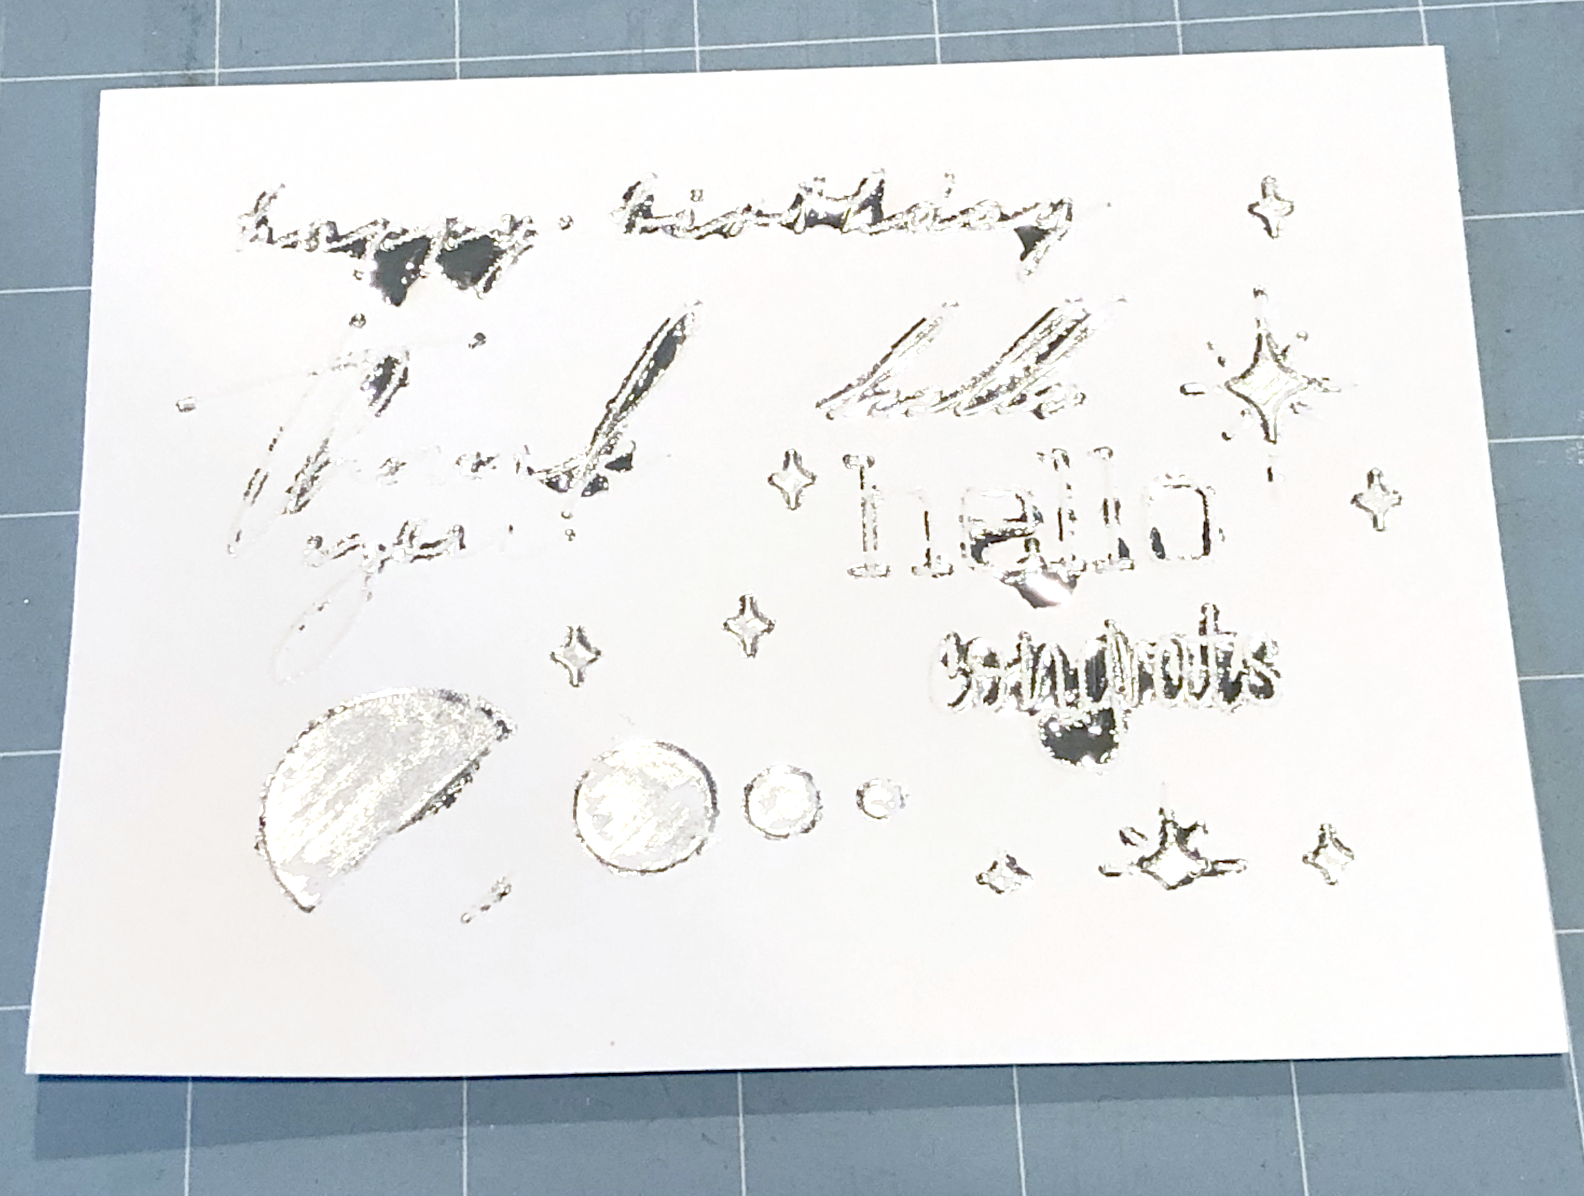
Next I tried 100lb cardstock, more pressure.
I snuck a peek after 1 full pass. It did a little better than the default pressure, but still not great.
Fine Deboss tip, more pressure, one full pass.
I didn’t unload my mat so I could try sending it through my machine one more time. Definitely better than the default pressure, but still not great.
Second pass, more pressure
I made one last attempt with the Cricut foil, this time I tried with the medium 80lb cardstock setting. What a disaster! It tore the foil paper on default and light pressure. I didn’t even attempt more pressure.
Medium 80lb cardstock, default pressure. Tearing the foil.
Medium 80lb cardstock, less pressure. Also tore the foil.
So the deboss tip doesn’t really work with the Cricut Foil.
Silhouette Brand Foil Transfer
I’ve seen a few you tube videos of people using the Silhouette foil transfer sheets, it’s intended to be used with the Curio machine, so I hope the foil doesn’t get discontinued like the Curio machine. But I thought I would give it a shot. They’re a little pricier than the Cricut foils and fewer color choices. I mainly use gold, silver and rose gold anyway, so it’s not a huge deal for me. Sometimes they go on sale, so keep an eye out for that.
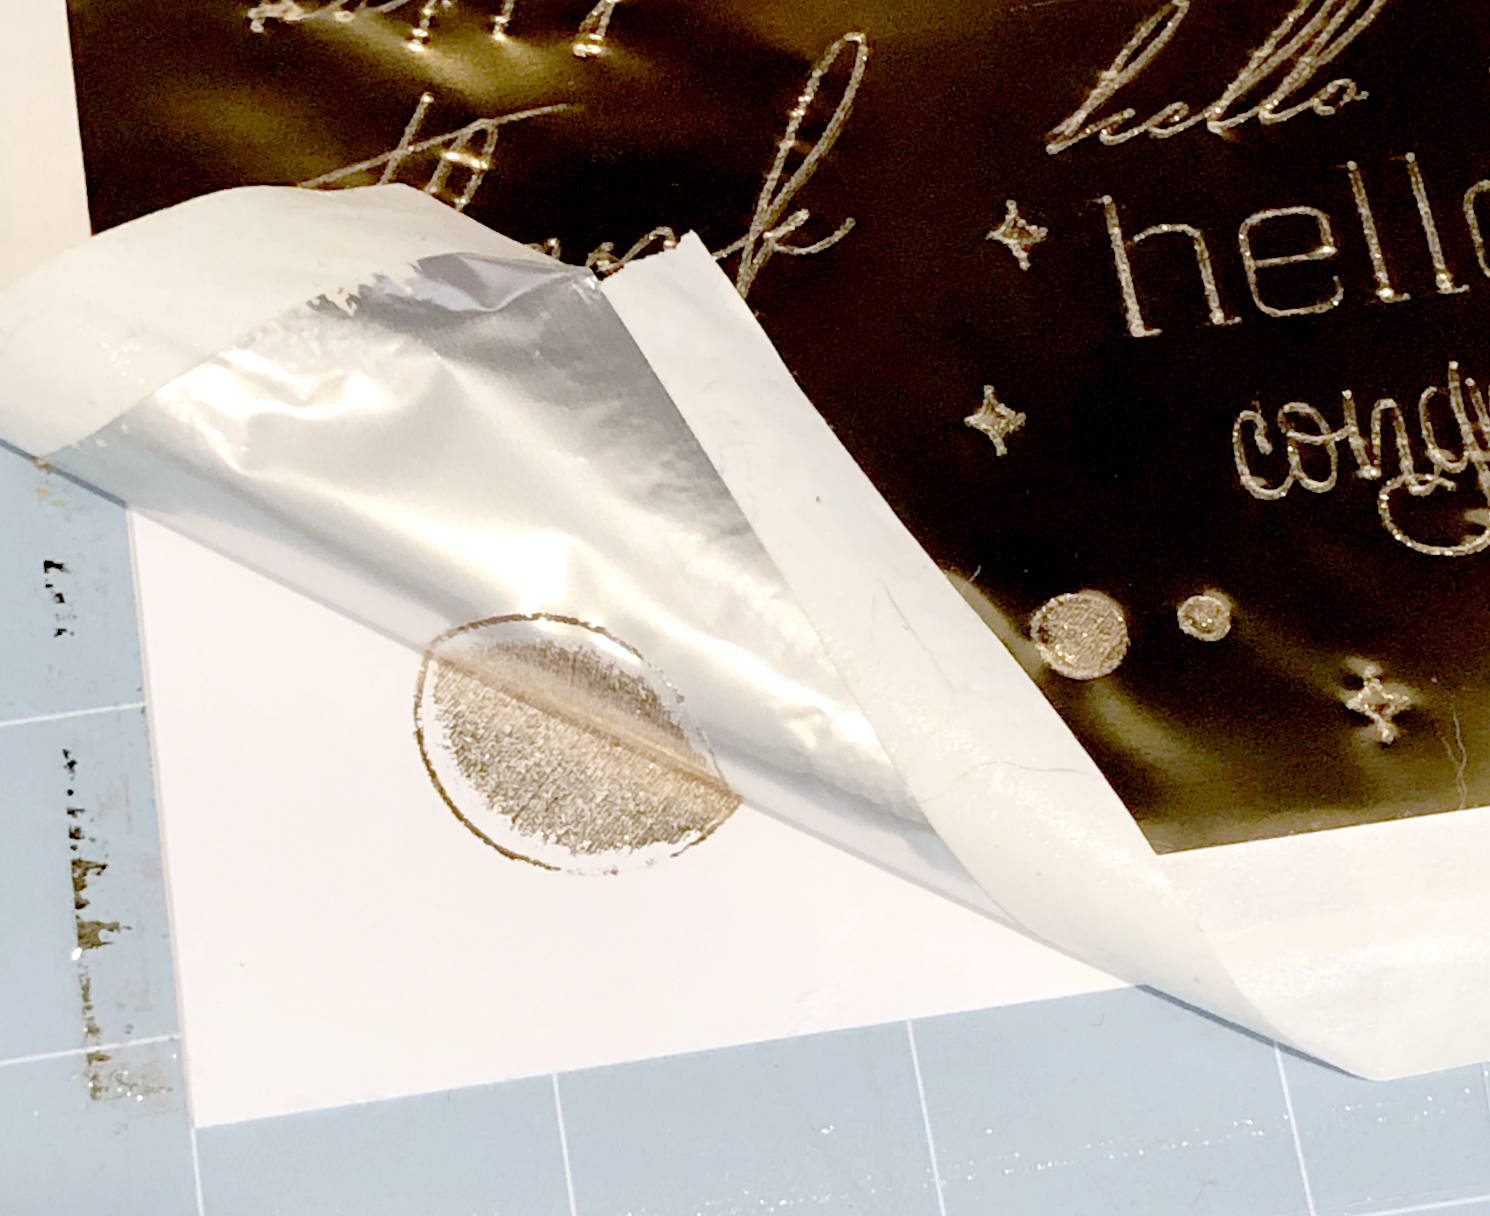
It’s a lot thicker than the Cricut Foil and you need to remove the back carrier sheet before placing it over whatever you’re foiling.
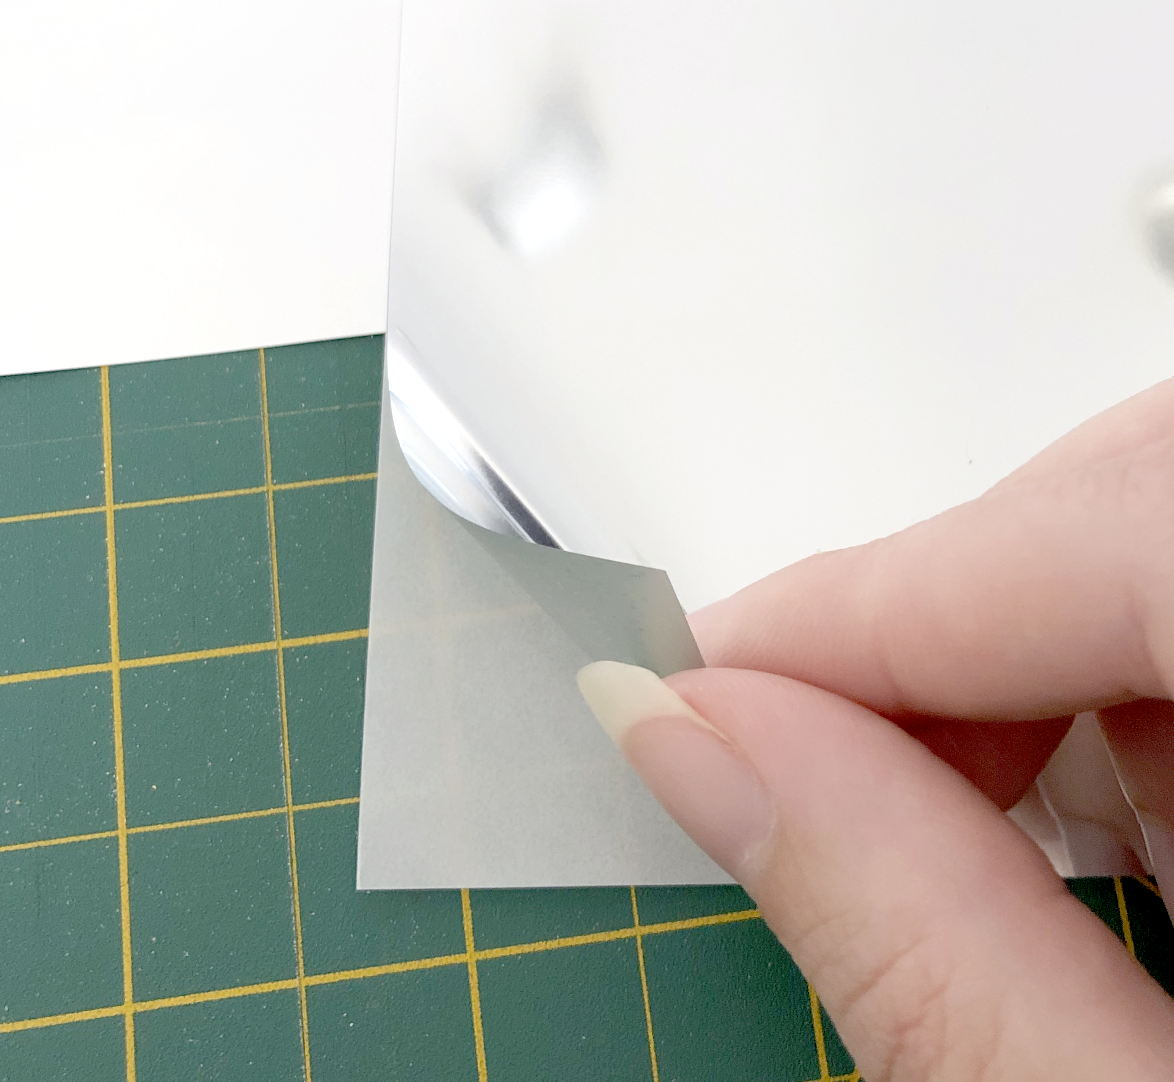
Remove the backing sheet!!
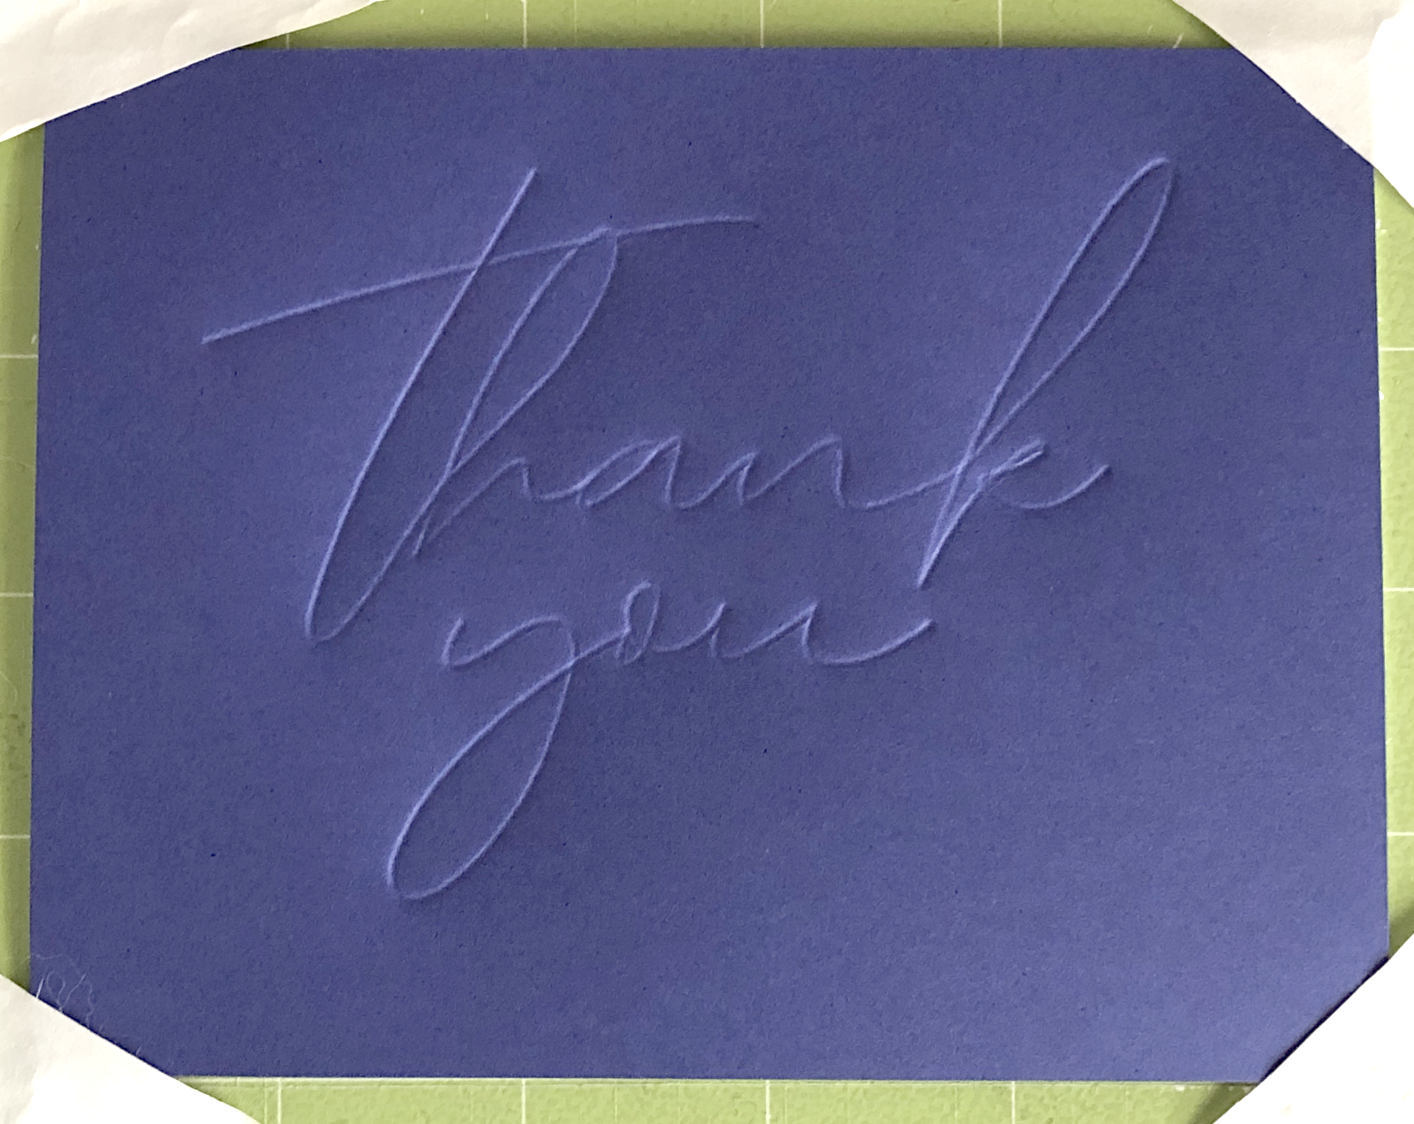
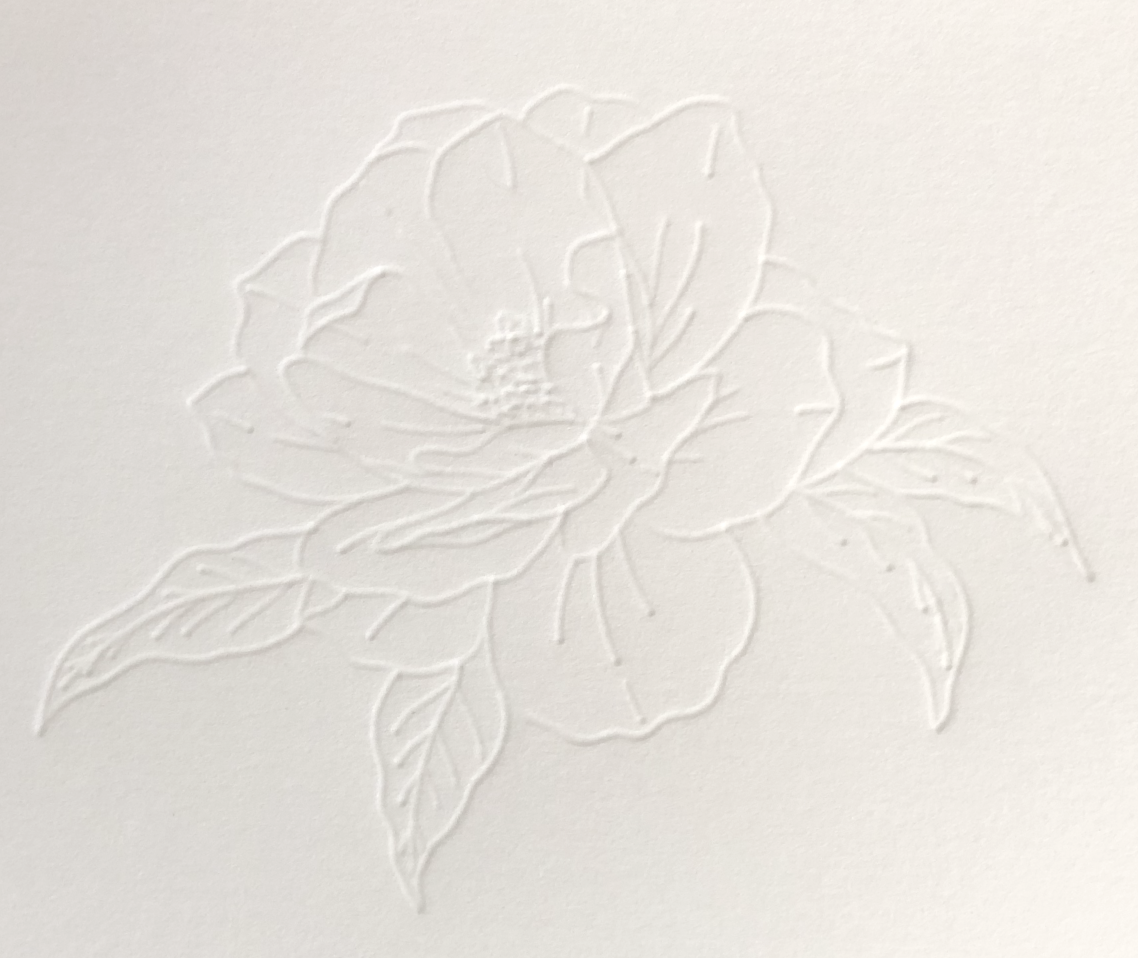
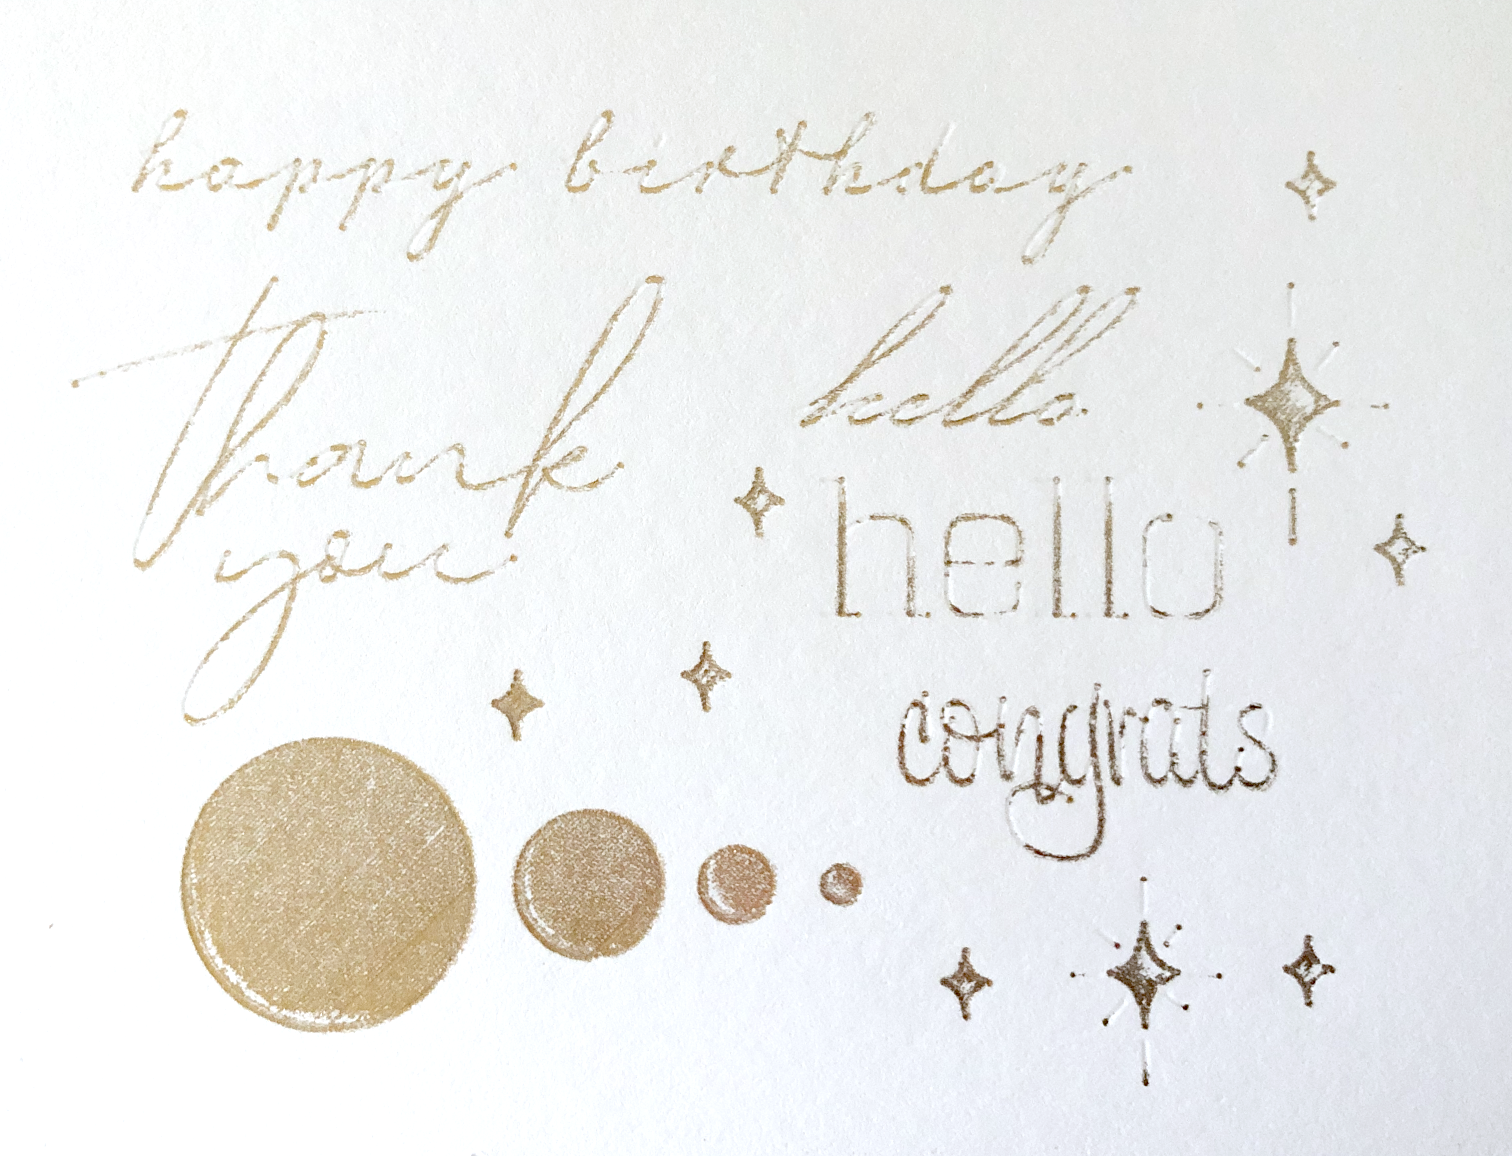
I started out with the 100lb cardstock default pressure again. When I first remove the film after it’s done, it looks kind of scary, but you can clean up the excess pieces and edges with blue painters tape or Washi tape.
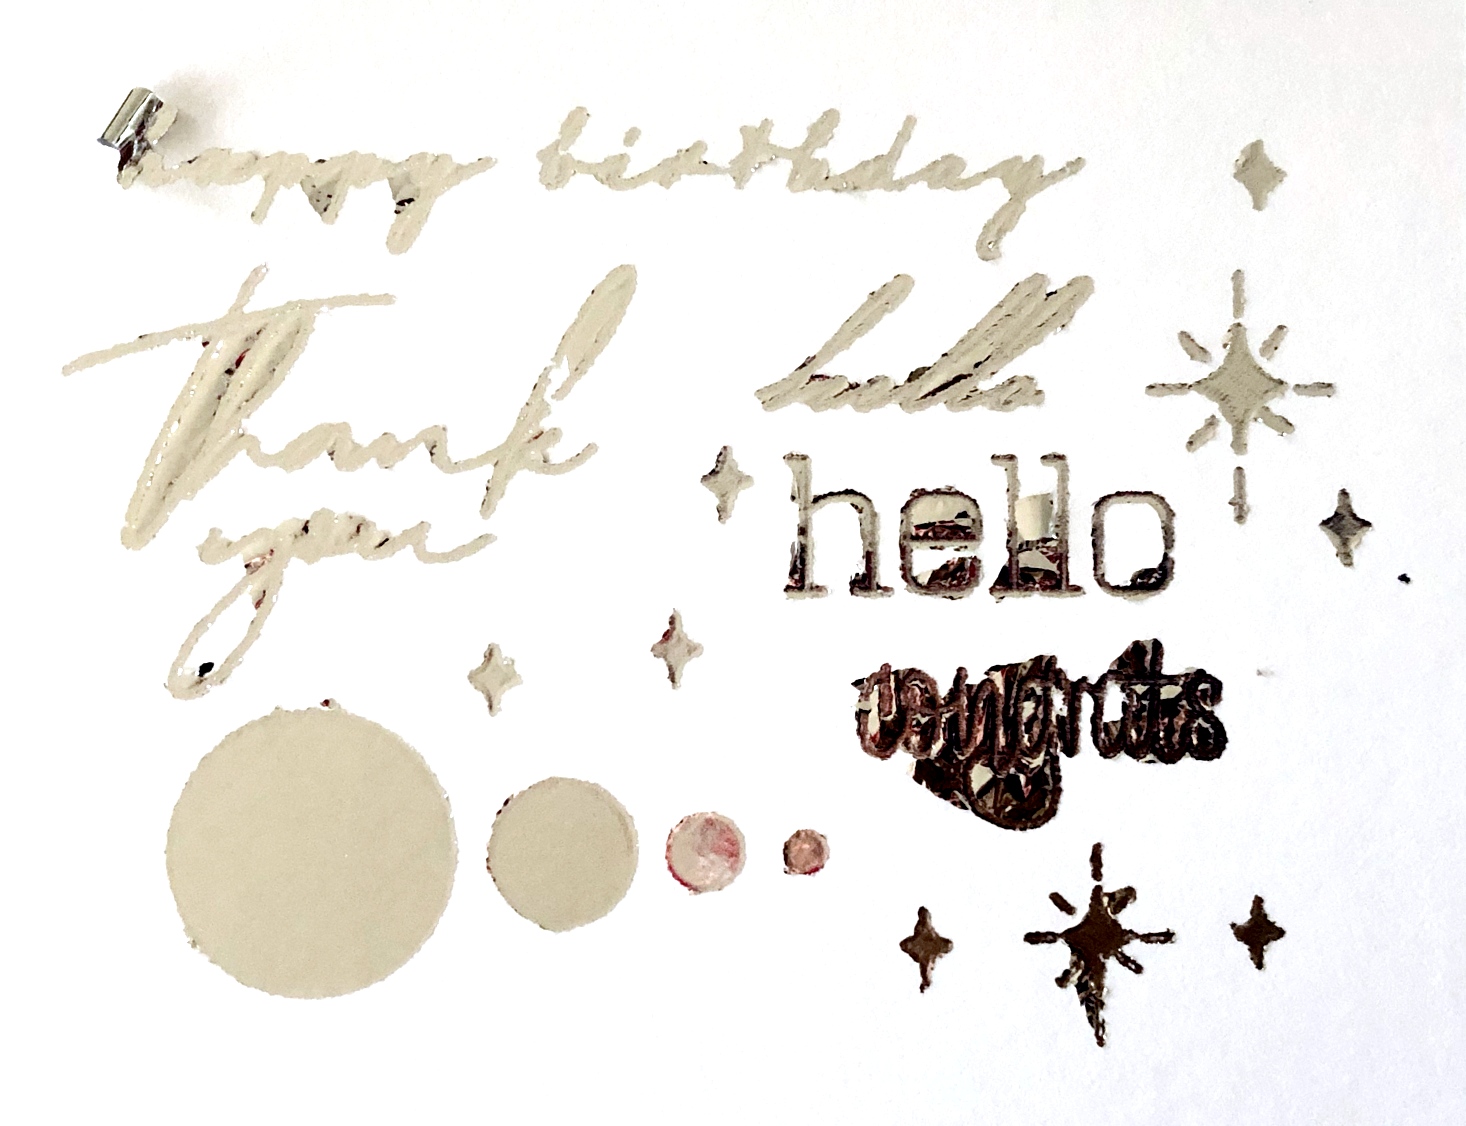
After cleaning it up, the results are pretty good. It’s REALLY shiny compared to the Cricut Foil. The filled circles look spectacular! Pretty smooth and flat. It occasionally misses parts of some of the letters and the edges aren’t super crisp.
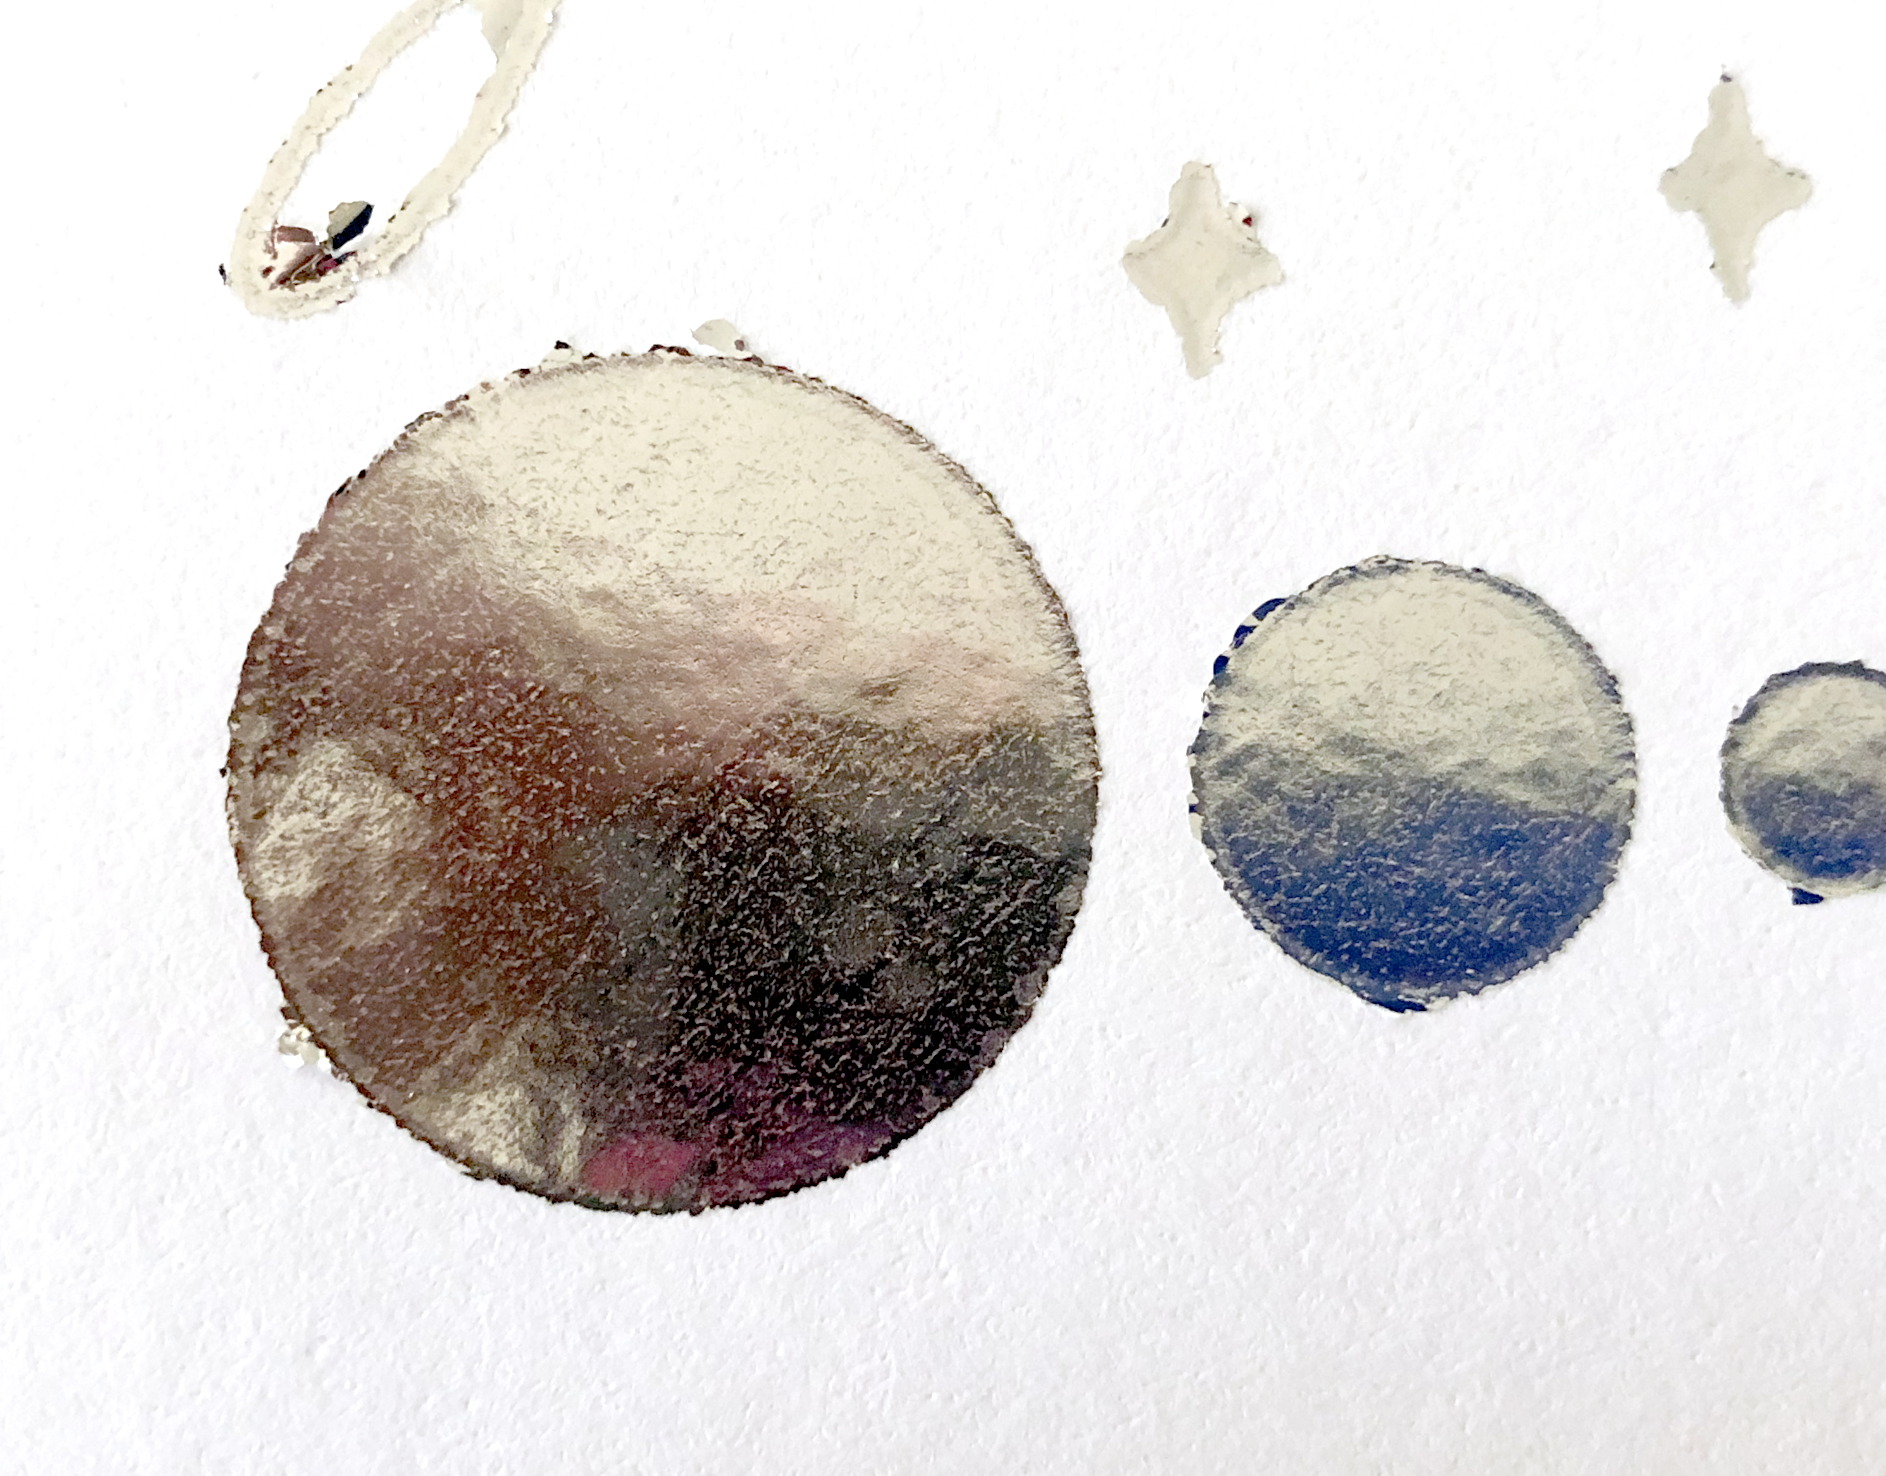
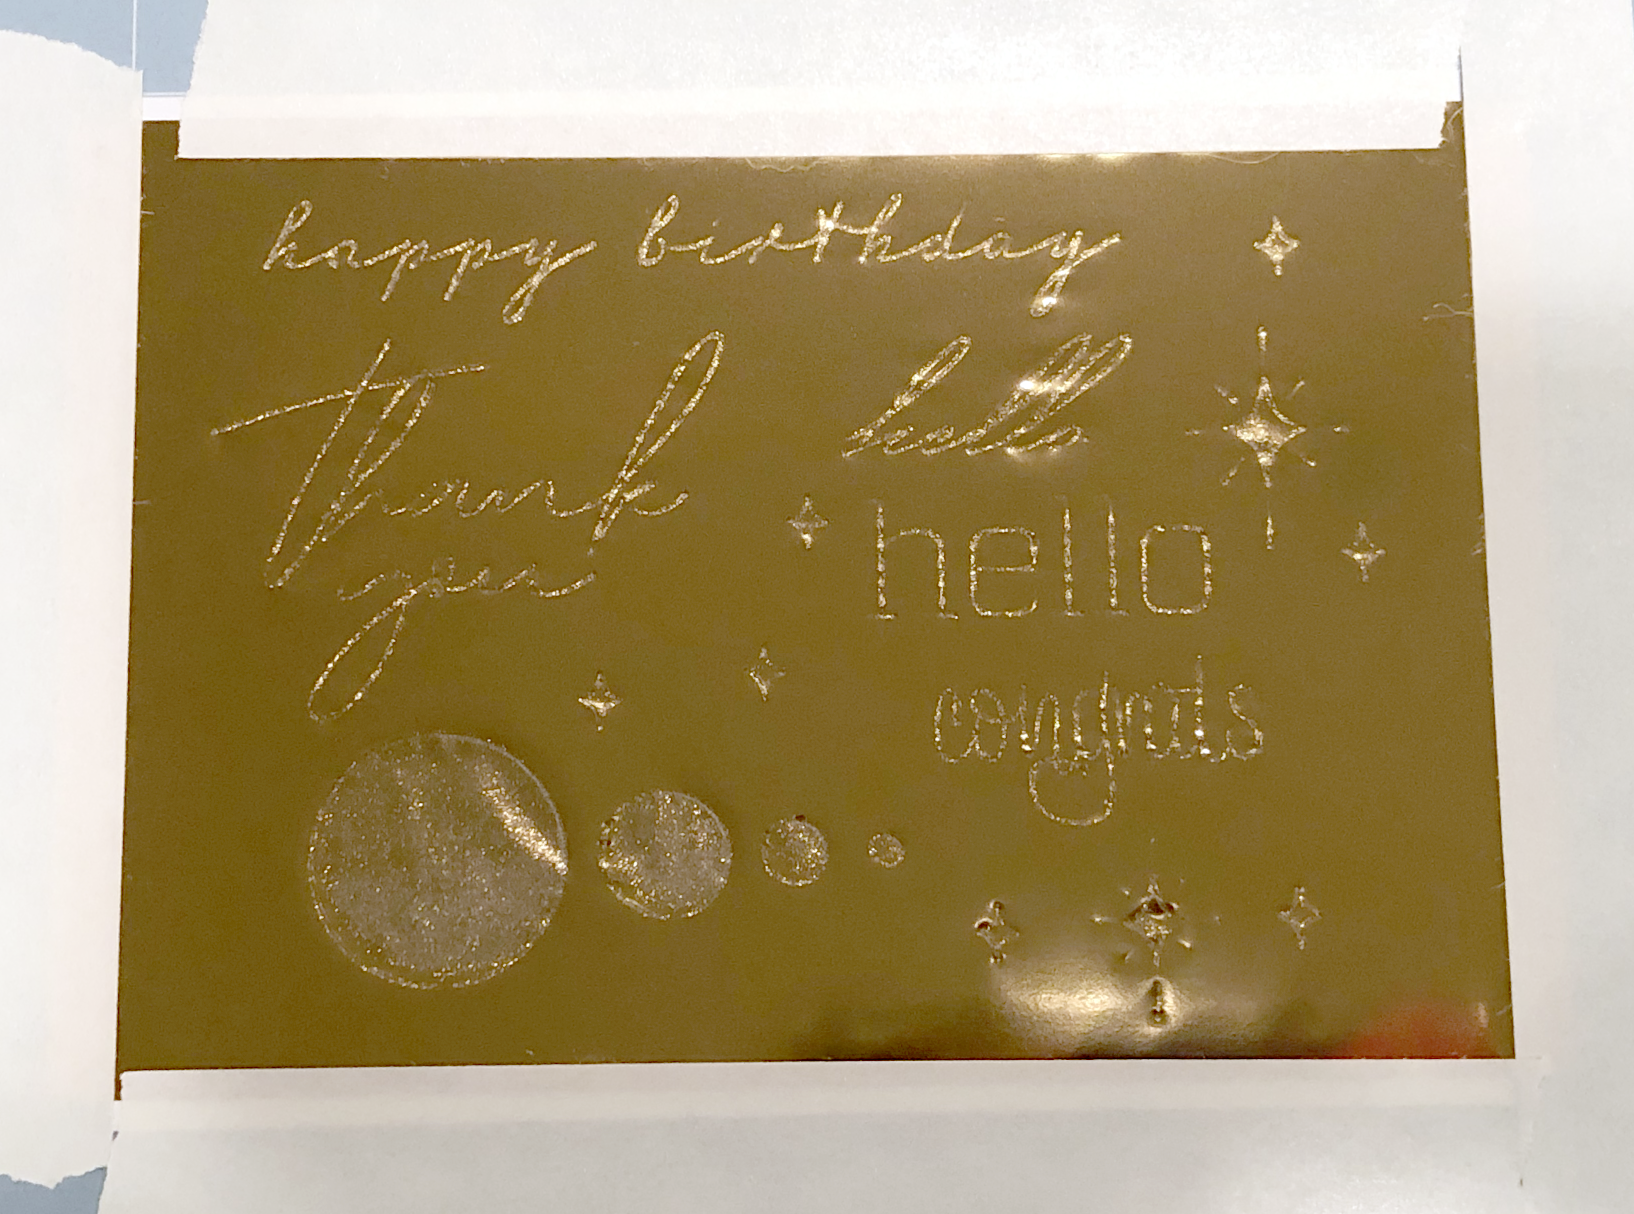
Filled Circles before cleaning up the edges

After cleaning up the edges with Washi tape.
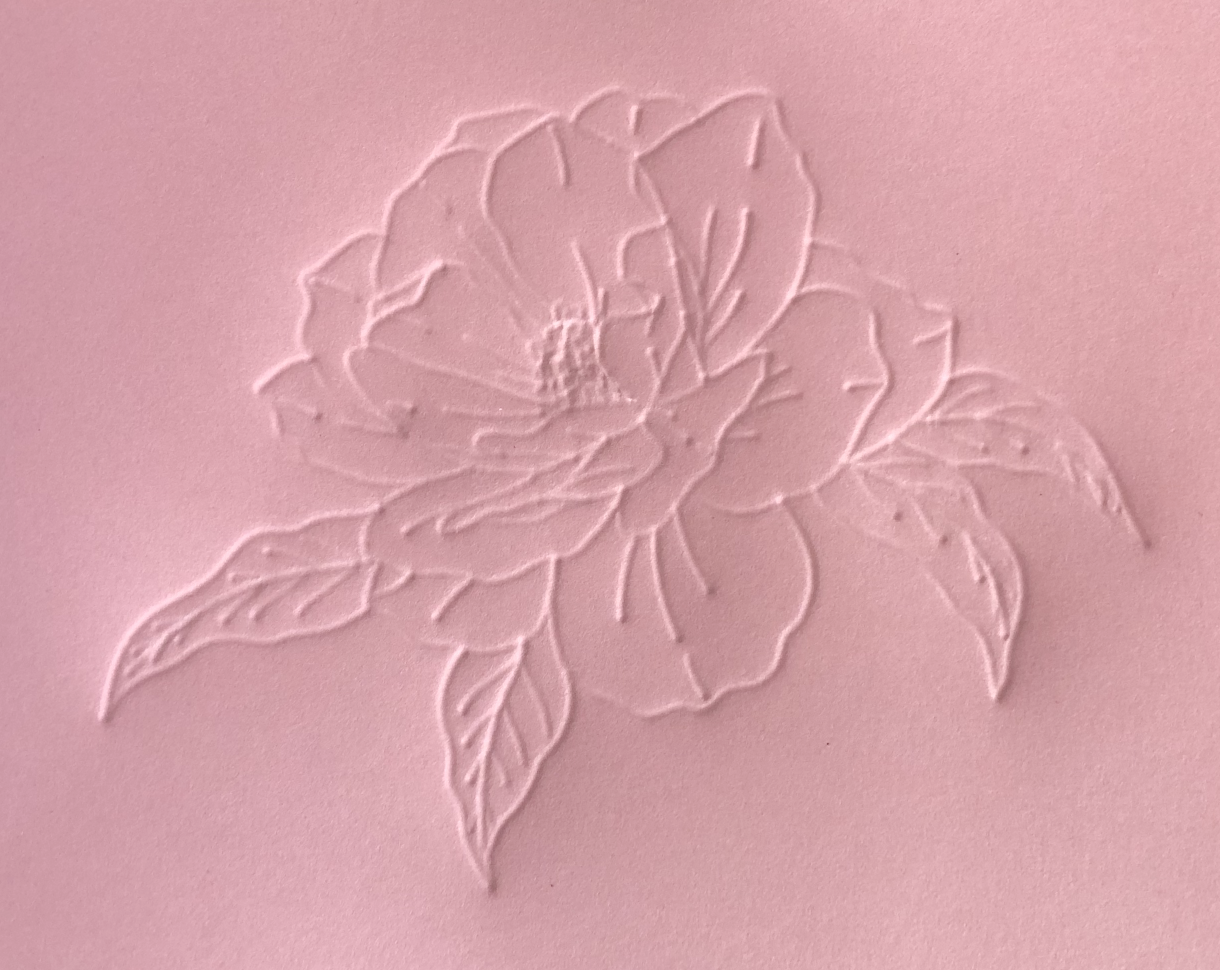
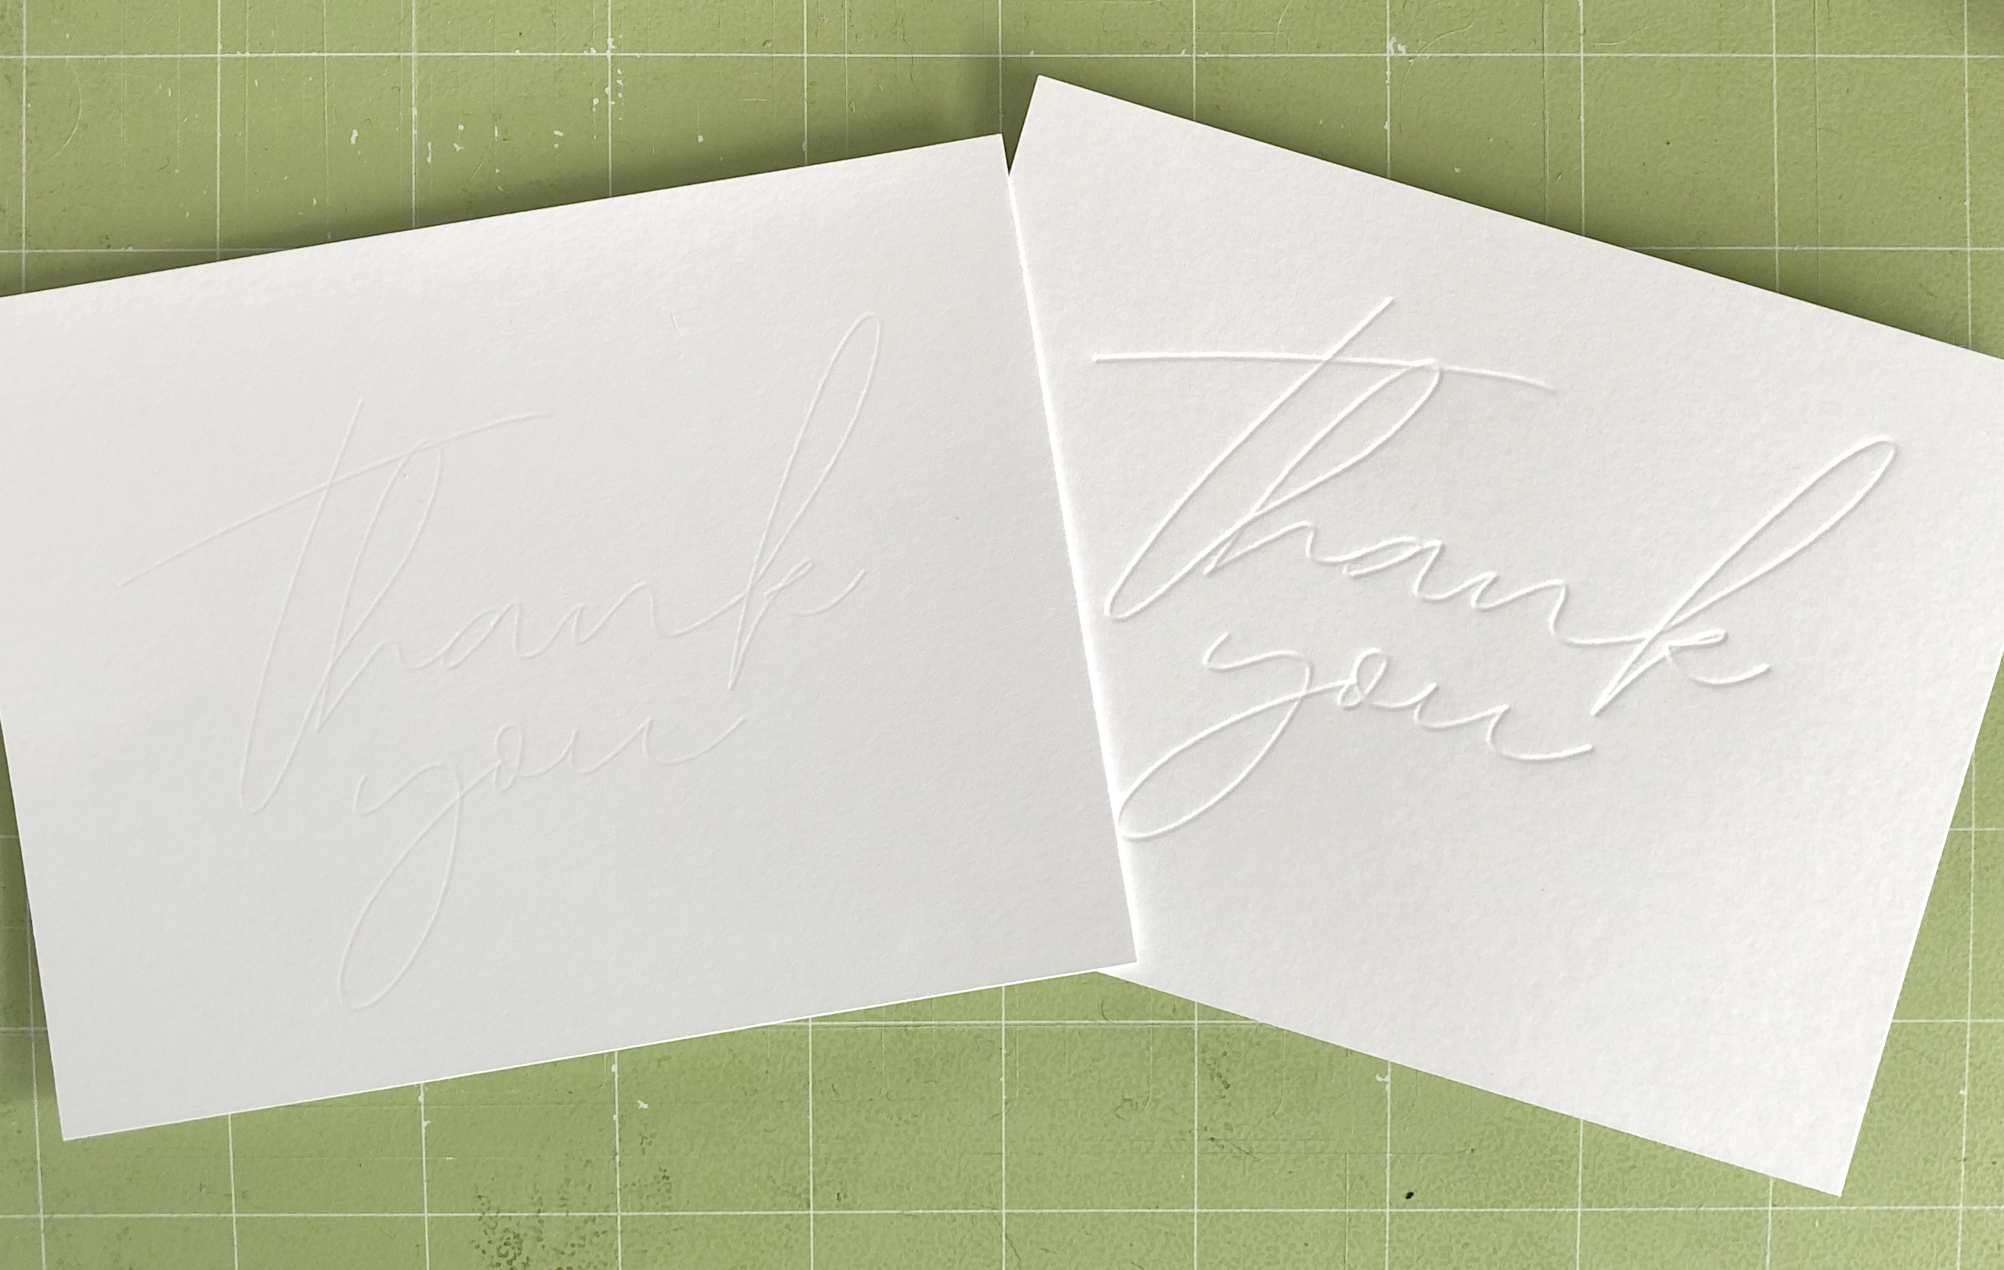
I tried the 100lb card stock setting with More pressure, that came out ok, the edges are not as clean as the default pressure.
Silhouette Foil, 100lb cardstock, More Pressure
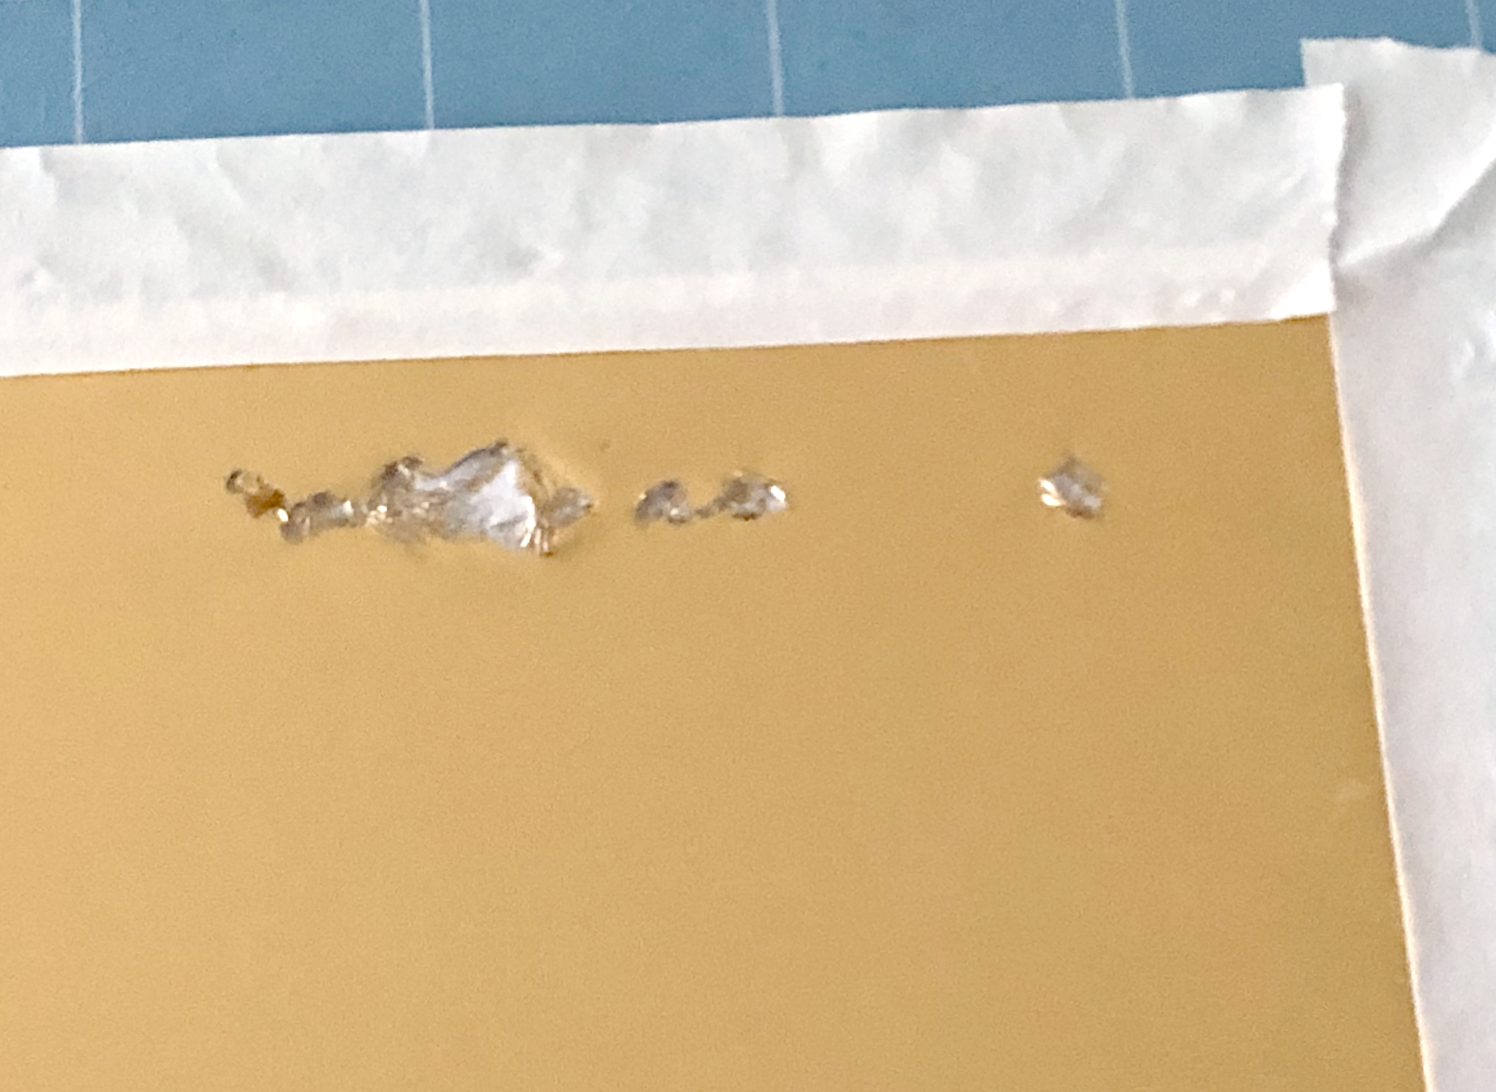
I also tried the Medium cardstock setting, Default pressure, just to compare the results. The foil did not stick at all!!
80lb cardstock setting, Default pressure
Overall, I think I like the results with the 100lb cardstock, default pressure the best. The lettering is OK, but it would not be suitable for really small text. I don’t think this would be a great option for very detailed, intricate designs either. It worked really well with the filled circles, so this could be a good option for filled shapes or thicker solid stripes.
It’s another foiling technique you can use if you work primarily with the Cricut App, or you don’t want to purchase the Foil Transfer tool or the Foil Quill.
I just got my Silhouette Portrait 3 machine, so I’m excited to try the Silhouette foil with that in the future!