Links in the article below may be affiliate links.

Hi Everyone!
My Cricut Design Space on my laptop has been very finicky this week, I was trying to do a project with the foil transfer tool and my Design Space became really slow and I couldn’t click on anything once I pressed the “Make It” button. Super frustrating!
The Cricut app on my iPad, however, works just fine. The only thing is, I can’t use the foil transfer tool with the app, again super frustrating.
So I decided to try out my Cricut Scoring Stylus with the same Silhouette foil transfer sheets from last week, and here are my results…
Foiling on 100lb Cardstock with the Cricut Stylus
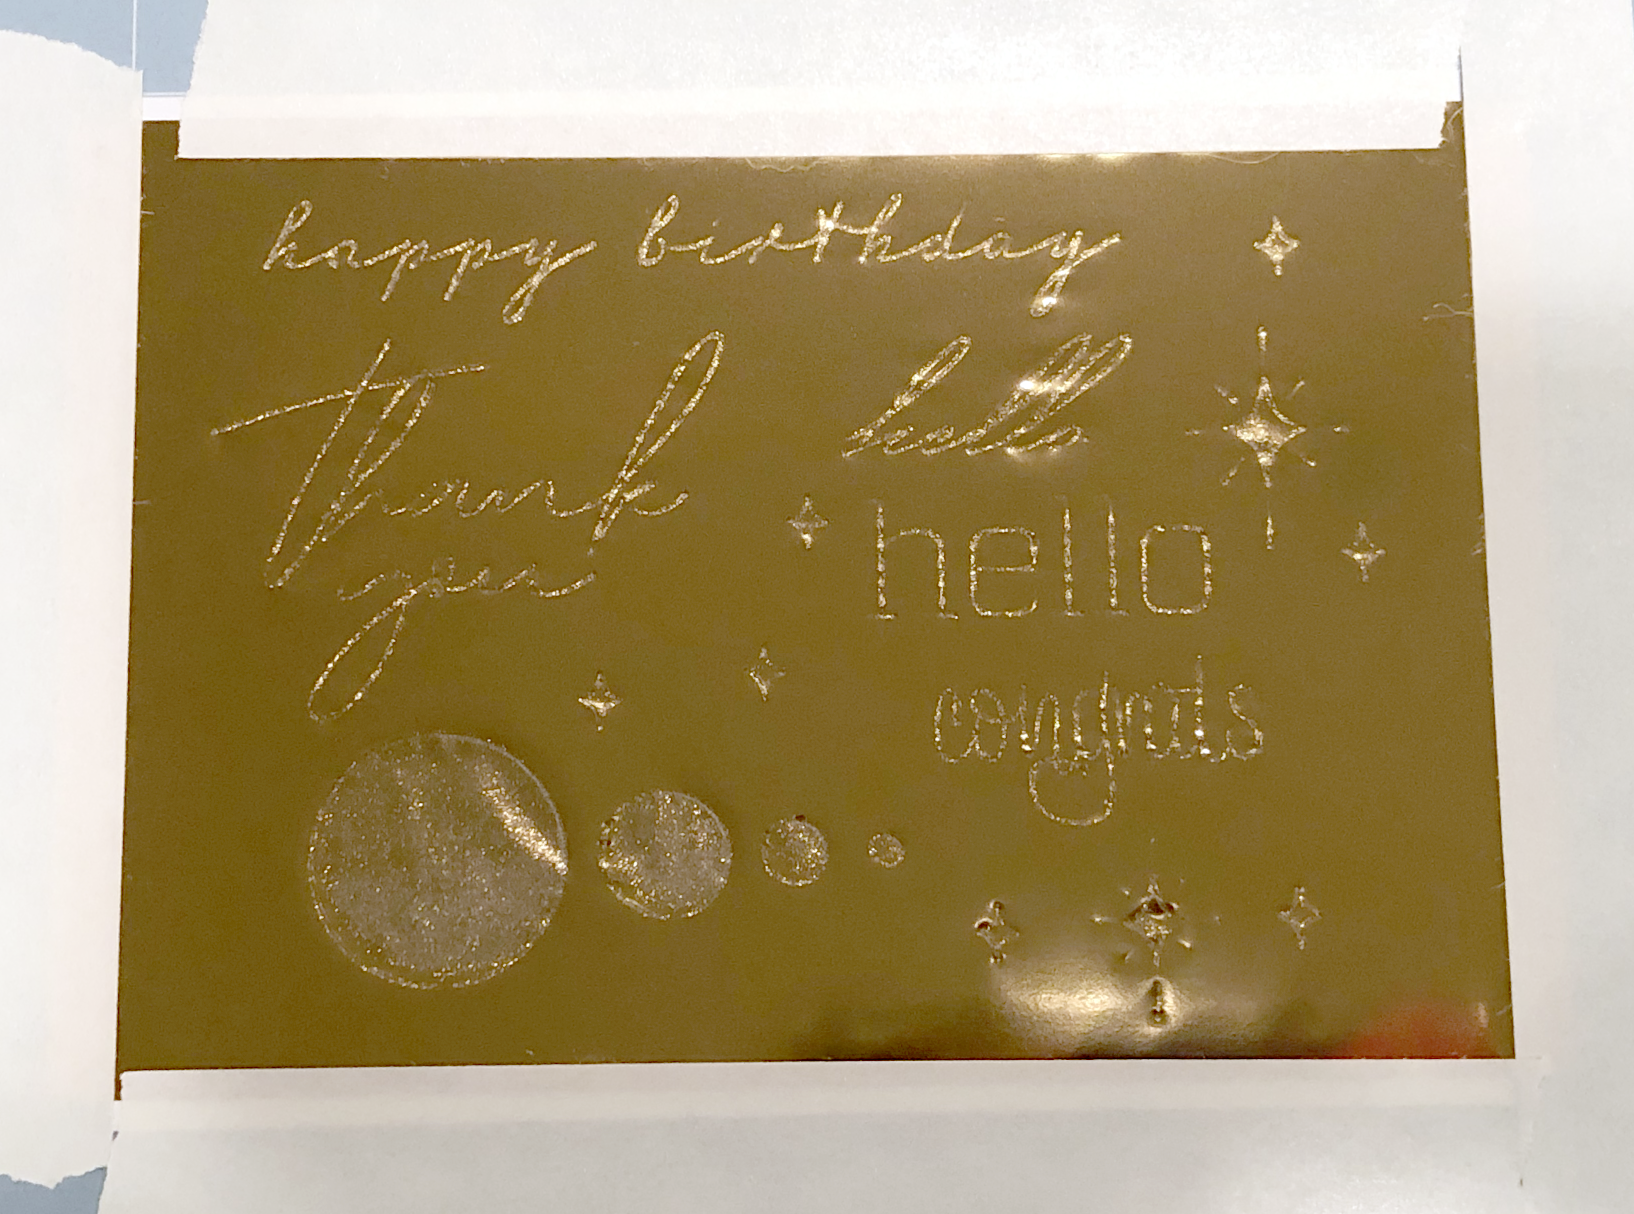
I decided to start out with some black 100lb cardstock. Side note: I don’t really like this cardstock and I’m trying to use it up. So far the only foil I can get consistent results with on the cardstock is the We R Memory Keepers Foil with the Foil Quill. The Cricut foil will stick in some places, but not others and becomes very glittery/ powdery. Certain foil colors work better than others. I think the surface of this cardstock might be too smooth. Anyway, I don’t recommend the brand in my link.
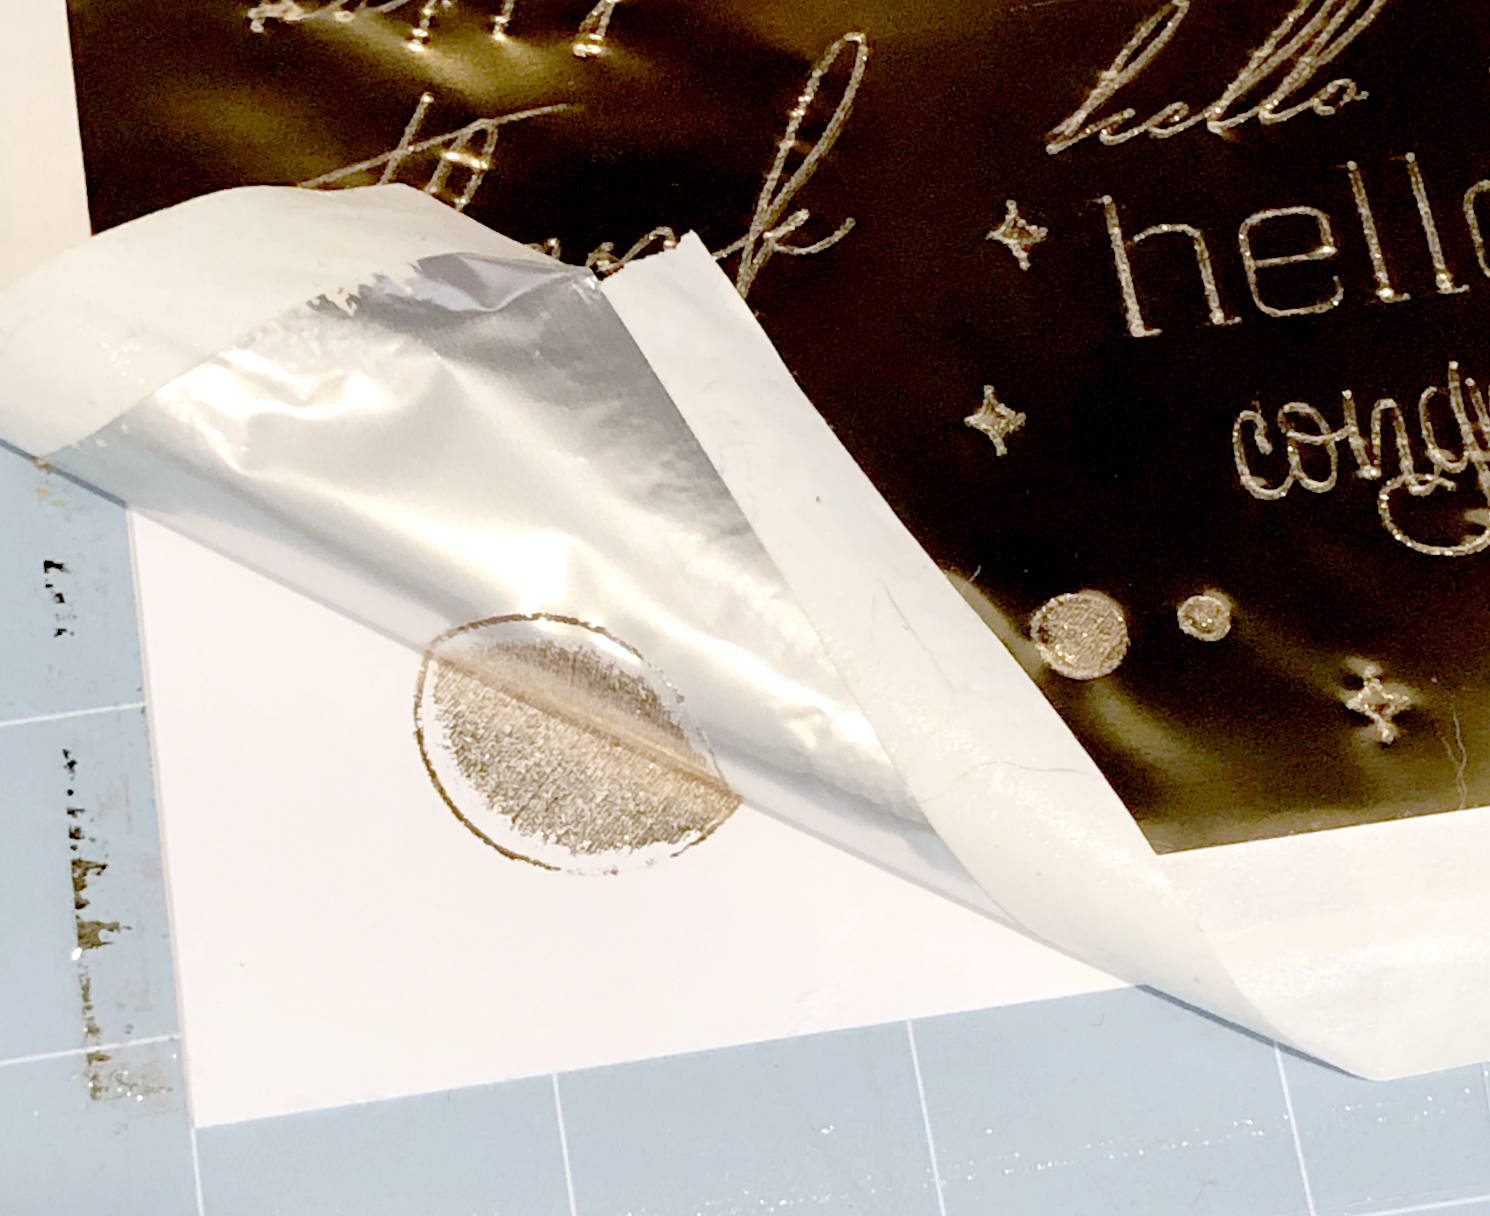
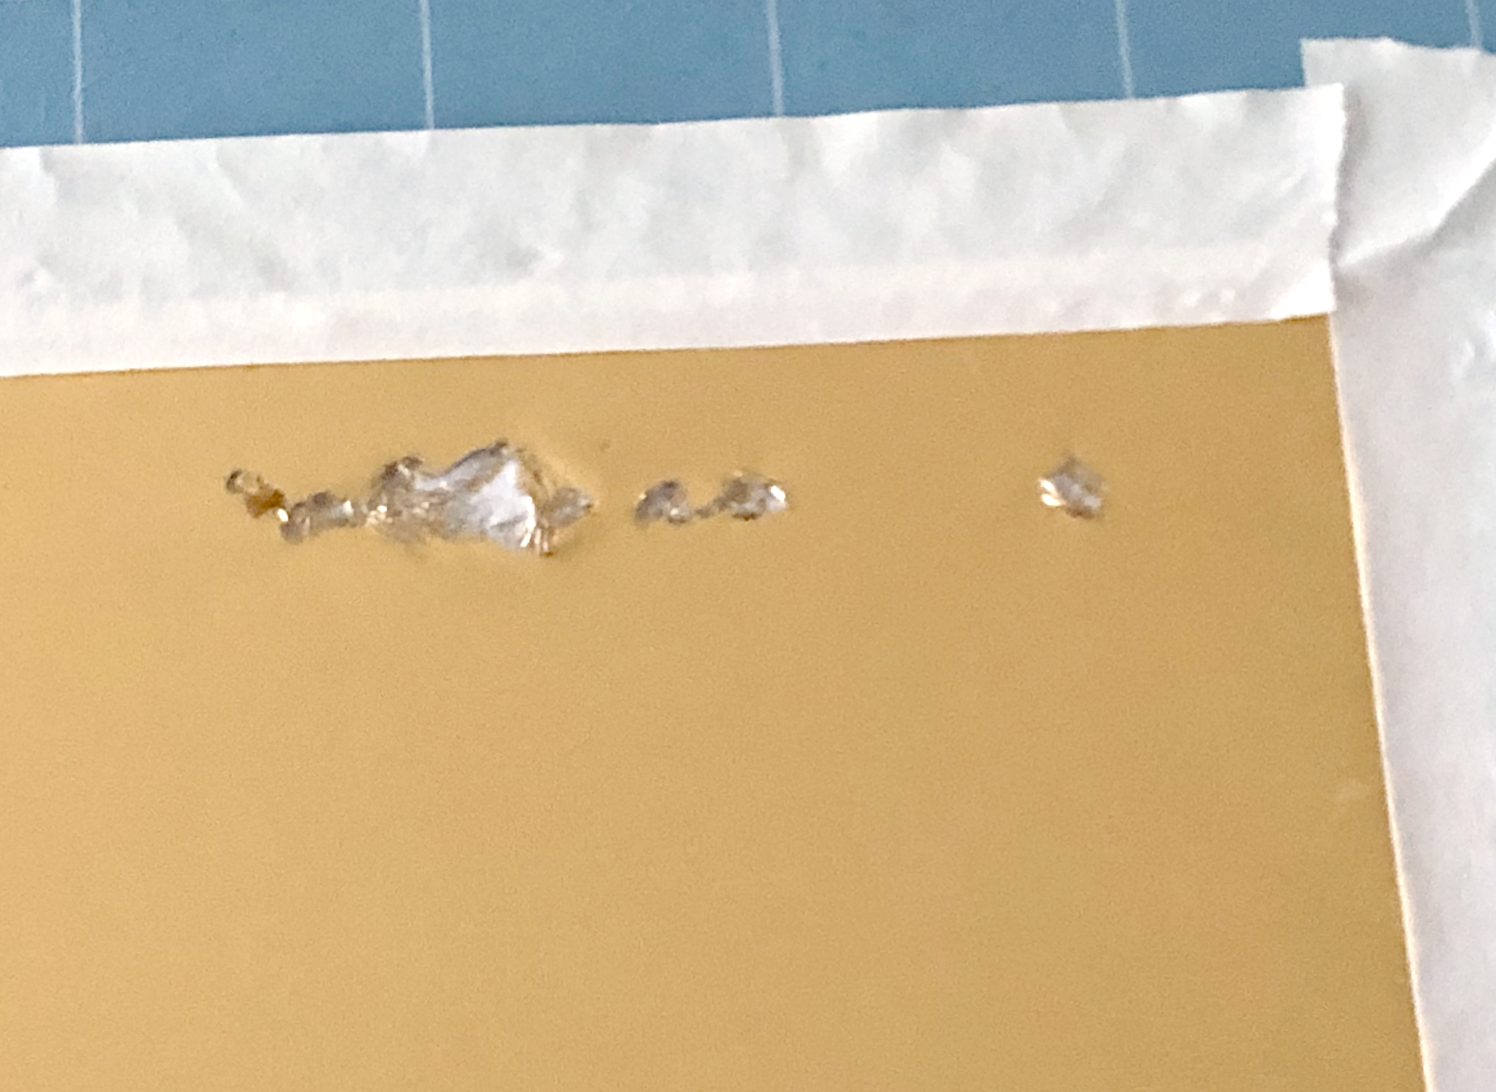
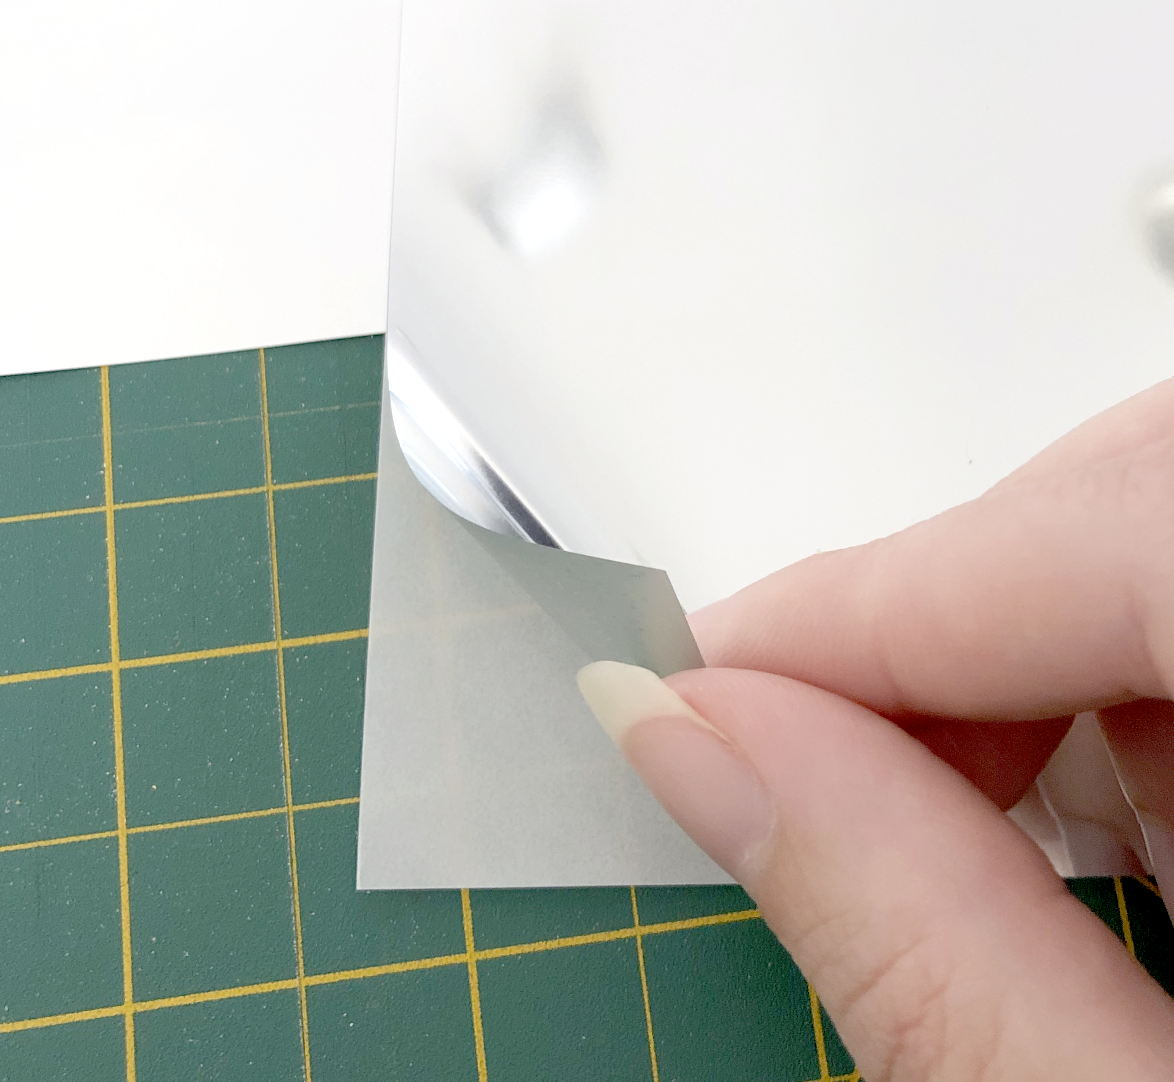
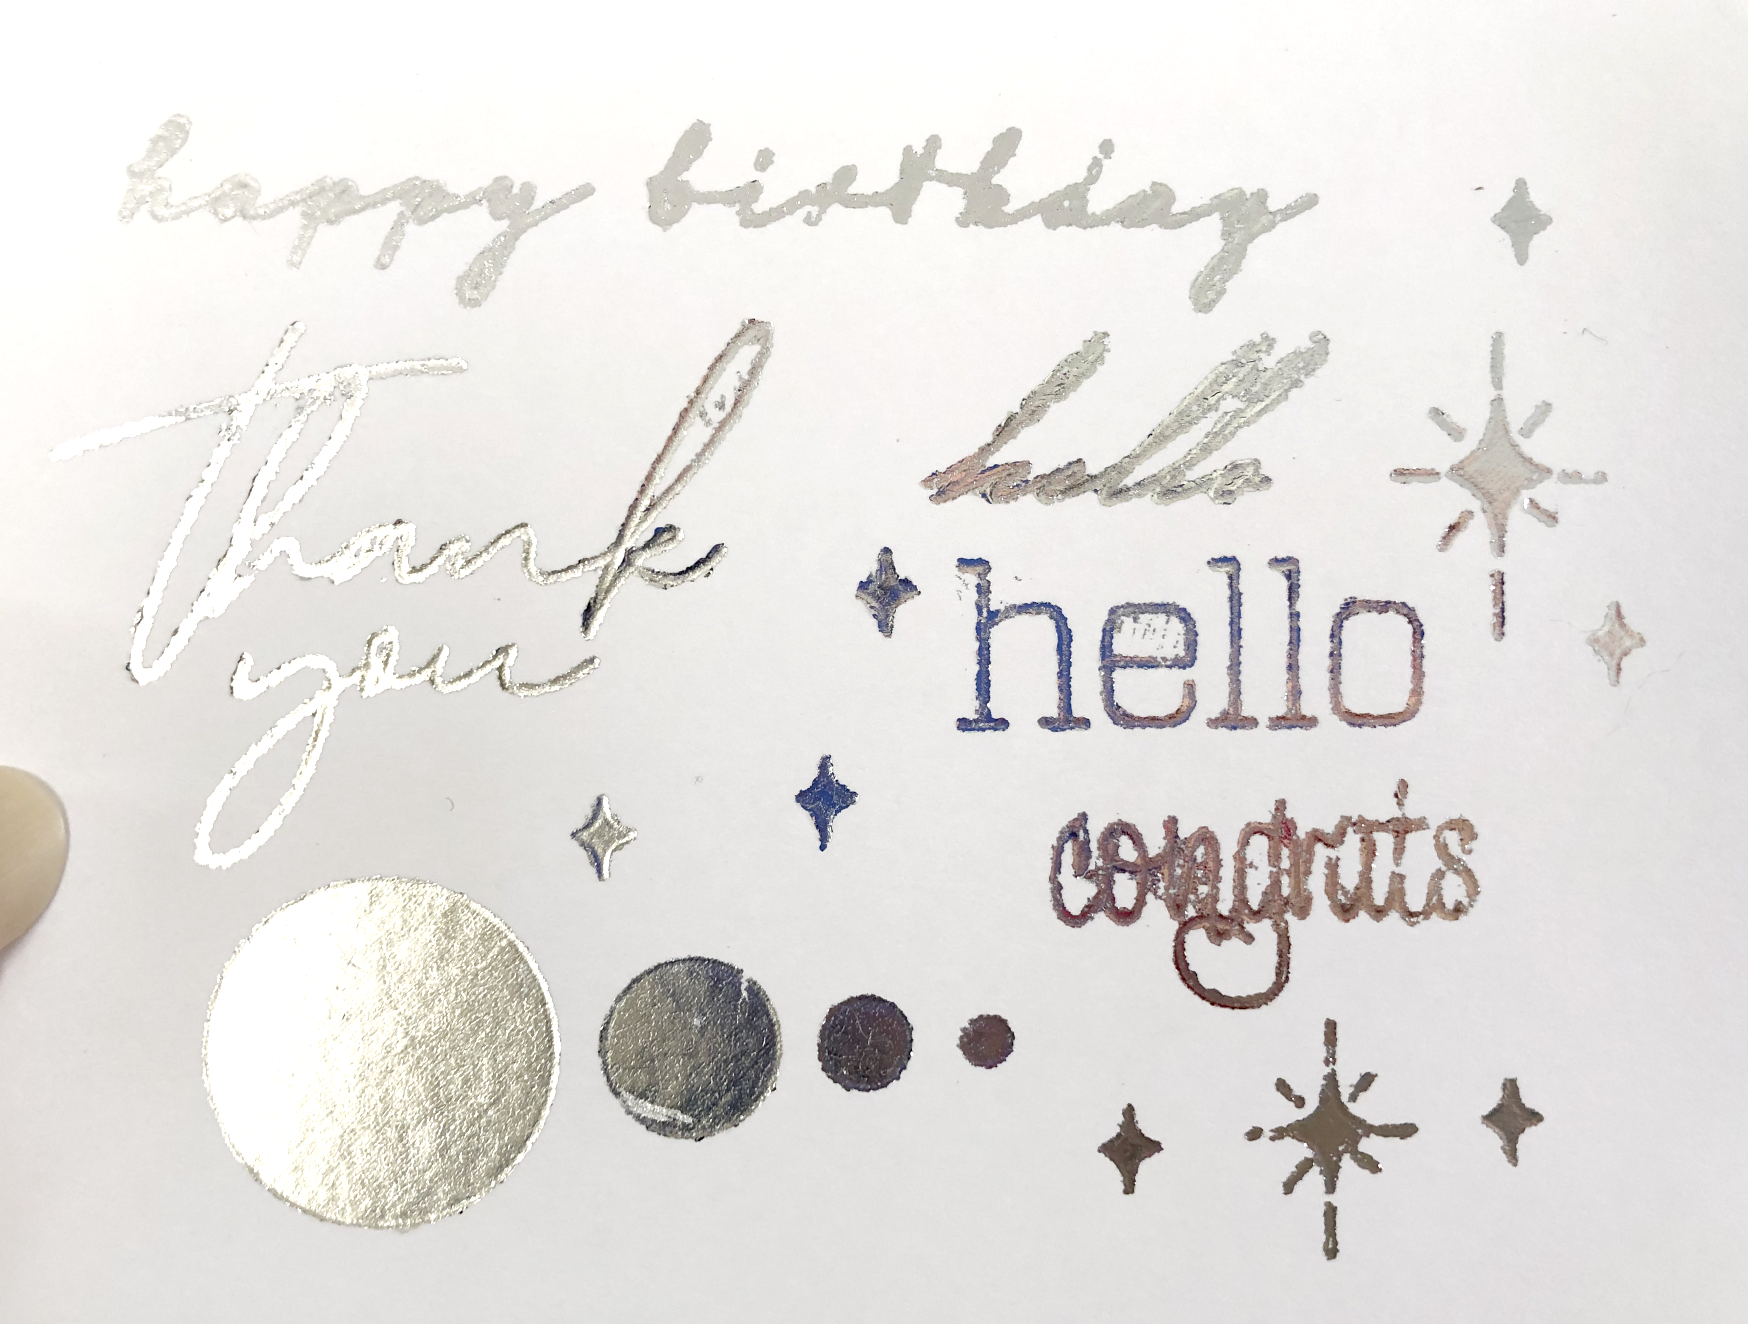
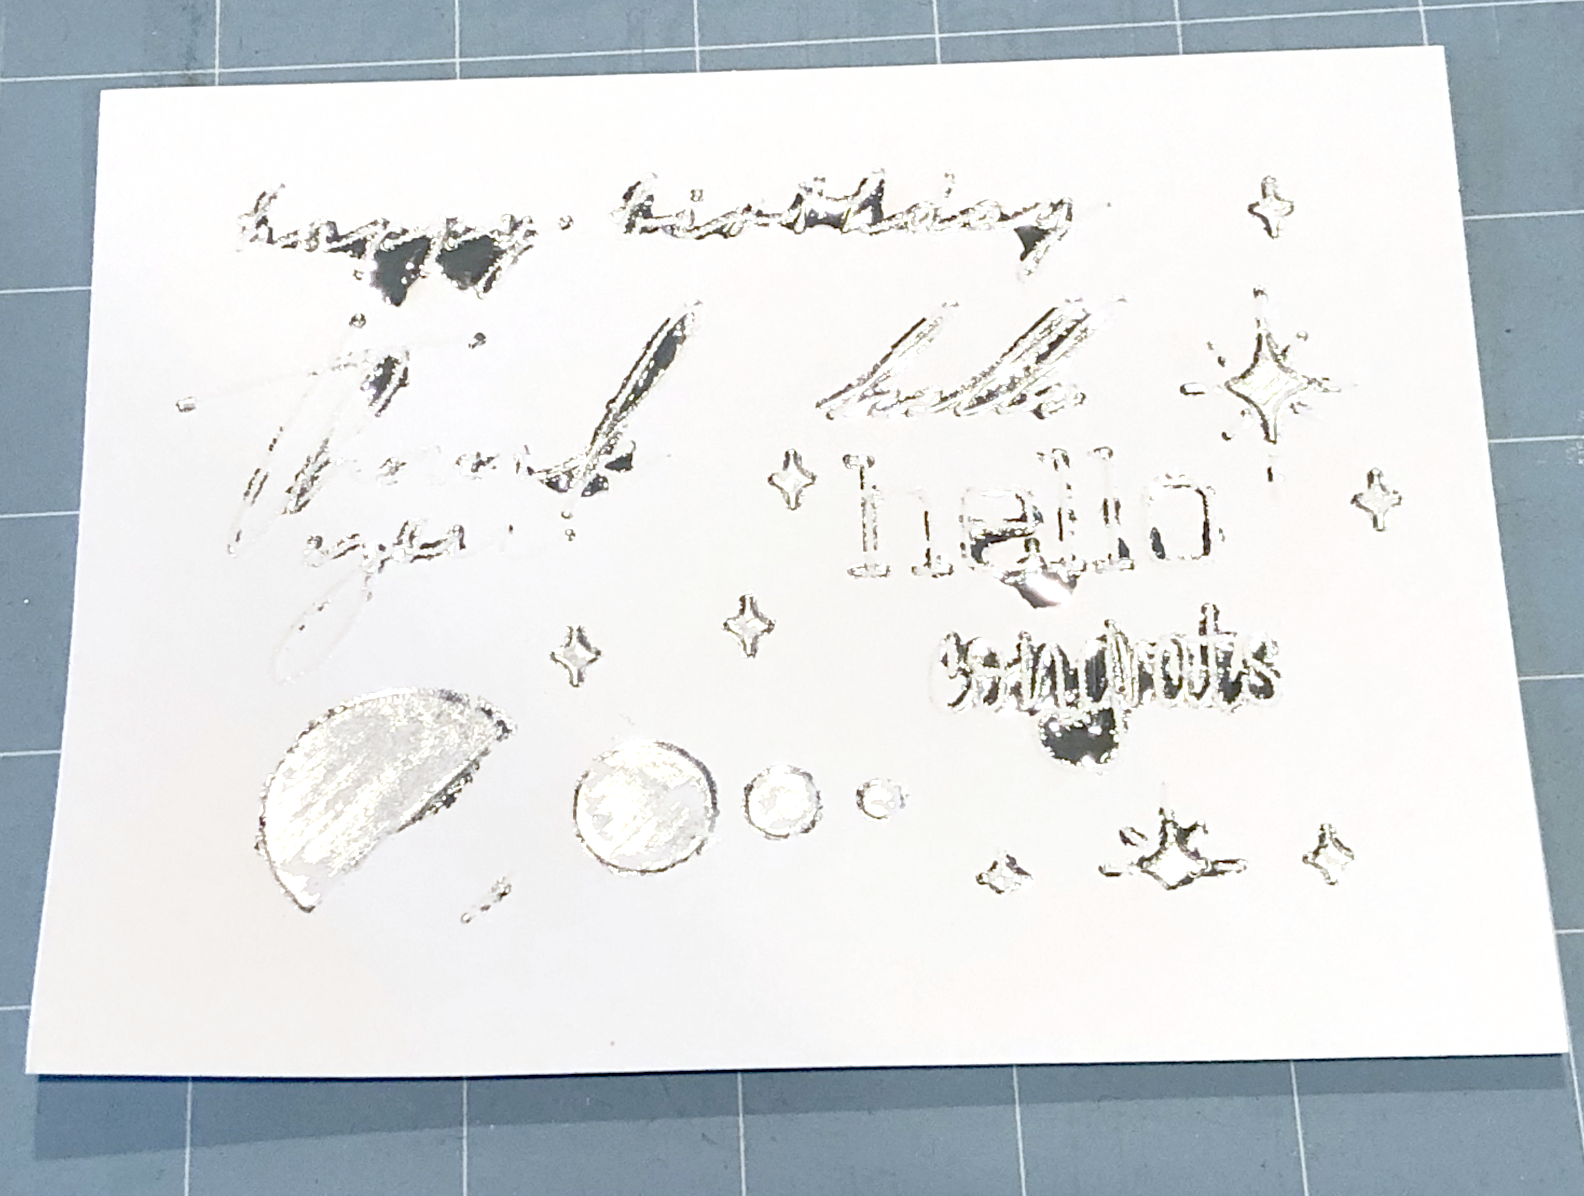
Initially it looked promising before I removed the foil.
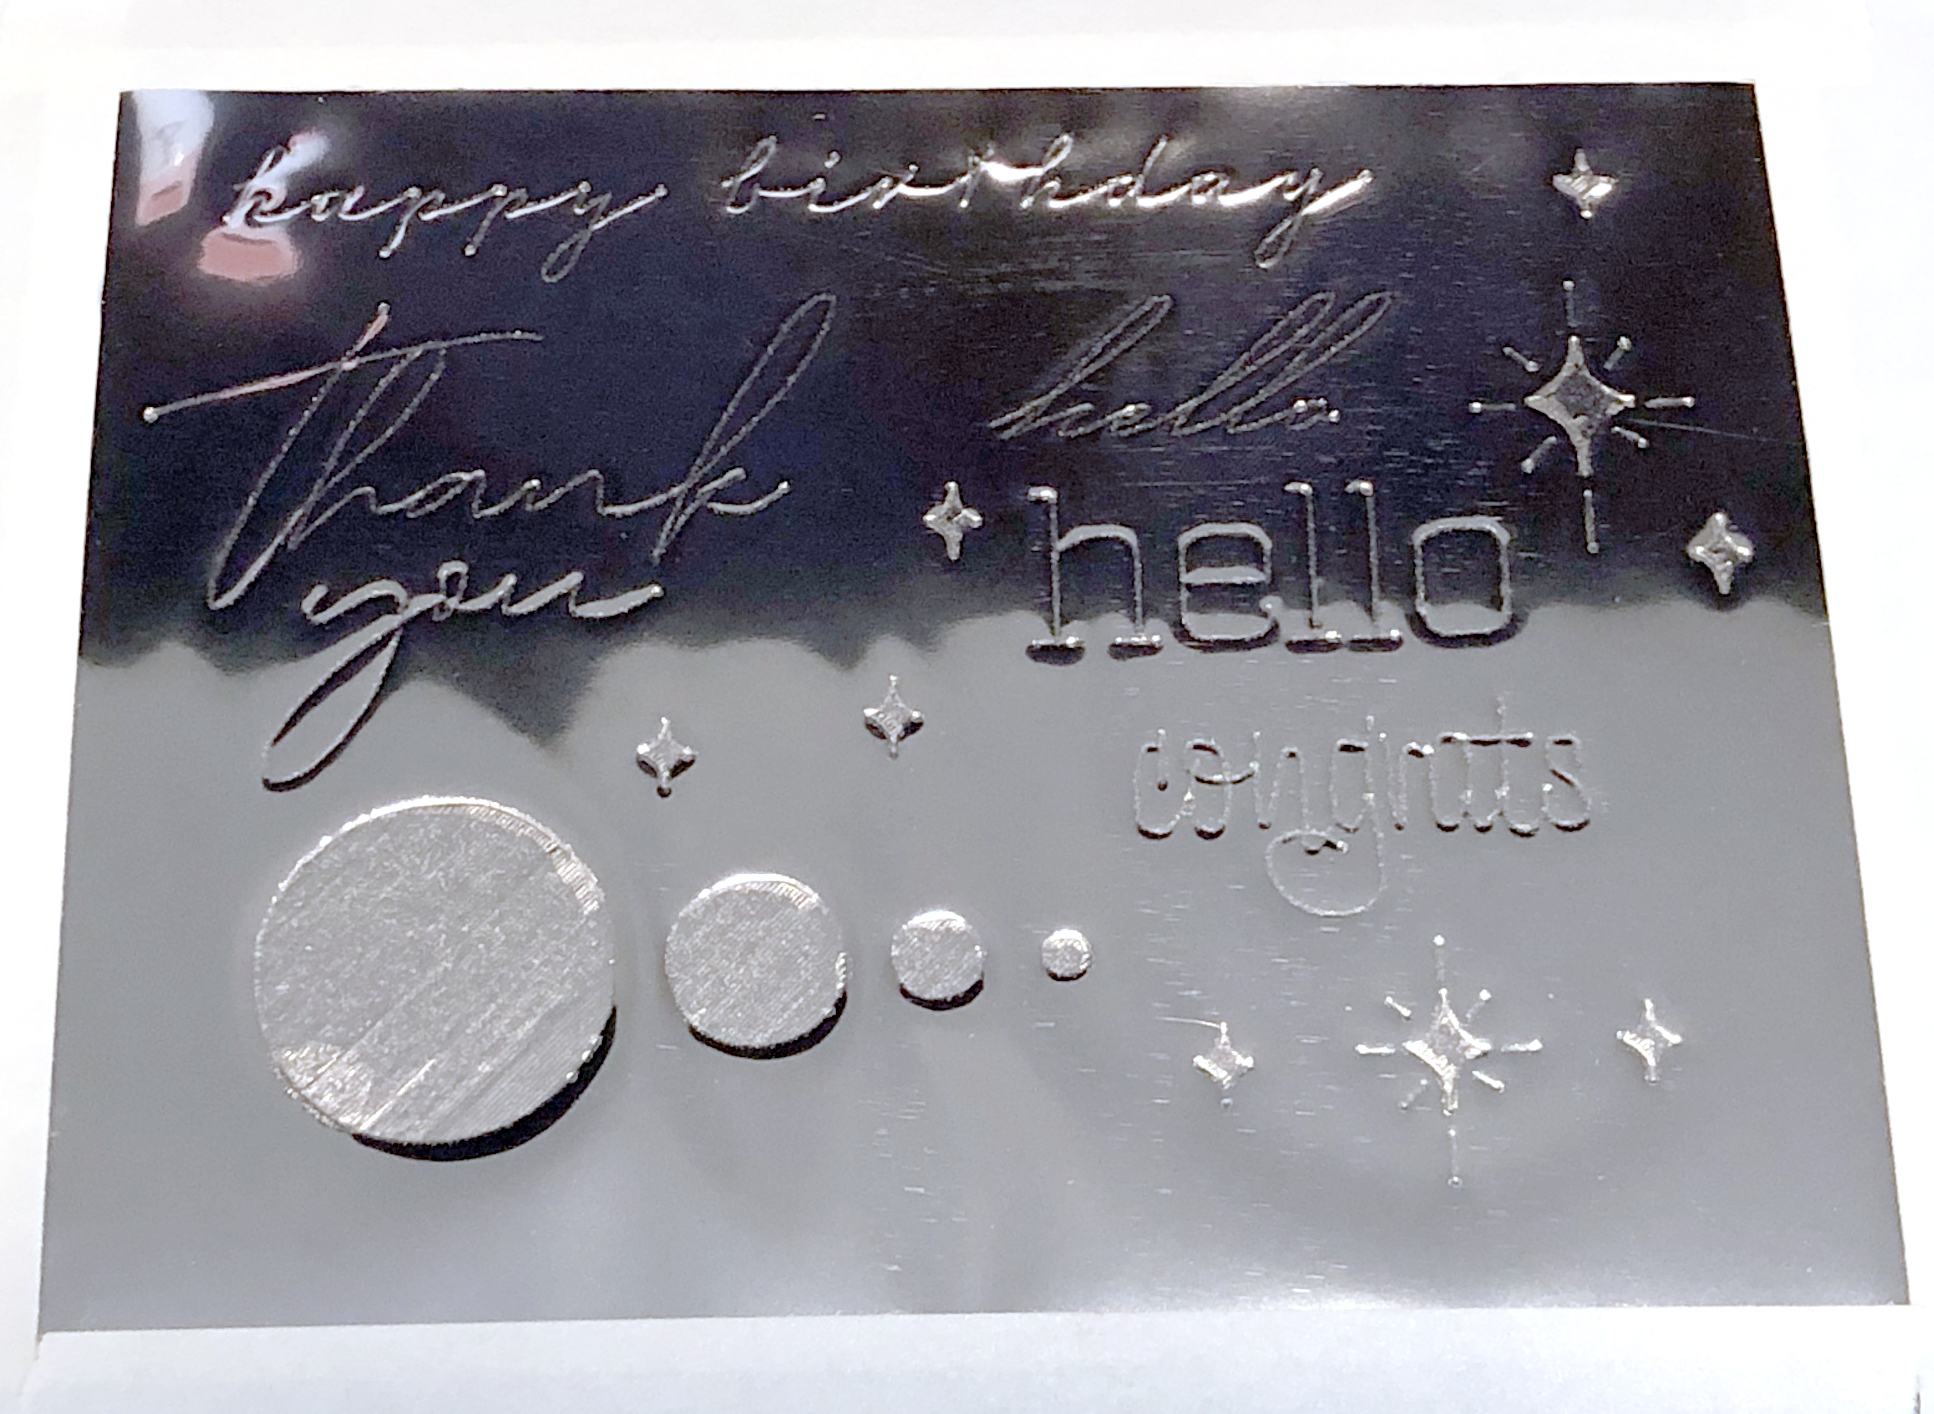
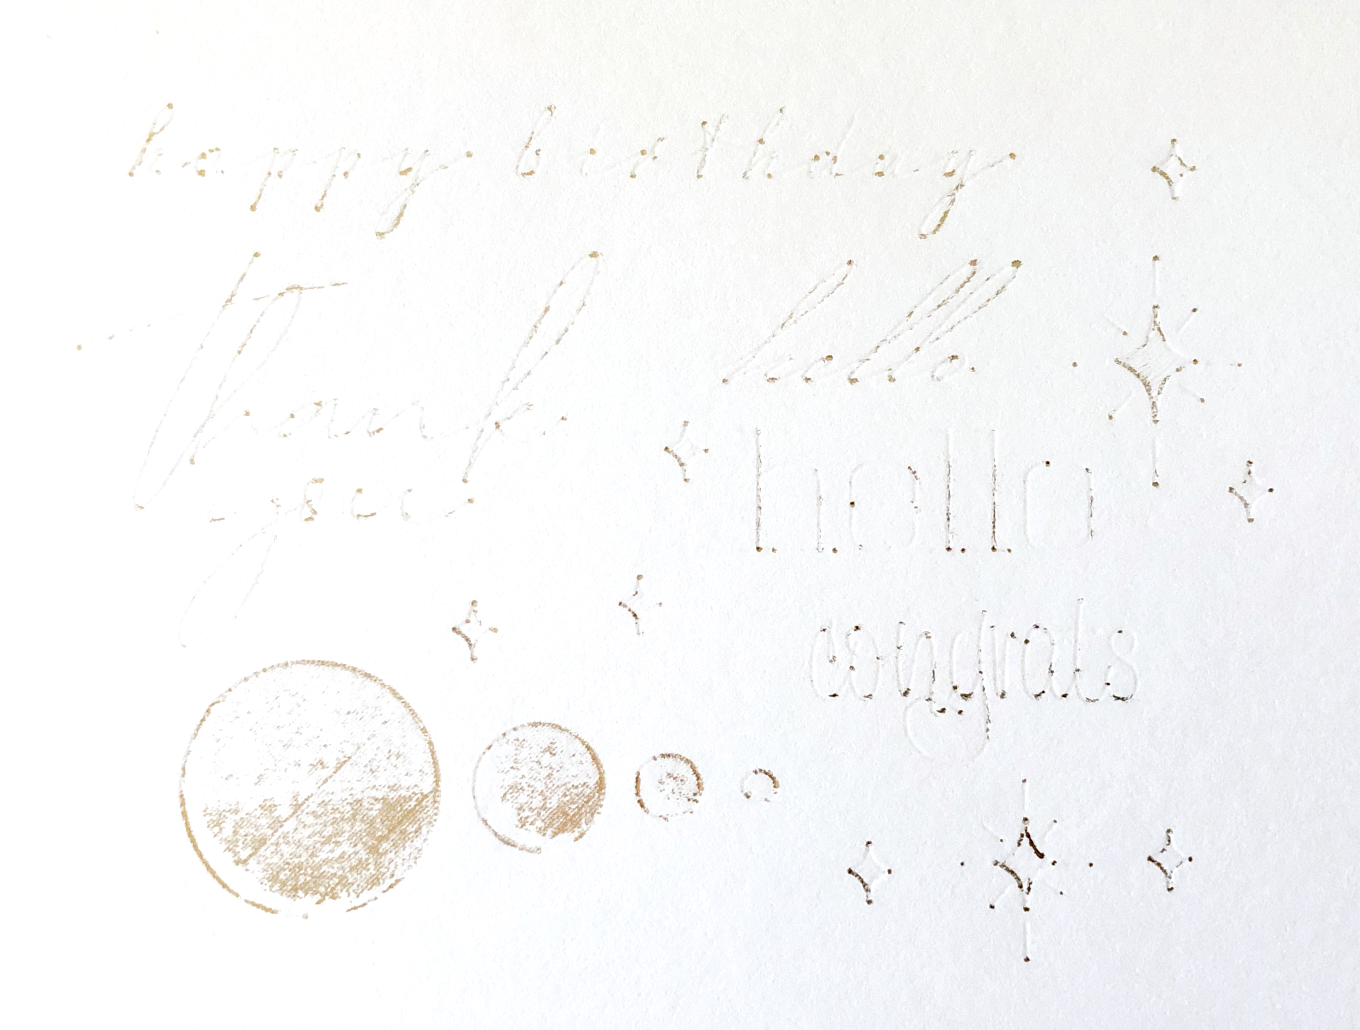
But after removing the foil, sadly, no good.
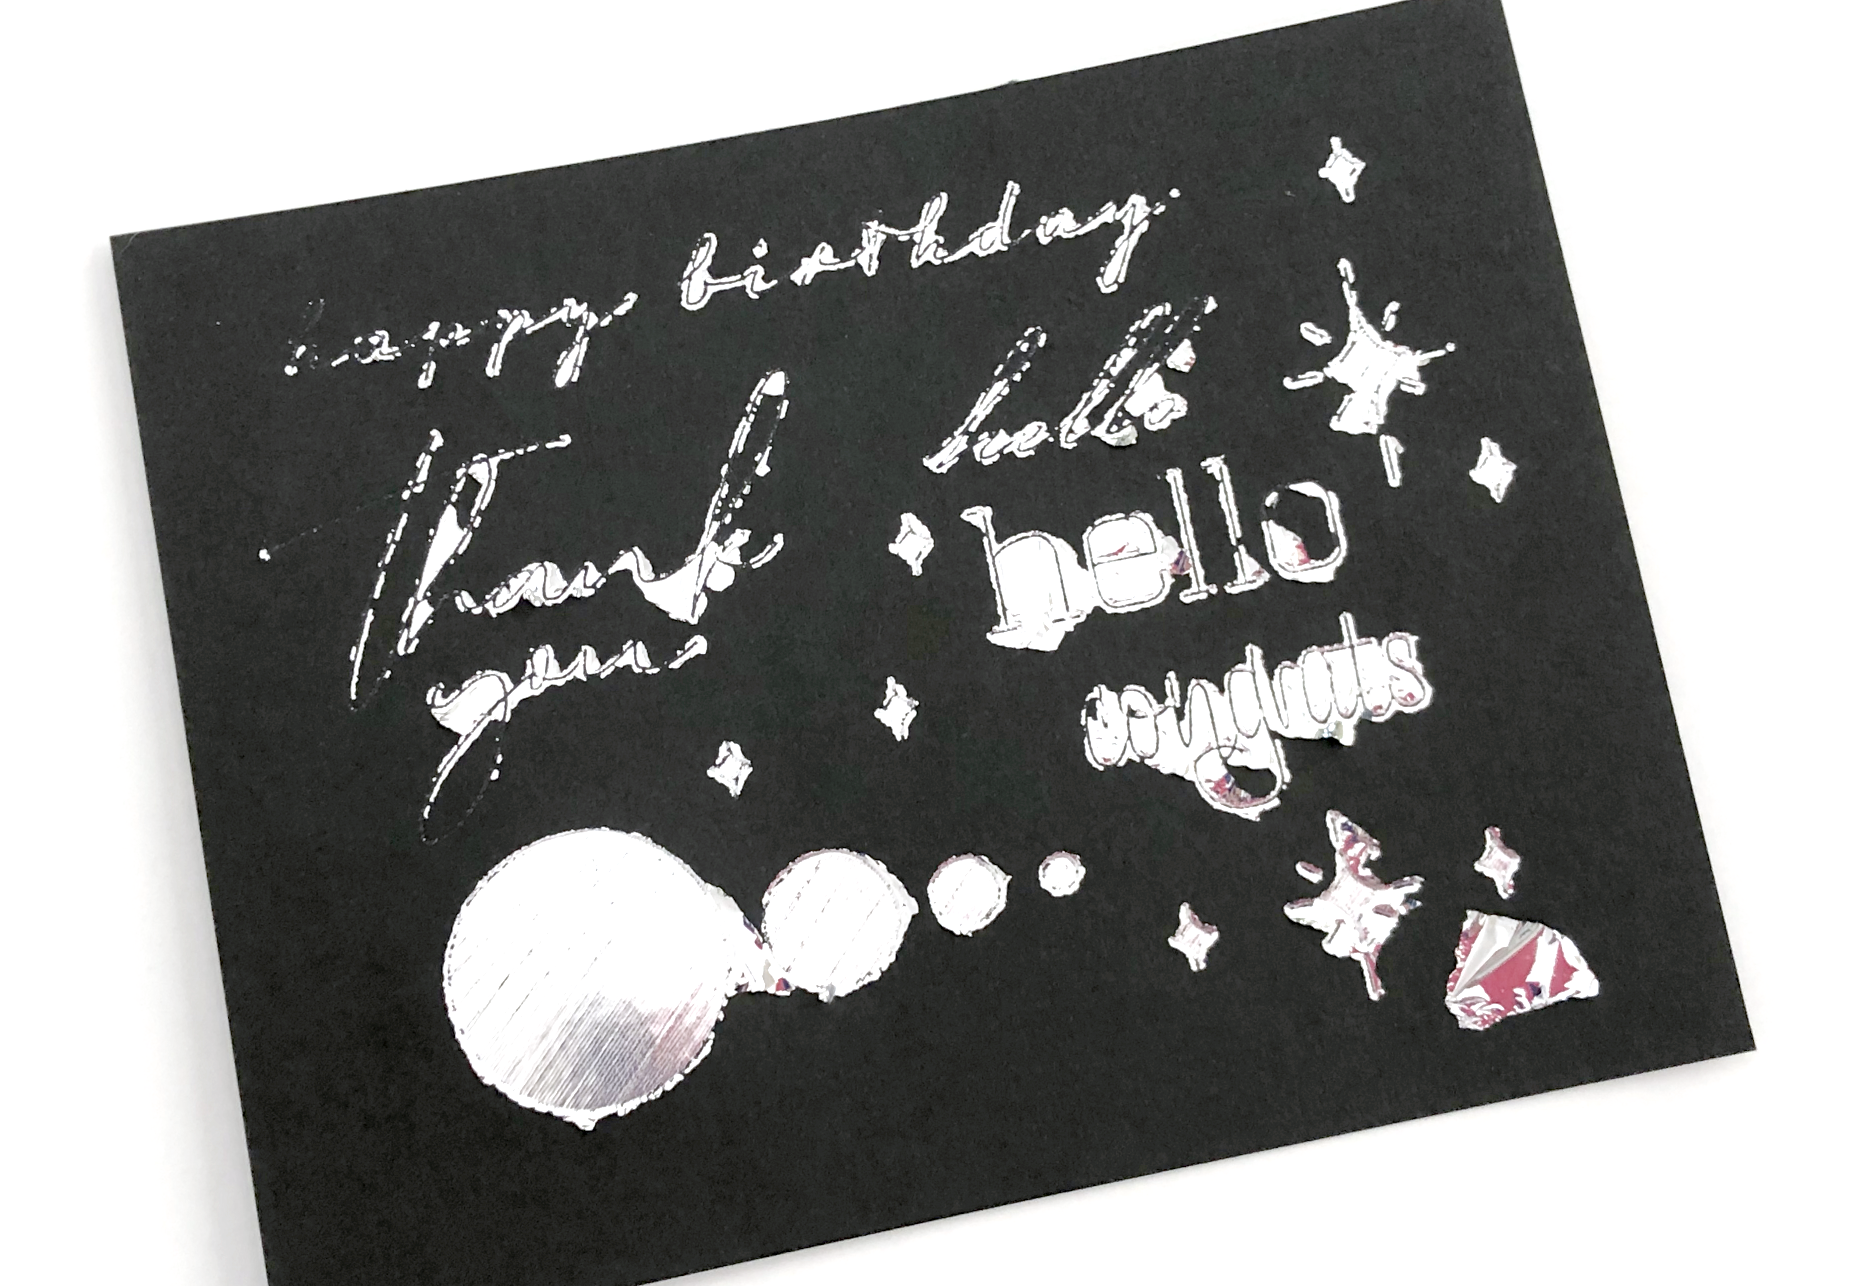
The foil did not stick in the middle of the letters, so they look kind of outlined.
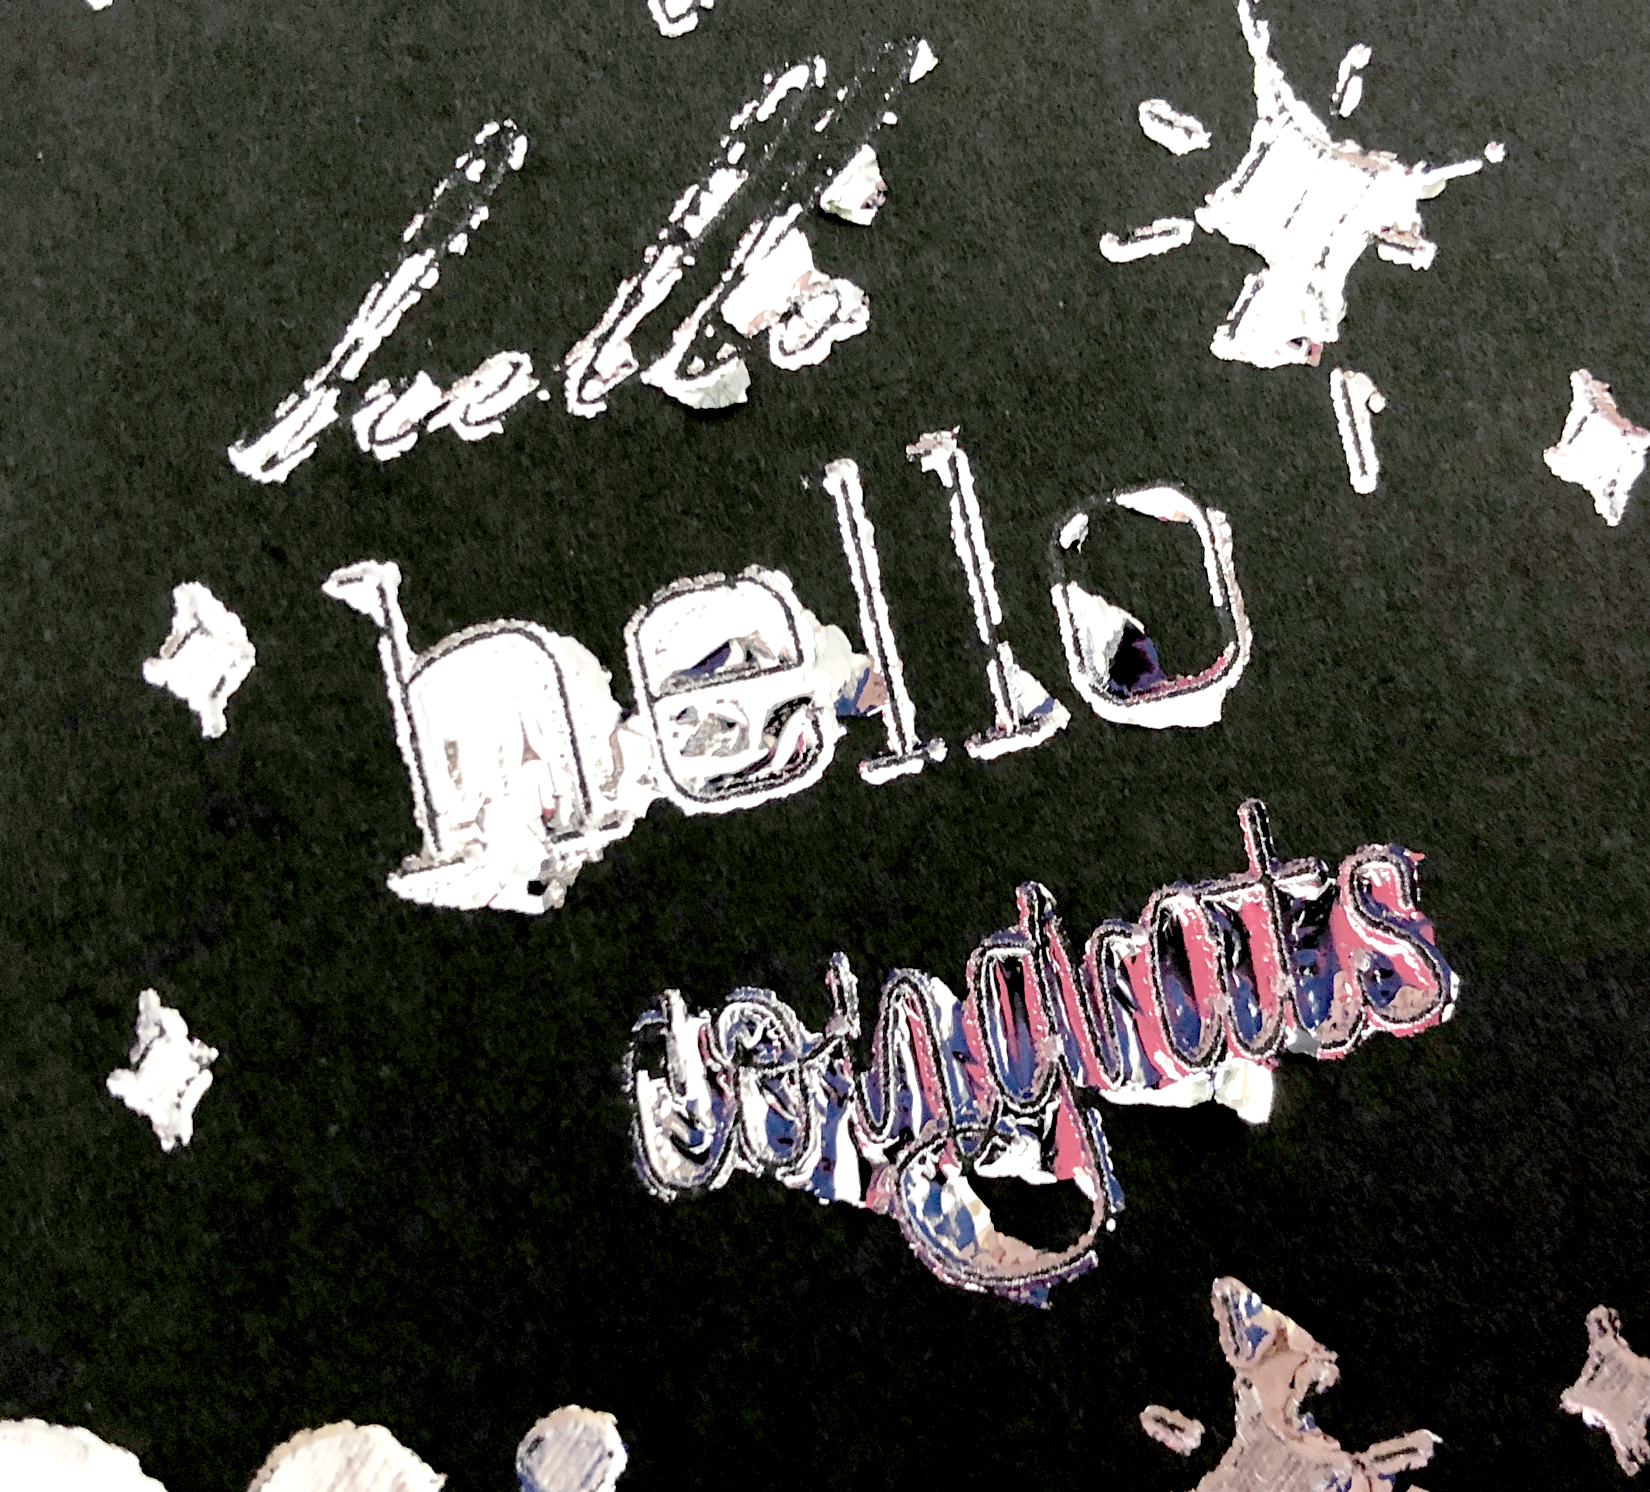
The centers of the letters are still on the foil transfer sheet!
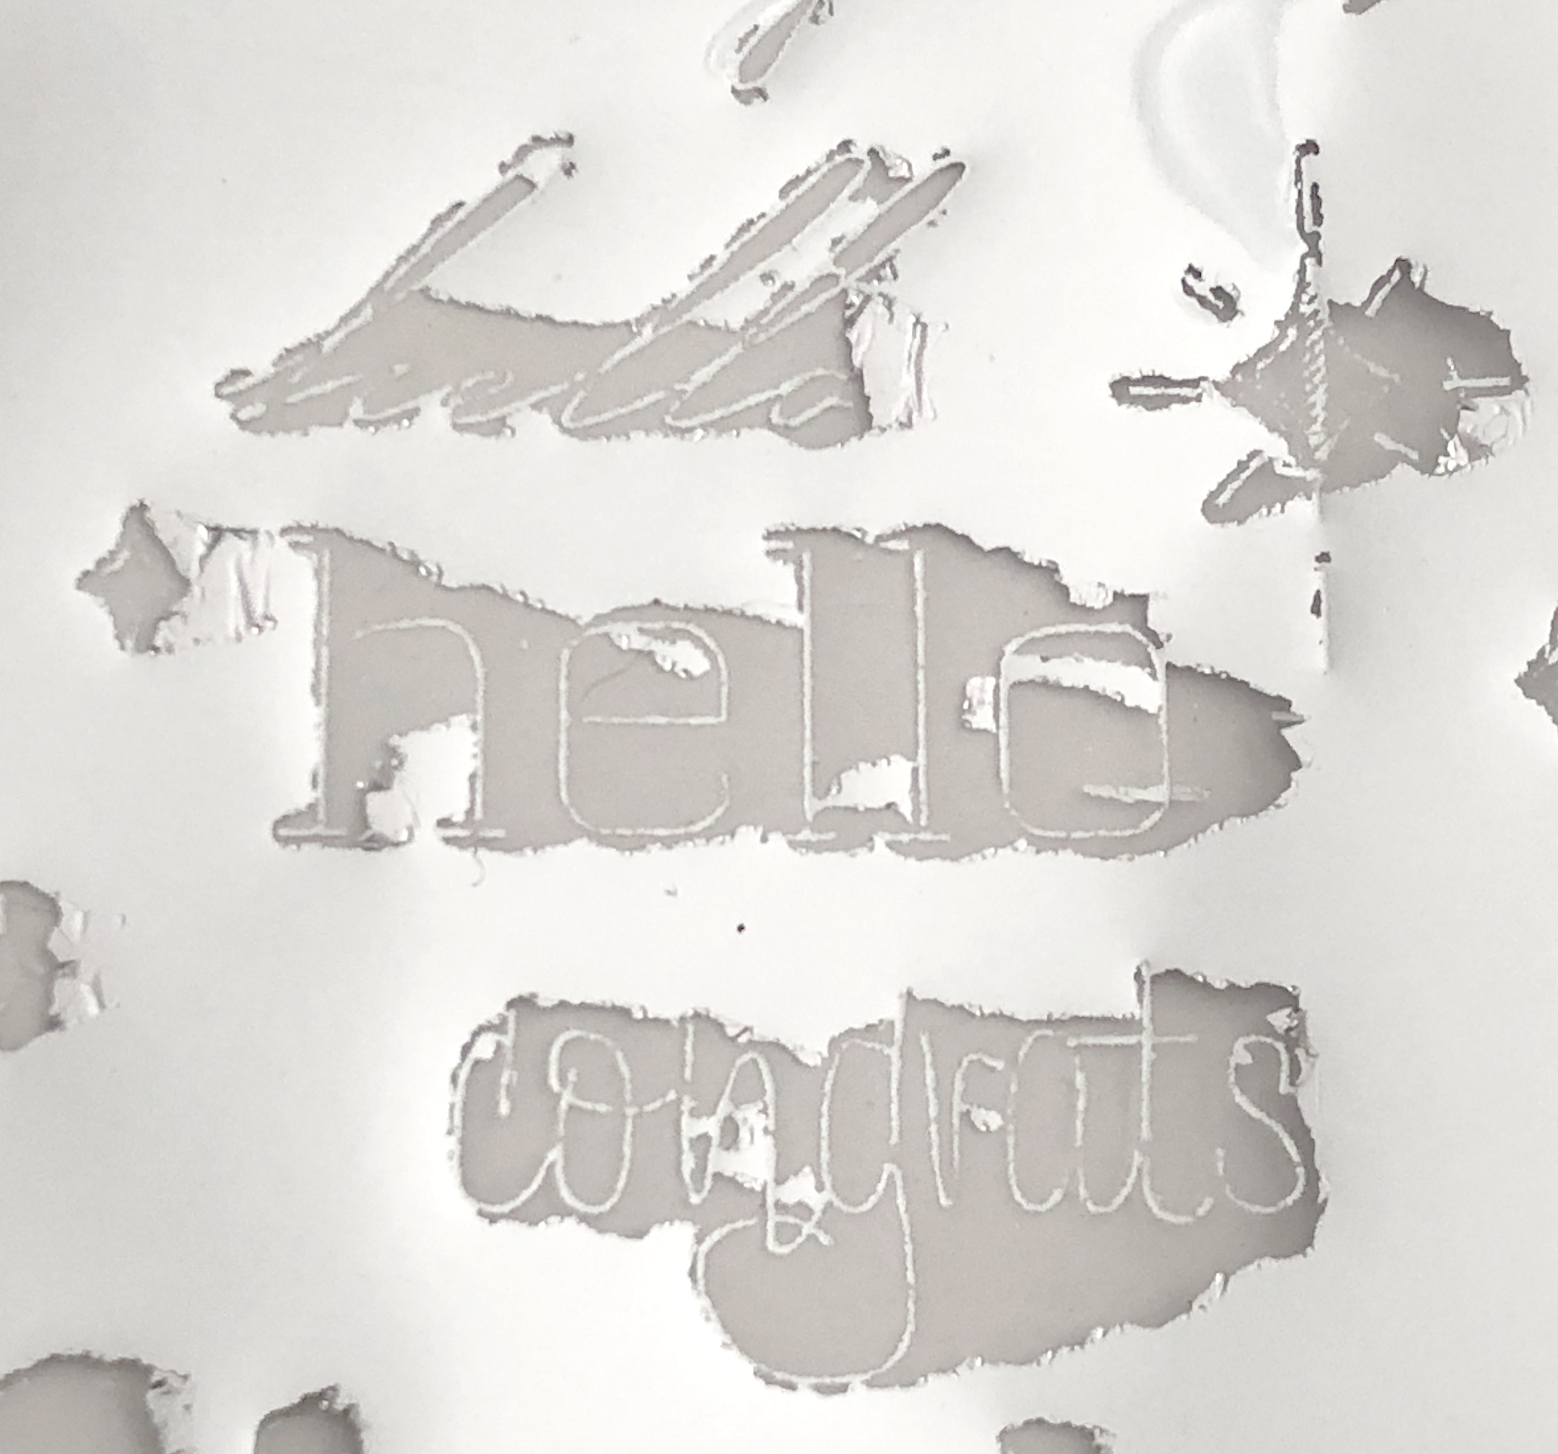
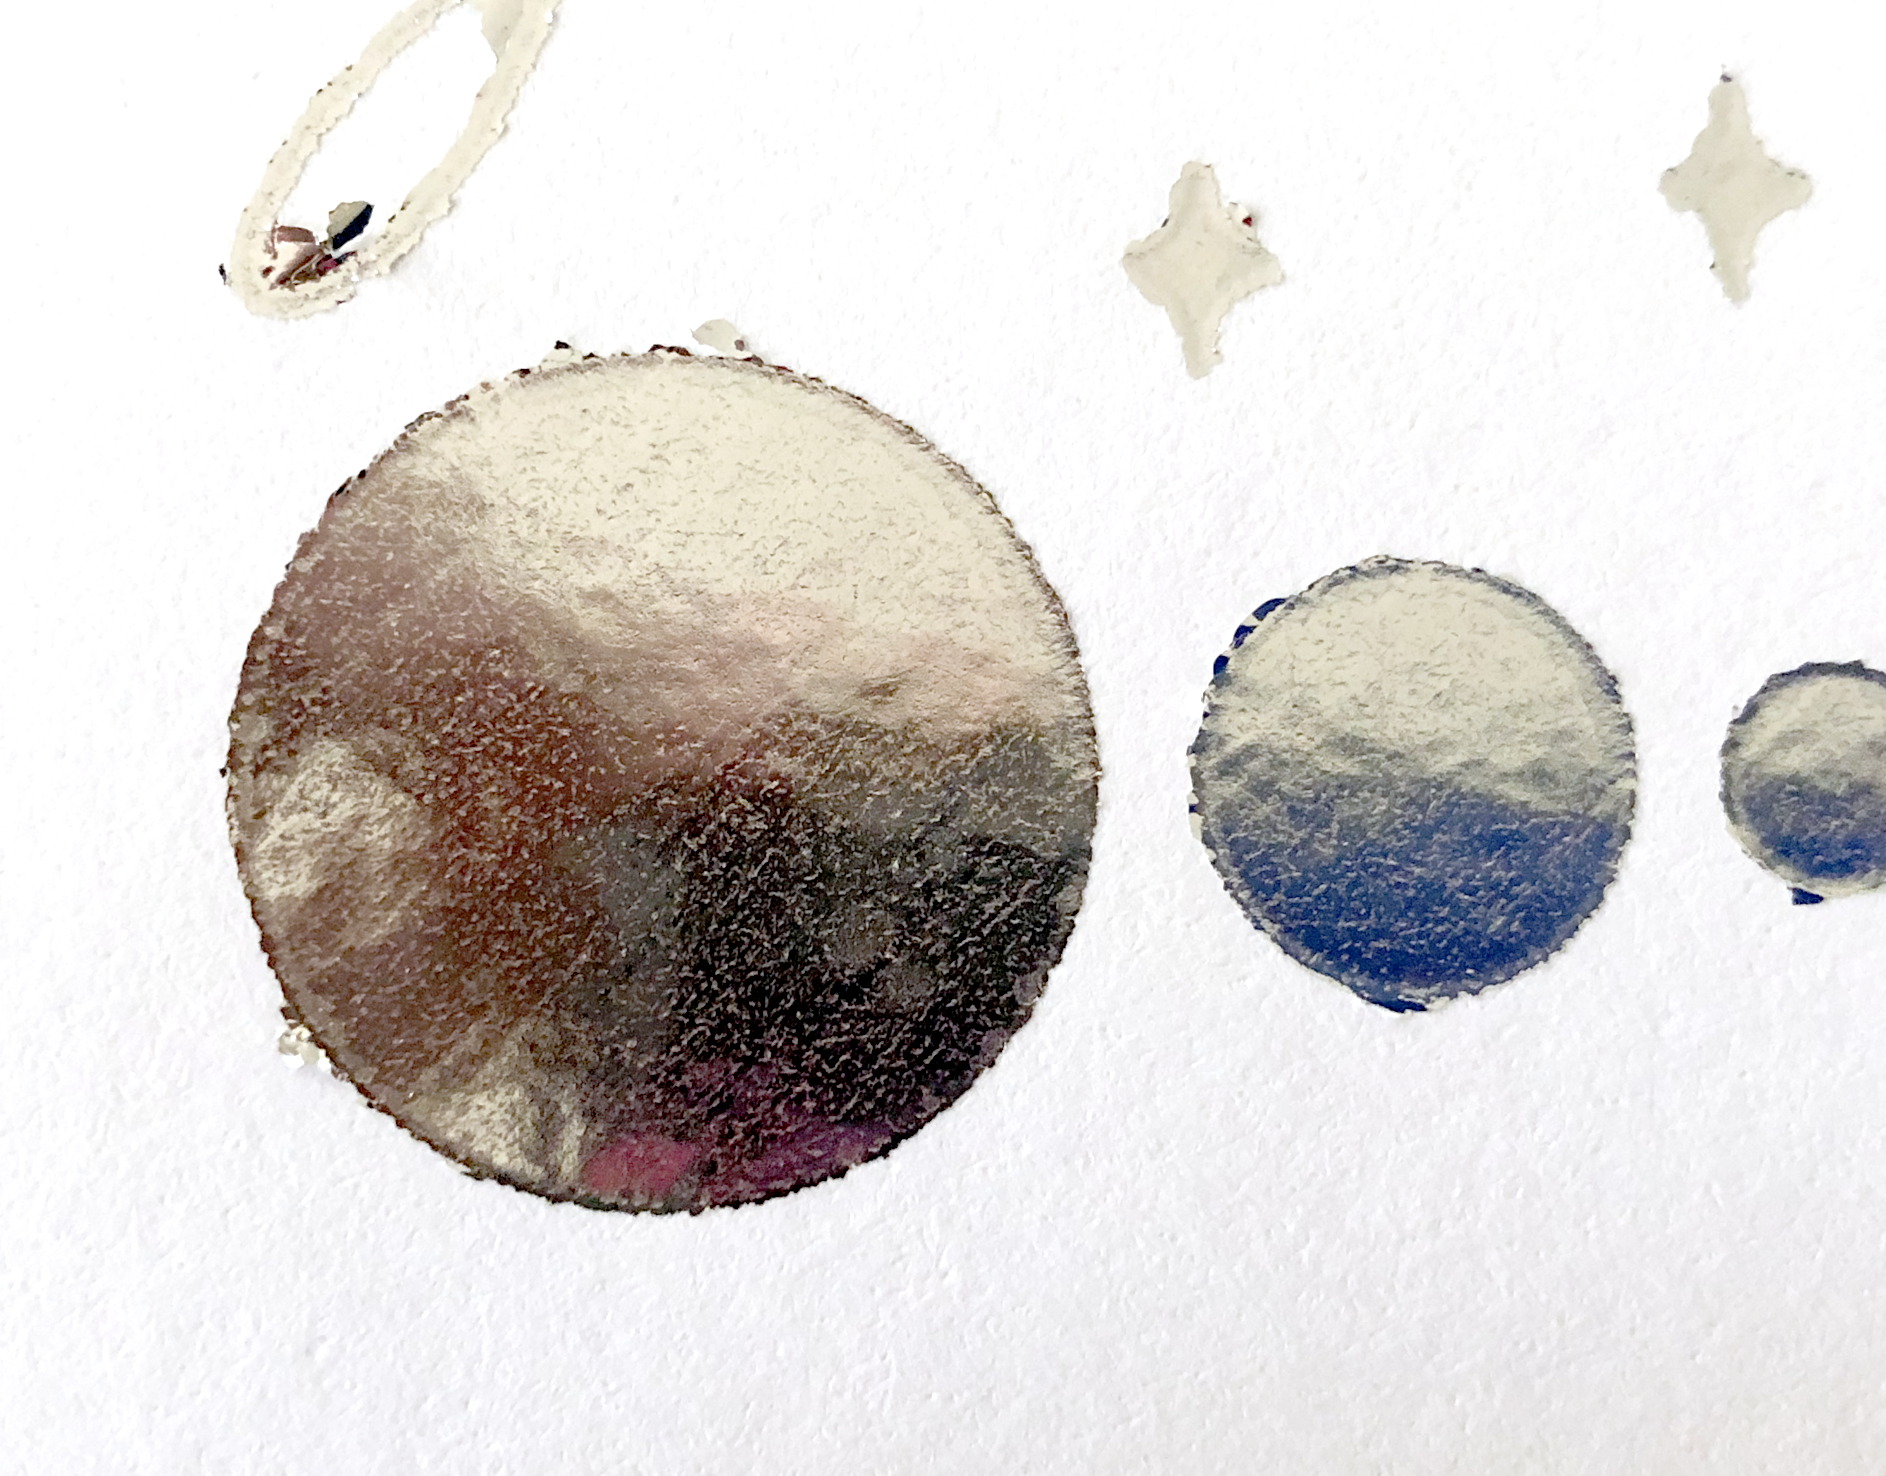
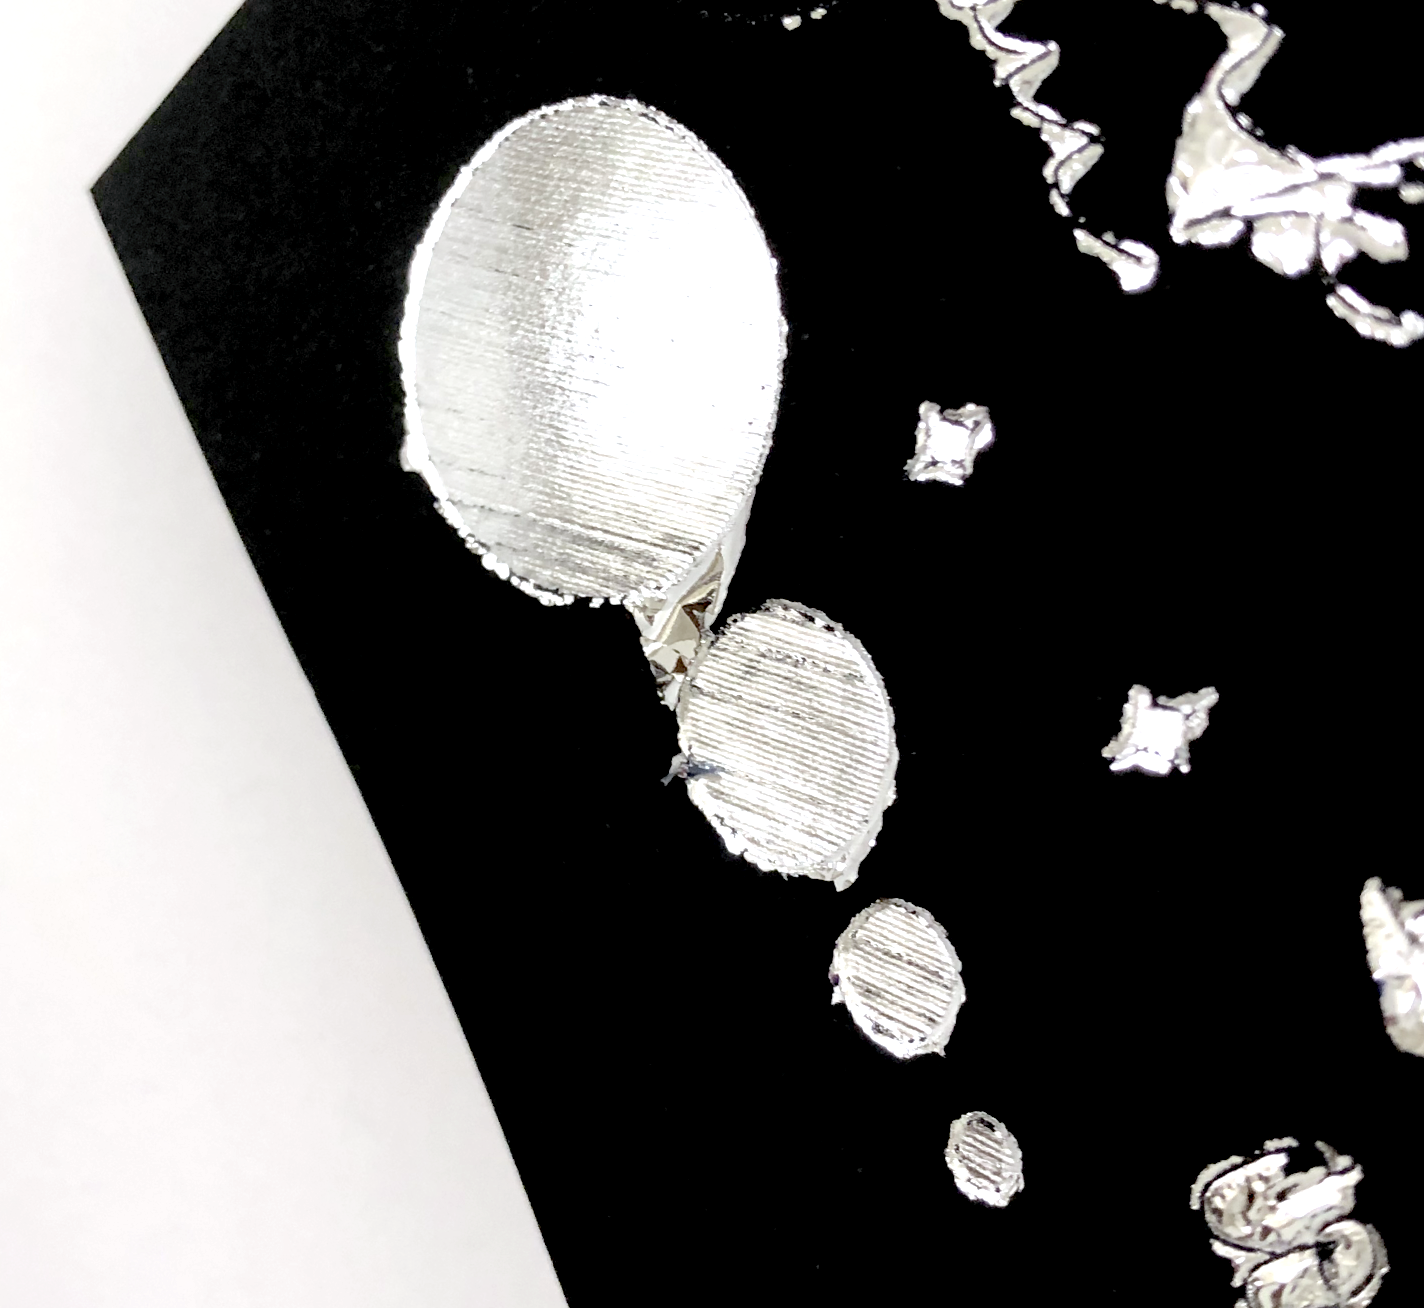
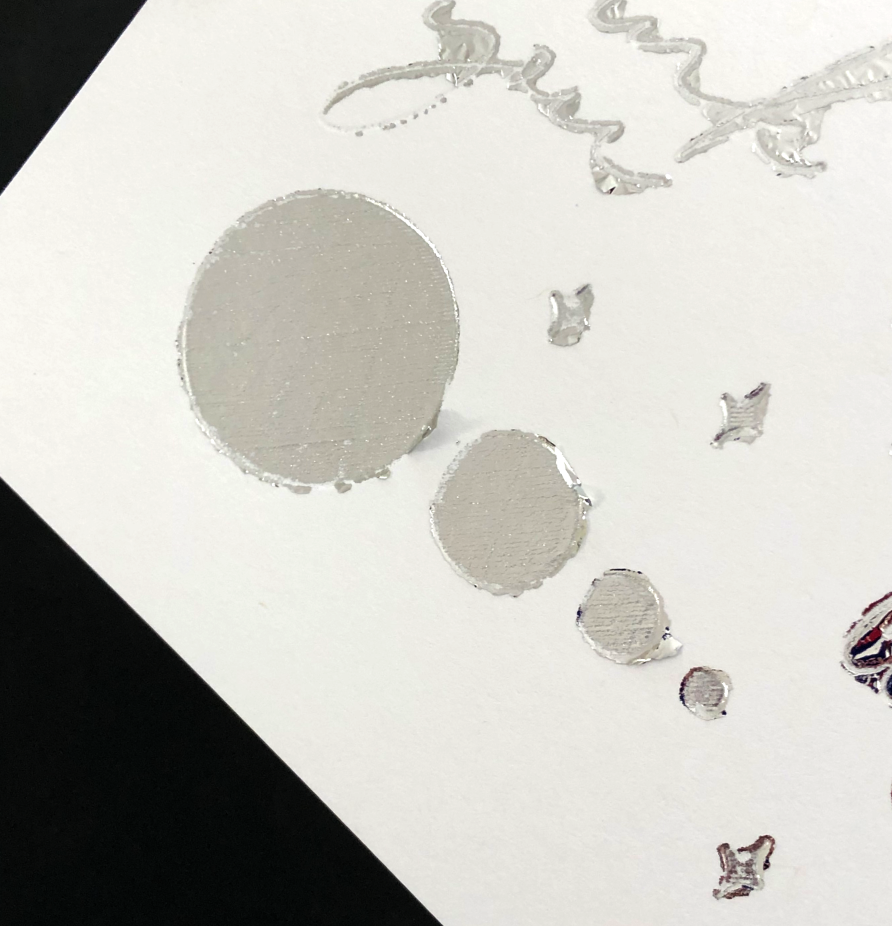
But the filled circles look great! (I still need to clean up the edges with some blue painters tape.)
Next I tried my white 100lb cardstock. I usually get pretty good results with this one with my Cricut Foil and my We R Memory Keepers Foil Quill.
Again, it initially looked promising. But after removing the foil, the same issue with the letters.
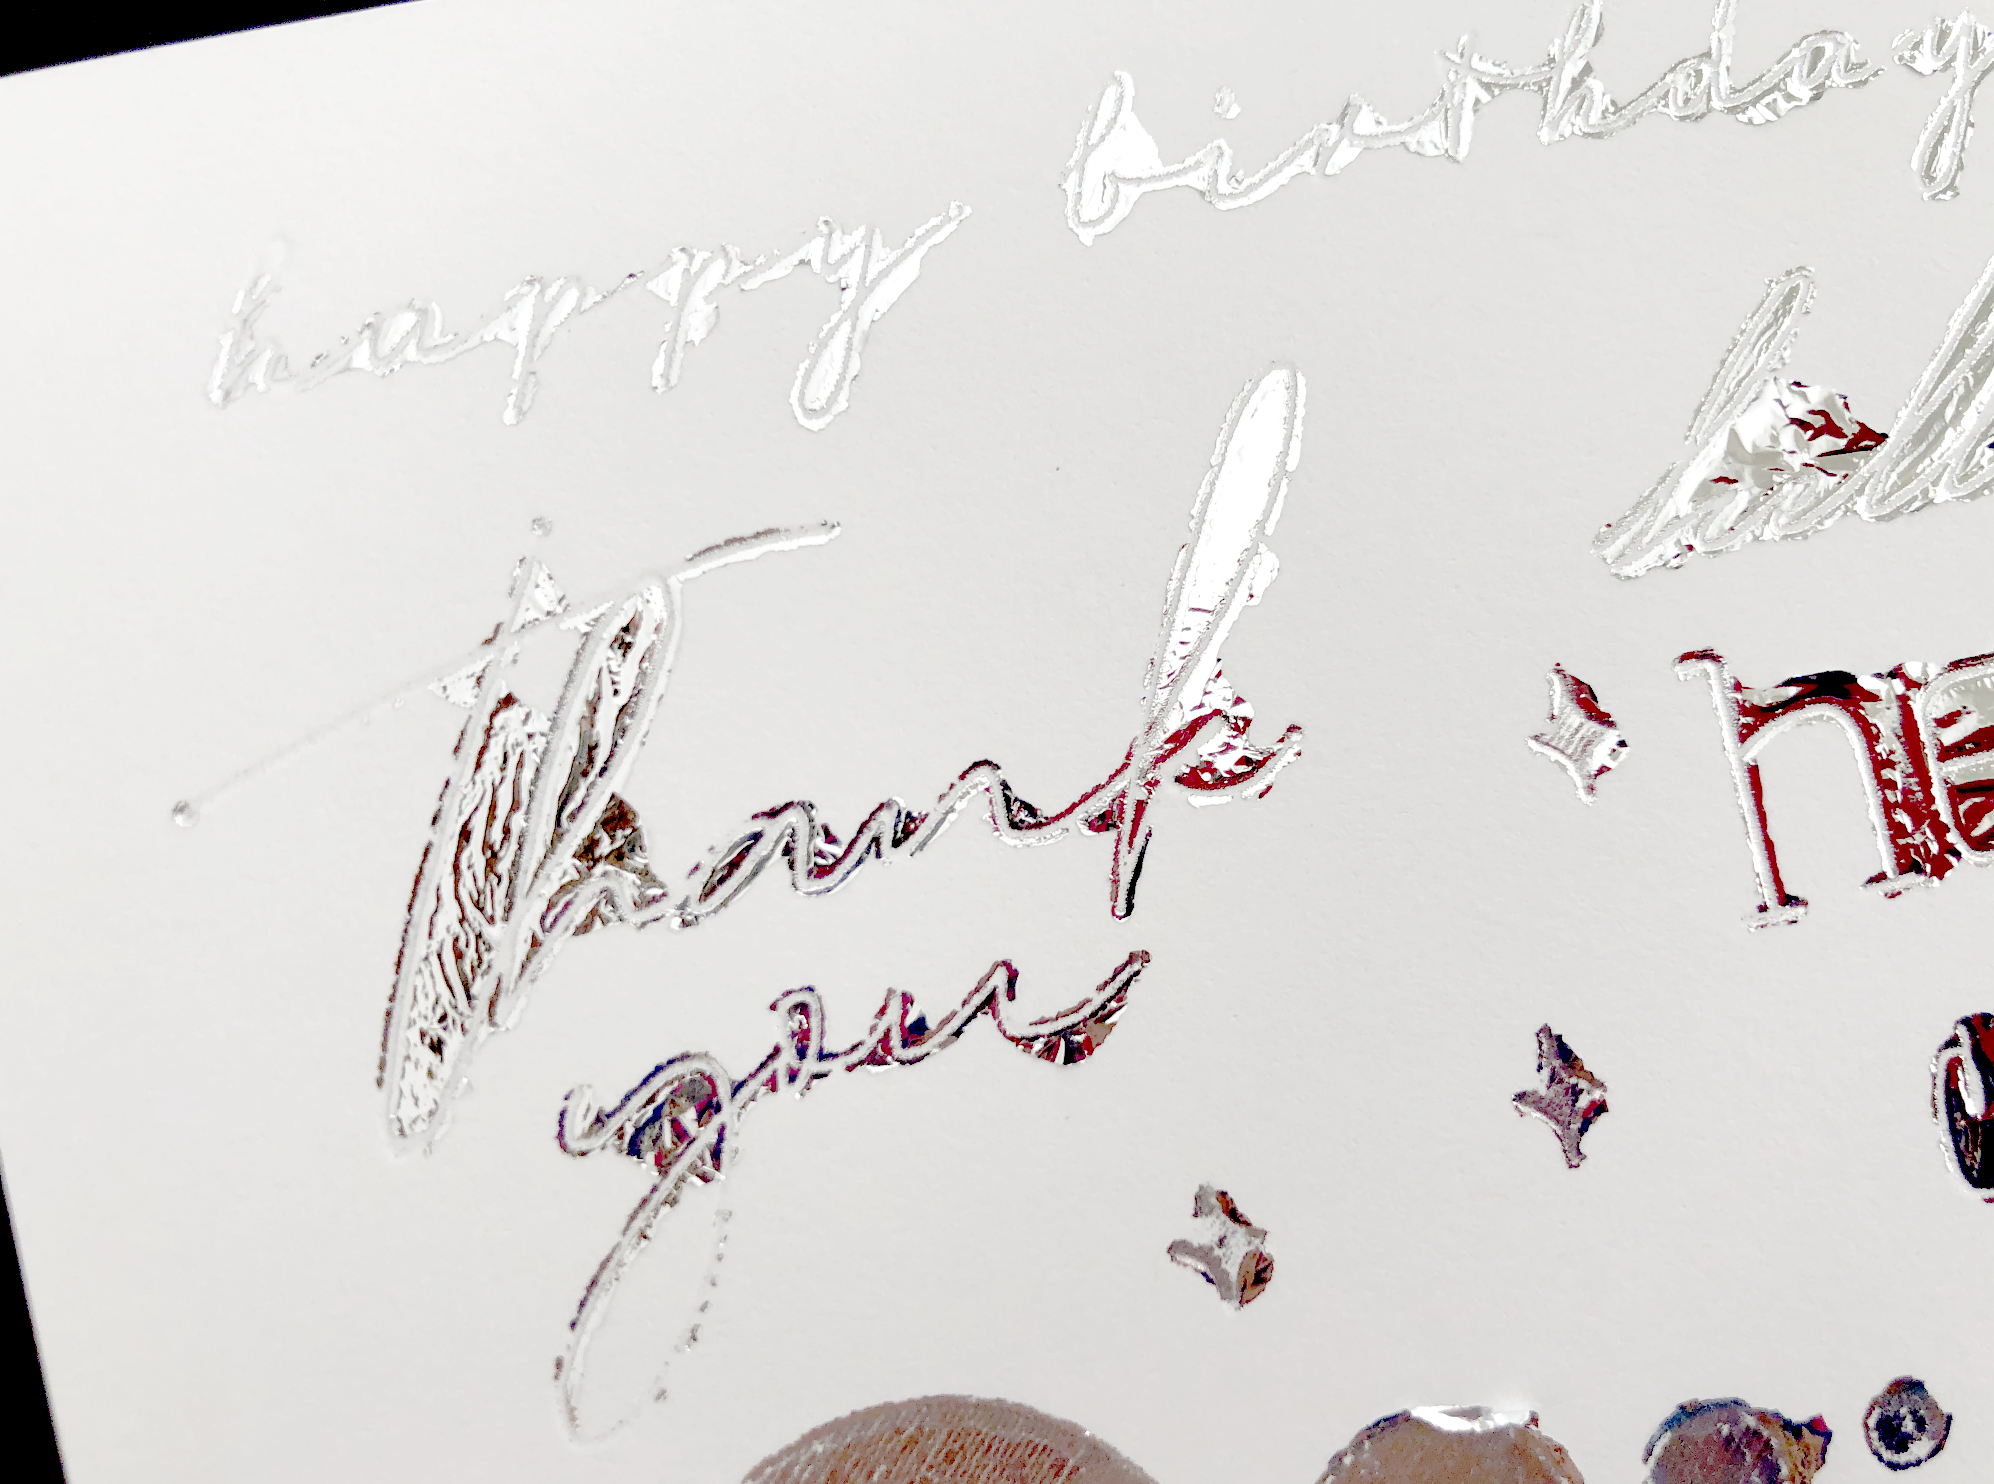
But the filled circles still look pretty good, the edges just need to be cleaned up.
Foiling on 65lb Cardstock with Cricut Scoring Stylus
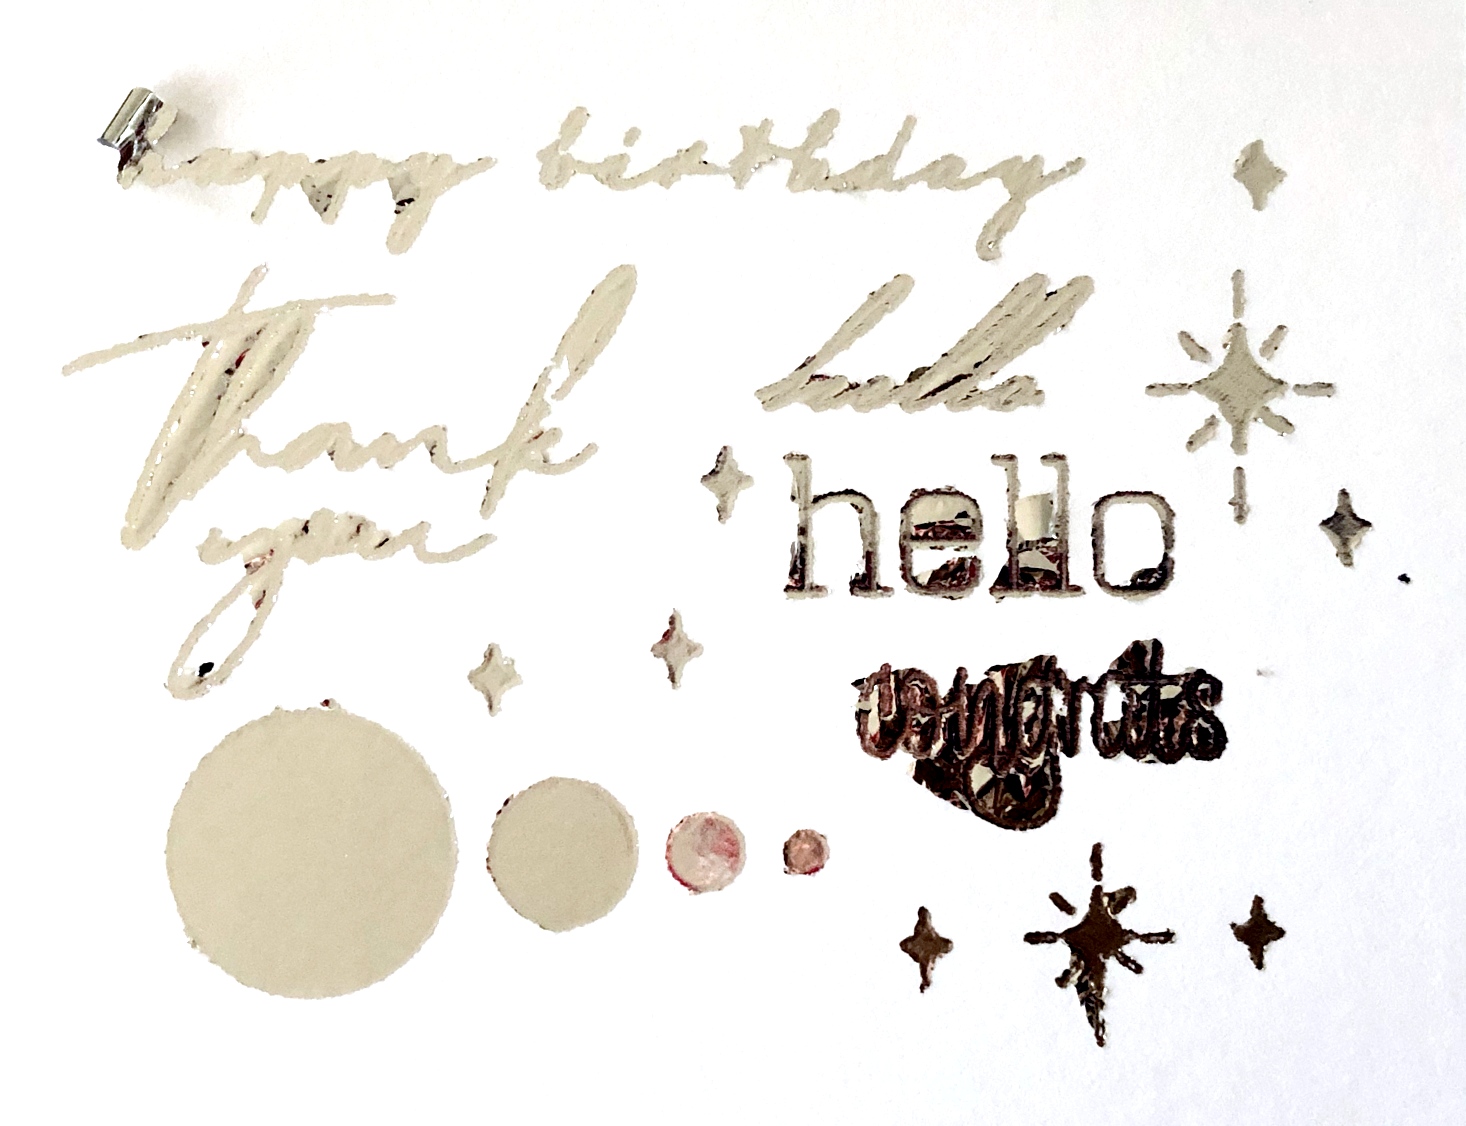
I tried the same test design on 65lb cardstock using the light weight cardstock setting. Again, the filled circles look good, but the words, not so much.
I decided to try just one of the words to see if I could get my settings really nailed down. One thing I hate the most about my Cricut Maker machine is I cannot adjust the settings for the A side carriage - like speed and pressure. I also cannot use the scoring stylus in the B side because it goes underneath the side of the machine when it’s getting fired up for the cut or whatever operation you’re doing.
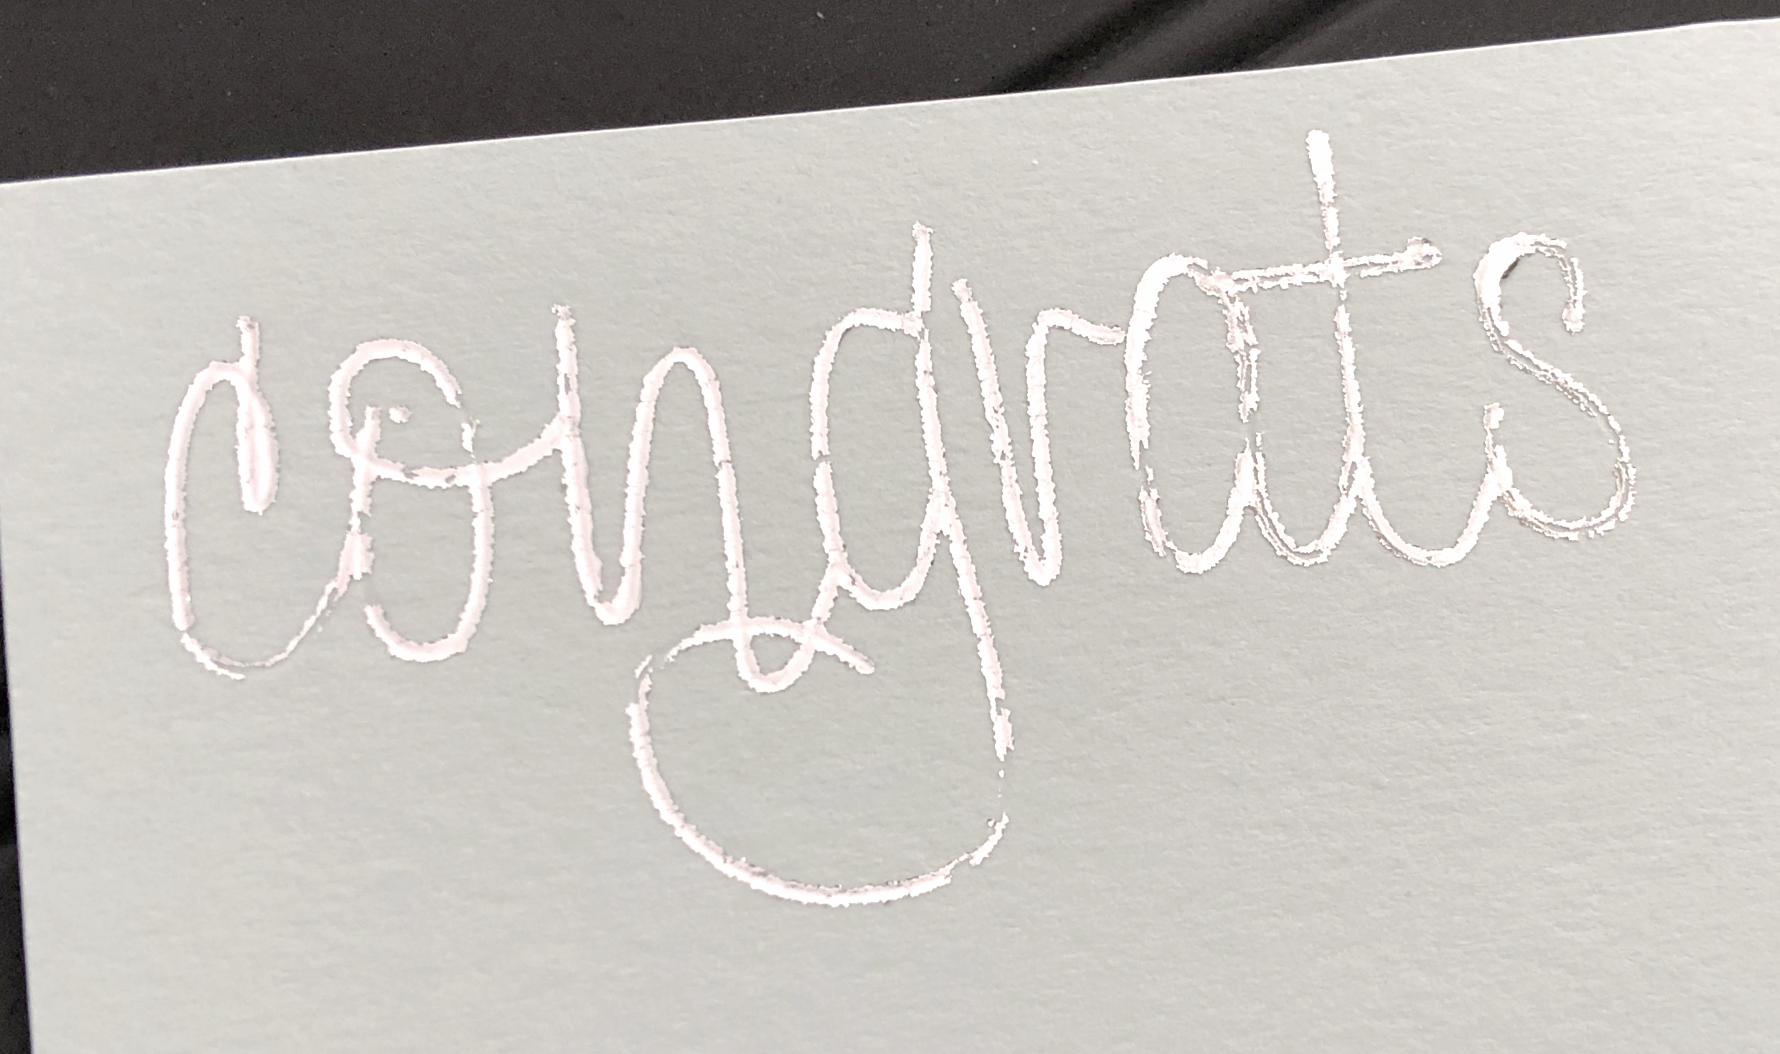
I tried the word “congrats” as my test. I tried several different types of paper settings. I seemed to have the best luck with the 20lb copy paper setting, but the results are still pretty inconsistent.
I noticed that my scoring stylus can still jiggle around a little bit when it’s in the pen holder. Yes, I made sure it clicked into place and I can’t push it into the holder any further. So I decided to purchase the Chomas adapters for the Maker to see if that made any difference. The scoring stylus fits in the Marker adapter, not the pen adapter.
The hardest part with the the Chomas adapter is getting the scoring stylus at the correct height in the machine. If you only use one craft stick to measure, it’s way too low and you will get a machine error when you try to run your project.
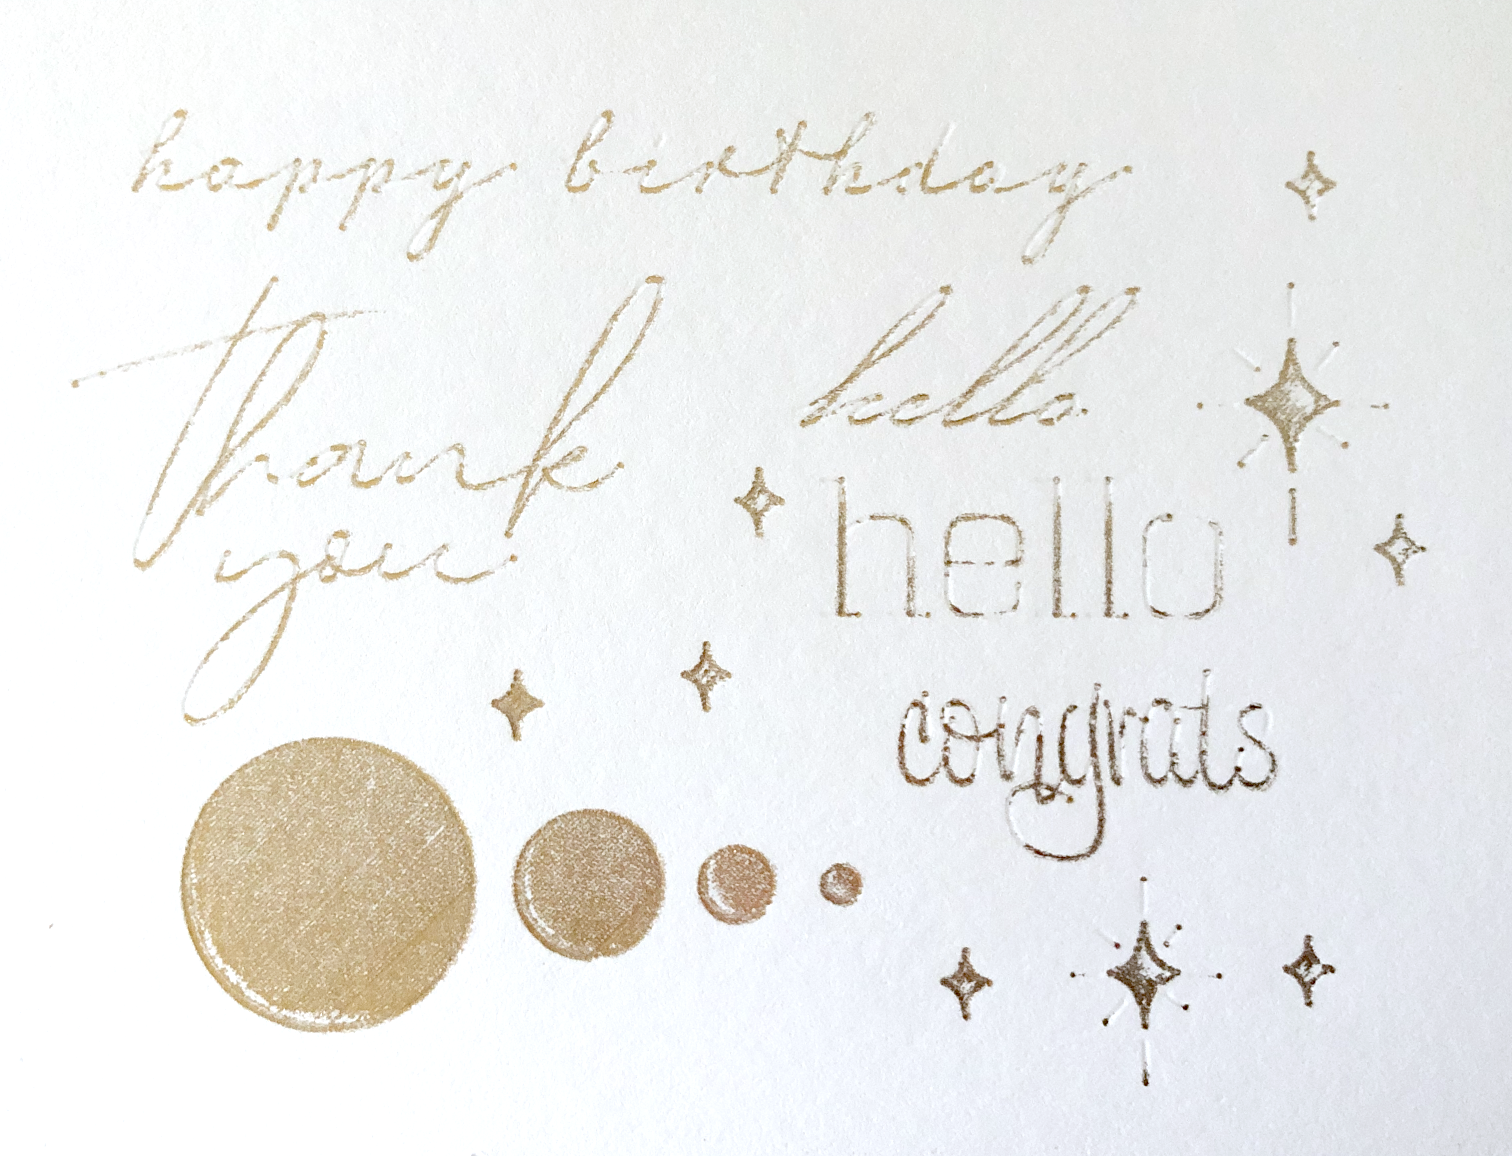
I tried my lightweight cardstock again, the results are better with the Chomas holder than the Cricut Pen holder, still not as perfect as I would like.
I tried the 100lb cardstock again just to see. WAAAAYYYYY better than before, but still some room for improvement.

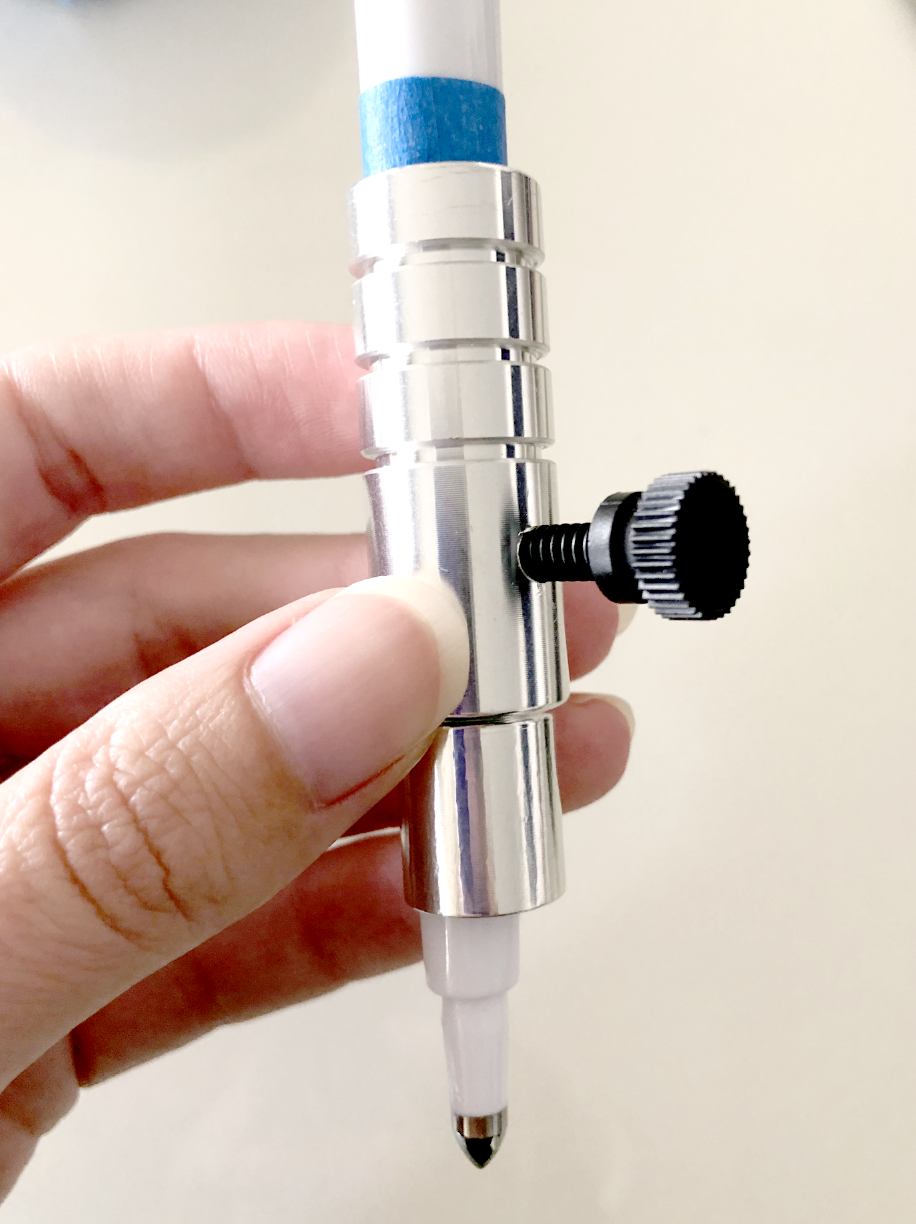
I found that 3 craft sticks spacing under the scoring stylus works pretty well. I marked my stylus and the marker adapter with blue tape so I know my positions for next time.
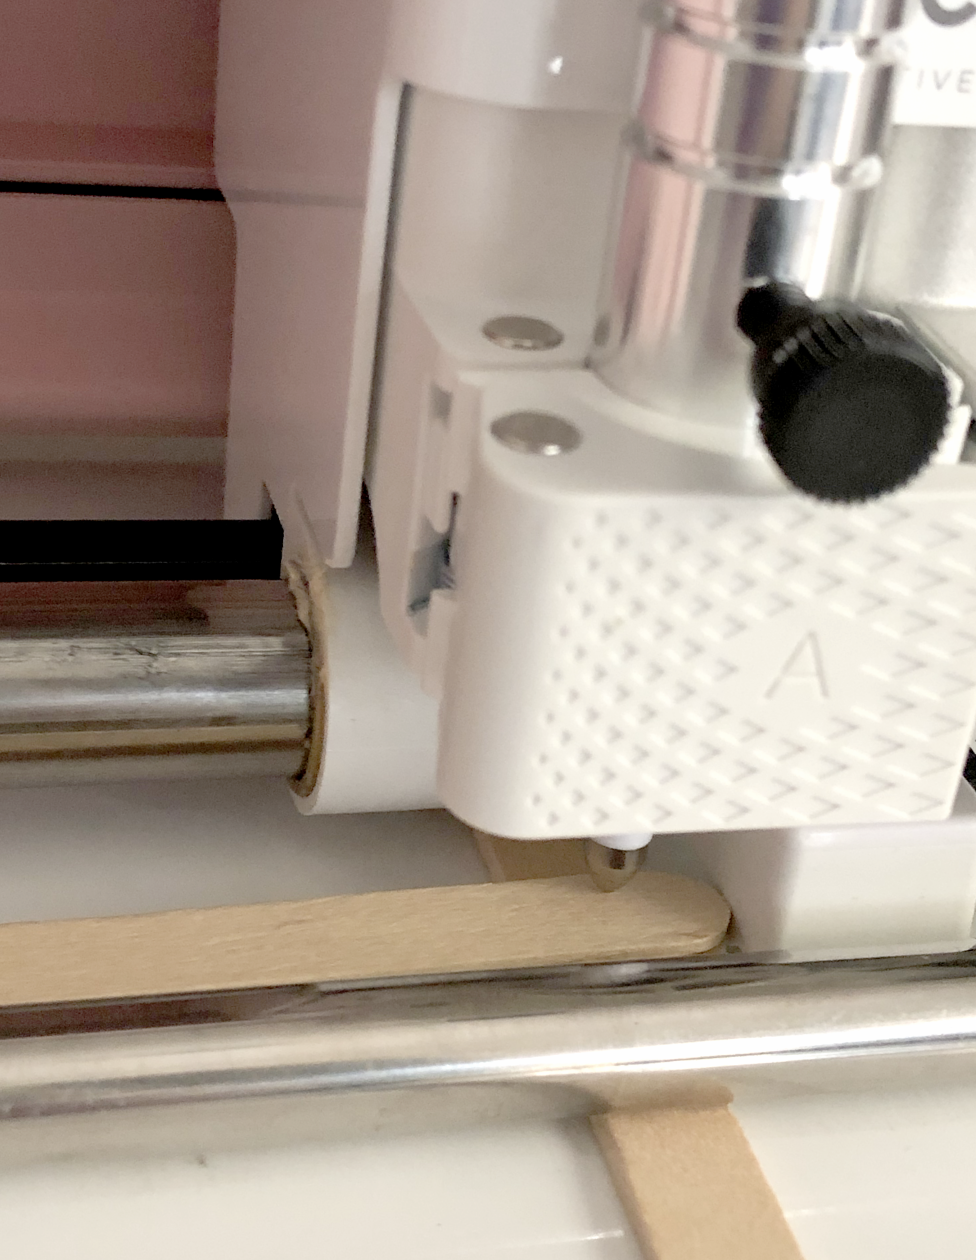
3 craft sticks under the tip of the scoring stylus to measure the distance for the Chomas Marker holder
So again, this method works great for small filled shapes, but the lettering still isn’t as good as I would like. I’ll do some more testing with the lettering, but I’m out of this foil at the moment, I’ve got more on order.
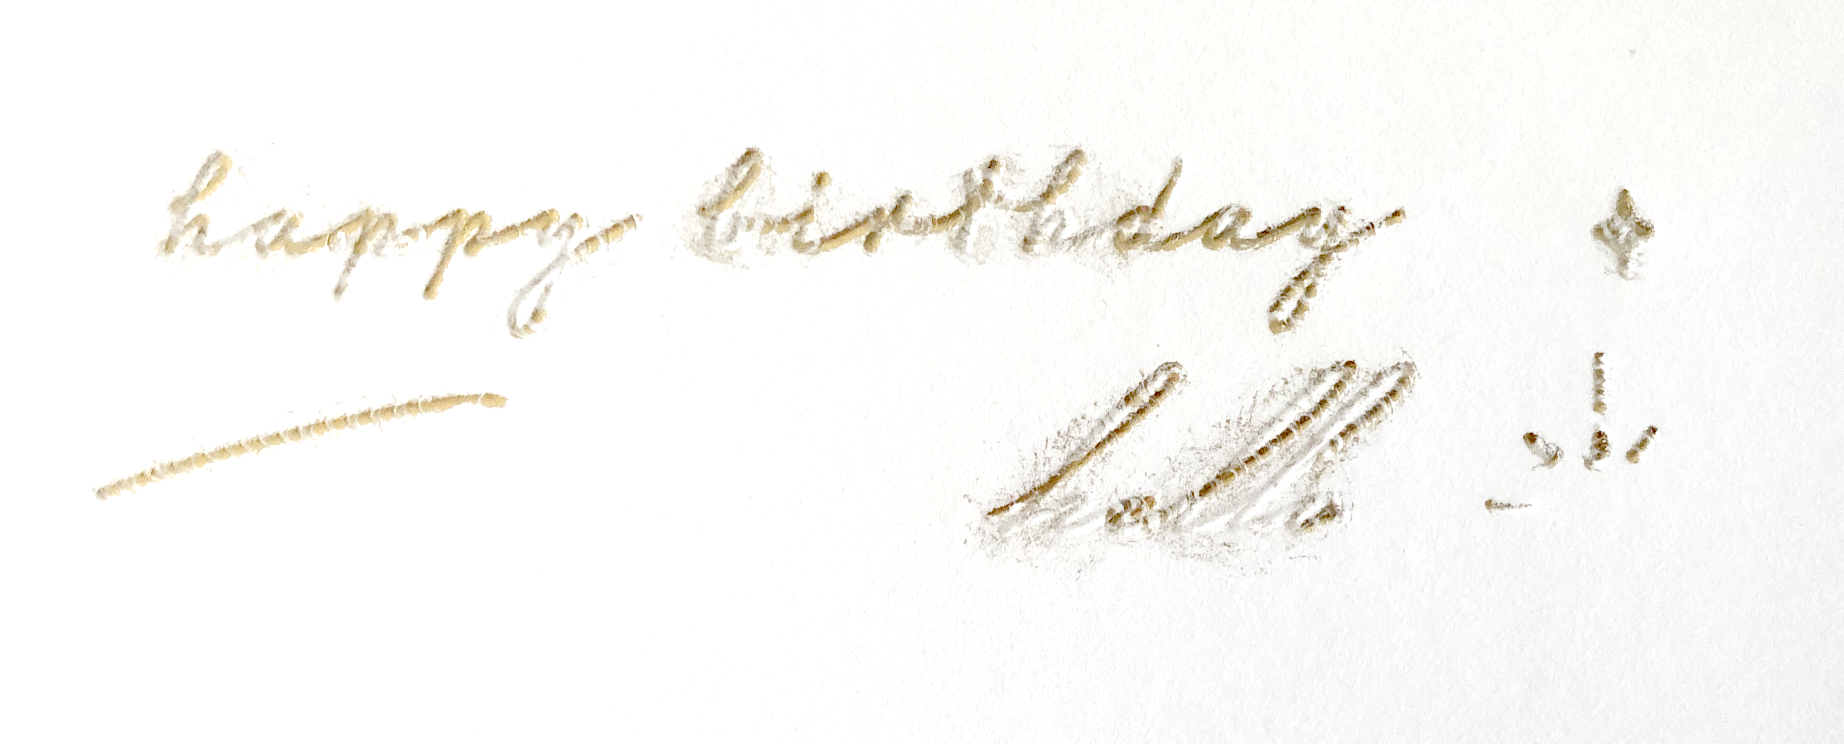
I have a feeling it’s something to do with the speed of the machine. I can write a word with the scoring stylus by hand, and get great results. Maybe my Maker is going too fast, but unfortunately I have no control over the speed of the machine.
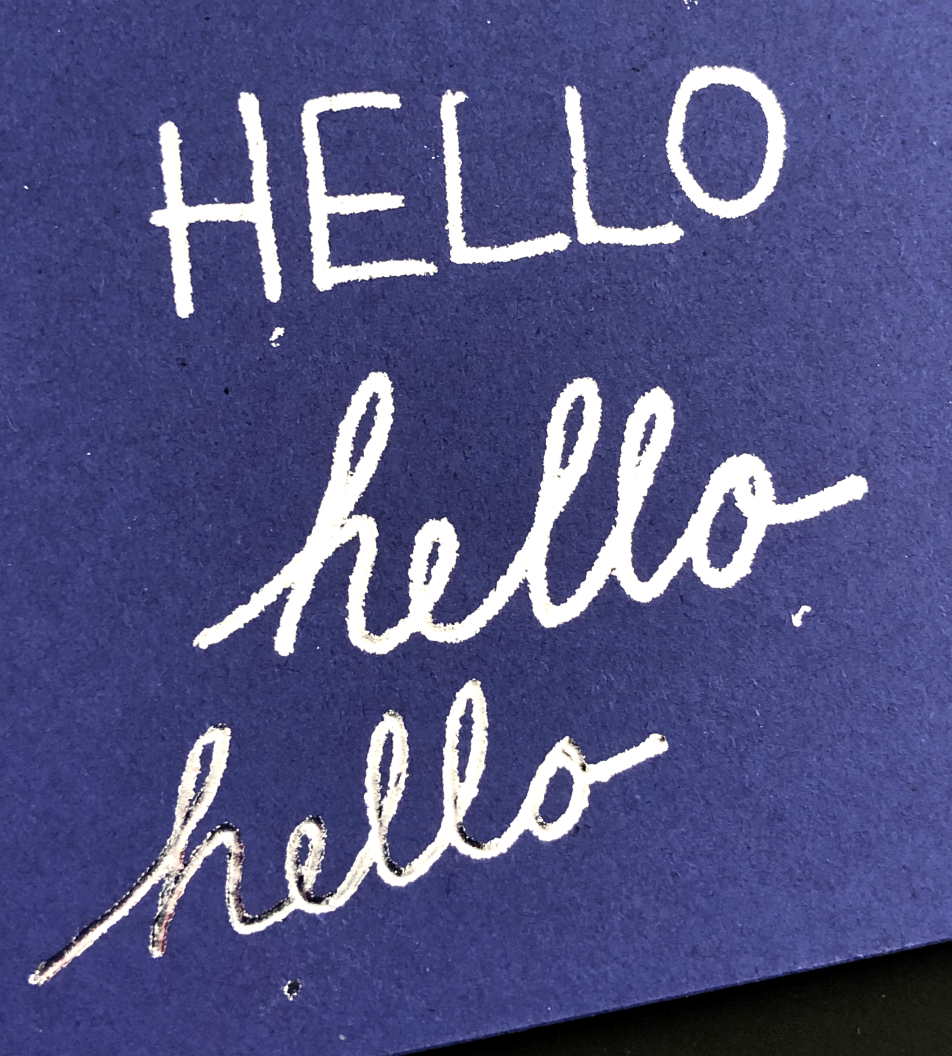
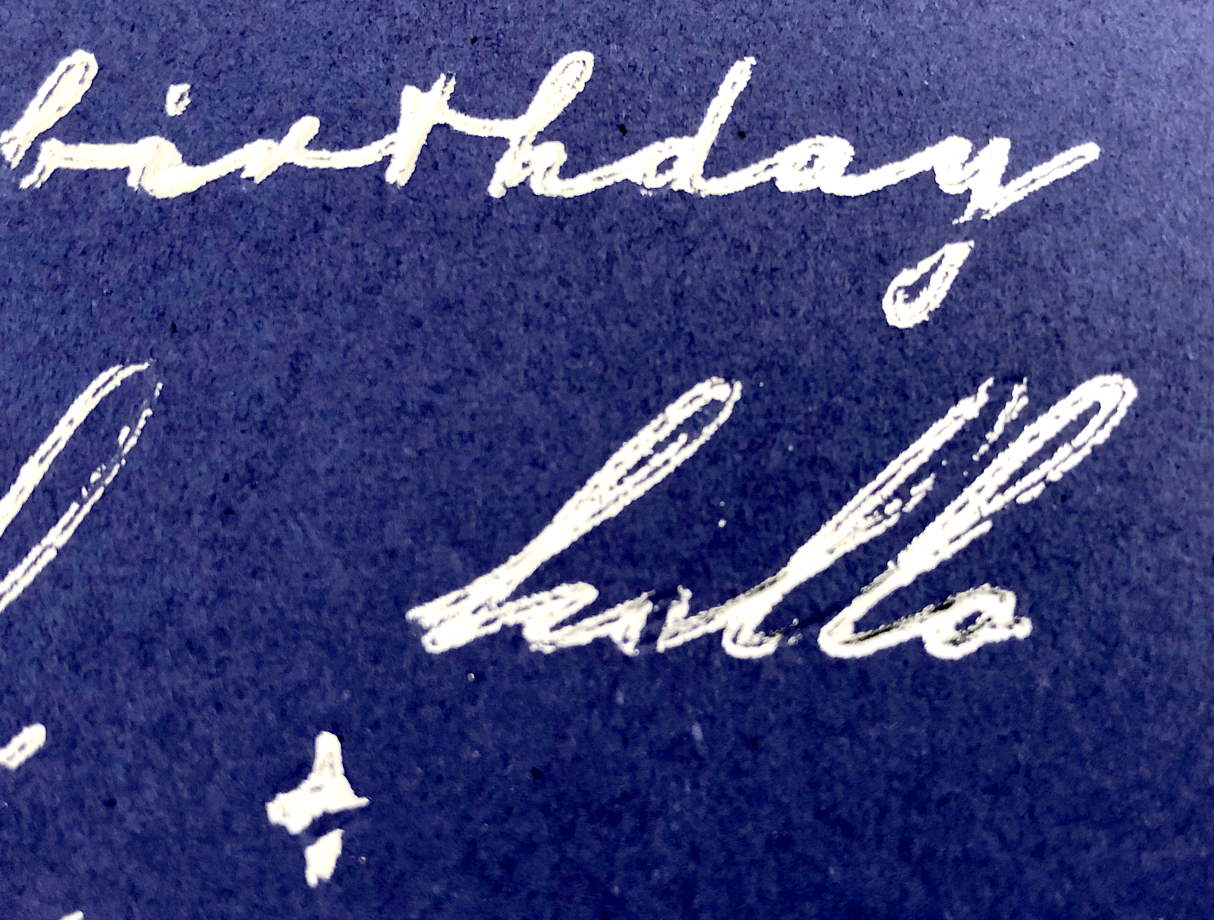
Written by hand with the scoring stylus and foil transfer sheet.
I’m excited to try this technique with my Portrait 3 machine because I can adjust pretty much all of the settings for that machine. I’ll create a post about that as well, once I try it out.