
Links in the article below may be affiliate links.
Hi Everyone! Last week I tried out my single line text with the Cricut fine debossing tip for the Maker machine. This was my first time trying out the debossing tip and the results were kind of lackluster. So I did a little experimenting and I found a simple way to make the deboss deeper.
The first time I used my fine debossing tip I used 100lb cardstock directly on my mat. I thought the heavier cardstock would work well with the tip since it’s kind of thick. I ran my cardstock through my machine 4 times, you can kind of see the deboss if you hold the card at an angle, but it’s not that great.

So I began thinking, I need a way to create some space between my cardstock and the mat so my tip can really press down into the cardstock. I had some 2mm craft foam left over from making my blade organizer, so I decided to try that.
I used a small scrap piece of the foam, roughly the size of the area that I wanted to deboss. I stuck the craft foam directly onto my mat.
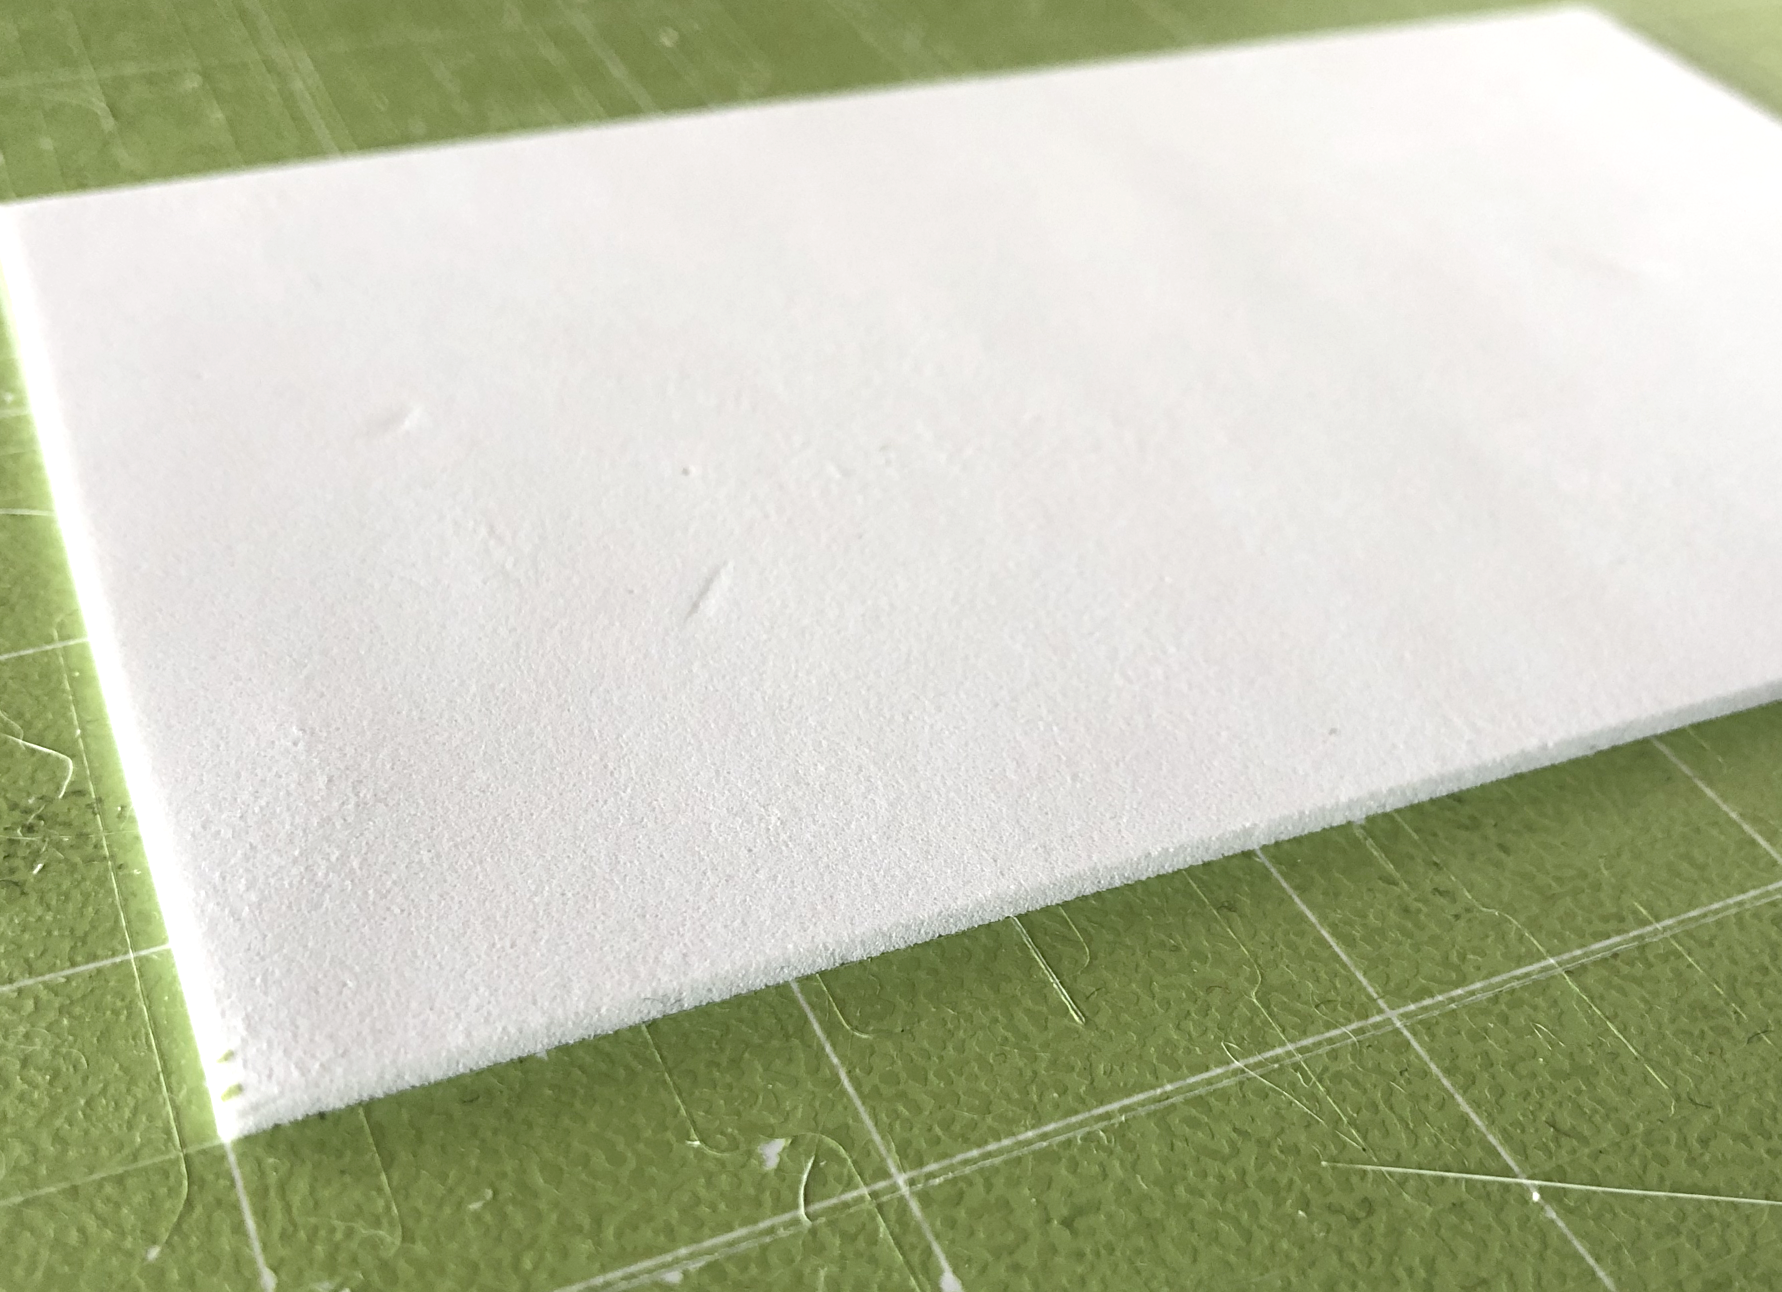
2mm craft foam stuck directly to mat.
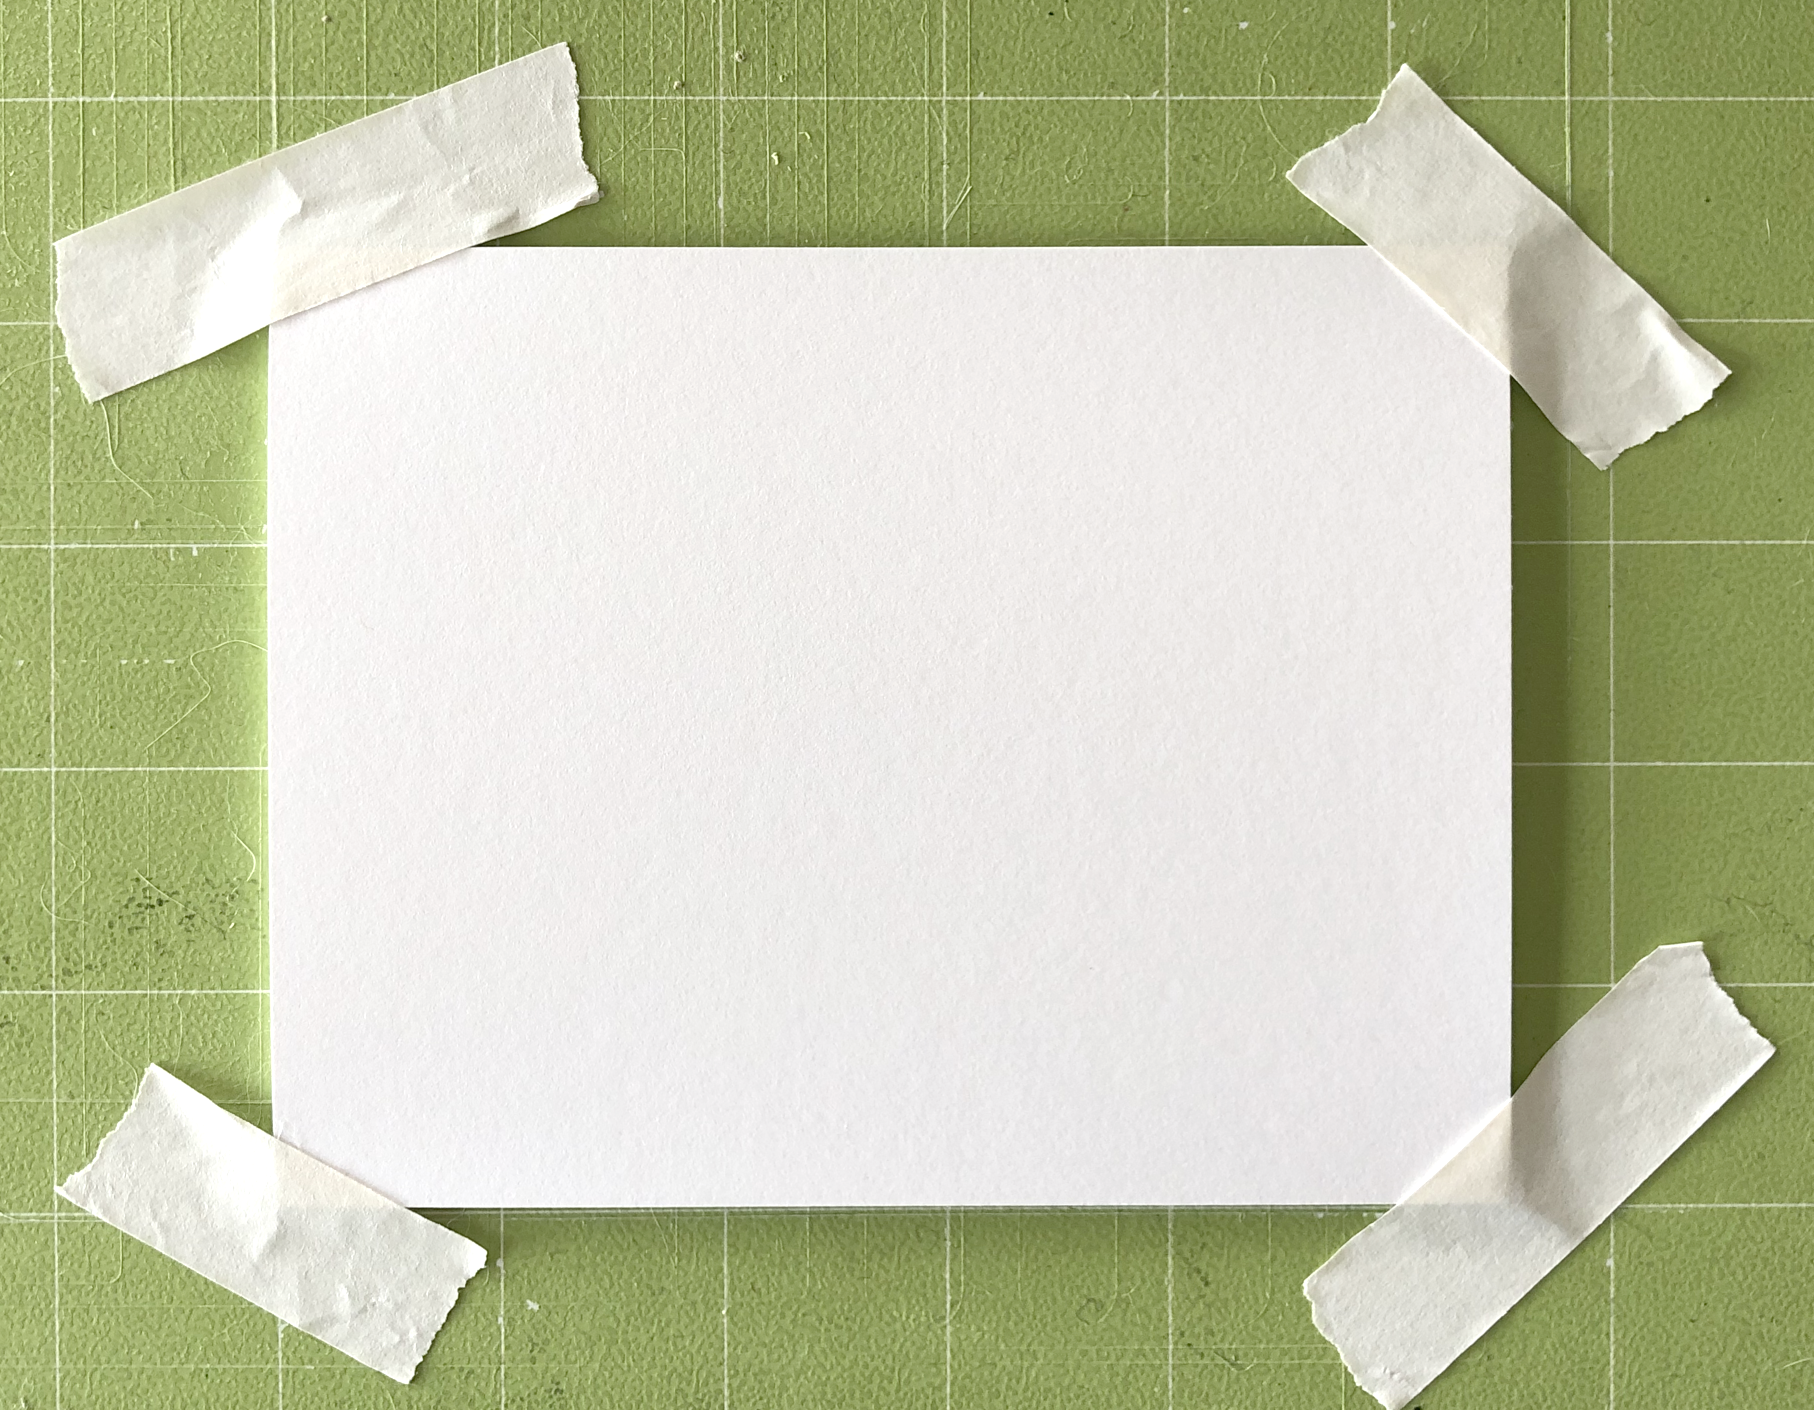
Then I placed my cardstock over the craft foam and taped down the corners of my cardstock.
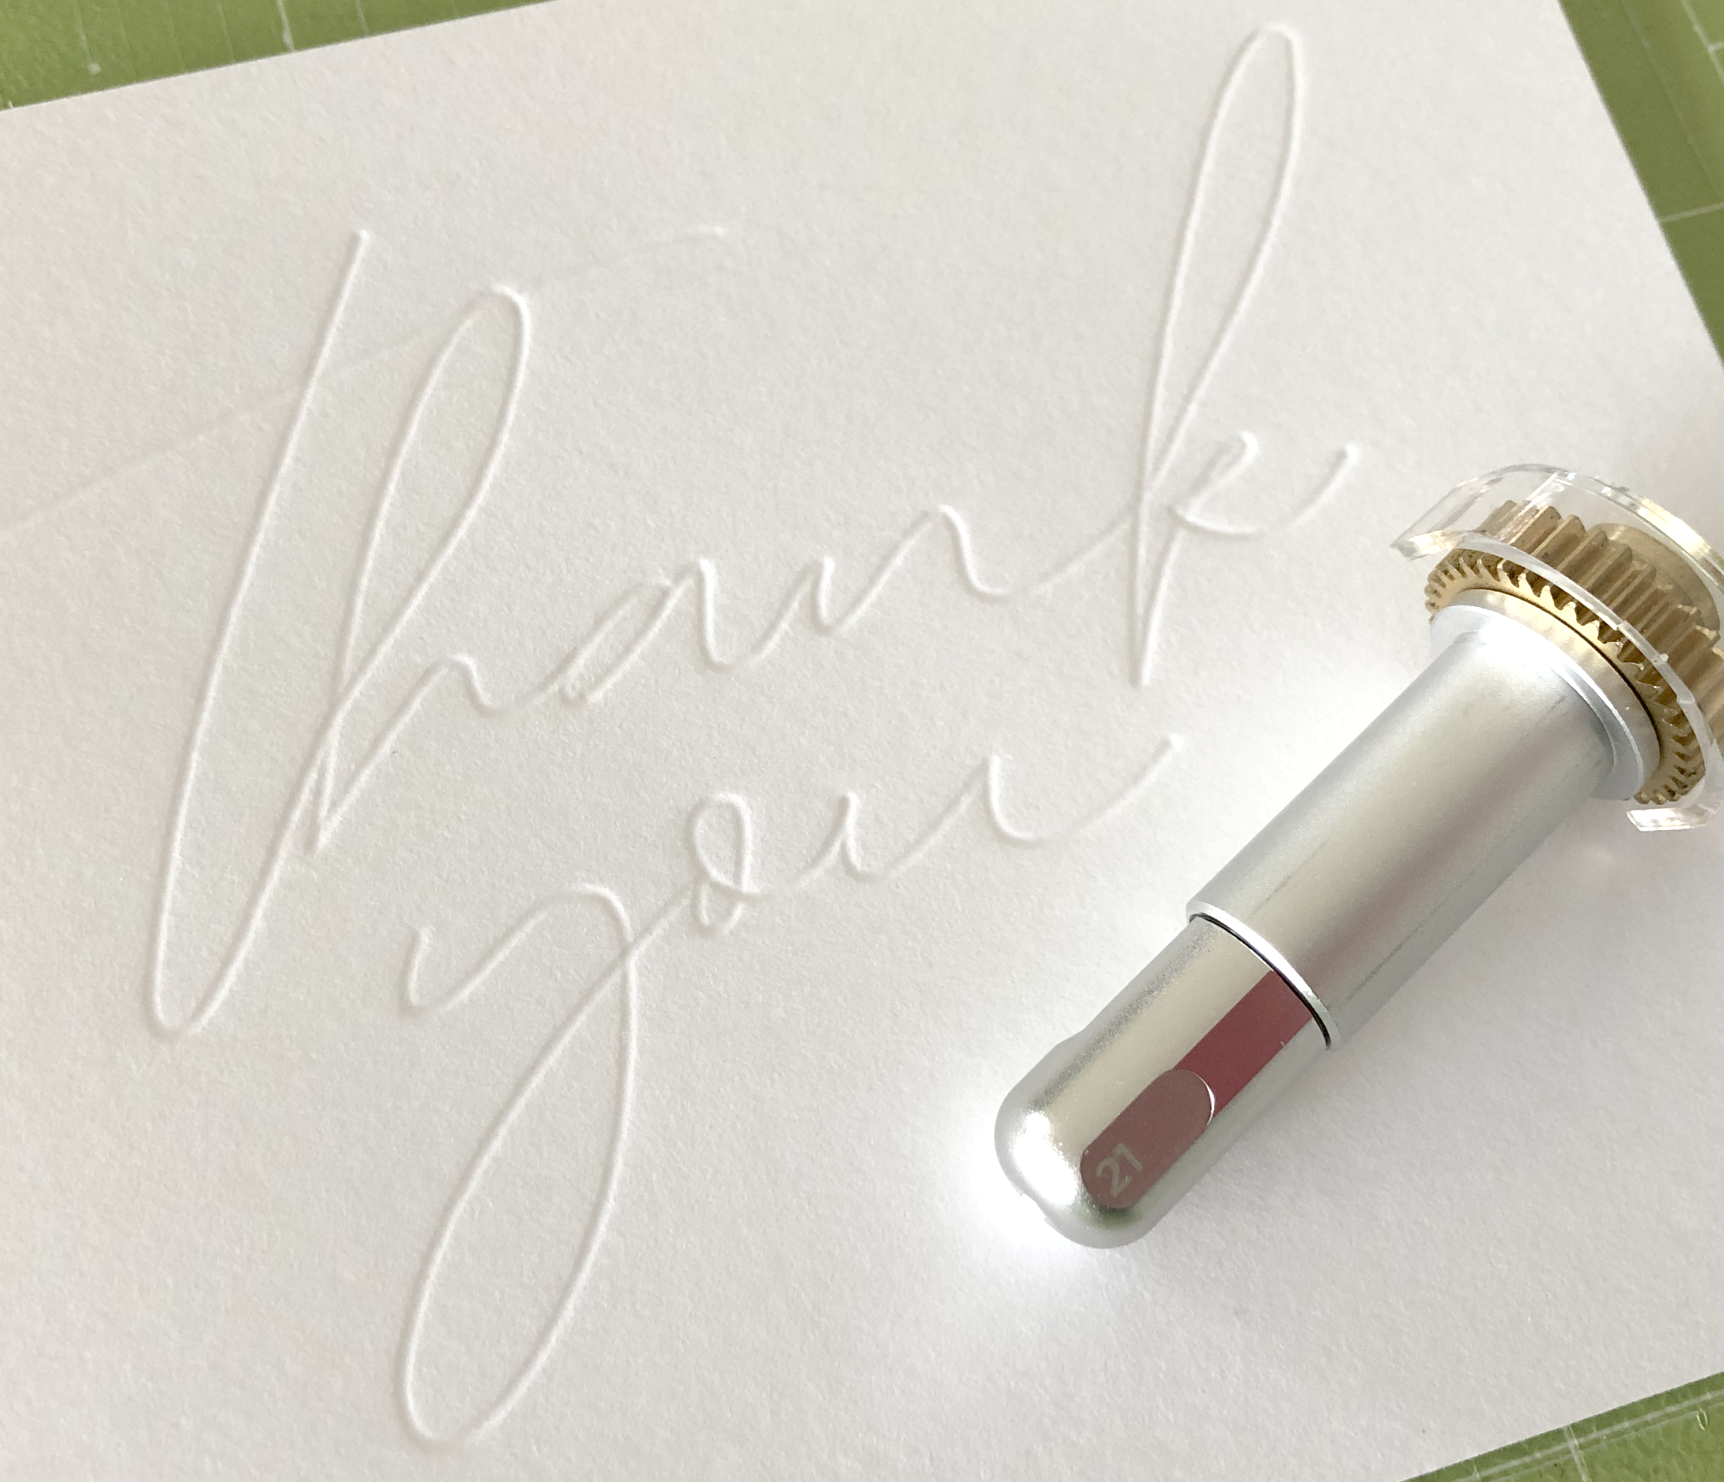
Using the same single line artwork from last weeks post, I ran it through my Cricut Maker machine using the Deboss setting with 100lb cardstock, More Pressure.
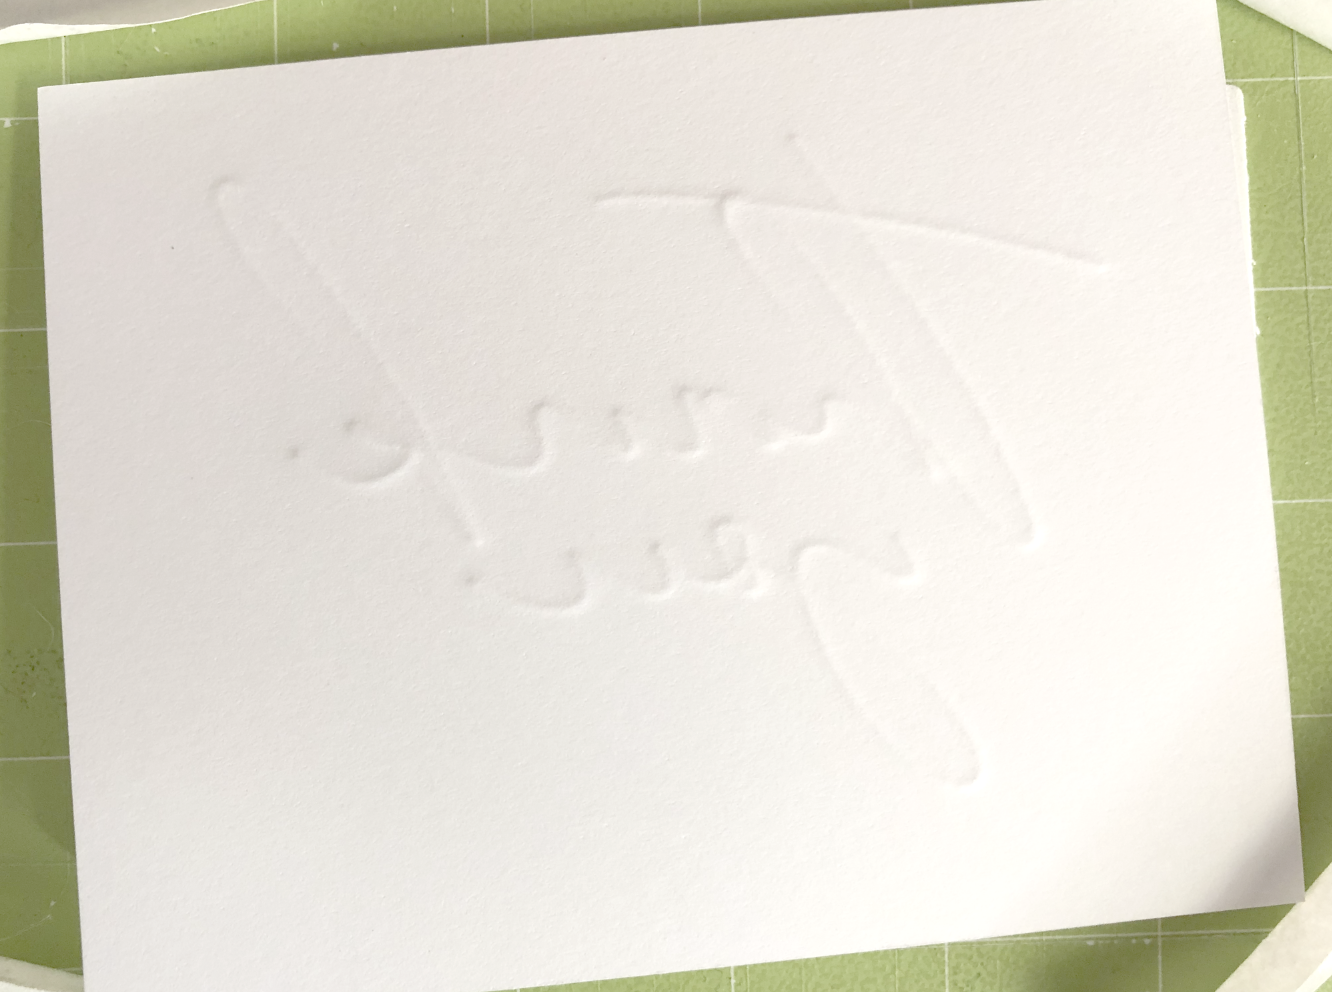
After one pass it was already so much deeper than the 4 passes I did last week.
100lb cardstock one pass with the deboss tip.
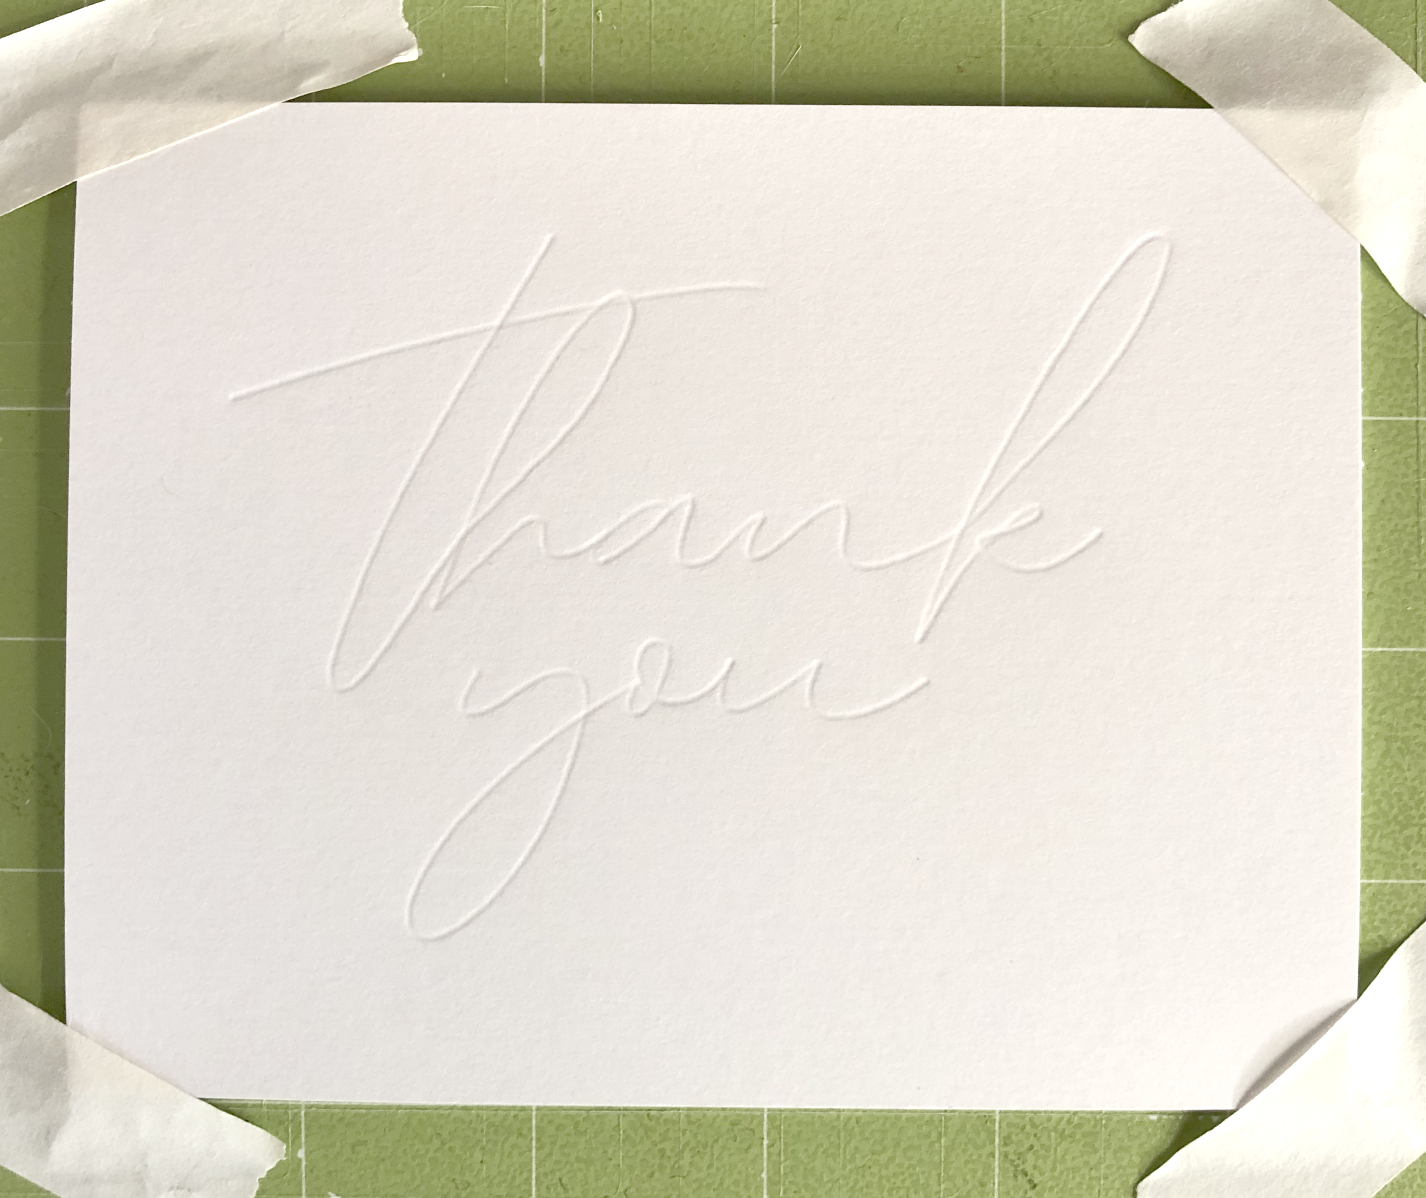
I did a total of 4 passes with the deboss tool, each time it gets a little deeper.

After 4 passes with the deboss tip.
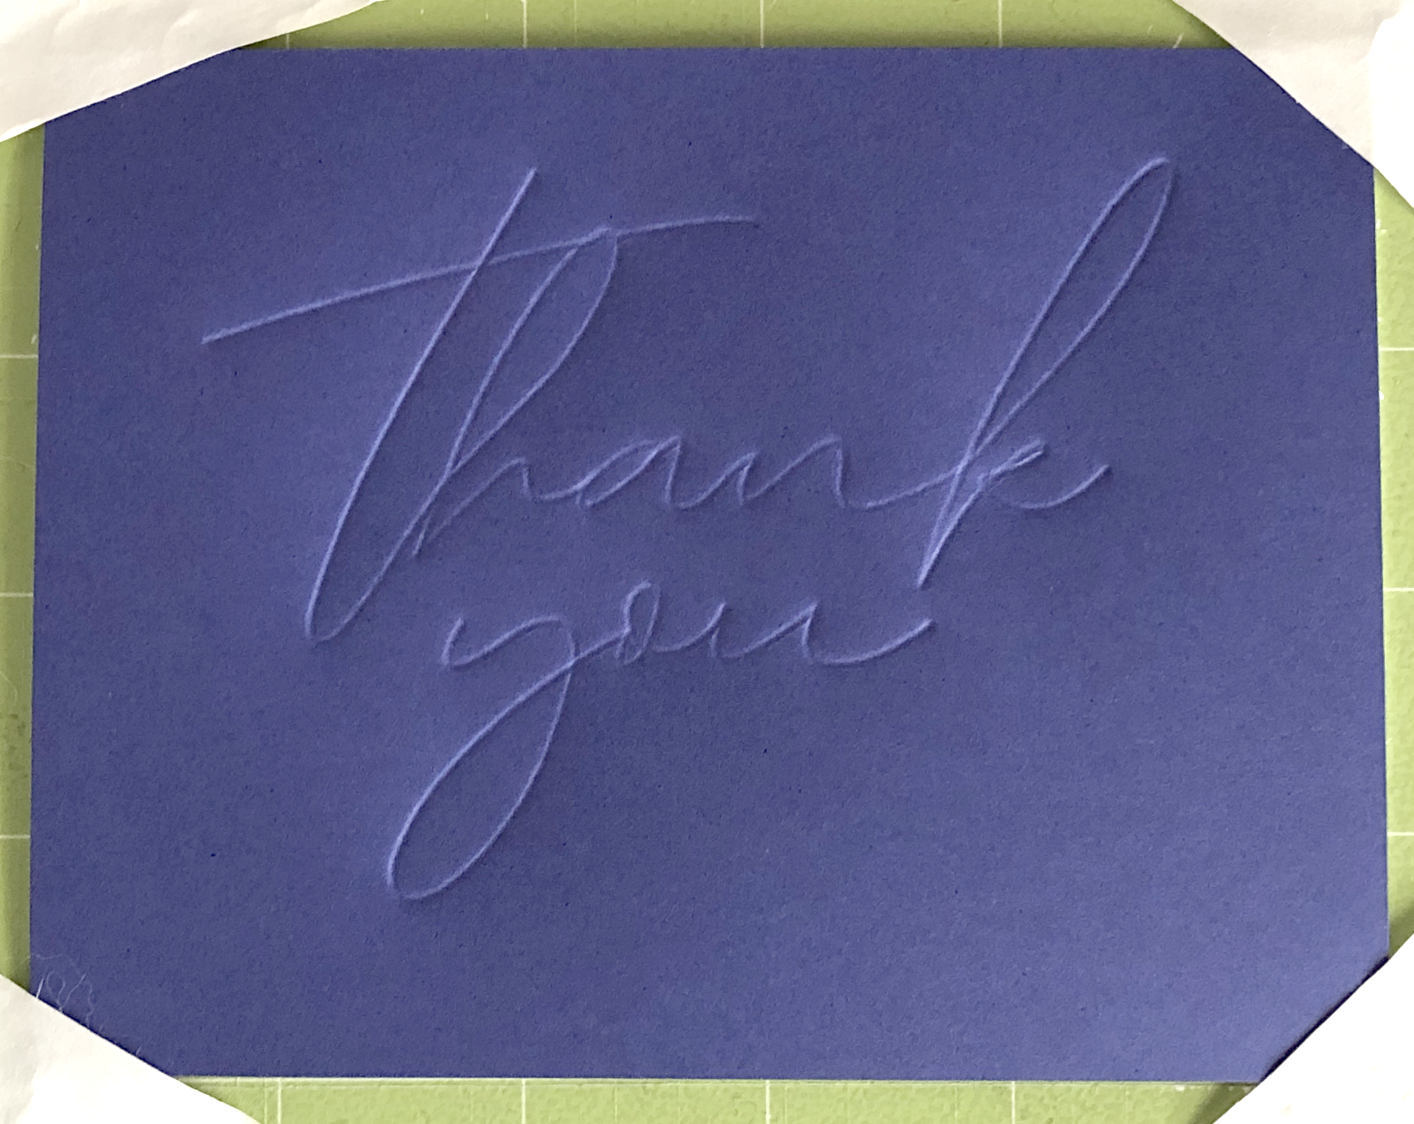
When I took my card off the mat you can actually see and feel the deboss on the reverse side!
Reverse side
I also tried some lightweight cardstock - 65lb Recollections from Michaels. I used the same piece of craft foam still stuck to my mat. I also ran it through 4 times, just for consistency.
65lb cardstock after 4 passes - front.
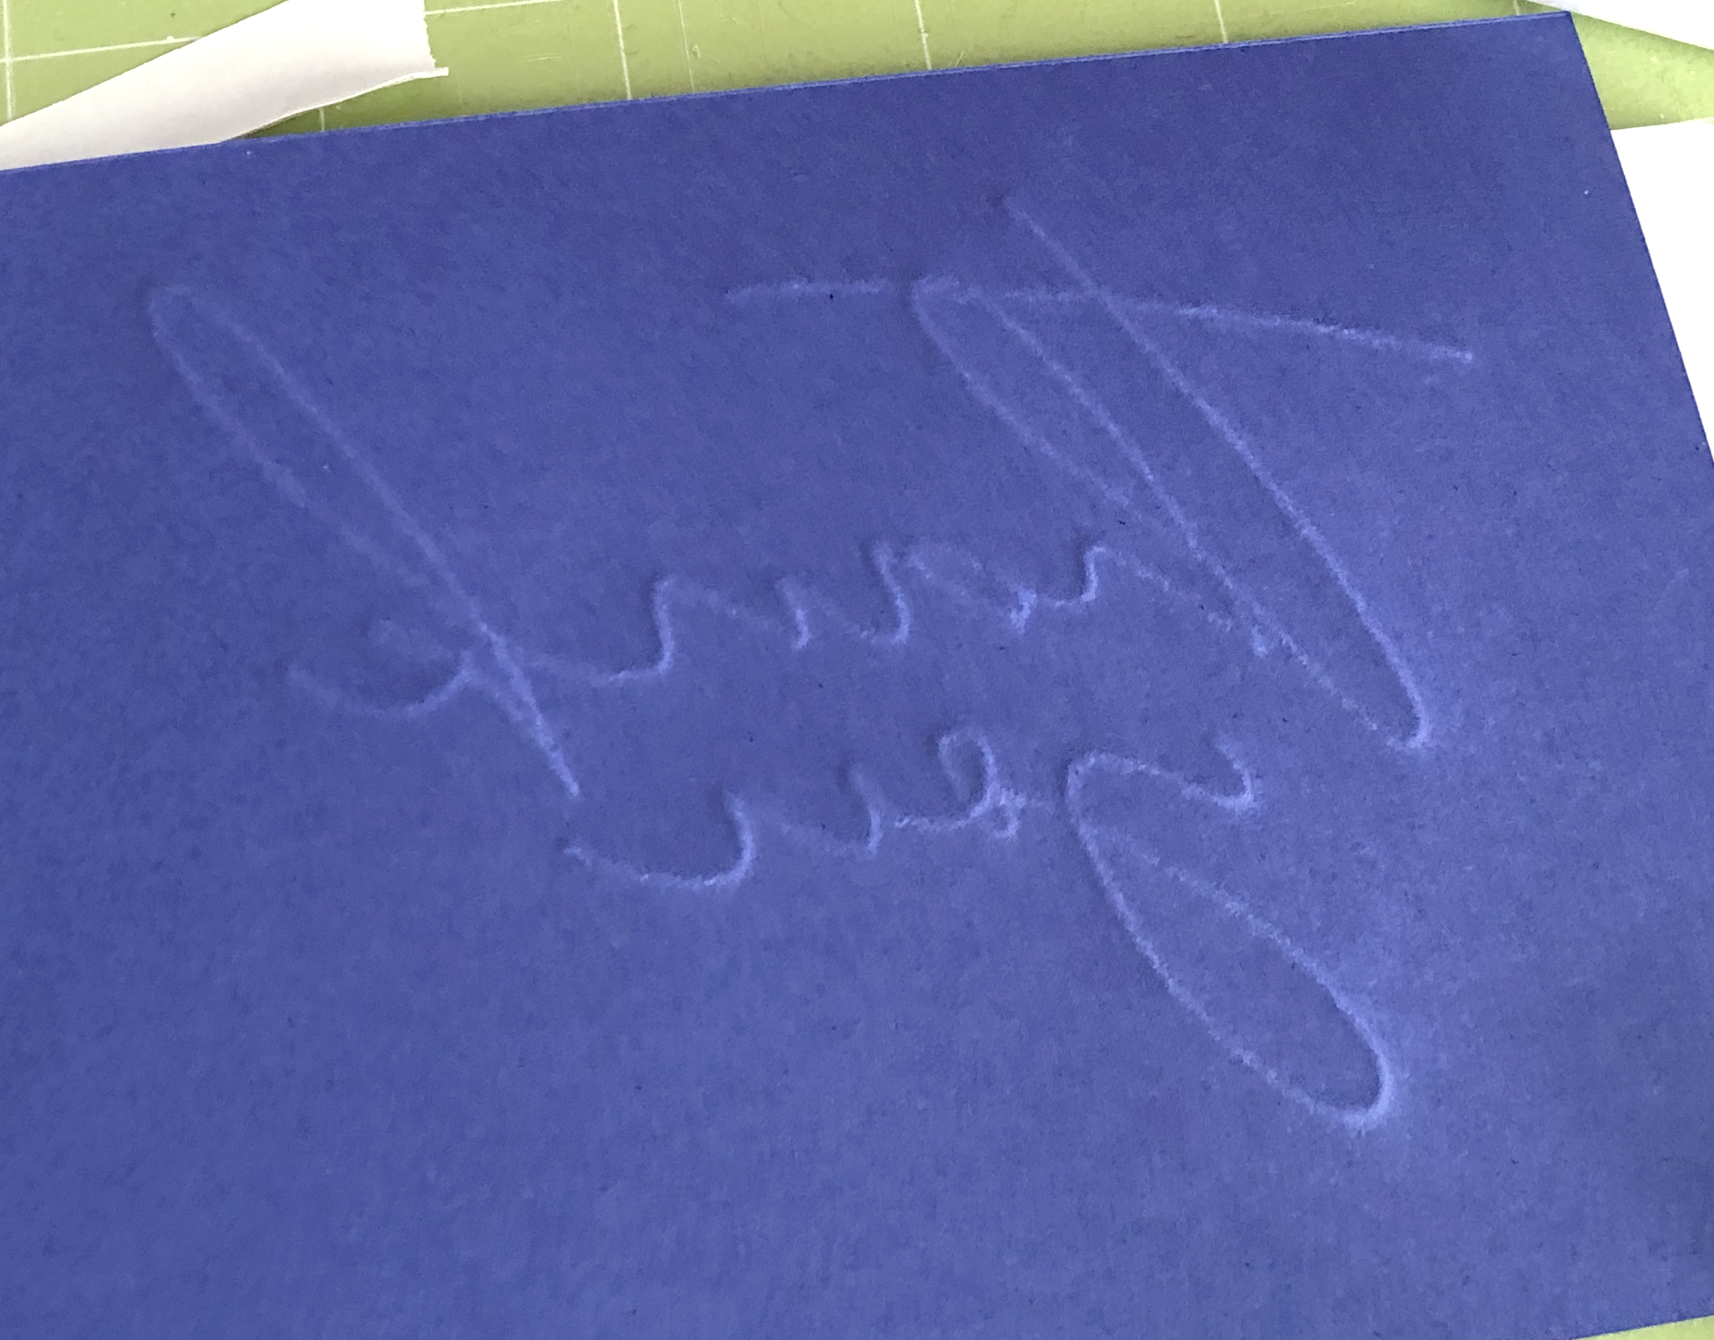
65lb cardstock after 4 passes - back.
You could even mirror your image and use the reverse side as an emboss. Here’s a line art flower that I made, you could use either side! I only did 2 passes with this design. The center of the flower is pretty detailed and started to become weak after the 2nd pass.
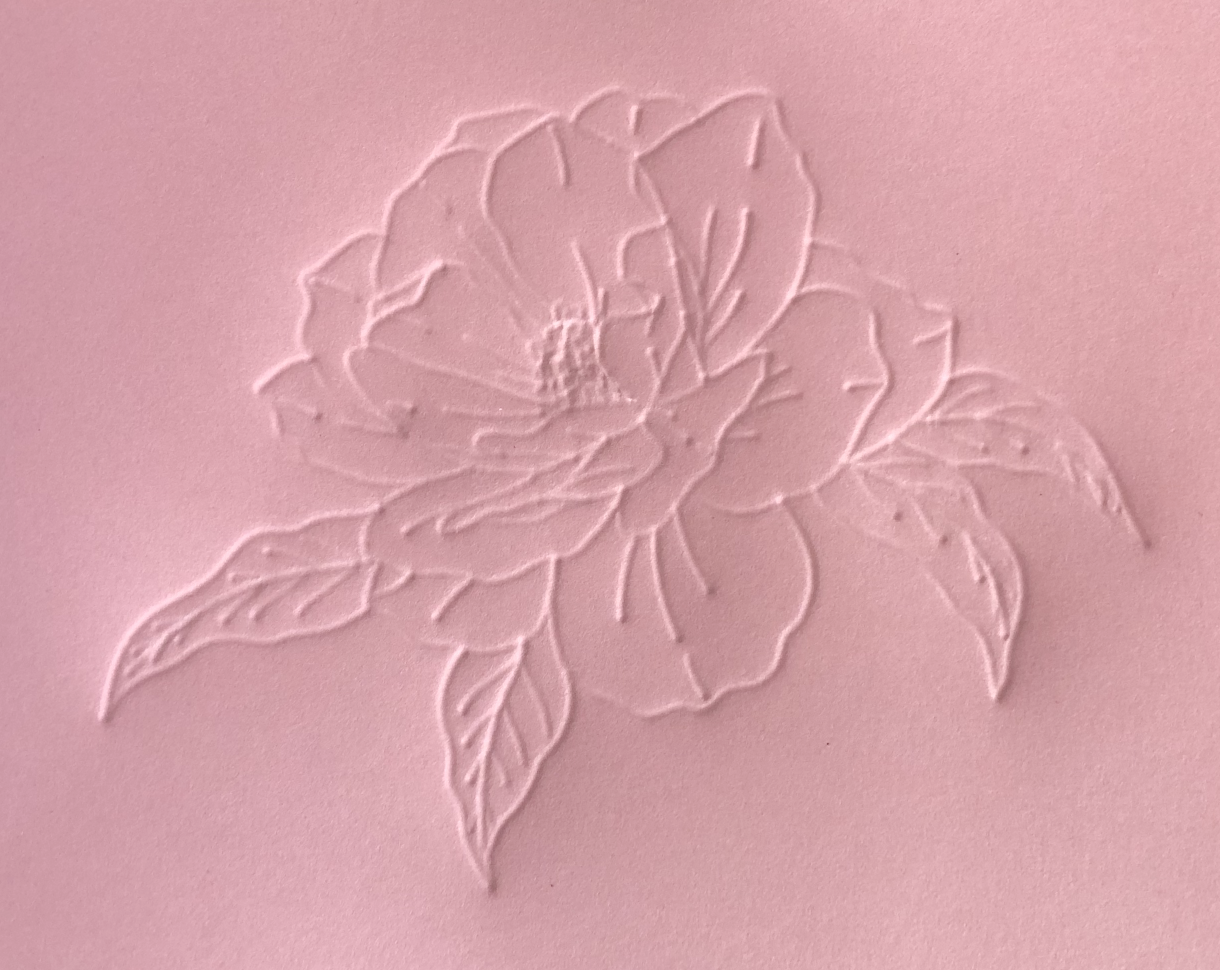
65lb cardstock, 2 passes, front
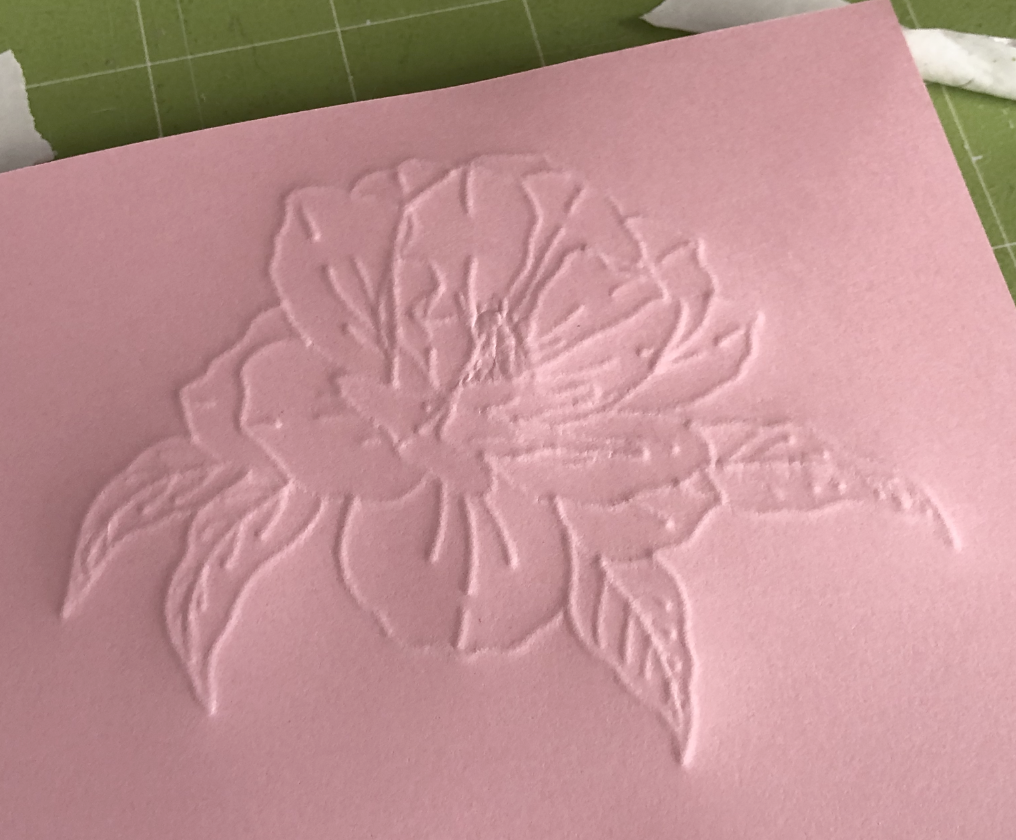
65lb cardstock, 2 passes, back side
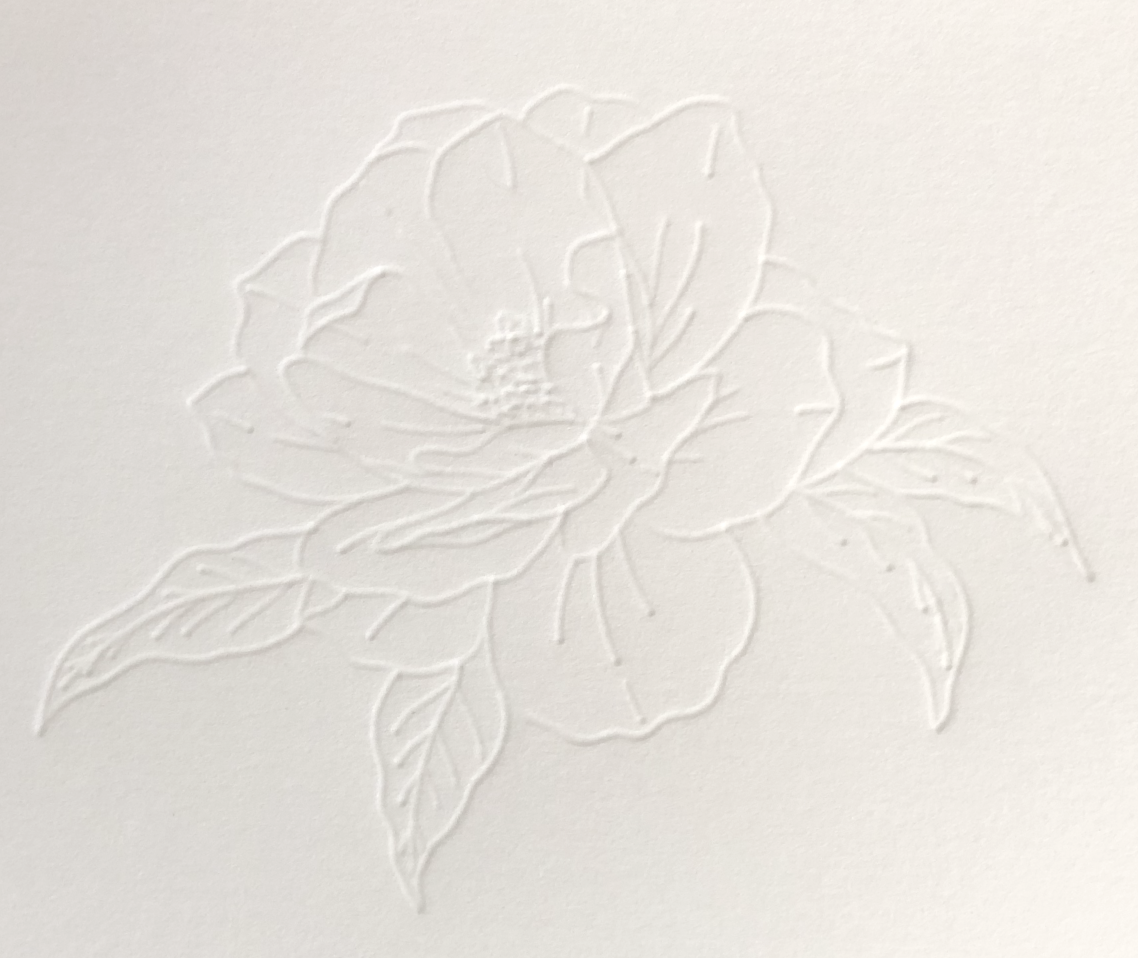
100lb cardstock, 2 passes, front
The deboss tip works so much better with the foam layer between my cardstock and the mat!
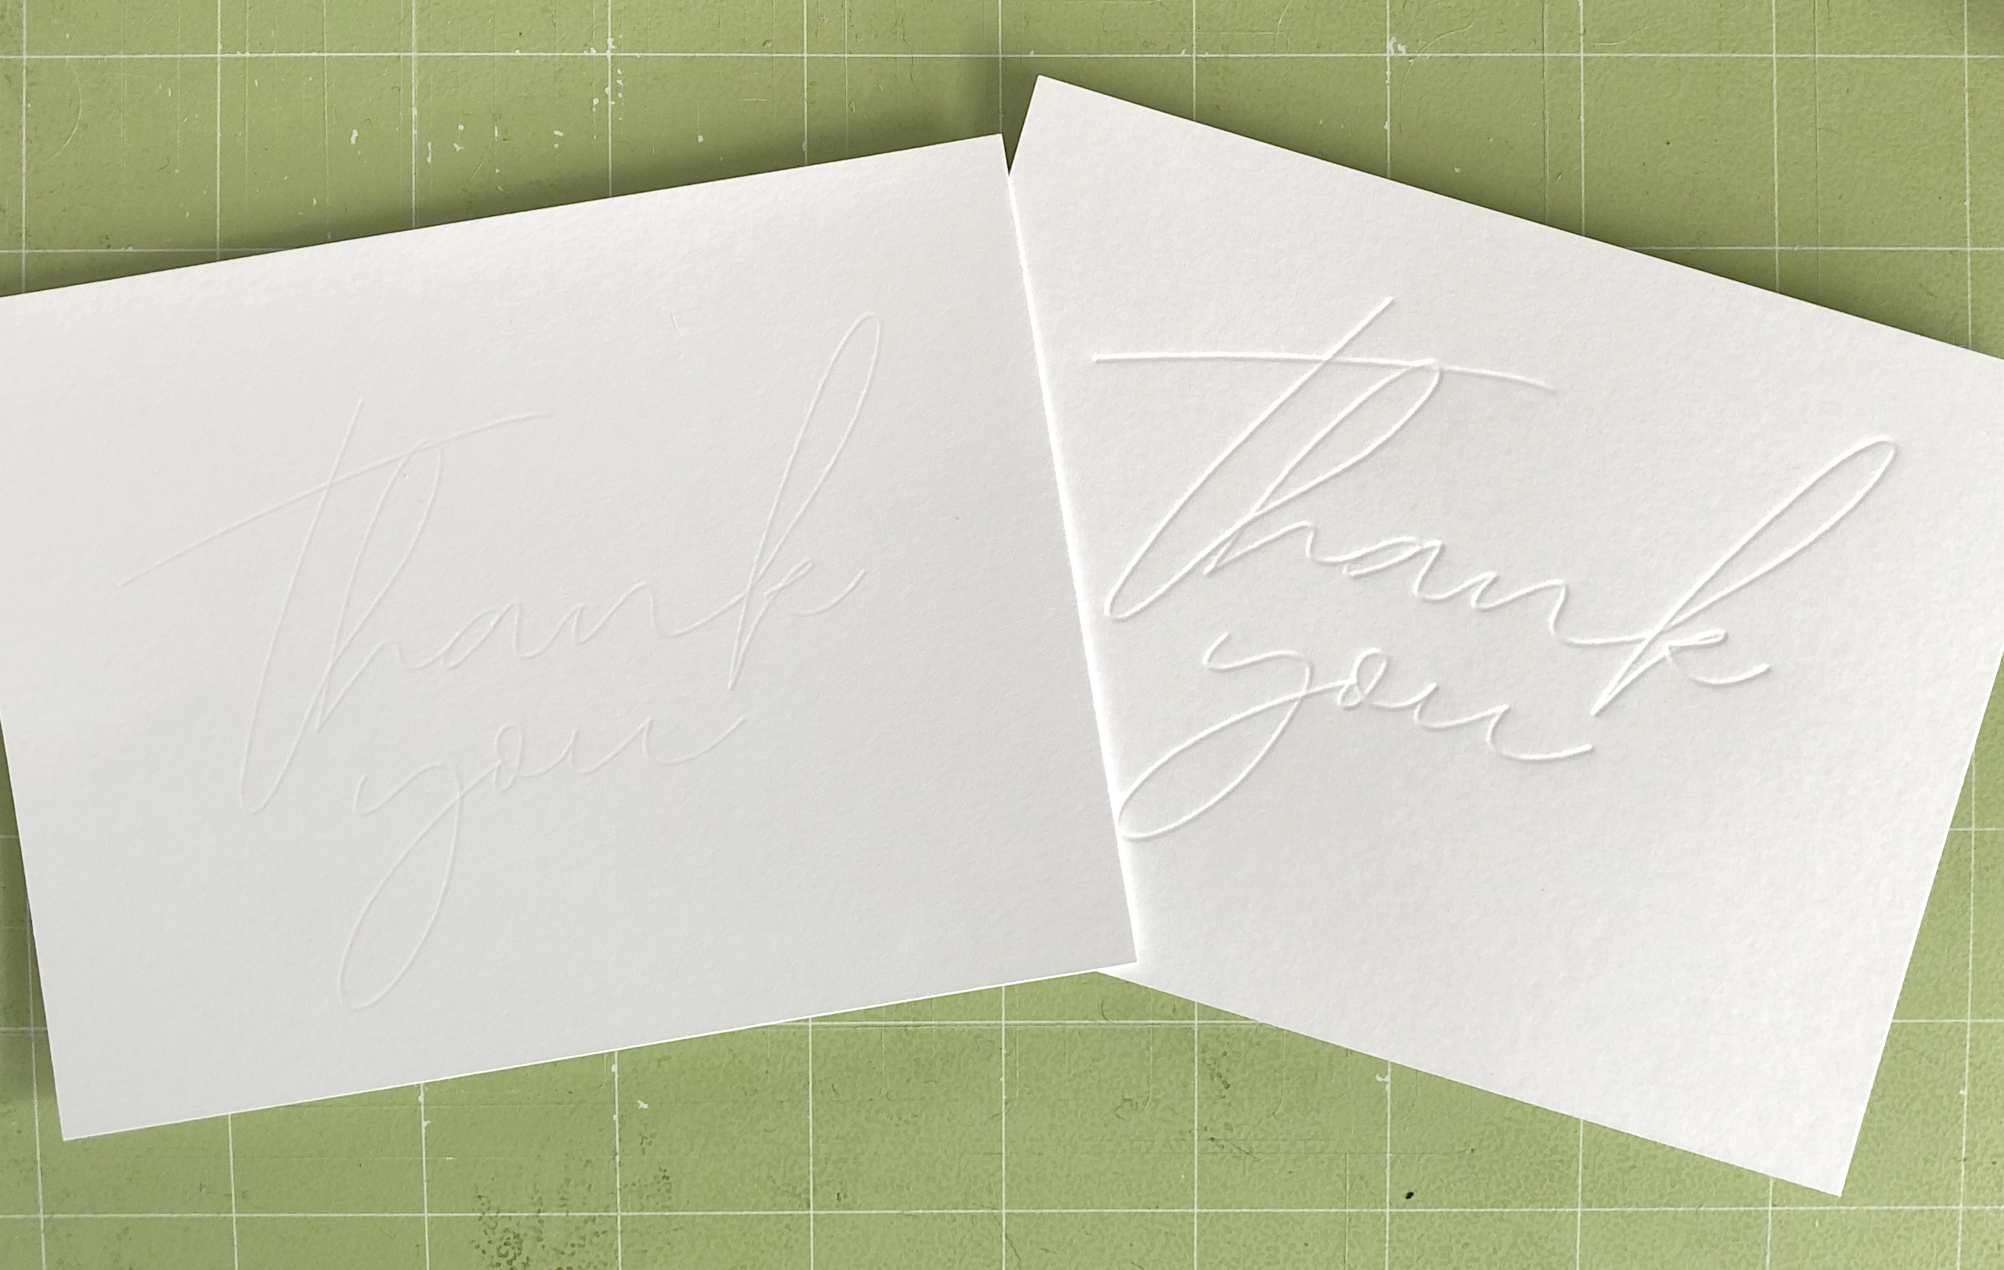
(Left) 4 passes with deboss tip, no craft foam underneath. (Right) 4 passes with deboss tip with 2 mm craft underneath cardstock.
If your foam starts to get too dented from the deboss, you can flip the foam over an use the other side. Or let the foam rest overnight and it will bounce back quite a bit.