
Links in the article below may be affiliate links.
Hi Everyone! A few months ago I finally crossed over and got a Silhouette Portrait 3, and I love it!! It works like I always thought my Cricut should work.
Last week I tried the Spellbinders Glimmer Foil with the WRMK Foil Quill in my Cricut Maker. The results weren’t great on cardstock, but it looked really nice on my clear sticker paper. So this week, I decided to try it on my Portrait 3 because I can adjust the speed and pressure with the Foil Quill, unlike the Cricut.
I have to use the D adapter for the Foil Quill with the Portrait 3, the usual A adapter for Silhouette doesn’t fit the newer machines.
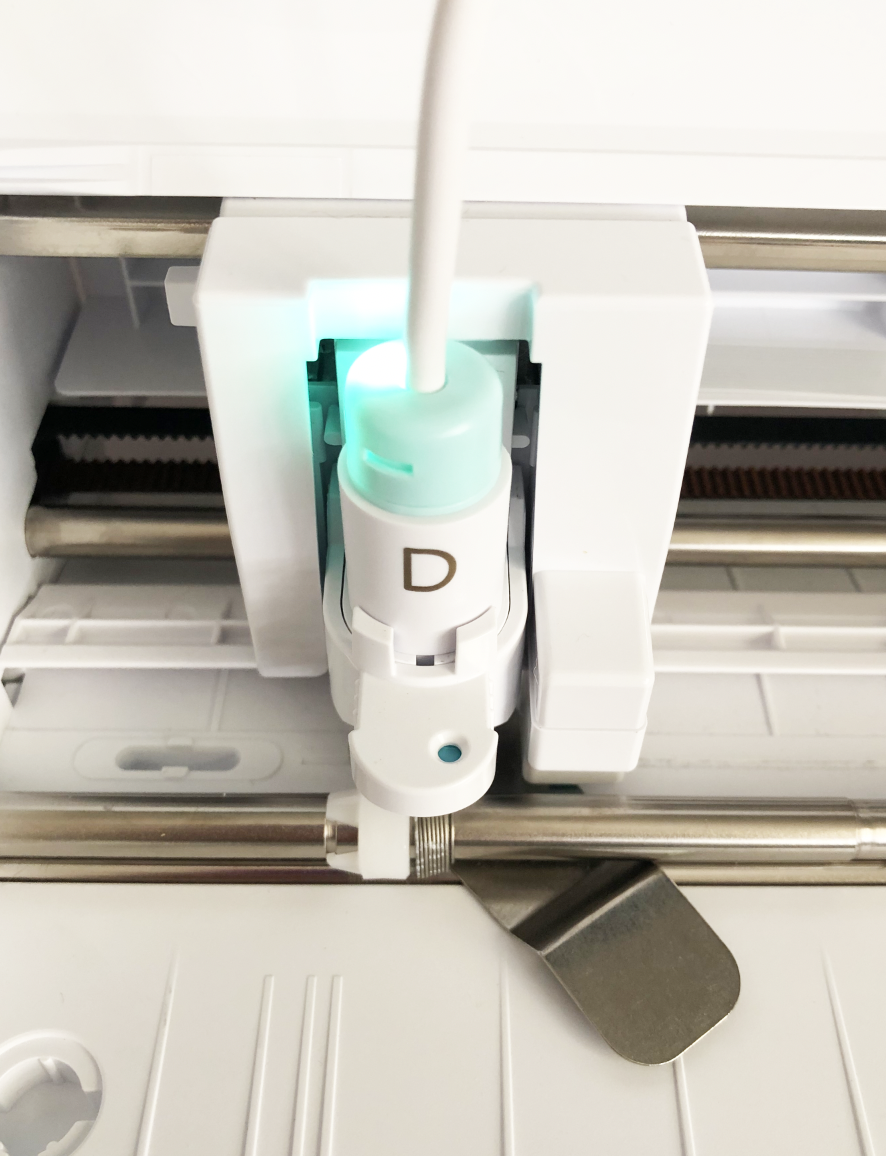
Use Adapter D for the Silhouette Portrait 3.
First I tried the regular copper metallic foil on my favorite black cardstock. I’m using the Standard Grip mat with a Force of 22 and Speed 2. It looks fantastic!
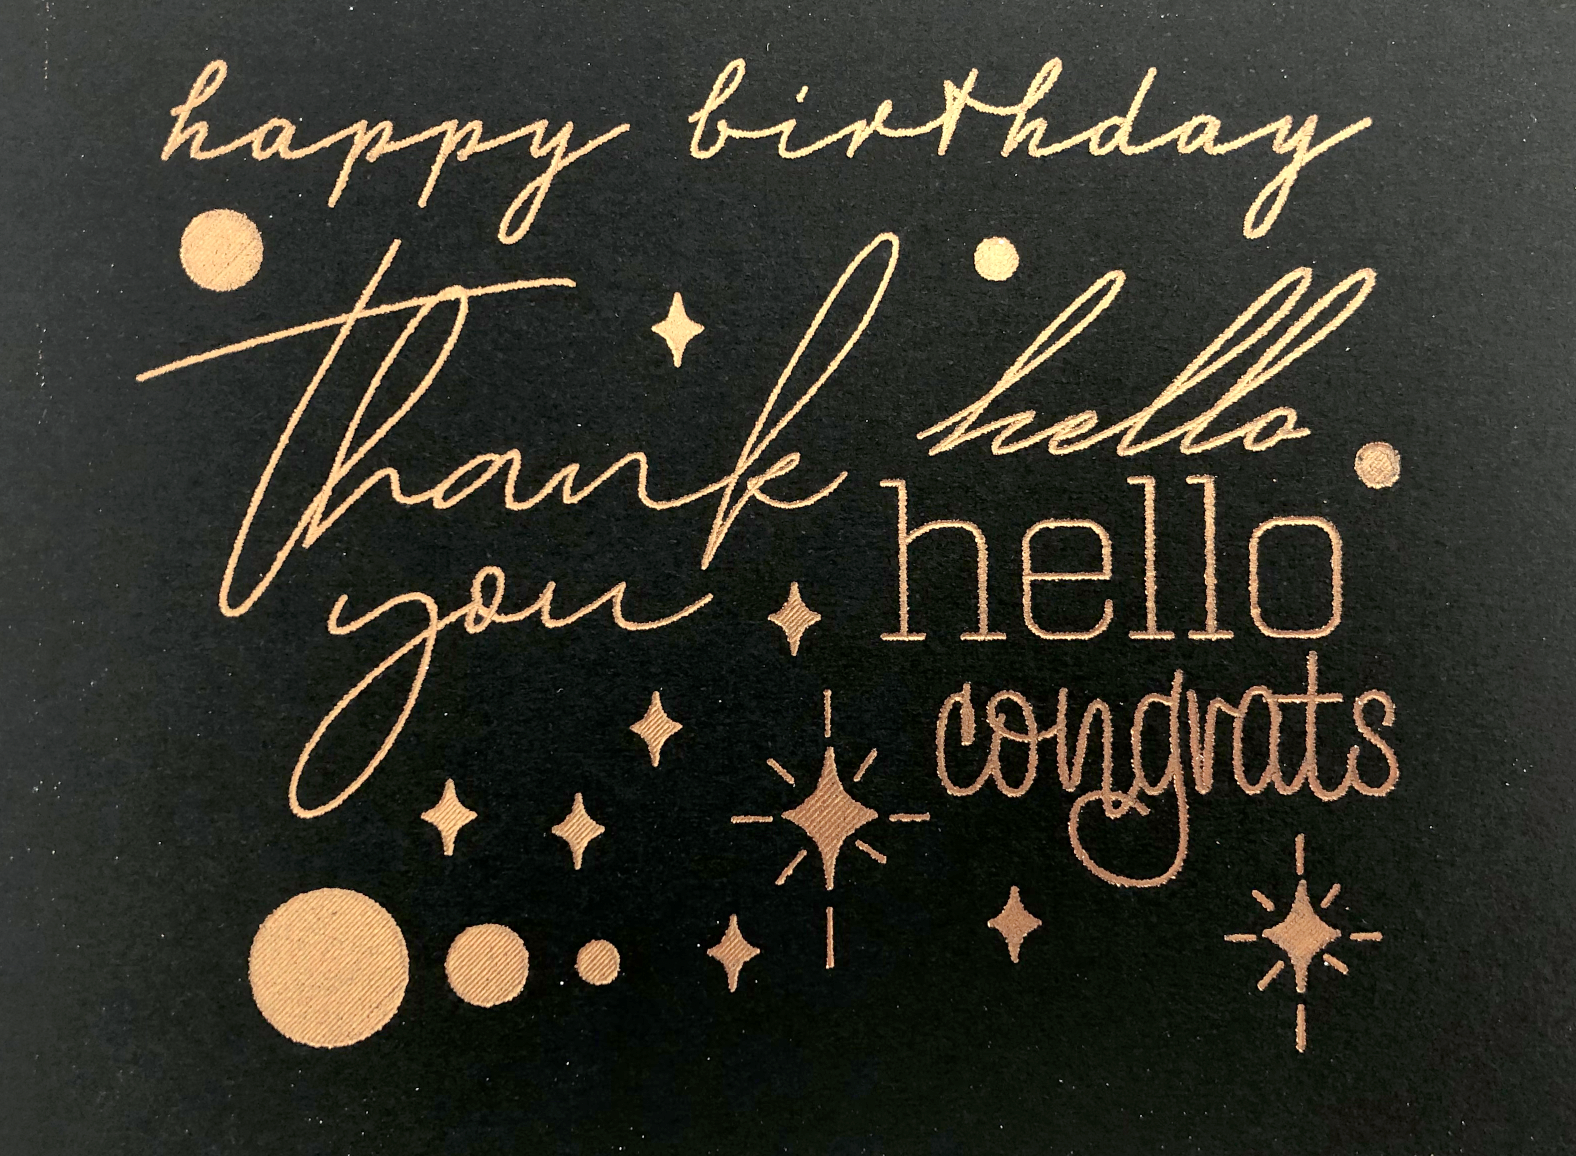
Copper Foil, Medium Foil Quill Tip
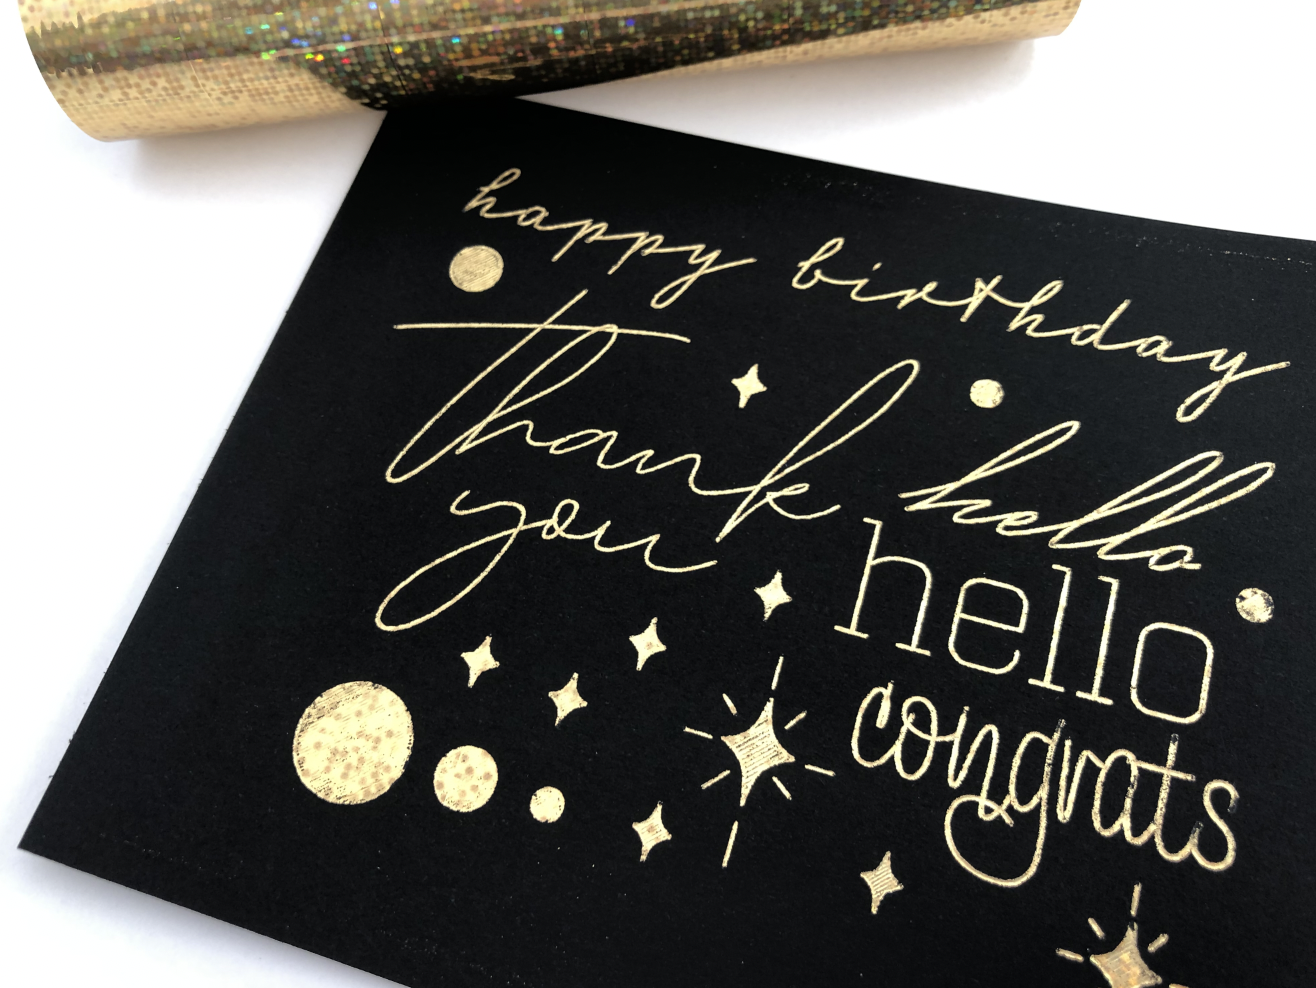
Then I tried the regular gold foil, also on black cardstock. It looks pretty nice, there are a few spots where the foil didn’t stick great, but I might not have had my foil taped down tight enough (very important when foiling).

Gold Foil, Medium Foil Quill Tip
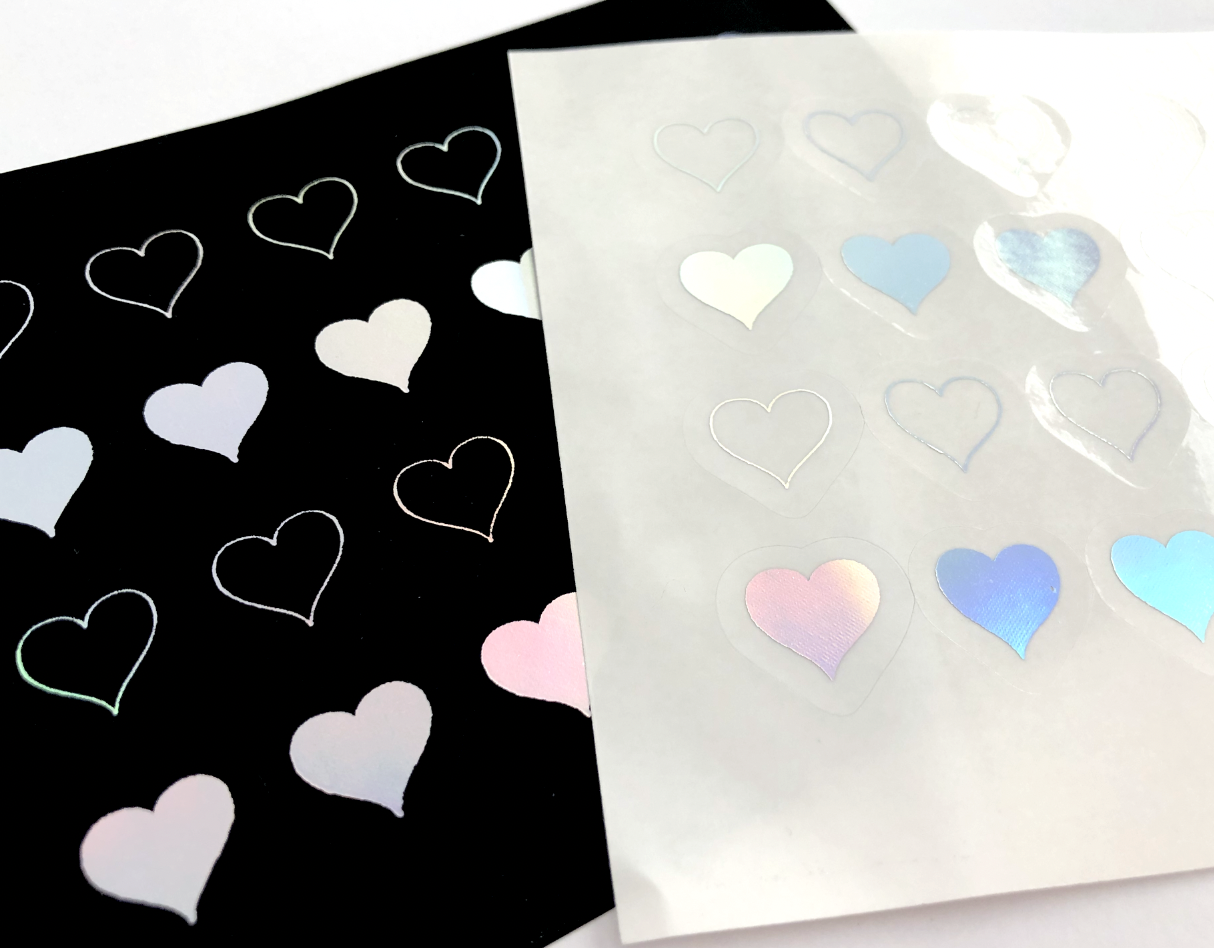
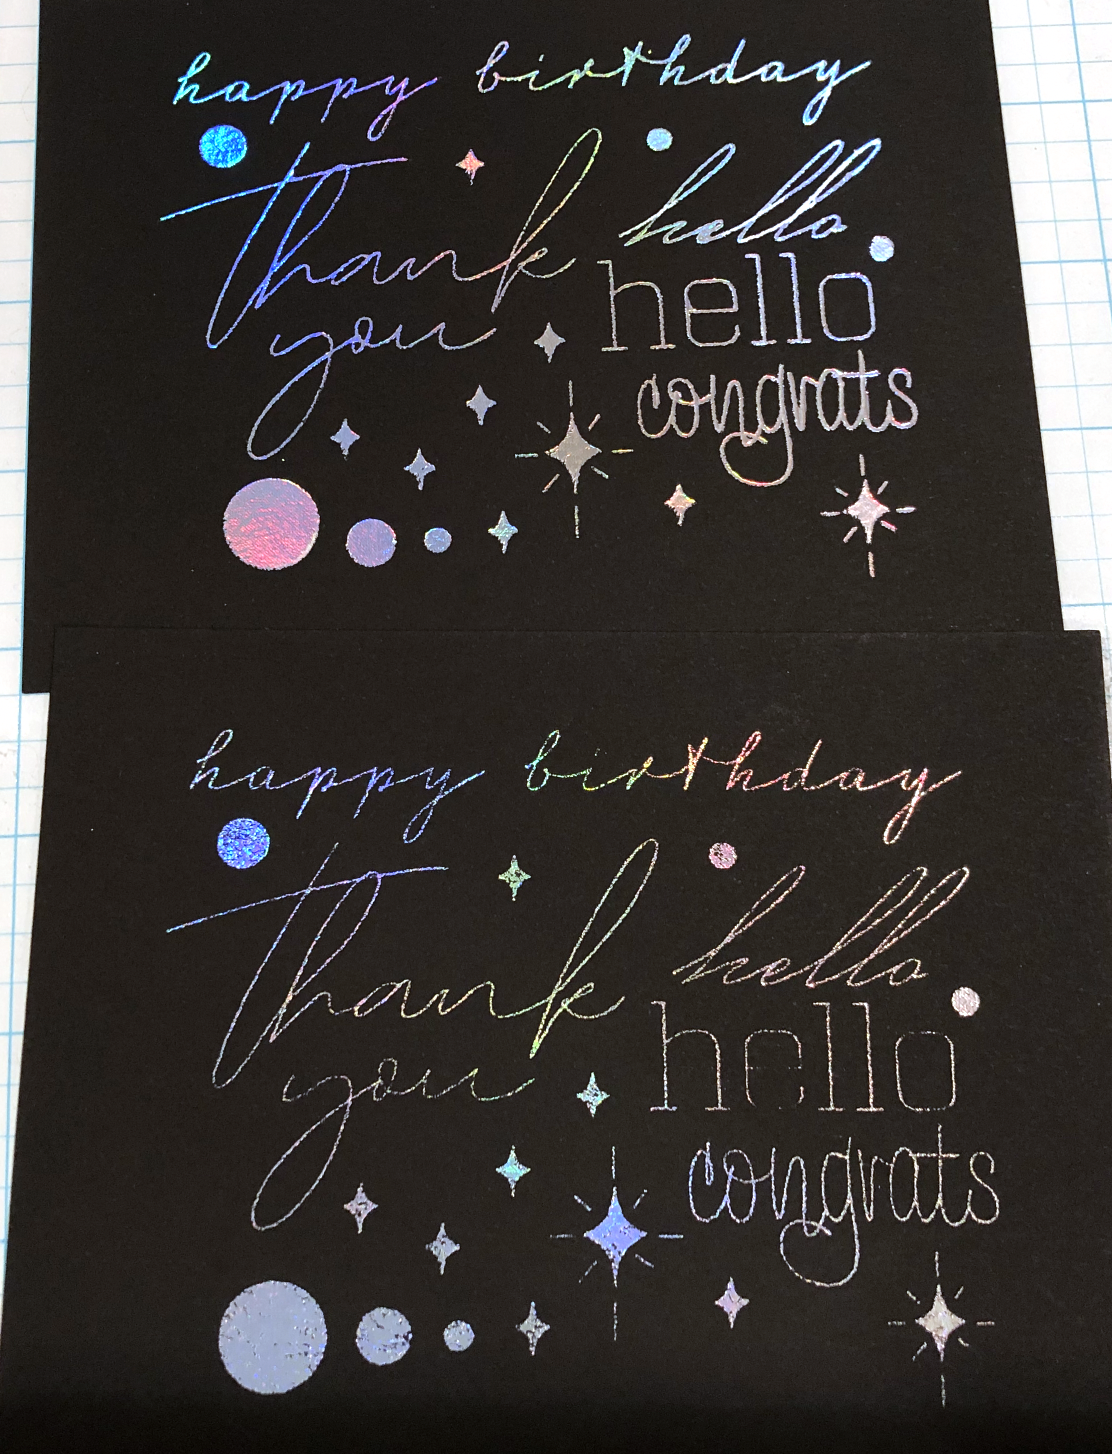
Next I tried the Silver iridescent foil with the same Force of 22, Speed 2. It looks sooooooo much better than it did on my Cricut Maker! There are a couple fo spots where the foil didn’t stick so I’m going to try a few more settings.
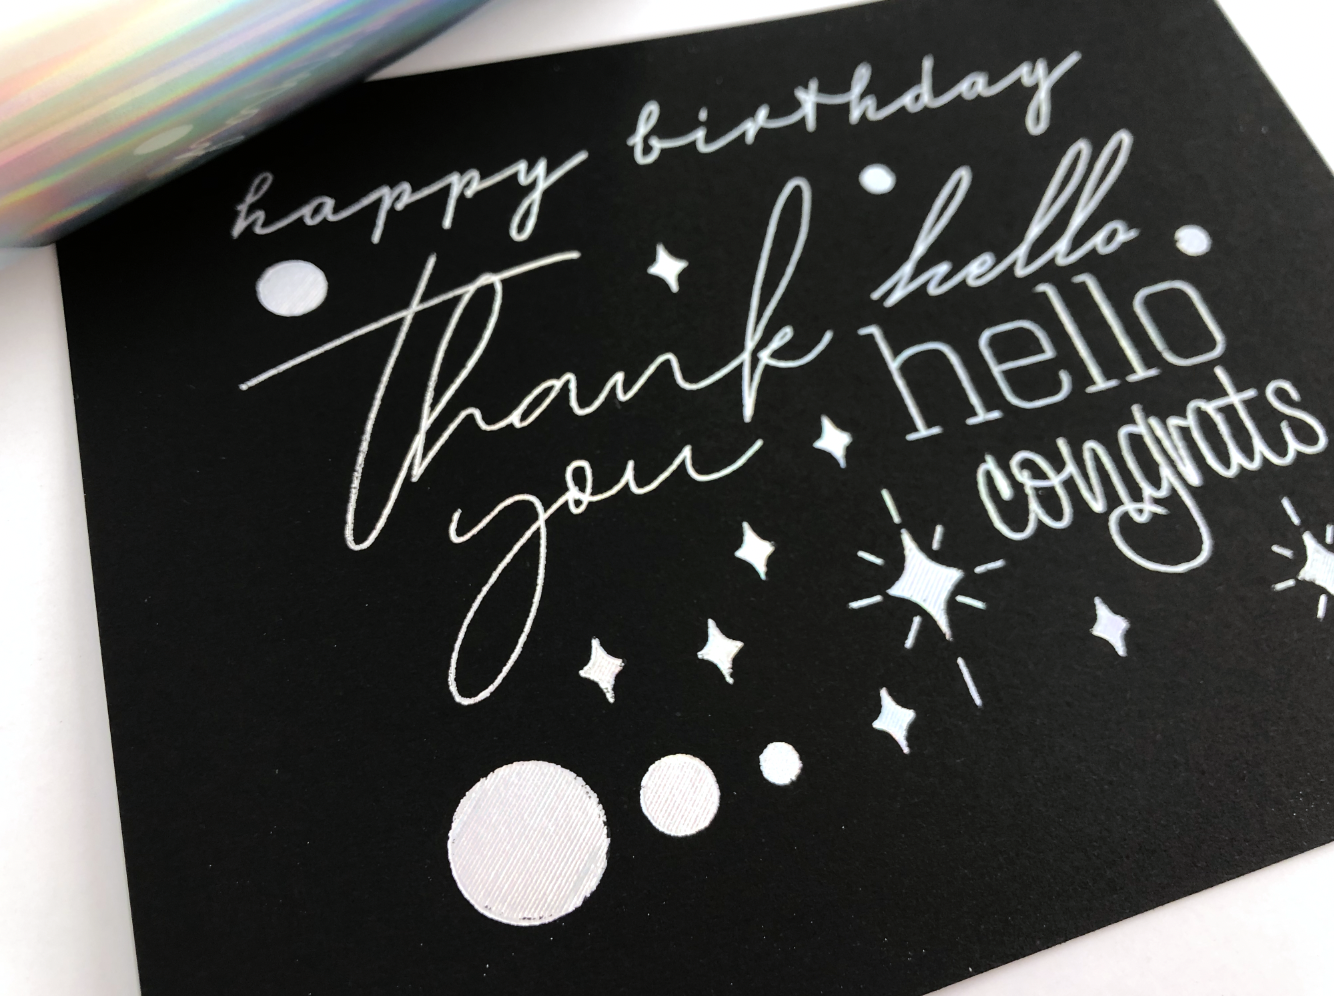
Iridescent Silver, Medium Foil Quill Tip
I tried a bunch of different pressures and speeds, but none of them are as good as the Force 22, speed 2.
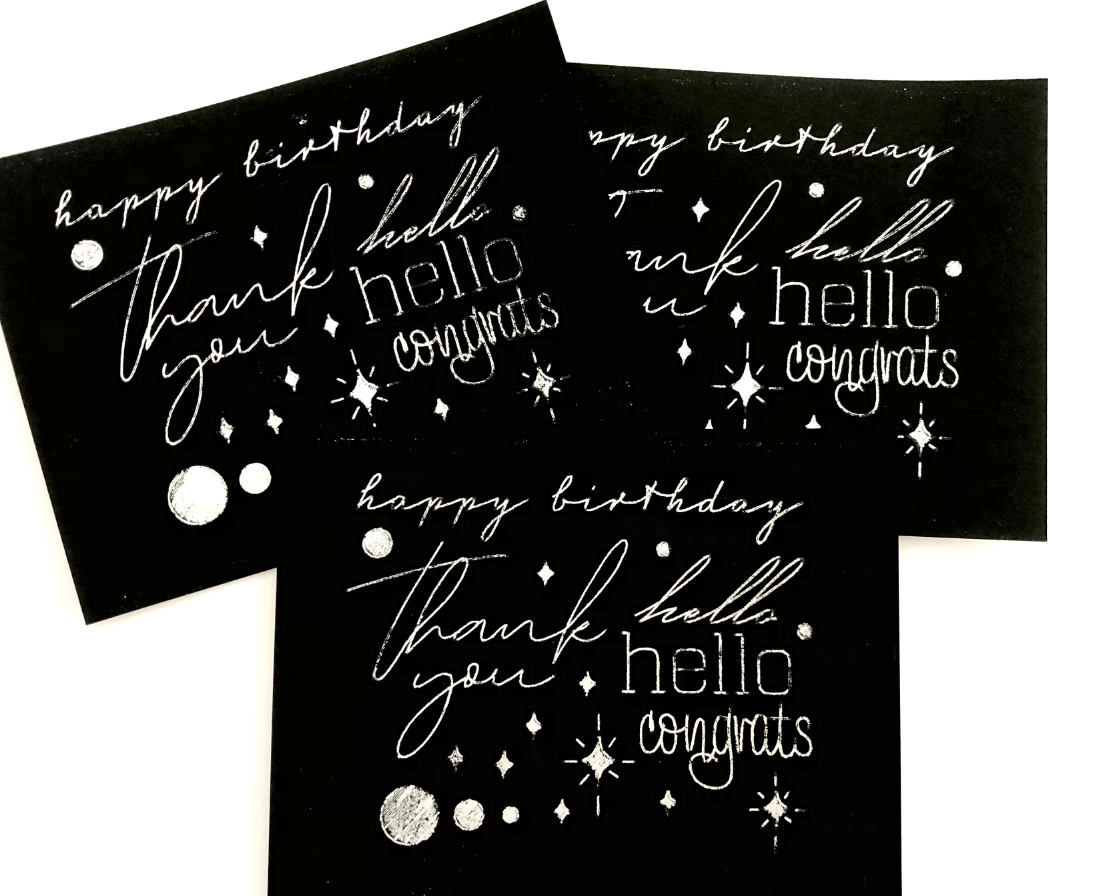
Iridescent Silver, Medium Tip, different pressures and speeds
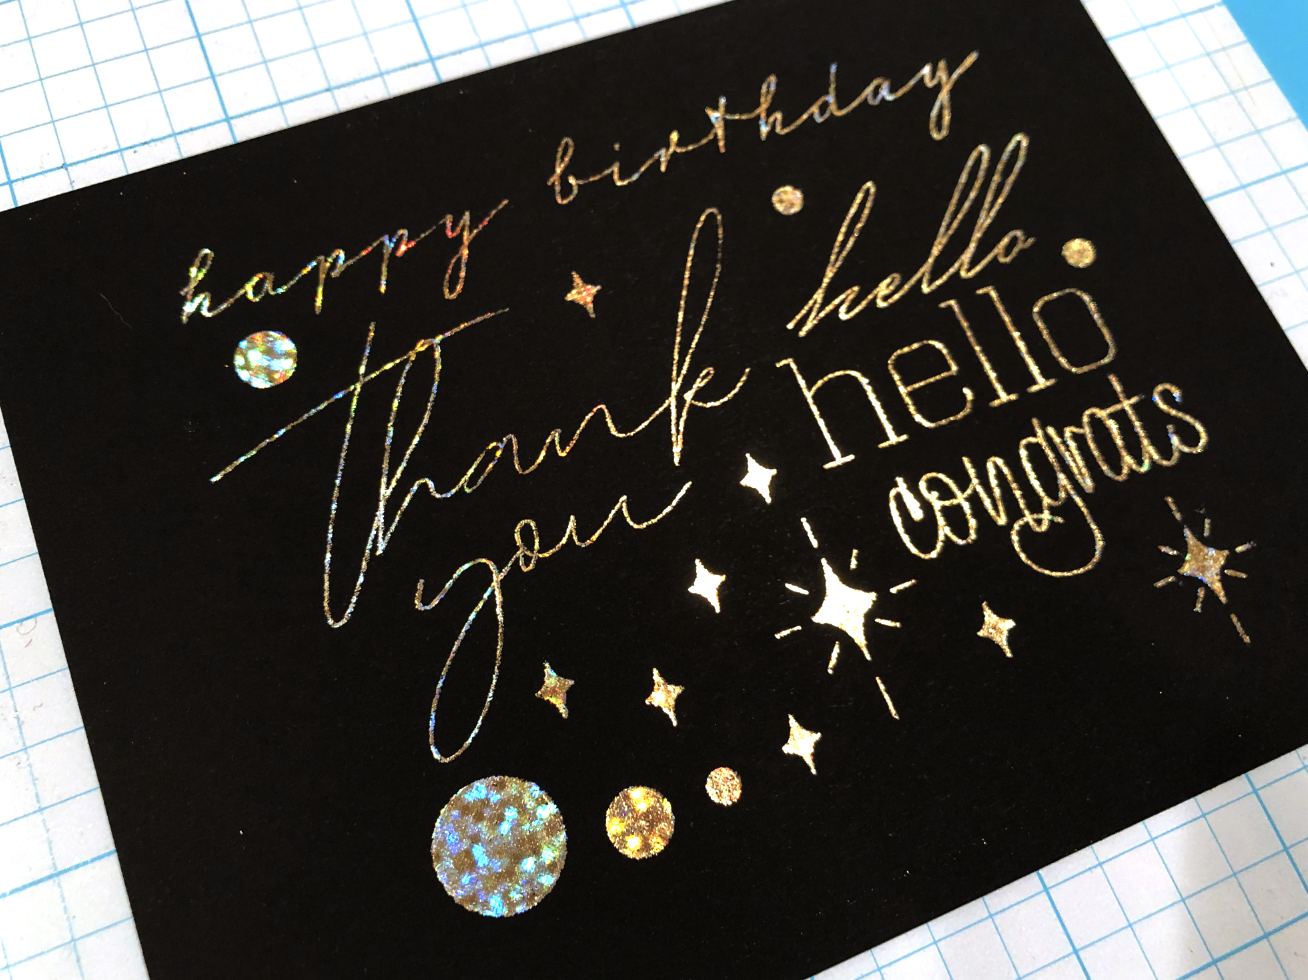
I also tried the gold holographic foil, it did much better on the the Portrait 3 than with my Cricut Maker, but there are still a few spots where it didn’t stick to the cardstock.
Gold Holographic Foil, Medium Foil Quill Tip
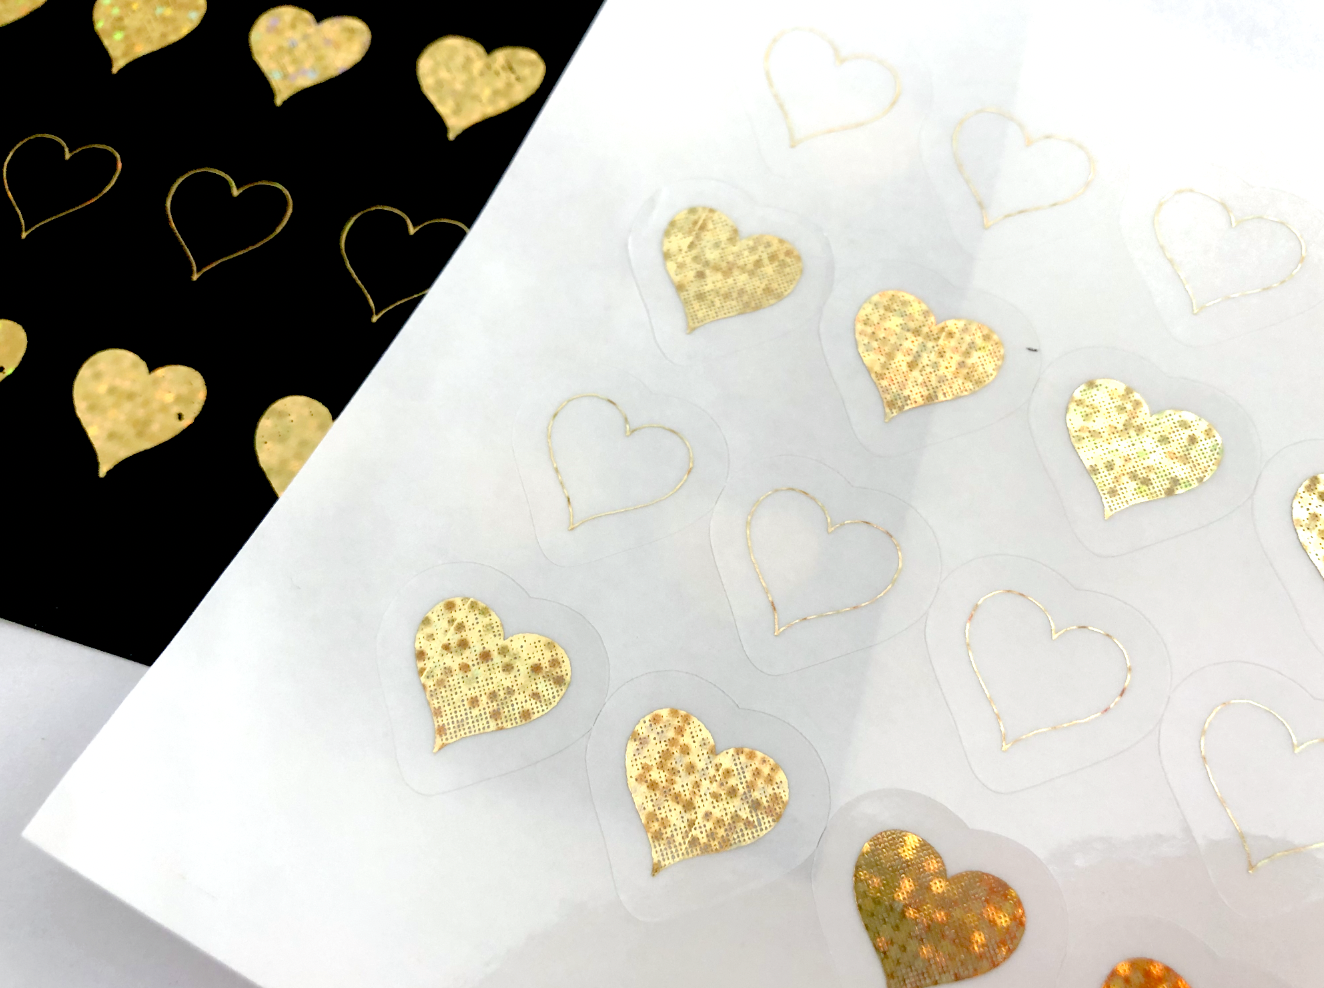
Then I wanted to try it on some black vinyl for stickers. It came out pretty good, but there are some gaps in the solid hearts.
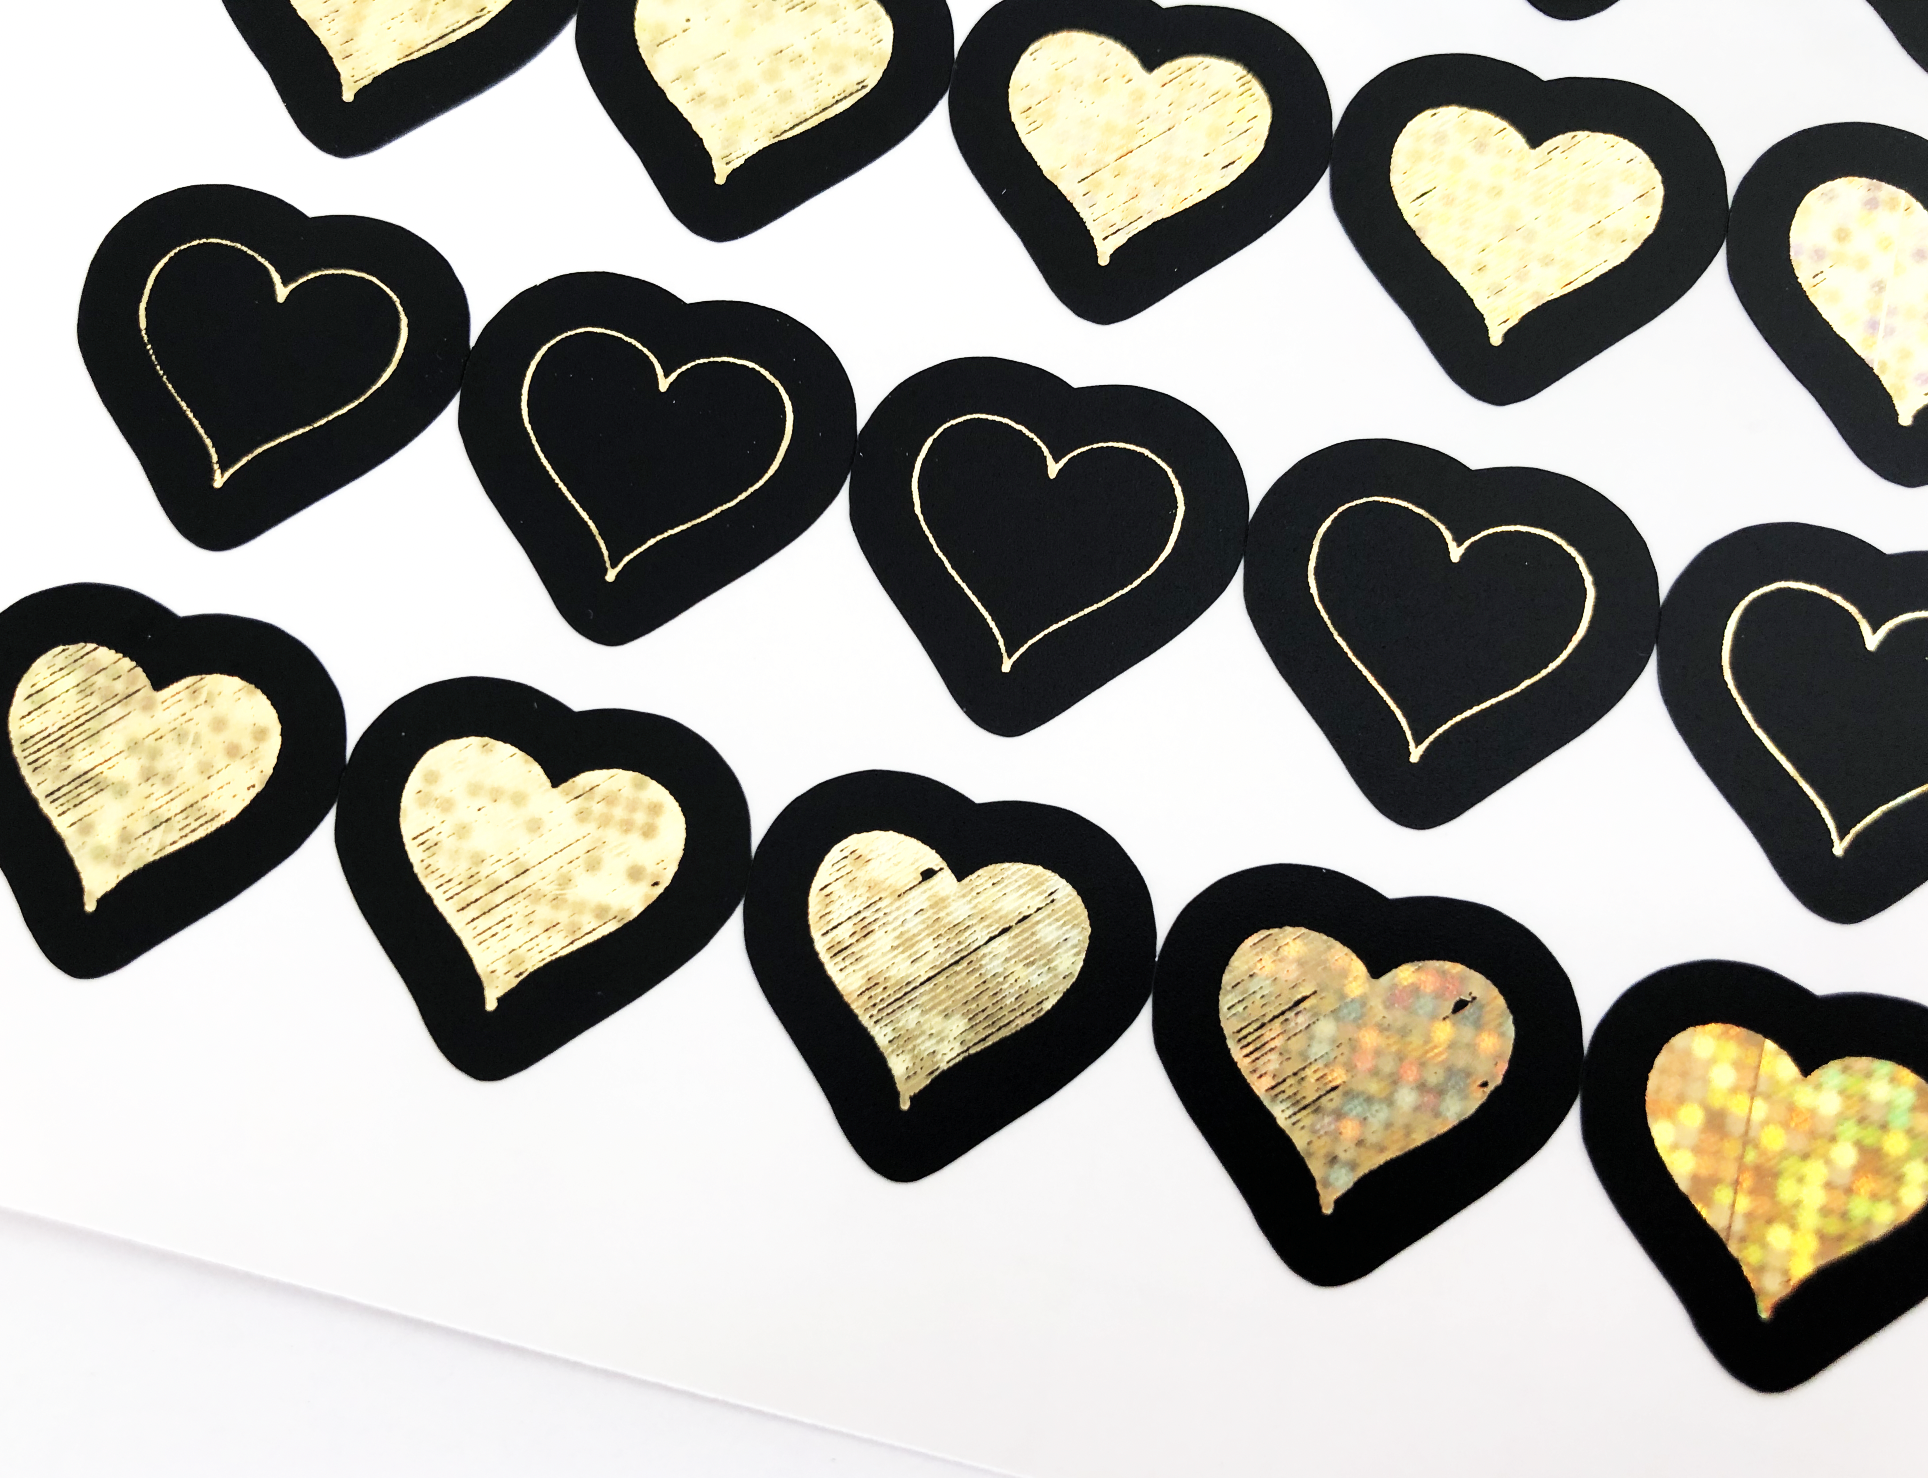
Gold Holographic Foil, Medium Tip on Black Adhesive Vinyl
I changed the fill for the solid hearts from just diagonal lines to a crosshatch fill. Which is SUPER EASY to do in Silhouette Studio, and the results are much better!
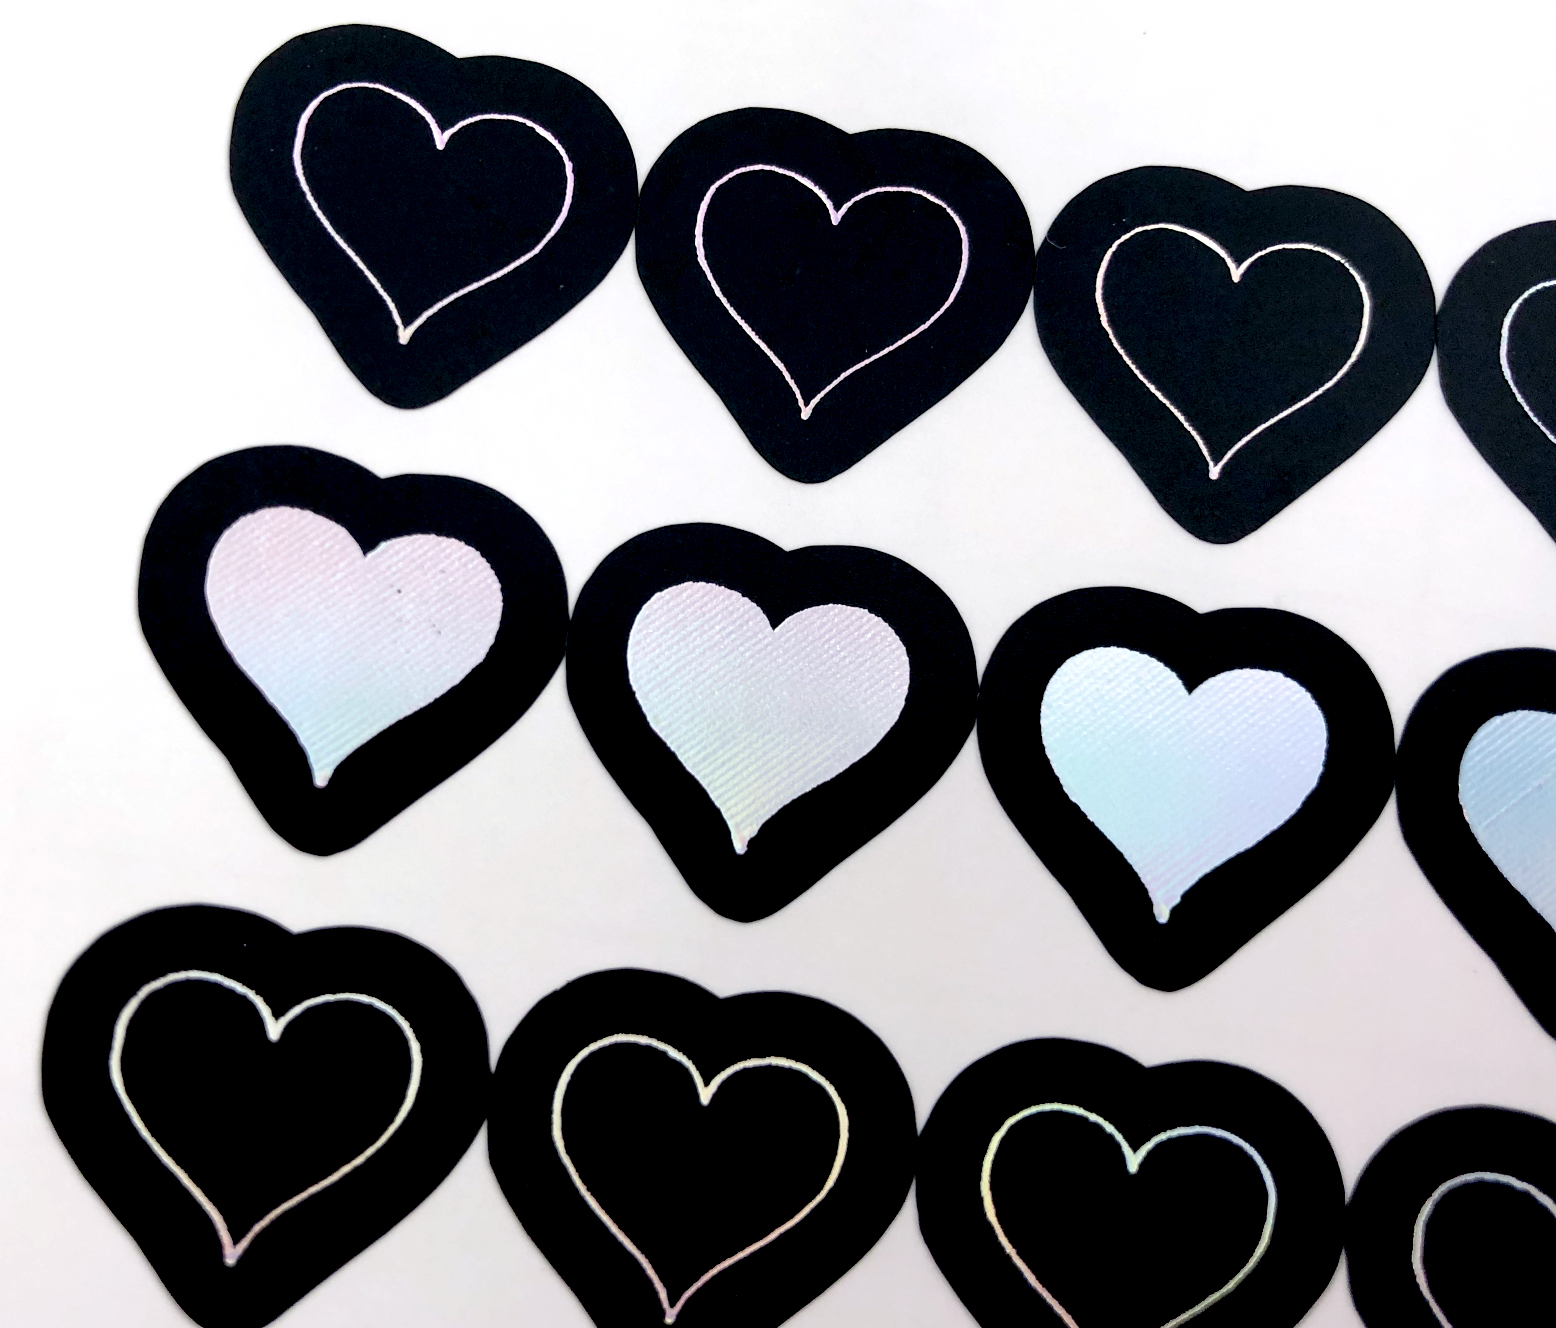
Silver Iridescent Foil, Medium Tip on Black Adhesive Vinyl
I wanted to try using the Light Grip mat since the backing of the vinyl sticks a lot to the Standard Grip mat. The Light Grip mat is slightly thicker than the Standard Grip and it’s just enough difference that no matter what force I use, it’s too much and it even melted my vinyl.
Silver Iridescent Foil, Medium Tip on Black Adhesive Vinyl using Light Grip Mat
So I switched back to the Standard Mat and it works much better! There are still some little gaps where the foil didn’t cover, so I decided to do a test with the Bold Tip Quill to see if it gets better coverage with the filled shapes.
Gold Holographic Foil, Medium Tip using crosshatch fill
Yes! The Bold Tip does an even better job with the filled shapes!
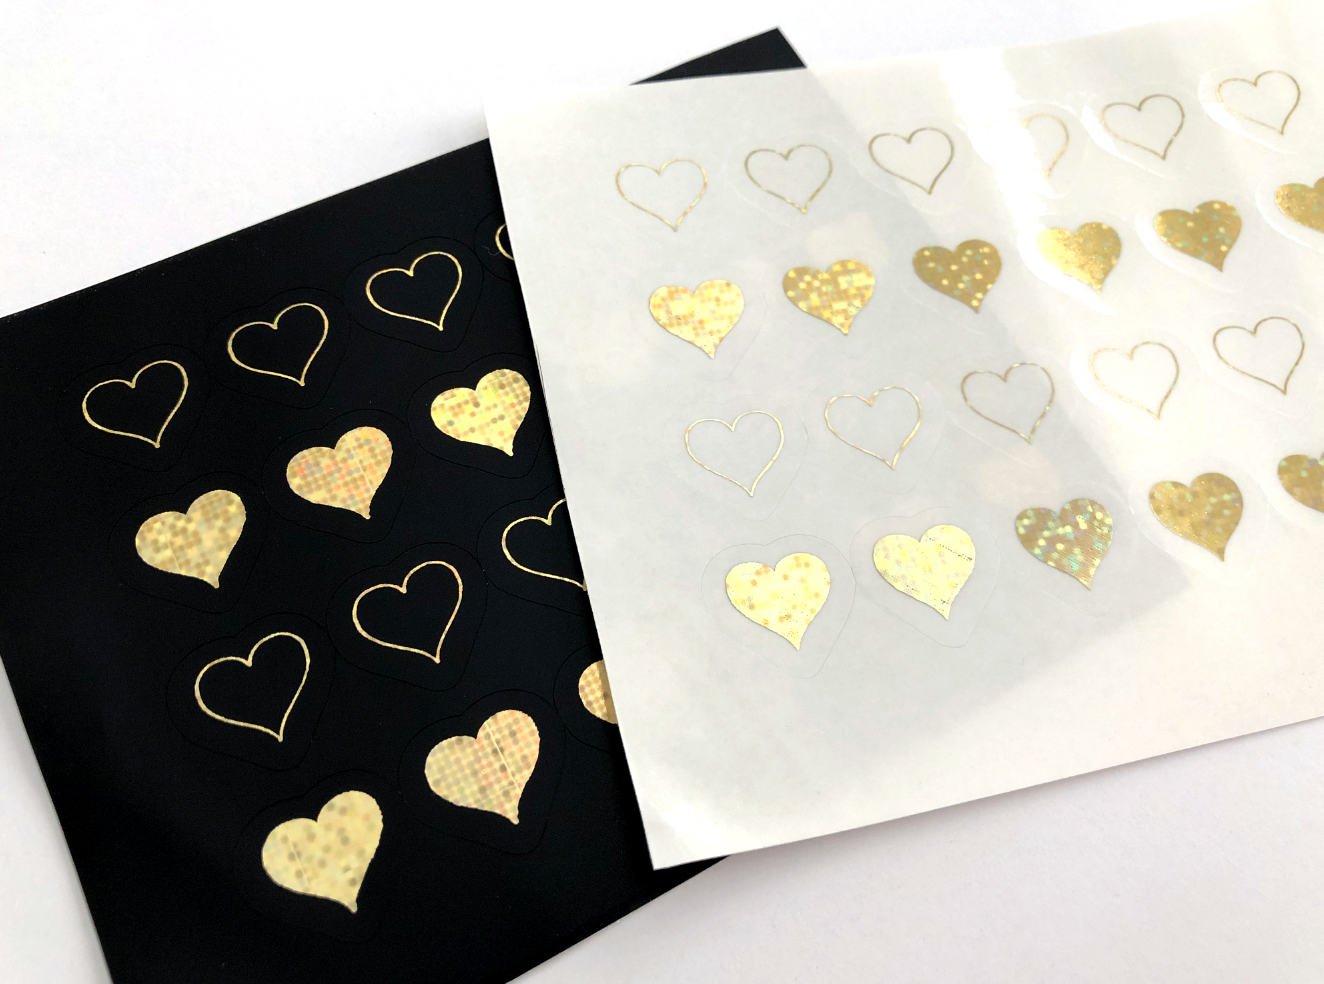
Gold Holographic Foil, Bold Tip using crosshatch fill
Silver Iridescent Foil, Bold Tip using crosshatch fill
One final test with the Bold Tip on cardstock. I ended up having to switch my mat to the Light grip mat, I wasn't getting enough pressure with the Standard mat. The Bold Tip gives a really nice flat fill, but I think I like the Medium tip better for lettering.
Gold Holographic Foil, Medium Tip using crosshatch fill, Light Grip Mat
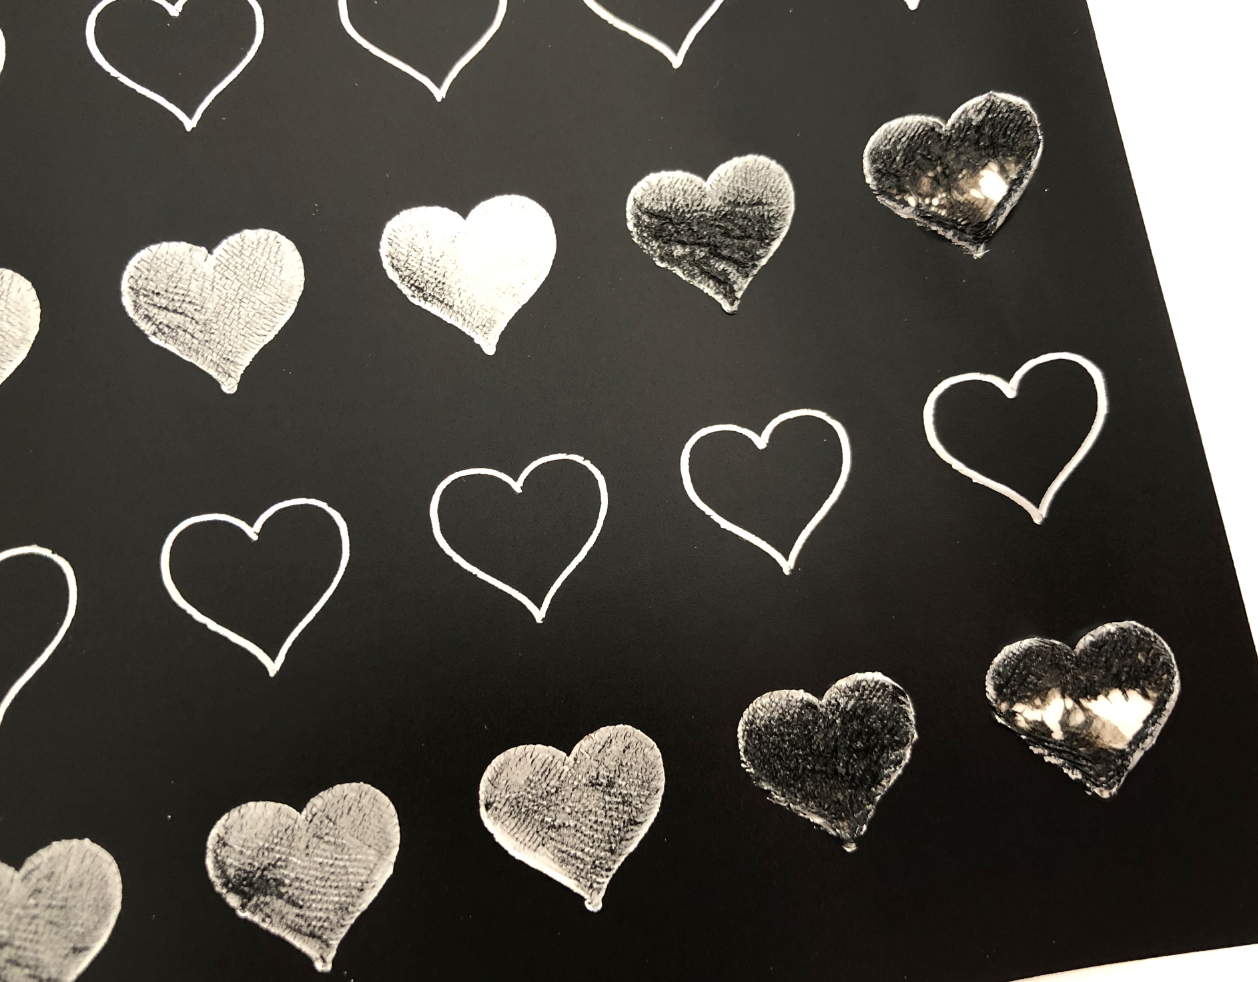
An important lesson learned this week is that the cutting mat can have a really big impact on the outcome of the project!
Silver Iridescent Foil, Bold Tip using crosshatch fill. Top is using the Light Grip Mat. Bottom is using the Standard Grip Mat.