Silhouette

Foiling with Glue Pens

Hi Everyone!

This week I want to share a little foiling technique that doesn’t require any heat or a cutting mat! I will be using my Silhouette Portrait 3, a glue pen, and some reactive foil (I’ll be using a Minc brand roll of foil that I already have).

I’ve been working on some holiday single line SVG files for gift tags and cards, so I want to test them out using this technique.

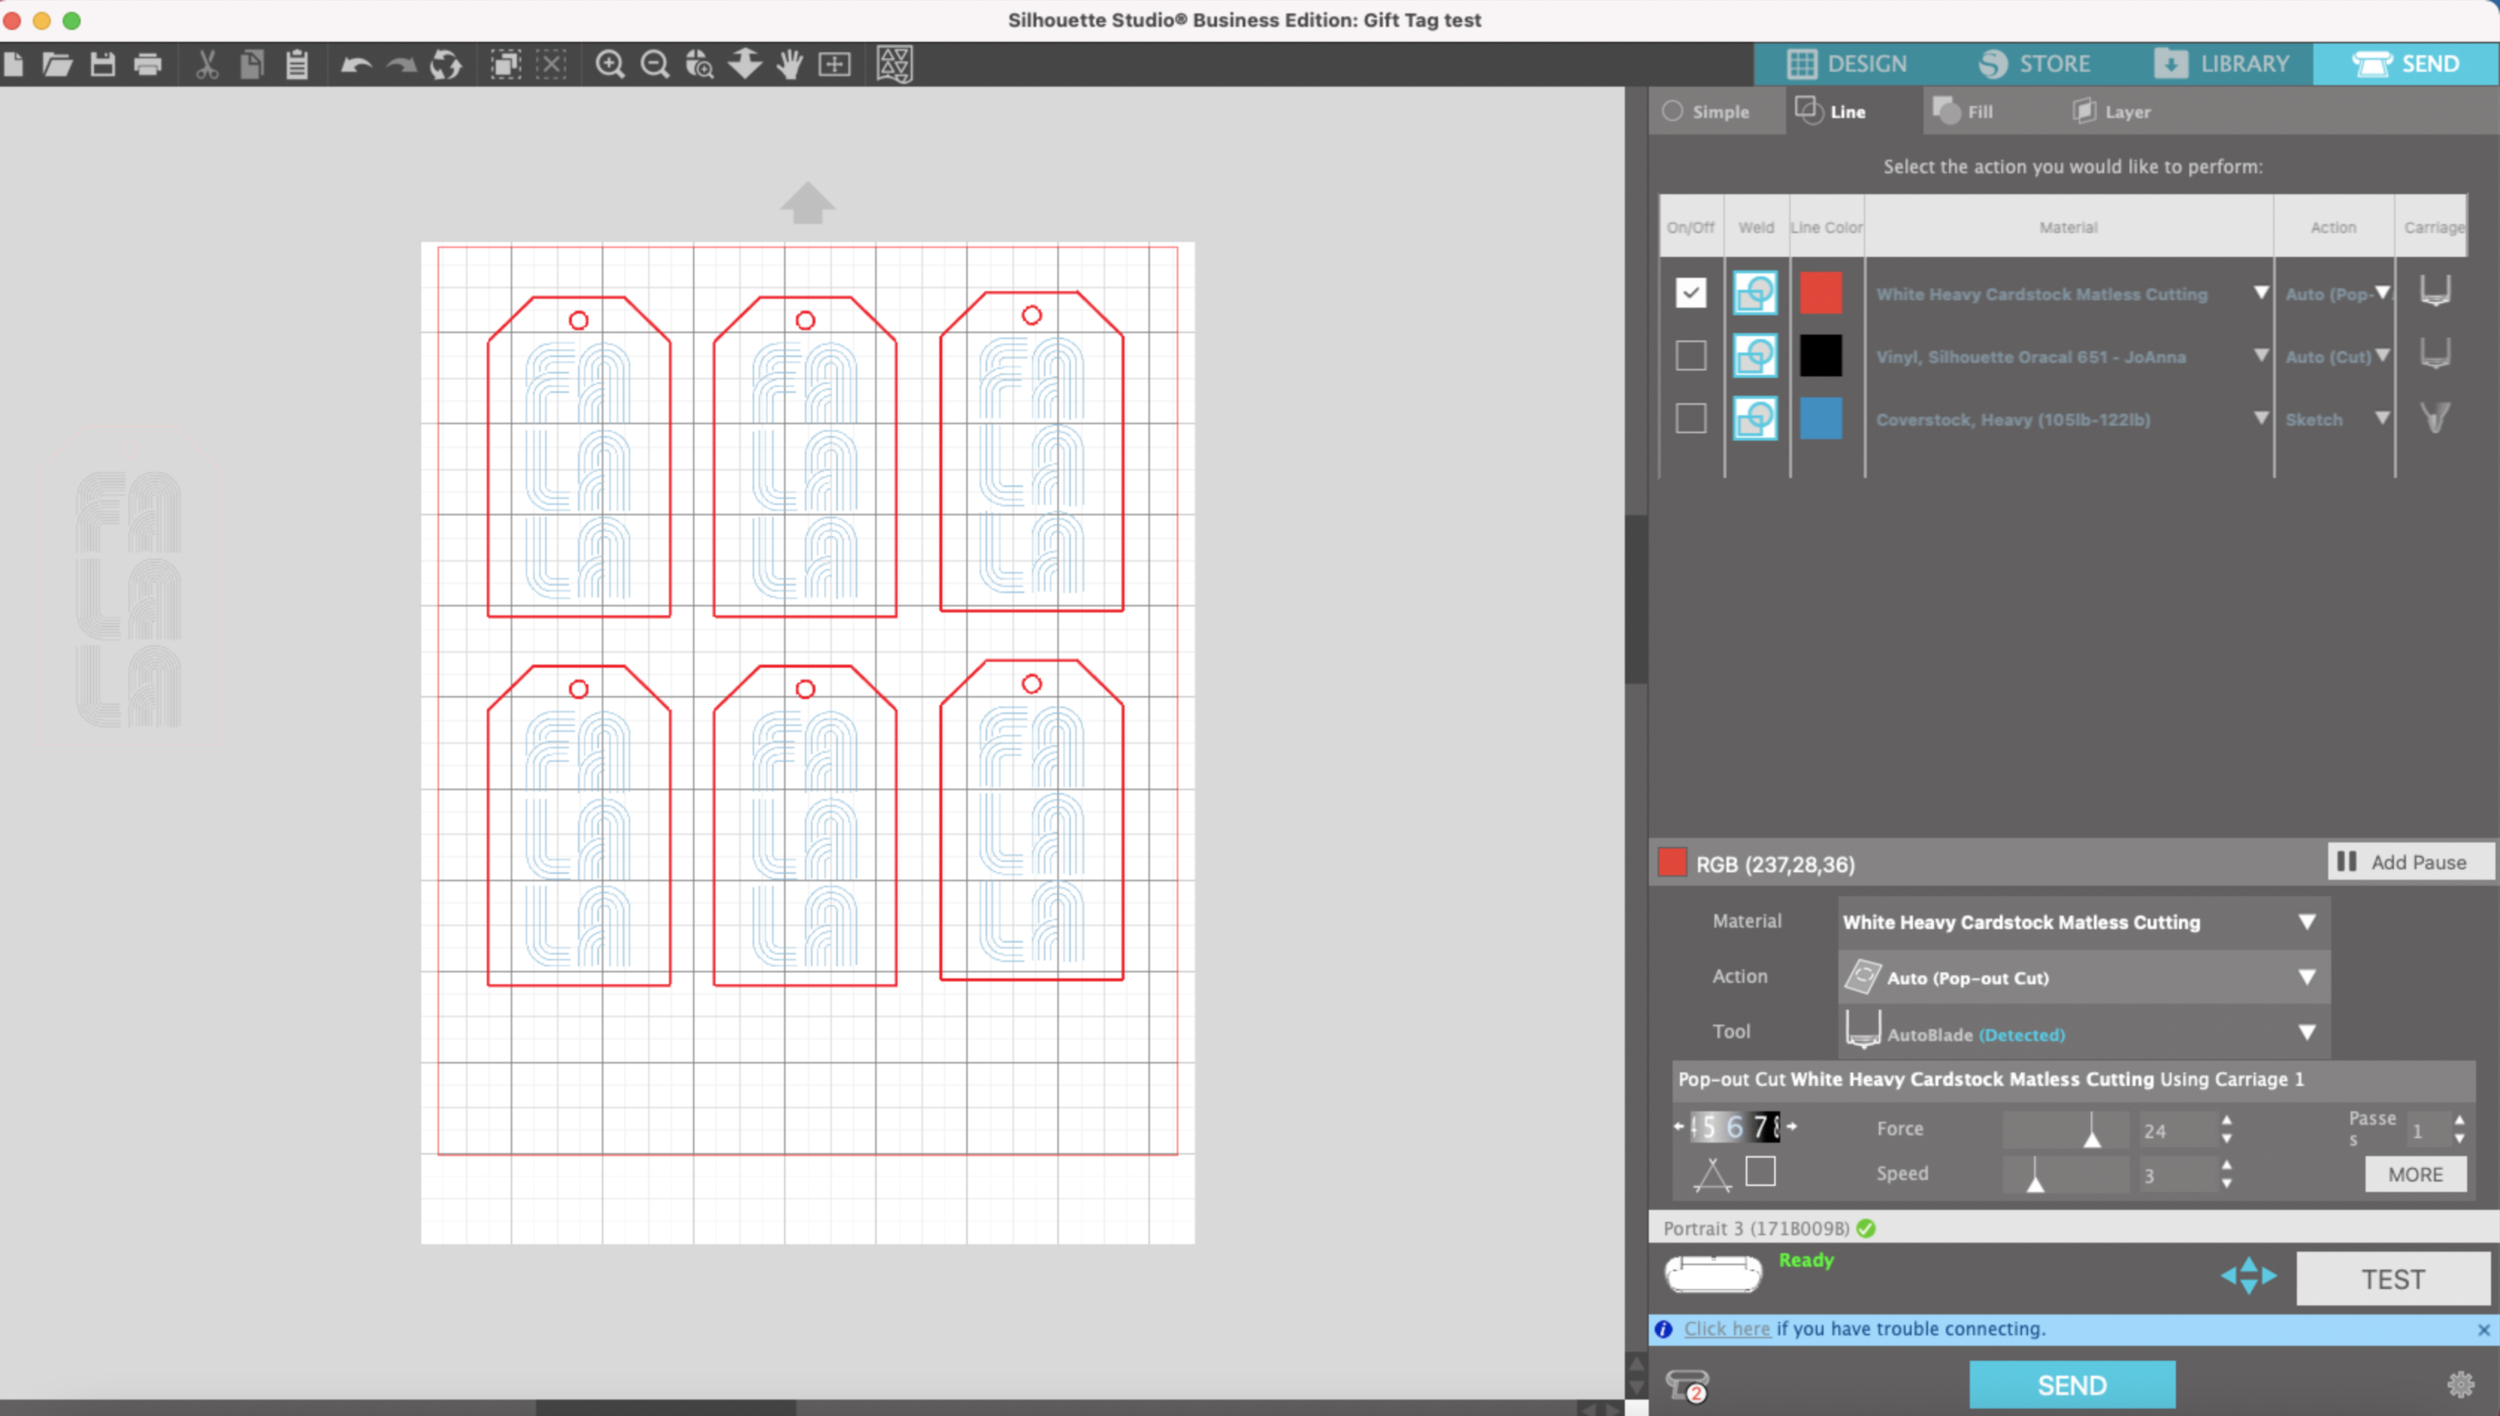
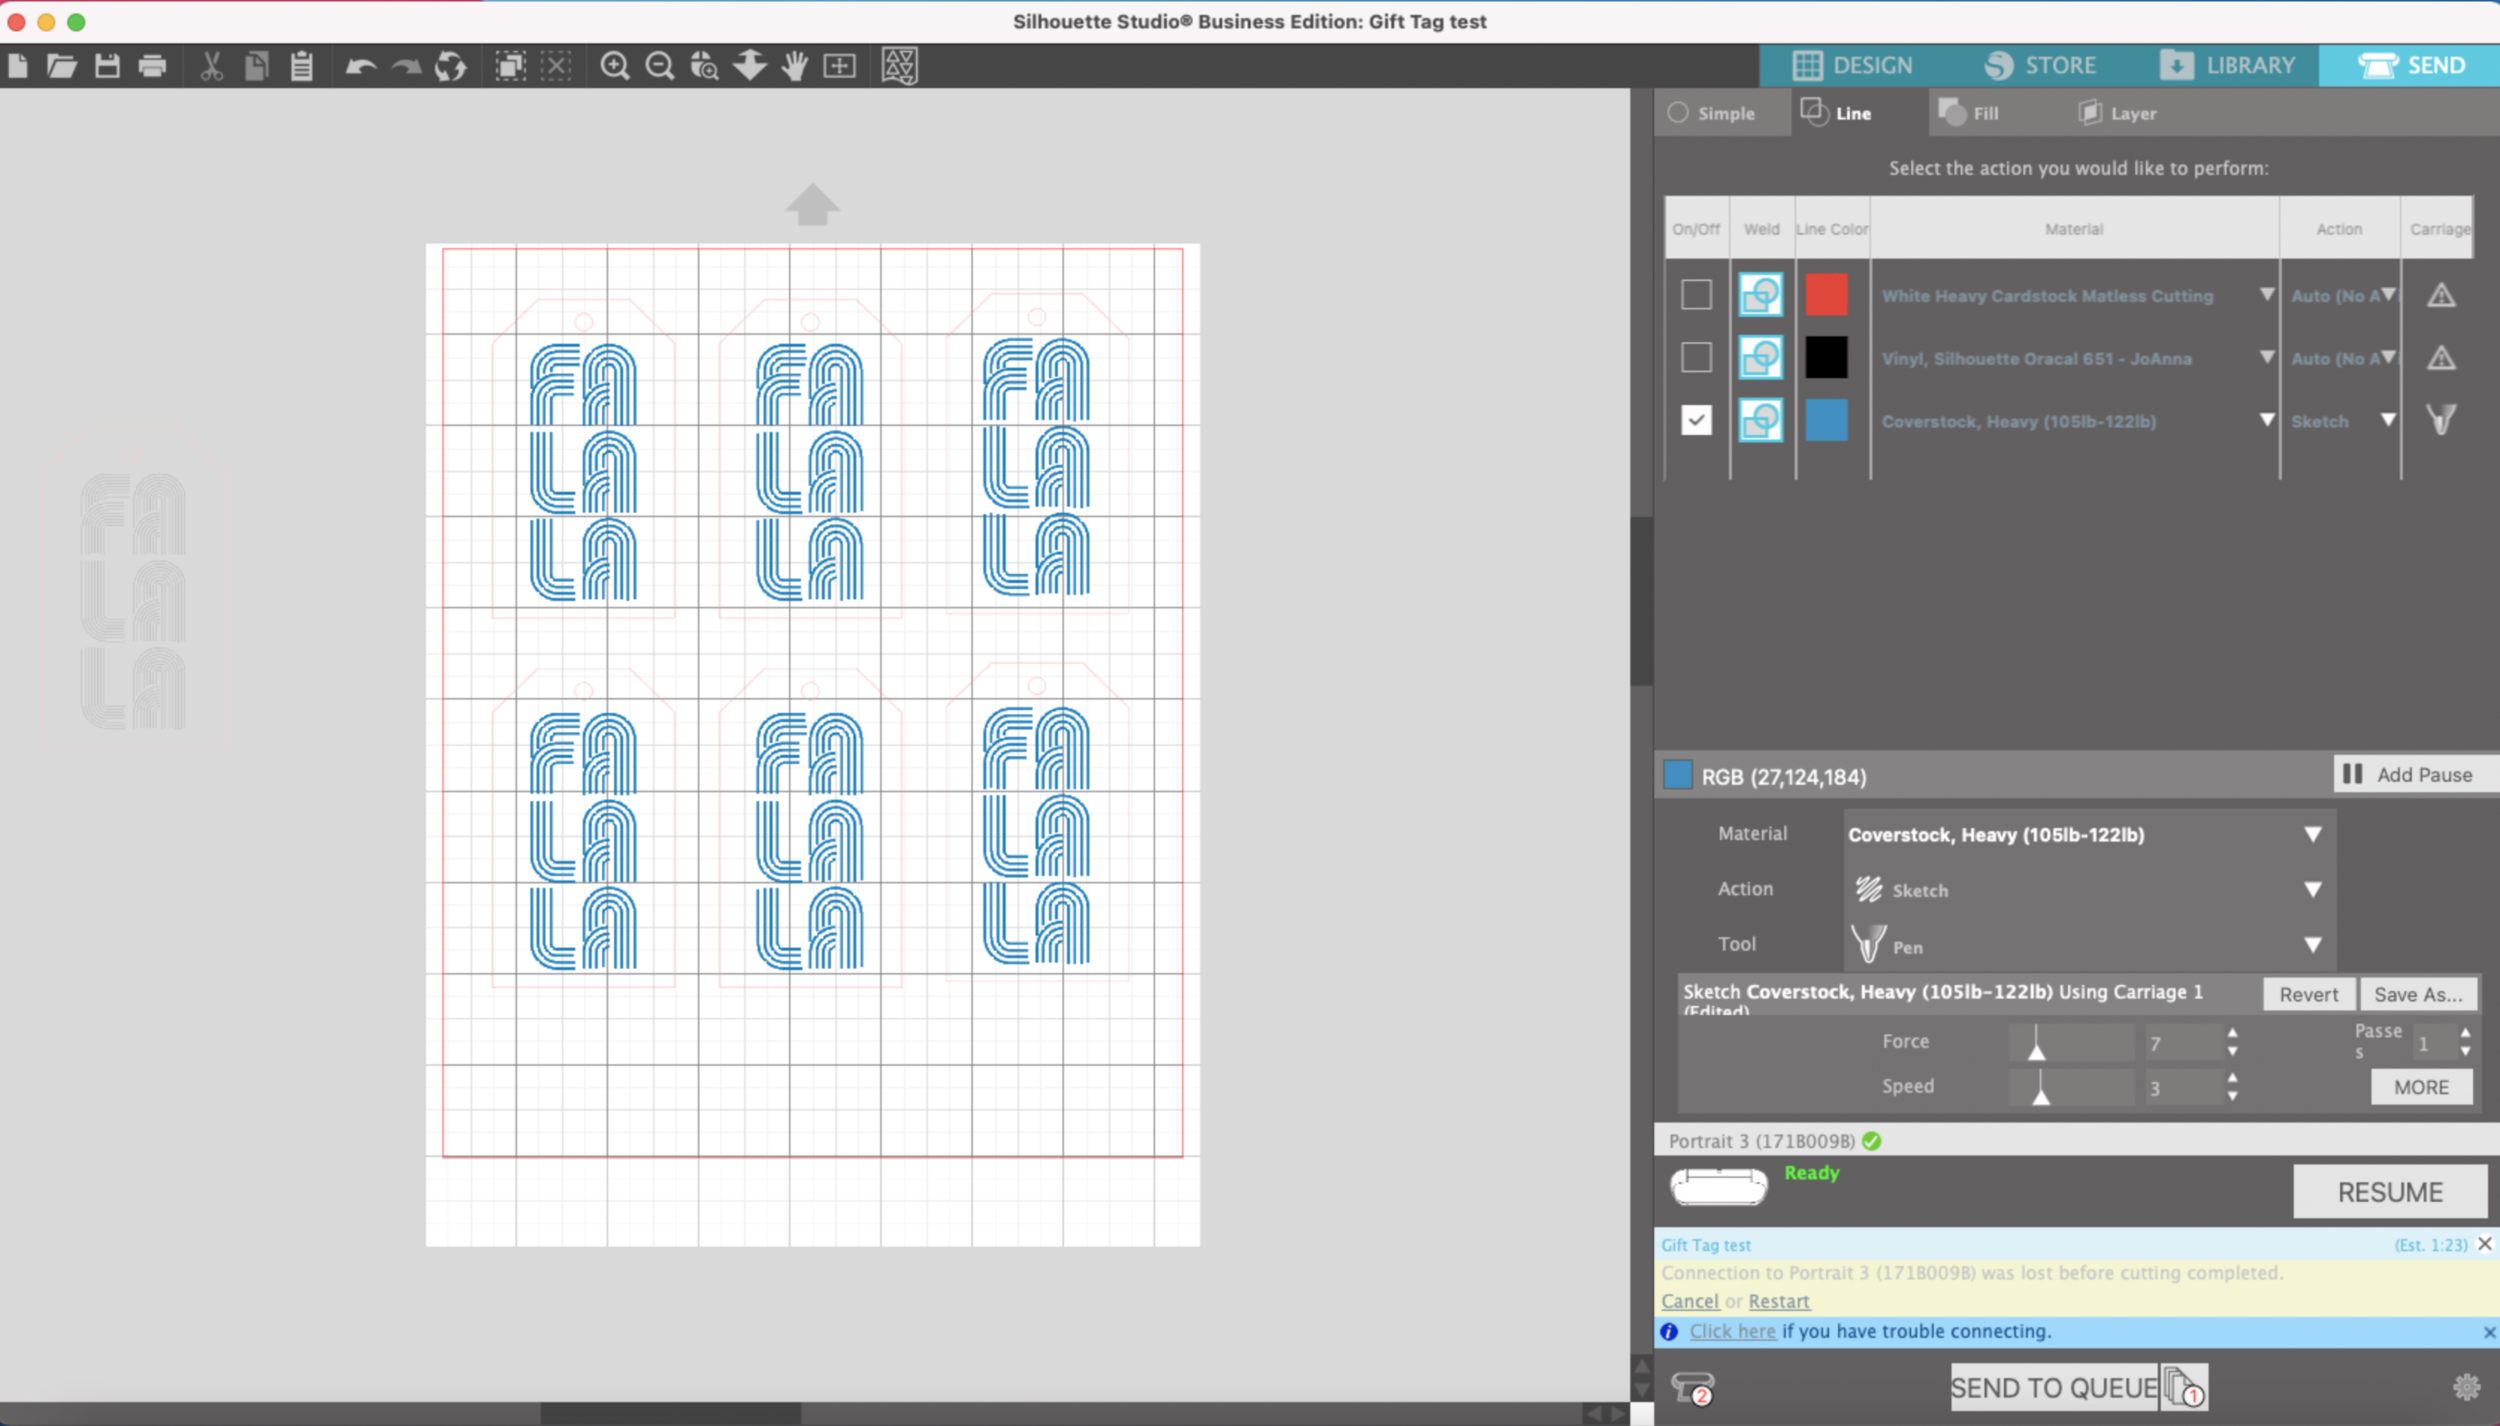
I already set up my design to be drawn and cut matless. Each operation will be done according to line color - the blue lines will be drawn with the glue pen, the red lines will be cut. Make sure your design is set up so it is between the rollers on your machine, you don’t want to get glue all over the rollers!

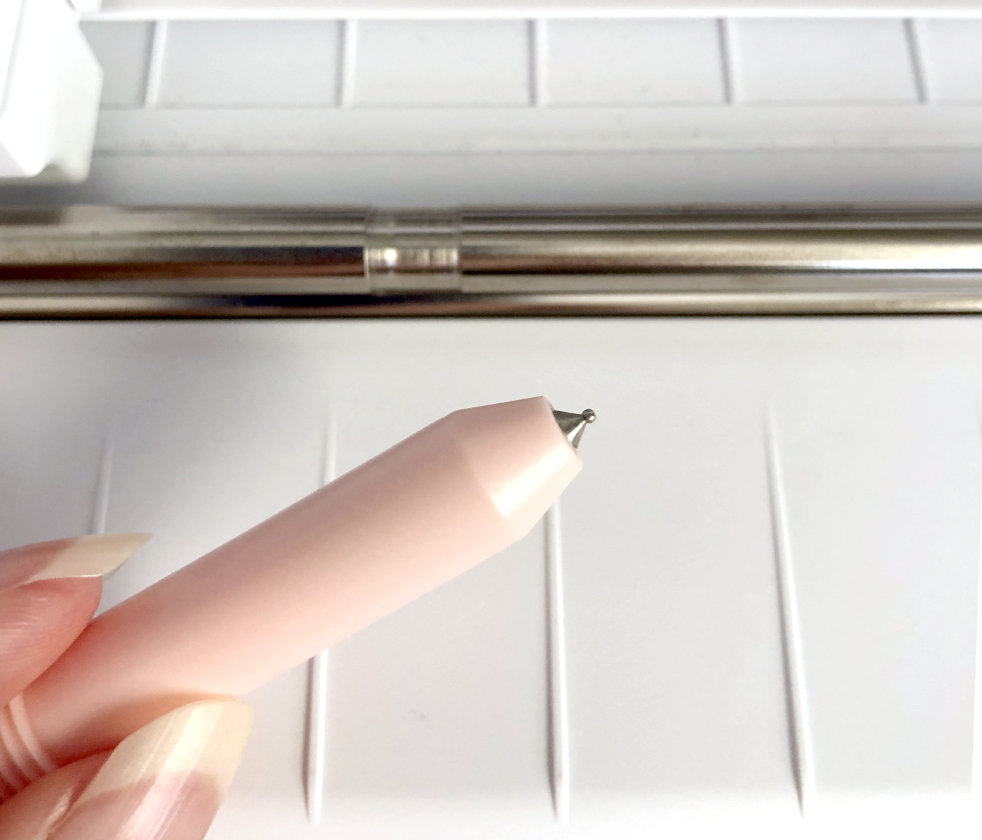
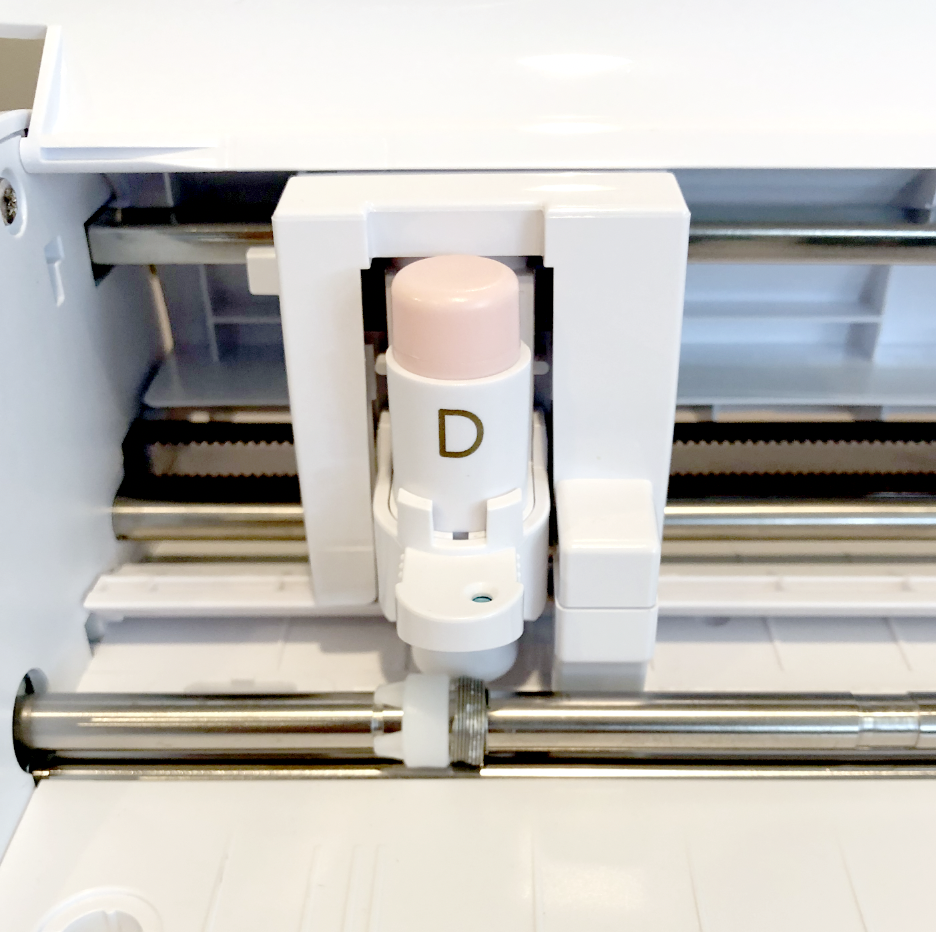
First, I’m going to start with the WRMK Glue Quill. (there are other brands of glue pens you can try, but this is the one I have on hand.) Before loading you pen into the machine, be sure to scribble your pen on a little piece of scrap paper to make sure the glue is flowing. I am using the pen adapter that is made for the Silhouette machines.

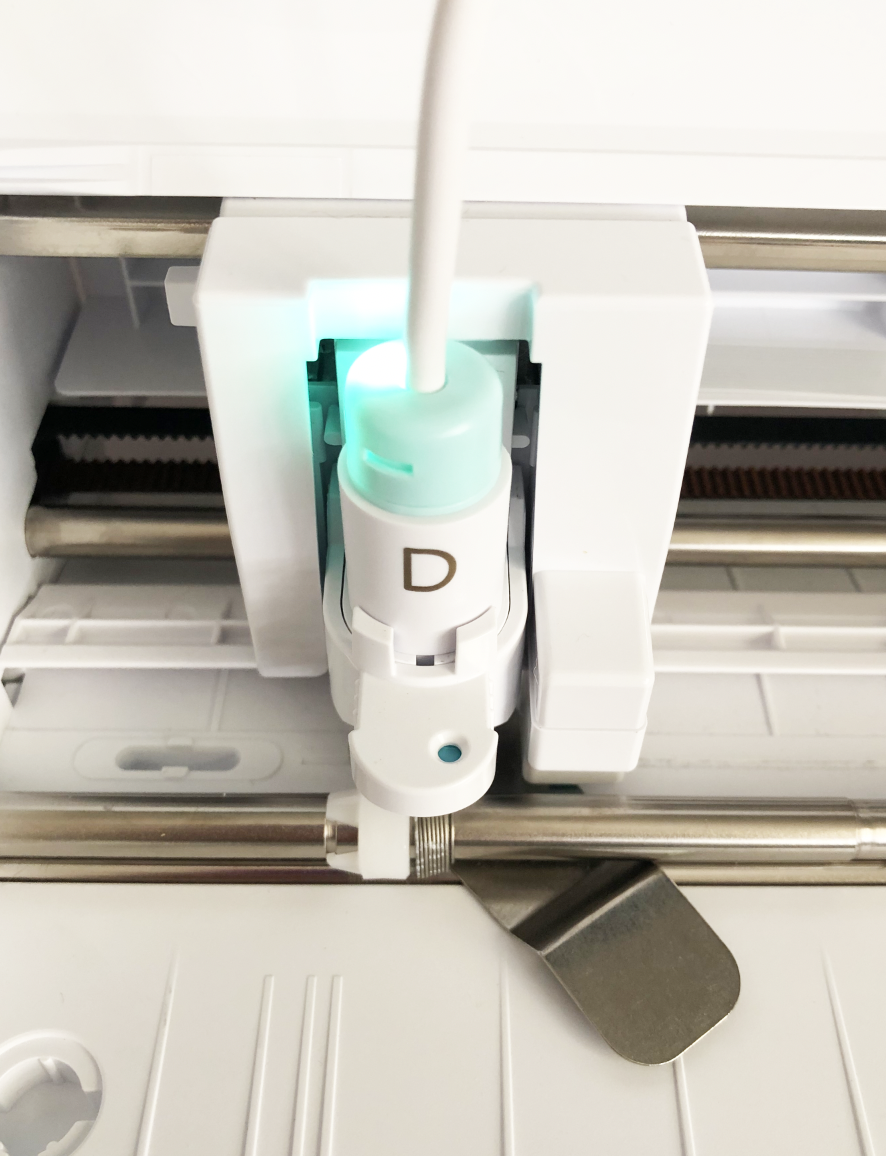
I’m going to do the drawing with the glue pen first (the blue lines). I select the heavy coverstock as my material. I’m going to slow down the speed from 5 to a 3, so the glue flows from the pen evenly.

Screen Shot 2021-08-15 at 12.19.28 PM.png

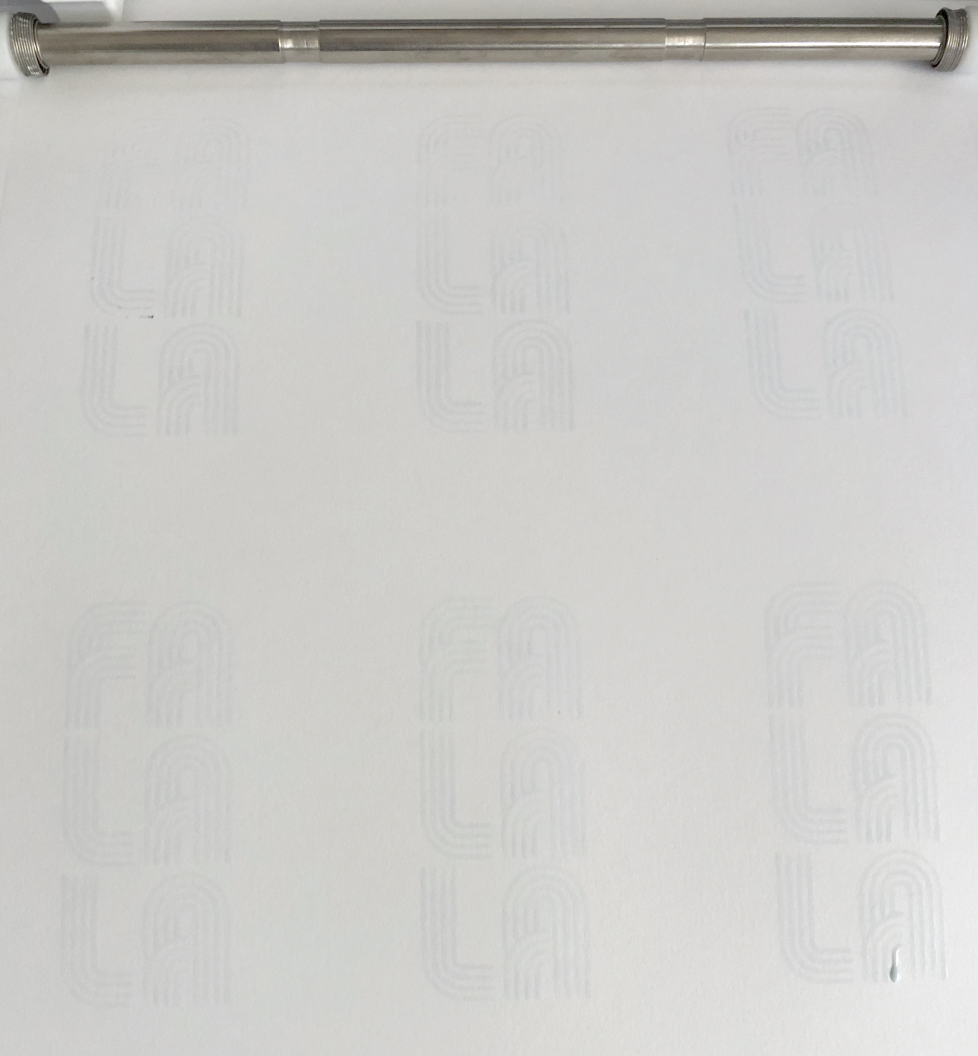
After the machine is done drawing, DO NOT remove the cardstock. I’m going to let the glue dry for a few minutes. It dries pretty quickly and still remains a little tacky, which is exactly what we need to apply the foil.

Screen Shot 2021-08-15 at 12.17.44 PM.png

After the glue is dry, I’m going to cut out my gift tags. I check the box for the red lines & use the Pop out cut.

Screen Shot 2021-08-15 at 10.45.28 AM.png

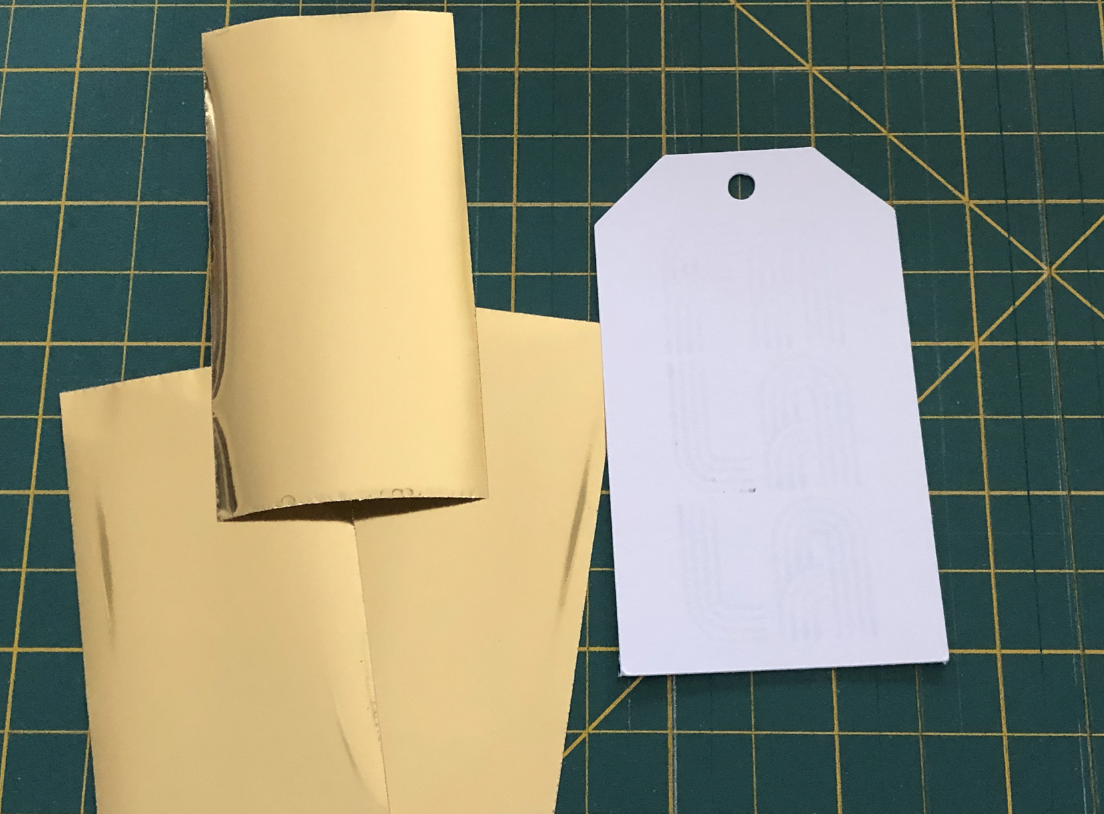
I cut some small pieces of foil to fit the gift tags. I lay the foil over the gift tag, making sure all of the glue areas are covered by the foil.

Screen Shot 2021-08-15 at 12.23.05 PM.png

I use an old credit card as a scraper, but you can also use a small squeegee. I smooth the foil down in all directions, vertical, horizontal, etc.

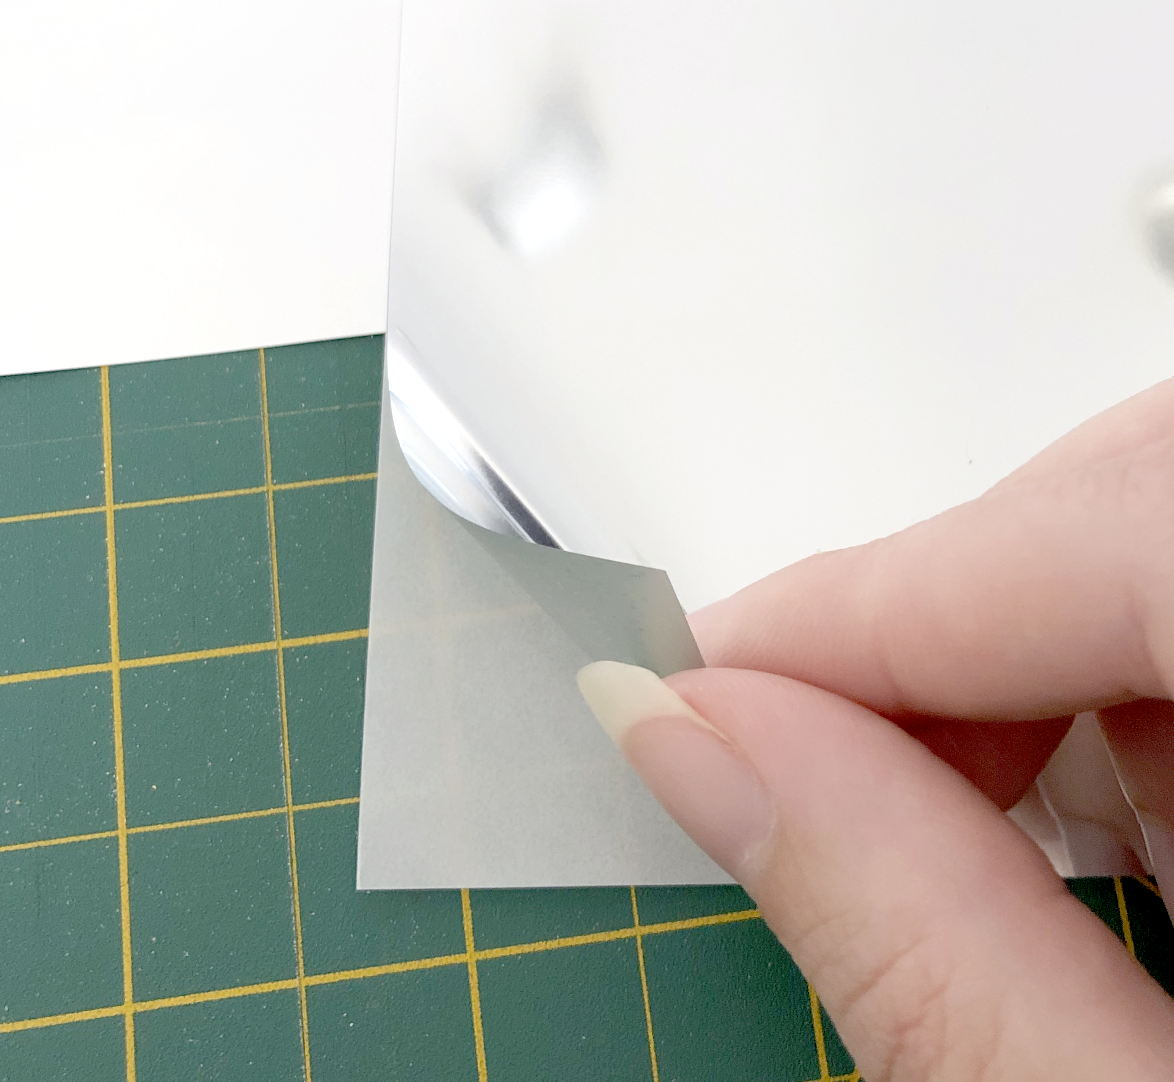
Once I see the letters starting to appear, I lift the foil to check my progress. If there are a few spots missing the foil, you can continue to go over it with the squeegee, you can even reposition to foil if needed and continue to squeegee.

Screen Shot 2021-08-15 at 12.24.16 PM.png

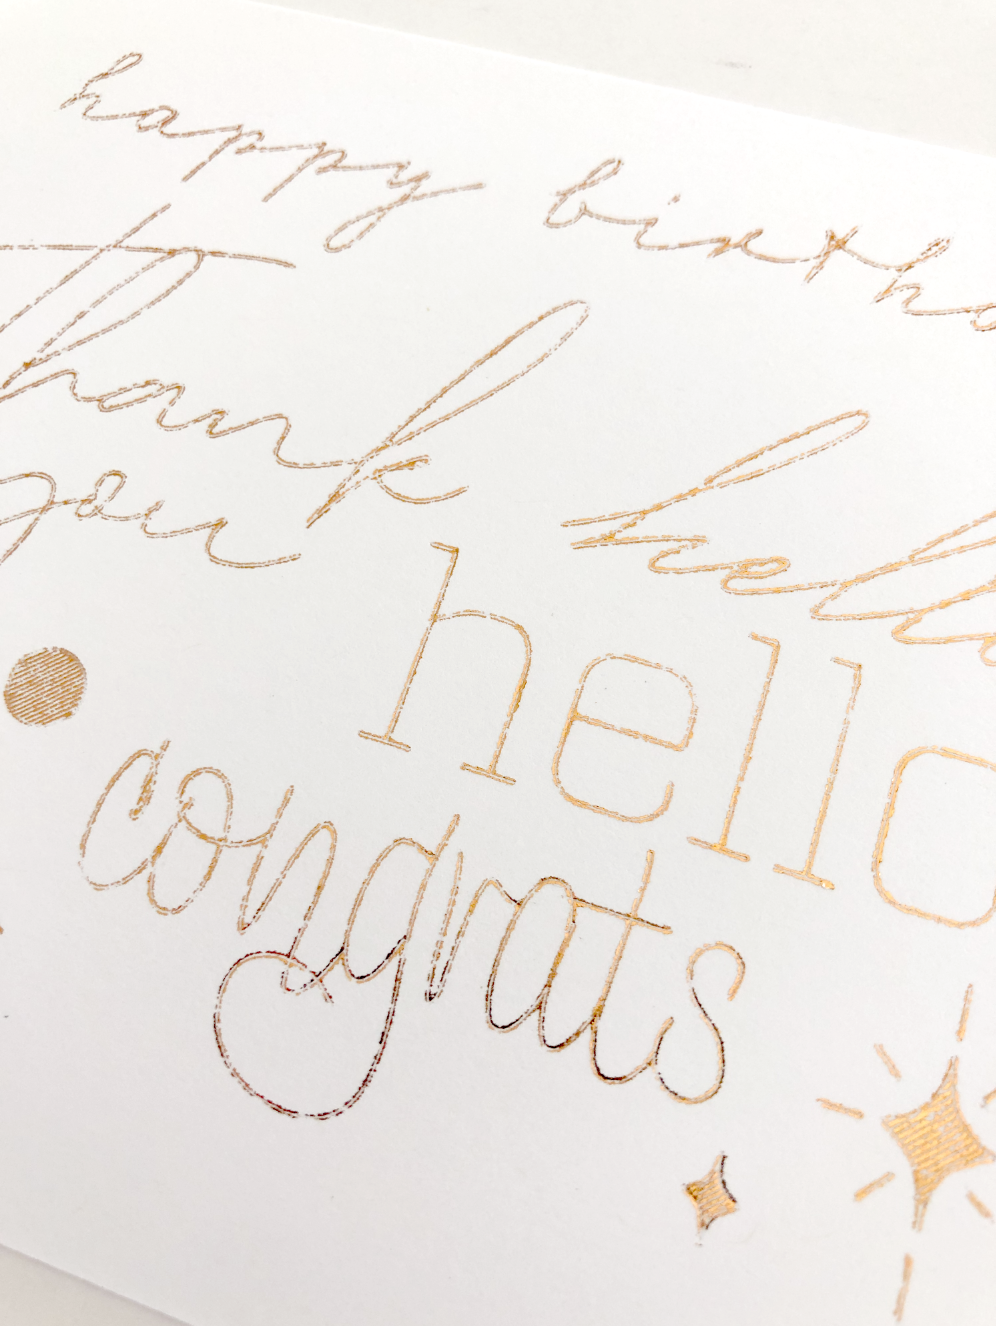
Once it’s done, I carefully brush off any foil dust and you have a foiled gift tag! This technique gives the lines kind of a vintage, distressed look.

Screen Shot 2021-08-15 at 12.28.34 PM.png

Silhouette Portrait 3 Matless Drawing & Cutting

Hi Everyone! This week I’m going to combine two of my favorite functions on my Silhouette Portrait 3, matless drawing and matless cutting. I’m going to be using some heavy cardstock and my gold Sakura Gelly Roll Pen to make some little Thank You tags.

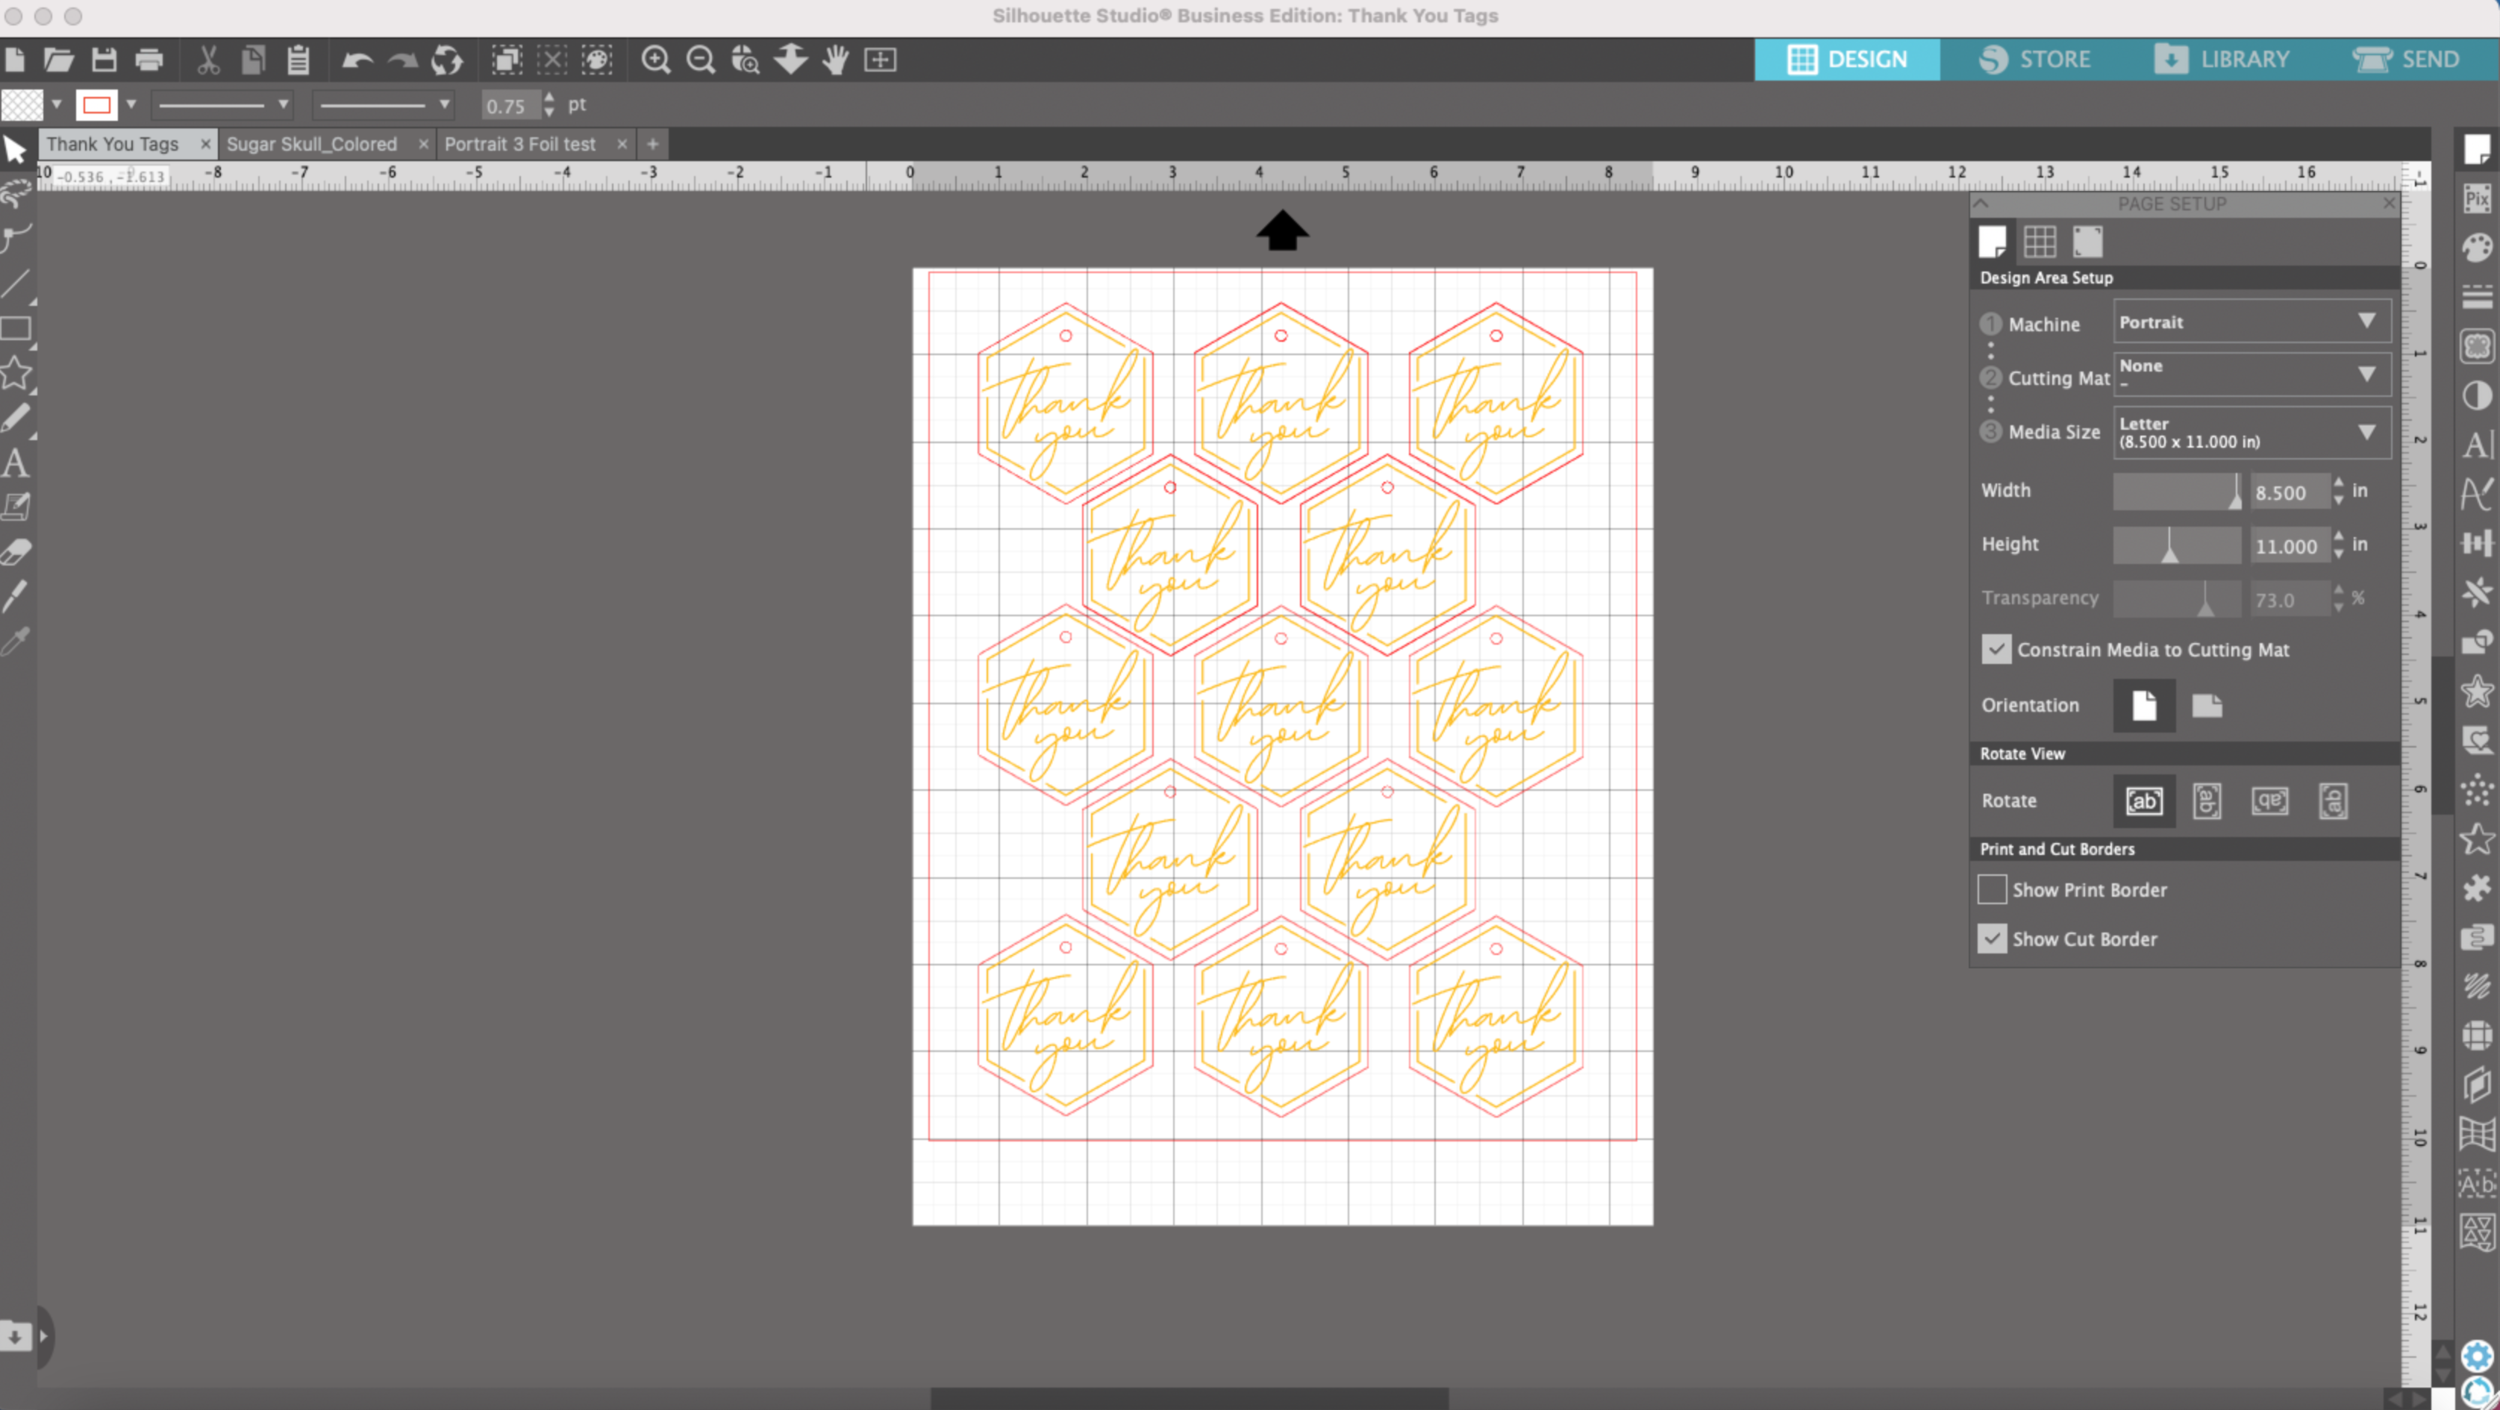
I already set up my file to be matless and made sure all of my artwork is within the red boundary. I made the little tag shapes in Silhouette Studio and I am using my Thank You script that you may have seen me use before in some of my foil tests. The Thank You and the border will be drawn with my gold pen and then the tags will be cut out after the drawing portion.

Portrait 3 matless drawing and cutting

I press SEND and I’m going to draw and cut by Line color, instead of simple I’m going to select LINE at the top of the send panel. I’m using Heavy Cardstock so I select Heavy Coverstock for my material for both line colors.

I’m going to draw with the gold pen first, so for the yellow lines I select SKETCH as my action. I’m going to leave the settings as the default, they work pretty well as is. I load my cardstock without a mat and gold pen with the pen adapter and I press SEND at the bottom of the screen.

Portrait 3 matless drawing and cutting

When the machine is done drawing, DO NOT unload the mat. I swap out the pen adapter for my auto-blade.

Portrait 3 matless drawing and cutting

My machine recognizes the auto-blade and I select the Pop-Out Cut Action.

Portrait 3 matless drawing and cutting

The default pop out cut settings weren’t working great for this cardstock. After a little trial and error, I figured out the settings that worked well and I saved the material setting so I can use them again in the future.

Portrait 3 matless drawing and cutting

When the machine is done cutting, the tags will still be slightly attached to cardstock. I carefully pop them out and I use the tip of a pen to pop out the little holes in the tags.

Portrait 3 matless drawing and cutting

And now you have a bunch of little tags you can tie to favors for birthdays, weddings, bridal showers, baby showers, etc.

Portrait 3 matless drawing and cutting

Silhouette Portrait 3 Drawing by Line Color

Hi Everyone! This week I’m going to share another favorite feature of my Silhouette Portrait 3, being able to draw by line color. Yes, I can do this with my Cricut Maker, but with my Portrait 3 I can essentially choose the order of the colors that I want my machine to draw. It’s not as simple to do with my Maker.

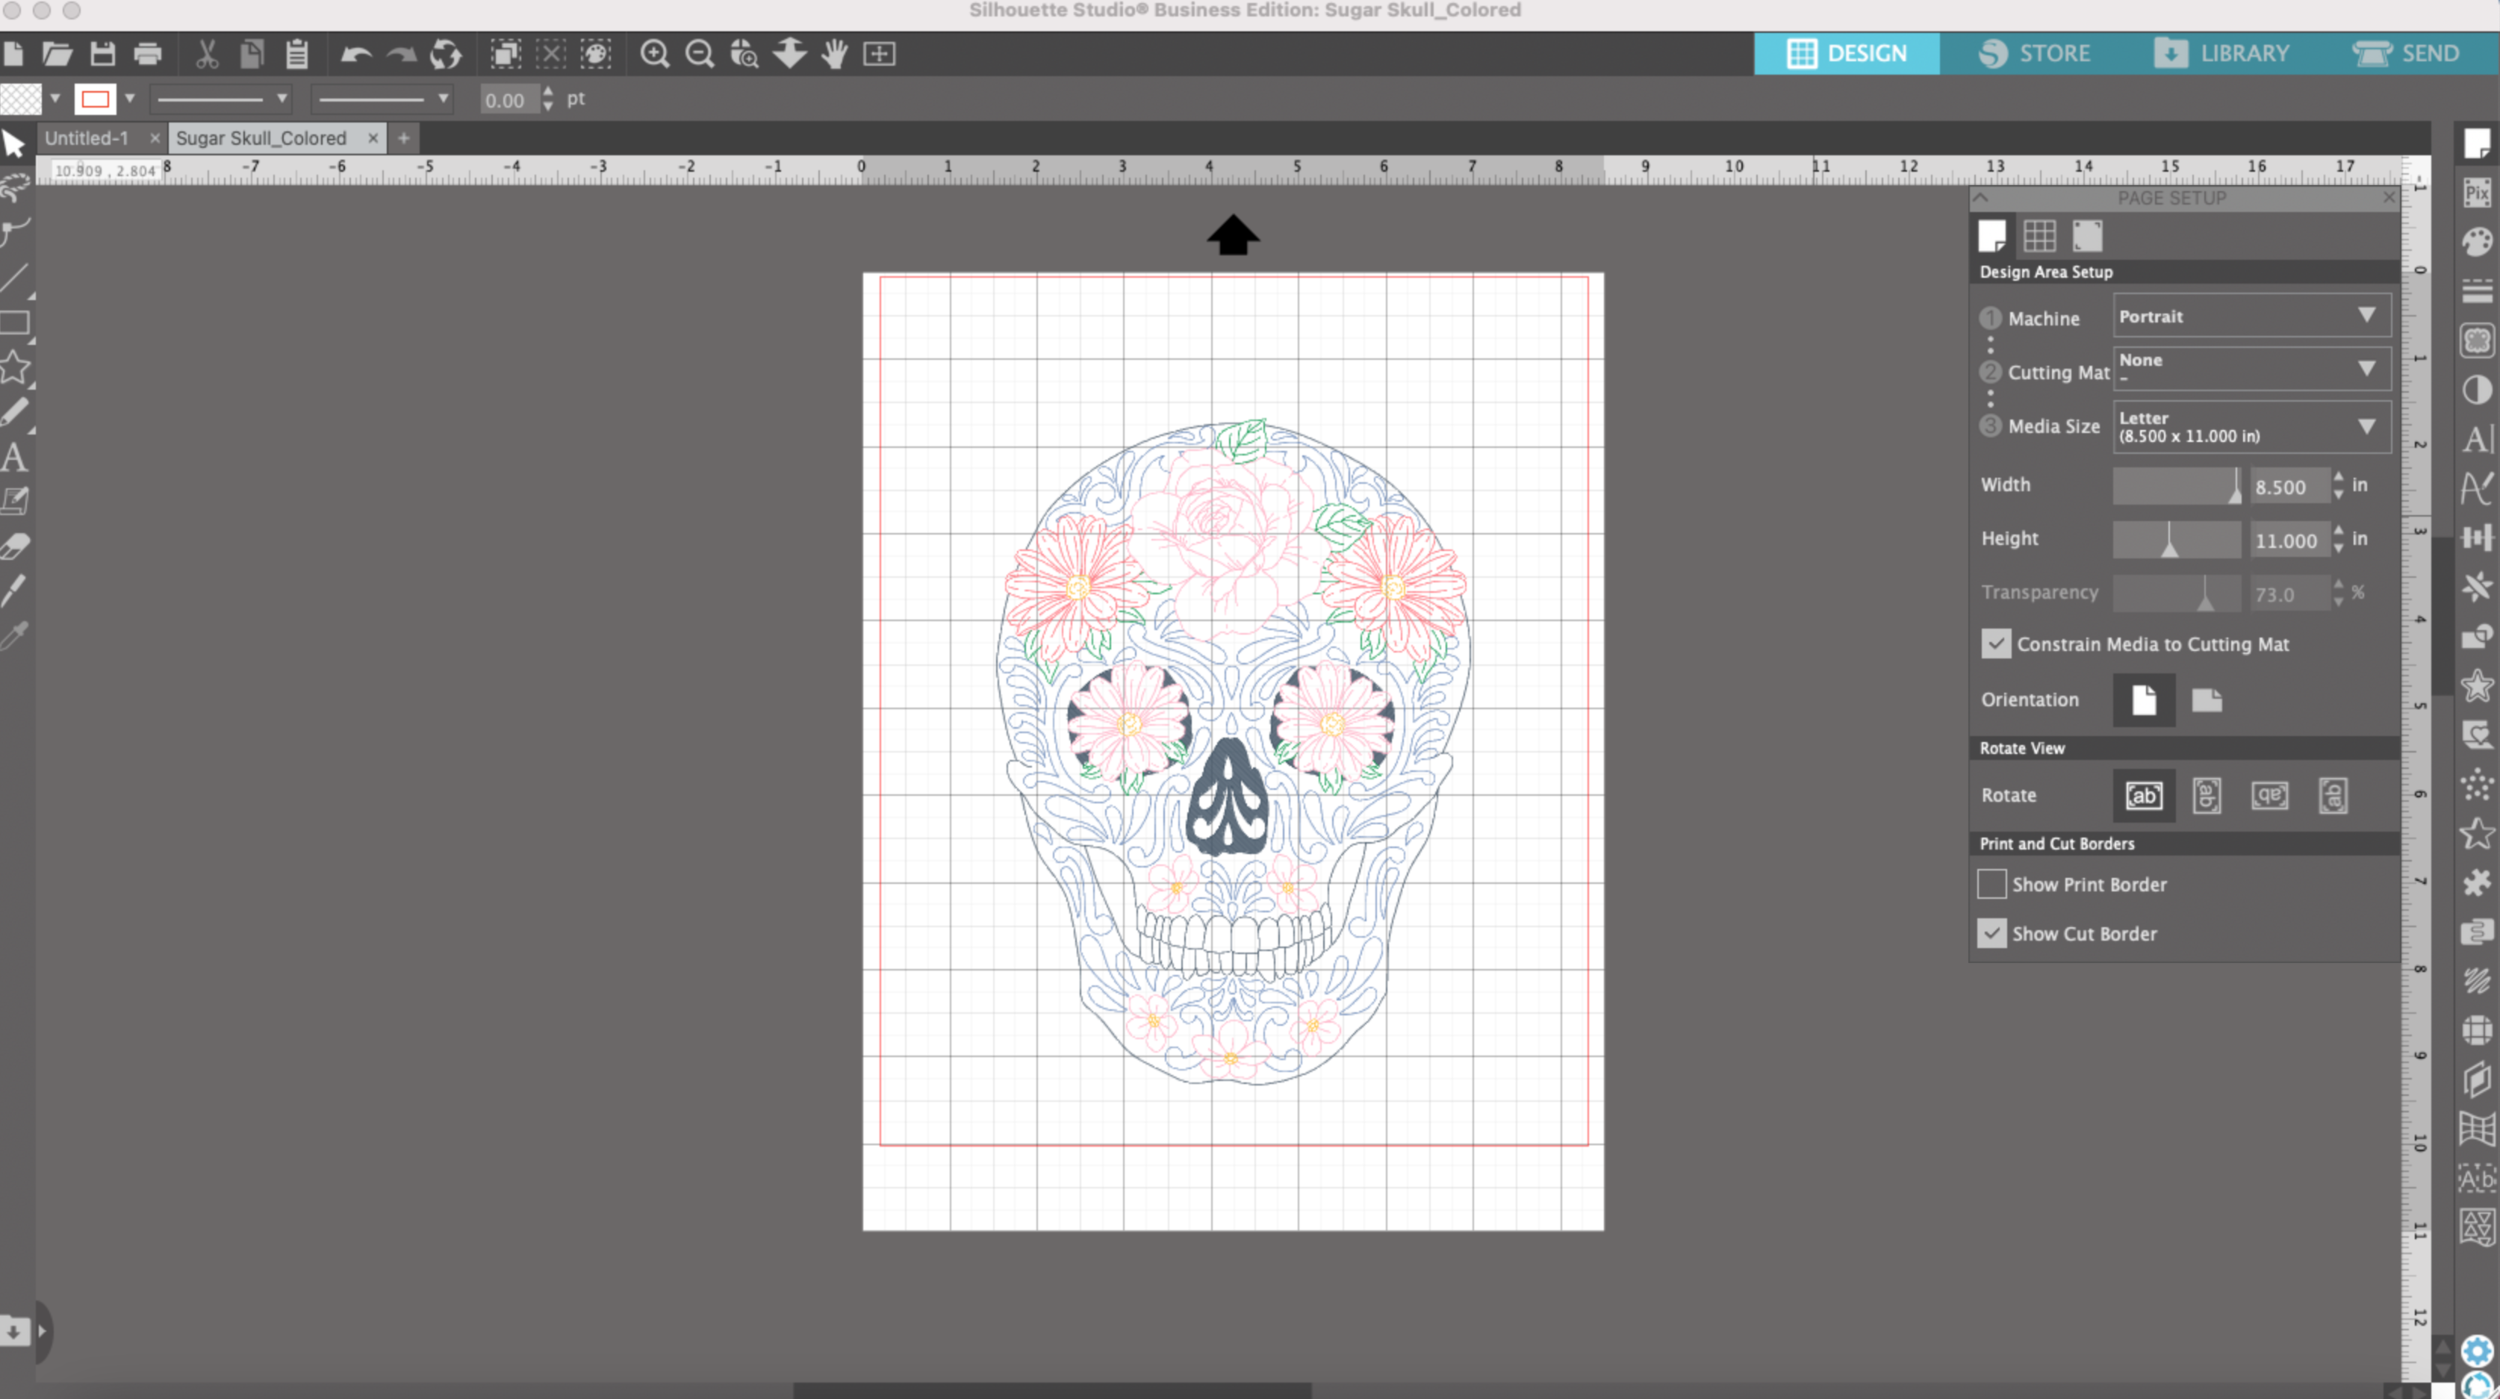
I’m going to test another skull SVG that I created in Illustrator. In Illustrator, I already applied different colors to the lines I’m going to draw and saved my file as an SVG. Note: I am using the Business Edition of Silhouette Studio so I can import and export SVG files.

I’m going to use the matless feature again and draw this floral skull on some black cardstock using my metallic Sakura Gelly Roll pens.

Silhouette Portrait 3 Draw by Line Color

I select SEND in Silhouette Studio. Instead of simple, I’m going to choose LINE. As you an see all of the colors are selected. I’m going to pick Heavy Coverstock for my material and Sketch for my Action.

Silhouette Portrait 3 Draw by Line Color

Then, I’m going to uncheck all of the colors except for the color I will be drawing with first.

Silhouette Portrait 3 Draw by Line Color

Next I will load my pen adapter with the first color I will be drawing with and load my cardstock into my machine.

Silhouette Portrait 3 Draw by Line Color

My first layer is done, next I want to draw the blue scroll work. All I have to do is uncheck the line color I just drew, and check the box for the blue lines for the scroll work. I load my blue pen and press SEND.

Silhouette Portrait 3 Draw by Line Color

Hint: Don’t forget to uncheck the colors you have completed, otherwise it will draw over that same area with the next color you have loaded!

After the blue lines are done I want to draw the little green leaves. So I uncheck the blue lines & select the green for leaves. Load my green pen and press SEND.

Silhouette Portrait 3 Draw by Line Color

I go through the same process until I have completed all the colors. I love that I don’t have to go in the order of colors dictated by the machine!

Silhouette Portrait 3 Draw by Line Color

The most tedious part of the process is swapping out the pen every time I switch a color, but I really enjoy the end result and being able to select the order of the colors that my machine will use to draw.

Silhouette Portrait 3 Matless Drawing

Hi Everyone! For little side income I sell my SVG files in my Etsy shop. But before I list my files for sale, I test them on on my Silhouette Portrait 3 machine and my Cricut Maker. I typically start my testing with my Portrait 3 because I can actually edit and save my file as an SVG from Silhouette Studio (I have the Business Edition).

This week I’m working on some single line skull designs that can be used to draw, foil, engrave, or anything else that needs a single line file. I originally drew my artwork in Adobe Illustrator, then I uploaded it as an SVG into Silhouette Studio.

To test my file, I’m going to use what is quickly becoming one of my favorite features, matless drawing. Yes, not only can you cut matless with the silhouette machines, you can also draw matless. This wasn't even a selling feature for me and my Portrait 3 machine, but I’m loving it!

When I first open my illustration in Silhouette Studio, it shows up placed on the cutting mat.

Silhouette Portrait 3 Matless Drawing

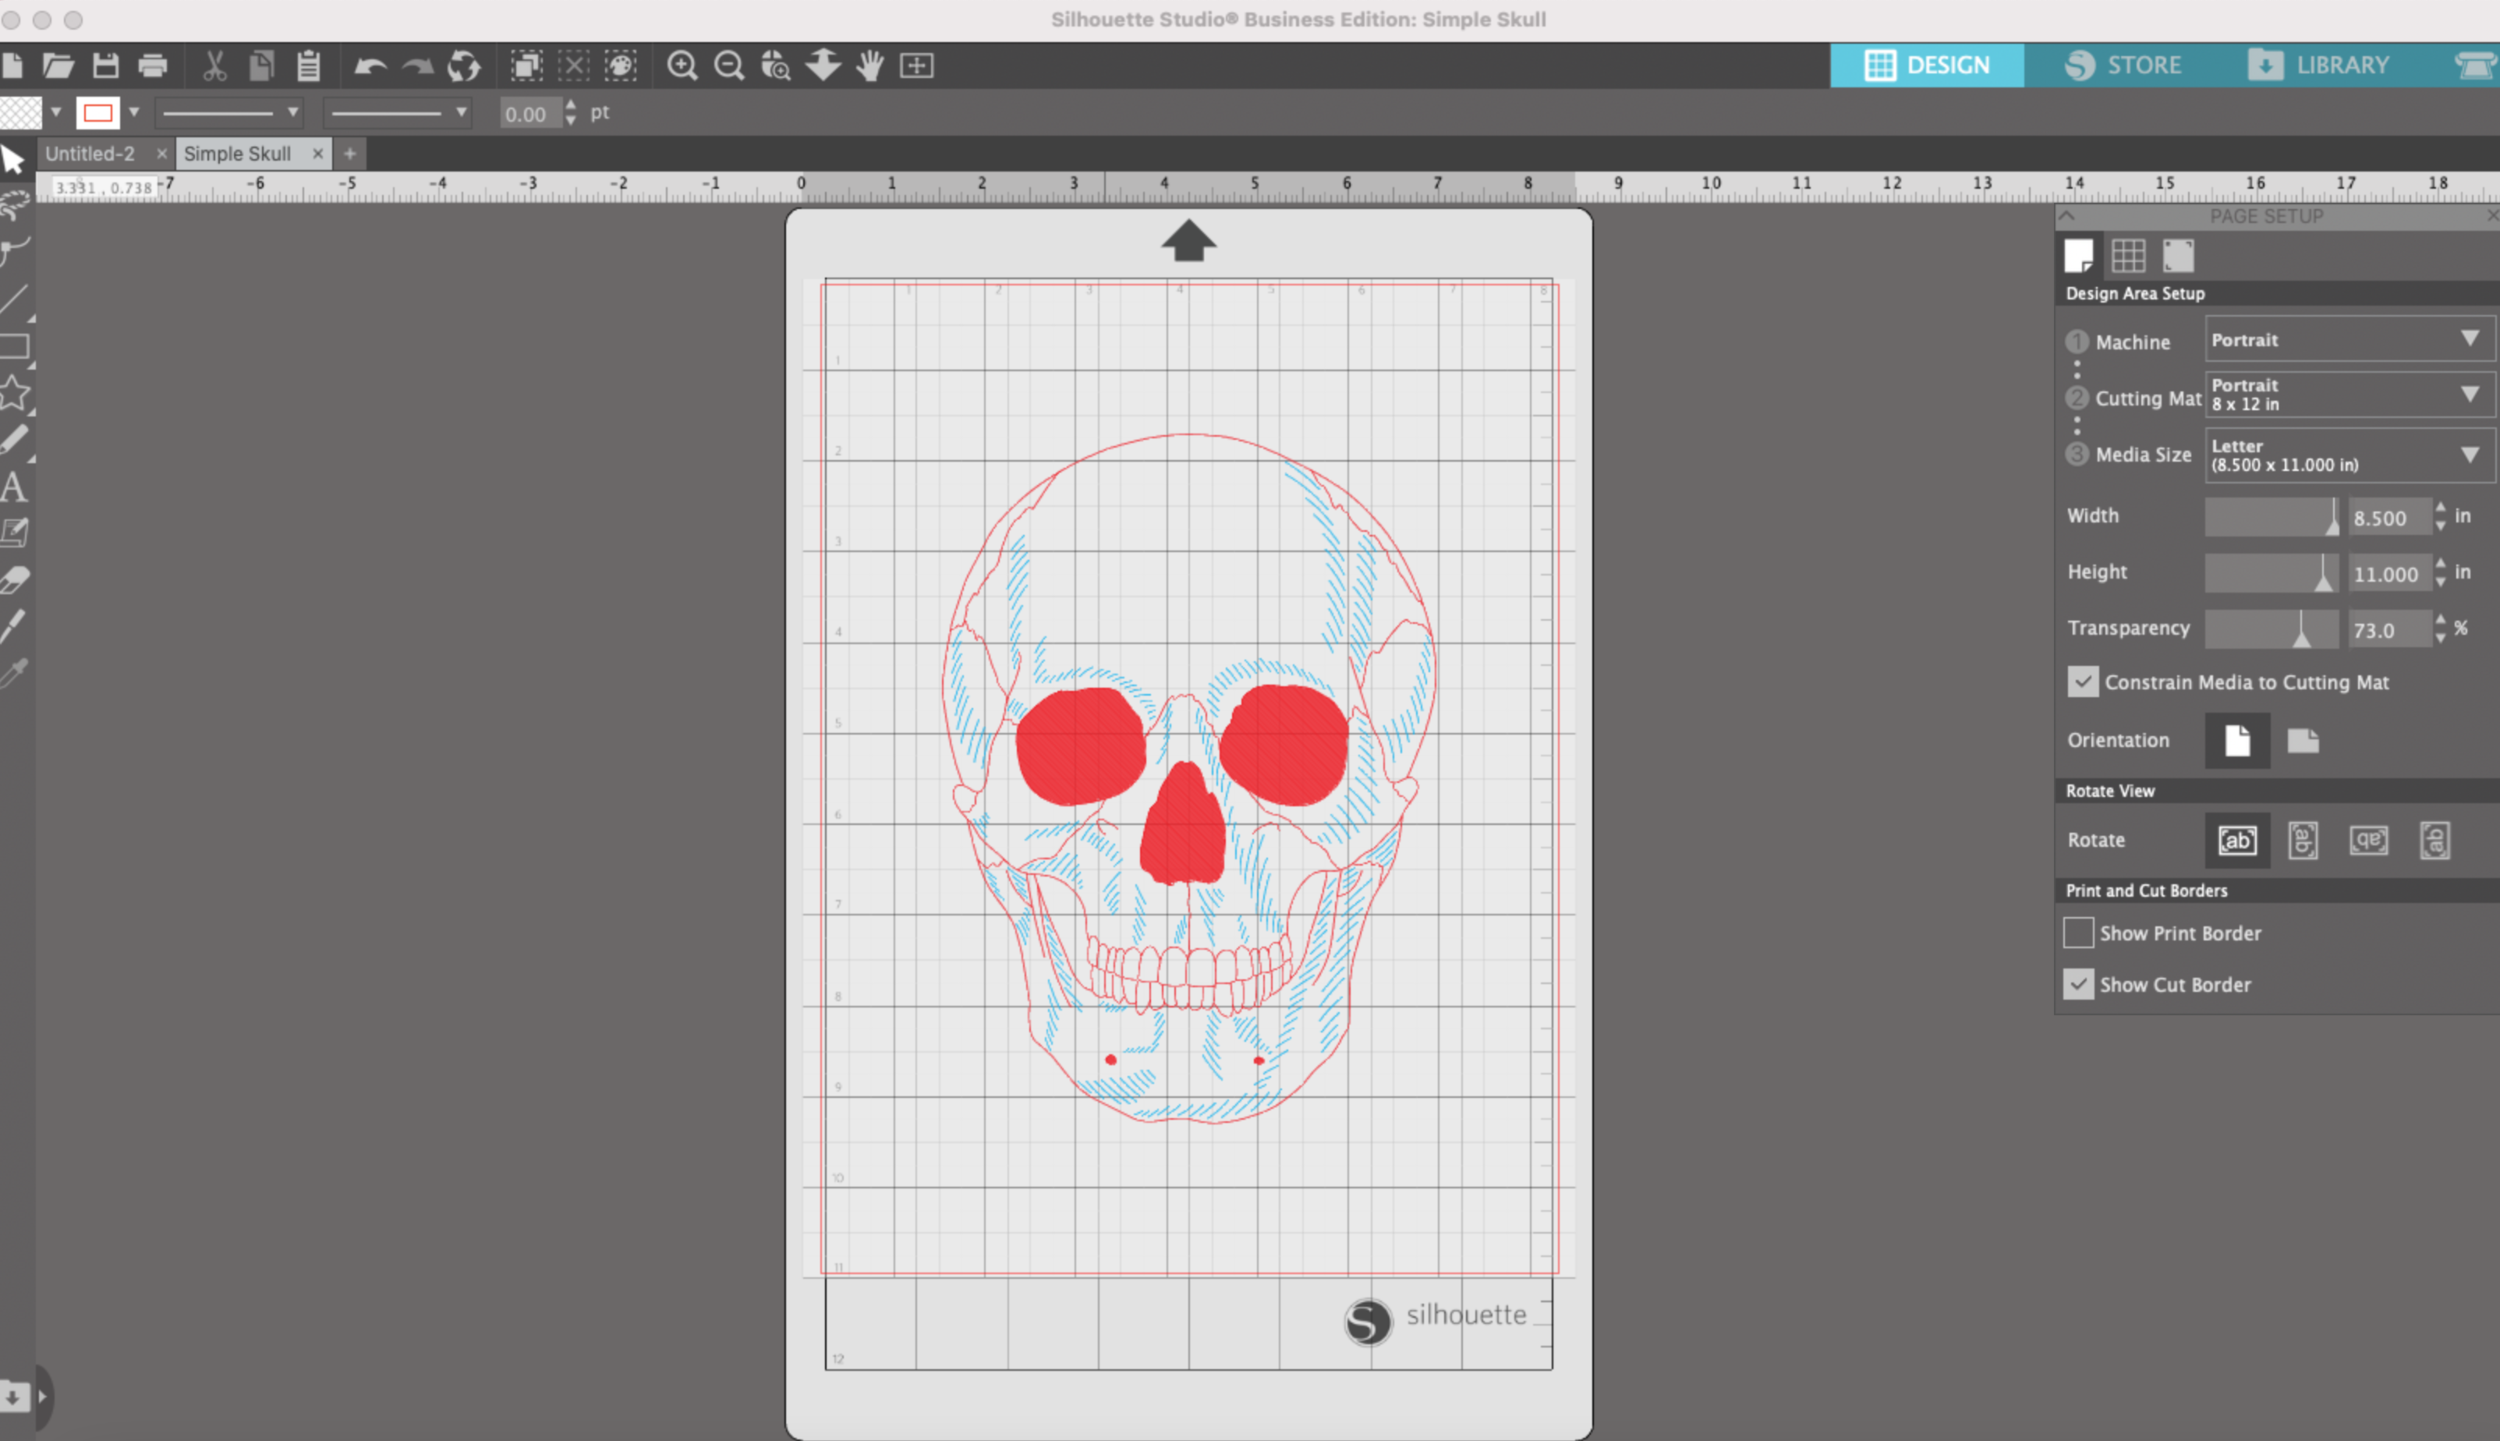
To change to matless, click on the white sheet of paper at the top to the tool bar on the right. Under cutting mat, select “None”. My cardstock size is 8.5 x11 inches, so I will leave that as is. Keep in mind that the usable area of the cardstock becomes a little smaller with the matless feature. I need to keep all of my artwork within the red bounding box.

Silhouette Portrait 3 Matless Drawing

Disregard the two different colors in my drawing. For now, I’m going to test it with only a black pen.

In the upper right corner, I click “Send”. There’s no need to attach all of my elements and my drawing stays centered on the canvas (no shifting to the upper left corner like my Cricut machine).

In the send screen I’m going to stay with “Simple” since I’m only doing a single color drawing. Notice, now all of my lines are red. The cardstock I’m using is 100lb, so for my material I select “Coverstock, Heavy.” For my action I select “Sketch.” For my tool I select “Pen.”

Silhouette Portrait 3 Matless Drawing

I load my piece cardstock into my machine without a mat, yay!! Then I load the Silhouette pen adapter with a Sharpie Pen.

Silhouette Portrait 3 Matless Drawing

I press send and my machine starts drawing away!

Screen Shot 2021-07-23 at 10.42.37 AM.png

After a few minutes it’s done, and there’s no stickiness left on the back of my cardstock from the mat!

Silhouette Portrait 3 Matless Drawing

WRMK Foil Quill & Recollections Foil Transfer Sheets

Links in the article below may be affiliate links.

Hi Everyone! Last week I tested the Recollections brand foil transfer sheets with the Cricut Foil Transfer tool. This week I tried out the foil transfer sheets with the WRMK Foil Quill on my Silhouette Portrait 3 machine.

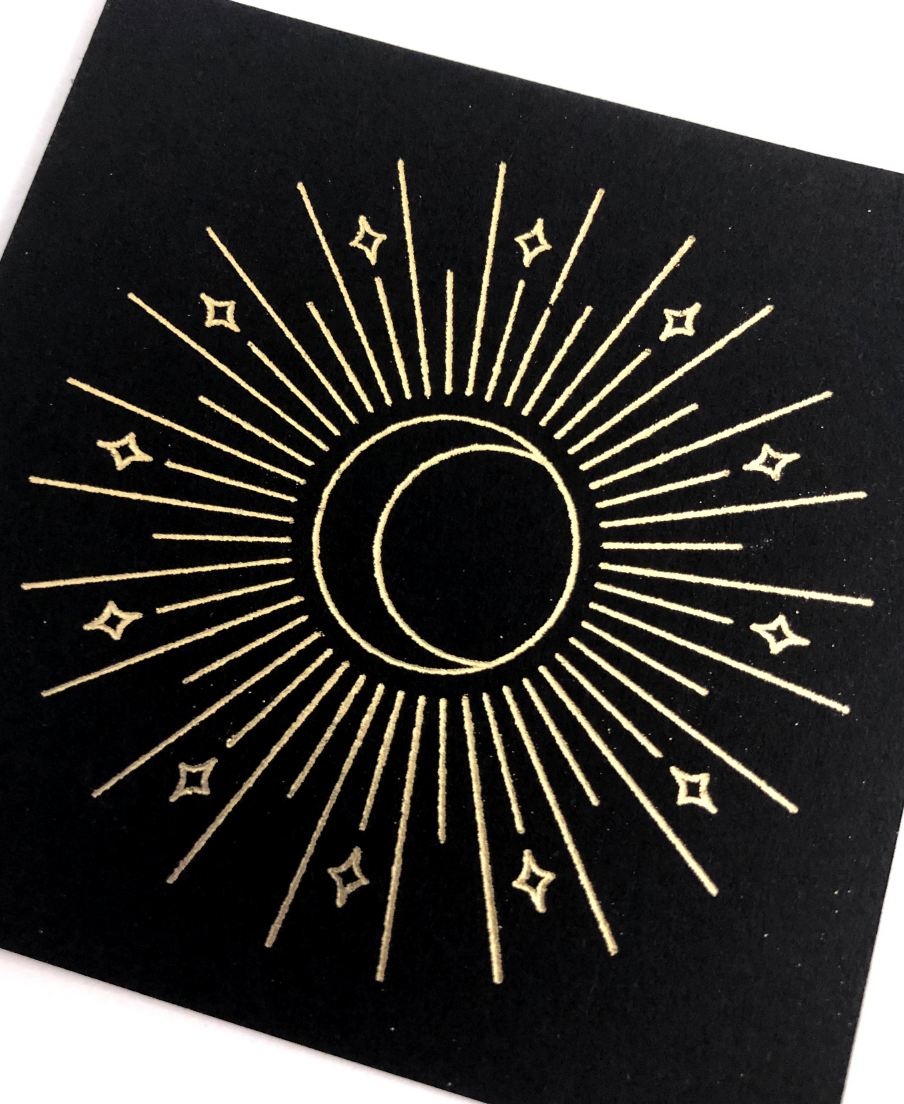
First I tried the gold foil. I used my celestial artwork from last week and the foil quill medium tip on my favorite black cardstock. On my Portrait 3 my speed is set to 2 and force is 22, I typically get good results foiling with these settings. And I got really great results with this foil!

WRMK Foil Quill, Recollections Gold Foil Transfer Sheets

WRMK Foil Quill, Recollections Gold Foil Transfer Sheets

Here it is next to the Cricut Foil Transfer tool version from last week.

(L) WRMK Foil Quill Medium Tip, (R) Cricut Foil TRansfer Tool Medium Tip

(L) WRMK Foil Quill Medium Tip, (R) Cricut Foil TRansfer Tool Medium Tip

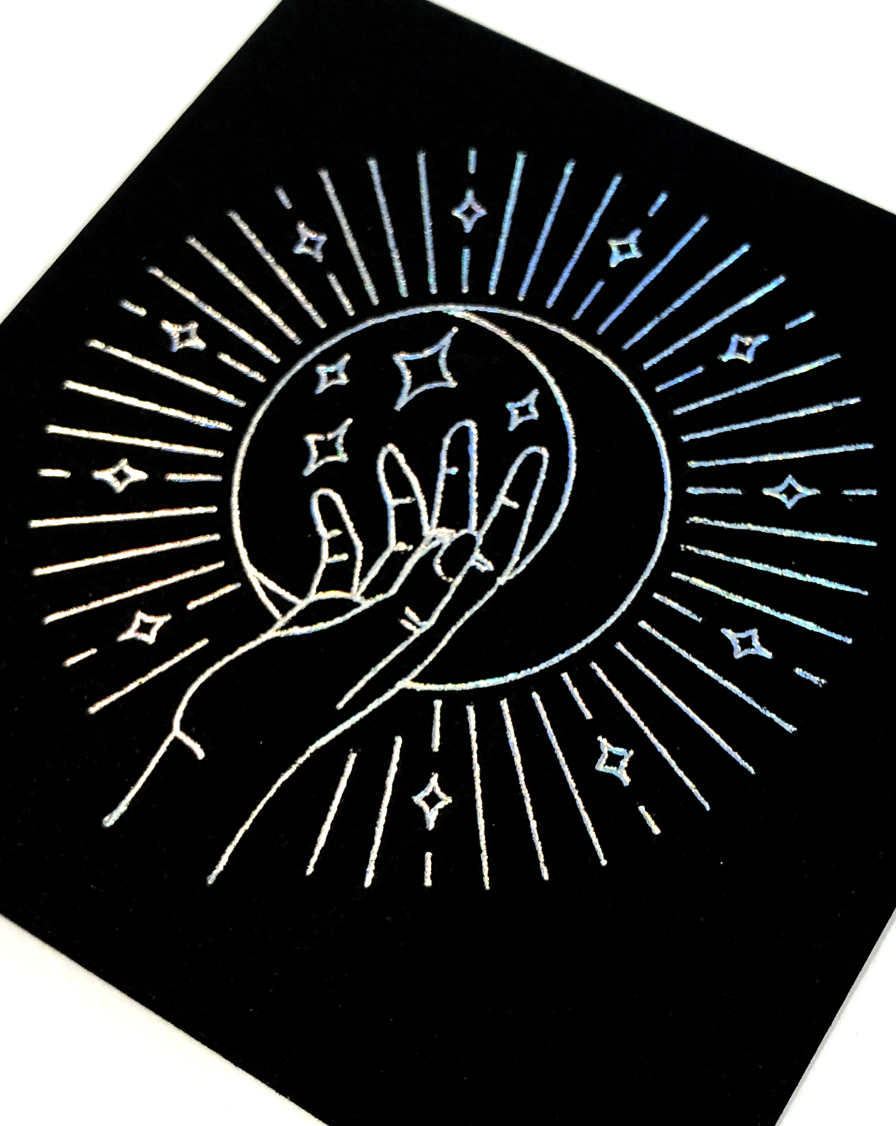
Next I tried the holographic foil. The results with the Cricut foil transfer tool were disappointing. But the results with the Foil Quill are beautiful! You can actually see the holographic effect on the on the cardstock.

Here’s a side by side of the holographic foil using Cricut Foil Transfer tool versus the Foil Quill. The Foil Quill version is stunning!

(L) WRMK Foil Quill Medium Tip, (R) Cricut Foil TRansfer Tool Medium Tip

(L) WRMK Foil Quill Medium Tip, (R) Cricut Foil TRansfer Tool Medium Tip

This foil is not labeled as being heat sensitive, but it works perfectly! It’s a really great option if you only need a small amount of foil and don’t want to buy an entire roll.

WRMK Foil Quill, Recollections Holographic Foil Transfer Sheet

WRMK Foil Quill, Recollections Holographic Foil Transfer Sheet

Foiling with the Silhouette Portrait 3 and WRMK Bevel Quill

Links in the article below may be affiliate links.

Hi Everyone!

Last week I did some foiling with my Portrait 3 and the WRMK foil quill. This week I wanted to share another technique you can use to foil with your Silhouette Portrait 3 or Cameo.

I found the WRMK Bevel Quill a few weeks ago in the clearance section at my local JoAnn’s, and I’m a sucker for all the little attachments for Cricut and Silhouette machines. Another bonus, I can use this tip in either my Cricut Maker or my Portrait 3.

The bevel tip has a small ball point and is intended to deboss on the “bevel board" materials that are included with the tip , but I wanted to try it with the Spellbinders Glimmer Foil since the foil is also pressure sensitive.

WRMK Bevel Quill

WRMK Bevel Quill

The A adapter included in the kit is intended for the Silhouette machines, but it doesn’t fit the Portrait 3 or Cameo 4.

First, I tried it with the D adapter that also came in the kit, but it doesn’t fit very snugly in the Portrait 3 and pops up out of the tool holder every so slightly when the machine presses down on the tip and there’s no longer any pressure for the tip to apply the foil.

So I grabbed the D adapter from my foil quill set, it’s just a hair wider than the other D adapter. It makes such a big difference, and it stays nice and snug in the tool holder.

D adapter from Foil Quill set

D adapter from Foil Quill set

Once again, I used my favorite black cardstock and the Standard grip mat with the regular copper and gold Spellbinder foils. I tried out a few different settings. I ended up getting pretty decent results with my Force between 20-25, Speed 2, and 2 passes.

Copper foil and gold foil on black cardstock

Copper foil and gold foil on black cardstock

The results are pretty close to what I get with my Cricut Foil Transfer tool and my Maker. The foil doesn’t always stick in some places and it can be a little dusty when you remove the foil sheet after transferring. The WRMK Foil Quill is still my favorite tool for foiling, but this is definitely a good option if you don’t want to be bothered heating up the WRMK Foil Quill.

Foiling with WRMK Bevel Quill

Silhouette Portrait 3 and the WRMK Foil Quill

Links in the article below may be affiliate links.

Hi Everyone! A few months ago I finally crossed over and got a Silhouette Portrait 3, and I love it!! It works like I always thought my Cricut should work.

Last week I tried the Spellbinders Glimmer Foil with the WRMK Foil Quill in my Cricut Maker. The results weren’t great on cardstock, but it looked really nice on my clear sticker paper. So this week, I decided to try it on my Portrait 3 because I can adjust the speed and pressure with the Foil Quill, unlike the Cricut.

I have to use the D adapter for the Foil Quill with the Portrait 3, the usual A adapter for Silhouette doesn’t fit the newer machines.

Use Adapter D for the Silhouette Portrait 3.

Use Adapter D for the Silhouette Portrait 3.

First I tried the regular copper metallic foil on my favorite black cardstock. I’m using the Standard Grip mat with a Force of 22 and Speed 2. It looks fantastic!

Copper Foil, Medium Foil Quill Tip

Copper Foil, Medium Foil Quill Tip

Then I tried the regular gold foil, also on black cardstock. It looks pretty nice, there are a few spots where the foil didn’t stick great, but I might not have had my foil taped down tight enough (very important when foiling).

Gold Foil, Medium Foil Quill Tip

Gold Foil, Medium Foil Quill Tip

Next I tried the Silver iridescent foil with the same Force of 22, Speed 2. It looks sooooooo much better than it did on my Cricut Maker! There are a couple fo spots where the foil didn’t stick so I’m going to try a few more settings.

Iridescent Silver, Medium Foil Quill Tip

Iridescent Silver, Medium Foil Quill Tip

I tried a bunch of different pressures and speeds, but none of them are as good as the Force 22, speed 2.

Iridescent Silver, Medium Tip, different pressures and speeds

Iridescent Silver, Medium Tip, different pressures and speeds

I also tried the gold holographic foil, it did much better on the the Portrait 3 than with my Cricut Maker, but there are still a few spots where it didn’t stick to the cardstock.

Gold Holographic Foil, Medium Foil Quill Tip

Gold Holographic Foil, Medium Foil Quill Tip

Then I wanted to try it on some black vinyl for stickers. It came out pretty good, but there are some gaps in the solid hearts.

Gold Holographic Foil, Medium Tip on Black Adhesive Vinyl

Gold Holographic Foil, Medium Tip on Black Adhesive Vinyl

I changed the fill for the solid hearts from just diagonal lines to a crosshatch fill. Which is SUPER EASY to do in Silhouette Studio, and the results are much better!

Silver Iridescent Foil, Medium Tip on Black Adhesive Vinyl

Silver Iridescent Foil, Medium Tip on Black Adhesive Vinyl

I wanted to try using the Light Grip mat since the backing of the vinyl sticks a lot to the Standard Grip mat. The Light Grip mat is slightly thicker than the Standard Grip and it’s just enough difference that no matter what force I use, it’s too much and it even melted my vinyl.

Silver Iridescent Foil, Medium Tip on Black Adhesive Vinyl using Light Grip Mat

Silver Iridescent Foil, Medium Tip on Black Adhesive Vinyl using Light Grip Mat

So I switched back to the Standard Mat and it works much better! There are still some little gaps where the foil didn’t cover, so I decided to do a test with the Bold Tip Quill to see if it gets better coverage with the filled shapes.

Gold Holographic Foil, Medium Tip using crosshatch fill

Gold Holographic Foil, Medium Tip using crosshatch fill

Yes! The Bold Tip does an even better job with the filled shapes!

Gold Holographic Foil, Bold Tip using crosshatch fill

Gold Holographic Foil, Bold Tip using crosshatch fill

Silver Iridescent Foil, Bold Tip using crosshatch fill

Silver Iridescent Foil, Bold Tip using crosshatch fill

One final test with the Bold Tip on cardstock. I ended up having to switch my mat to the Light grip mat, I wasn't getting enough pressure with the Standard mat. The Bold Tip gives a really nice flat fill, but I think I like the Medium tip better for lettering.

Gold Holographic Foil, Medium Tip using crosshatch fill, Light Grip Mat

Gold Holographic Foil, Medium Tip using crosshatch fill, Light Grip Mat

An important lesson learned this week is that the cutting mat can have a really big impact on the outcome of the project!

Silver Iridescent Foil, Bold Tip using crosshatch fill. Top is using the Light Grip Mat. Bottom is using the Standard Grip Mat.

Silver Iridescent Foil, Bold Tip using crosshatch fill. Top is using the Light Grip Mat. Bottom is using the Standard Grip Mat.

Cricut Foil Transfer Tool with Silhouette Brand Foil Sheets

Hi Everyone!

(Links in article below may be affiliate links).

As many of you who work with the Cricut Foil Transfer tool already know, you MUST you pressure sensitive foil. Cricut has their own brand of foil that is designed specifically to work with the foil transfer tool. So far, I haven’t been a huge fan of the Cricut brand foil. It doesn’t stick well to to some card stocks. I have a very tough time using it with my black 100lb cardstock and some of the colors in my 65lb Recollections multipack from Michaels. Also, it will foil perfectly fine in some parts of my design and then the foil doesn’t stick in other parts of the same design. I dunno, maybe I’m being to picky.

So far the only other pressure sensitive foil I have found is the Silhouette brand. I’m going to give the Silhouette foil a try with the Cricut Foil Transfer Tool.

Cricut Foil Transfer Tool - Fine Tip

Unfortunately, the Foil Transfer tool can only be used with the Desktop version of Design Space. I don’t know why that is, but hopefully one day they will make it compatible with the app as well.

I started out with the default pressure on 100lb cardstock. Failure. Like with the scoring stylus in last week’s post, the foil is not sticking to the middle of the letters.

Fine Tip - Default Pressure

Fine Tip - Default Pressure

Then I tried less pressure on the 100lb cardstock, again, failure.

Fine Tip - Less Pressure

Fine Tip - Less Pressure

More pressure?? Nope, still a failure. To be honest, if I hadn’t written my settings on the back of the cards, I wouldn’t be able to tell the difference between them, they all look equally terrible.

Fine Tip - More Pressure

Fine Tip - More Pressure

Cricut Foil Transfer Tool - Medium Tip

To cut down on wasted materials, I tried just the word hello and a filled in star. I can usually get sort of ok results on this cardstock with the Cricut Brand foil the default pressure setting and the medium tip. If any setting were to work, I would assume that it would have been medium tip, default setting. Still terrible results, not matter if it’s default, less, or more pressure.

Cricut Foil Transfer Tool Medium Tip, Top - Default Pressure, Middle - Less Pressure, Bottom - More Pressure

Cricut Foil Transfer Tool Medium Tip, Top - Default Pressure, Middle - Less Pressure, Bottom - More Pressure

Cricut Foil Transfer Tool - Bold Tip

I also gave the bold tip a try. I only tried Default and less pressure, they were both absolutely terrible!

Bold Tip, Top - Default Pressure, Bottom - Less Pressure

Bold Tip, Top - Default Pressure, Bottom - Less Pressure

65lb Cardstock

I made one final attempt on 65lb Recollections cardstock with the medium tip, less pressure. It’s pretty terrible as well.

65lb cardstock with Medium Foil Tip, less pressure

65lb cardstock with Medium Foil Tip, less pressure

I think the Cricut Foil Transfer tool uses way too much pressure for this foil. Unfortunately, Cricut is really limited with the adjustments for each tool. I can’t make any other adjustments to the pressure other than default, less, and more. So I DO NOT recommend using this Silhouette foil with the Cricut Foil Transfer tool.

So far the only Cricut Tool I’ve had some success with the Silhouette foil is the Deboss Tip. You can check out my previous post about that here.

Foiling with the Cricut Fine Deboss Tip

Links in the article below may be affiliate links.

Foiling with Cricut Deboss tip

Hi Everyone! I’ve been doing some more experimenting with my Fine Deboss Tip for my Cricut Maker. You can even use this tip for foiling!

Please note: The Deboss Tip only works with the Maker machine, it is used with the quick swap housing.

I’m showing this method because I can use the Deboss tip with the Cricut App on my iPad. For some reason the actual Foil Transfer tool is not compatible with the Cricut App.

You need to use a pressure sensitive foil. So I tried out the foil that is used with the Cricut Foil Transfer tool and the Silhouette brand pressure sensitive foil.

Here are my results:

Cricut Brand Foil Transfer

I am testing some single line words and a few filled shapes with the Cricut brand foil and the fine deboss tip on 100lb cardstock. I select the 100lb cardstock from my materials, with default pressure.

Fine Deboss tip with Cricut Gold Foil, default pressure.

Fine Deboss tip with Cricut Gold Foil, default pressure.

The foil transferred in a few places, but far from a success.

Fine Deboss Tip, Cricut Gold Foil

Fine Deboss Tip, Cricut Gold Foil

Next I tried 100lb cardstock, more pressure.

I snuck a peek after 1 full pass. It did a little better than the default pressure, but still not great.

Fine Deboss tip, more pressure, one full pass.

Fine Deboss tip, more pressure, one full pass.

I didn’t unload my mat so I could try sending it through my machine one more time. Definitely better than the default pressure, but still not great.

Second pass, more pressure

Second pass, more pressure

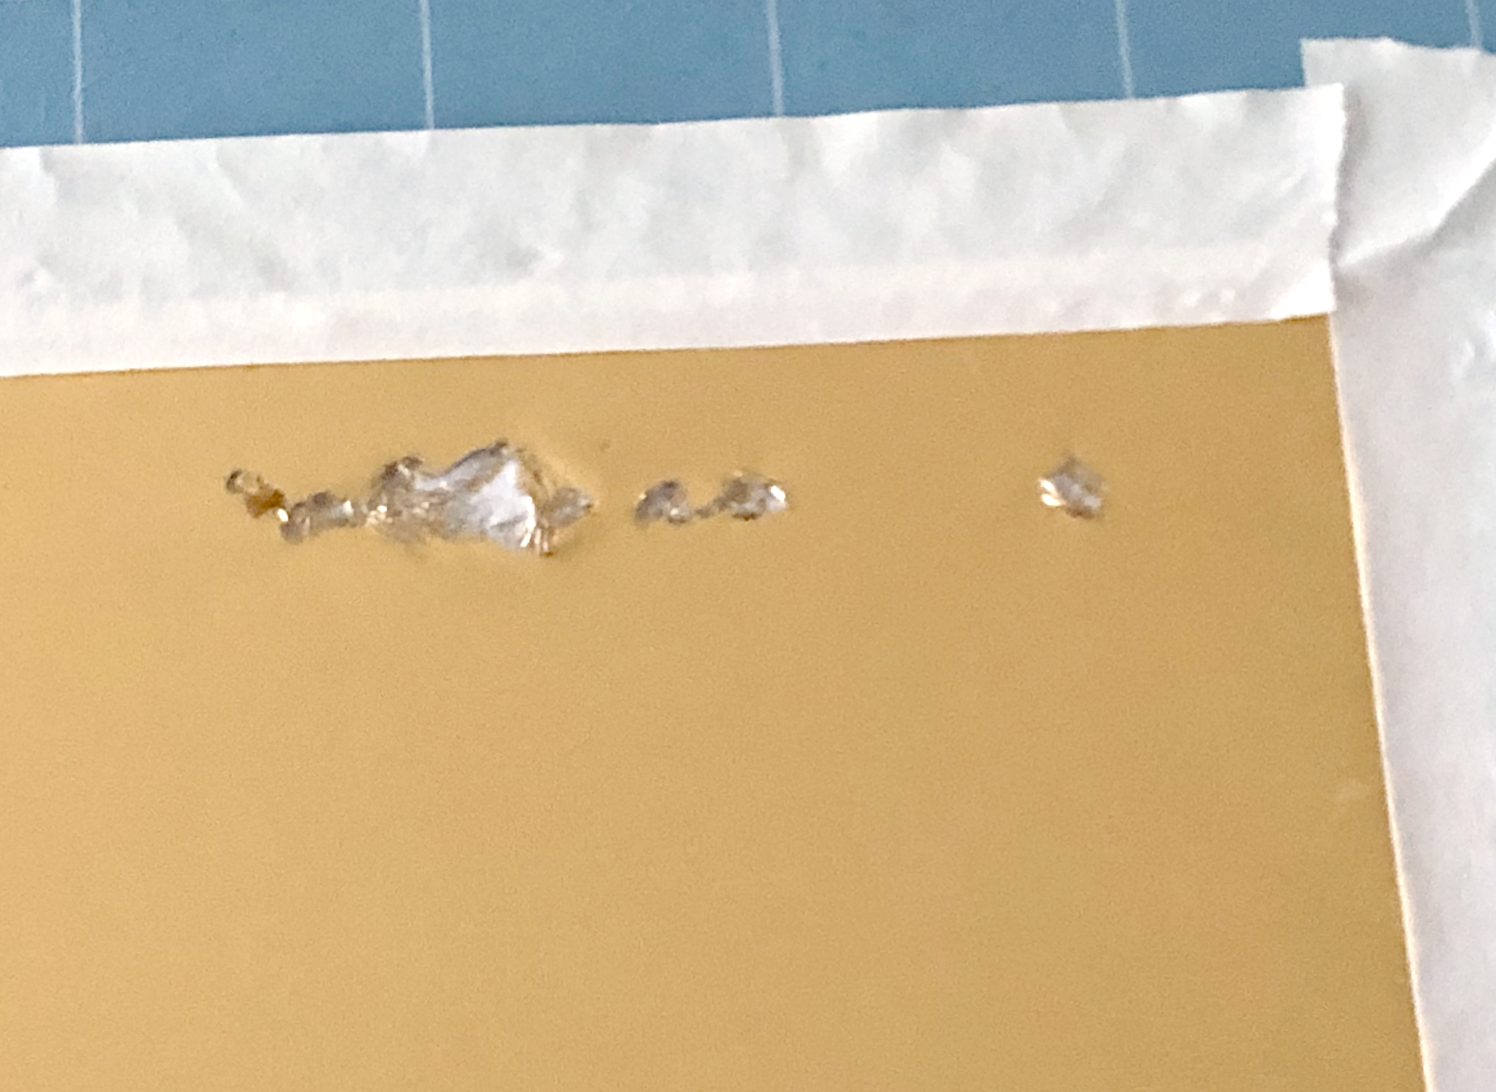
I made one last attempt with the Cricut foil, this time I tried with the medium 80lb cardstock setting. What a disaster! It tore the foil paper on default and light pressure. I didn’t even attempt more pressure.

Medium 80lb cardstock, default pressure. Tearing the foil.

Medium 80lb cardstock, default pressure. Tearing the foil.

Medium 80lb cardstock, less pressure. Also tore the foil.

Medium 80lb cardstock, less pressure. Also tore the foil.

So the deboss tip doesn’t really work with the Cricut Foil.

Silhouette Brand Foil Transfer

I’ve seen a few you tube videos of people using the Silhouette foil transfer sheets, it’s intended to be used with the Curio machine, so I hope the foil doesn’t get discontinued like the Curio machine. But I thought I would give it a shot. They’re a little pricier than the Cricut foils and fewer color choices. I mainly use gold, silver and rose gold anyway, so it’s not a huge deal for me. Sometimes they go on sale, so keep an eye out for that.

It’s a lot thicker than the Cricut Foil and you need to remove the back carrier sheet before placing it over whatever you’re foiling.

Remove the backing sheet!!

Remove the backing sheet!!

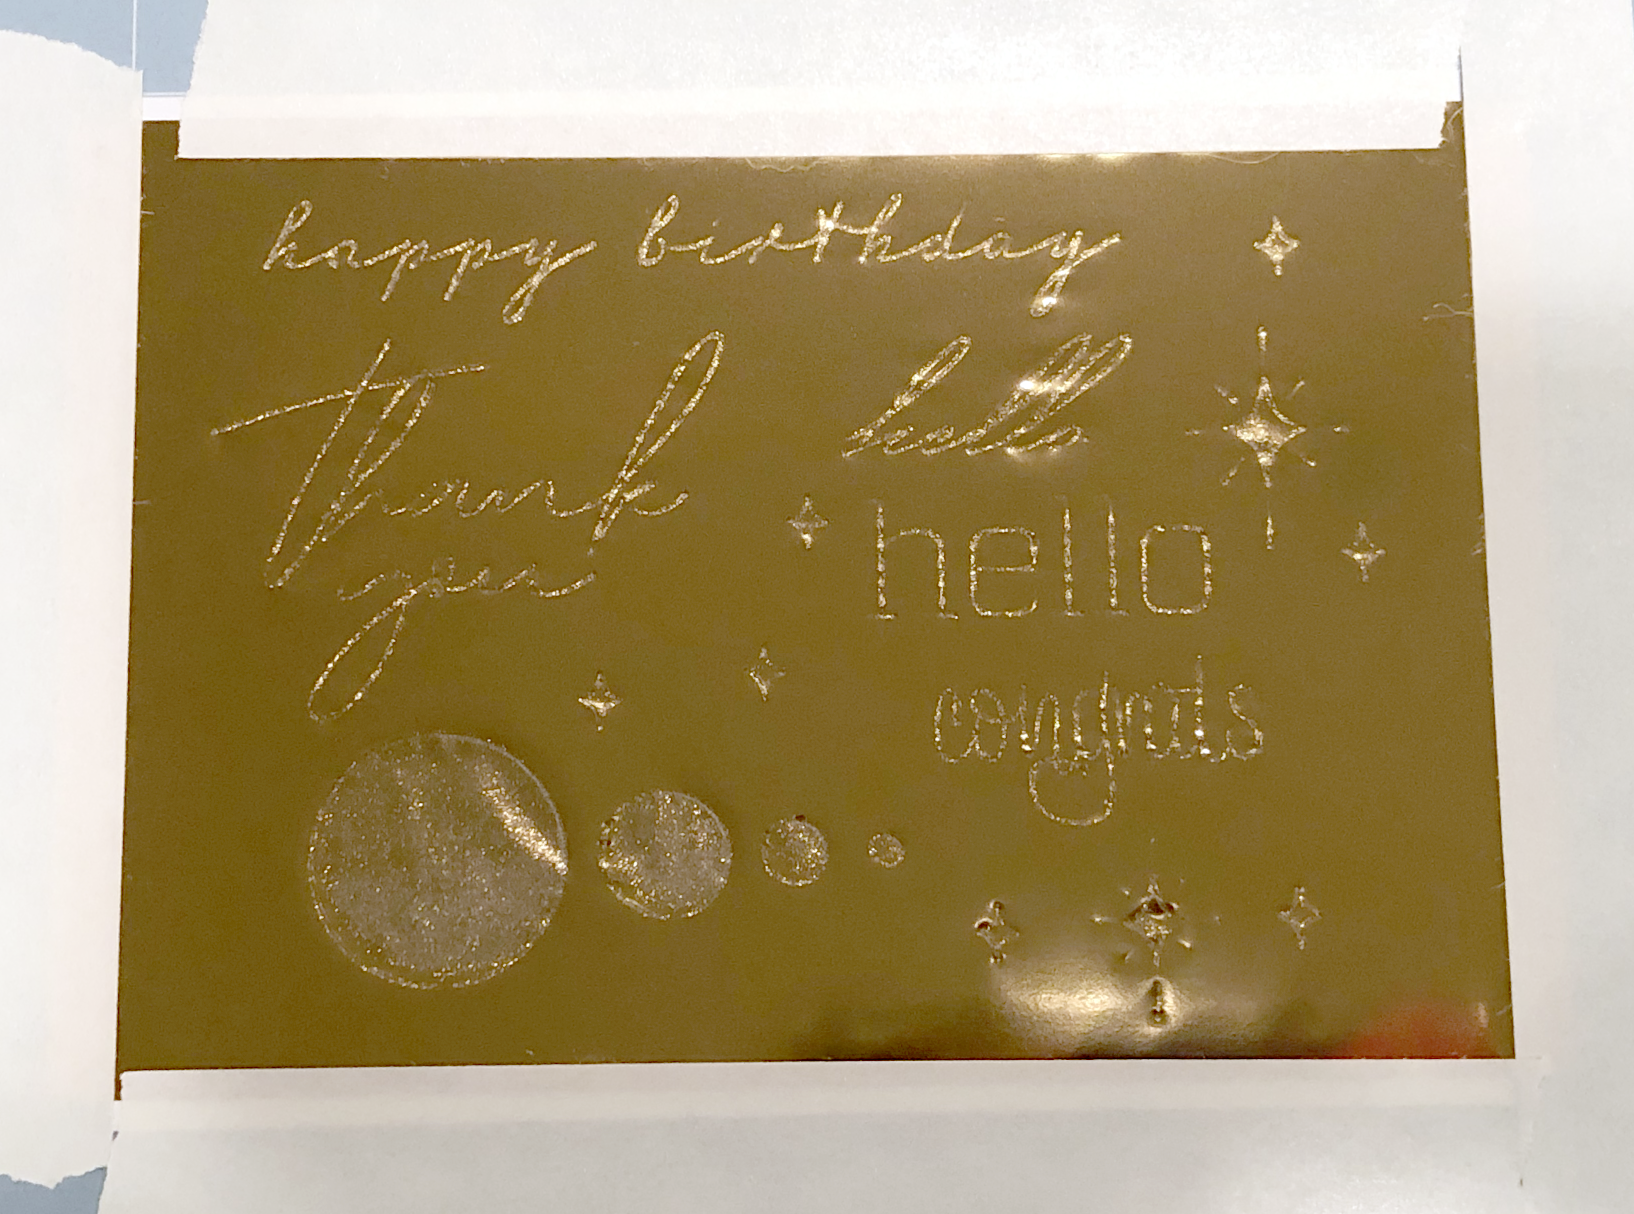
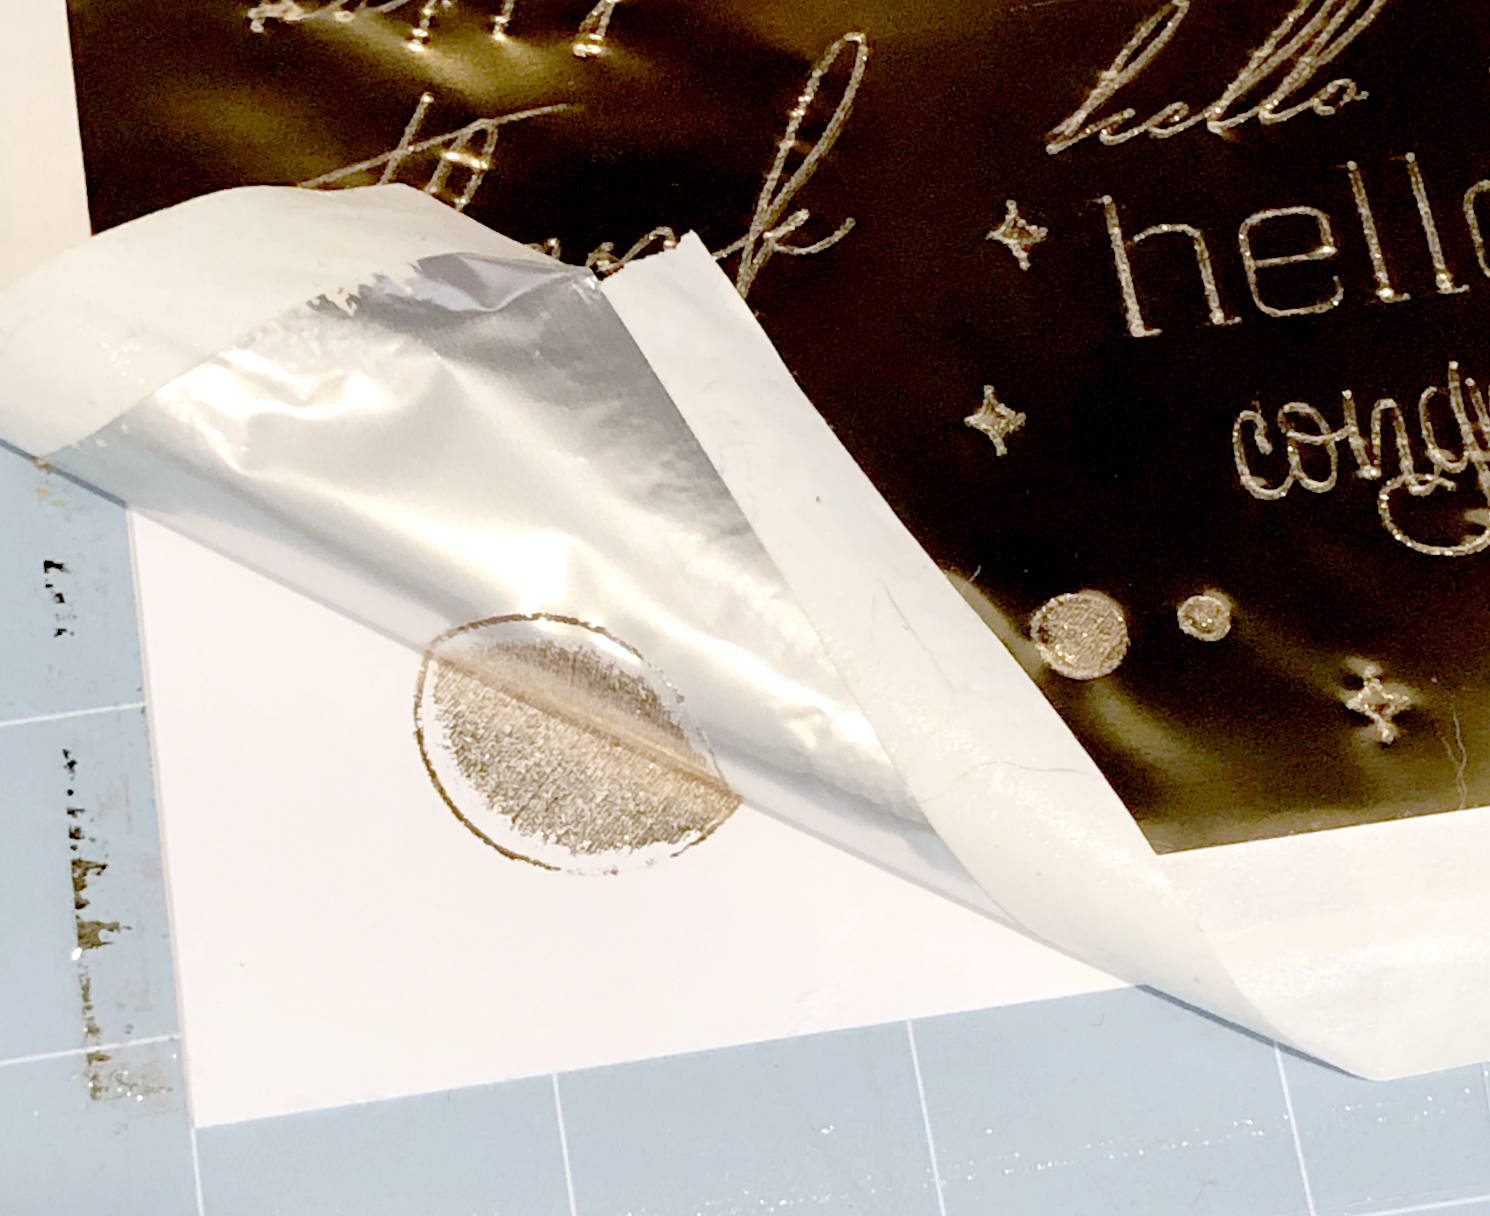
I started out with the 100lb cardstock default pressure again. When I first remove the film after it’s done, it looks kind of scary, but you can clean up the excess pieces and edges with blue painters tape or Washi tape.

Silhouette Foil with Cricut Fine Deboss tip

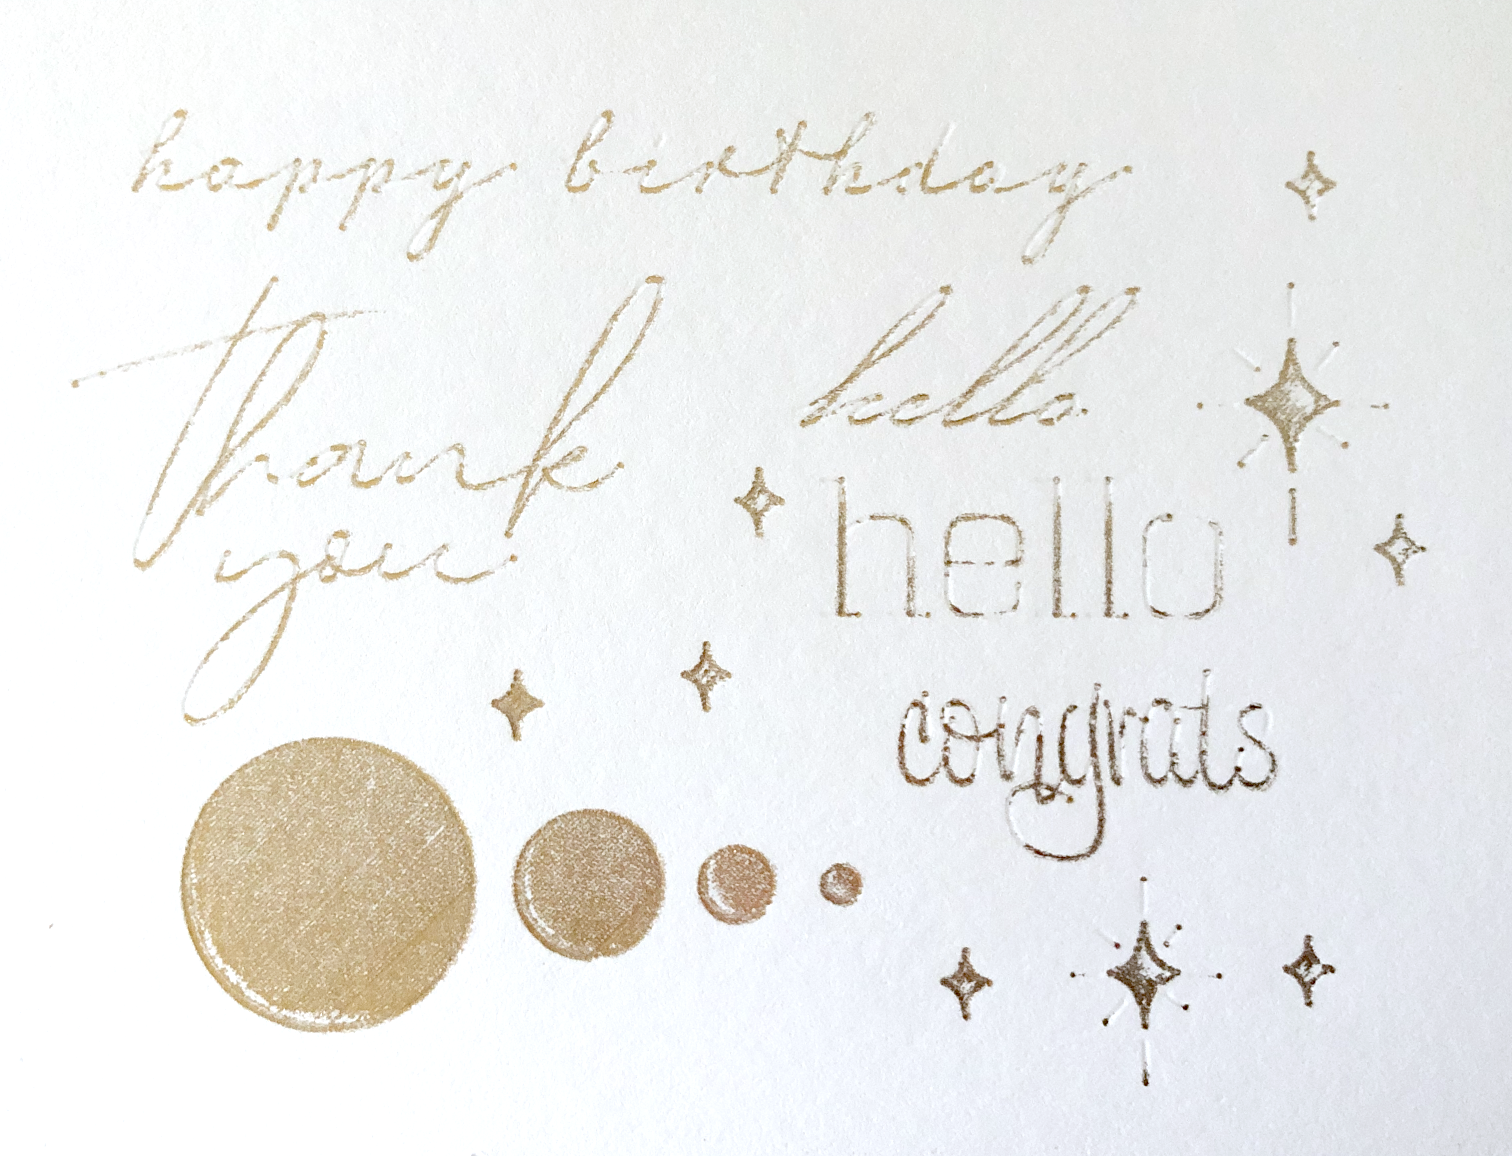
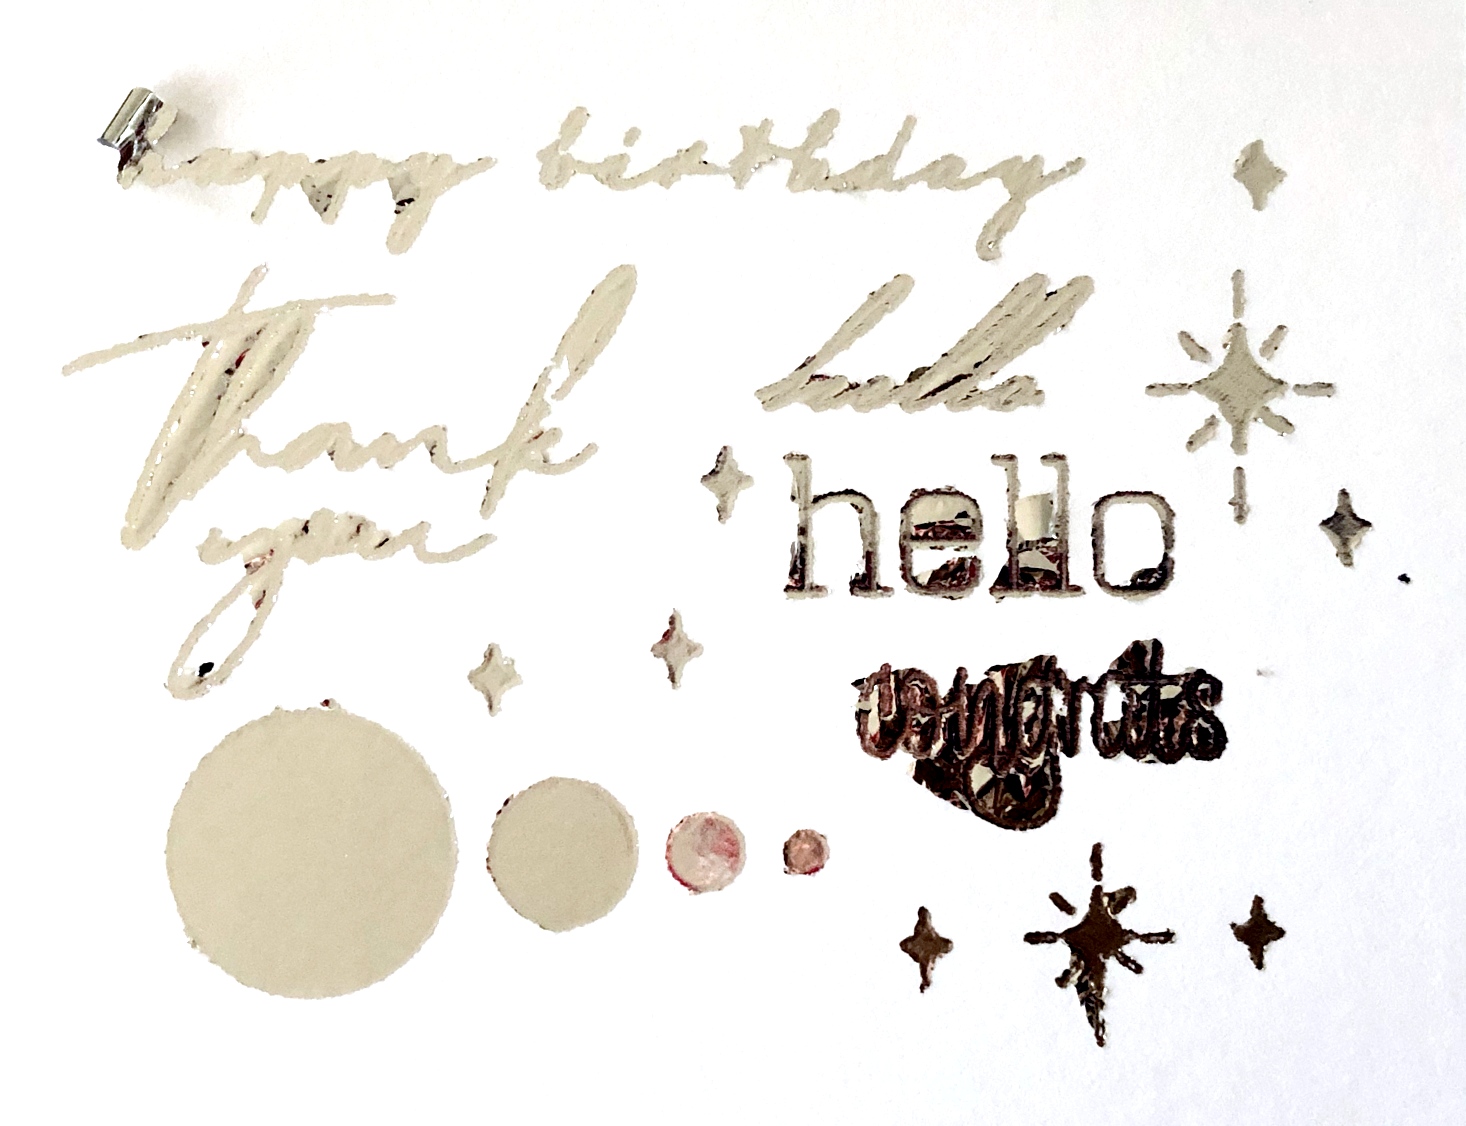
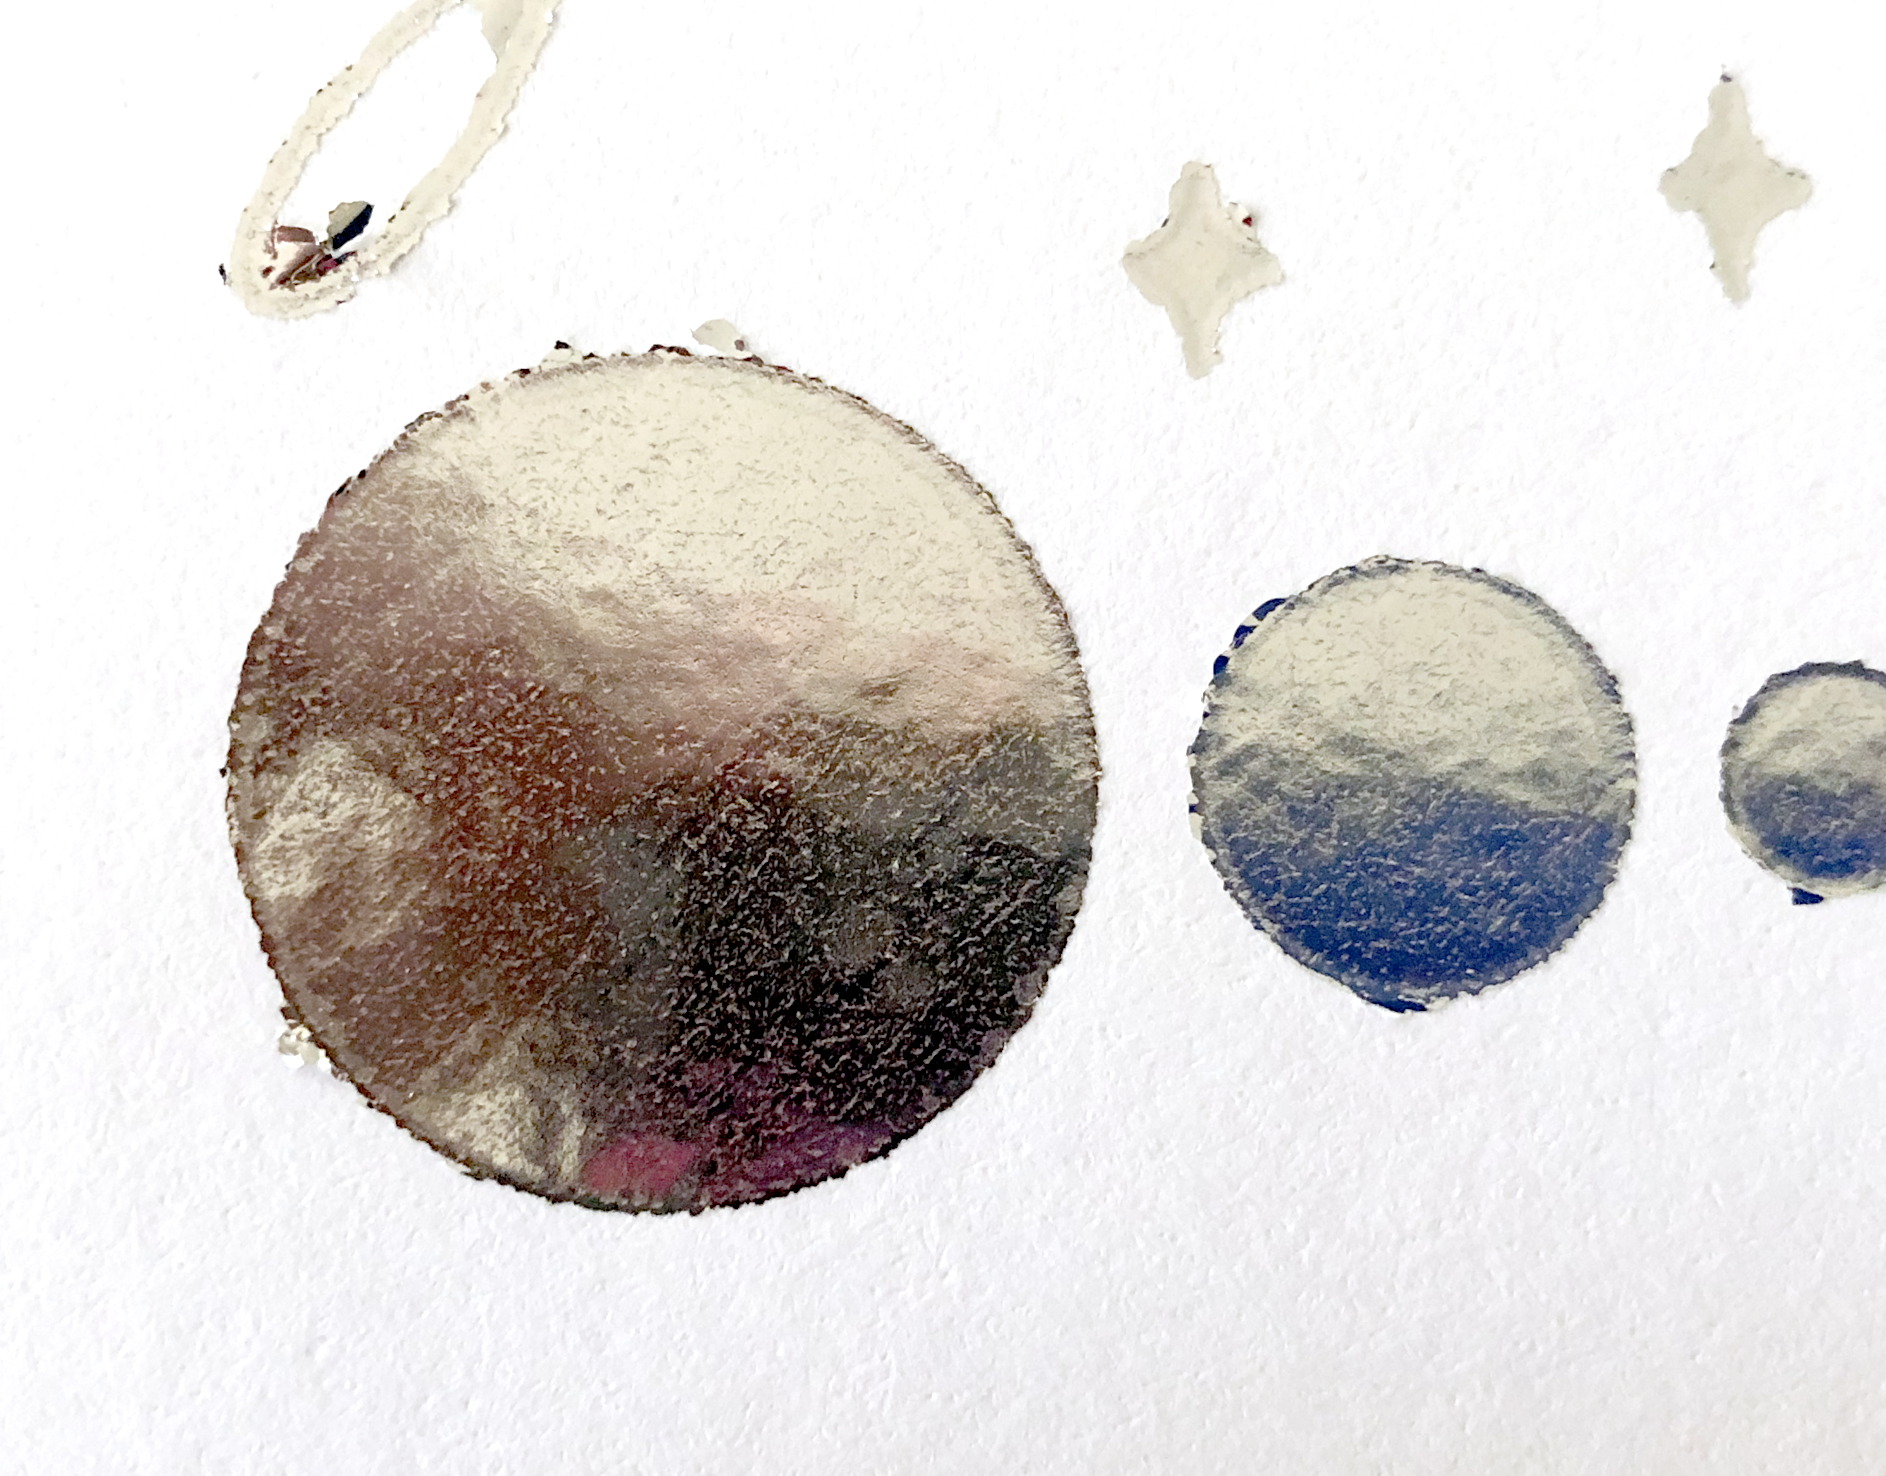
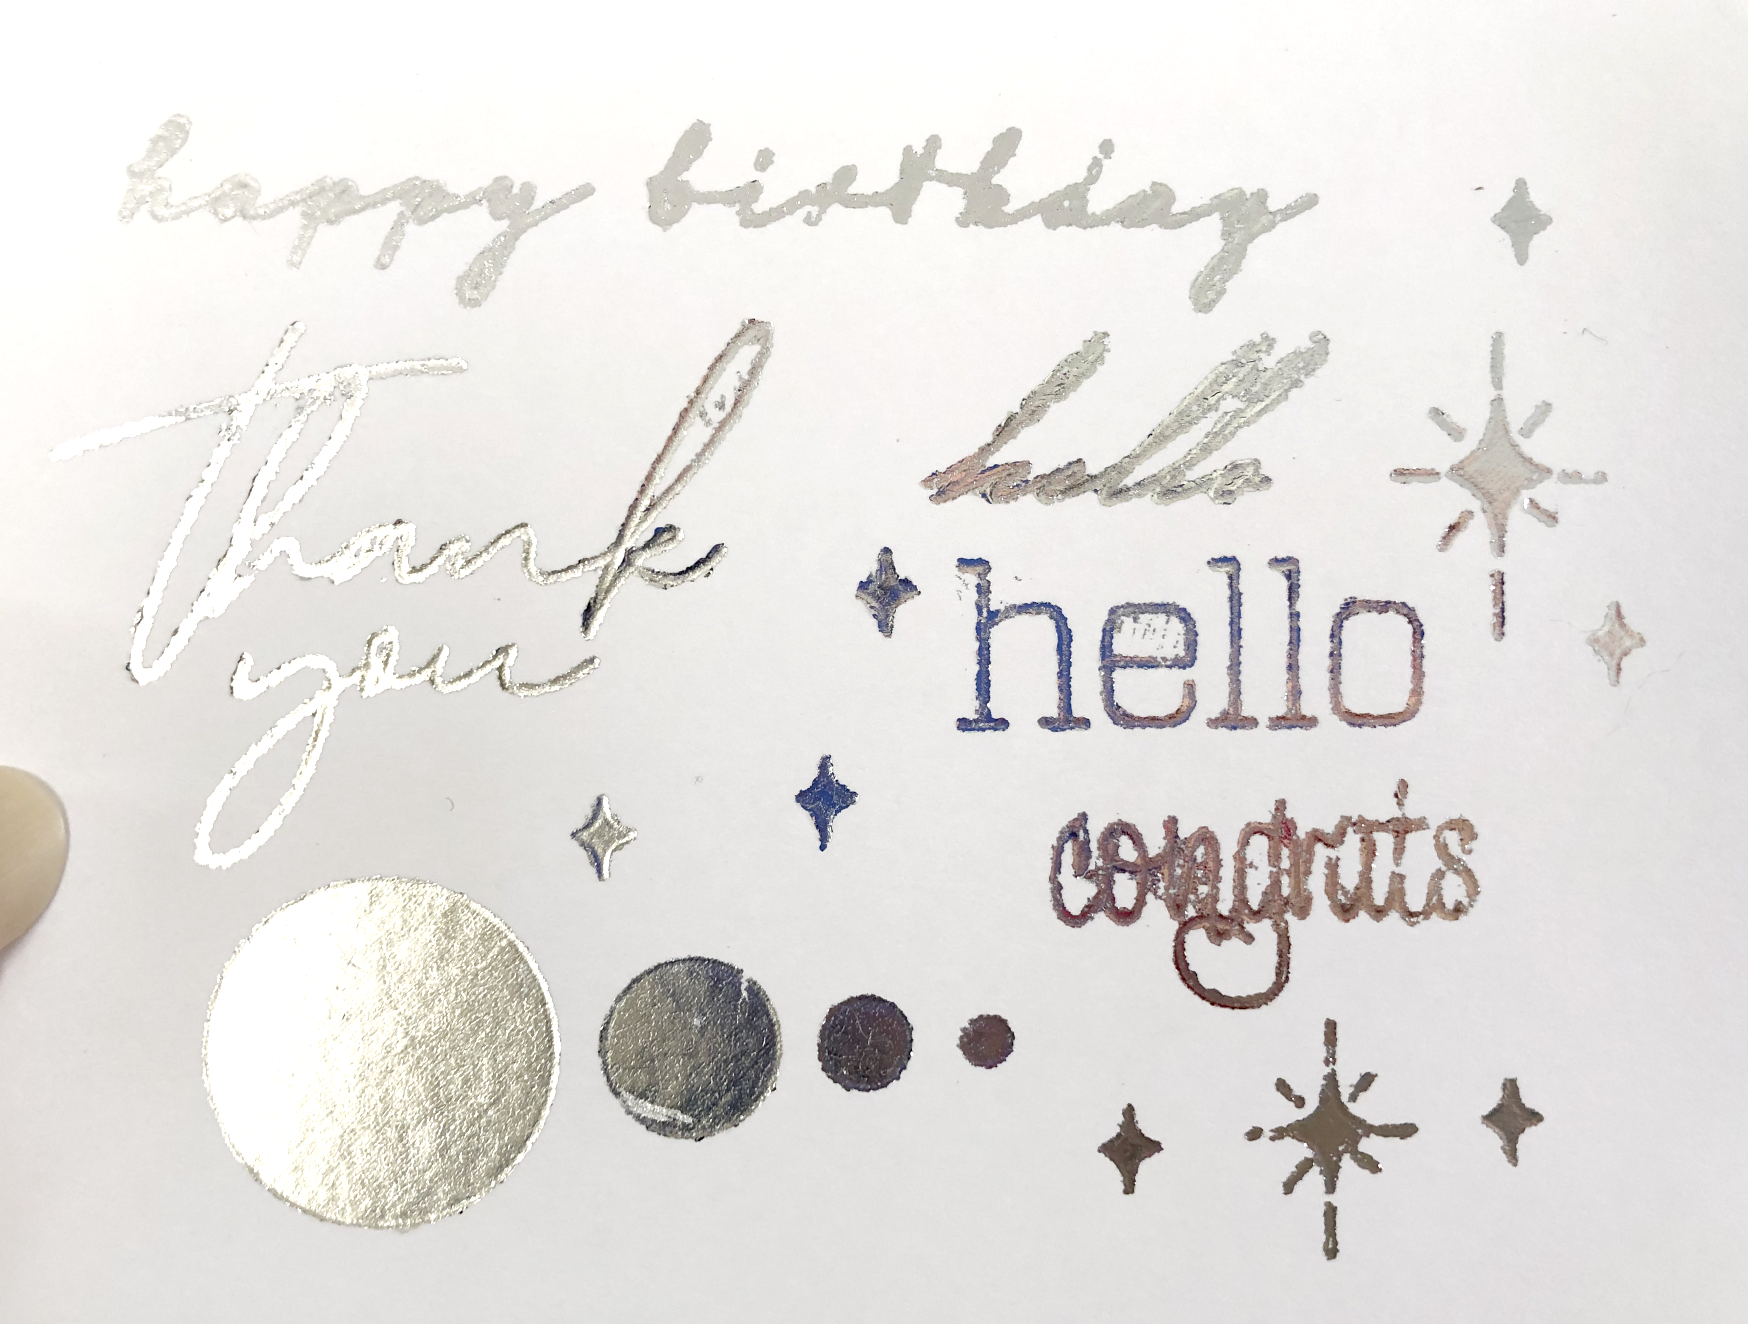
After cleaning it up, the results are pretty good. It’s REALLY shiny compared to the Cricut Foil. The filled circles look spectacular! Pretty smooth and flat. It occasionally misses parts of some of the letters and the edges aren’t super crisp.

Filled Circles before cleaning up the edges

Filled Circles before cleaning up the edges

After cleaning up the edges with Washi tape.

After cleaning up the edges with Washi tape.

I tried the 100lb card stock setting with More pressure, that came out ok, the edges are not as clean as the default pressure.

Silhouette Foil, 100lb cardstock, More Pressure

Silhouette Foil, 100lb cardstock, More Pressure

I also tried the Medium cardstock setting, Default pressure, just to compare the results. The foil did not stick at all!!

80lb cardstock setting, Default pressure

80lb cardstock setting, Default pressure

Overall, I think I like the results with the 100lb cardstock, default pressure the best. The lettering is OK, but it would not be suitable for really small text. I don’t think this would be a great option for very detailed, intricate designs either. It worked really well with the filled circles, so this could be a good option for filled shapes or thicker solid stripes.

It’s another foiling technique you can use if you work primarily with the Cricut App, or you don’t want to purchase the Foil Transfer tool or the Foil Quill.

I just got my Silhouette Portrait 3 machine, so I’m excited to try the Silhouette foil with that in the future!

Silhouette Foil Cricut Fine deboss tip