Hi Everyone!
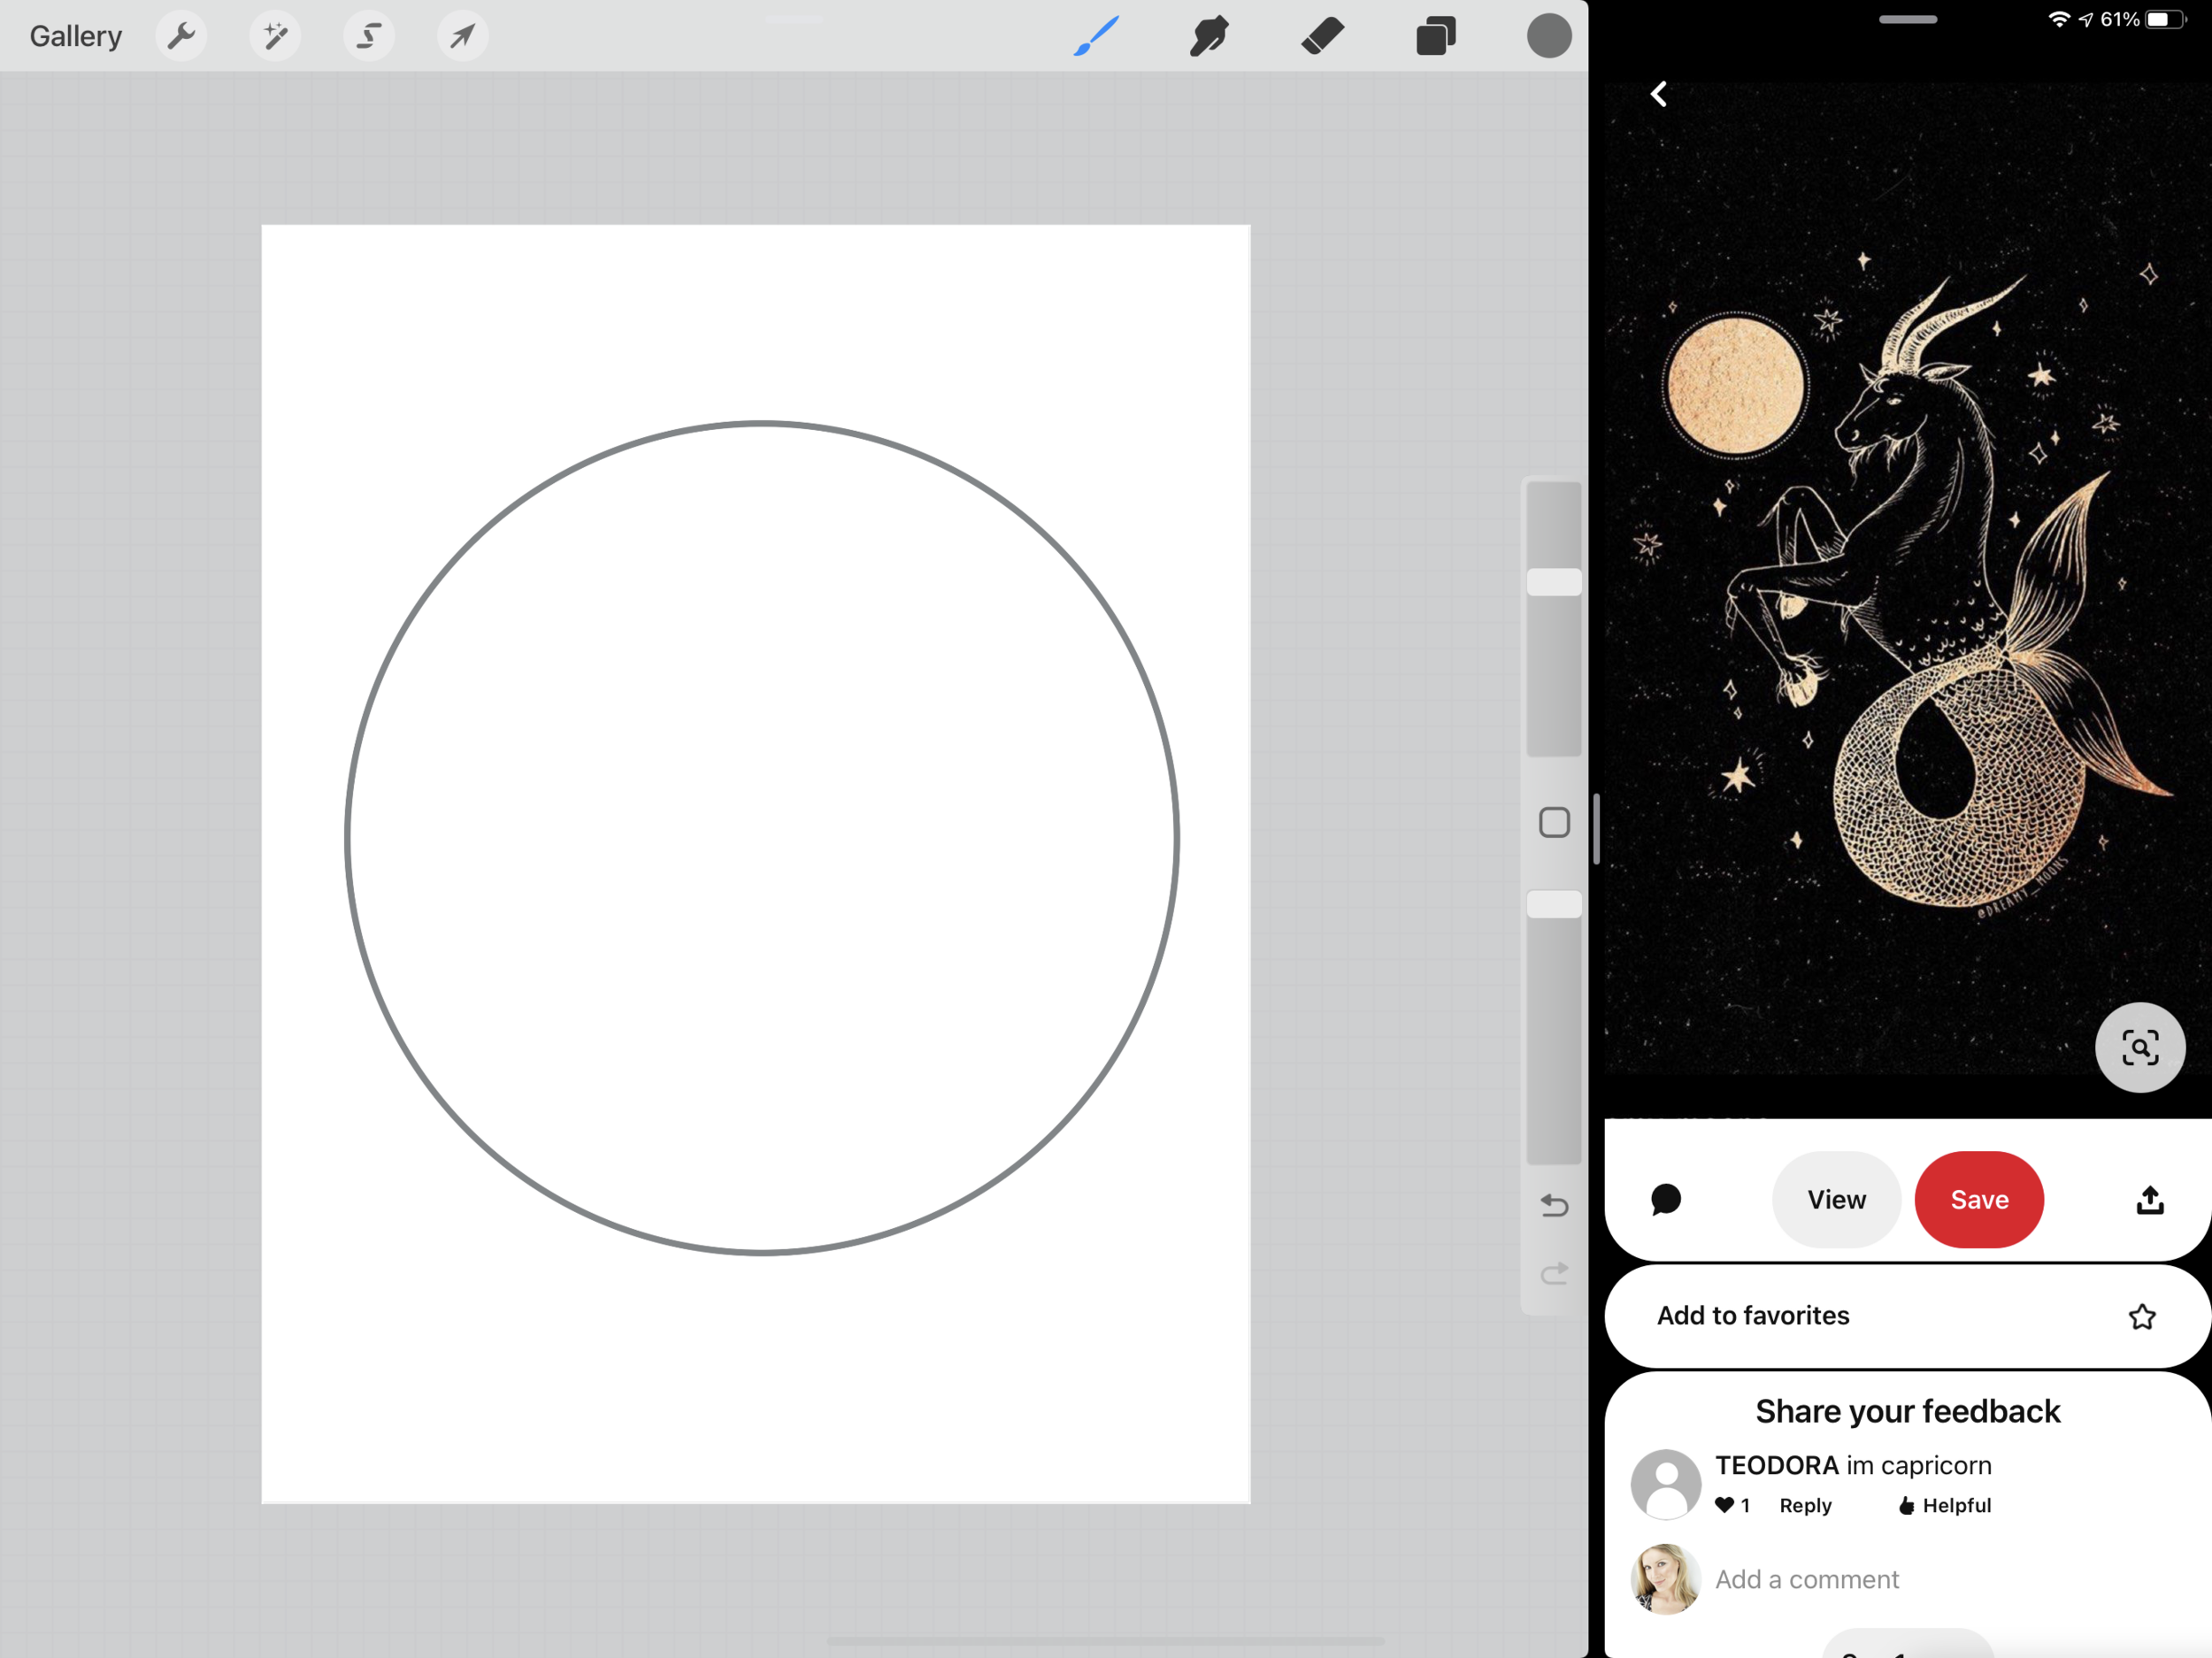
This week is part two of how to create your own single line SVG files. I’m going to share with you how I take my sketch from Procreate and use the Adobe Illustrator app on my iPad Pro to create the SVG file.
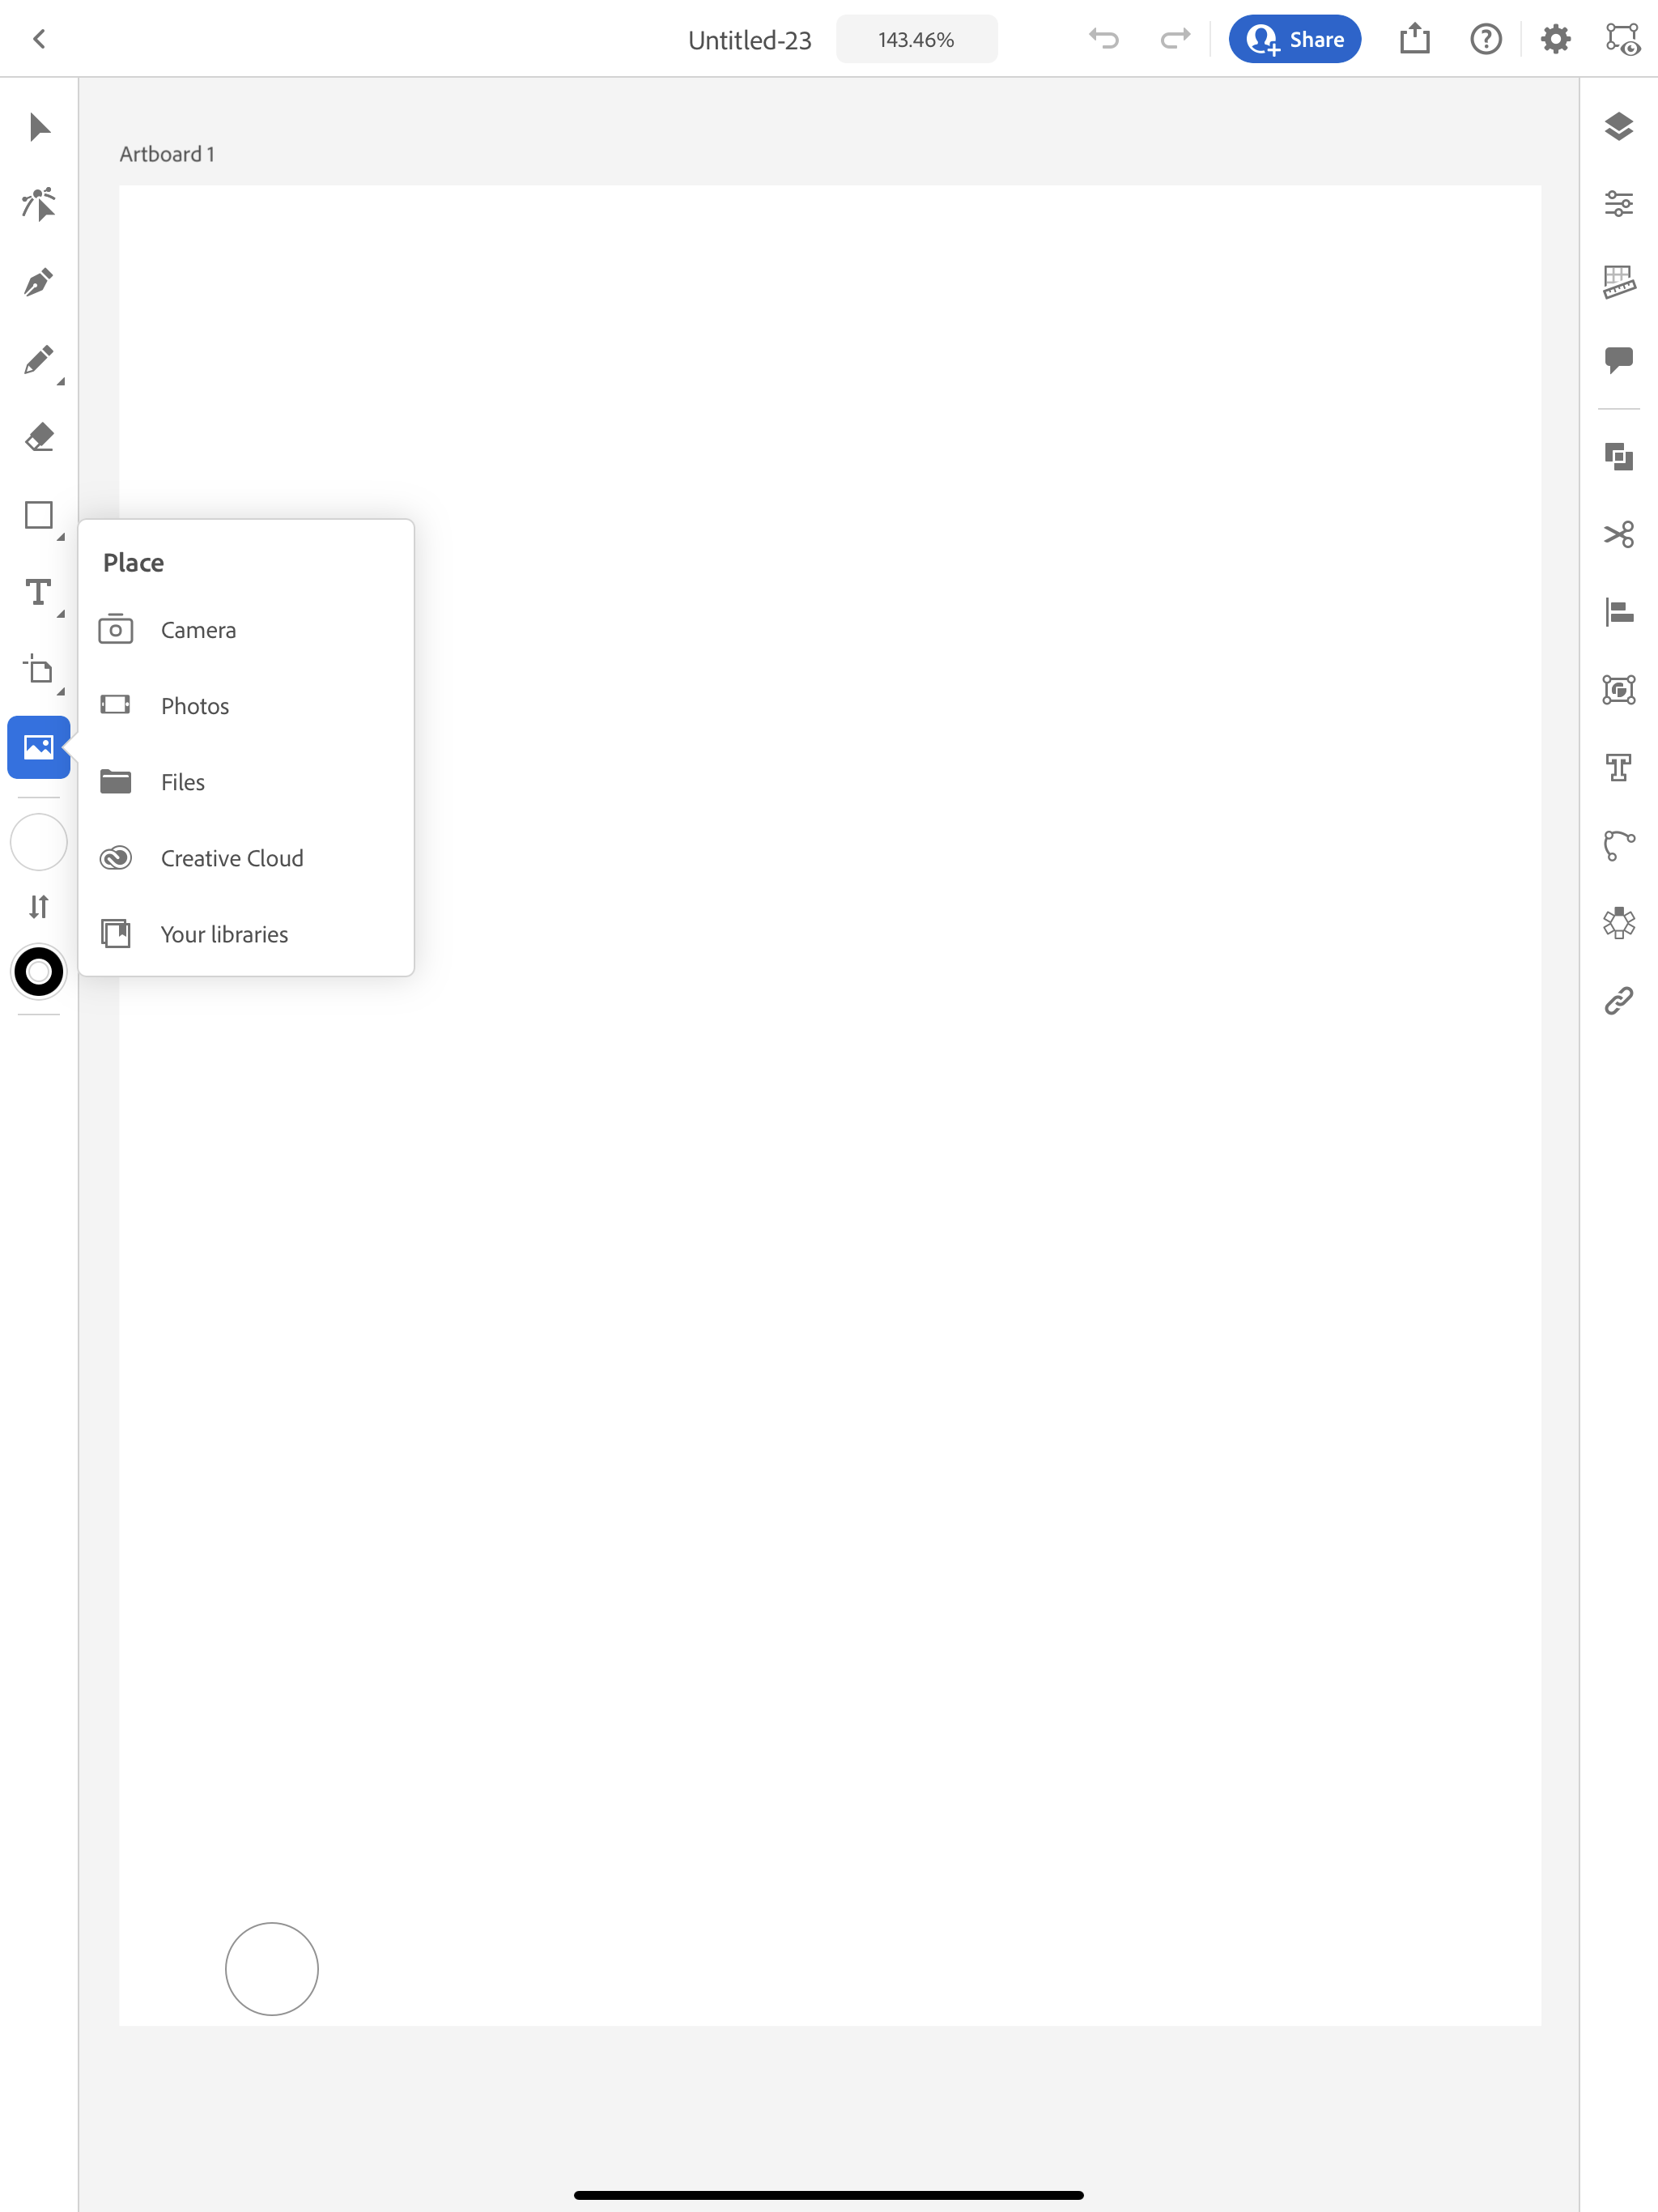
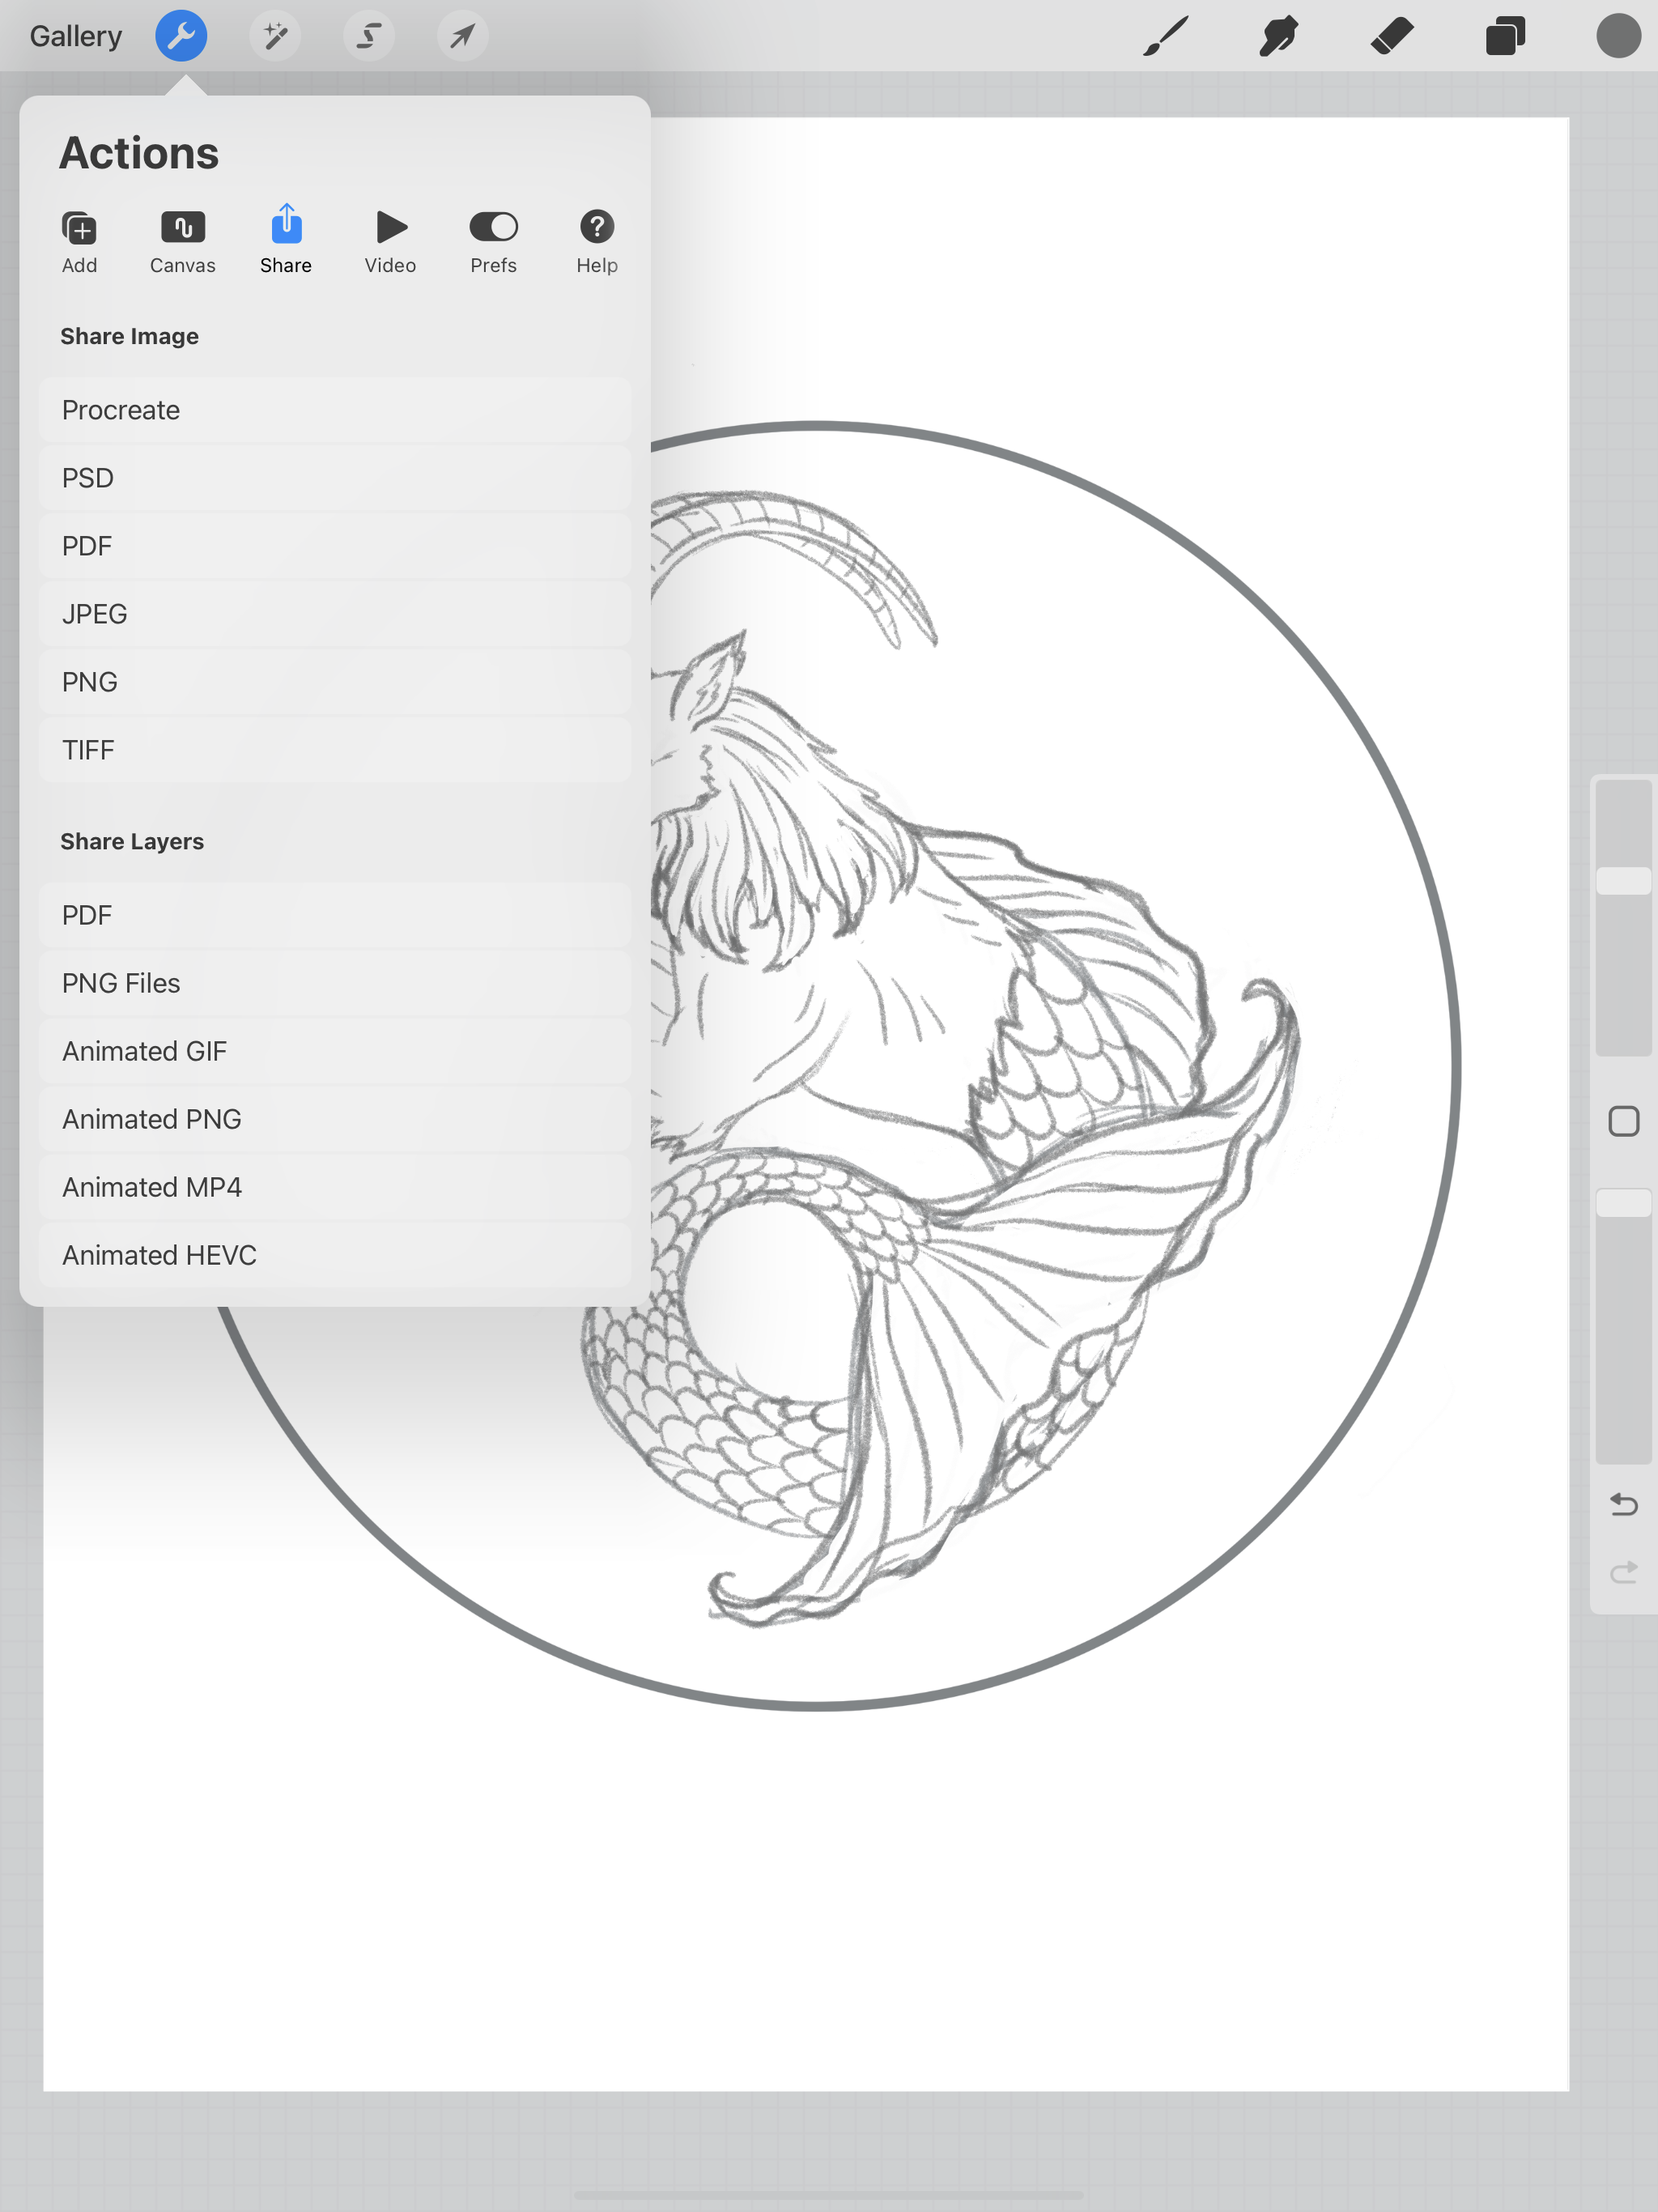
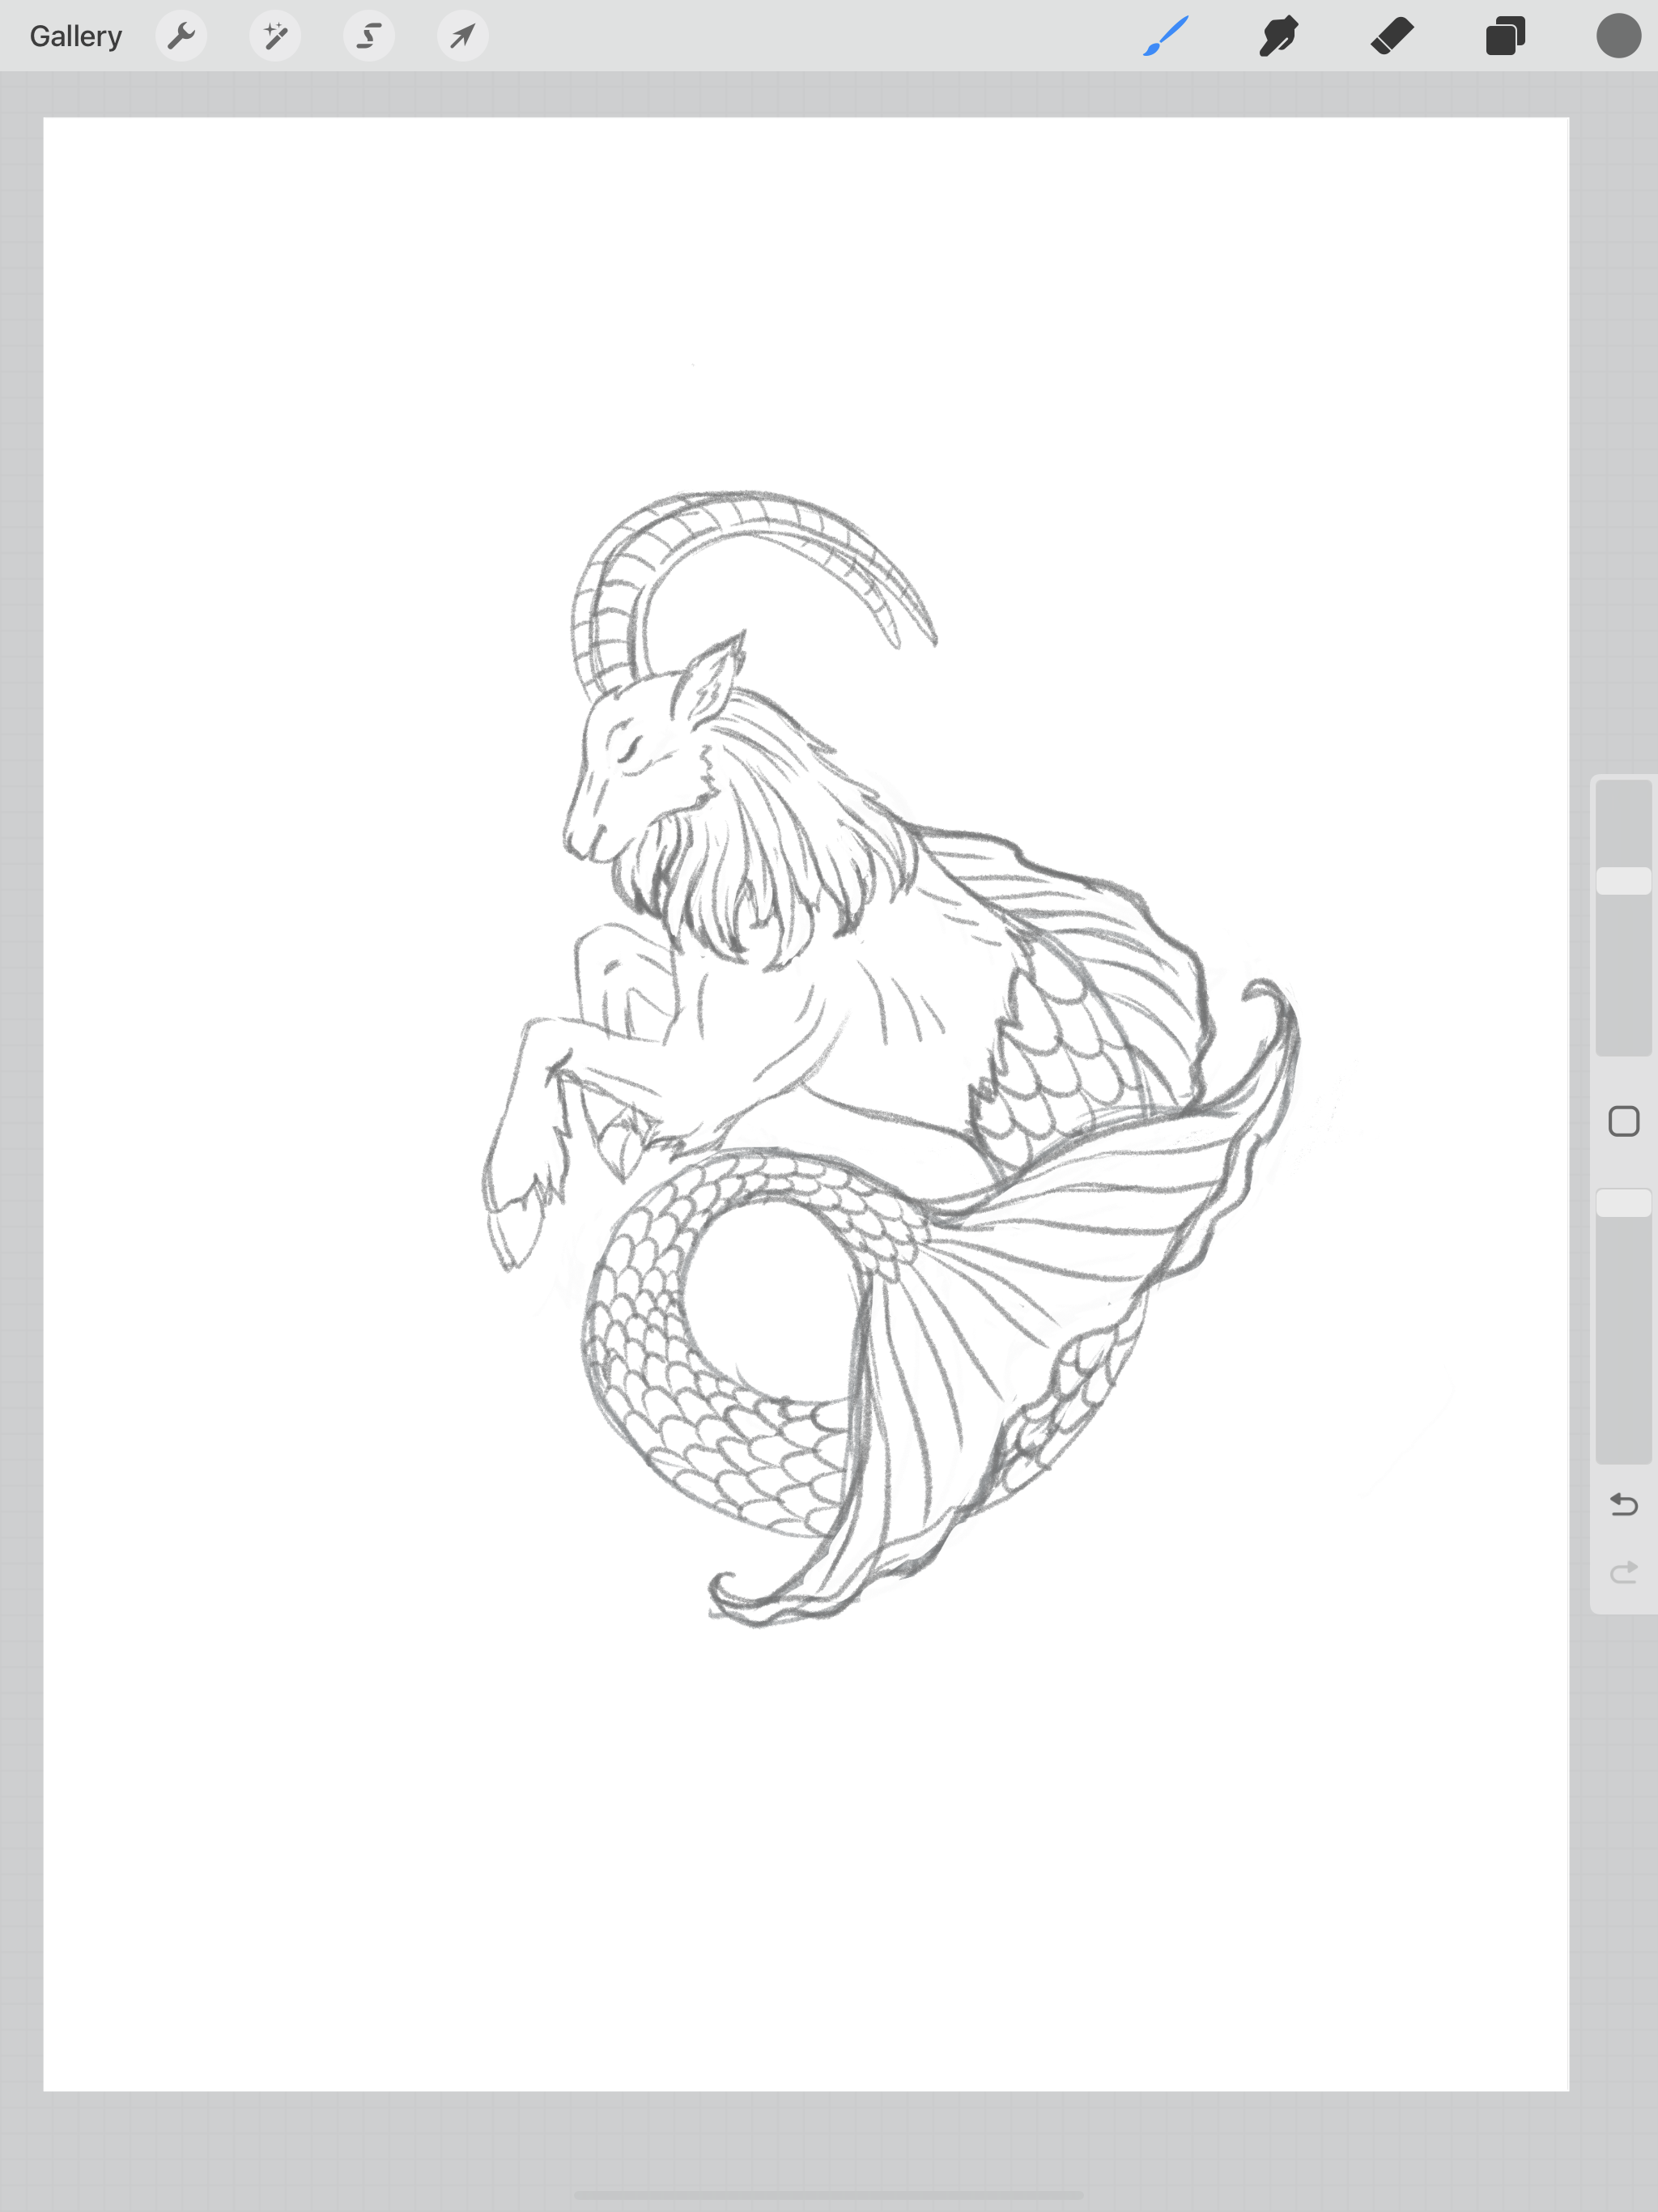
Last week exported my file from Procreate as a JPEG. I’m going to bring that file into the Illustrator app by selecting the picture icon in the tool bar on the left and finding that file on my iPad.
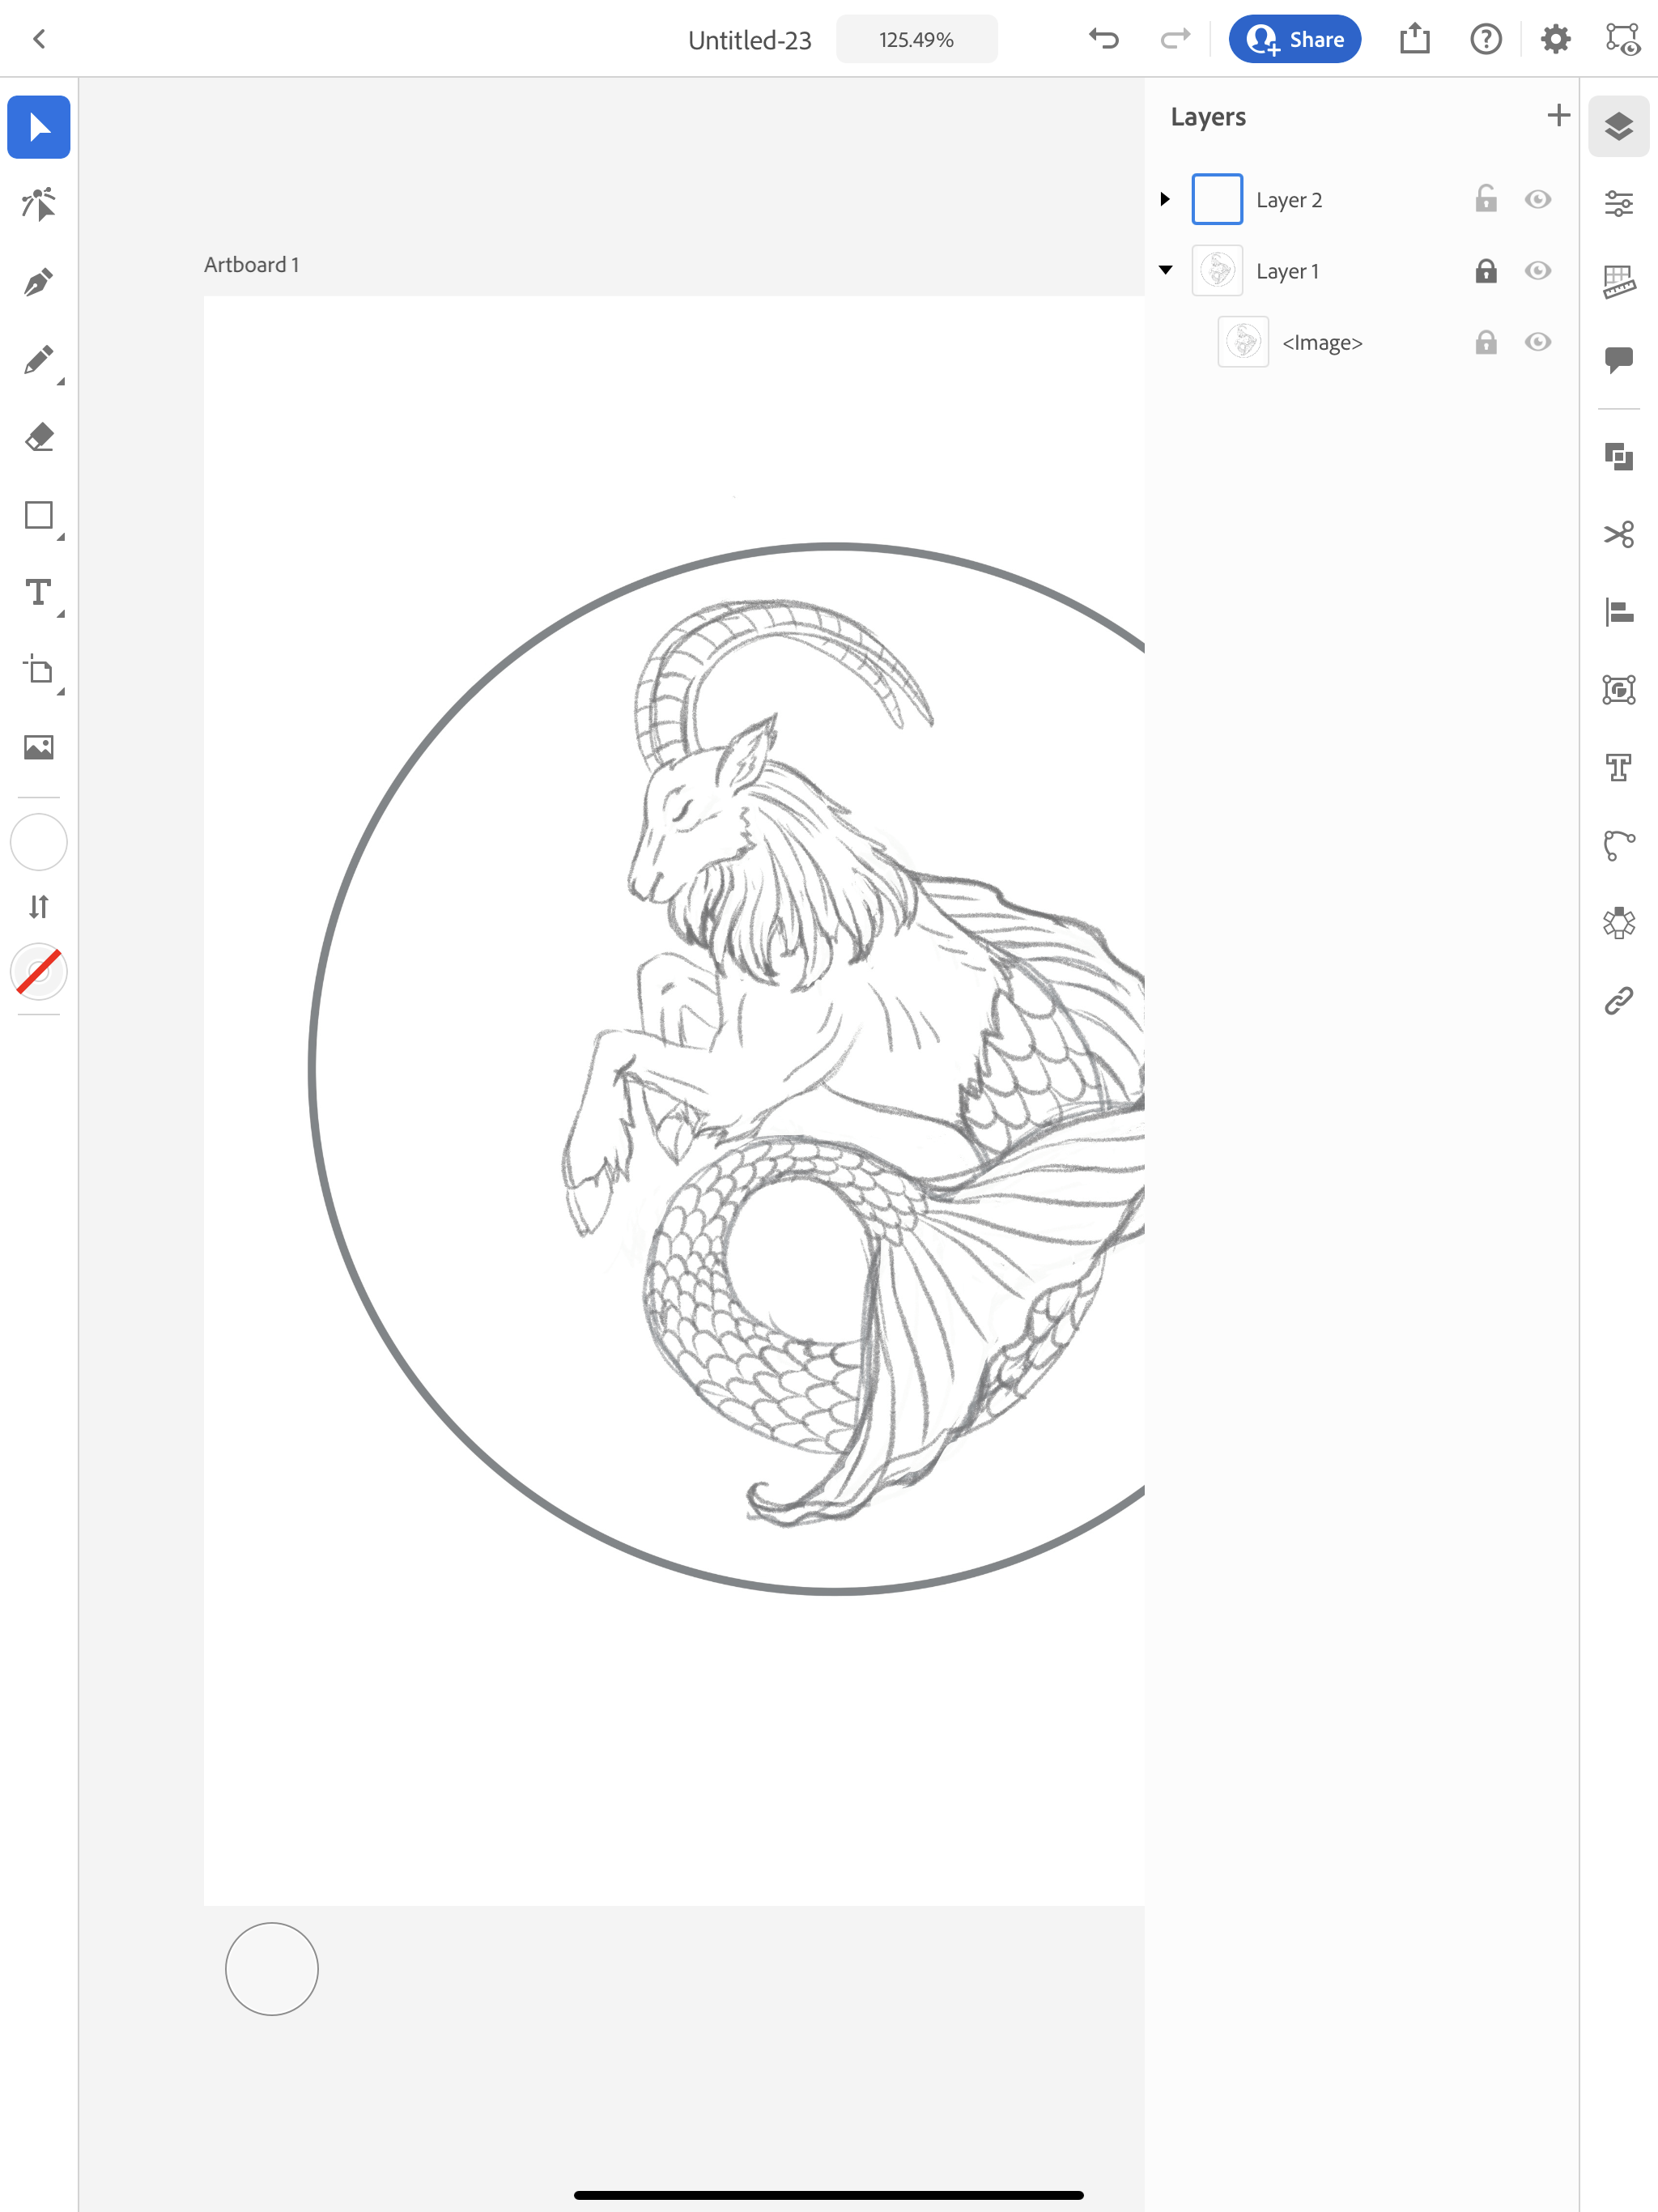
You can adjust the size of the image, I typically keep my pretty large at this point. I’m going to add a new layer above my sketch layer, then I’m going to lock my sketch layer.
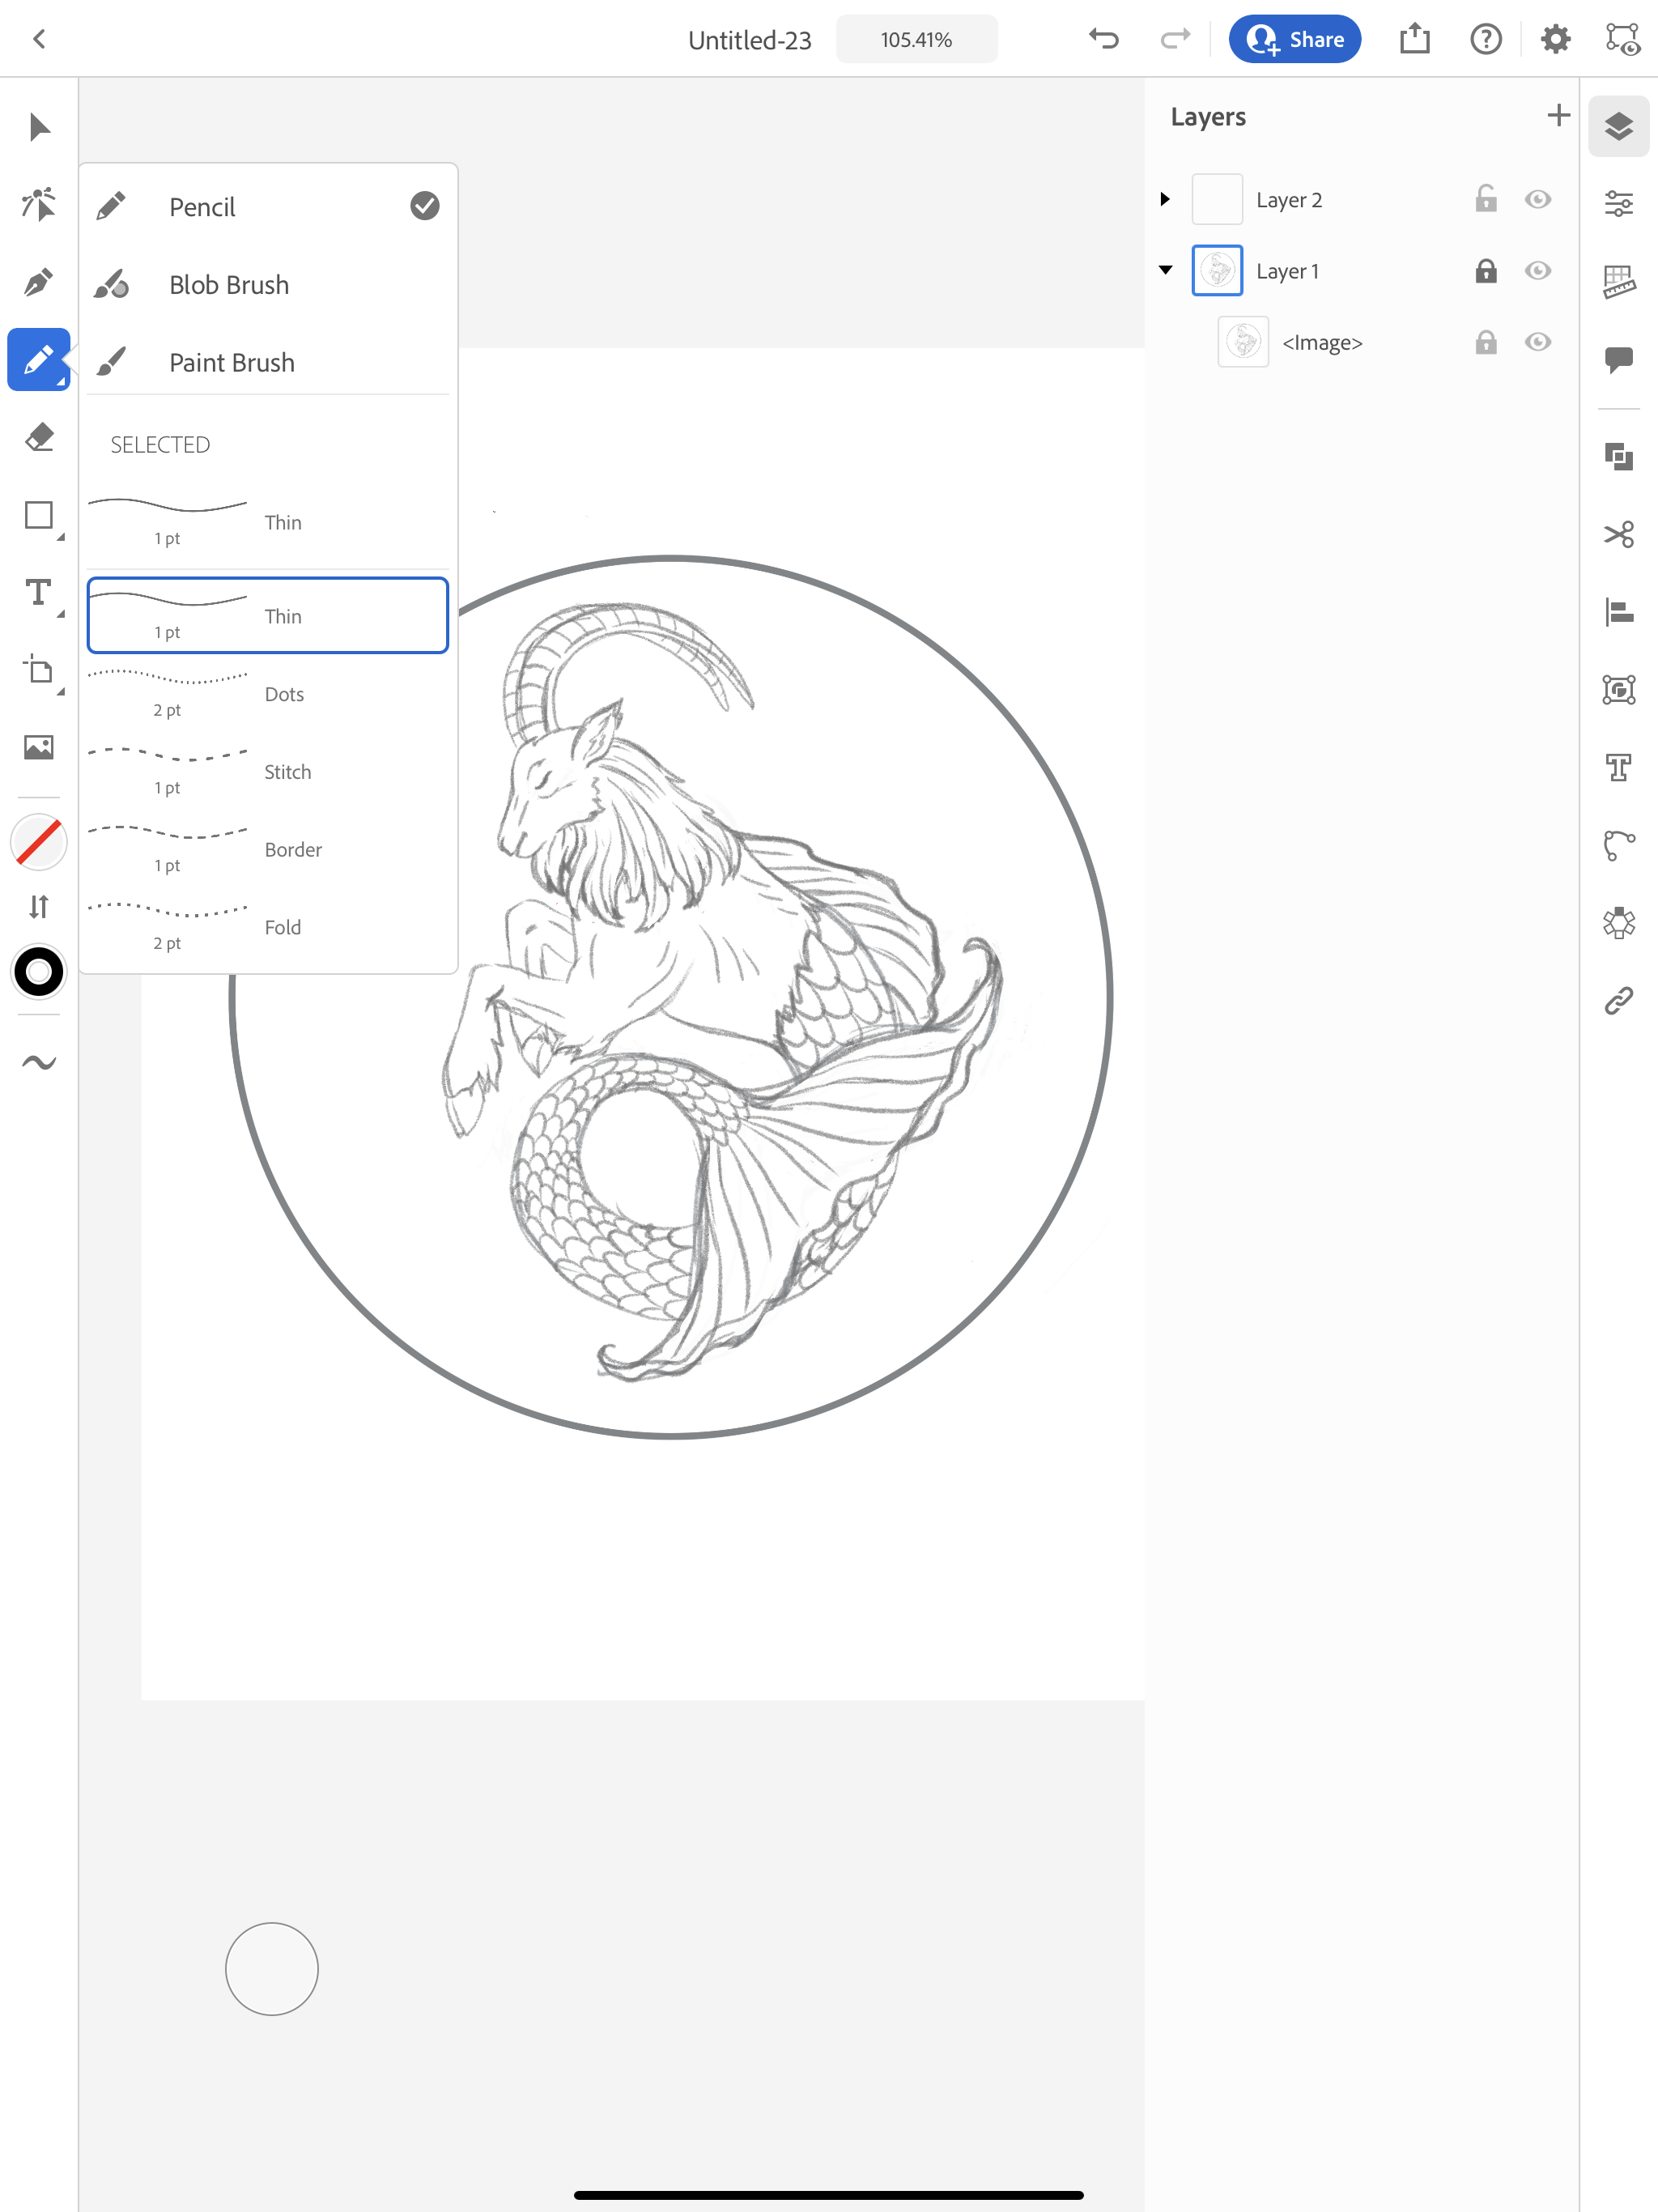
I typically start with a basic out line of my image and then fill in all the little details on a separate layer. You need to use either the pencil tool or the pen tool to create a single line SVG. This is so your image is made up of individual paths and not filled shapes. I’m going to use the pencil tool since it feels most natural when I’m tracing my image using my Apple Pencil.
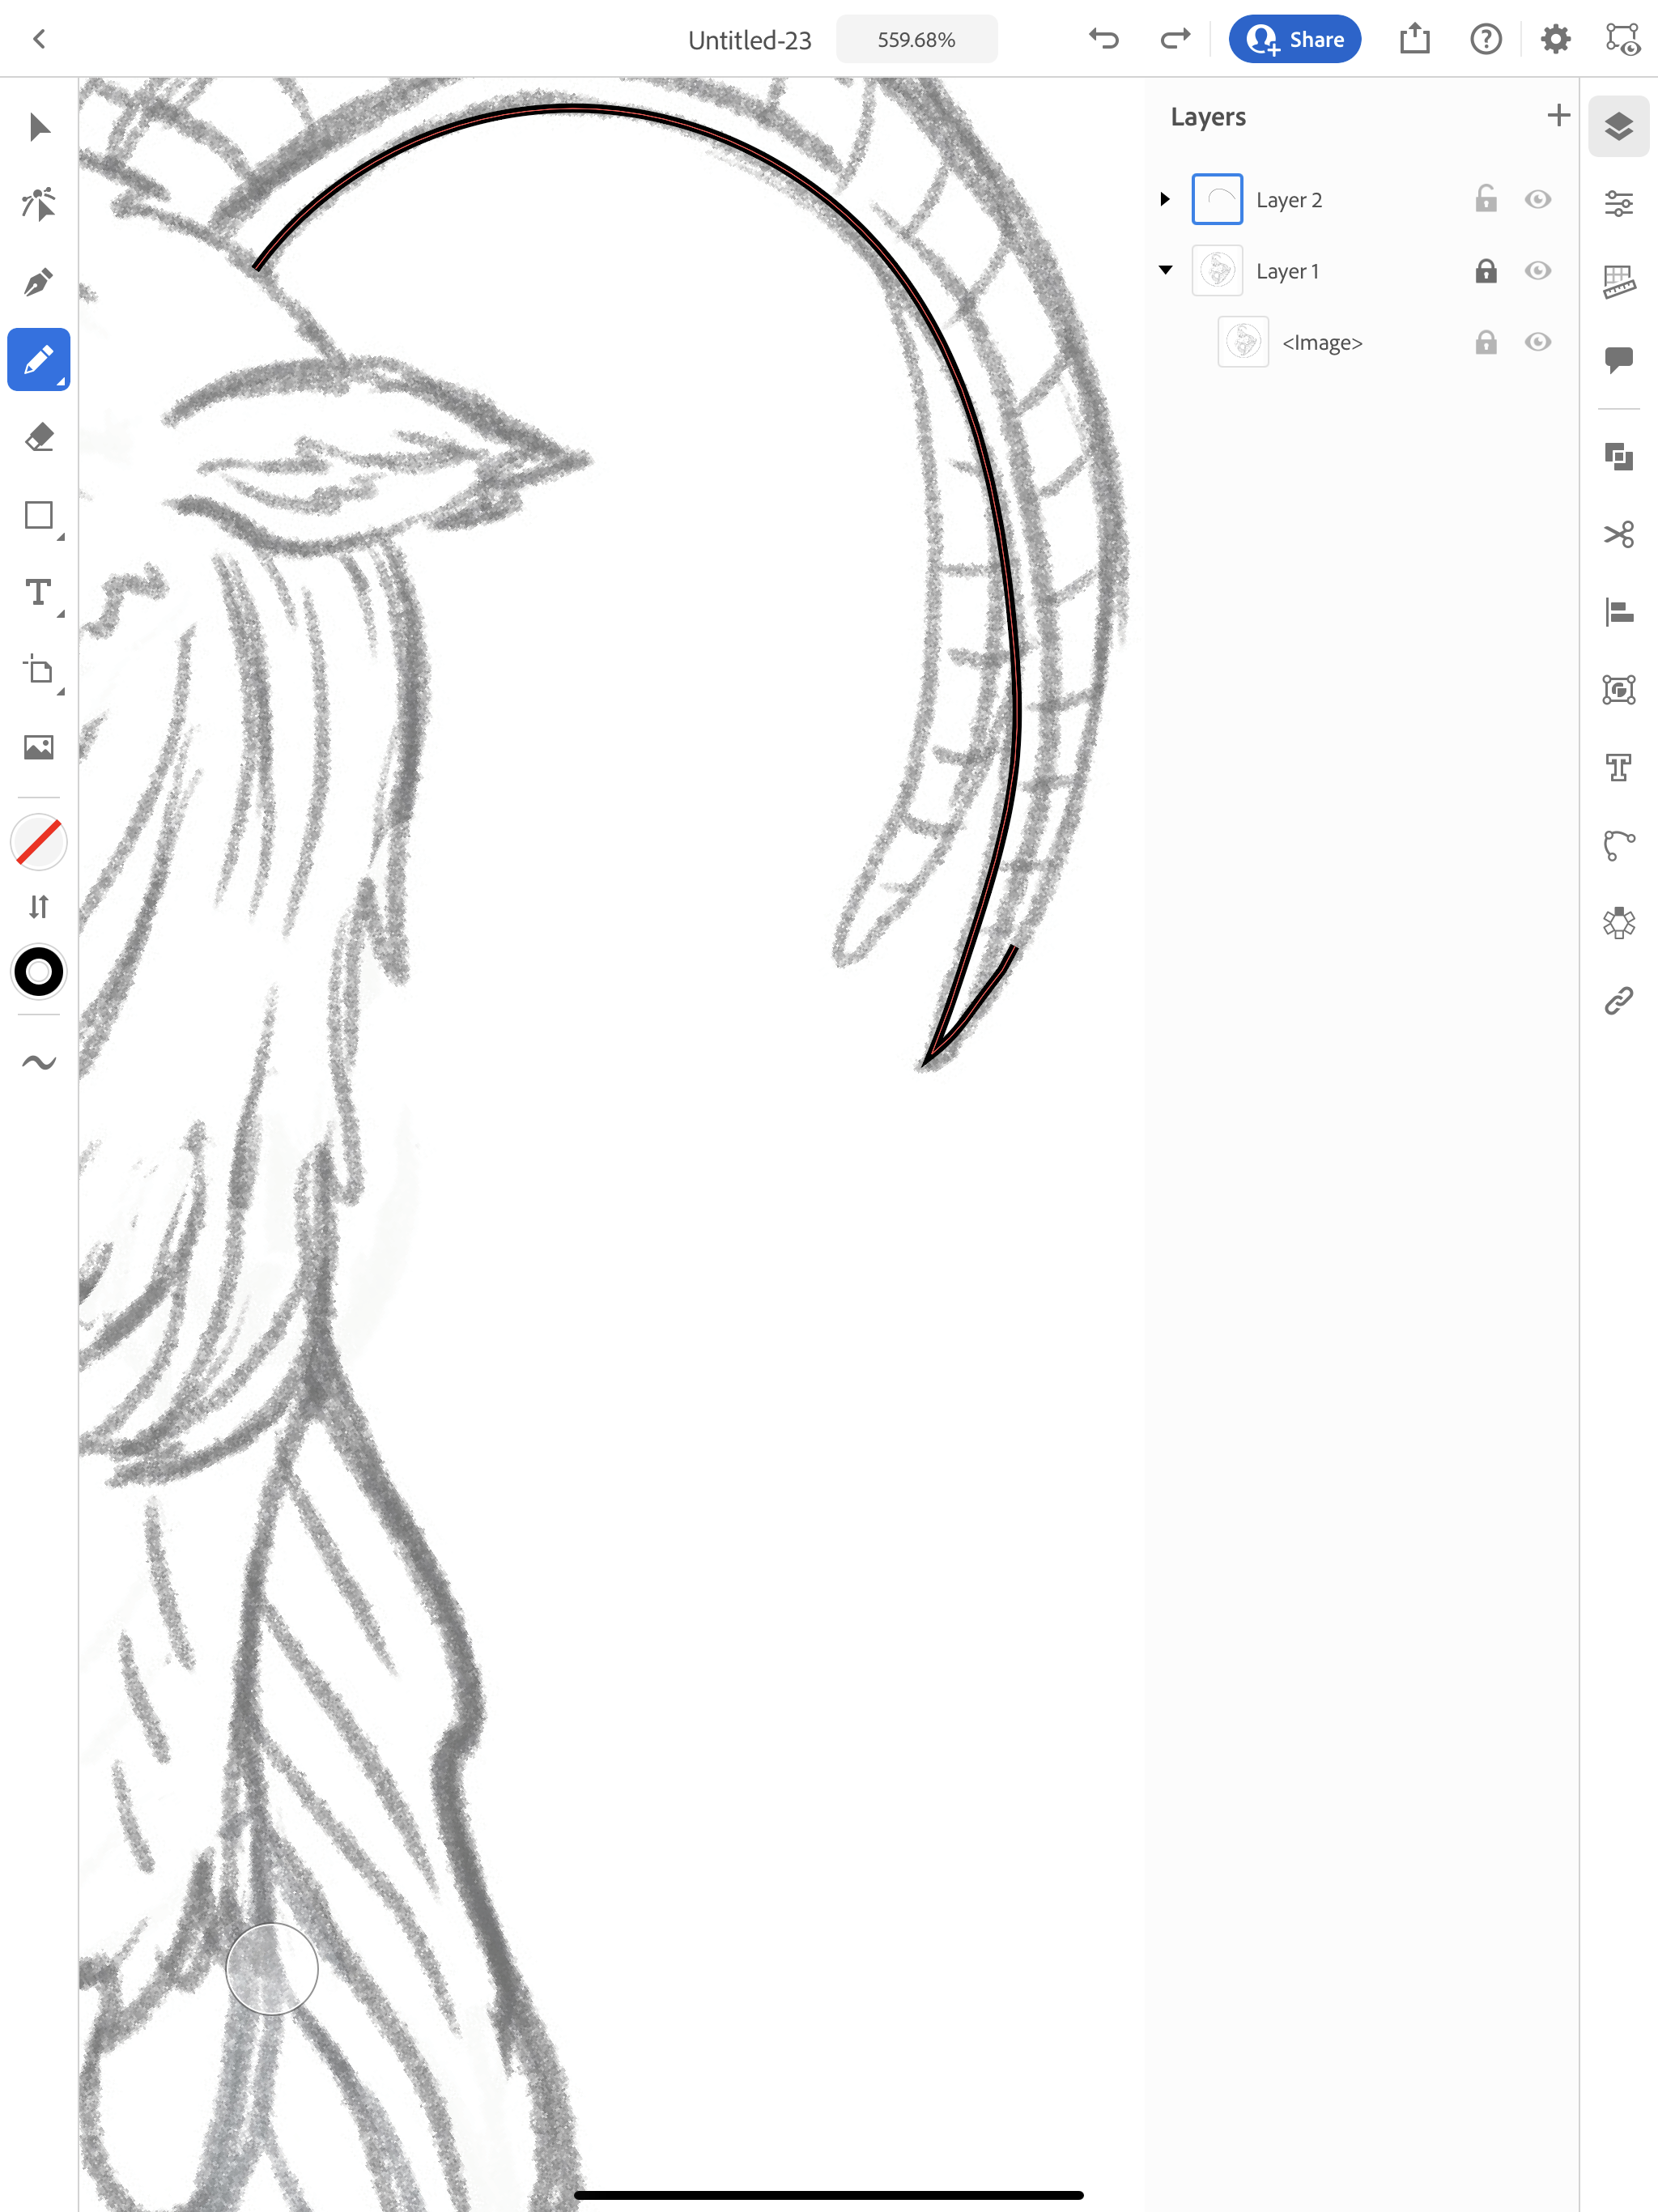
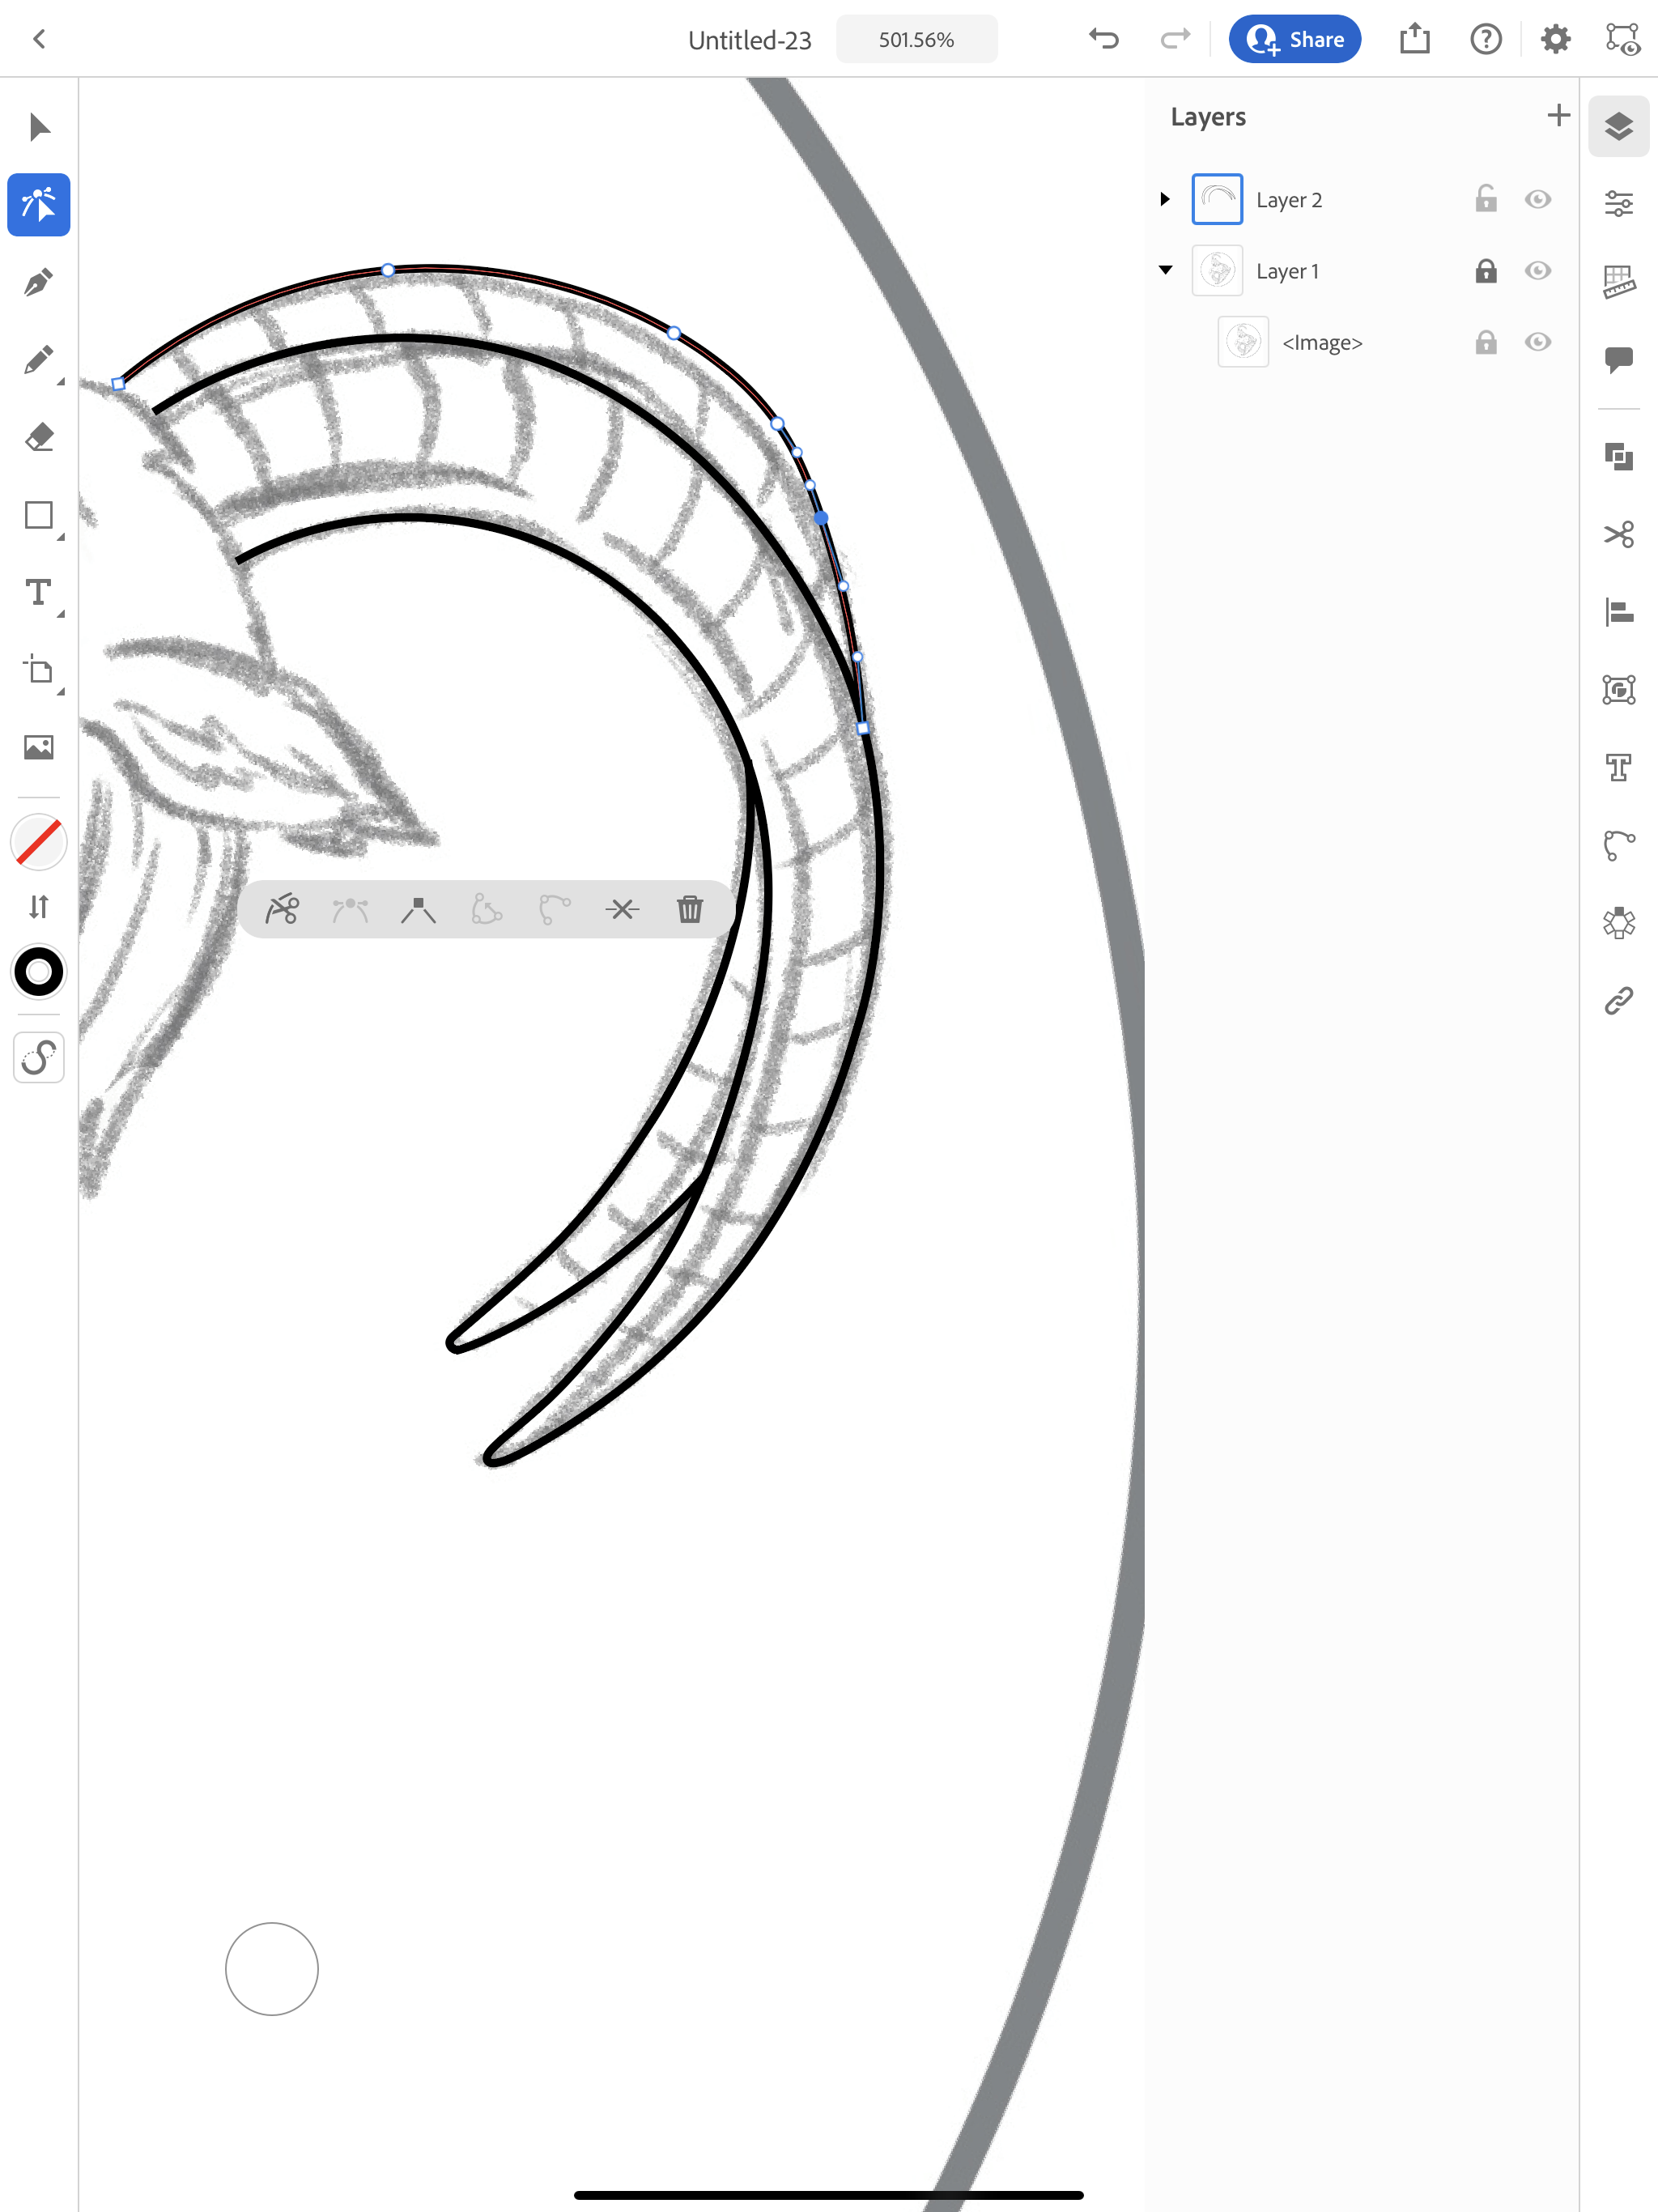
I’m going to start tracing the outline of the horns with my pencil. If you need to stop and lift up your pencil, you can continue that same line again by selecting the path and start drawing at one of the end points.
Now, you can choose the draw the rest of the outline or start refining each section as you go along. I’m going to refine each section as I go along. Using the Direct selection tool, I can delete anchor points, change curved points to sharp angles and vice versa.
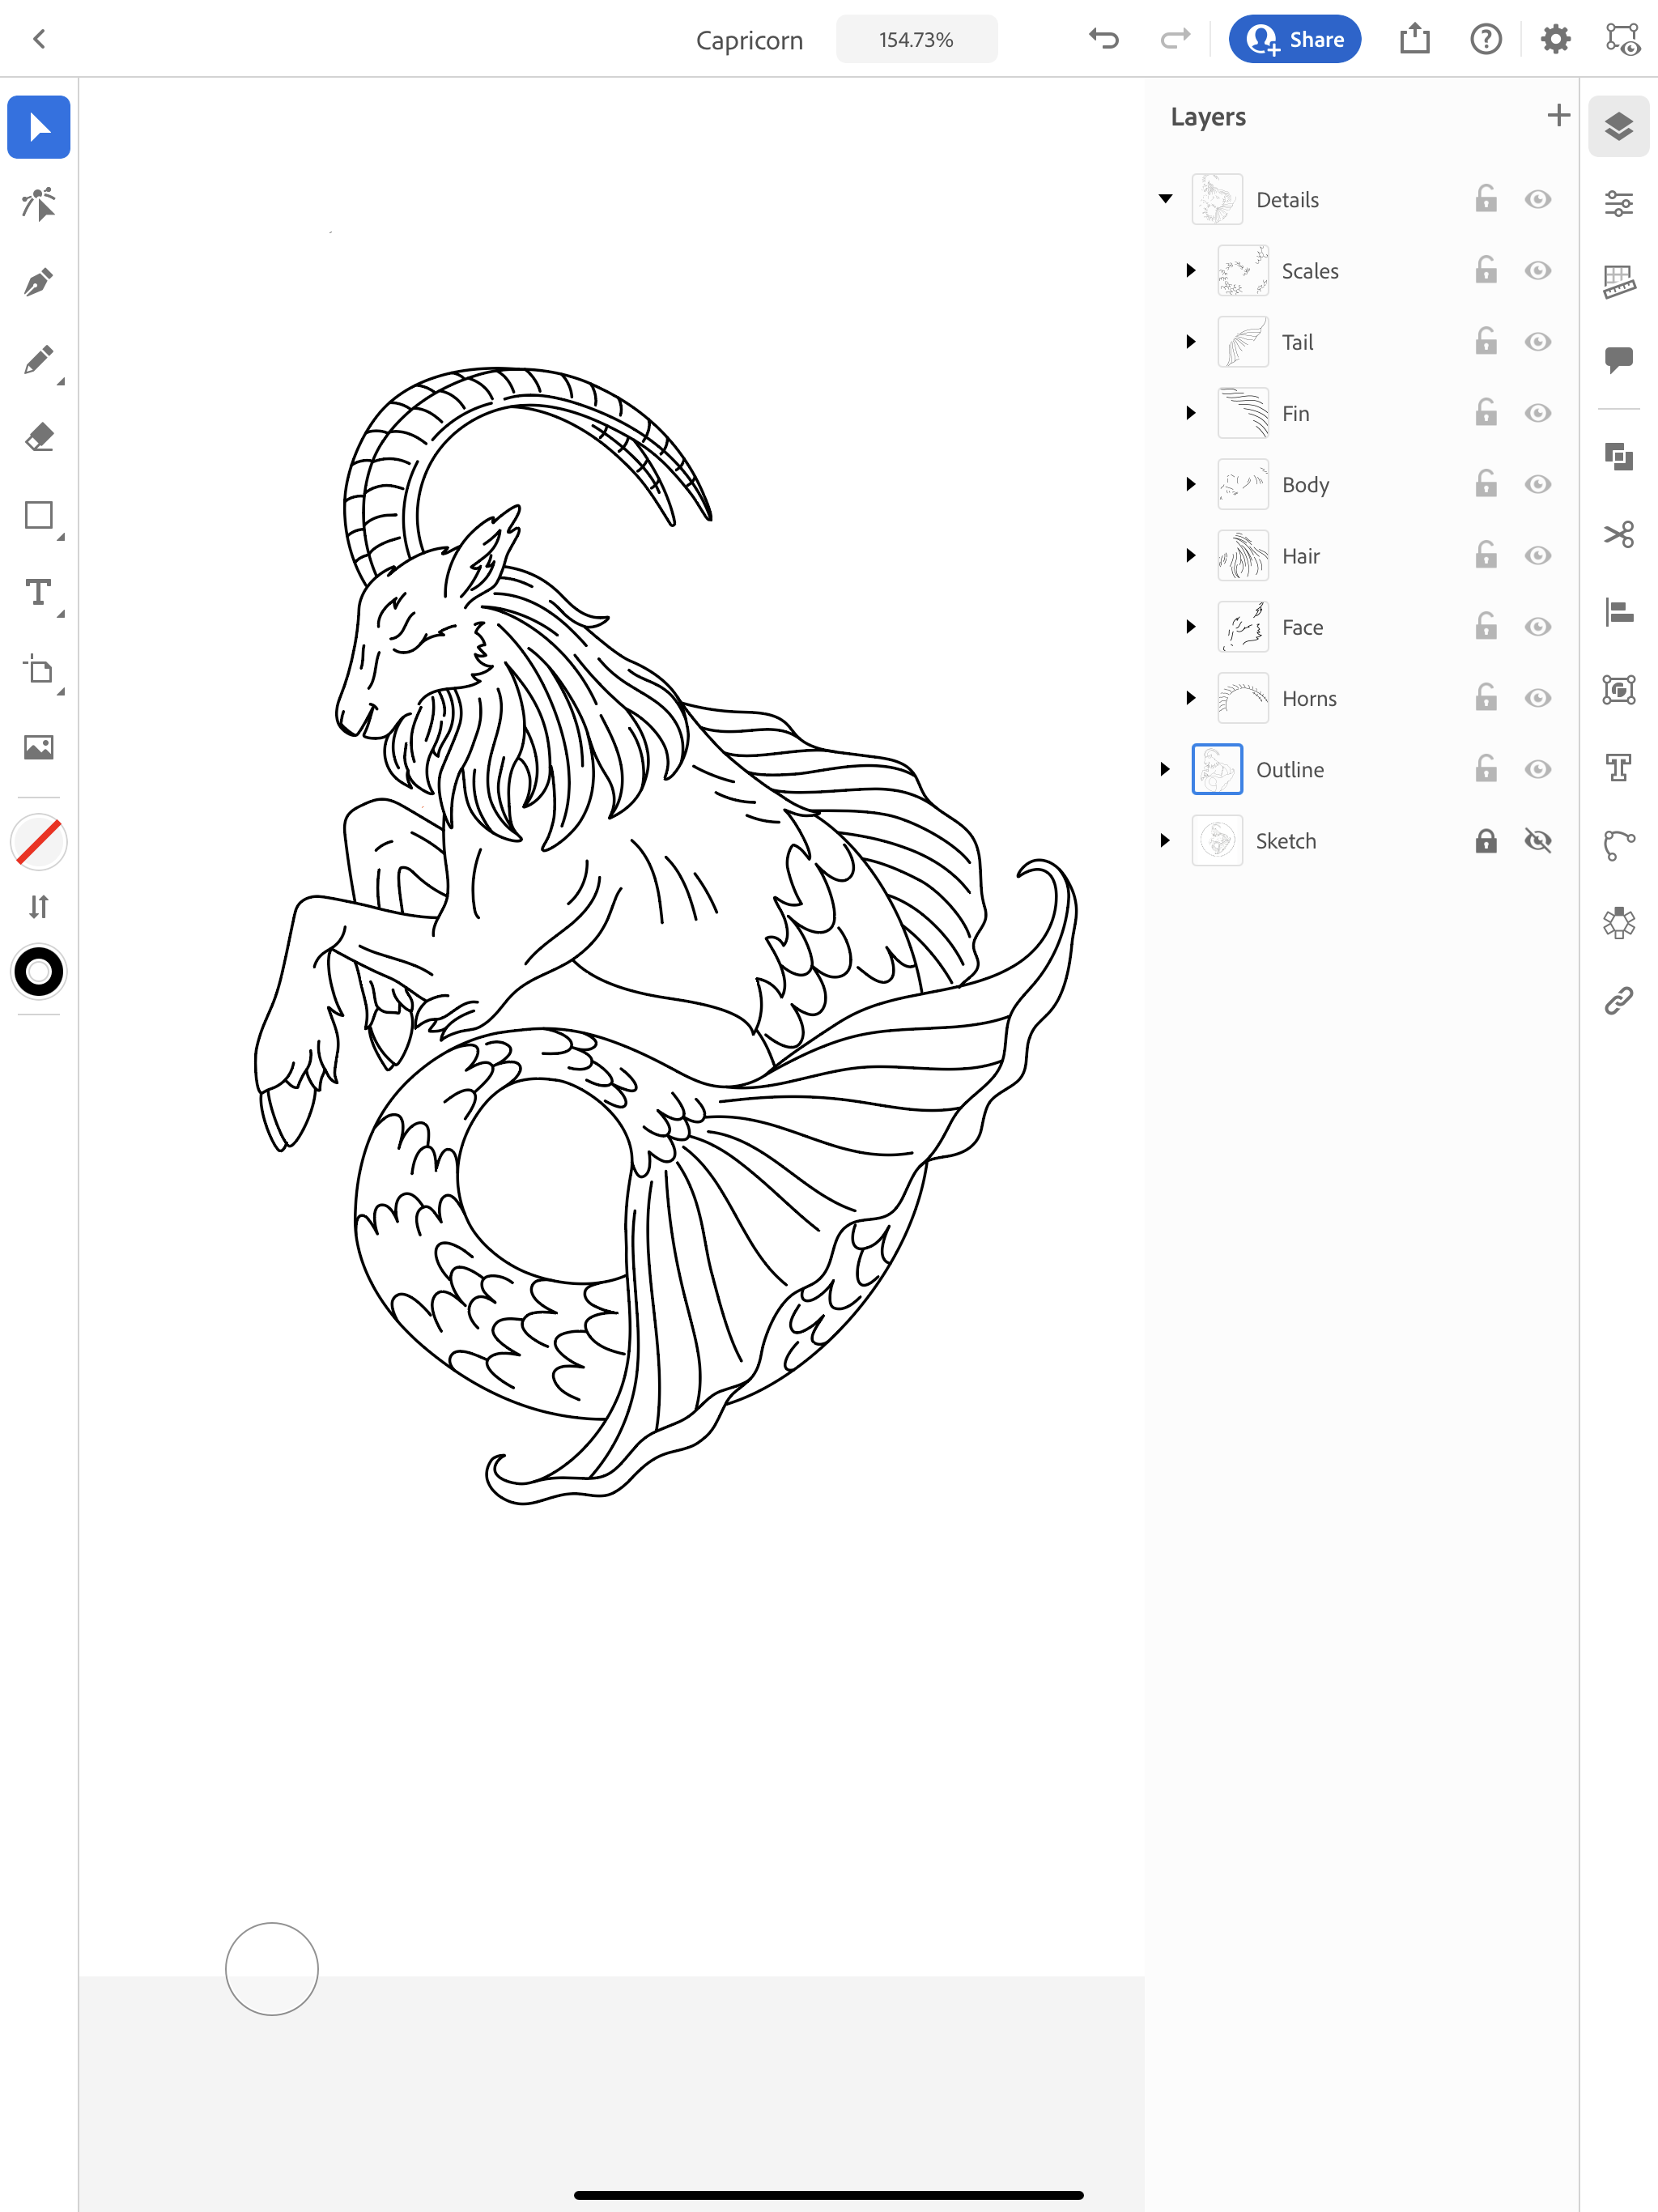
After the outline is complete, I will create a new layer for the details.
I do the details by sections in the drawing. As you can see, I simplified the scales on the fish tale from my original drawing. Now is great time to make any adjustments to your drawing. Once I finish the details, I make each section a subgroup in my layer.
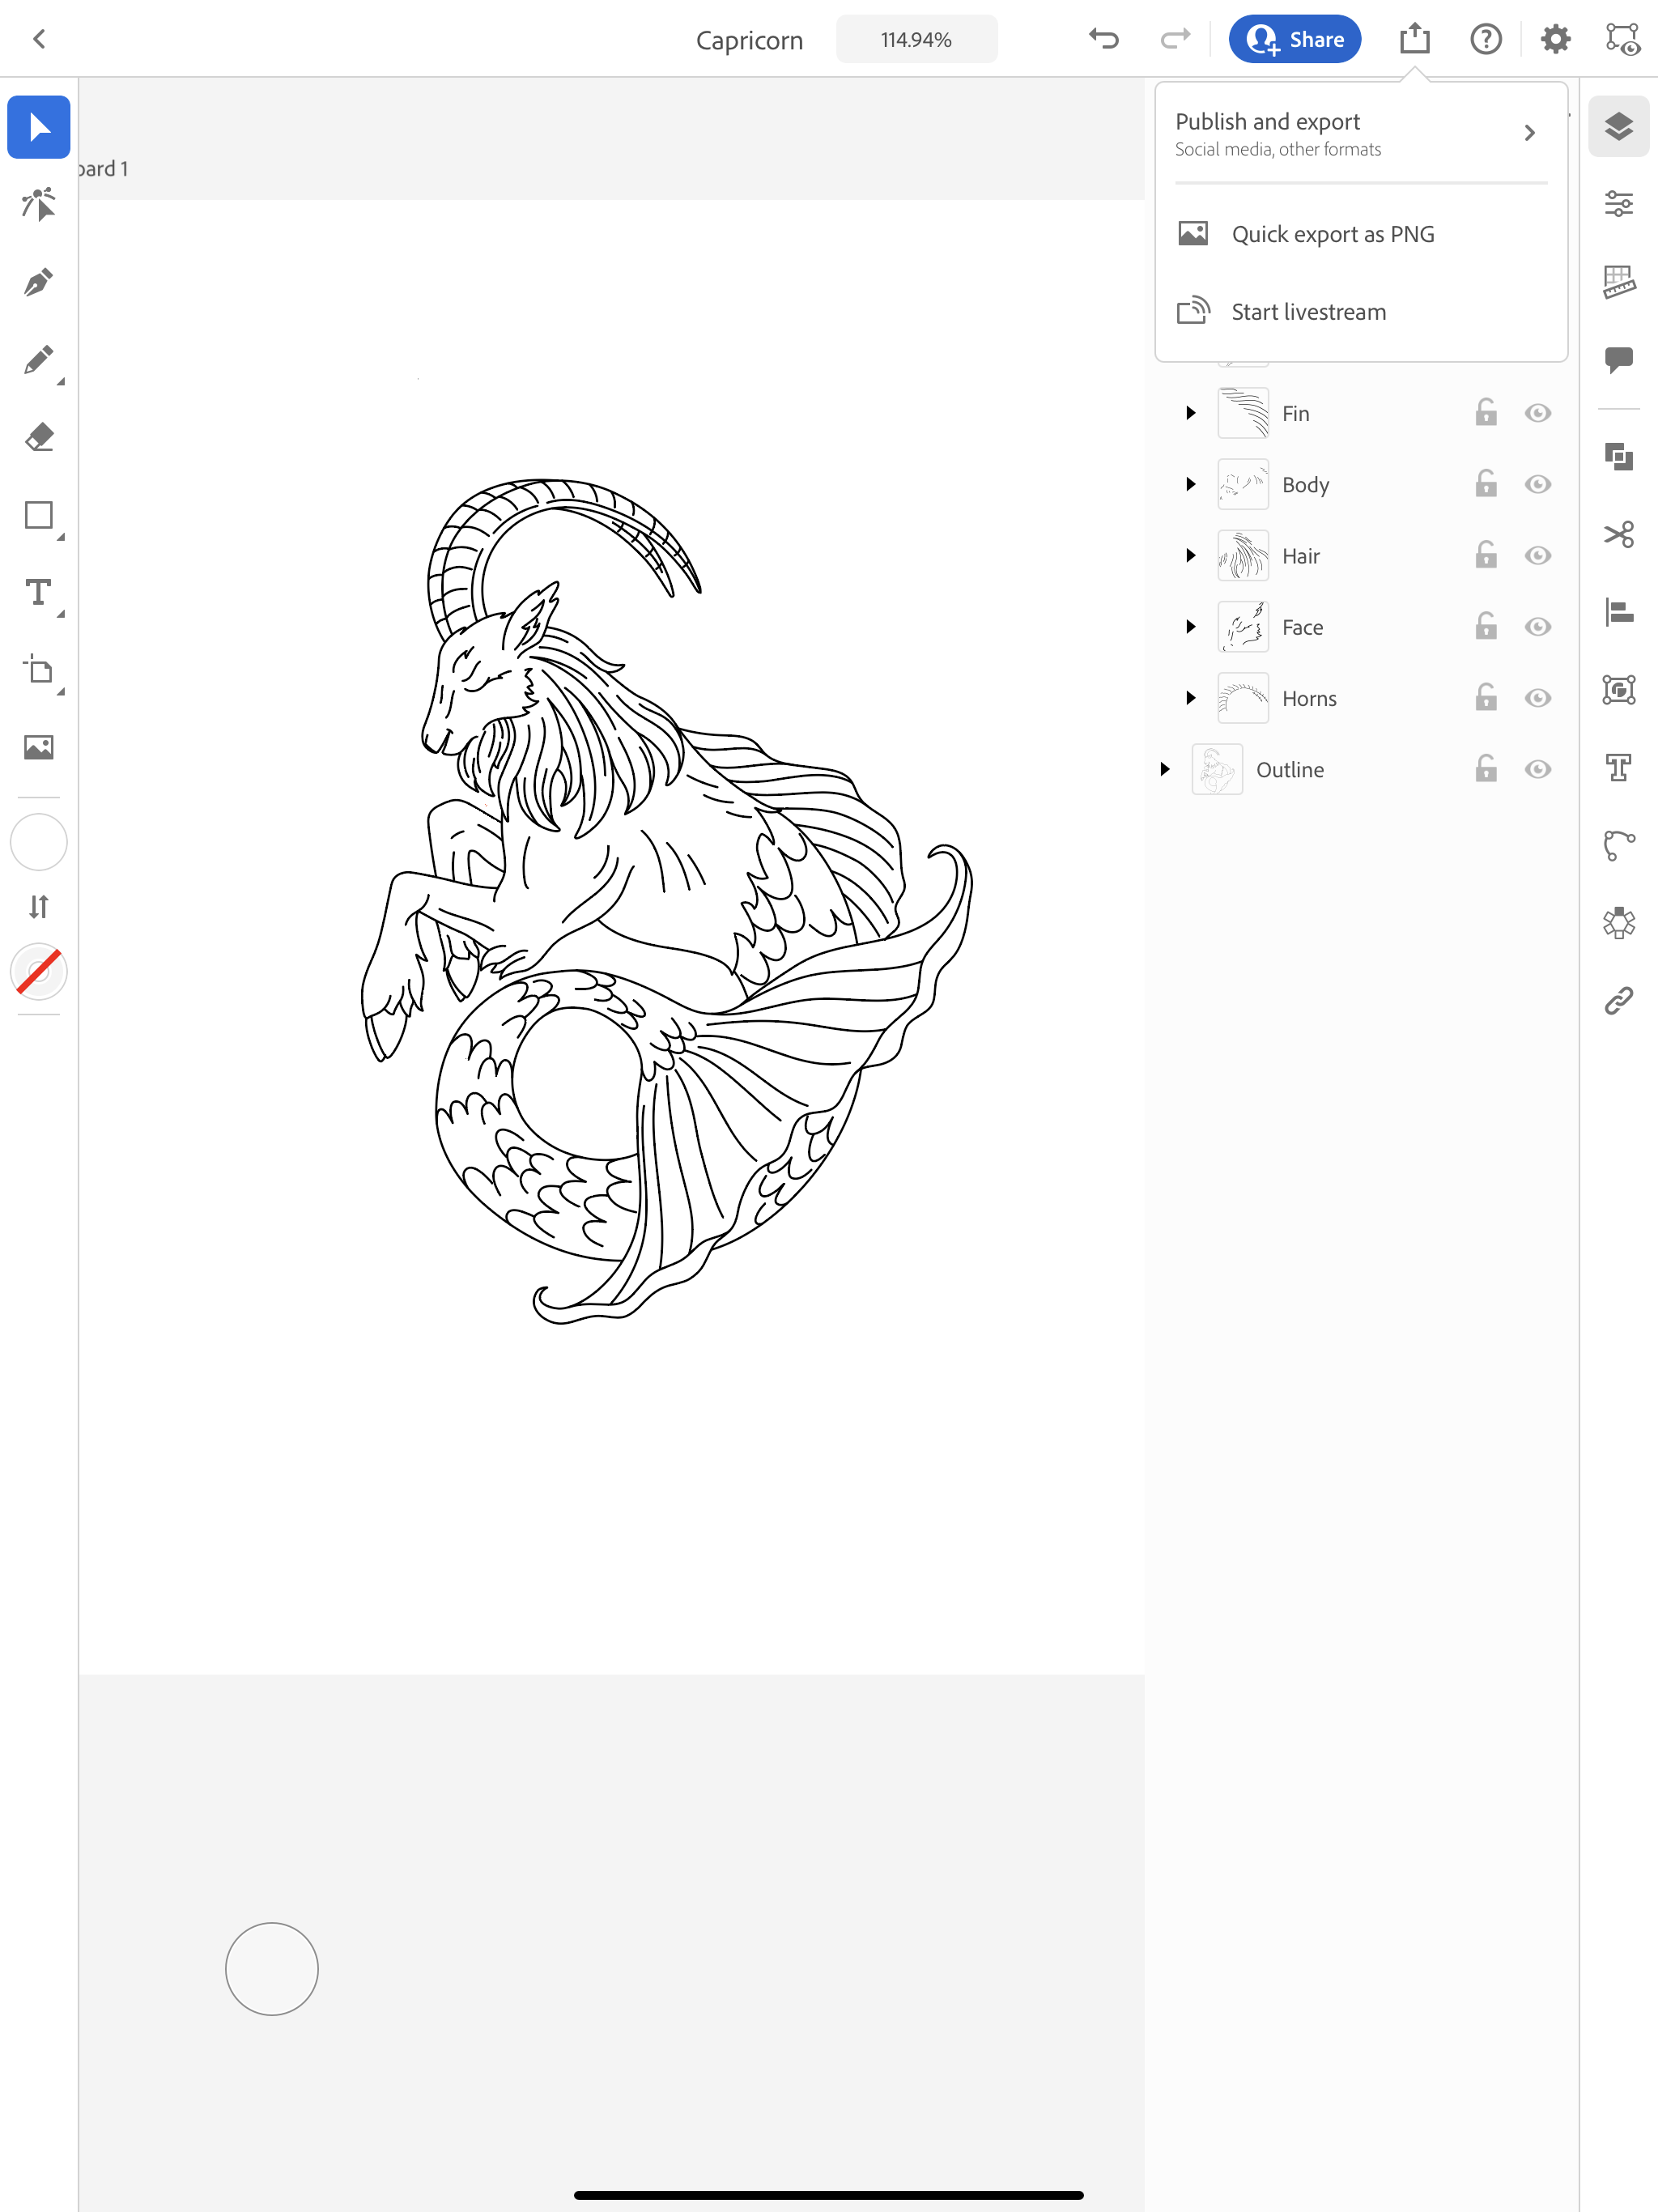
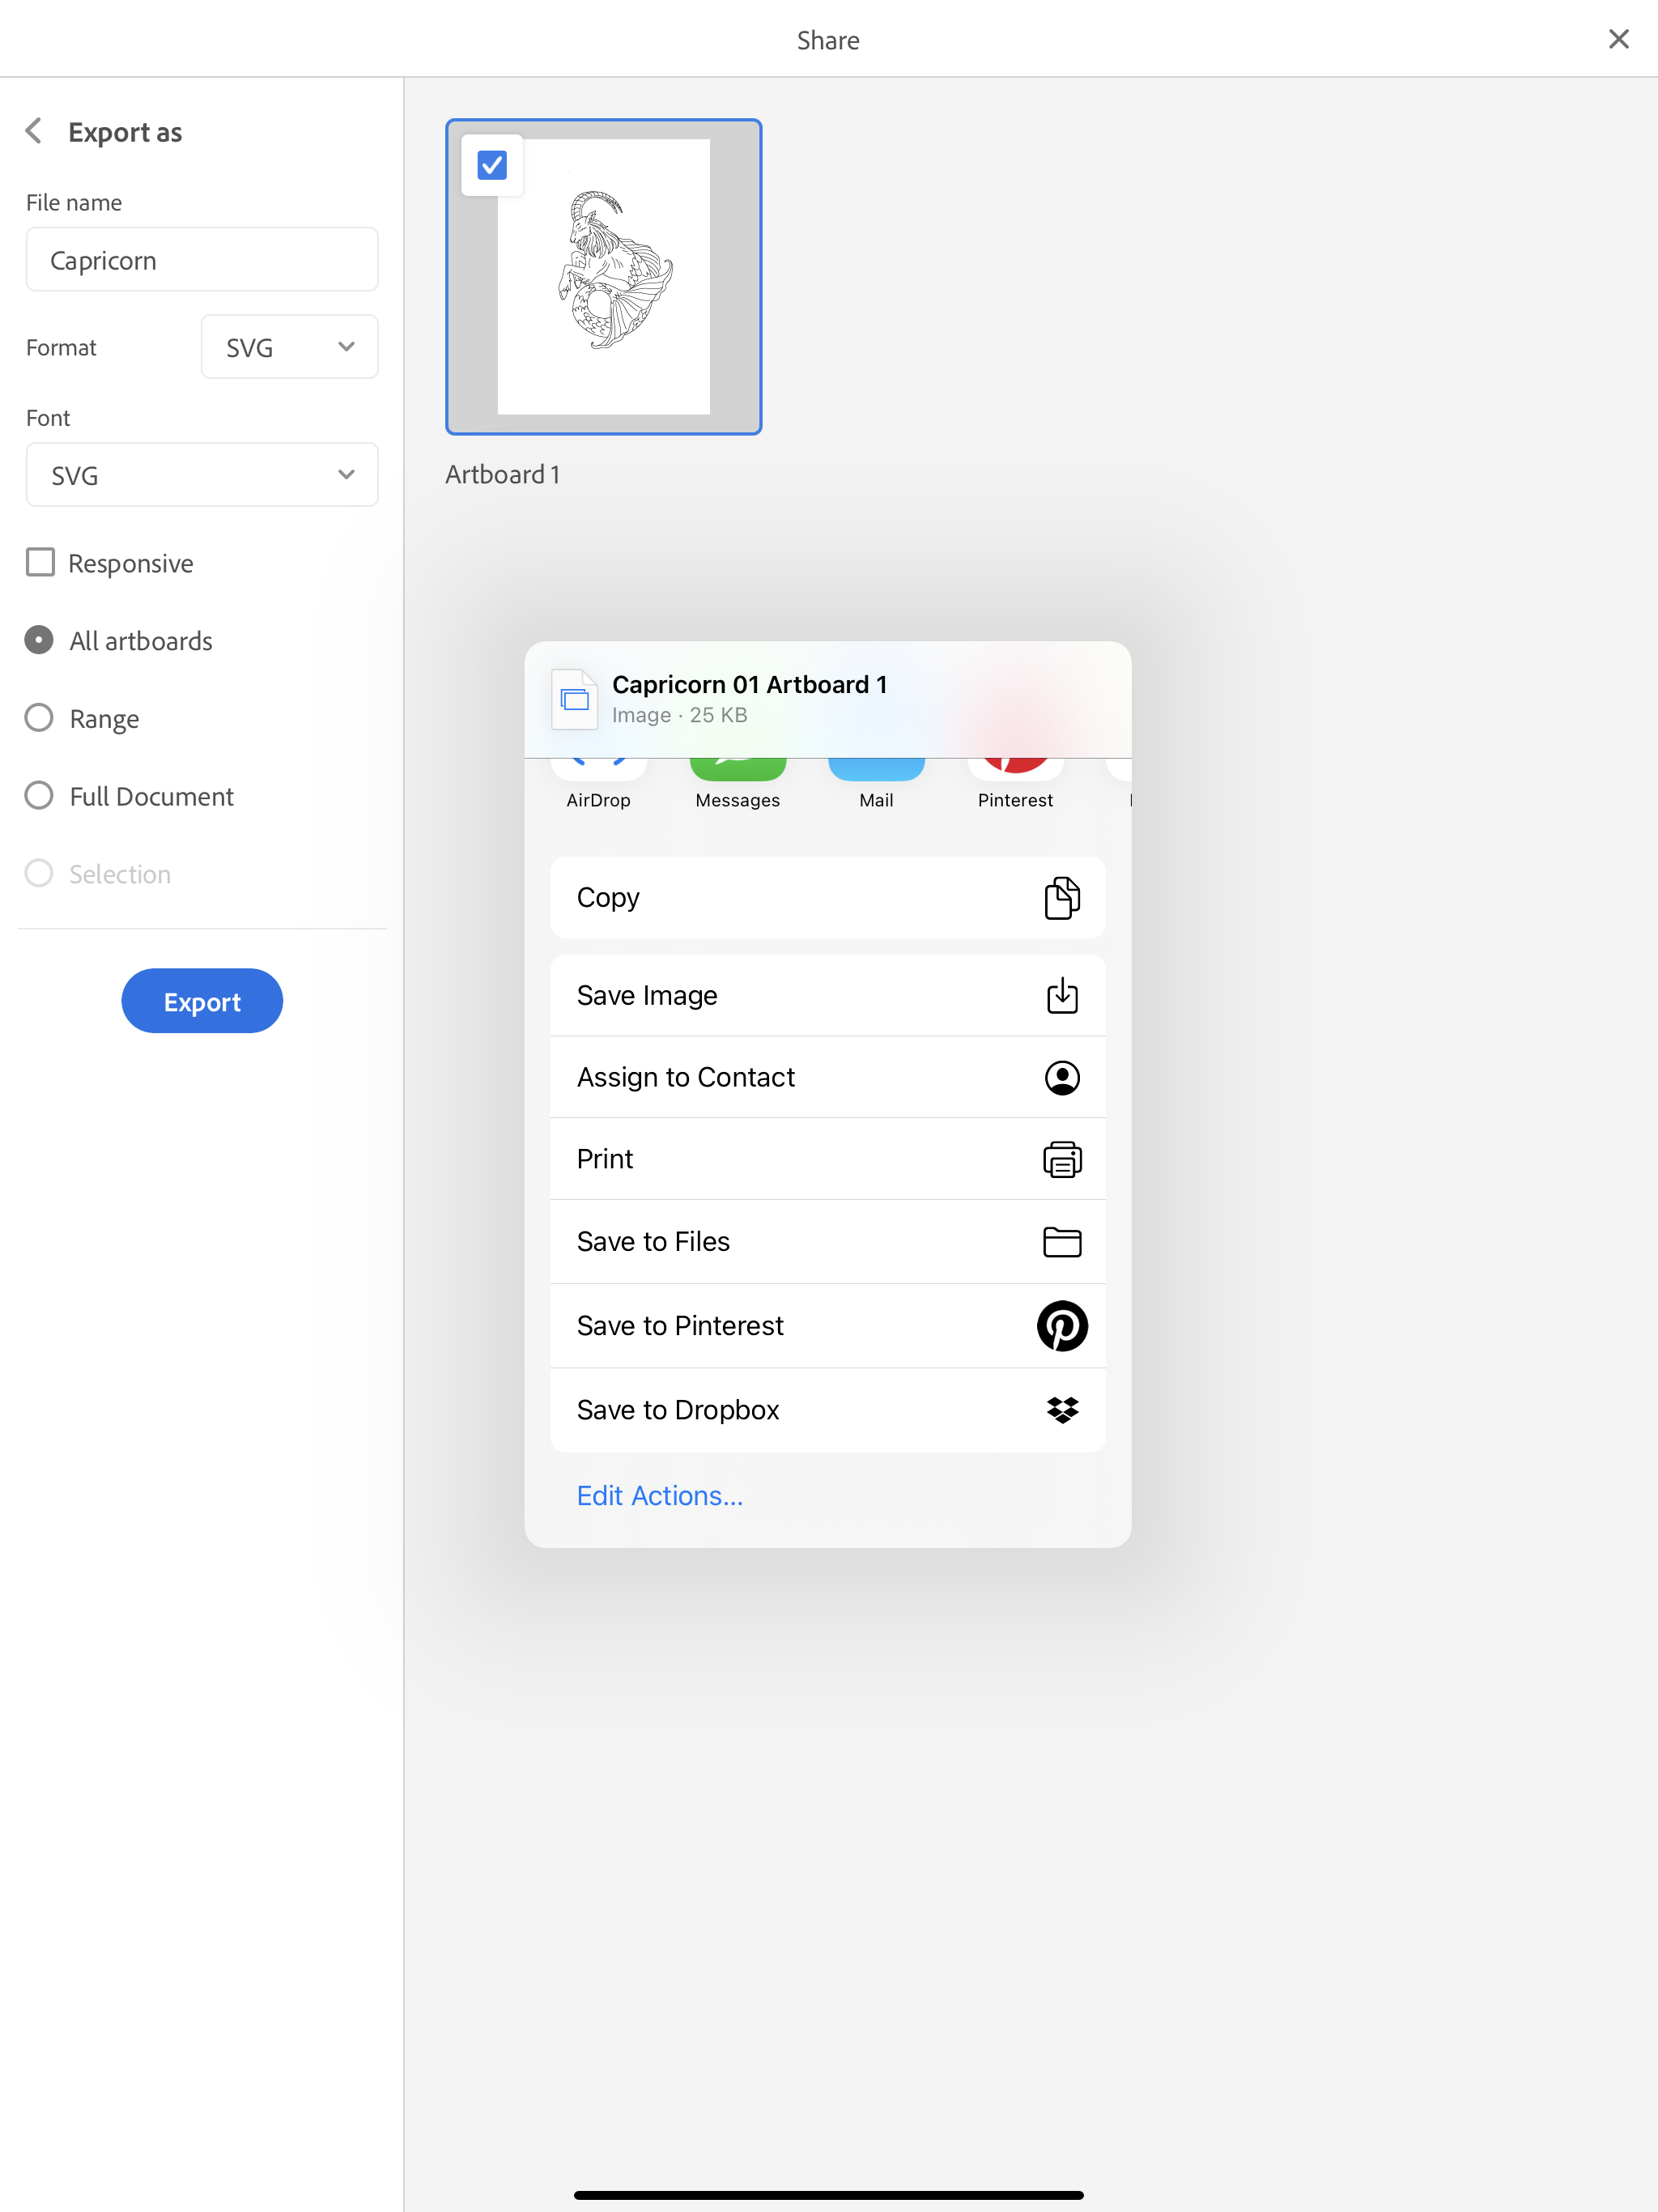
Now it’s time to export this file as SVG. Click on the box with the arrow in the upper right tool bar across the top in the app. Select “Publish and export.”
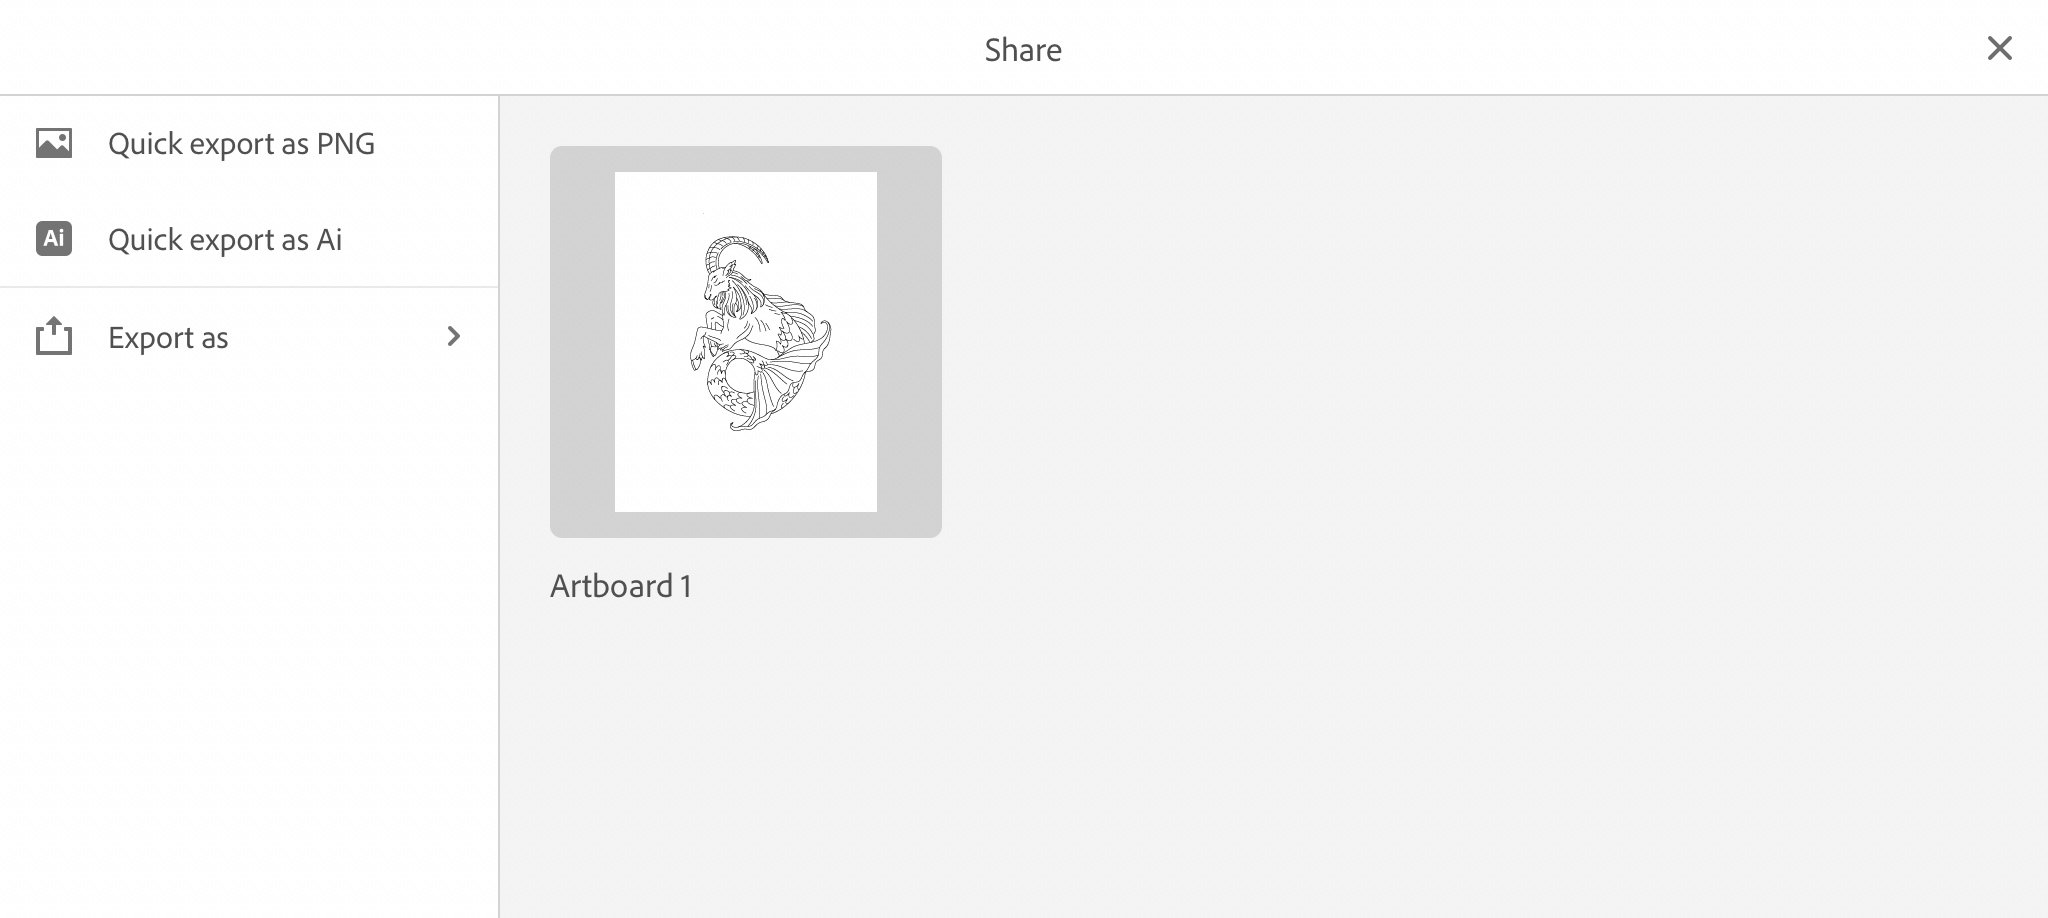
On the left side of the screen, select “Export as.”
In the drop down next to Format, select SVG and click the blue Export button.
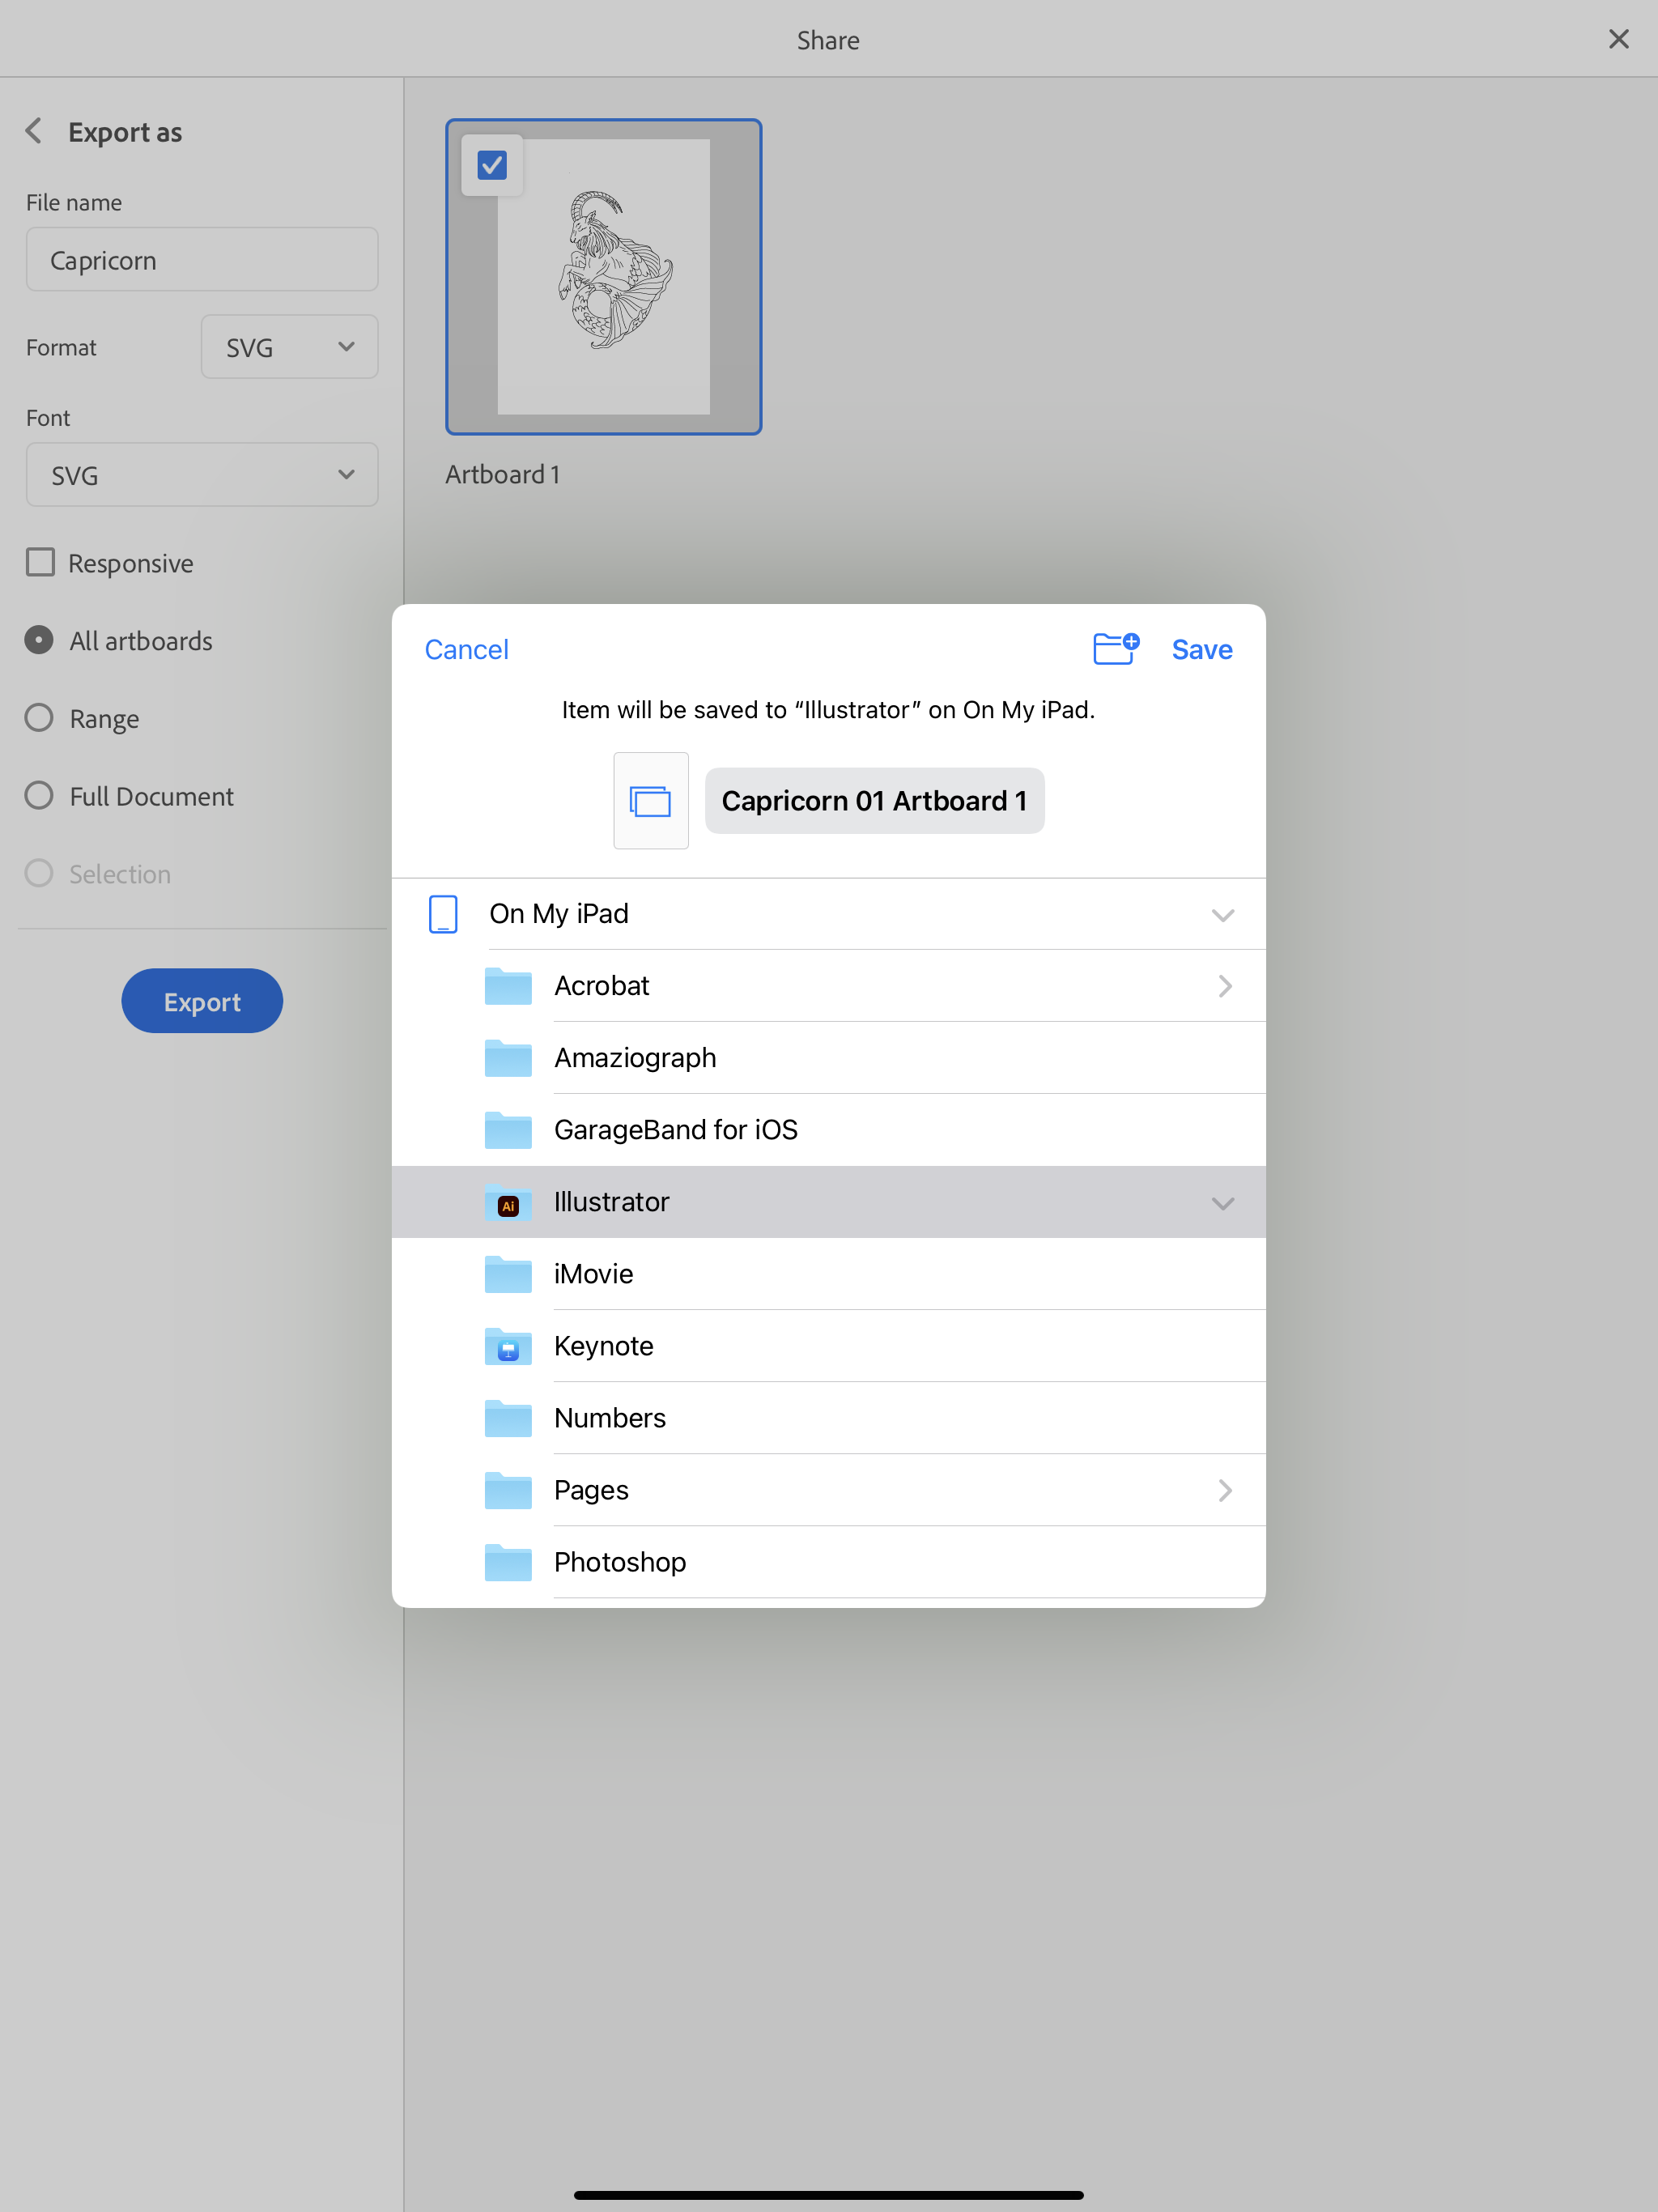
I’m going to select “Save to Files.”
Then I select the “Illustrator” folder. Next week I will show you how to test this file using the Cricut App on my iPad.

